04.27.2014
Categories: production, textures
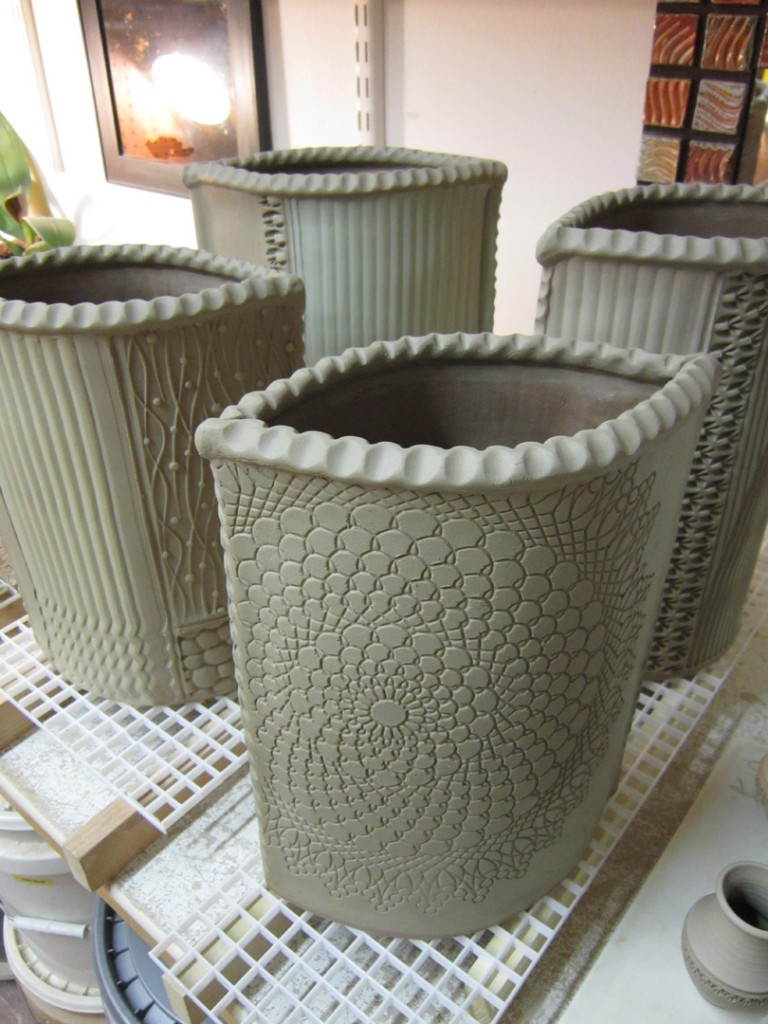
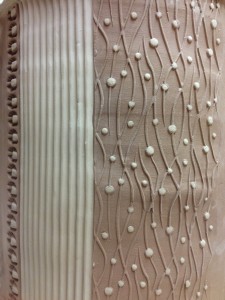
Yesterday I made four textured slab vases. With days counting down to my soda kiln next weekend. I only have a few days left… and I’ve decided that yesterday had to be my last day to work wet. That is if I have any hope of finishing them and getting them at all close to dry in time for Monday’s bisque kiln. So today I added some colored slip to the four vases… and for the first time, I used soda clay on one side, and stoneware with iron on the other. I’ve always made them with a different pattern on each side… this time they’re different clay too. Let’s hope it works…


How long do you need to make that kind of texture?
I love your stuff! I’m just starting back in on the pottery wheel after a 5 year hiatus. I was never really good… Anyway, love the textures and stuff you do. Sorry that you’re so far away though.
Thanks for the great website.
It’s pinned, copied, etc. I will visit often.
Really enjoy your work. Would like to visit your website for ideas on handmade pottery.
I love your slab vases. Could you tell me if there is a tutorial video on how to make them? I have been taking ceramic studio classes for 4 months and I would like to build one slab vase like you do.
ATALA – Thanks… and welcome to my blog!
Glad you’re having fun reading some of my endless ramblings.
At this point, there is not a video on how I make my textured slab vases. But maybe there should be??? Basically, I just make the two slabs, texture them, let them stiffen up a bit, and then attach them with some scoring & slipping. I lay the two slabs on top of each other, connect the sides, then “open it up” and stand it up at the same time. Once I get it standing and opened to a good shape, I let it sit a little longer to stiffen up and refine the attachments on the interior. Then I score & slip a slab to the bottom. As well as a coil along the top edge. Then I add some colored flashing slips before bisque firing. Then I add a liner glaze, and some temoku glaze accents in the stamped impressions. I hate to say it… but the soda firing process adds a LOT of the magic to the piece!!! I hope that answers a few of your questions. Good luck with your own slab vases!!!
Like one of the previous commenters, I am also only getting back into clay work, including throwing, after about 5 years away (I had shattered my right shoulder, but it’s mostly healed now). I love your textured work. Thanks for describing the process of how you make your slab vases. I am not clear on exactly how you connect them though — you lay them on top of each other? Do they get stood up and opened up immediately after that or do they need to sit a while first? Anyway, I hope you do a video on the process.
BERNEE – I lay the textured slabs side-by-side with the textured sides face down. Then I score the vertical side edges of each piece. A layer of slip is added to one of the slabs. Then the other slab is lifted, gently flipped over and the placed right on top of the other slab. Carefully aligning all sides, and then gently pressing the side edge connections together. I take a few minutes to smooth out the the sealed side edges, and then flip them over to smooth out the other side as well. Then I pretty much stand it up right away and open it up. It stands by itself pretty easily at that point. So I can refine the outer edges one more time, as well as make sure the inside connections are secure & smooth. I fuss a bit with the opened shape to make sure it is even & symmetrical. Let it set-up for awhile and then add the slab bottom & coil rim details. Does that help???
Gary, thank you for your instruction! Do you place a coil on the inner part to secure the sides?
DENISE – Nope. As long as you do a good job scoring, slipping and pressing together you shouldn’t have any problems. But if you would feel safer, go ahead… add a coil.
I really like your work.. Just beautiful.
Beautiful stuff; thank you for your inspiration!
Welcome 2021. I have just found your work. I am enjoying seeing the work of other slab artists.
Wow, those are spectacular! I will be trying to make these tomorrow as I have wanted to make these for awhile. I wouldn’t have thought to connect them laying down and it makes such sense. How much easier than what I was imagining. I am so excited to make them. Thank you for sharing and giving such clear instructions.