That time of the session again… Last night was the night we tackle making “bowls on purpose” instead of cylinders gone bad that just happened to turn into a bowl. It’s my favorite class to teach of the whole session. Not only is it fun to see the light bulb go off when they realize that they can do it too… but also when they see how much FUN they can have moving their clay around.
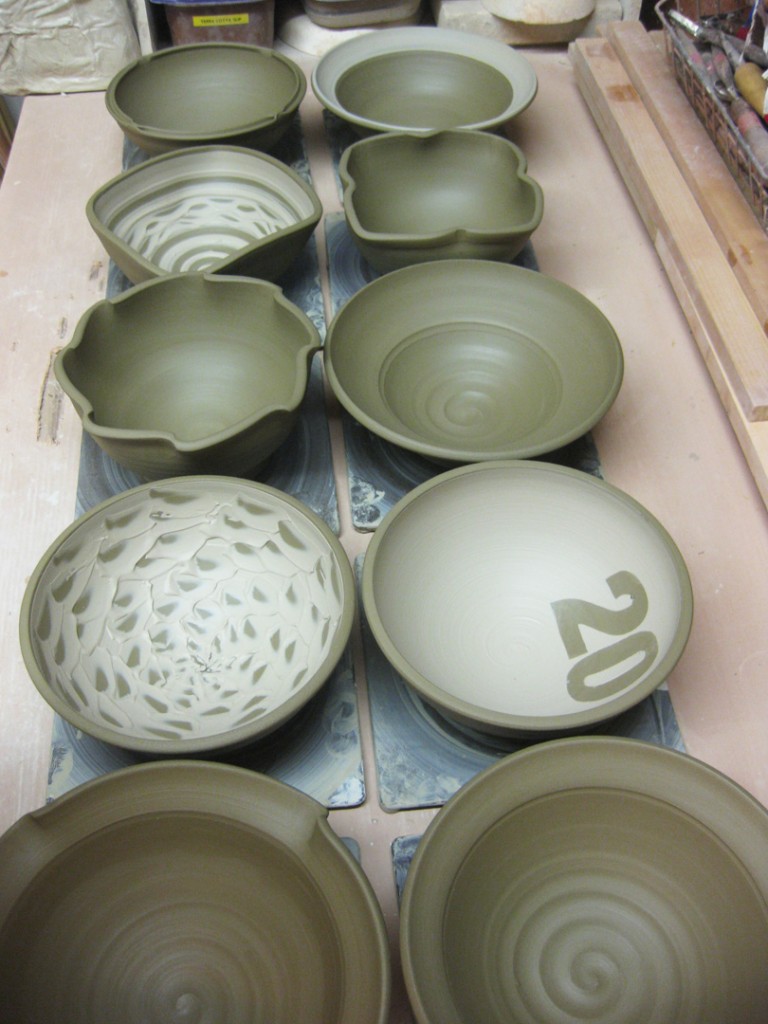
So I started with a full bag of clay… cut it up into 13 pieces and started wedging. We then sat down for the bowl making demo. Once we had covered the basics on bowls, they all went back to work while I made twelve more bowls. When I was done throwing all thirteen, I called them back and we went through some quick tricks to make each of the “identical” bowls each a one-of-a-kind piece of pottery!
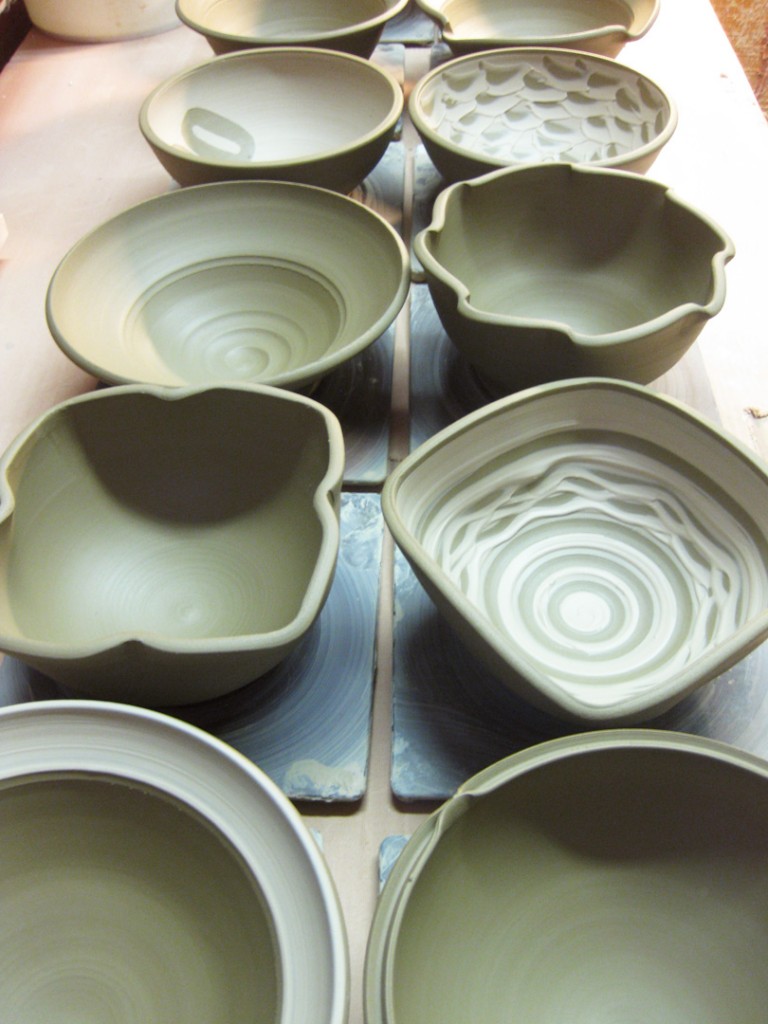
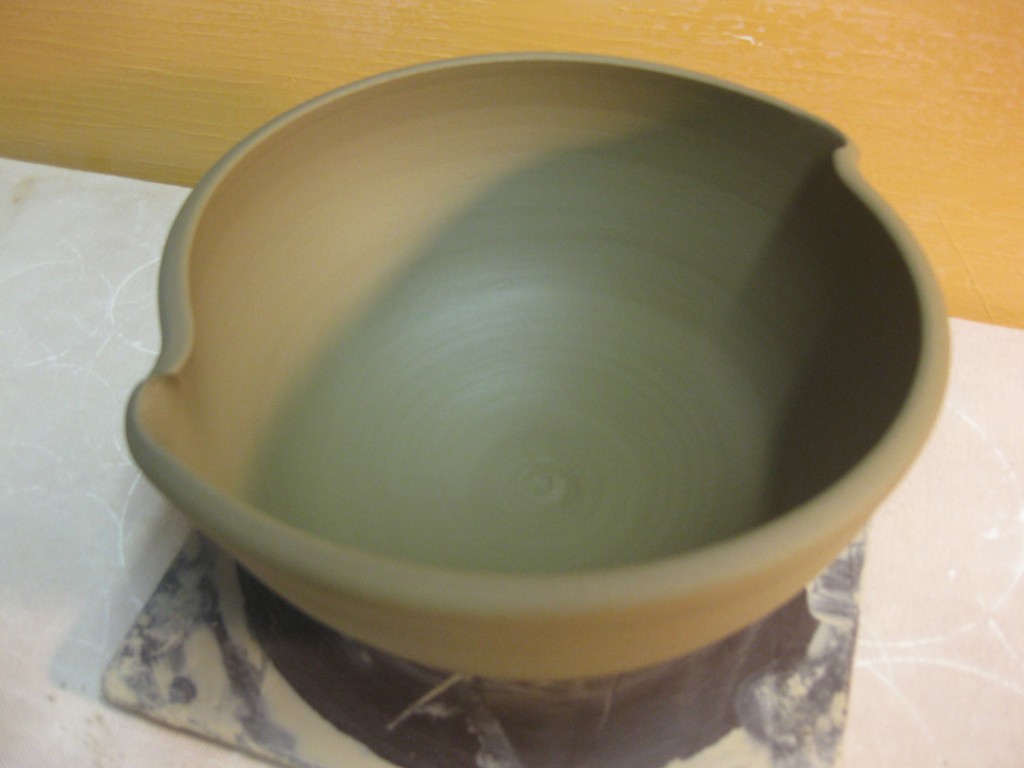
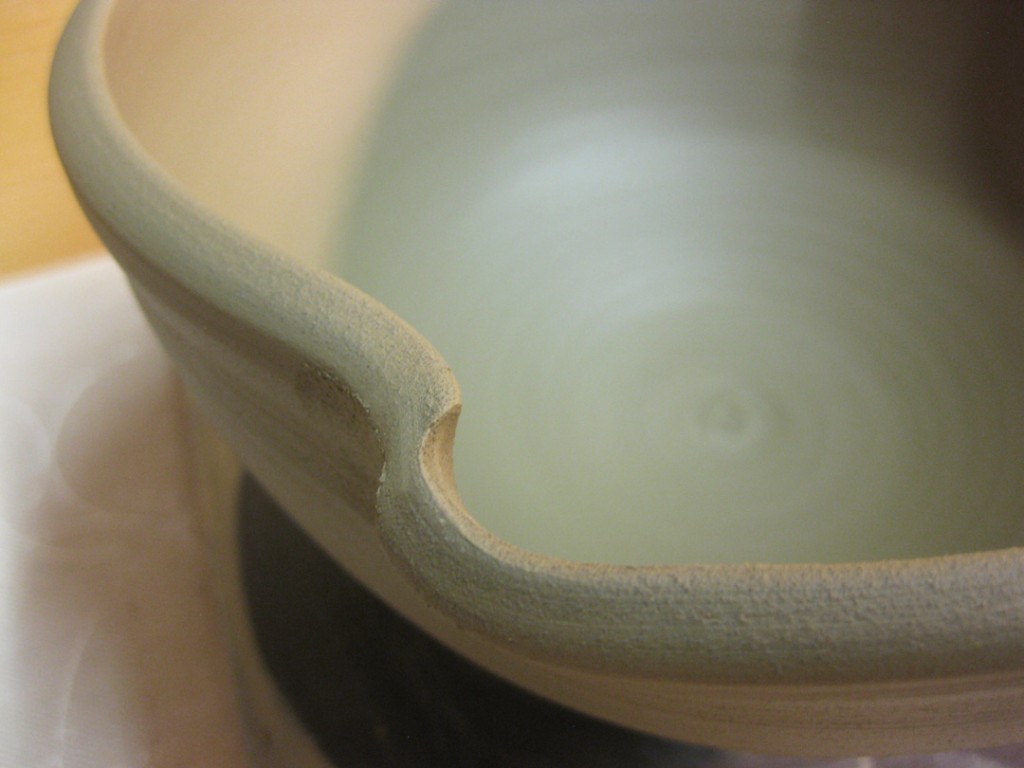
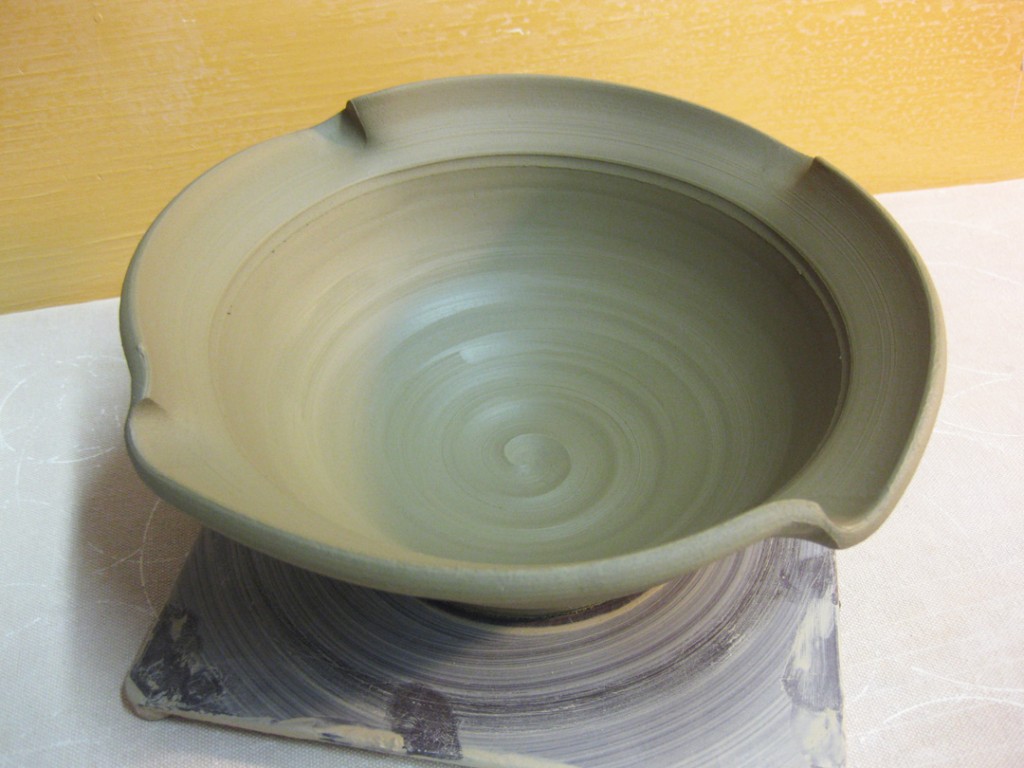
Bowl #1 – Two simple fluted edges.
A quick flick of the fingers can change the whole profile of a simple round bowl.
Two fingers side-by-side. one inside, one outside. Pinch. Twist. Repeat.
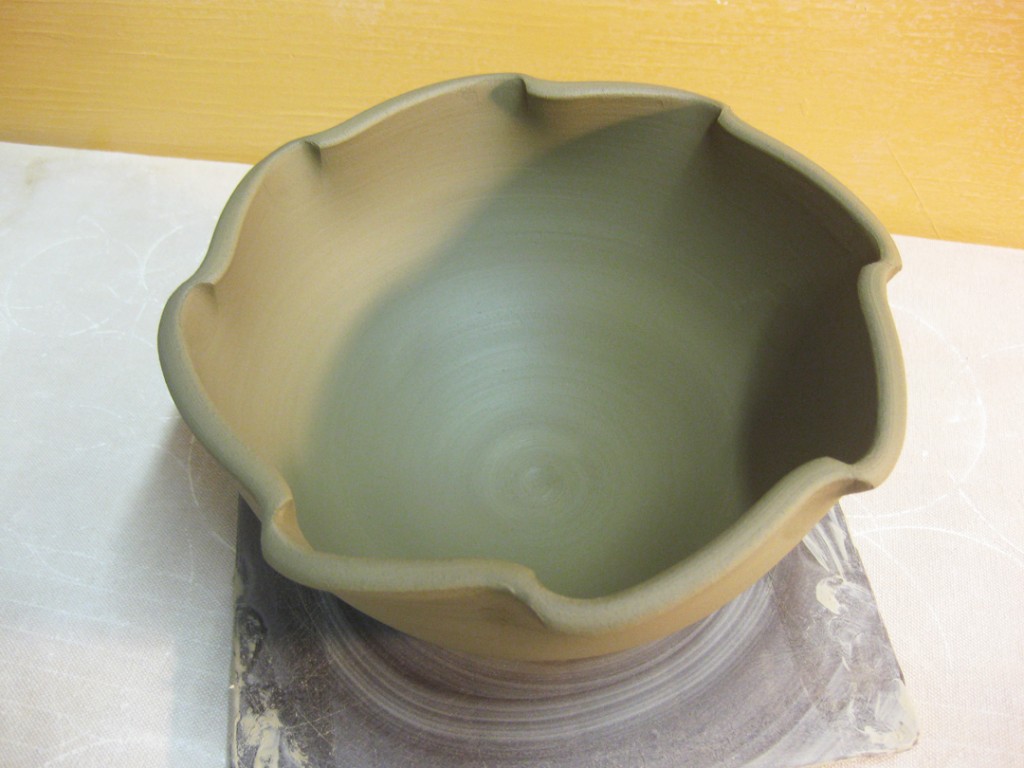
Bowl #2 – If two are good, eight fluted edges might be even better?!
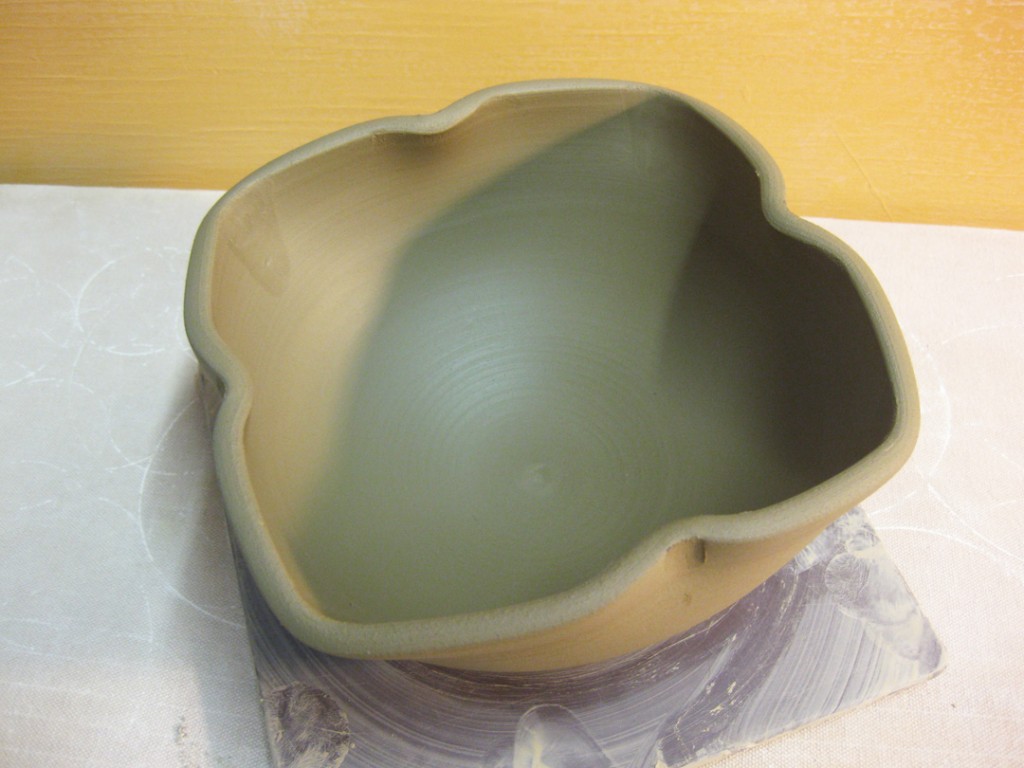
Bowl #3 – No need to leave bowls round, right?!
So I showed my class quickly how to alter the shape a bit. A little pull here, a little tug there, and suddenly the bowl is slightly squared-off. And then I indented the four “straight” sides. I’m kinda thinking that there may be a handle added to this one at some point?!
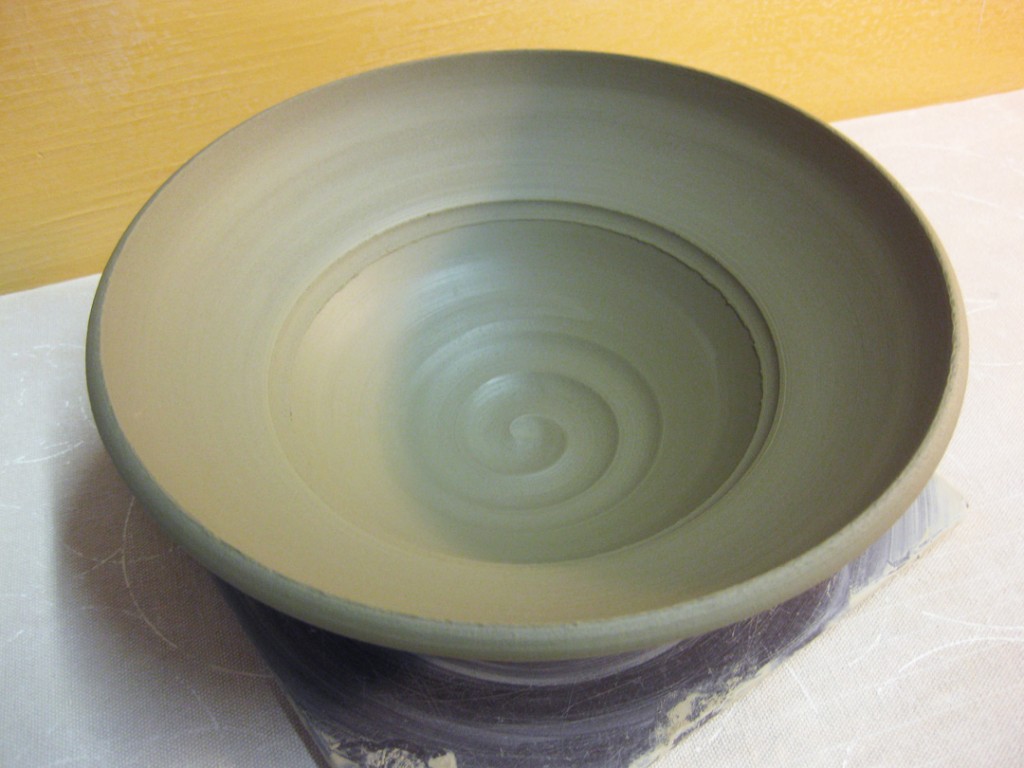
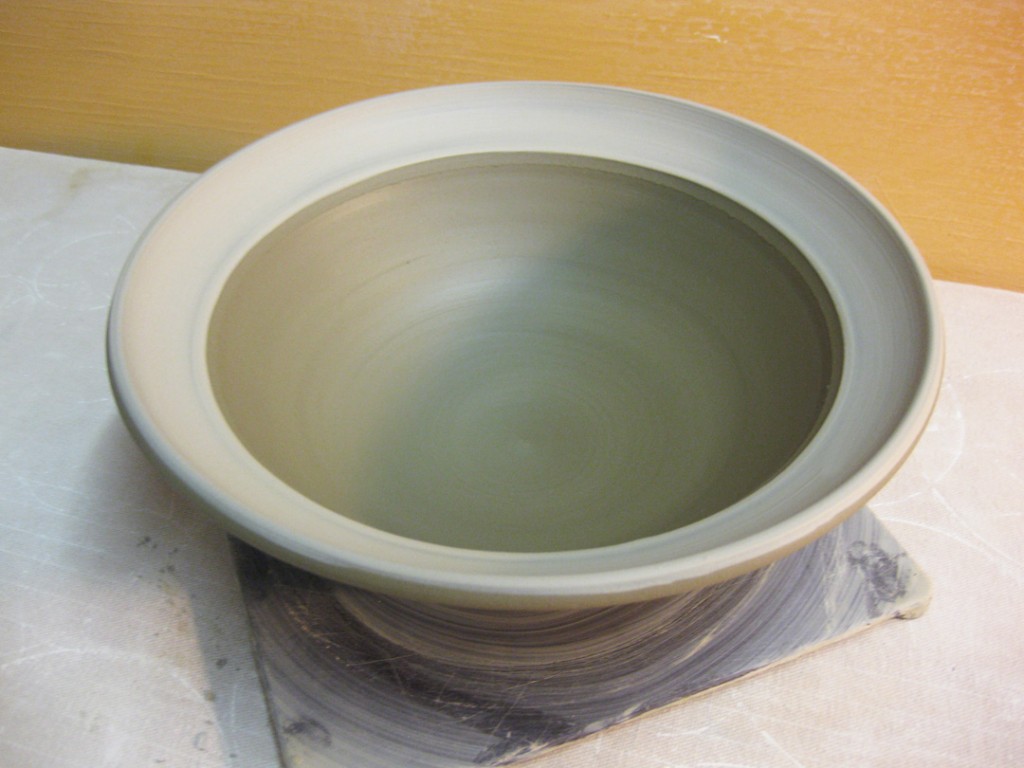
Bowl #4 – A simple flange flared out along the top rim.
Unfortunately, somehow I missed taking a “Before” picture of this plain bowl. But I’m sure it comes as no surprise that “any” plain bowl needs to be decorated. Last night I threw the bowl, and tonight I added a stamped line around the bowl where the flange meets the bowl interior. So here’s the “After” picture…
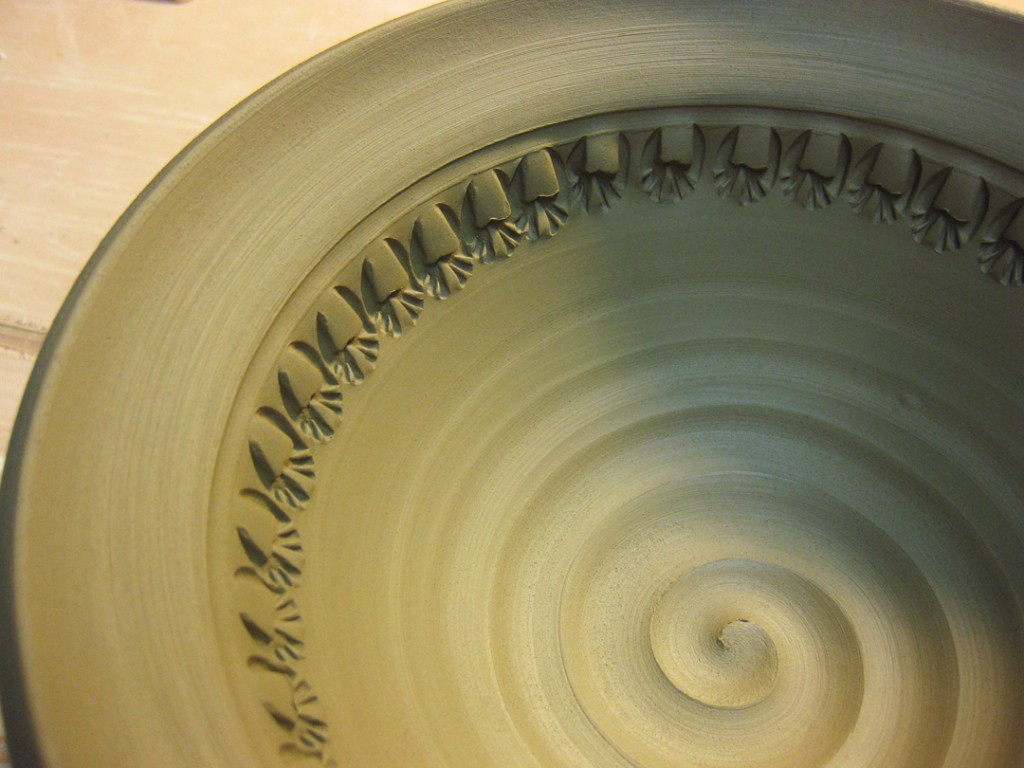
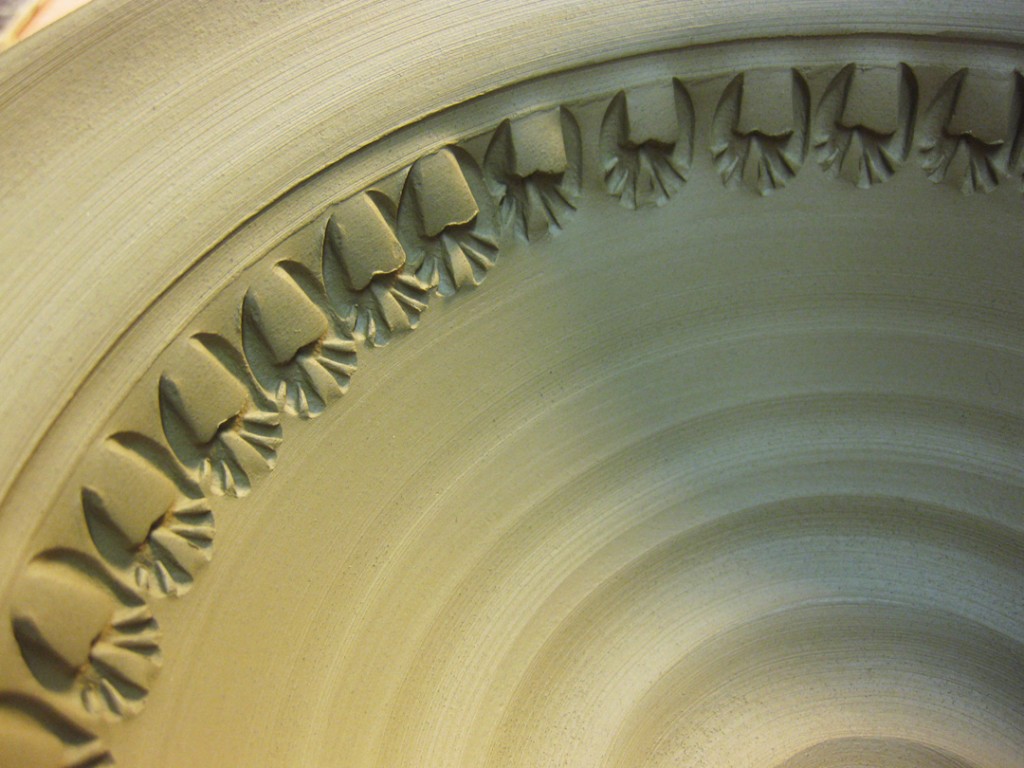
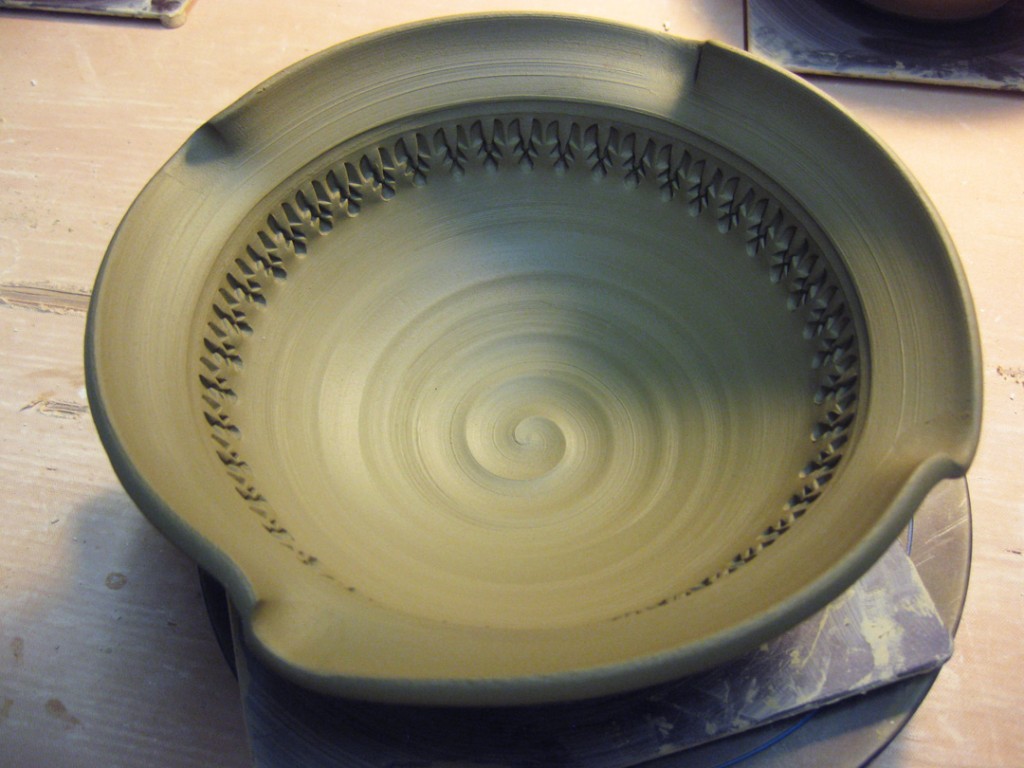
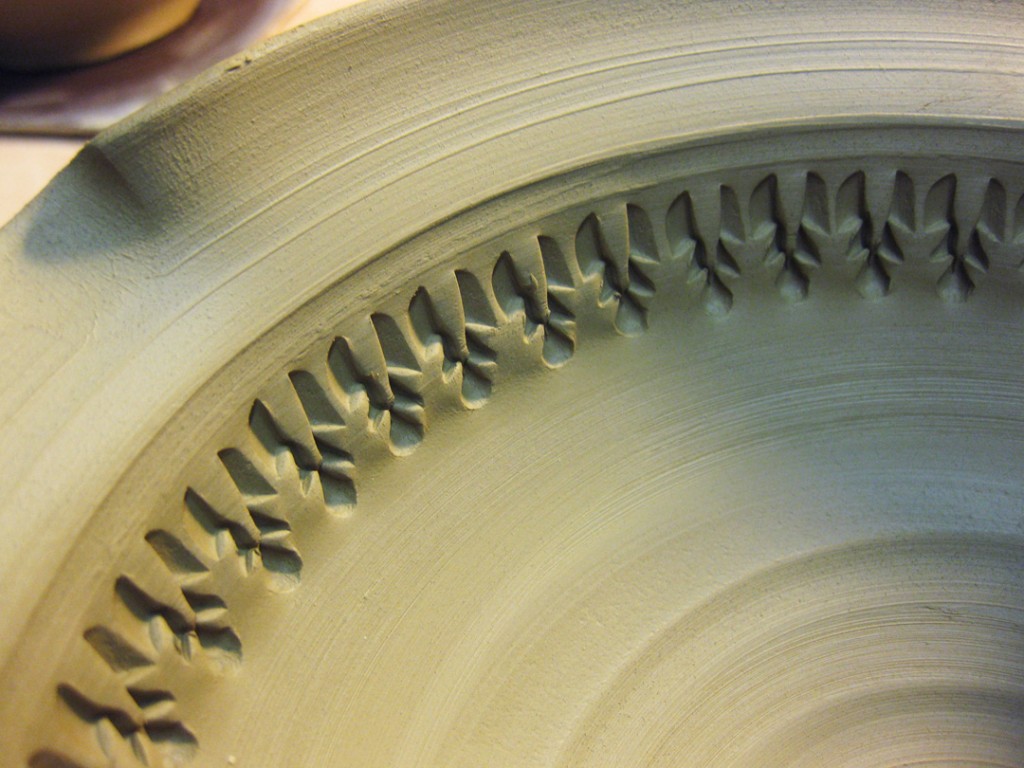
Bowl #5 – The same simple flange, but now fluted in four places!
Combine a simple flared flange with four fluted edges. Which then presents itself with a great line waiting to be stamped. So last night I threw the bowl, and tonight I did some stamping.
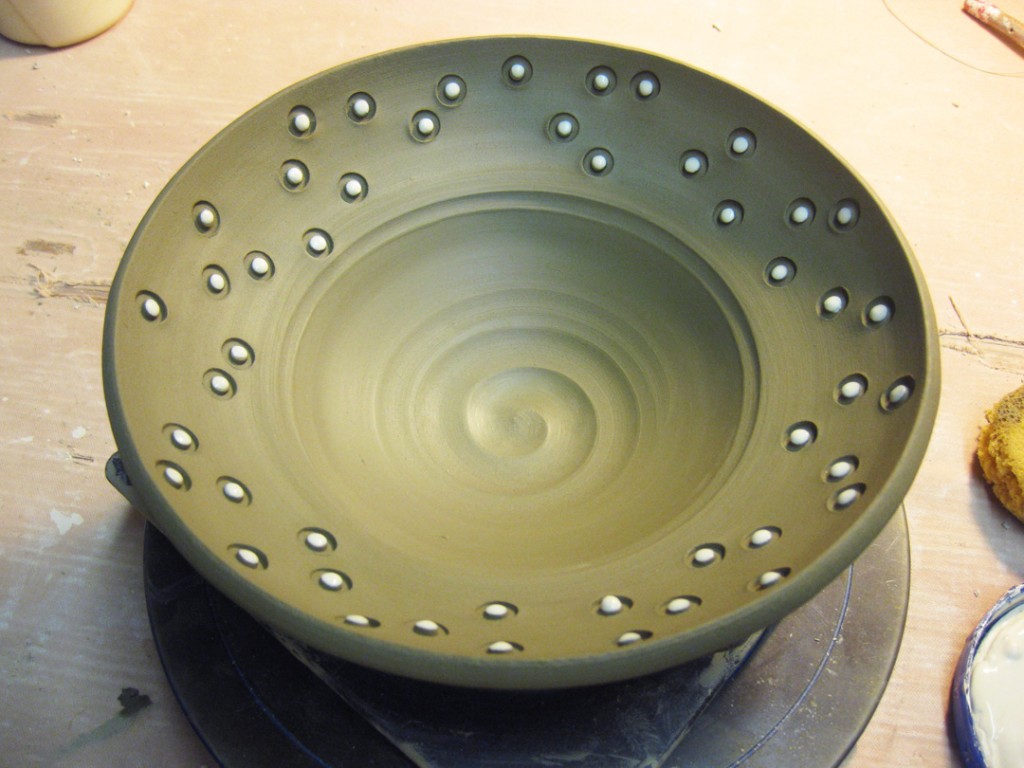
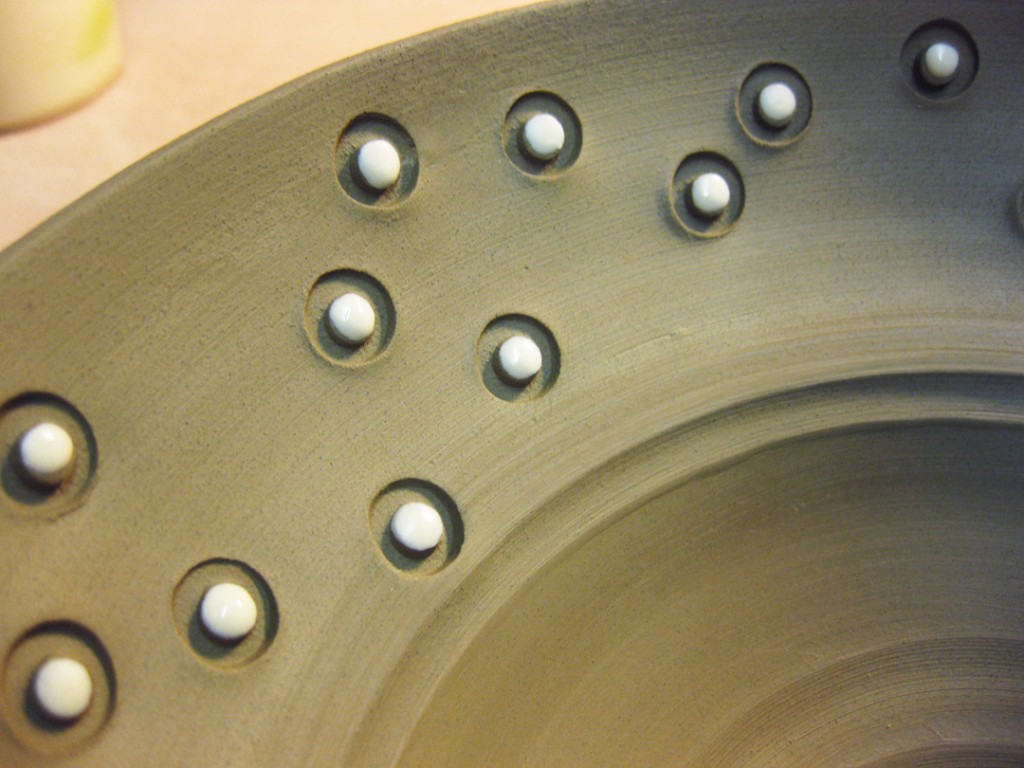
Bowl #6 – Another simple flange, this time further down & wider! More room to play later…
Again, last night I threw the bowl, then tonight I did a little stamping & white slip decorating for contrasting accents. This time, a little more whimsically stamped… not quite so geometrically repetitive.
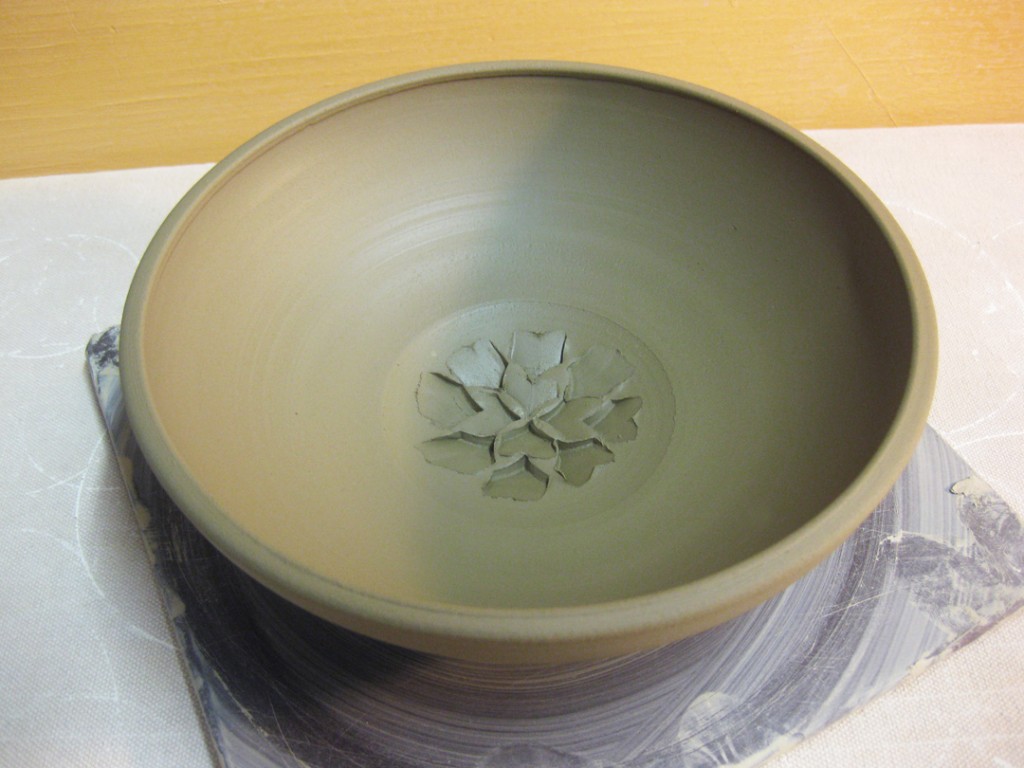
Bowl #7 – A quick flower made with a simple dragon-scale tool. Twelve impressions. One flower.
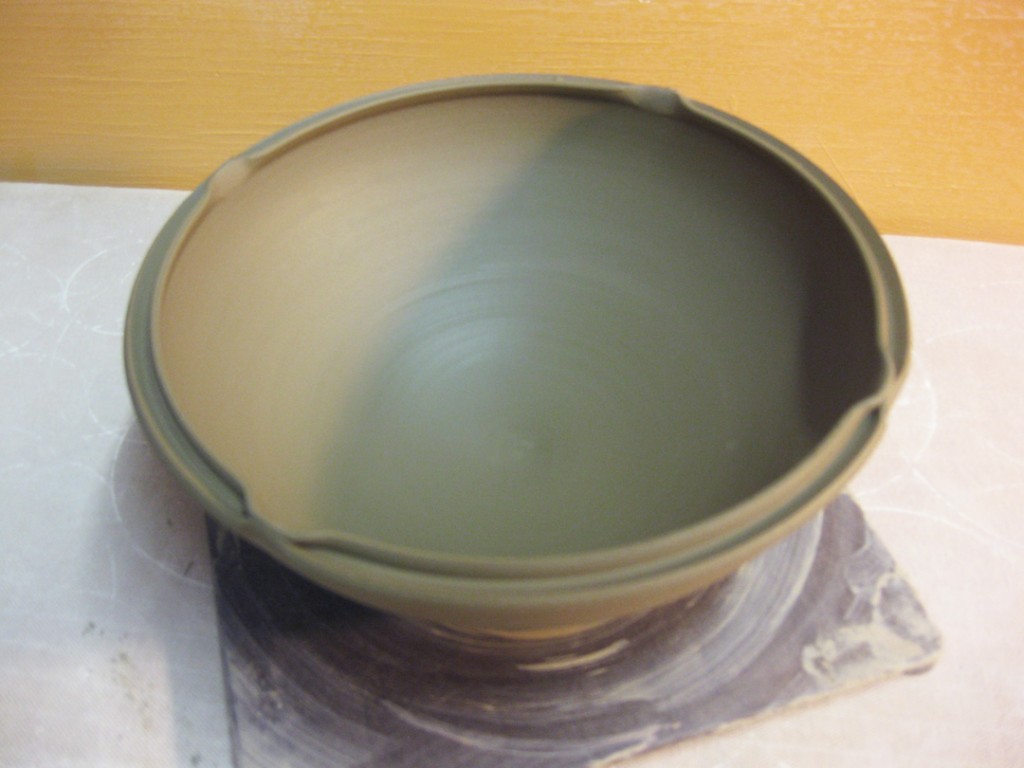
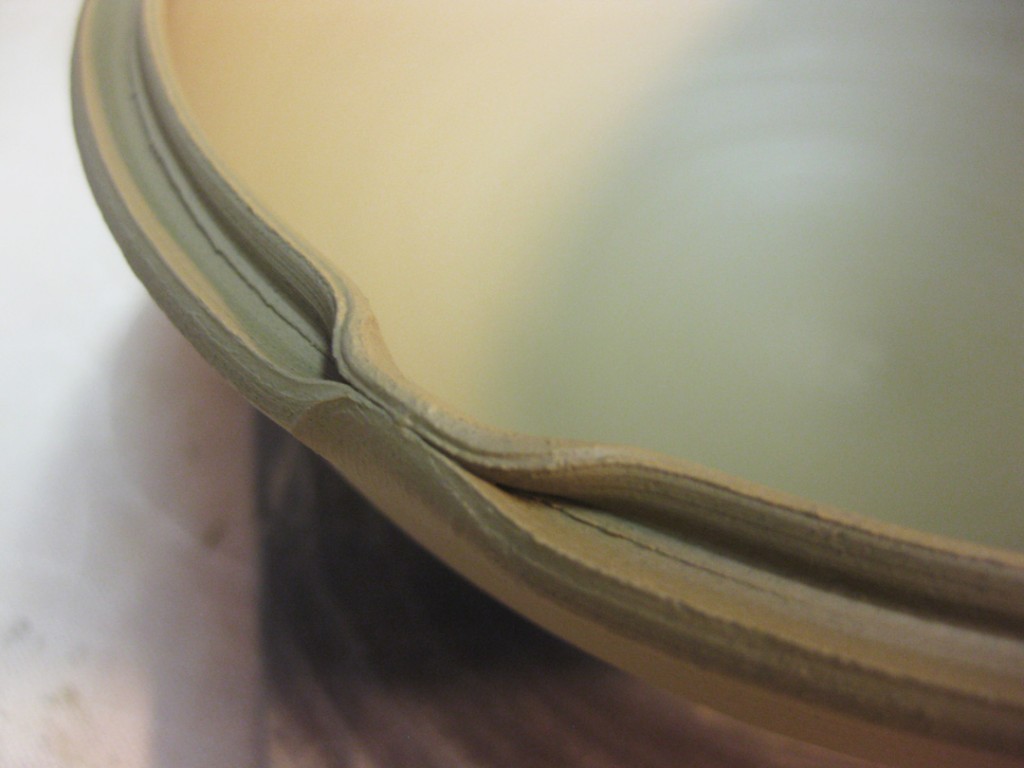
Bowl #8 – A split rim, pinched back together in four places.
Bowl #9 – A simple flange with a quick layer of white slip. I think once this bowl dries & stiffens up a bit, I might do some carving through the white slip to reveal a design and contrast between the slip and then ochre clay body.
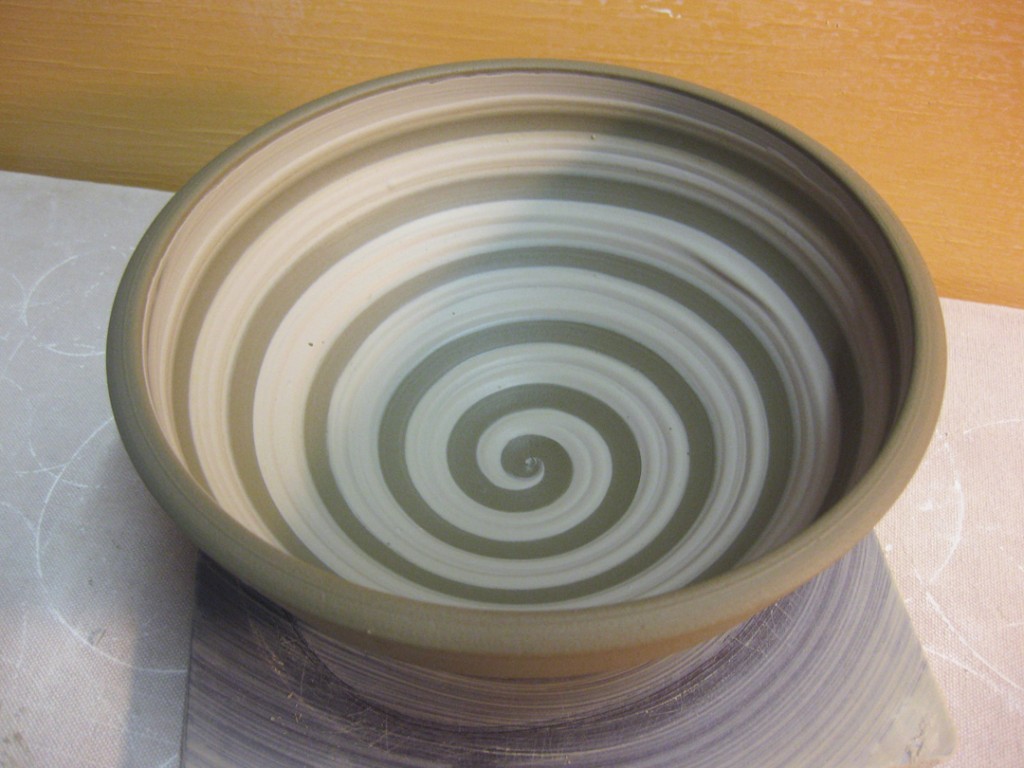
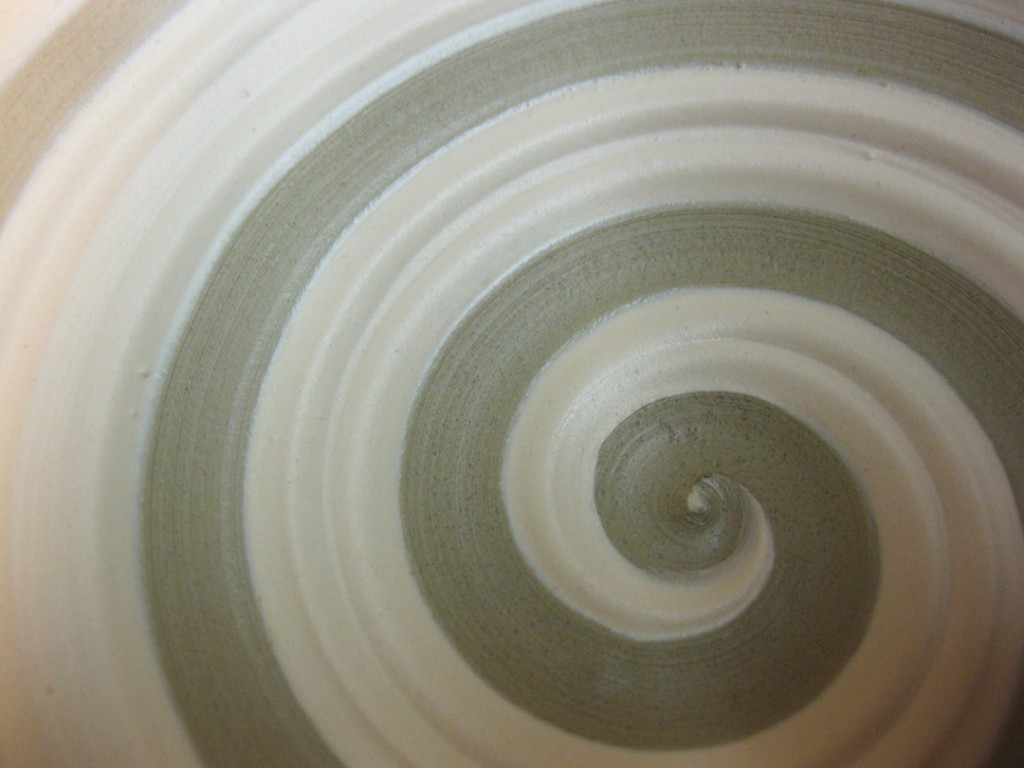
Bowl #10 – Simple bowl. Simple slip. Simple spiral. Cover the bowl with a simple layer of white slip, then drag the rounded end of a tool through the slip and upwards as the wheel is spinning. The goal is to reveal the contrast between the slip and the ochre clay body. It’s also a nice bonus that there’s some thickness to the remaining slip to add some texture & pooling-possibilities for the glaze.
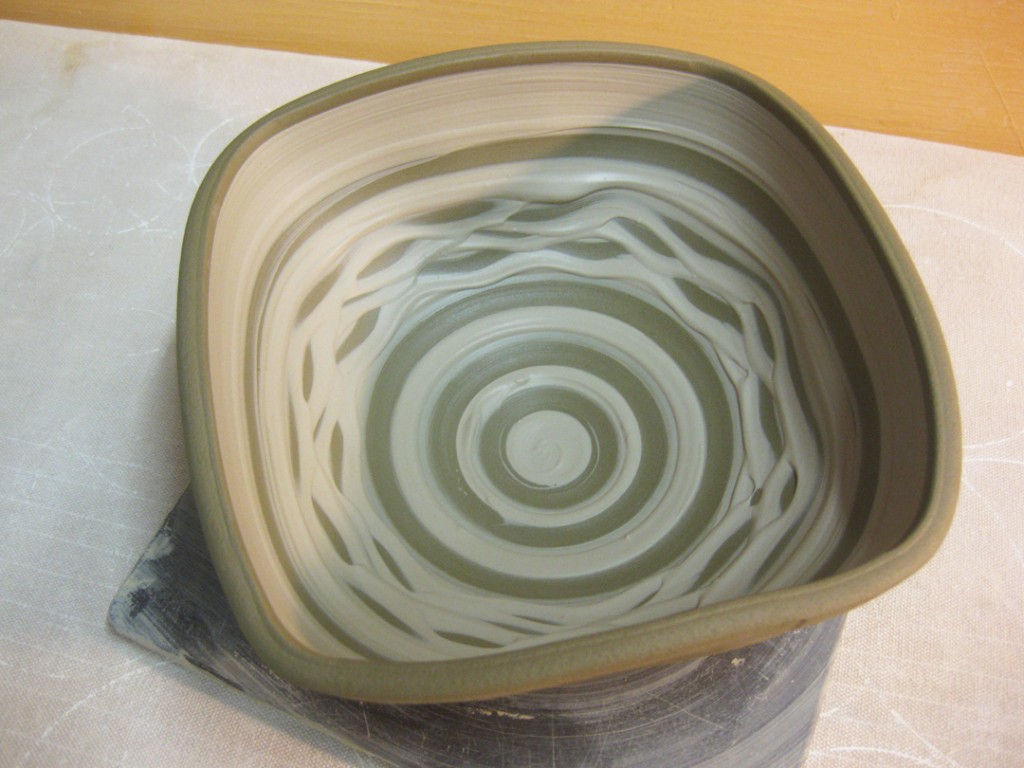
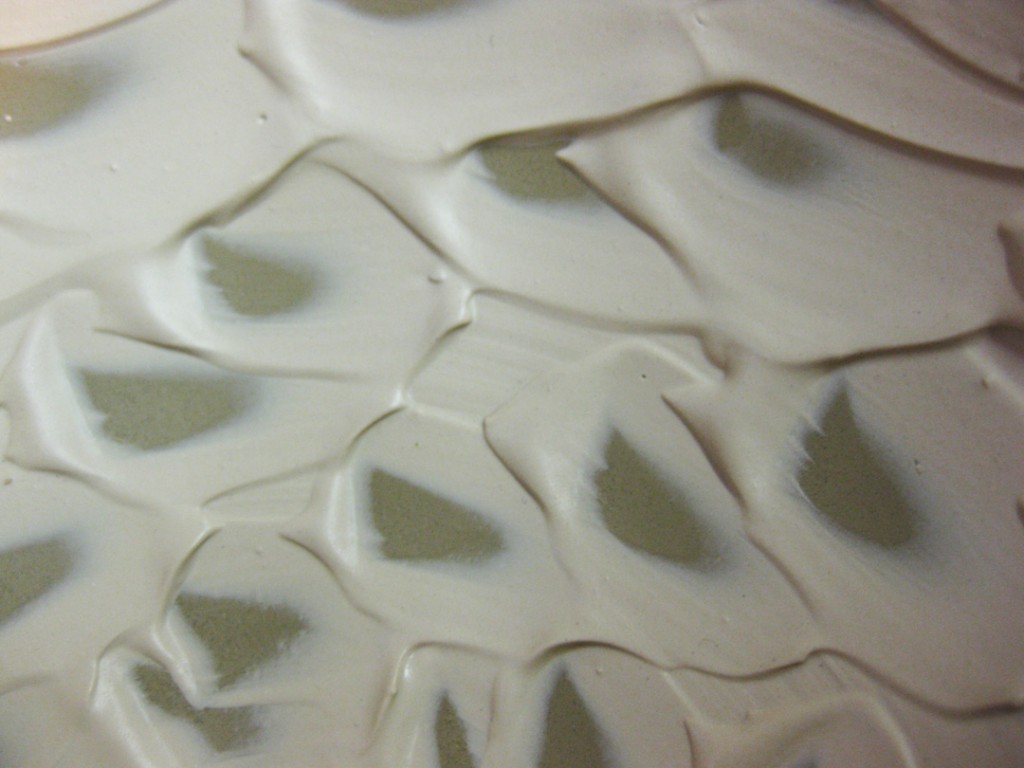
Bowl #11 – If a spiral is good, a squiggle might be better?!
And then, as I was carrying all of my demo bowls upstairs, this one bowl bumped into one of the racks in the hallway – denting in one side. It would never be “perfectly” round again, so I did a little creative camouflage… and squared it up!
Bowl #12 – White slip with some rhythmic chattering. I cover the entire inside of the bowl with some white slip, and then take my green rounded rib and tap it through the slip as the bowl is spinning. While it spins, and you’re tapping, you also need to move up the bowl all at the same time! The final result is a combination of all three movements & speed of each.
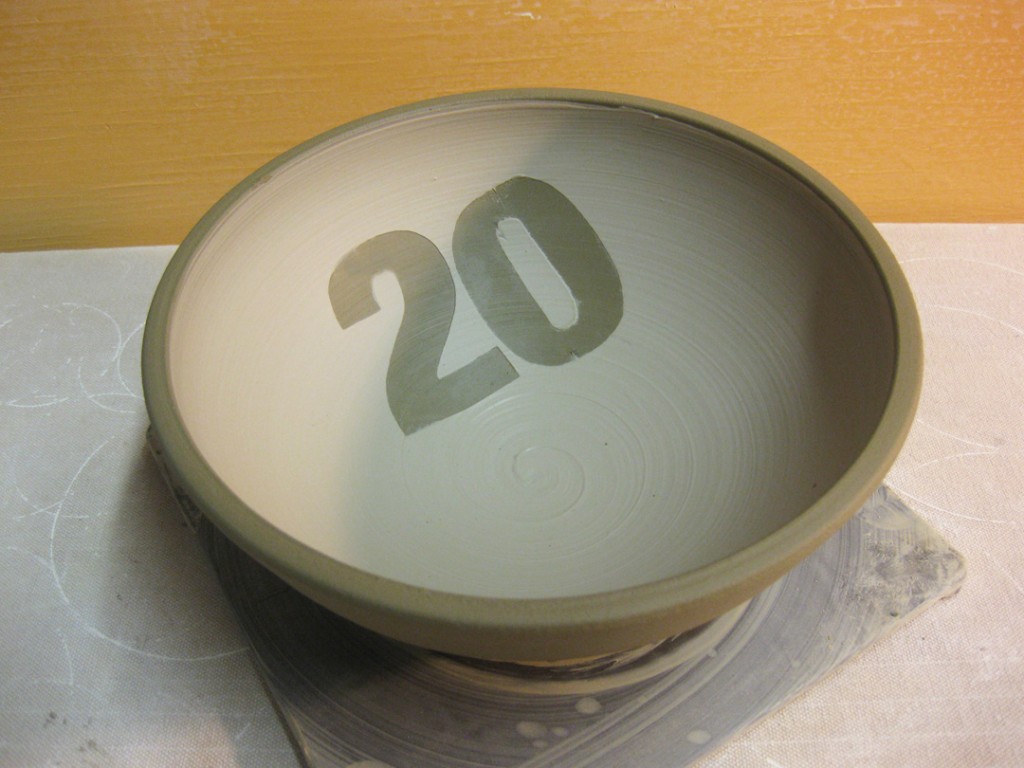
Bowl #13 – White slip over some newspaper cut-out stencils. I just cut the numbers out of a newspaper, wet the paper and stick them onto the inside of the bowl. Then carefully paint white slip over the letters to make sure they are stuck down well. Then it’s a quick coverage over the whole bowl. The tough part is peeling out the newspaper stencils after the slip sets up a bit.
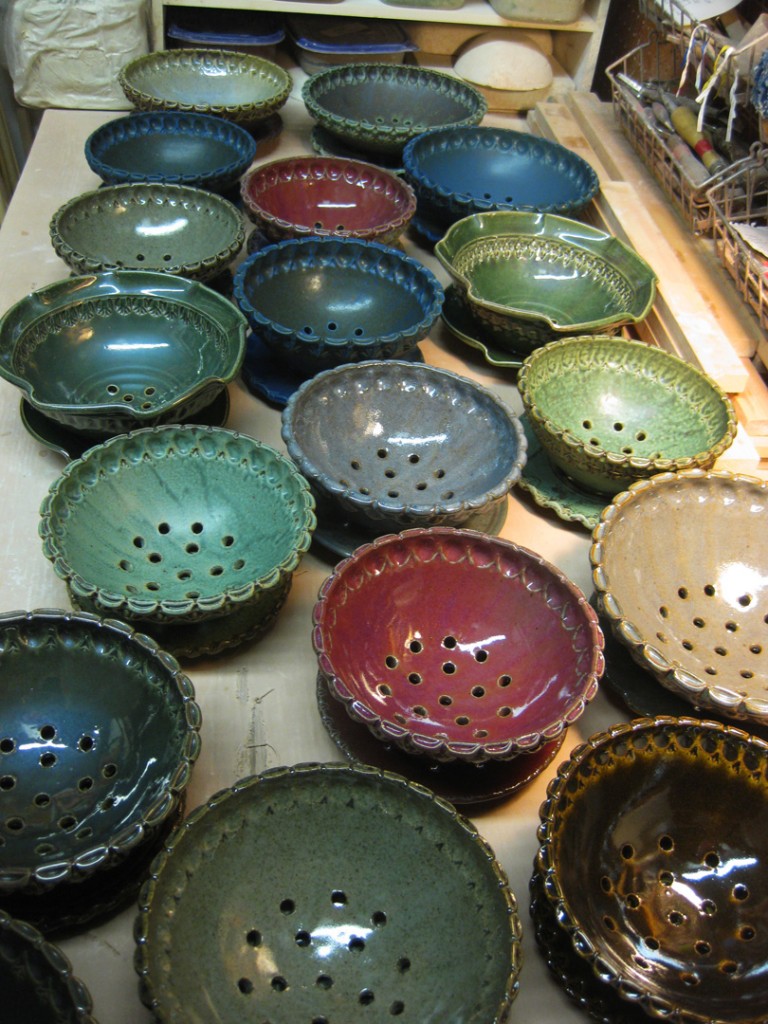
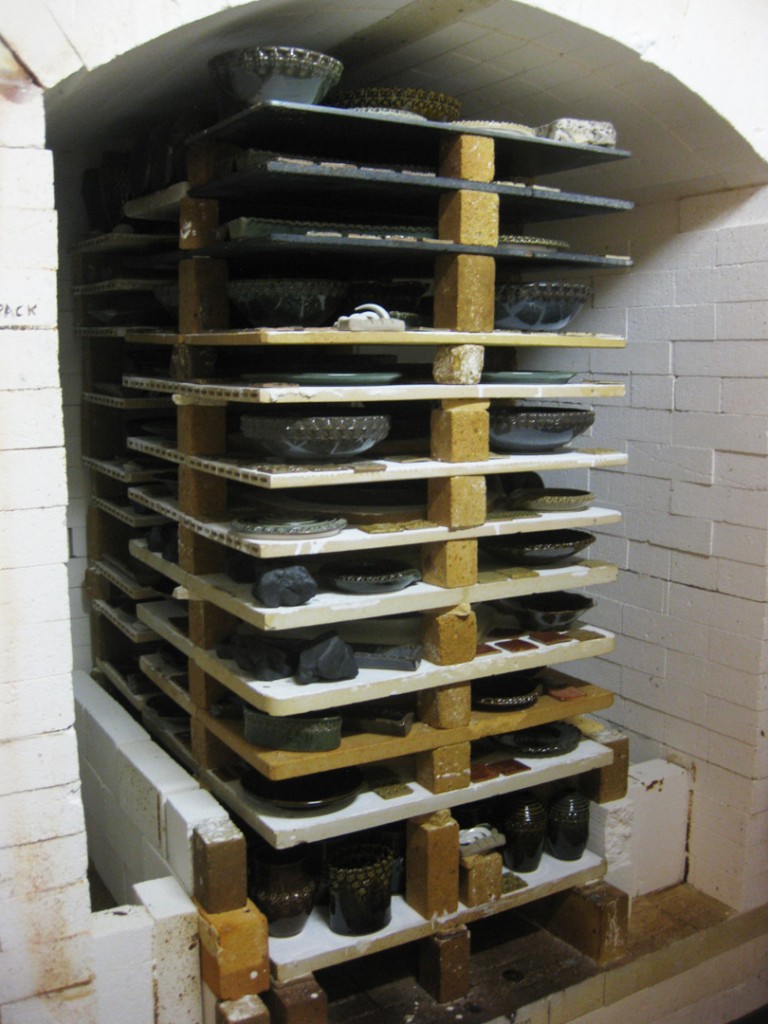
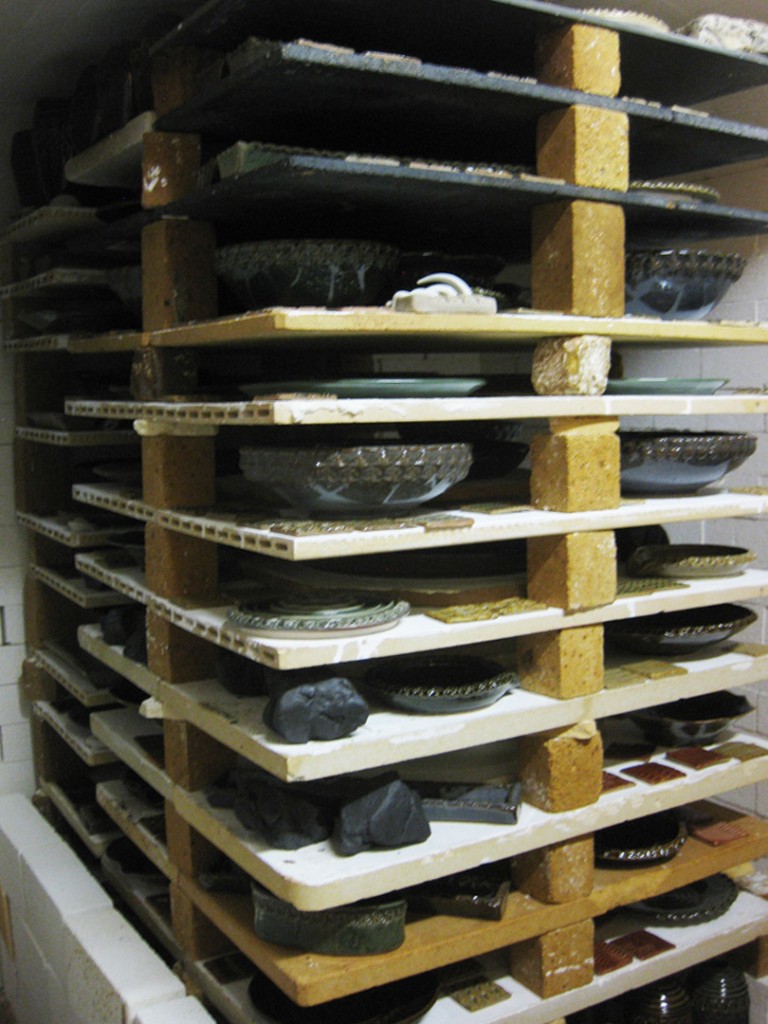
So there they are… all thirteen bowls. All made from one bag of stoneware with ochre clay. I chose the ochre clay as it fires to a beautiful chocolate brown in cone 10 reduction… which also makes for a really beautiful contrast to the white slip.
Hopefully, my students enjoyed the demo. Not only to I hope they learned how to make bowls “on purpose”… but also to get over the beginner’s feeling that each piece is SO precious. They need to play with their clay and be willing to make a few mistakes along the way. It’s just clay. It’s nothing too precious. And they need to build up some confidence and start making some bowls that express themselves. Not just the basic round bowl that the wheel kinda made for them!
