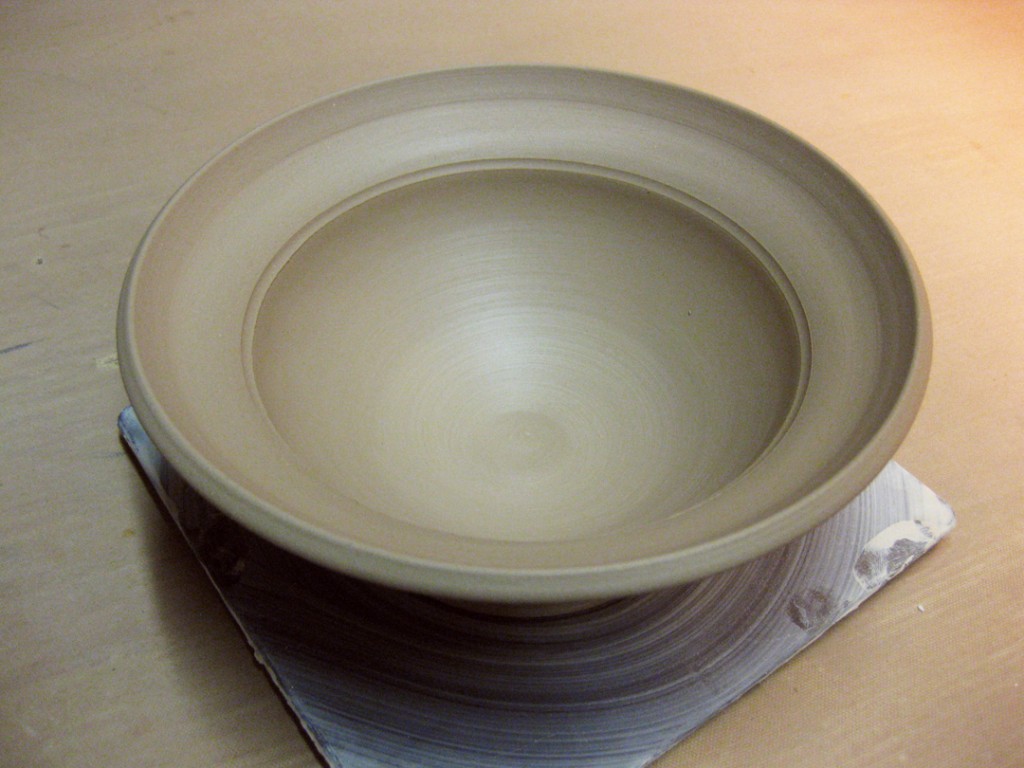
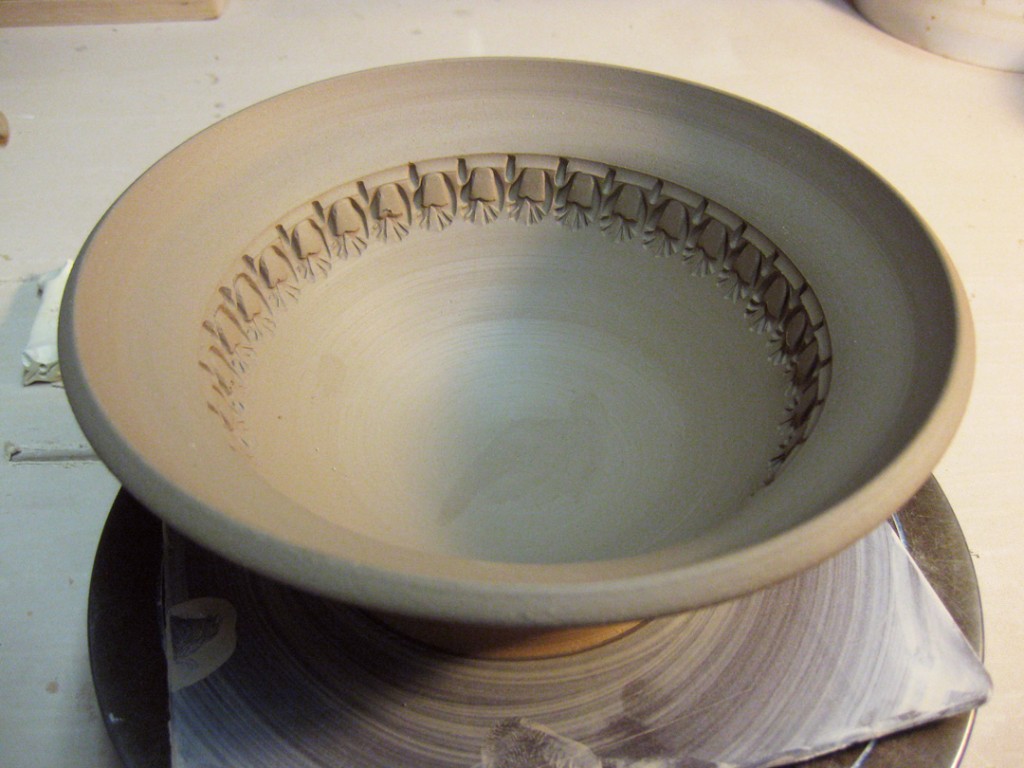
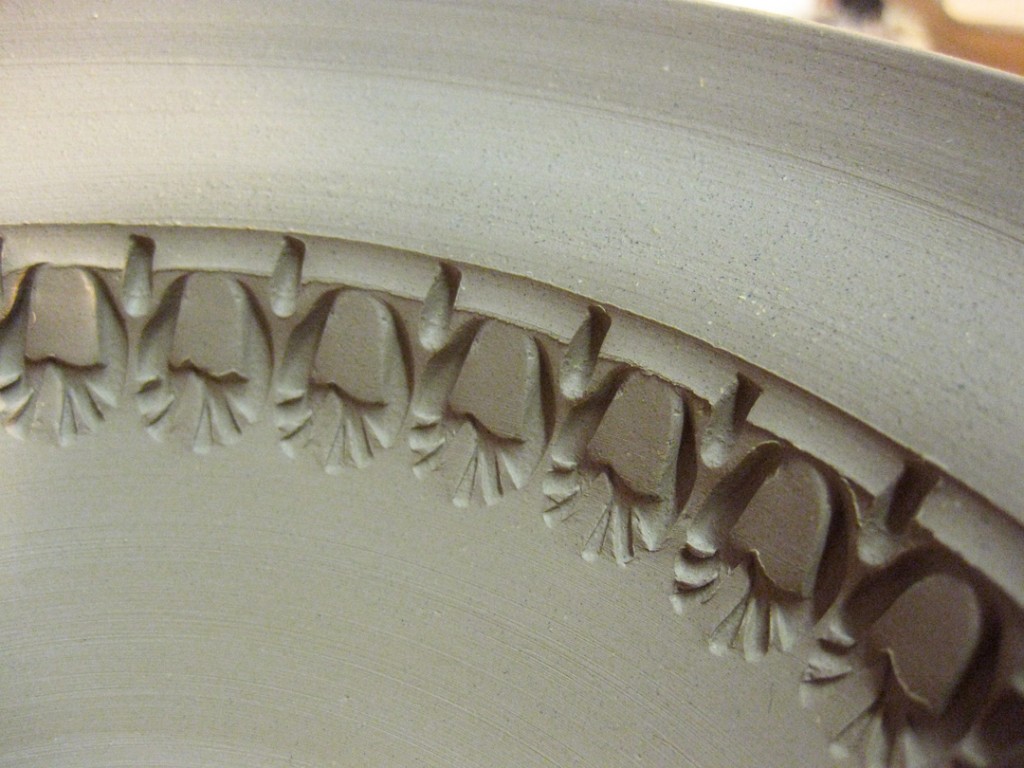
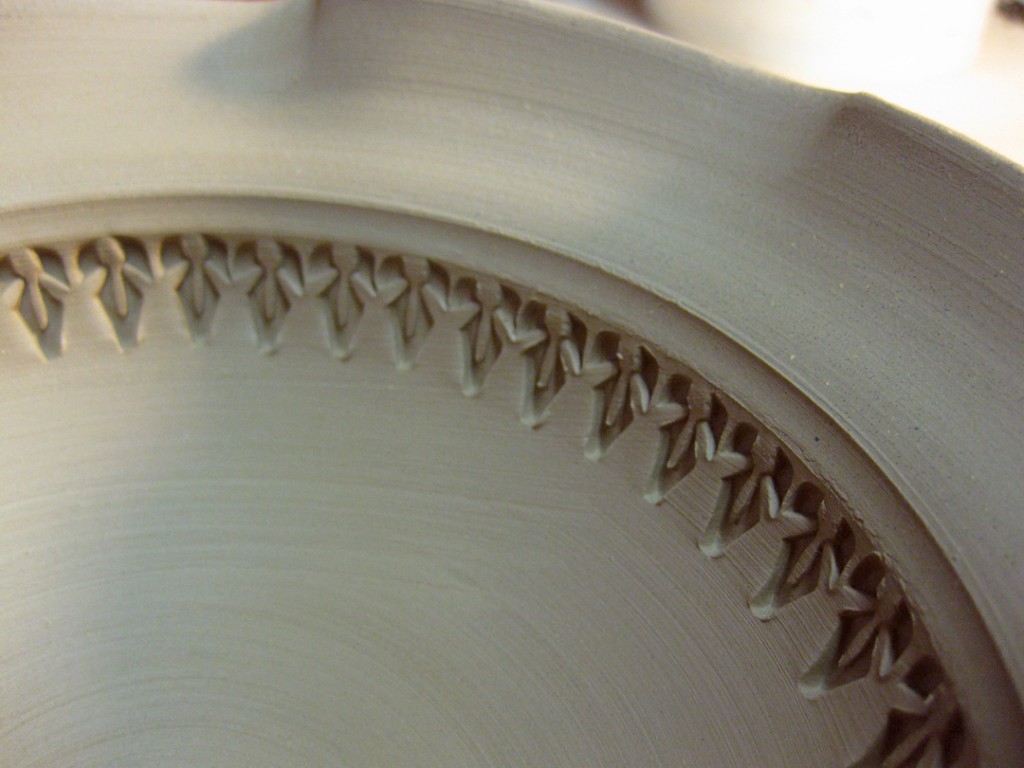
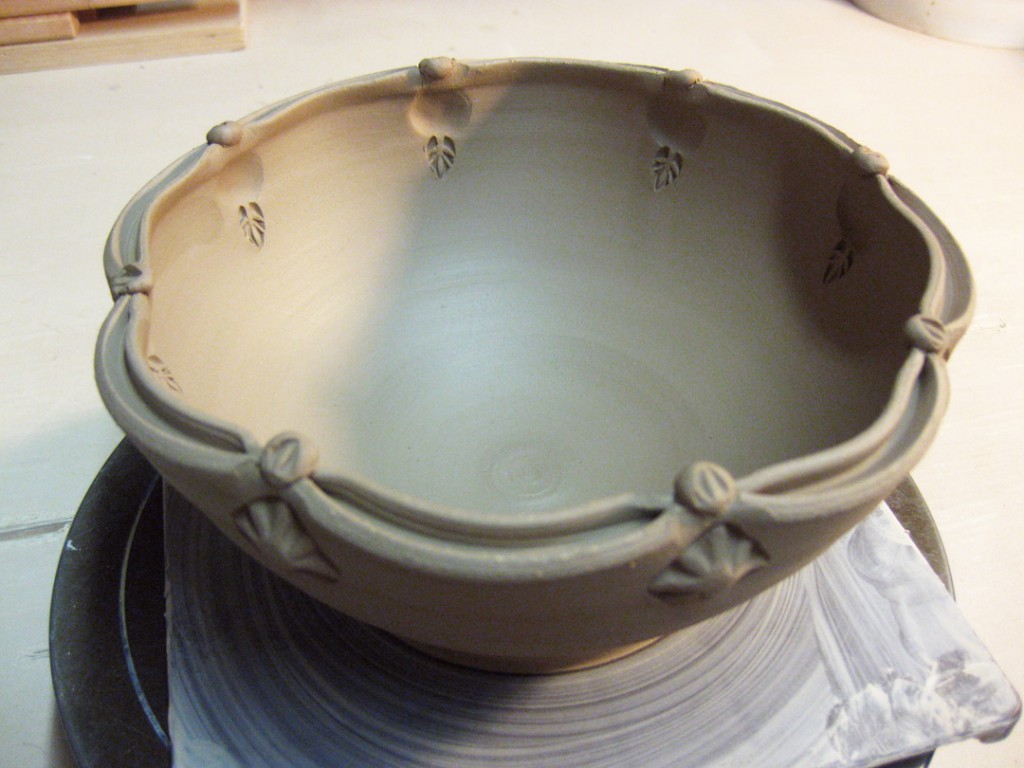
After Tuesday night’s bowl demo, I felt that some of the bowls needed a little “extra” lovin’. So last night I did some stamping & detailing to a few of the bowls. Unfortunately, my students aren’t around to see this part of the process. Hopefully this little “photo journey” will help clear up how the “magic” happens!
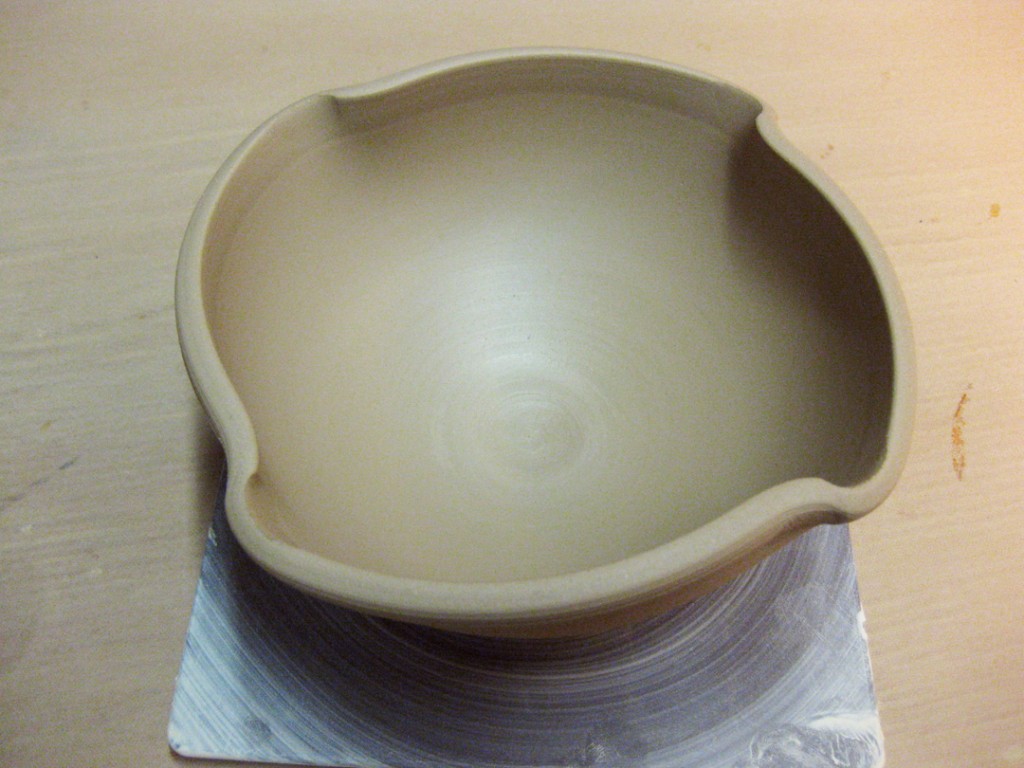
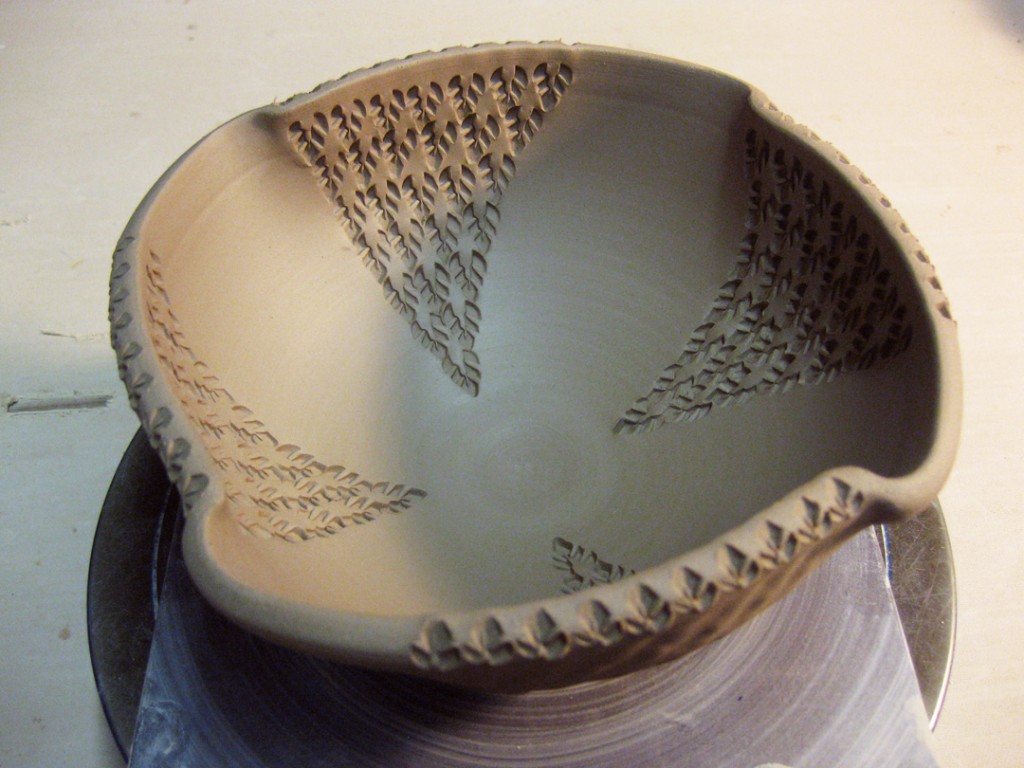
Bowl #1 – Originally fluted in four parts.
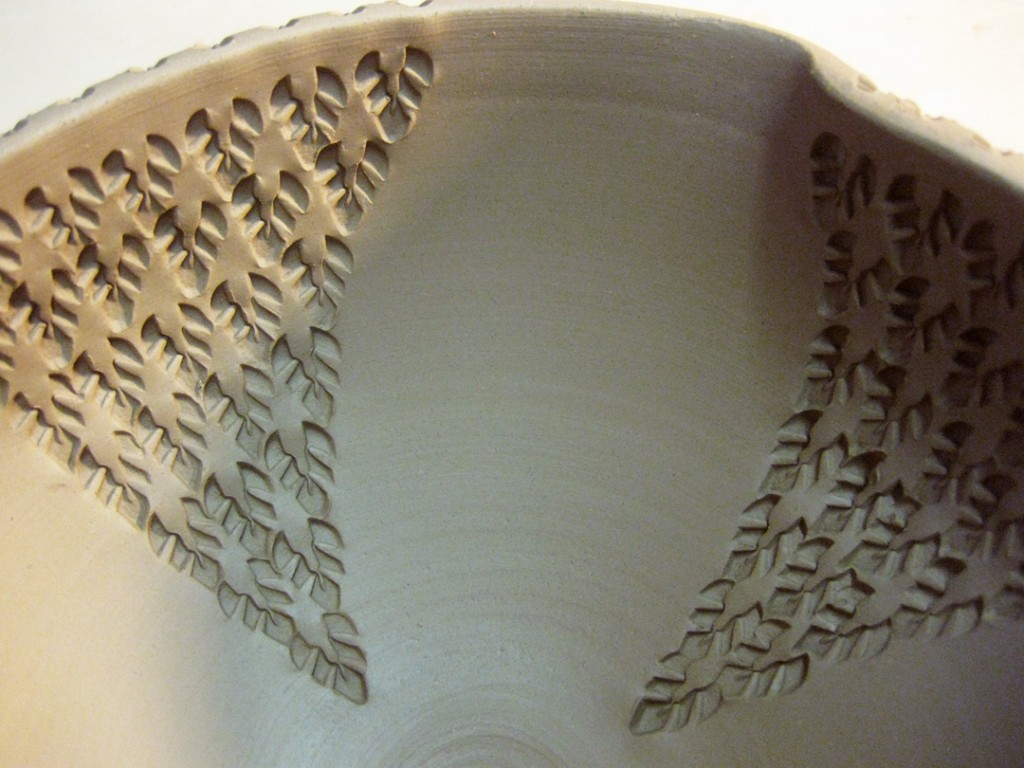
So I accentuated the four parts with some “sectional” stamping!
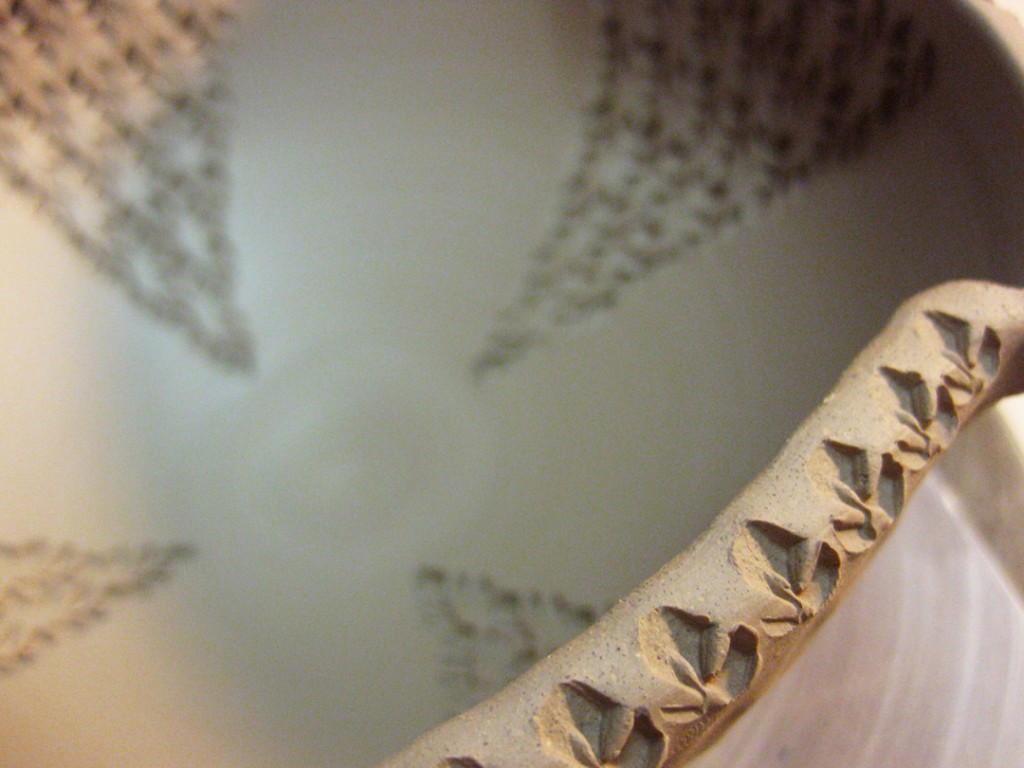
Playing along with the design & geometry of the bowl, now accented with stamps!
Bowl #2 – Originally a plain bowl with a bent-out, flanged rim.
Now with a little accent border of stamped texture!
Bowl #3 – Originally a flared out rim & fluted edges.
Now with a border of stamping just below the fluted fun.
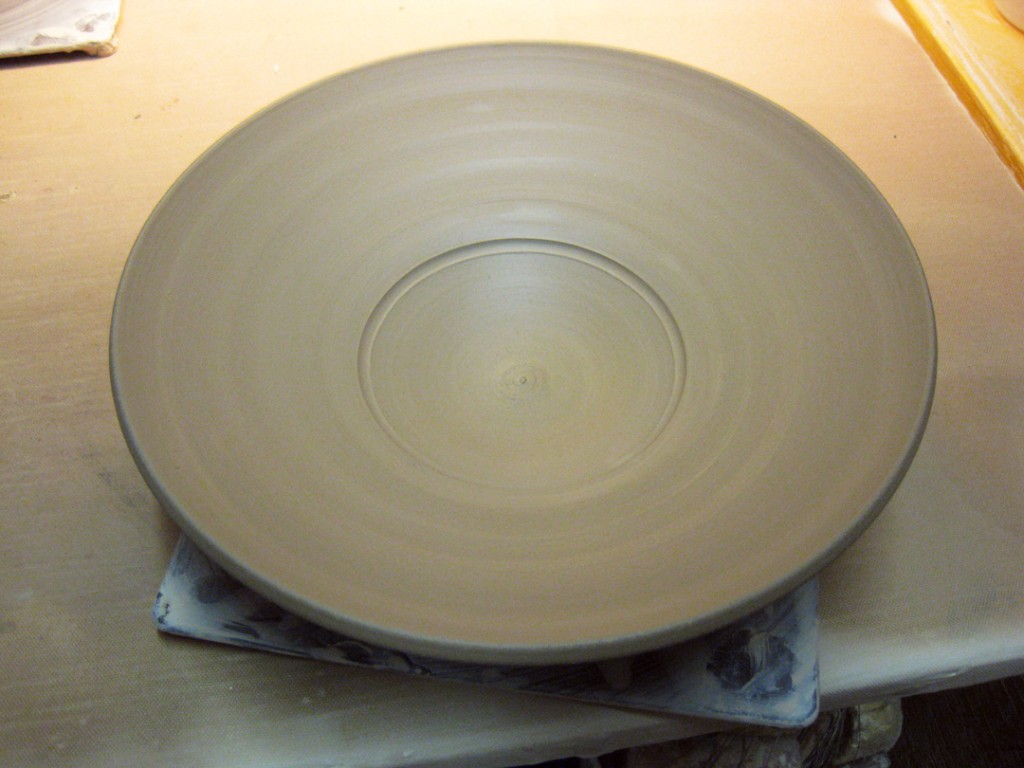
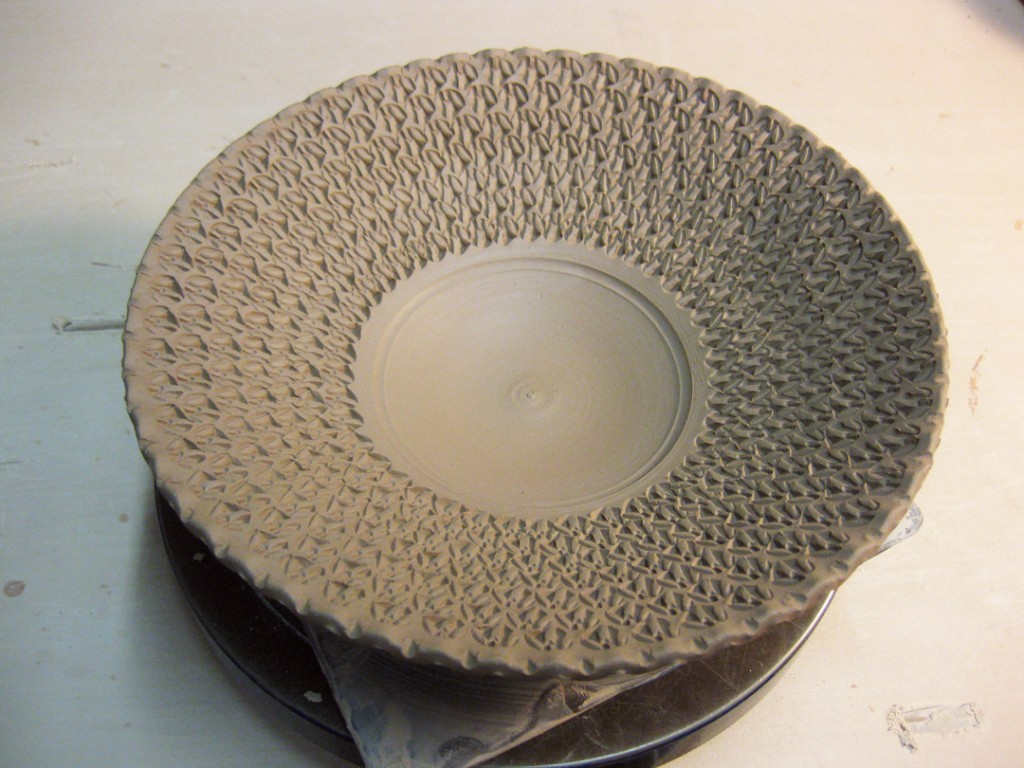
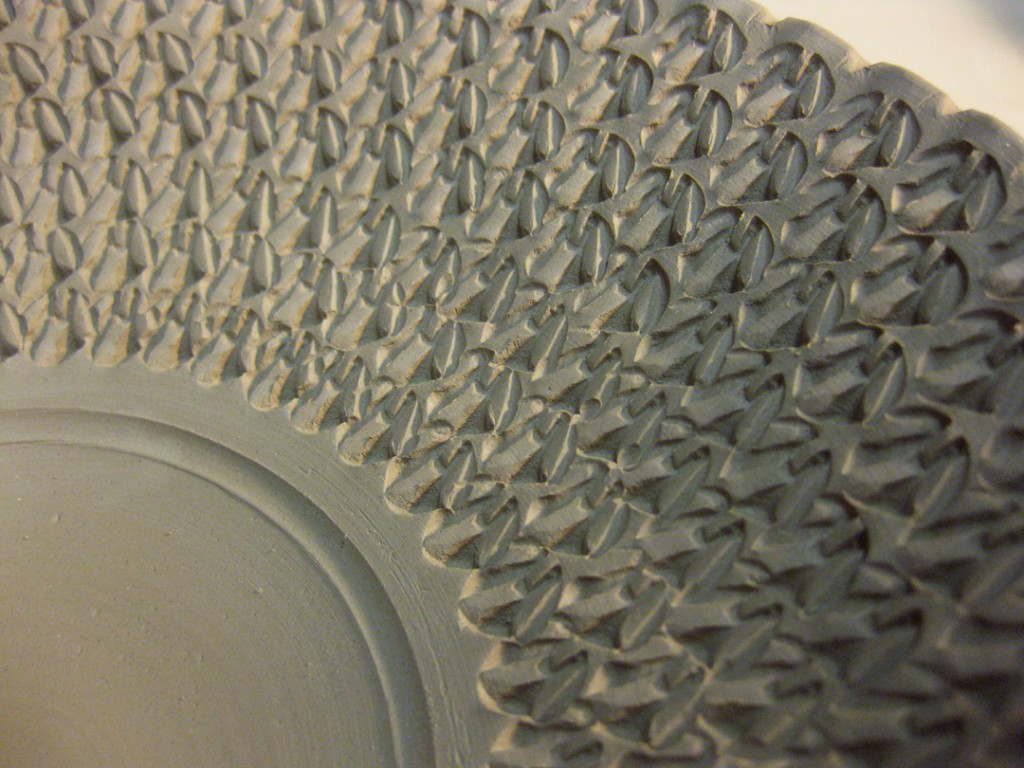
Bowl #4 – Originally a large plain flange on a small bowl.
Which is really just a great “canvas” to do some stamping, right?
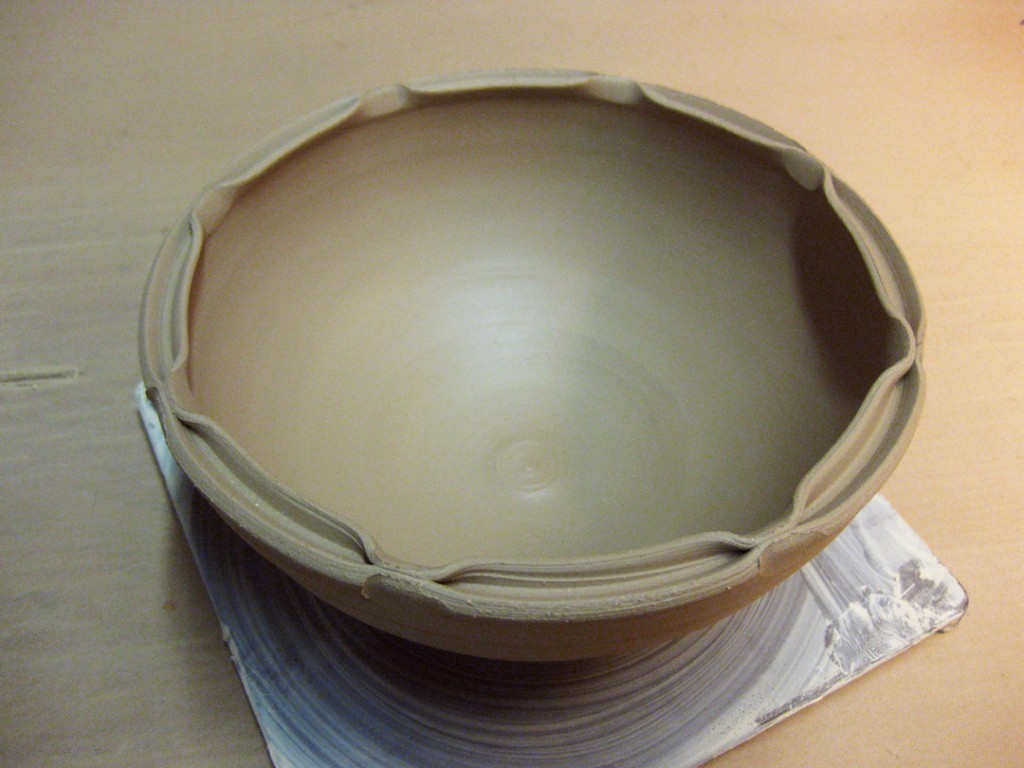
Bowl #5 – This one was originally just a bowl with a split rim.
Now it’s stamped and pinched back together in all the right places!
Bowl #6 – In class we left this one with the split rim and pinched together in 8 places.
I added a couple stamps, some little add-ons and a bit of curving.
