For my class last night, it was Bowls Night. Where my beginning students learn how
to make a bowl on purpose instead of a cylinder gone bad! Yes, we’ve all been there.
Thinking that cylinder flopped a bit but you “saved it” and turned it into a bowl.
Well trust me… I can tell if it was made as a real bowl, or a flopped cylinder!
Real bowls have a nice rounded bottom inside… NOT a flat bottom with a corner,
and then swooping sides that you think makes a bowl. It doesn’t.
So last night I first showed my students how to throw a bowl on purpose.
And then while they went back to their wheels to make a bowl or two, I stayed at my
wheel and threw eleven more. I then called them all back for Making Bowls Part Two.
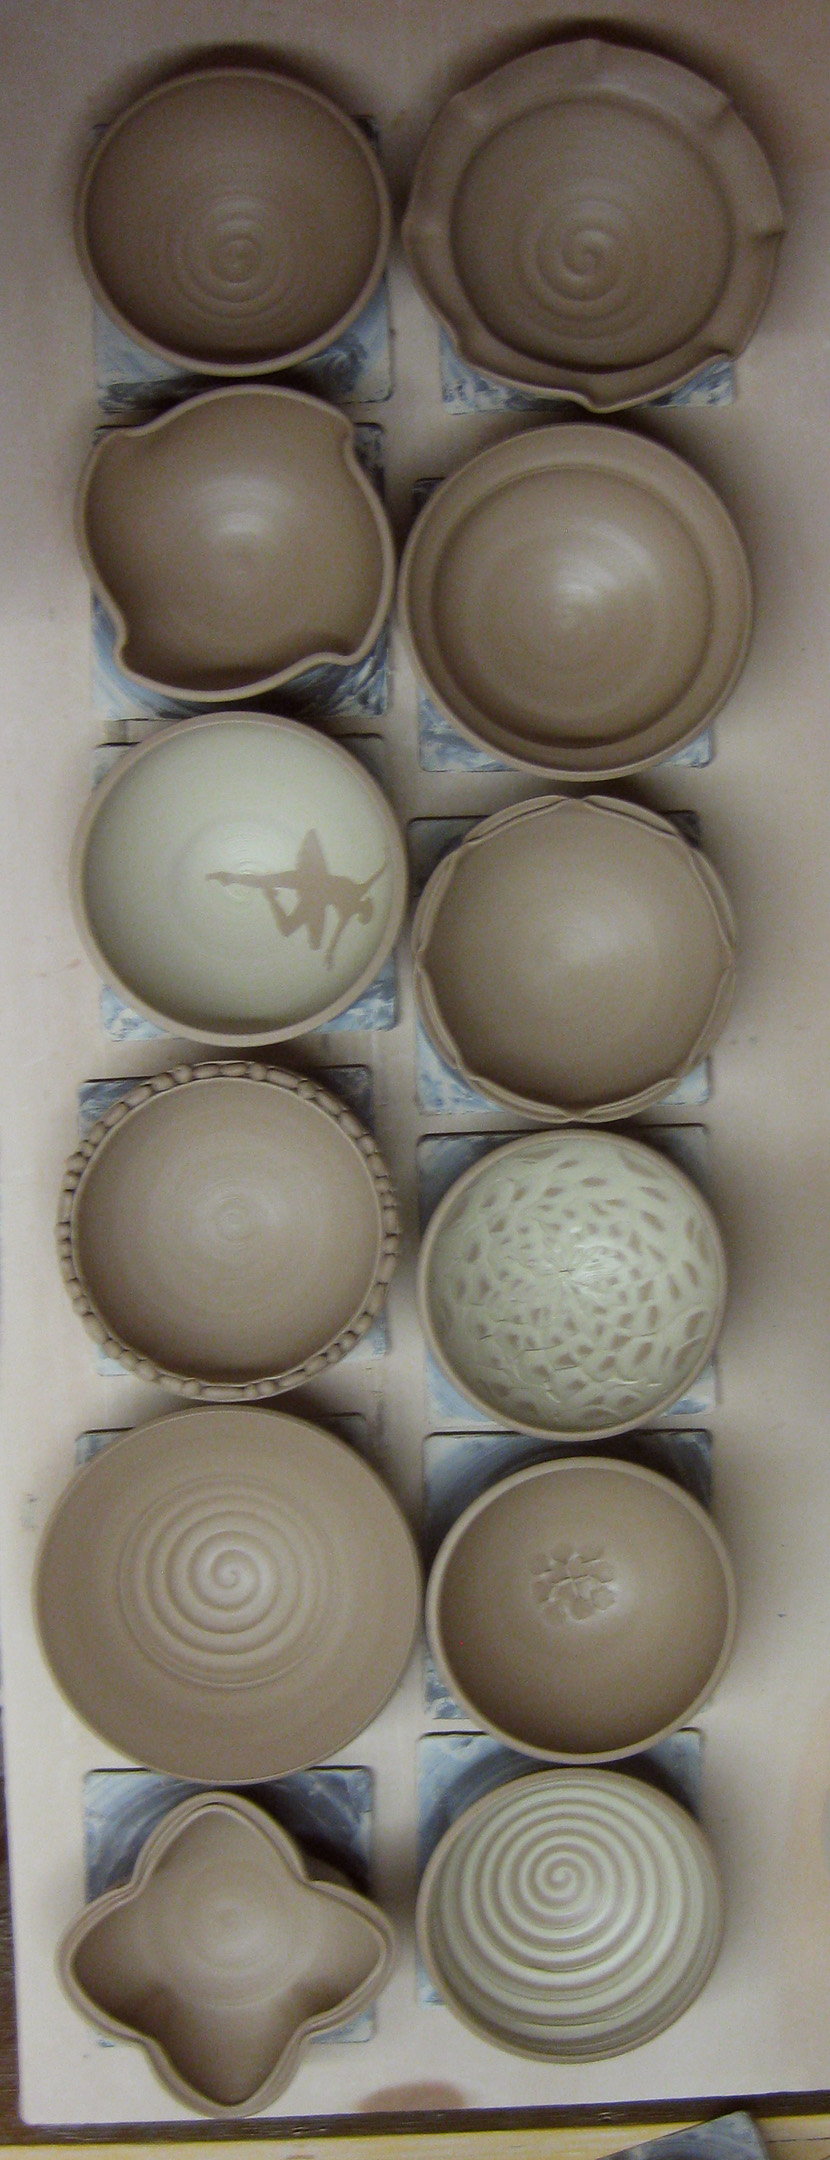
Where we take my twelve “matching” simple round bowls and make each one
different from the next.
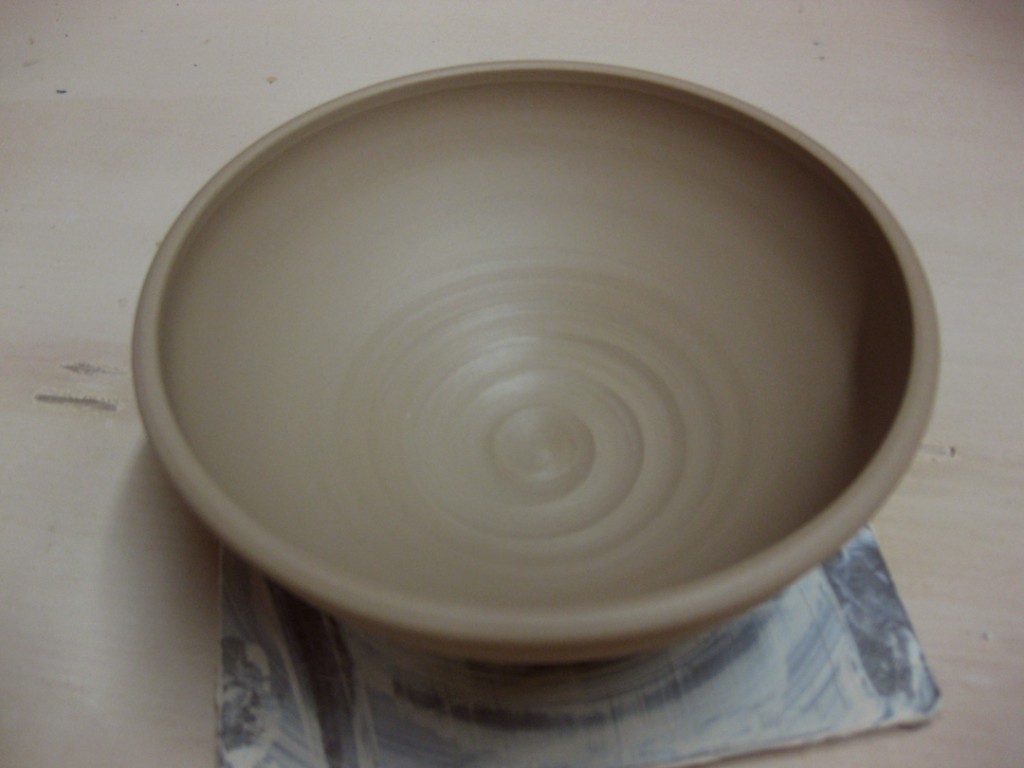
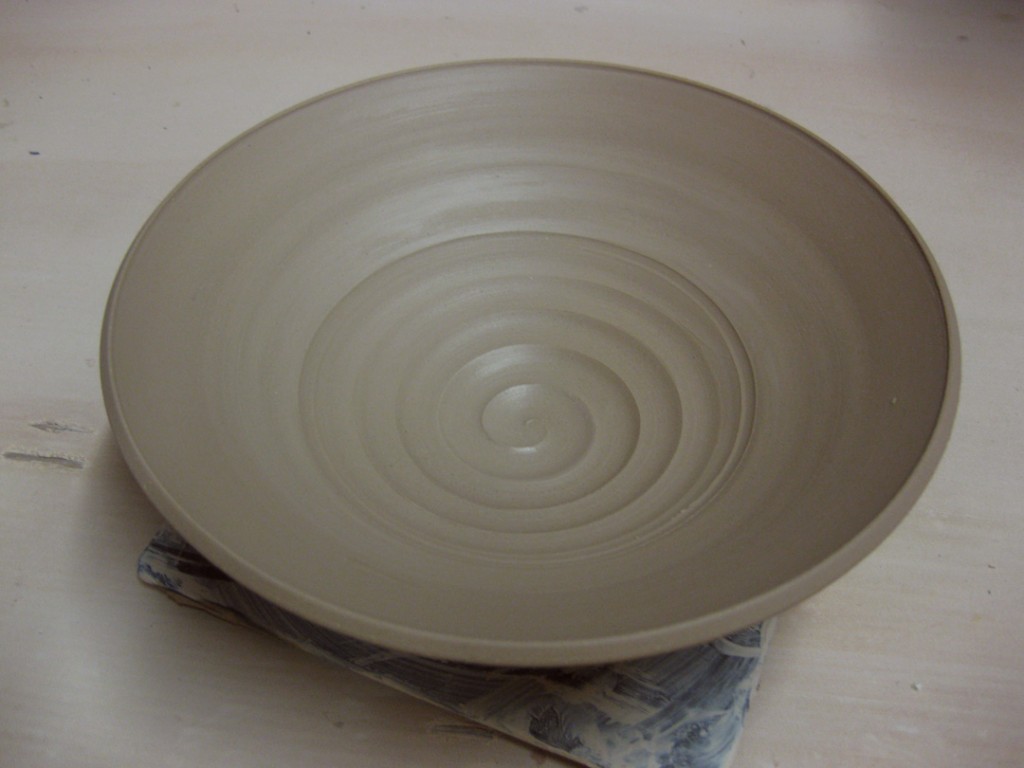
Bowl Demo #1 – Plain Round Bowl
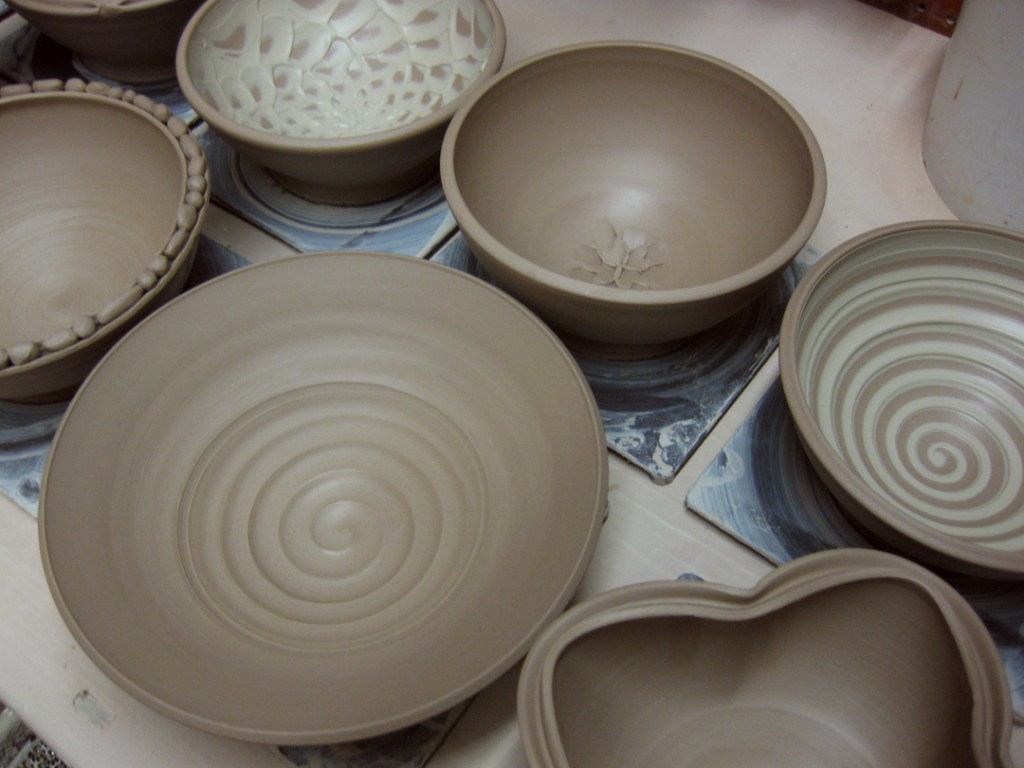
Sure, they could all stay this way. A simple round bowl with a simple finger spiral.
Something as simple as that finger spiral put in at the very end makes that simple
bowl more personal. It’s YOUR finger that made that spiral!!! Pretty neat, huh?
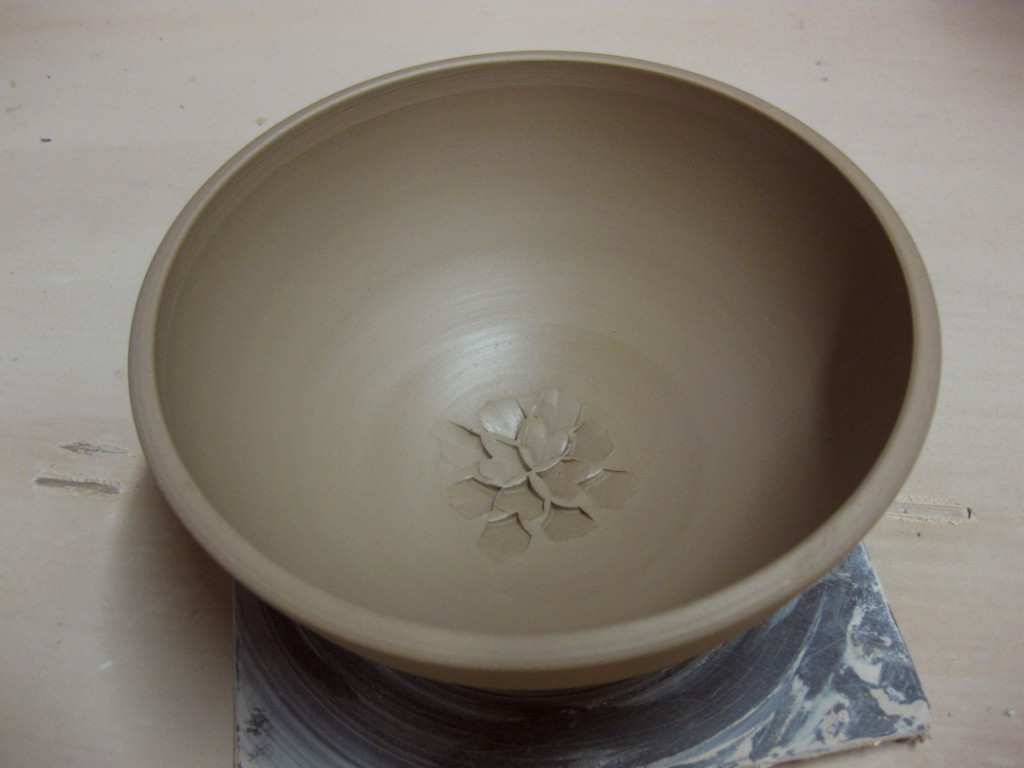
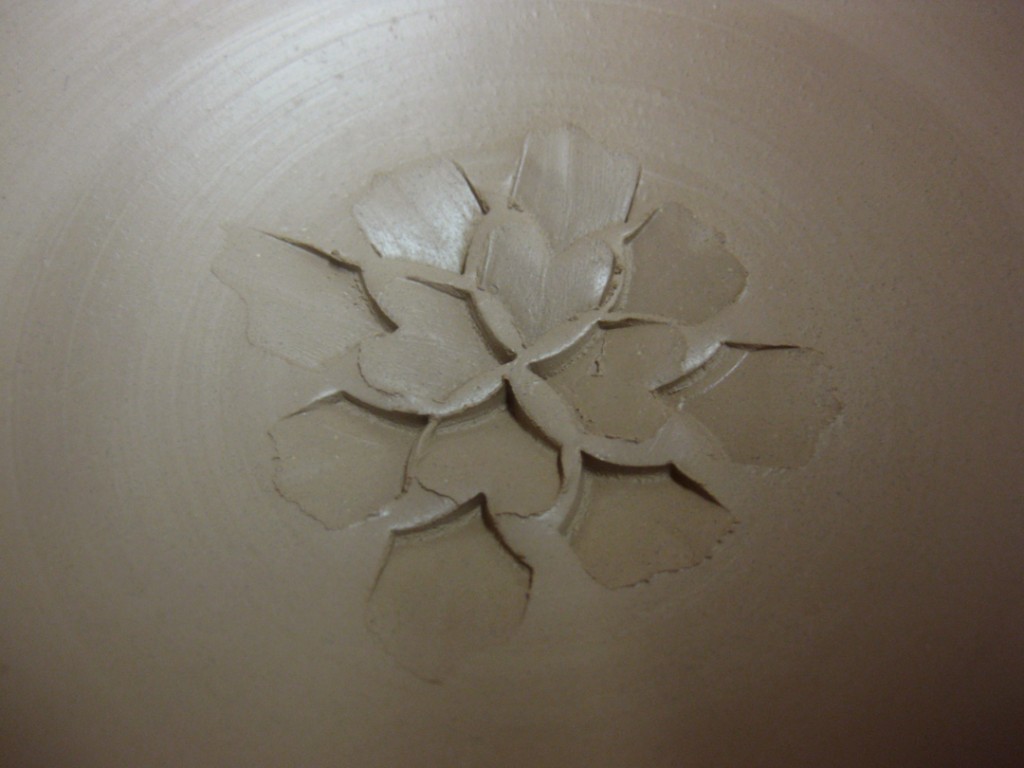
Bowl Demo #2 – Plain with an Indented Flower
But how much fun is it if your “simple round bowl” reveals a little flower on the bottom
when you finish eating your morning Cheerios?! This pattern was created with a simple
church key tool designed for pressing dragon scales. Also, a great place for glaze to pool.
Bowl Demo #3 – Fluted Rim
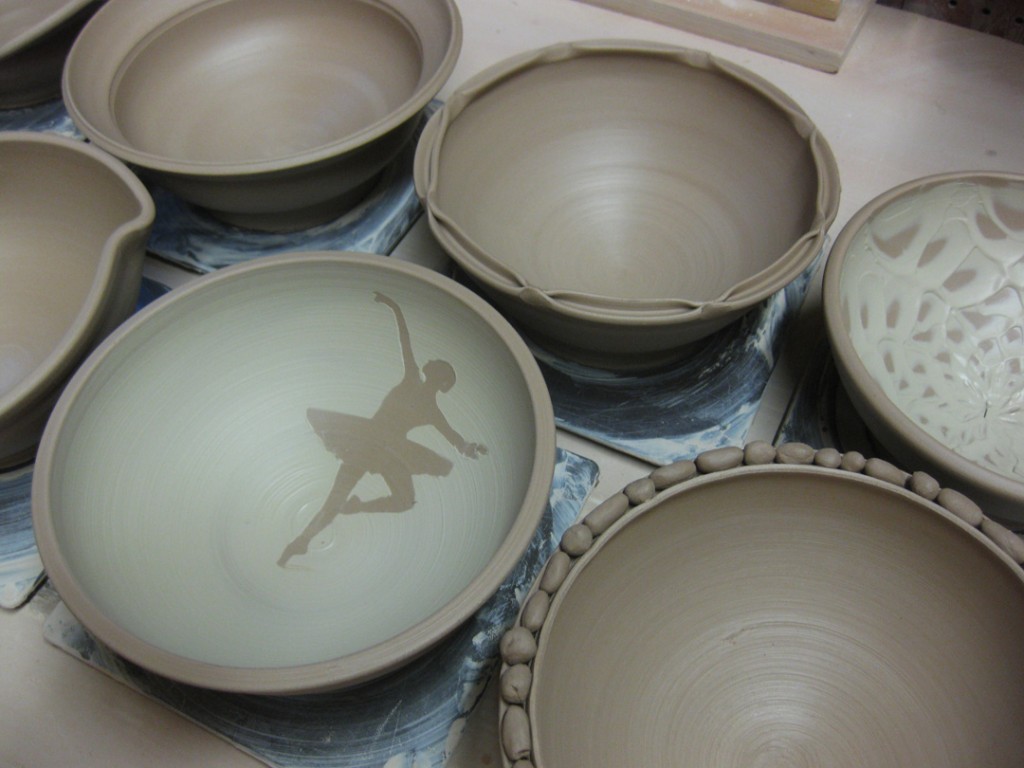
With a couple quick flicks of the fingers, the simple round bowl now has a fluted rim.
I even used the corners of my square bat to help me line up and keep my fluting evenly
spaced around the bowl.
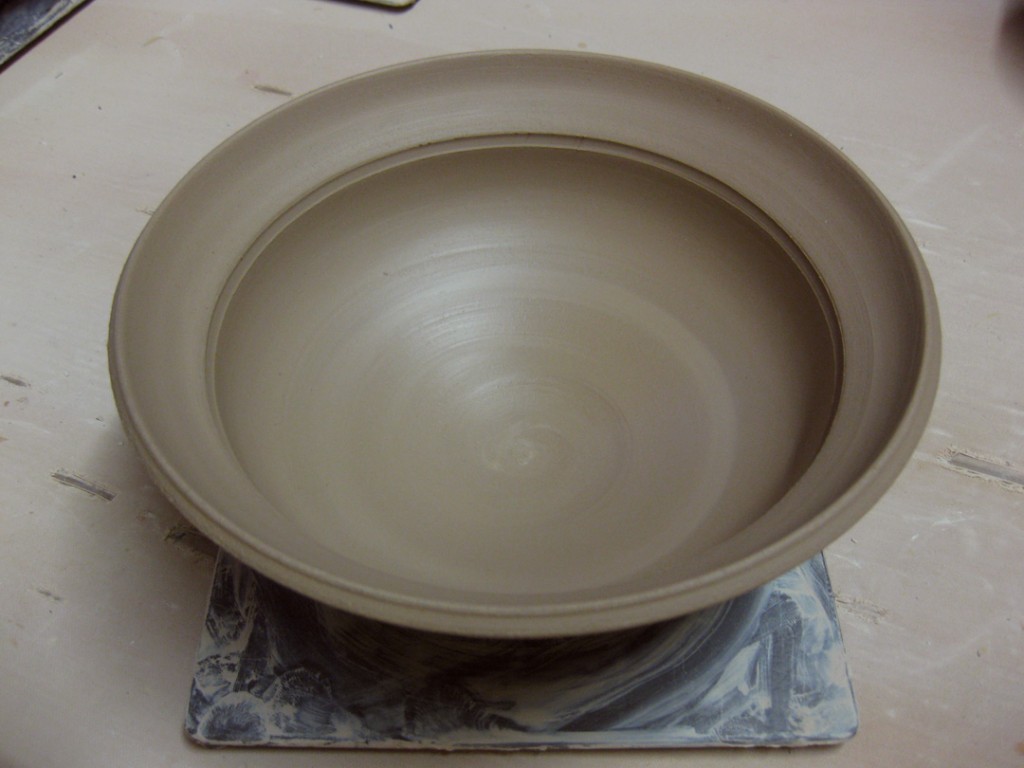
Bowl Demo #4 – Flanged Rim
So the top “inch” of this simple round bowl was flared out to create this great flange area.
I add a small indentation around the inside where the change of angle happens to help
delineate where the inside ends and the outside begins. This trick actually decreases the
capacity of your bowl, but makes it look a lot larger!
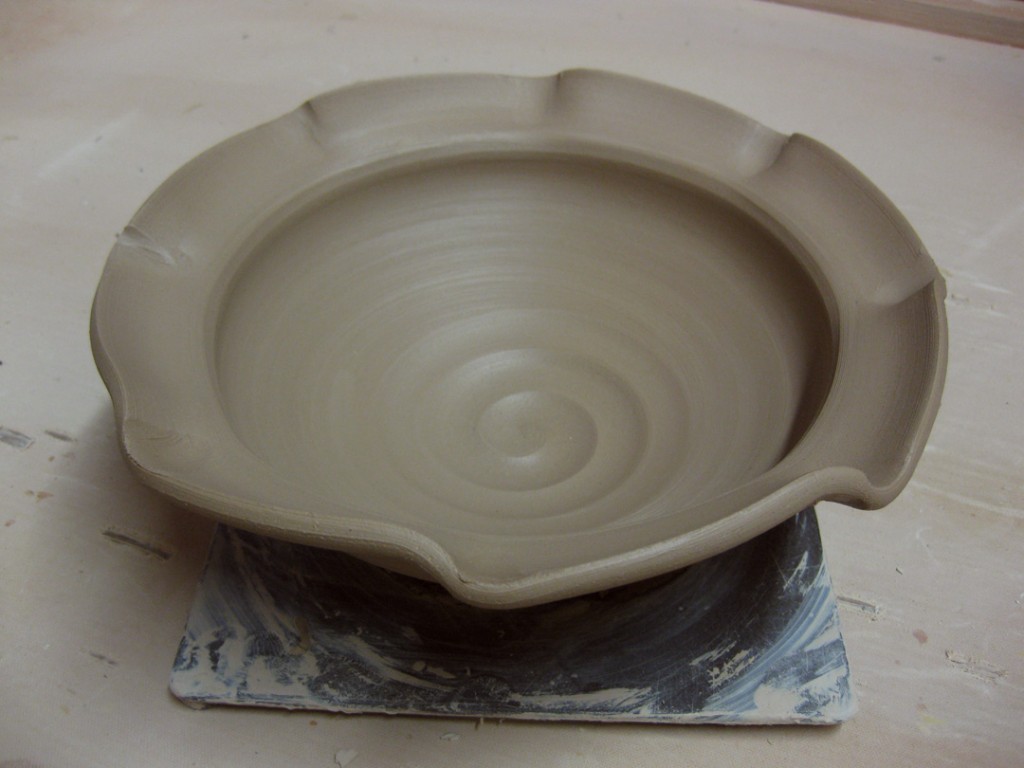
Bowl Demo #5 – Fluted Flange
Sure, you can flare out the flange. Sure you can do fluted edges. So why not both?!
Just put it together. It’s really just that simple.
Bowl Demo #6 – Wide Flange
And if a “one-inch” flange is fun, why not knock down more than half of the bowl height
to make a very dramatic flange?! It’s the kind of bowl you would expect in a fancy restaurant
where the put one small morsel of fancy food in the middle and charge you a fortune because
the presentation is so impressive. And just wait… that extra wide flange is also a great place
for some stamped textures… still to come!
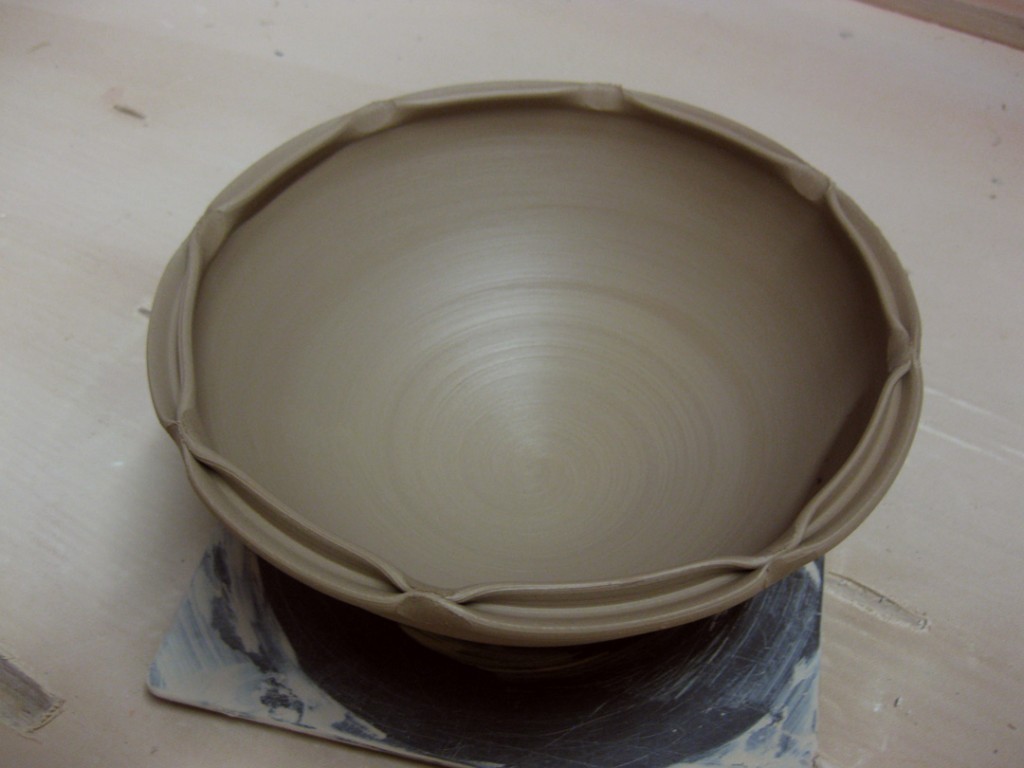
Bowl Demo #7 – Split & Pinched Rim
This time, the rim on the simple round bowl was split the point of my wooden knife.
I simple pressed it in as the bowl was rotating on the wheel. Once it was split all the way
around at a good depth, I pinched it back together in eight places.
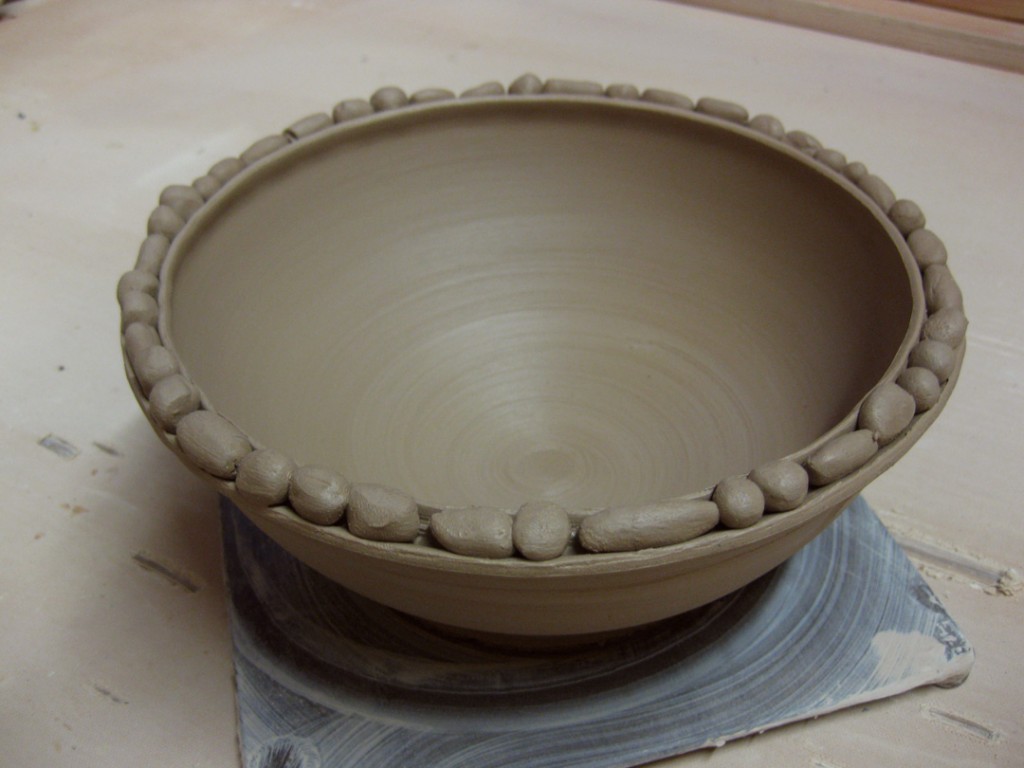
Bowl Demo #8 – Split Rim Filled
Again, I split the rim and we usually talk about how nicely the glaze will fill the split area.
But if glaze fills it well, how about some small coils & balls of clay? Which we just placed
into the groove while both bowl & pieces were wet. Then I squeezed the split rim back
together very gently while hoping to connect all of the balls & coils. I kinda like how the
bowl is so smooth & simple inside, but the rim has this sort of unpredictable randomness.
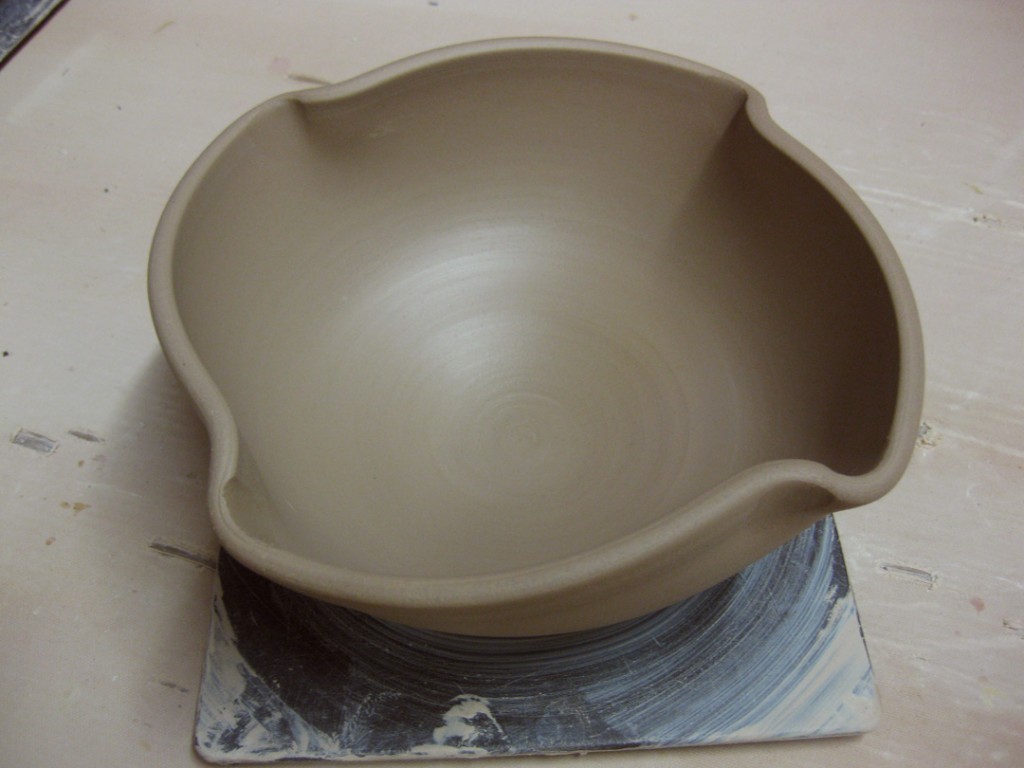
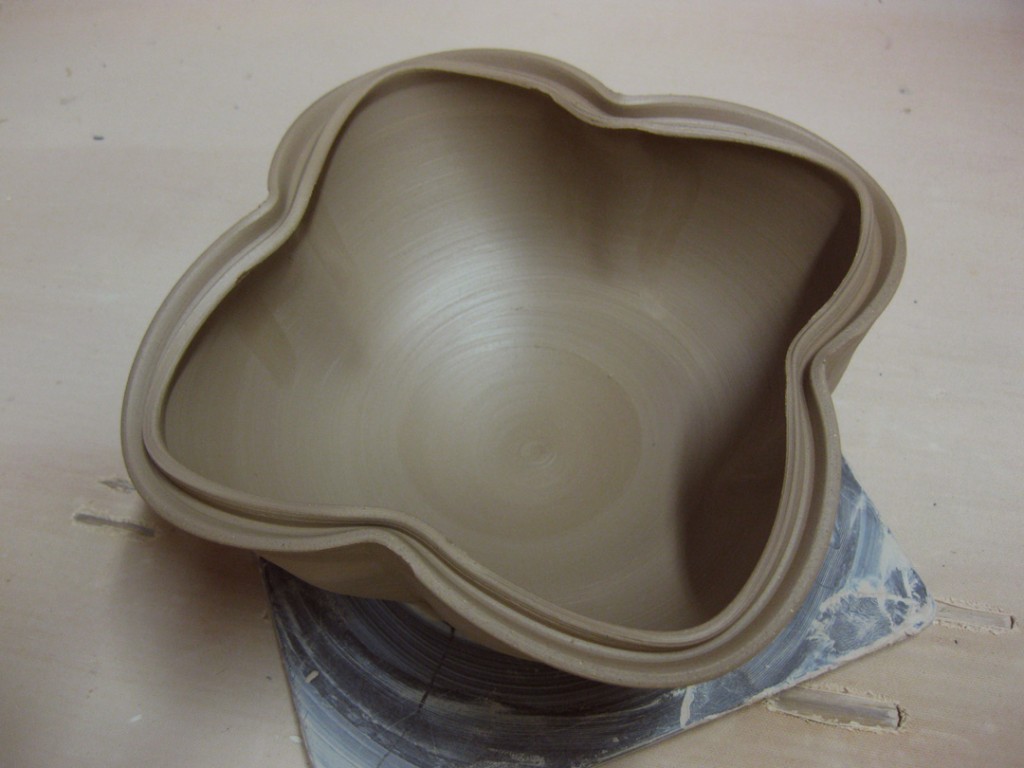
Bowl Demo #9 – Split Rim Clover
And while we’re splitting rims (and not hairs)… who’s to say a bowl needs to be round?!
Not me. So we split the rim and then altered it into kind of a clover shape.
Enough altering bowl shapes… now it was time to introduce colored slips!
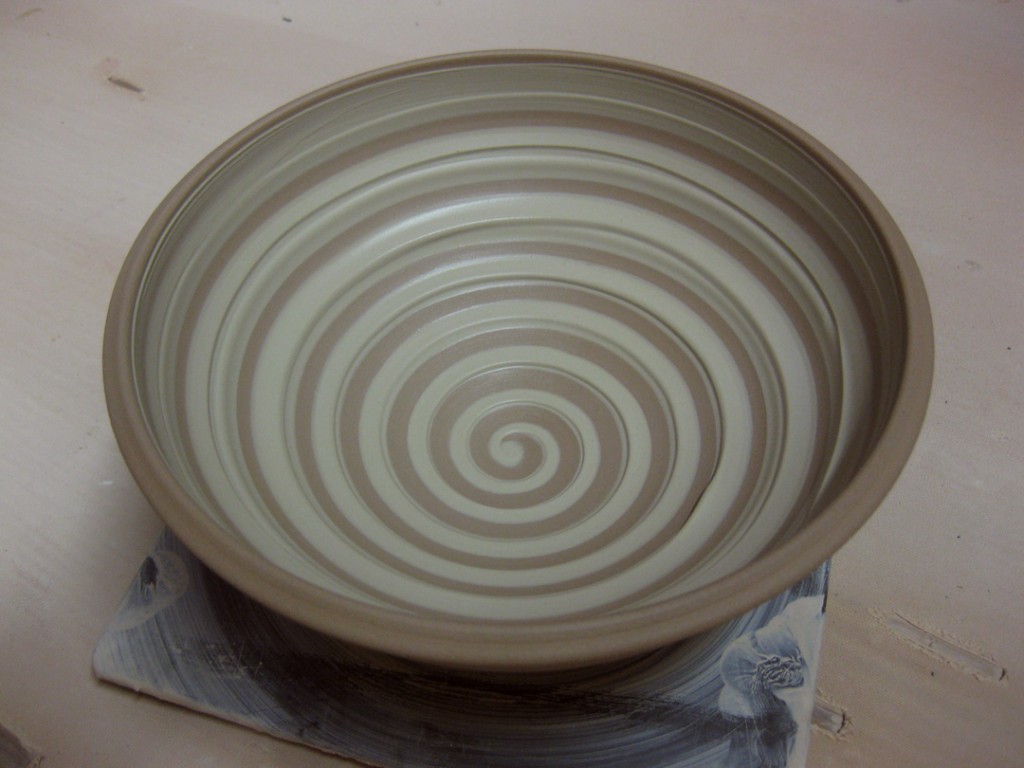
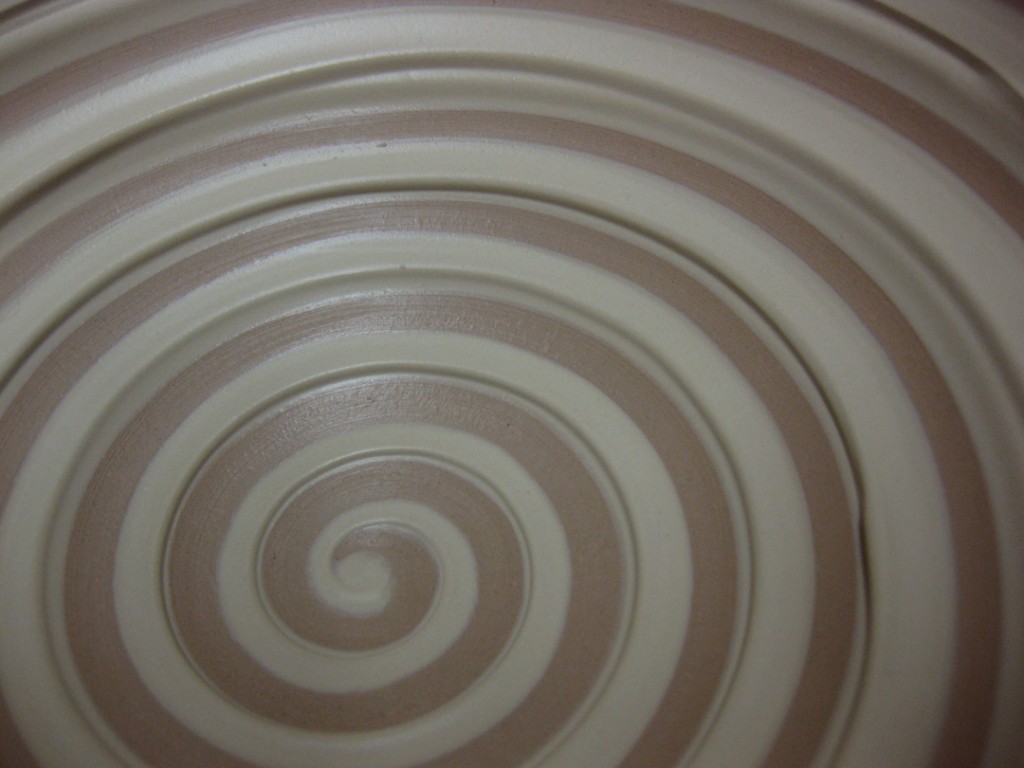
Bowl Demo #10 – Spiraled Slip
After a simple coat of white slip to cover the interior, I dragged the curved end of my
wooden knife through the slip to reveal the contrasting clay color as the wheel was spinning.
A simple technique with striking results. Plus a little textured depth from the remaining slip.
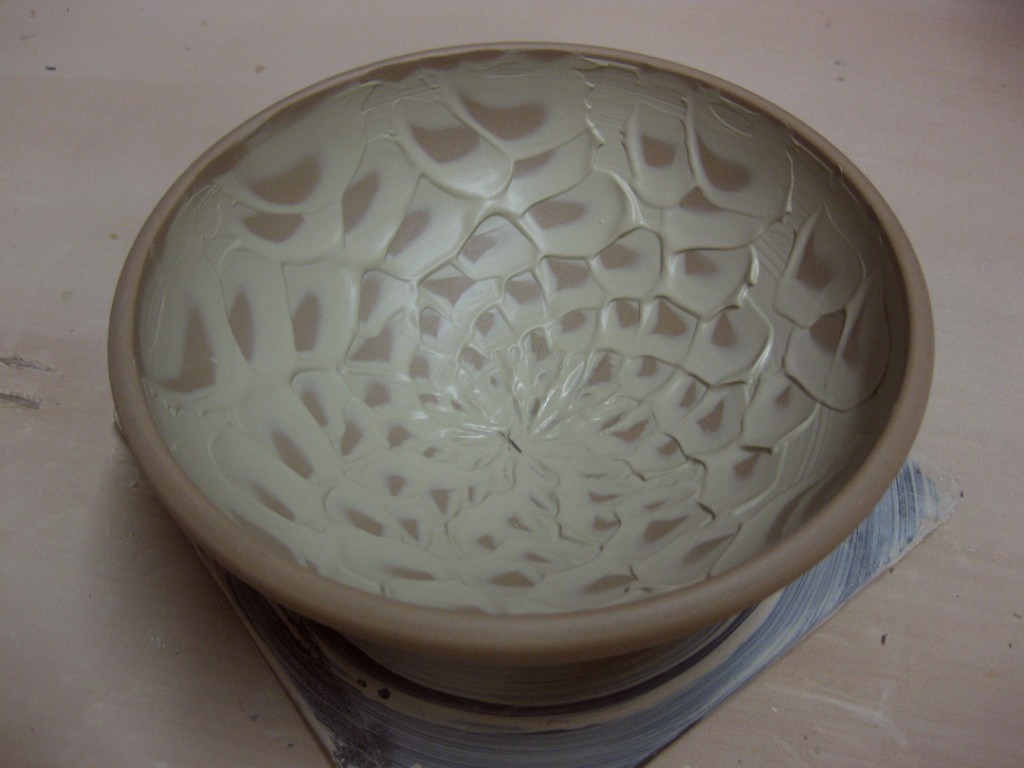
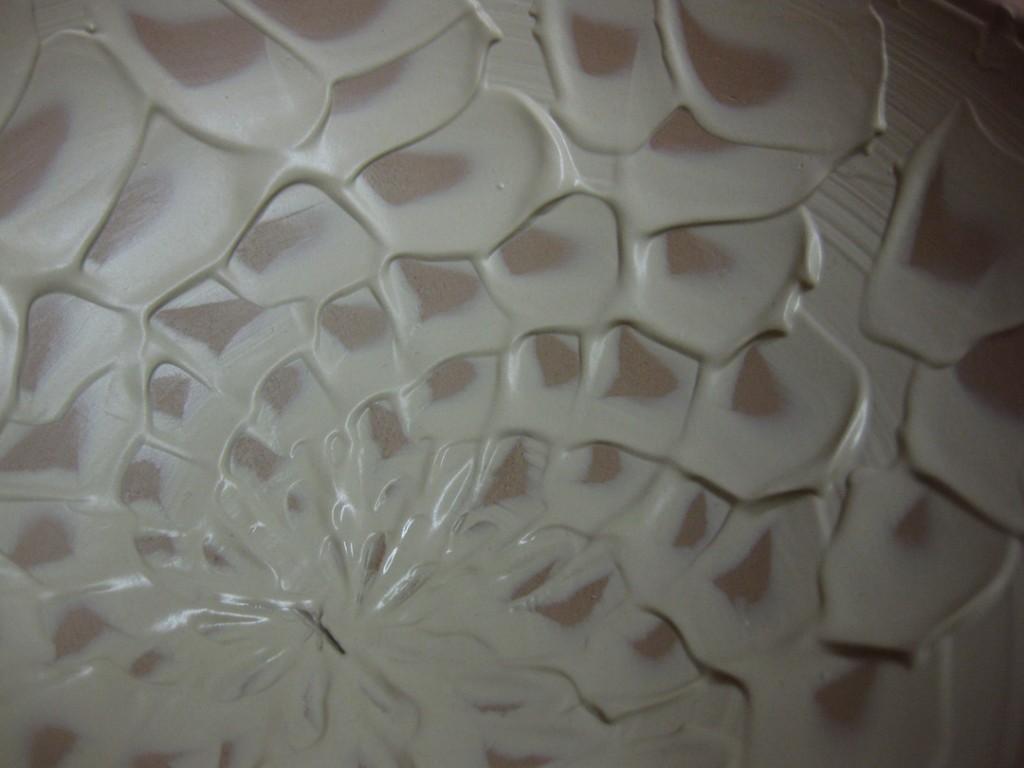
Bowl Demo #11 – Chattered Slip
A little more intimidating, but it’s a simple as covering the entire interior with slip,
then taking your rounded rib tool and chattering through the slip while the wheel is spinning.
It’s the combination of rhythmic tapping, moving up and the wheel spinning that creates this
look. But you have to commit. If you start and get flustered, you’re going to see the mistake
in the middle. Once you start – just breath and keep going.
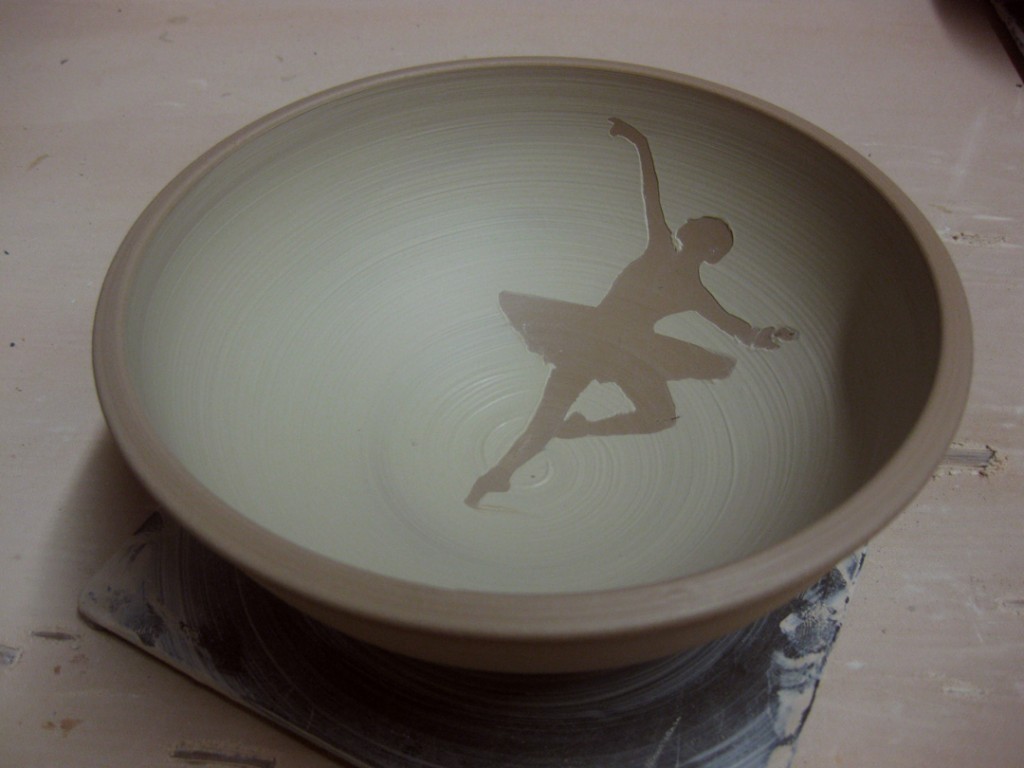
Bowl Demo #12 – Stenciled Slip
Enough random slip play… so I found a ballerina picture in the newspaper and my
teaching assistant Maureen cut it out for me. I wet the newspaper and carefully applied her
to the bowl’s interior surface. The water is pretty good at sticking down all of the edges. Then
I took the paintbrush with white slip and carefully covered all of her edges. Once covered,
I could slather the entire interior to get an even coverage of white slip. Once solid & smooth…
I had to peel the newspaper back out very carefully to revel my tiny dancer!
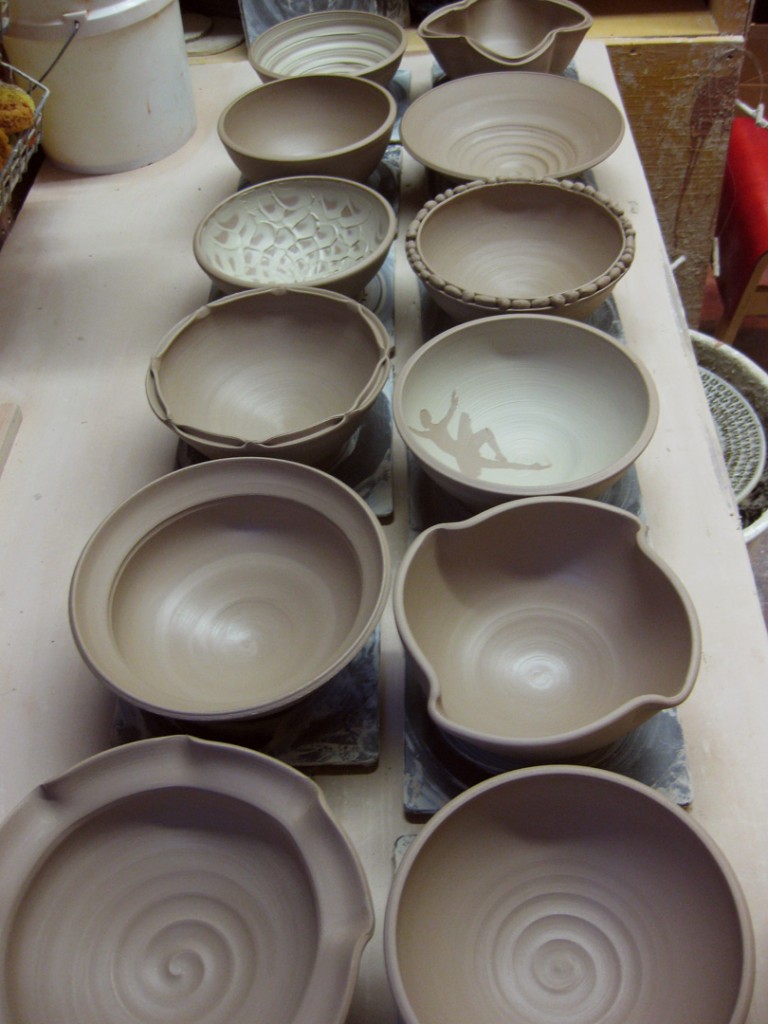
So there they are… the twelve bowls that came from my bag of clay.
Remember, all twelve bowls started out very plain, simple, round and mostly matching.
But with a little determination, my students realized that it’s not all that tough to make
each bowl different with a few basic techniques.
This is how they sit overnight wrapped up in plastic to keep them “workable.”
When I come back to the studio tonight, I’ll unwrap them, do a few touch-ups, maybe
some stamping and a bit more surface decorations here & there. When they dry to a good
leatherhard state, I can do some trimming and call ’em done. More photos to come…
My ultimate goal for this class demo is for my students to realize that the clay is not precious.
That they need to make more pieces and get to the point where each piece they make is no
longer considered precious. So that they are more willing to play with their clay.
Twist. Alter. Flute. And if it doesn’t work… who cares? They can make it again…
and try again… and again.. and again.. until they get what they like!!!
It’s just clay.
Thanks for the tutorial! Makes me want to get a potter’s wheel and take your class! Can you make colored slip out of the clay that you are using? If so, how is that done?
Refreshing reminders. This is why I think it is so important to look at other people’s work and not stagnate in your own work.
Excellent advice and reminder for experienced potters, too. Thanks!
Thanks very much. As a beginning handbuilder and neo-nate thrower, I found your ideas and images to be wonderful prompts for my imagination and willingness to experiment.
Good ideas for student lessons, thanks.
Fantastic, Gary. Having hand-built in clay for years, I’m just learning to throw (at night classes) myself down on the Ouseburn in Newcastle. Will try out some of your great techniques. Thanks very much for sharing – and with such great images and explanation (and humour!).
I’ve heard you can make your own slip from the clay body you’re using. A lighter clay body will work better though. Carpenter’s stain is a pigment that you can add to the clay to dye it different colors.
Nice. Very nice. Thanks for sharing.
Yours. Is my fave blog and website. Love your originality and generous sharing.
PAT. Warm fuzzies. Everyone. Thanks.
Pinterest thank you soo much, what a valuable inspiration super x a mill
Do you post videos of these techniques any where?
No, I don’t. But that is a great idea!!! Maybe next time?!
What a great tutorial. I get in a rut making the same few bowl options. having these all in one posting with great options is very appreciated. What cone do you glaze to. Wish I lived closer. I’m in cape cod off The Massachusetts coast
SUSAN – Thanks for checking in… I’m glad you like the tutorials. Hopefully they will mix-up your bowls a bit. And I typically fire to cone ten in reduction. Occasionally cone six oxidation just for a pop of color!
Awesome post Gary, You have opened my mind to some new ideas. Thank You 🙂
Excellent work! I love all the comments and captions explaining what you did. Please do more!
I loved this! Thank you. I live in Puerto Tico and havent touched a wheel for 30 years and hust started again. Im lucky to have a dream studio I am not worthy of. No instruction available here at all so on my own. This is the best help!