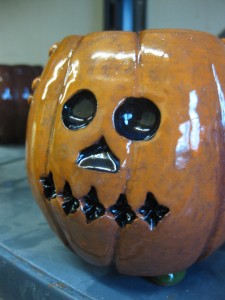
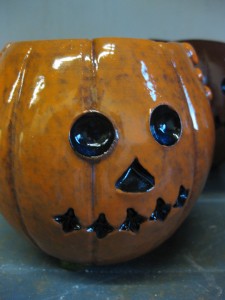
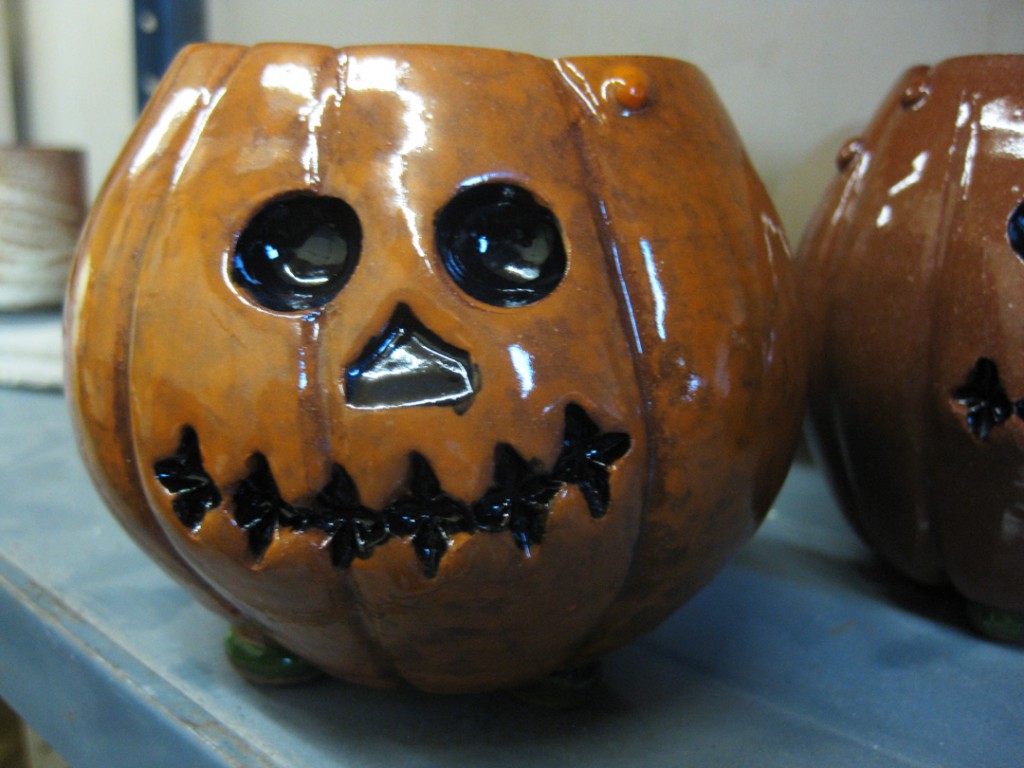
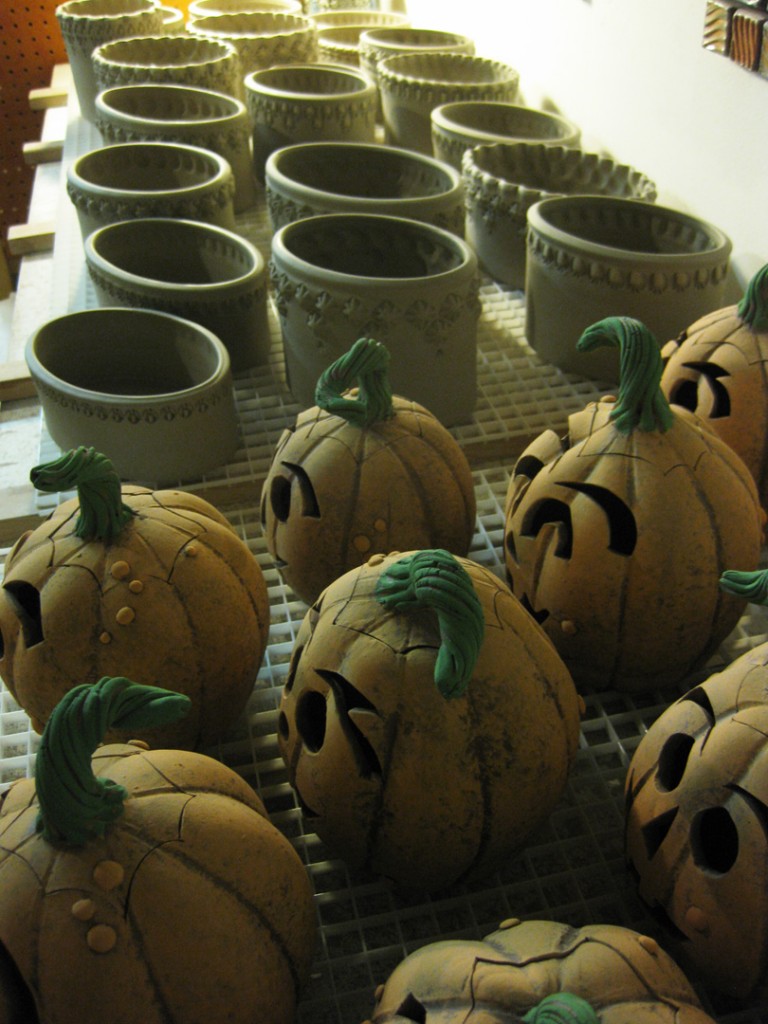
Rushing to get some Halloween fun made in time for “Art In The Barn”…
it was time to crank out some pumpkins. And once I had made pumpkins, it was time
to turn them into Jack O’Lanterns! But I digress, let’s go back to the beginnning…
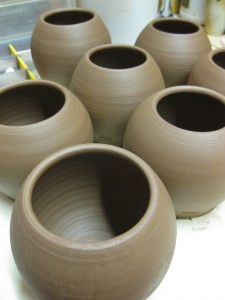
I started by throwing some terra cotta orbs… simple enclosed forms with air trapped inside.
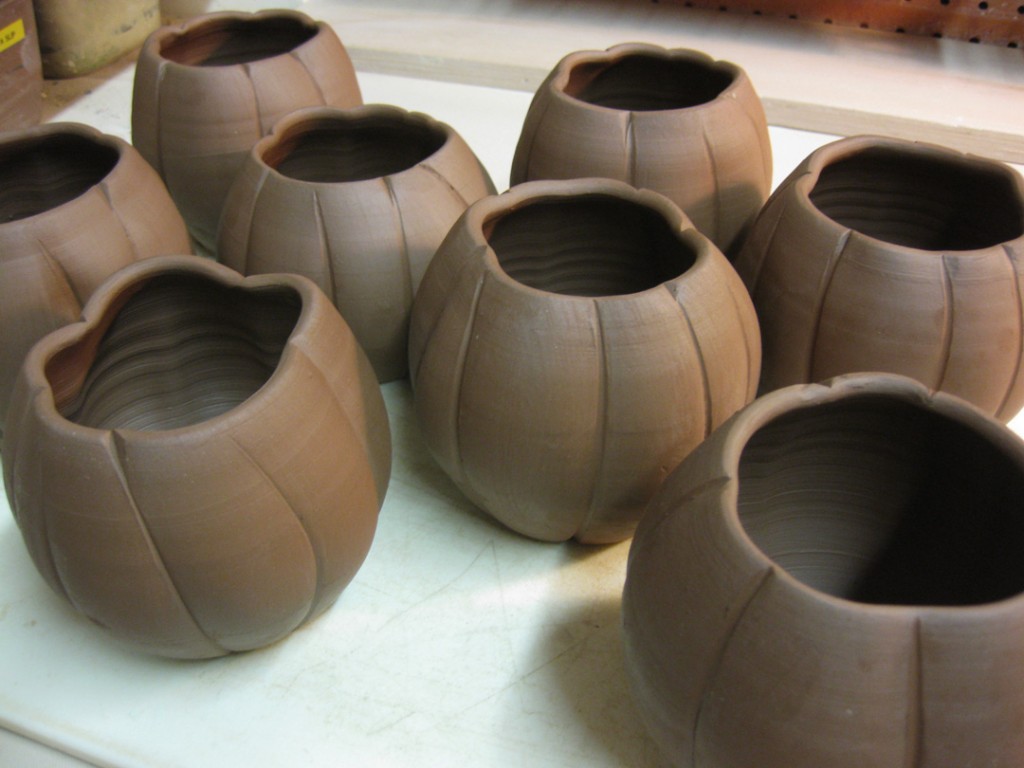
Once they had dried a bit overnight, to a wet leatherhard, I gave them some textured
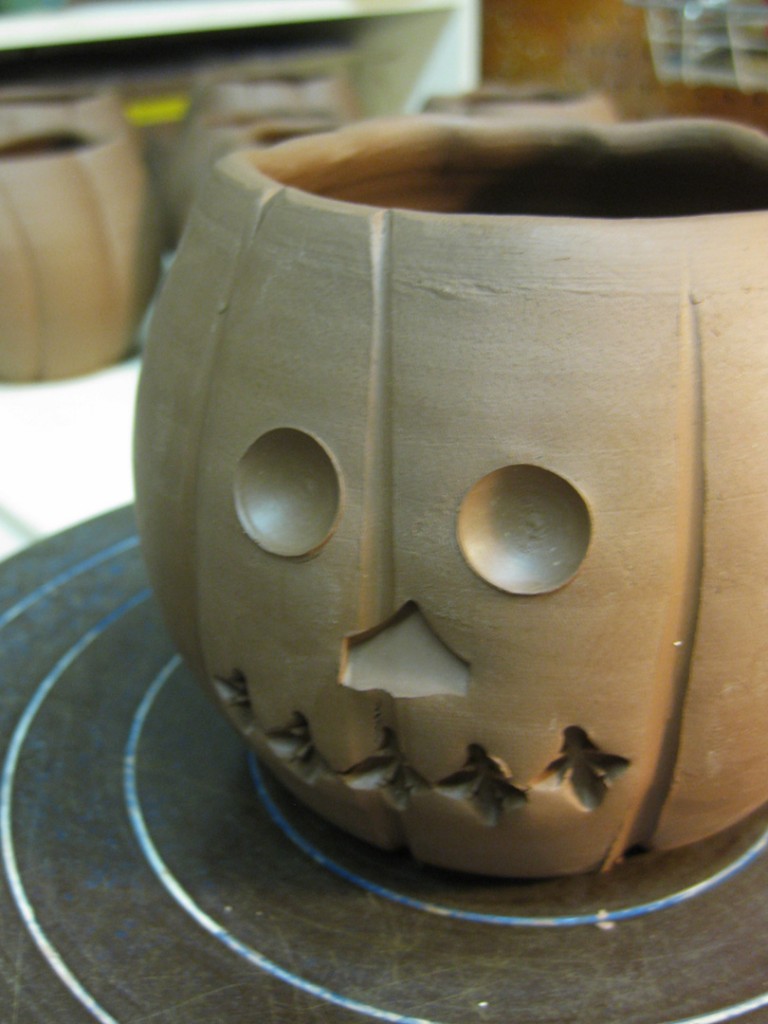
pumpkin “stripes” and altered their shape using the edge of a square chopstick.
And we all know that a good pumpkin needs a good stem.
Doesn’t everyone look for a groovy, cool stem on their store-bought pumpkin?!
So I rolled a coil, gave it some texture lines, attached it with some good scoring & slipping,
then twisted it and animated it a bit.
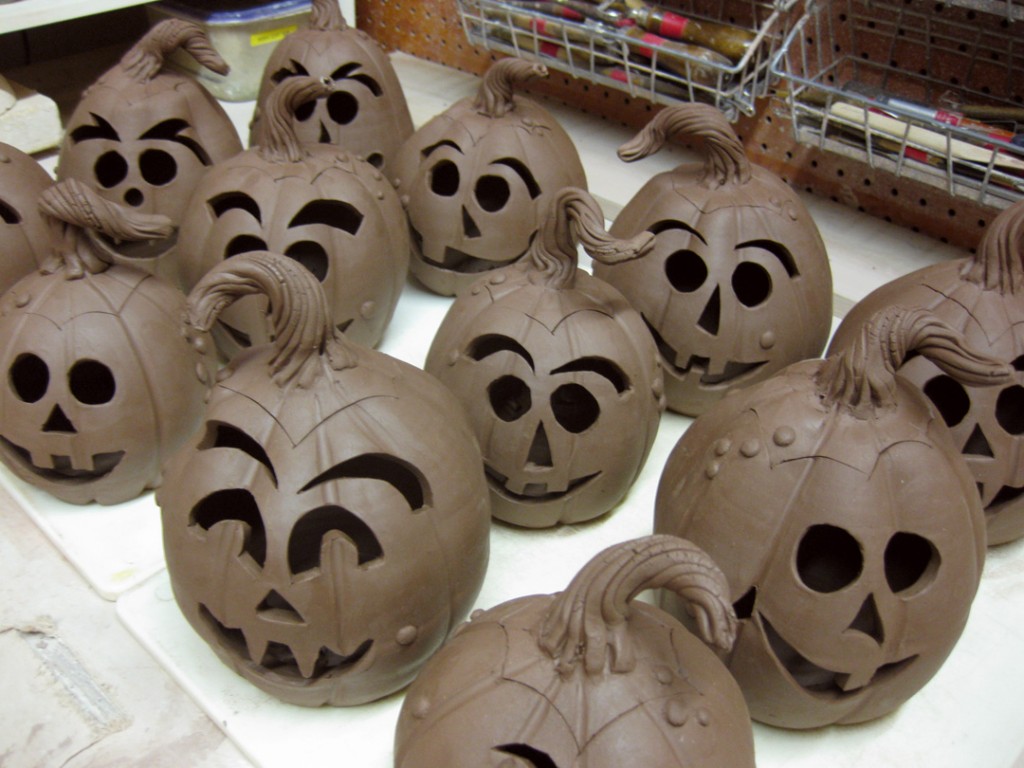
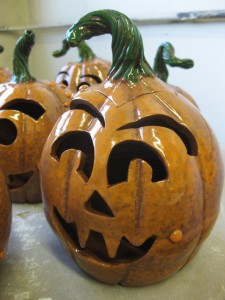
Now that I had pumpkins… it was time to carve faces into them like a good Jack O’Lantern.
First, I carved out the eyes, nose, mouth and details. Then I opened the pumpkin and “cut off”
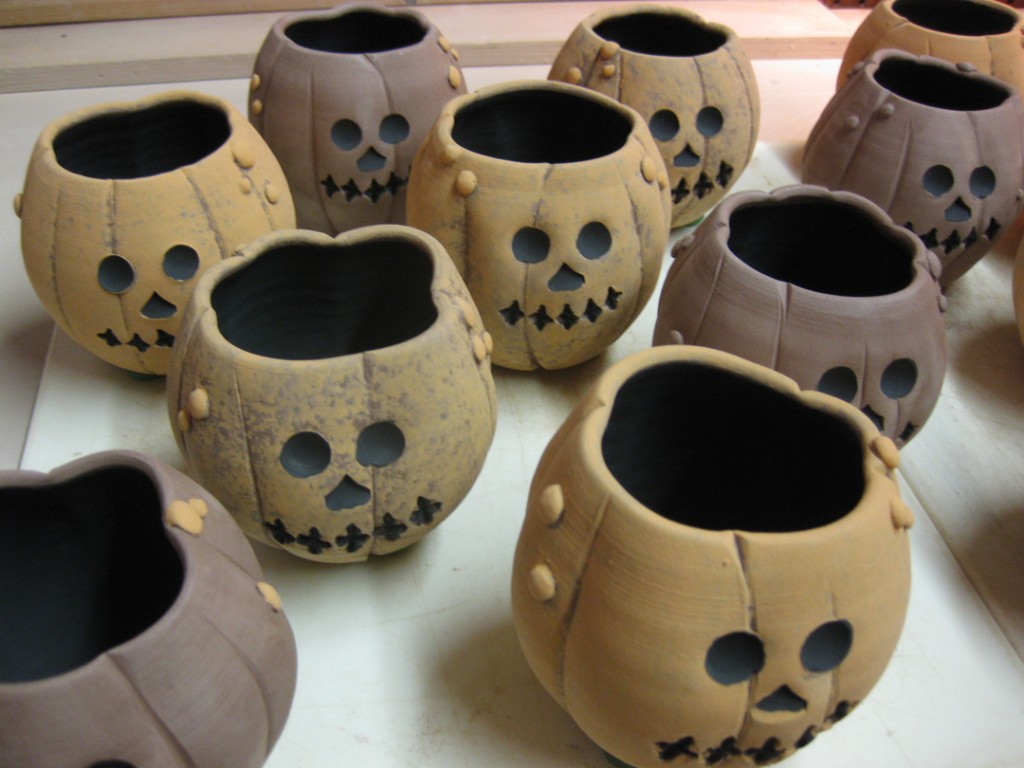
the top with a good angle so that the lid fits & doesn’t swivel around. I added some “warts”
for added texture & whimsy… as well as two on the edge of each lid to help people line them
up to close the pumpkins properly.
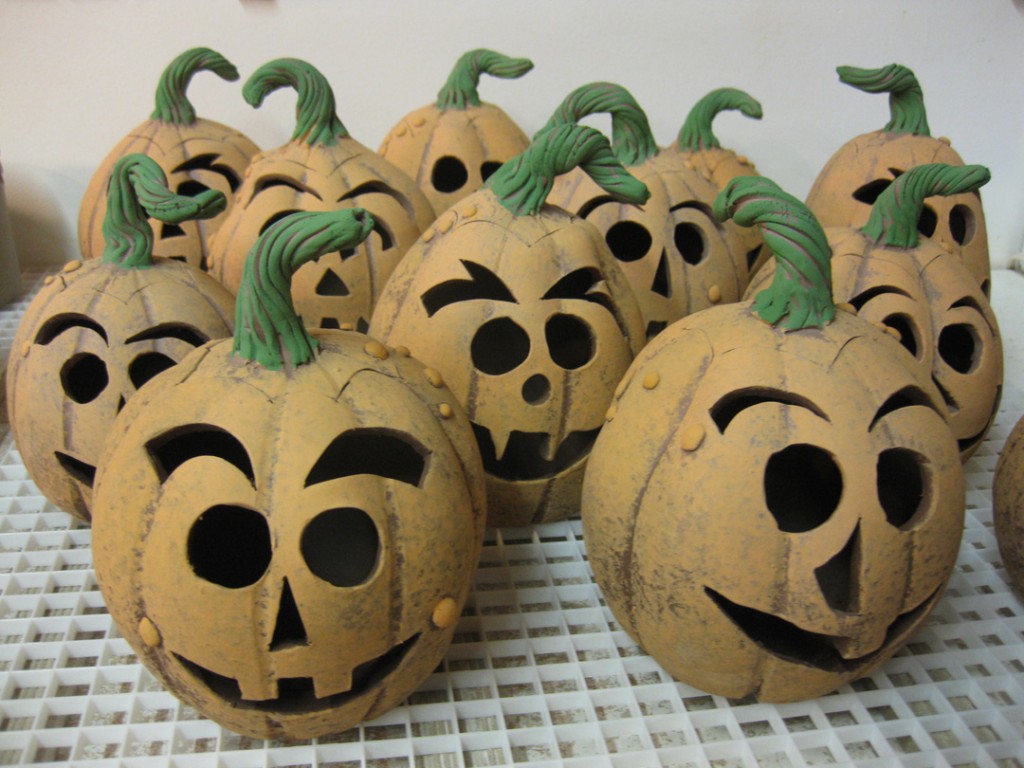
I let them all dry overnight and then came back to paint them with colored underglazes.
I did some sponge-painting with the orange underglaze so that some of the terra cotta color
would show through and give them some depth – not just flat, solid orange. And a bit of green
on the stems to help accentuate the stem texture. I dried them overnight on plastic grid
sheets with fans oscillating overnight.
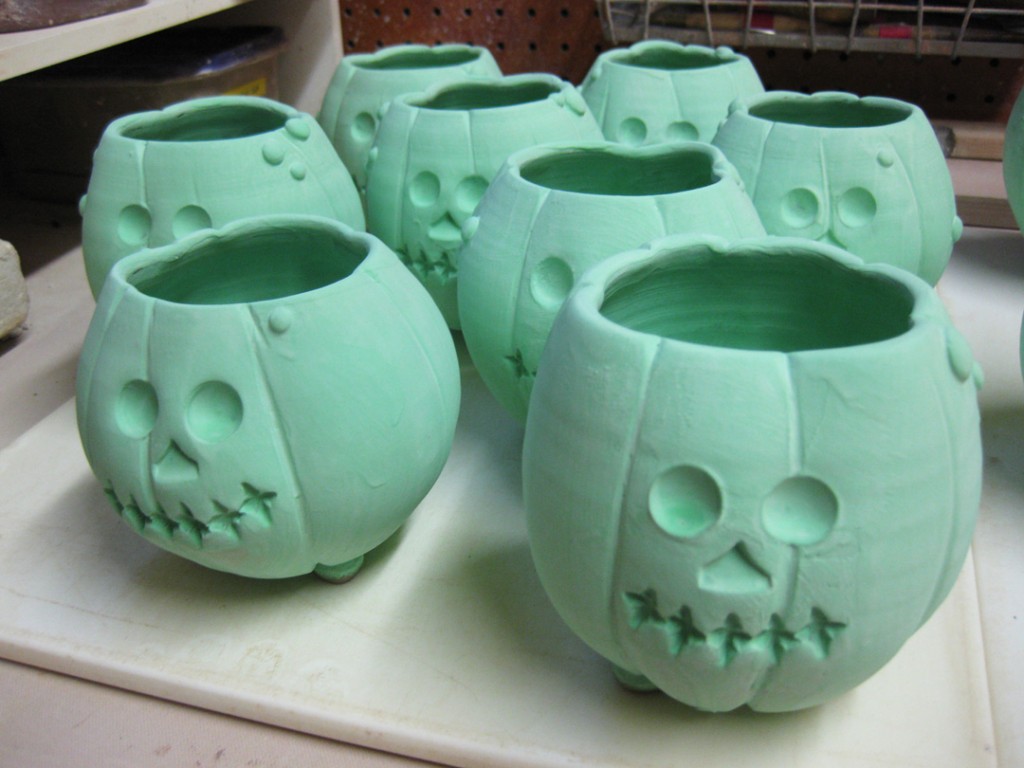
Then, after teaching my class Tuesday night, I glazed the Jack O’Lanterns with low-fire clear
glaze. I actually sprayed on the glaze to get a nice even, thin coat. Luckily, this crazy green
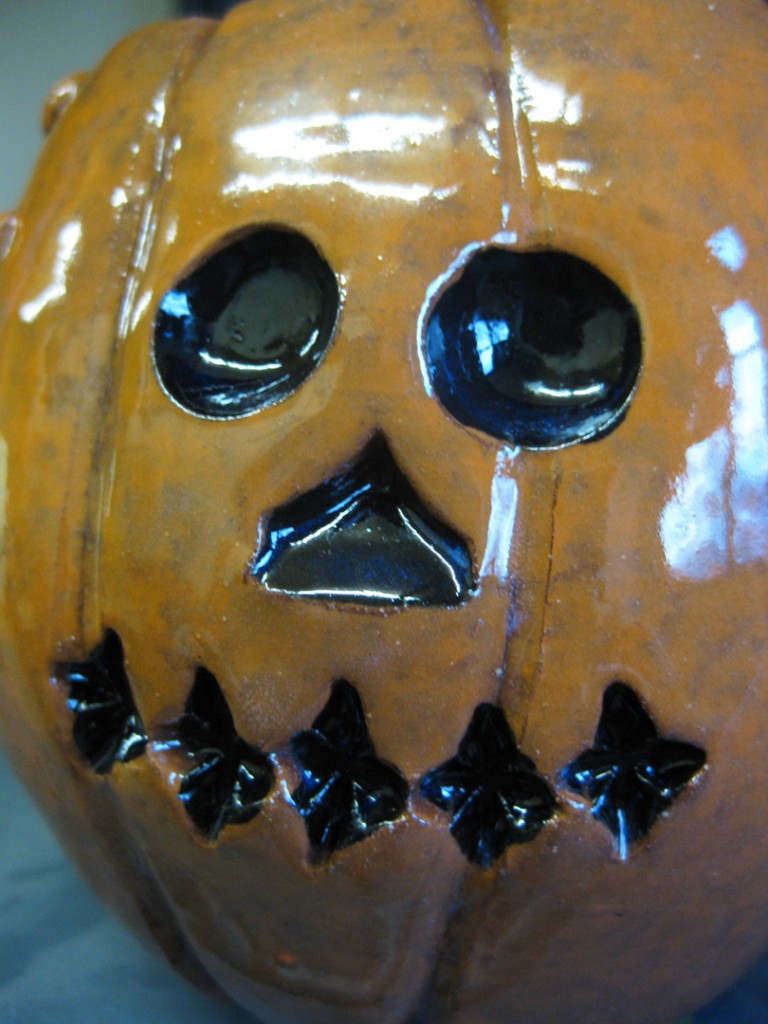
color disappears during the firing… and the colored underglazes will pop after firing!
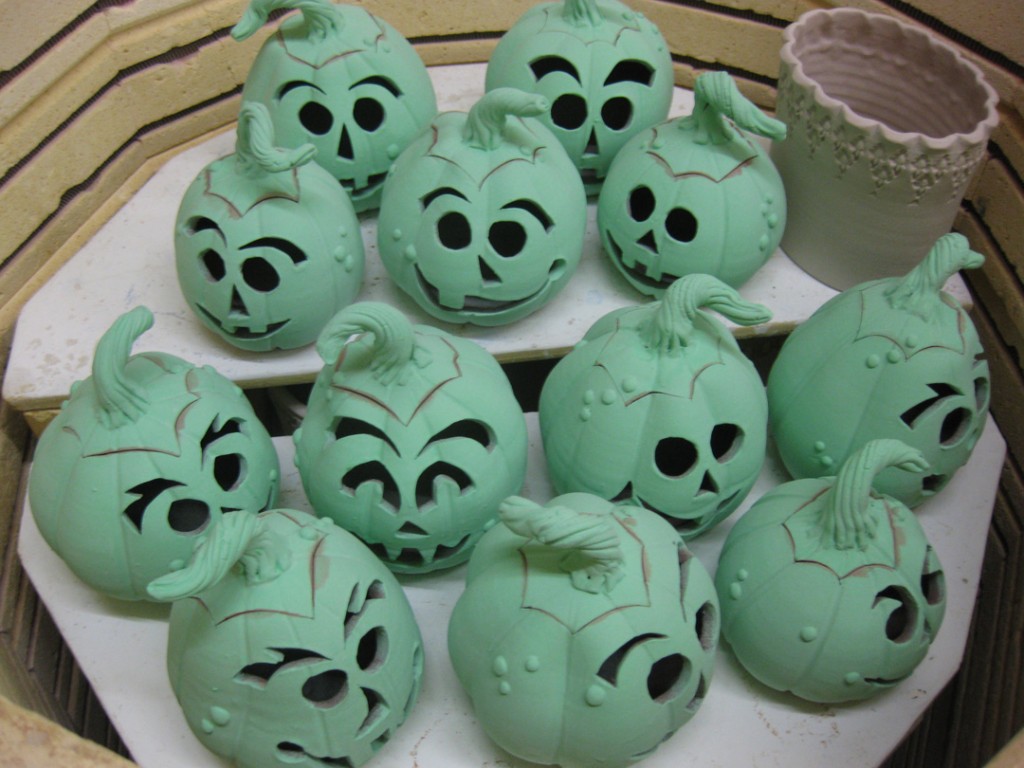
Tonight the kiln was cool enough to unload… and I was pleased to see the shelf-full
of Jack O’Lanterns smiling back at me. Each one funnier than the next.
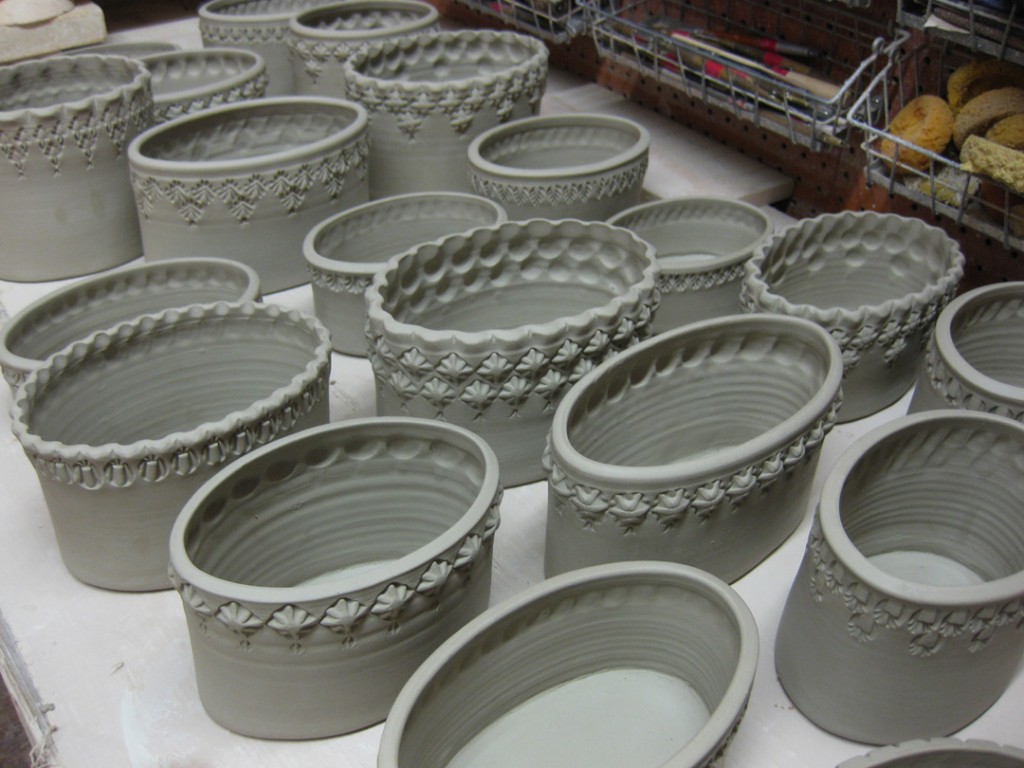
I really like making ovals. And I think people really like them too… maybe it’s
the weird confusion of how a round wheel can throw an oval. Never quite realizing
that they are “assembled” as an oval, not “thrown” as an oval. So I start by throwing
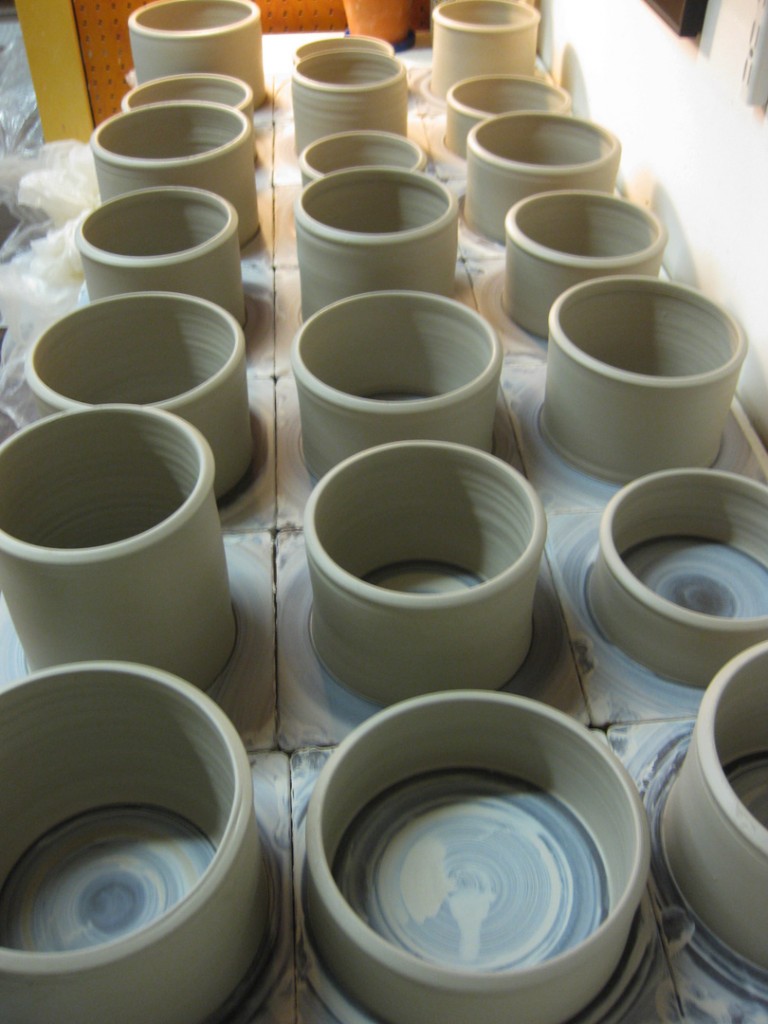
a lot of straight-sided cylinders without bottoms.
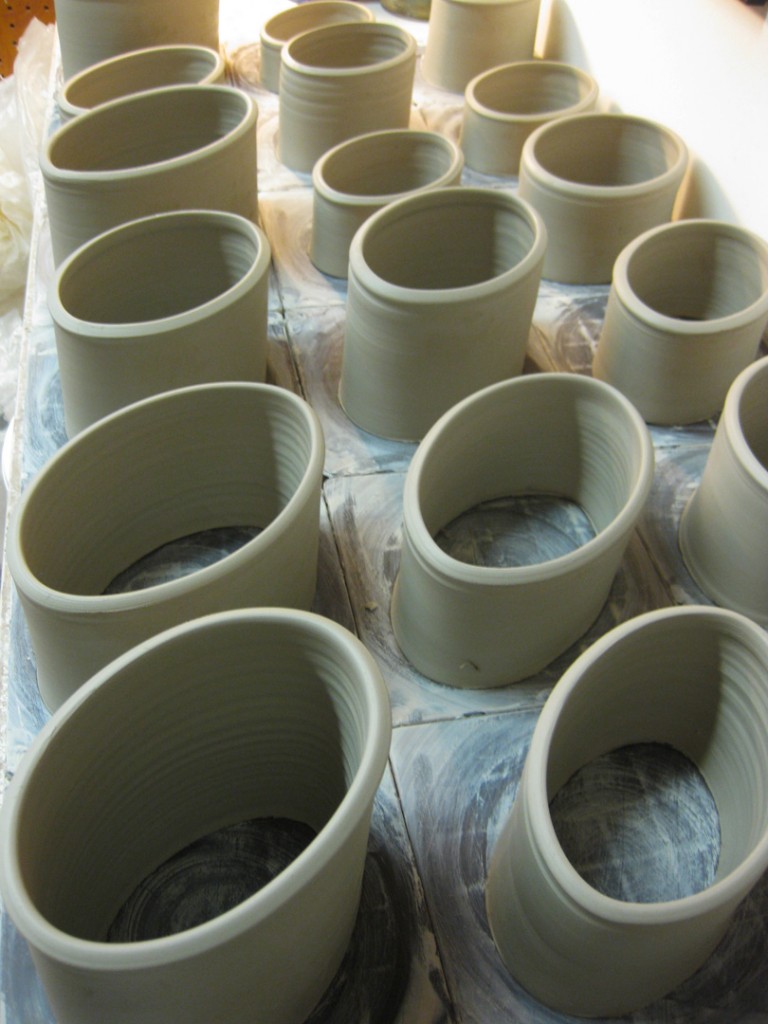
I let them set-up a bit overnight under a sheet of plastic, and then alter them into
oval shapes by simply squishing them very gently after wiring them of the bat.
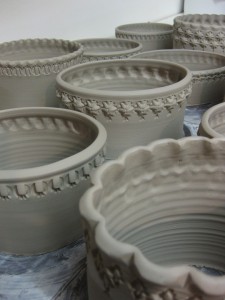
By the time I had gone though and “ovaled” each of them, the first ones were already
“leather-hard” enough for stamping. So I started the process again, working my way through
all of them. Kind of an assembly line… working across the table from left to right.
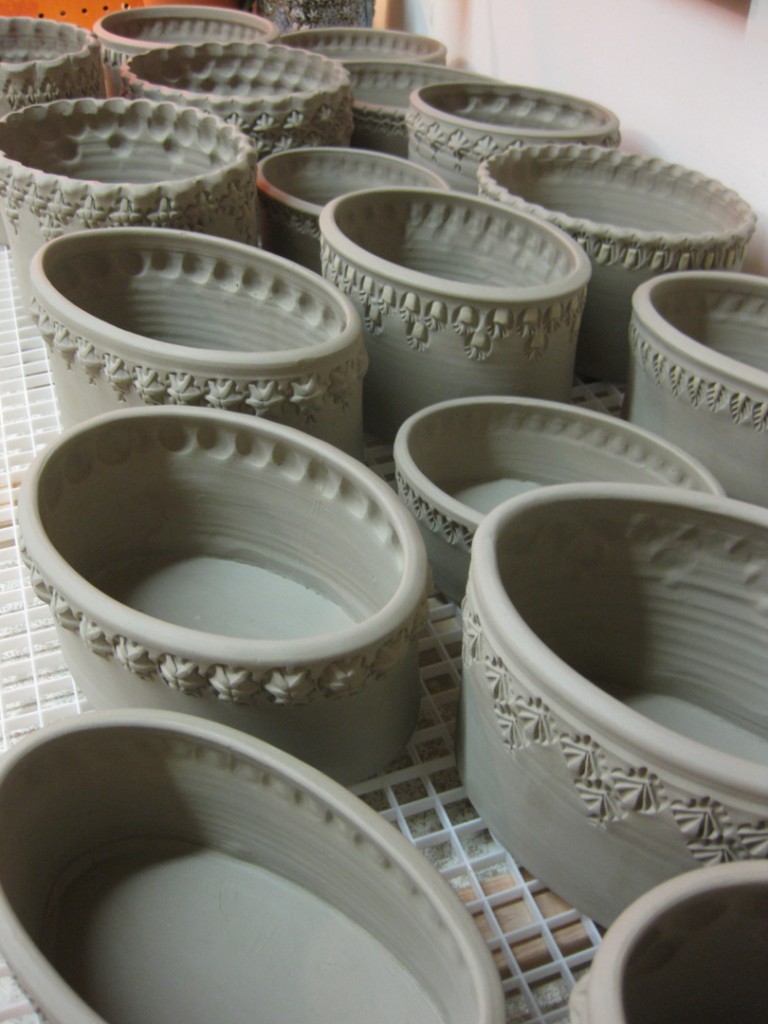
Then it was time to add the bottoms. So I throw some slabs with the same clay body.
I attach the bottoms with a good amount of scoring & slipping… smoothing them out
so the “attachment” line doesn’t show up. I want them to look seamless.
And then, to finish them off, I added a few little highlights of colored slip on some of the
stamp impressions. And since I was in a hurry to get them dried and into a kiln, I dried them
all on top of plastic grids elevated on wooden sticks so the air can circulate under & around
the pots – drying them faster and more evenly!
Once they were dry, they went into my electric bisque kiln after class on Tuesday night.
These will wait to be glazed until I fire my next soda kiln… which at this point is just one
month away! And these are the first pieces I have to fill the kiln… uh oh, I definitely need
some more production weekends like this one!!!
With “Art In The Barn” coming up this weekend, I knew I had to make more ceramic
pumpkins to “cash in” on the seasonal festivities! So I started by throwing a bunch of
terra cotta cylinders. Trying not to get overwhelmed by the “mess” of terra cotta!!!
The next day, after they had stiffened up a bit, I trimmed the bottoms a little bit.
Then, with the edge of a square chopstick, I added some pumpkin lines and fluted the top
a bit to make it look as though the top was removed.
Then it was time to give them a face… and a little personality. I decided to just press the
details into the pumpkins instead of carving through like a Jack O’Lantern. I figure people
might rather use them for holding Halloween treats… like my favorite… plain M&M’s!!!
After the faces, I also added little “balls” for feet on the bottom to raise them up a bit.
Plus a few little “warts” to make each pumpkin a bit more “authentic.”
I let them dry overnight – and then painted them the next night with colored underglazes
to really bring them to life. I did some with orange underglaze, but decided to leave a few
of them “plain” terra cotta color.
They dried again overnight, and then were painted with low-fire clear glaze the next night.
Which for some strange reason, is this funky shade of green?! Luckily, it transforms
to a nice clear glaze during the firing. Also making the underglaze colors really pop.
Then it was into the kiln for a quick 12-hour firing to cone 04. A day of cooling and they finally
came out of the kiln this evening. Just in time to go to Barrington for set-up tomorrow!
I spent the day today in my basement storage room getting ready for this weekend’s art fair.
A lot of people don’t quite understand all of the work that goes on “behind-the-scenes.”
It’s not just the “fun” of making pots. There’s a LOT of work that goes on throughout the year
to keep the business running. Today it was “processing” all of the pieces that have come out
of my recent kilns. A lot of prepping, pricing & packing… and a LOT of pottery!!!
The good news… that after a VERY long day with the help of my best art fair assistants ever,
we got everything packed up and ready for the weekend. In fact, everything is already packed
in my parent’s van as well. We have a Friday afternoon set-up for the Barrington show. And it
will be extra nice to not be packing the van in the morning AND setting up in the afternoon.
I feel like we have a little head-start on it all this time!
After a frantic & productive weekend, and some fast drying in front of the fans,
everything was ready to be loaded & fired in the electric kiln. My plan is to fire to cone 04
so that I can bisque my stoneware, aas well as single-fire my glazed terra cotta pumpkins!
Sure, it may not be my tightest packed kiln ever. But considering I had nothing
even in the works just five days ago, I think I filled it pretty well.
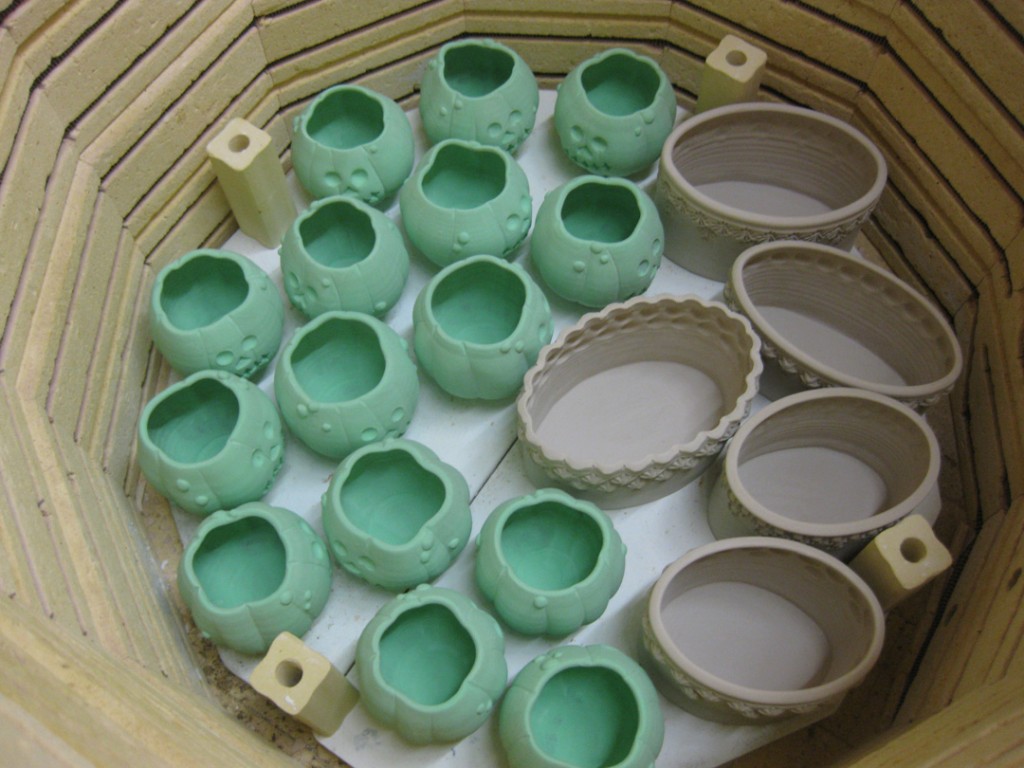
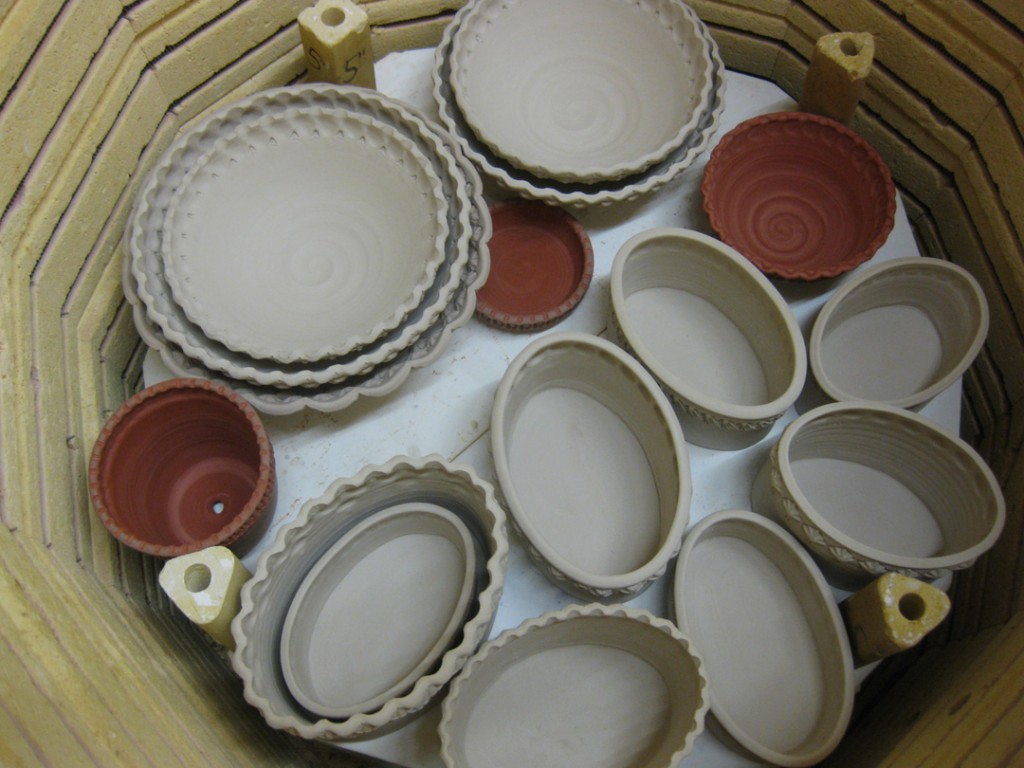
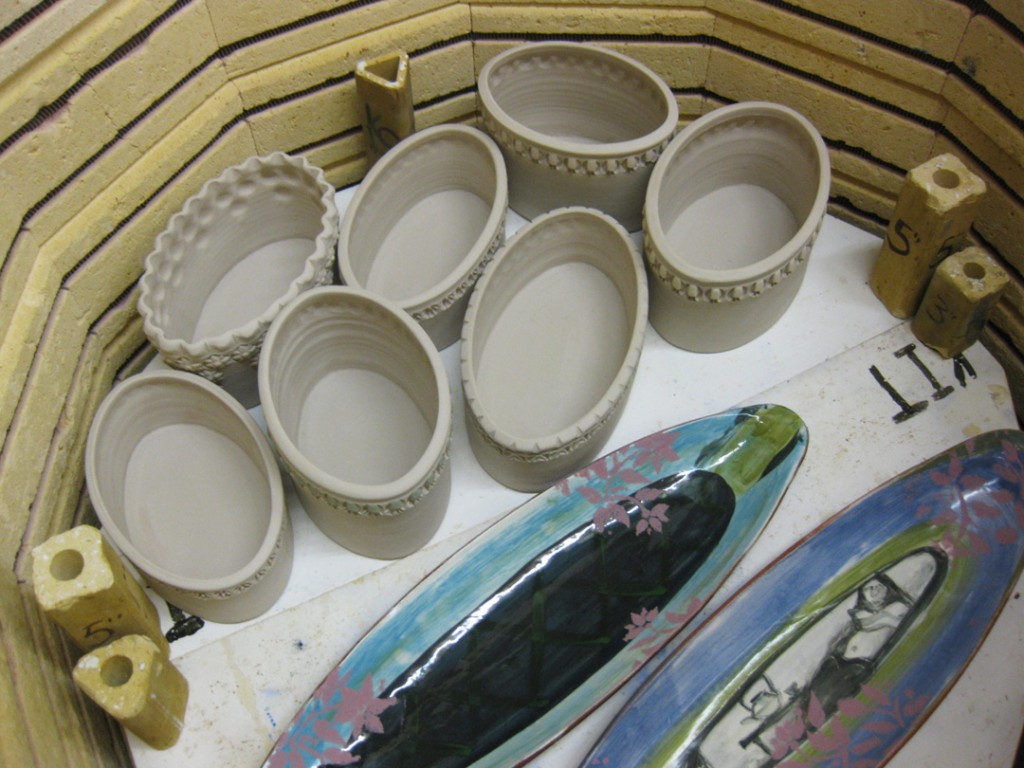
Layer #1 – clear glazed (yes, the green turns clear) mini pumpkins and some ovals.
Layer #2 -more ovals, stamped bowls and a couple terra cotta pieces left over from Camp.
Layer #3 – even more ovals… and two terra cotta trays being re-fired for studio friend Lisa.
Layer #4 – clear glazed Jack O’Lanterns… and one lone oval that didn’t fit down below!
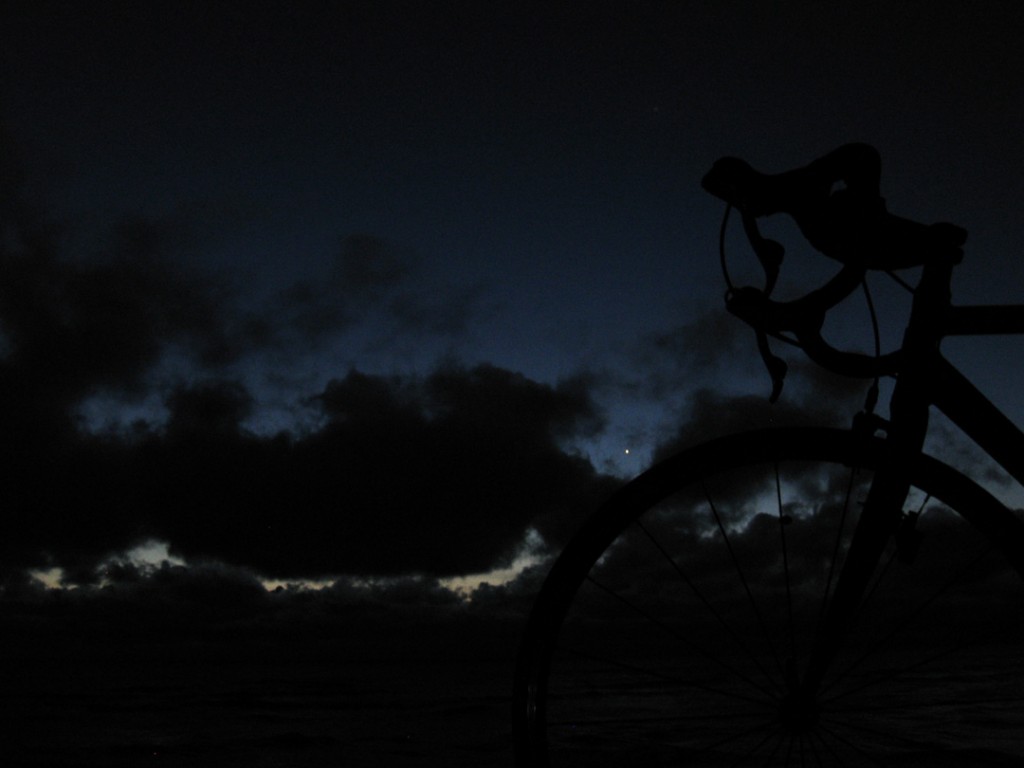
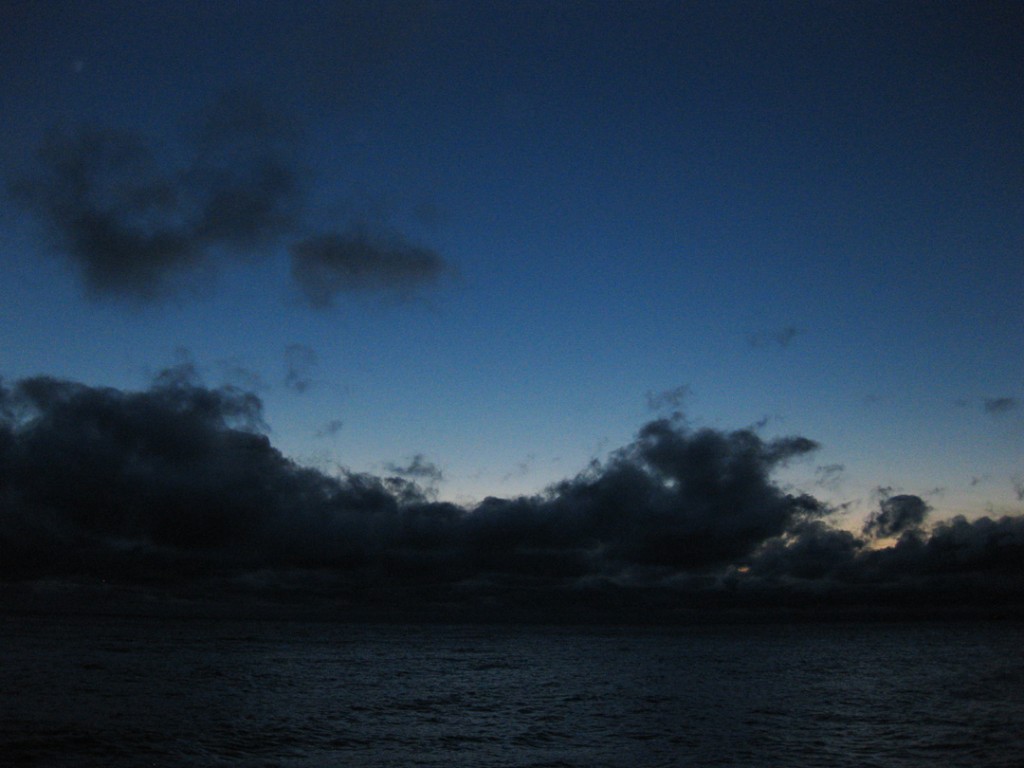
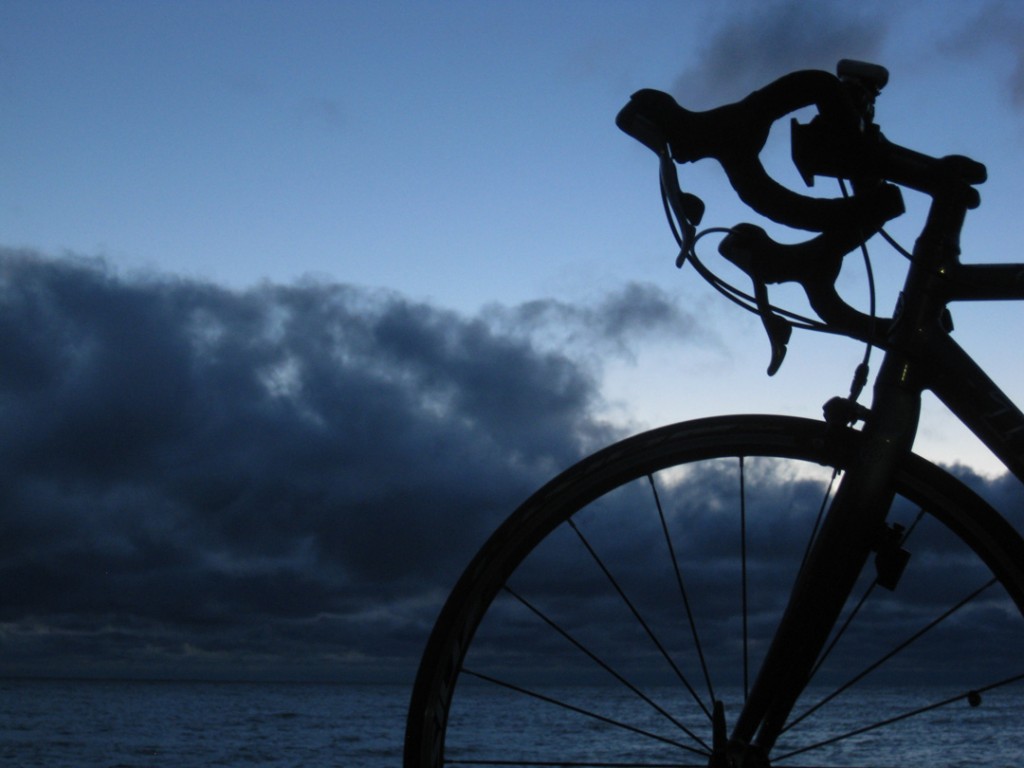
Another dark morning. And oddly, it seems to be getting darker every morning, doesn’t it?!
Yet I know that a few miles down the road, the sun will start to rise, the sky will brighten
and it will be another beautiful bike ride. And even though the sky never turned to vibrant
shades of orange, and the sun never quite broke through, it is still the best way to start the day!
Friday…
After the Lillstreet staff party on the rooftop, I threw a LOT of pieces & parts.
Throwing both stoneware and terra cotta in alternating “waves” and trying to clean up
everything between each so that things didn’t get all mixed up!
Saturday…
When I came into the studio, I altered the cylinders into oval shapes & stamped them.
I also started giving some shape to the pumpkins… both large & small. Turning the smooth,
round thrown shapes into irregular pumpkins!
Sunday…
I attached bottoms to the oval cylinders and added some more details to the pumpkins.
First it was the stems, then it was carving the Jack O’Lantern faces and warty-bumps!
Monday…
I added colored slip details to the ovals, and painted the pumpkins with colored underglazes.
Painting the pumpkins really brings them to life.
And now, everything is sitting in front of a couple fans overnight… as they are being “rushed”
to get into an electric kiln tomorrow night. I even placed them all on plastic grids elevated on
wood sticks so that air can circulate under the pots as well… hoping to dry them faster &
more evenly!!! And if all goes well, everything will come out well. And the Halloween novelties
I was so motivated to complete will make it to the Barrington art fair in time!!!
I also took a lot of photos throughout the production line.
Coming soon… I’ll be posting some step-by-step process pictures of all three shapes!
