Last Tuesday, I did some repeat demos for my class for those that missed them
the first time… or didn’t find them quite as easy when they tried to do them!
Totally fine by me. It’s their class and I’m more than willing to demo whatever they want.
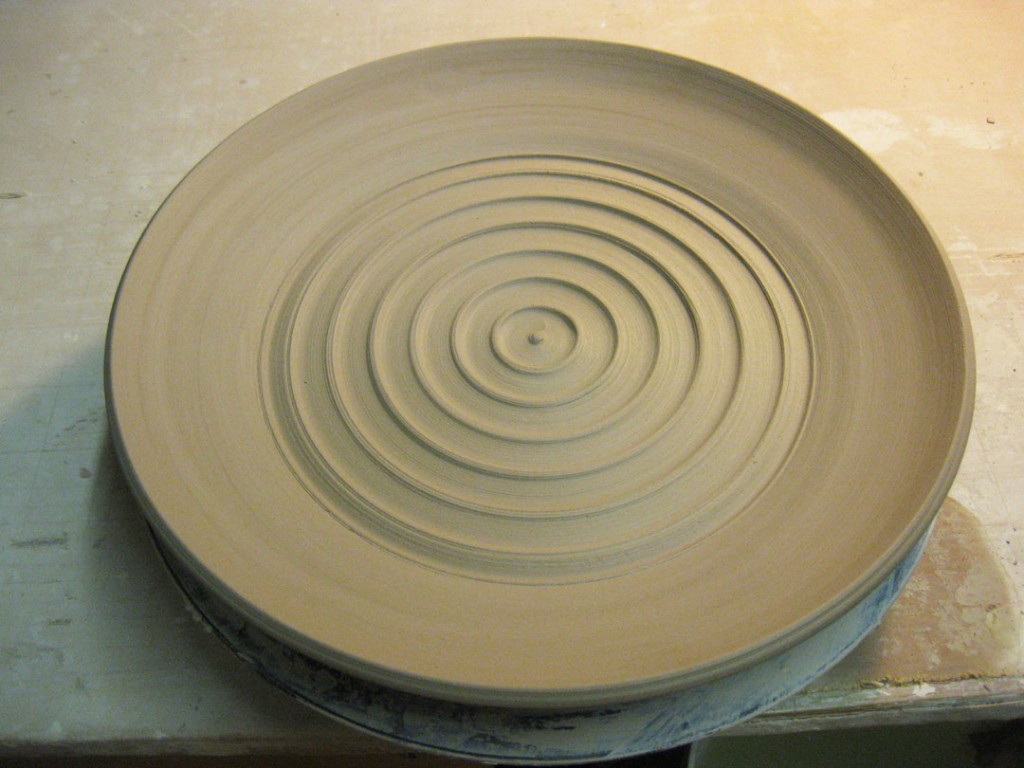
And now I find myself with another demo platter thrown and waiting to be stamped.
Well, tonight was the night. First, I started by unwrapping the original platter which was
finally to a good state of leather-hardness to be stamped… just a little softer than
“trimming leather-hardness” typically is.
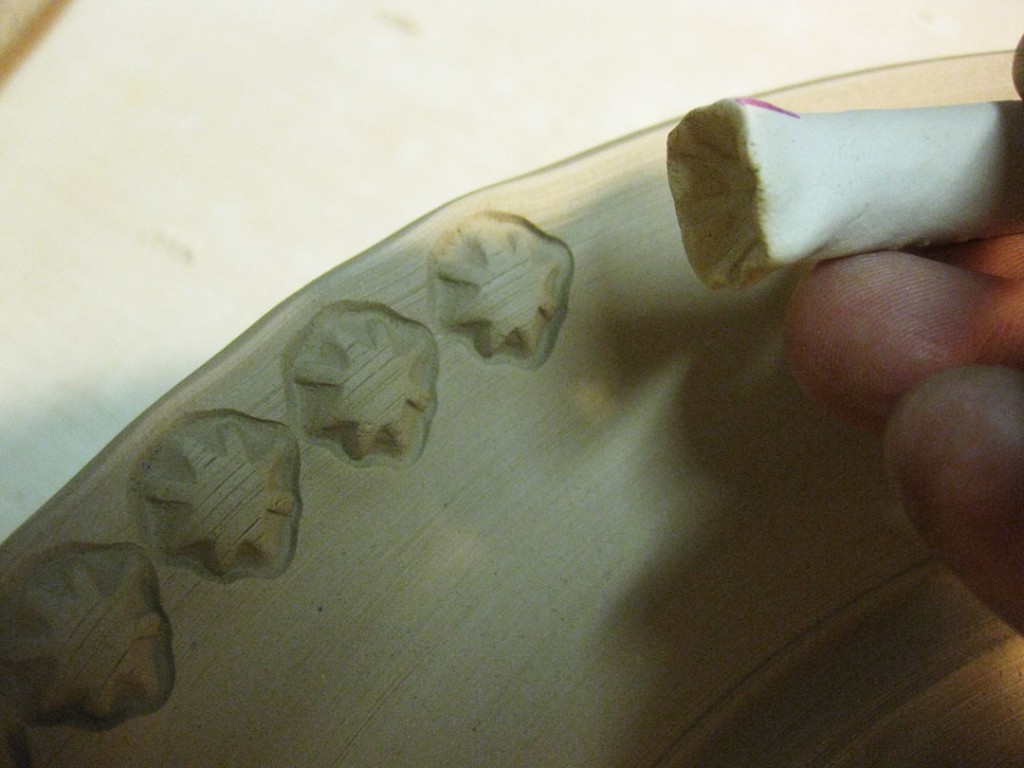
Then I start by making the first row of impressions with the chosen stamp pressed in one,
by one, by one, by one… again, and again, and again… until you get all the way around
to the other side! And I always have my fingers crossed that they’ll line up just fine!!!
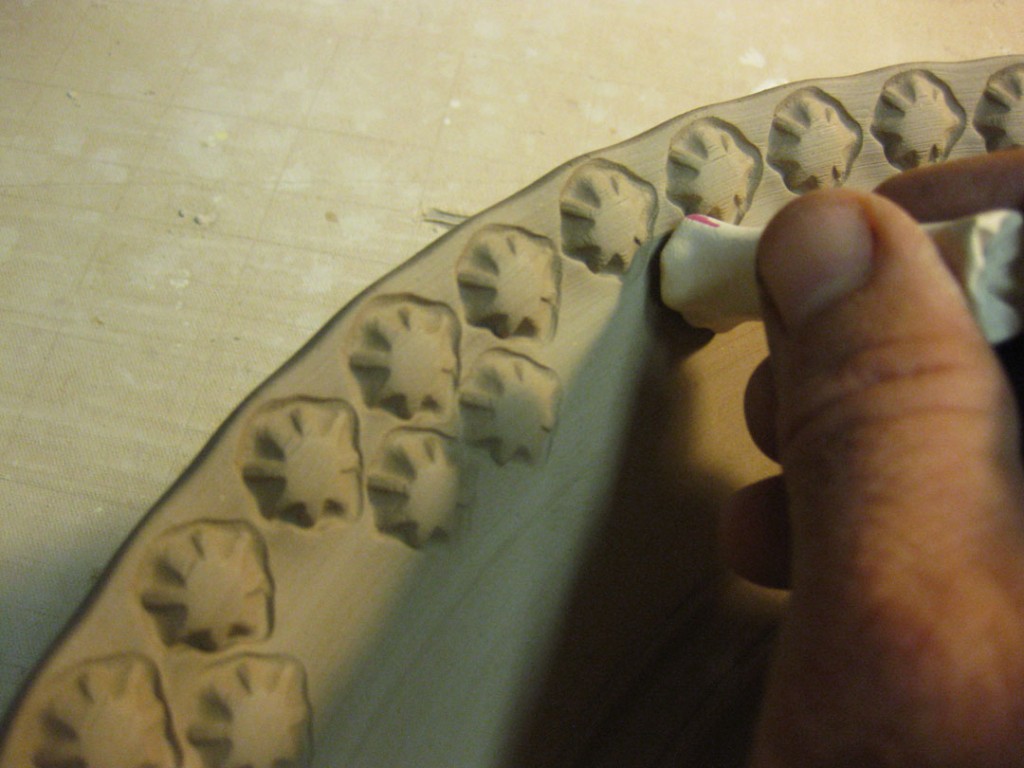
Then it’s time for a second row of stamps to start the pattern…
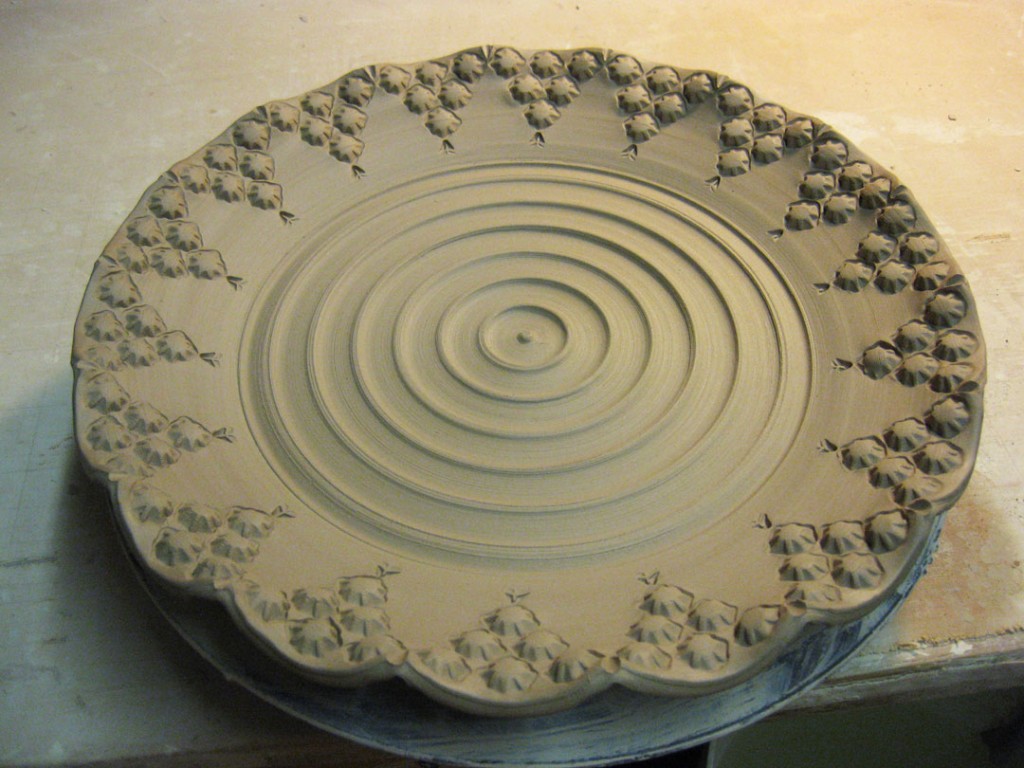
After a couple more stamps, and a few smaller accent stamps at the bottom of each point
and the stamping portion was done.
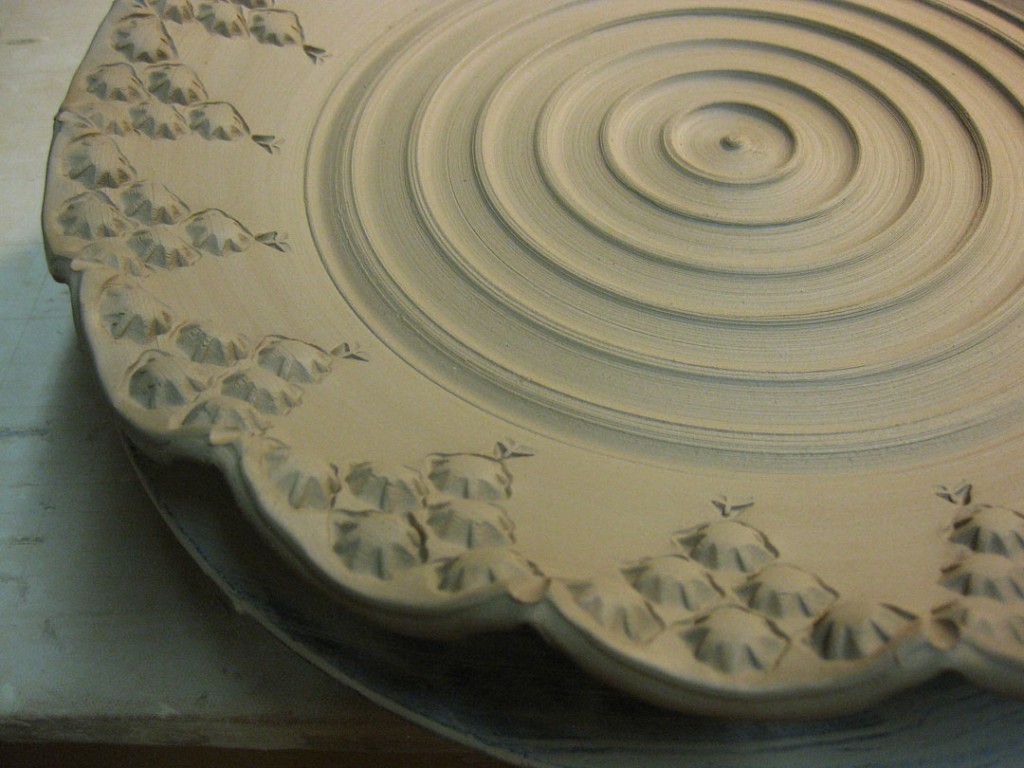
Then it was time for a little rim fluting & curving to give the platter a gentle undulating
design. A simple touch to give the platter a completely different look.
Here’s a close-up of the curved rim – just before wrapping it up with plastic for the night.
So now it’s a waiting game until it is dry enough for trimming.
