After teaching class tonight, I loaded another bisque kiln. One step closer
to my upcoming soda kiln. And you know how I pride myself on packing an
effective kiln. However, I’m kind of embarrassed to say that I didn’t do all that well this time.
I’ve been trying to crank out as much as I can, but I didn’t do so well with the smaller pieces
that fit into all those empty spaces! Sure the first couple layers were pretty good…
but by the third & fourth layers & was out of filler – only large pieces & no filler?!!! Sheesh.
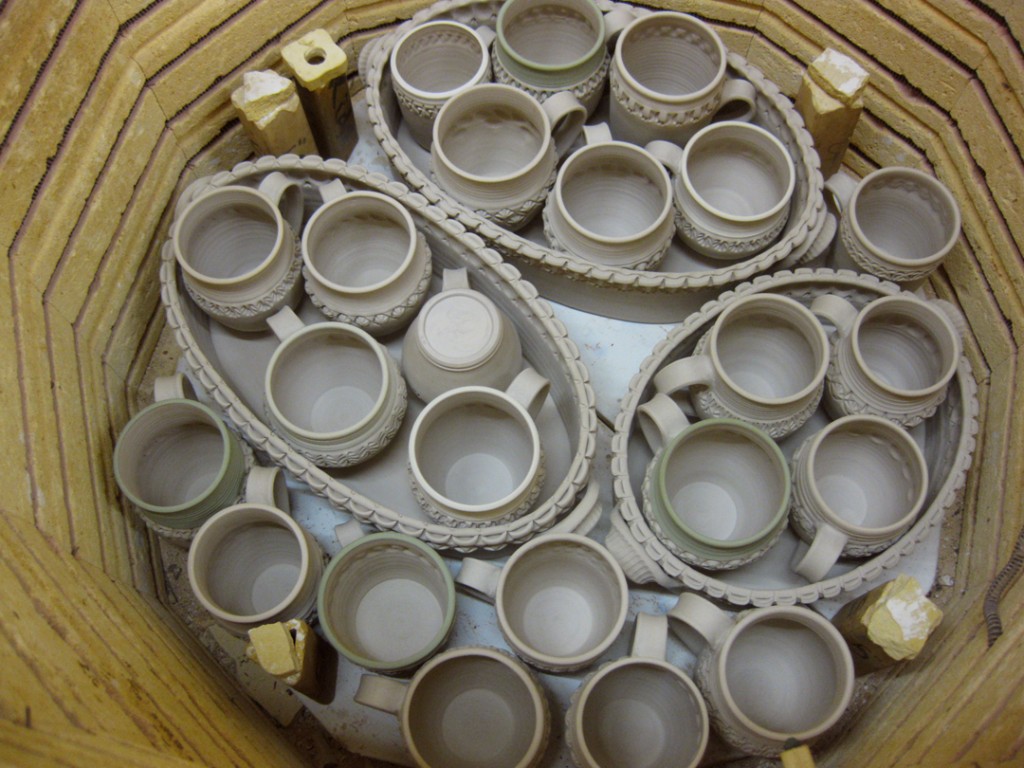
Kiln Layer #1 – ovals & mugs
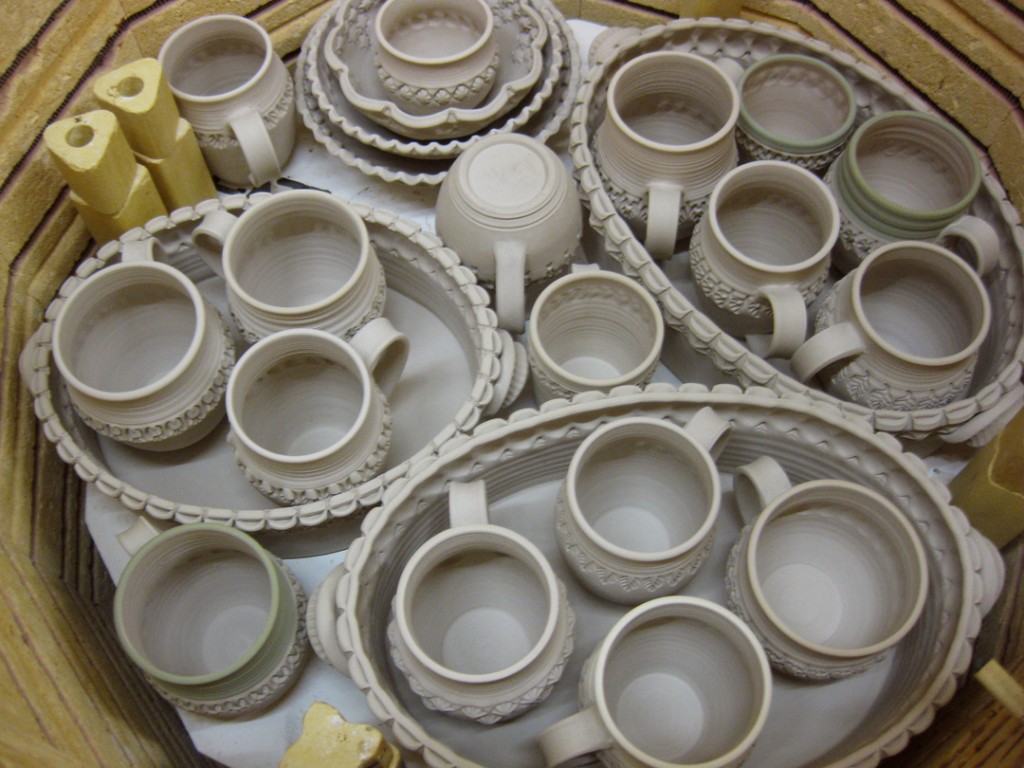
Kiln Layer #2 – ovals, mugs & bowls
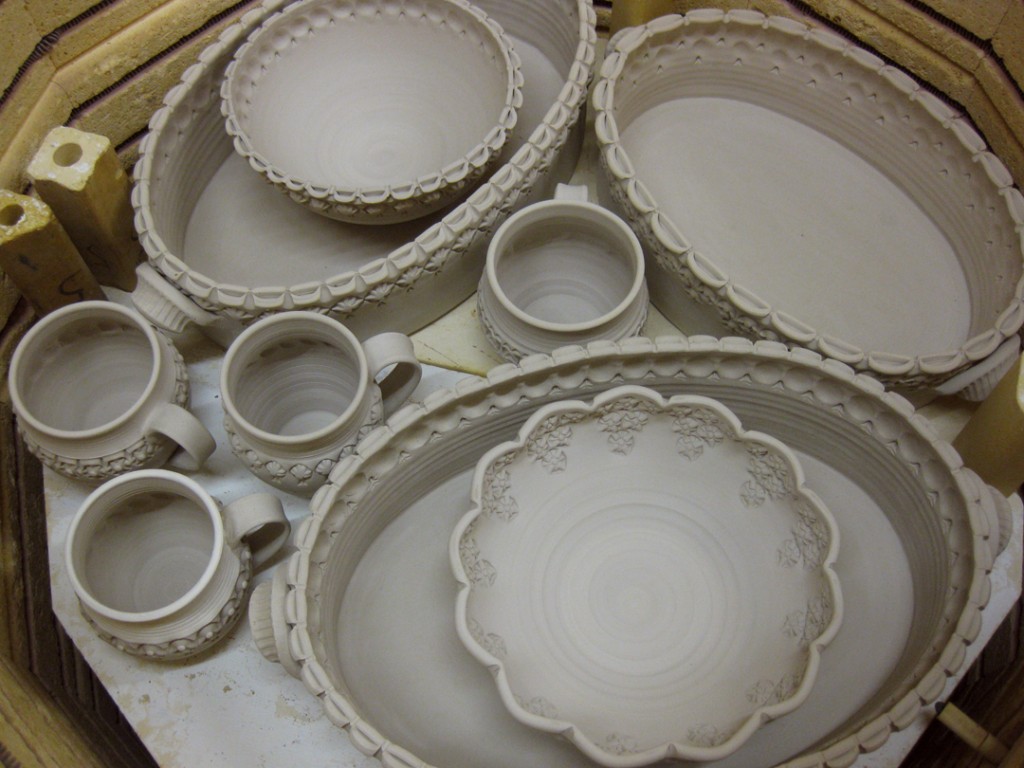
Kiln Layer #3 – ovals, mugs & bowls
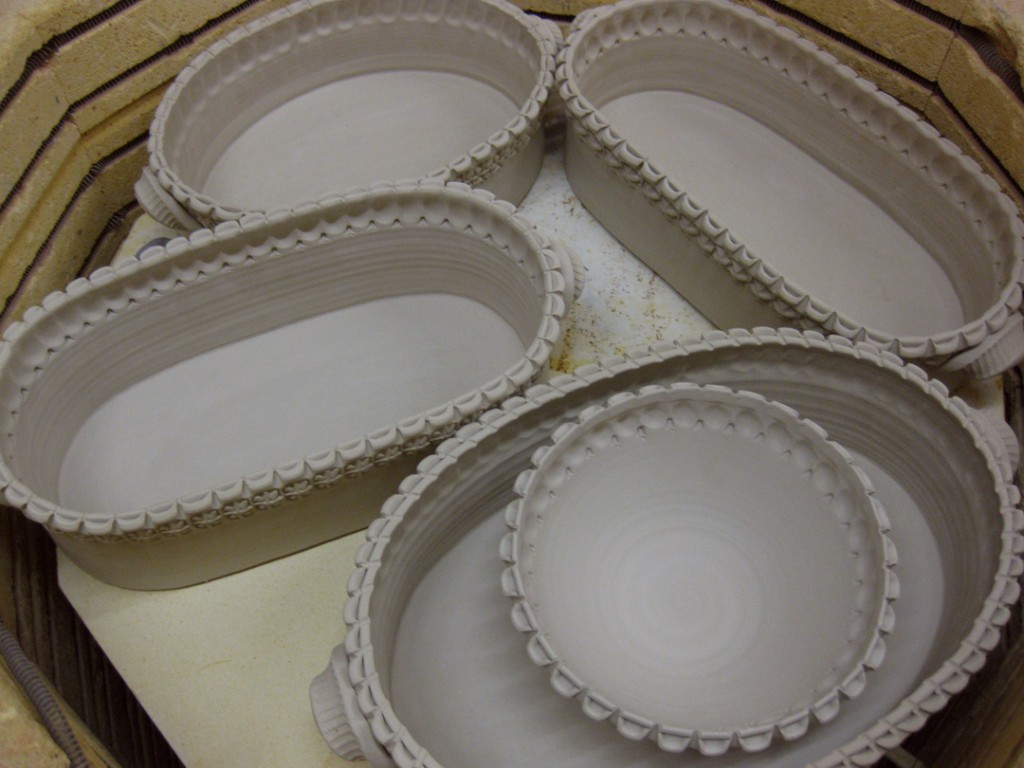
Kiln Layer #4 – ovals… and one more bowl!
Hopefully next Tuesday’s bisque kiln will be packed a little tighter…
as long as I’ve made enough new pieces between now and then!!!


Okay Gary – what beautiful stamps are you using around the rim of those ovals? I’m gonna keep making ovals until they look something kind of close to this! 🙂
JENN – It’s a simple split rim when thrown. Then ovaled when still wet but not sticky. Then a concave stamp on the outside all the way around. Then the split rim is pinched together spaced to coordinate with the stamp spacing. Then there’s another smaller stamp detail inside the oval to go with my fingertip impressions. So now they’re getting stamped inside AND out. Could it get any crazier?… and yes, you’re well on your way with the Oval Addiction!!!