Well, it’s Week #4 of the Spring Session at Lillstreet Art Center.
And most of my beginners are doing great… and those who aren’t,
are at least doing good and having a great time! So that counts for something, right?!
Tonight was “bowl night” in class and I demo’d how to make bowls on purpose
instead of a cylinder-gone-bad-and-oops-there-it-is-now-a-bowl. As we make the bowls,
I also encourage my students to design, alter & be creative with their bowls. Sure,
they need to make the typical round bowl. But I also like to open their eyes to some
of the other possibilities. There are a LOT of round bowls out there… why not express
yourself a bit to make that round bowl something special?! So, as part of the demo,
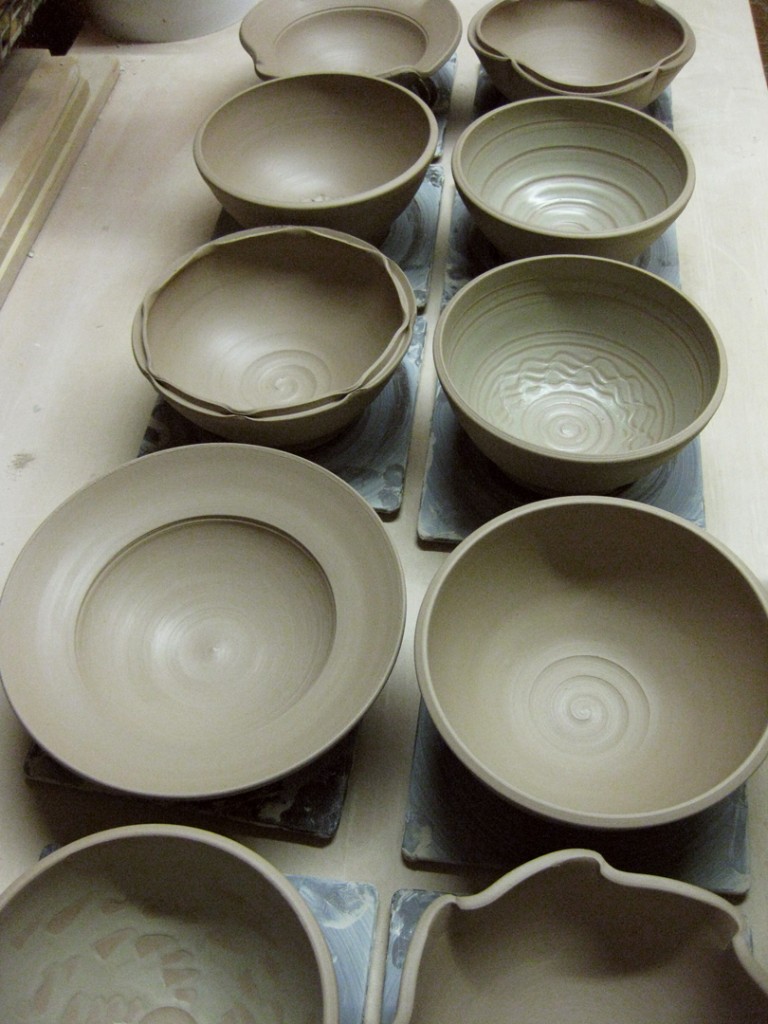
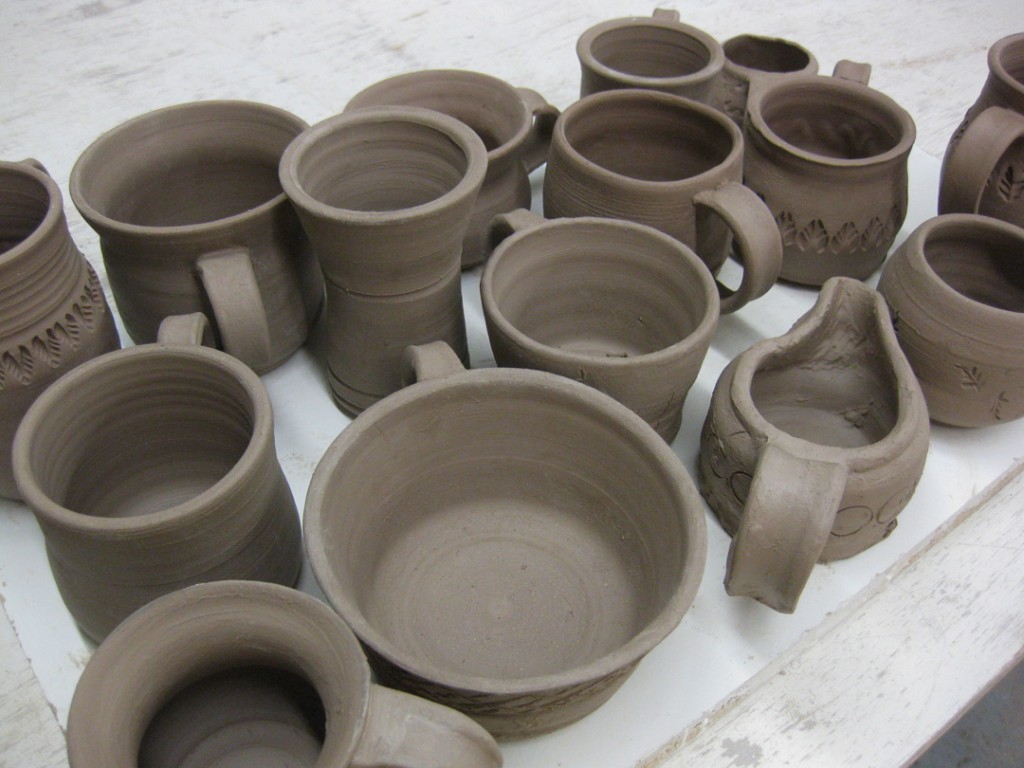
I threw ten “practically identical” bowls and then showed them how to do some quick
alterations, and introduced them to the world of colored slips! By the end of the demo,
the ten bowls were each very DIFFERENT bowls… and quick too!
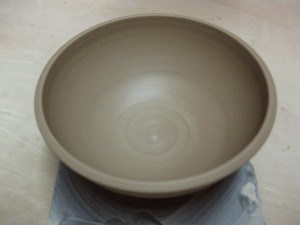
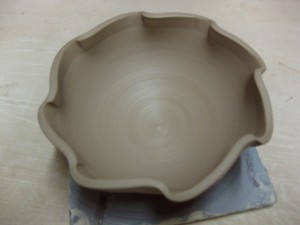
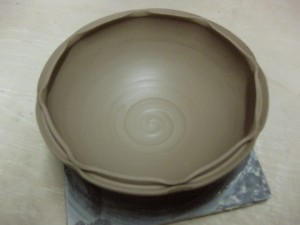
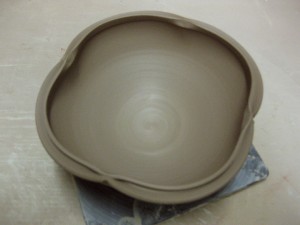
Bowl #1: Plain — Bowl #2: Fluted rim edges
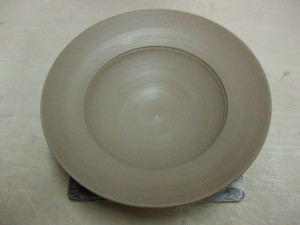
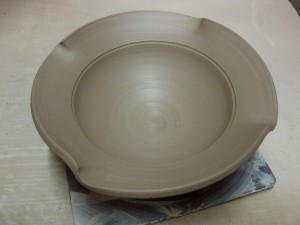
Bowl #3: Flared flange — Bowl #4: Flared & fluted flange
Bowl #5: Split rim & pinched — Bowl #6: Split rim, pinched & squared
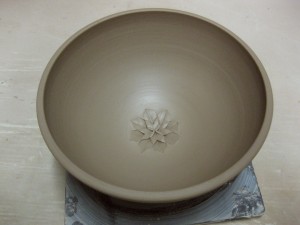
Bowl #7: Flower impression — Bowl #8: White slip spiral
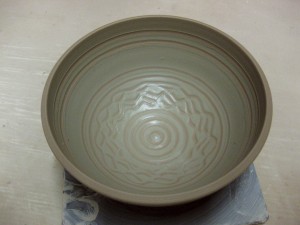
Bowl #9: White slip squiggles & line — Bowl #10: White slip chattered
Every time I do the bowls demo, for some reason every one is impressed by the ease and
simplicity of the little flower impression in the bottom of this bowl. A lot of people assume
that it’s a stamp… but instead, it a few impressions with a simple metal tool to create the
flower. I think I got the tool for a couple bucks at Chinese Clay Art. It always makes a
great “surprise” for someone eating out of the bowl when they get down to the bottom!
So there they are… bunches of bowls ready to set-up for the night, dry to leather-hard,
maybe some stamping, then some trimming before they head off to a bisque kiln.

