So tonight I finally loaded the soda kiln. After months of making work, bisquing,
glazing, wadding and more… tonight was my night to load the kiln. Tomorrow I’ll be
firing the kiln all day. But first… here’s my step-by-step loading process from tonight!
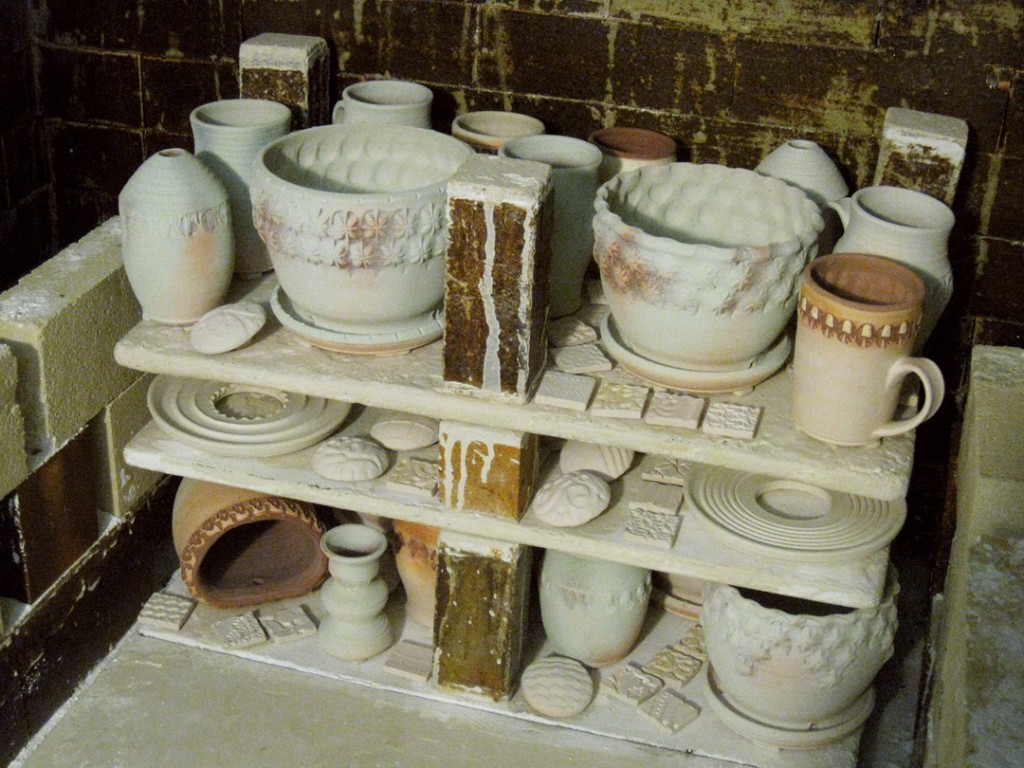
The kiln was empty and waiting for me. You always start with the back stack. I load
the entire back stack, one shelf deep, all the way to the top… then move to the front
two shelves and load them all the way to the top. Each shelf is placed on kiln posts
of different heights to make the shelves work with the heights of your pots. With lots
of tiles conveniently fitting in between all of the pots – the perfect kiln filler!
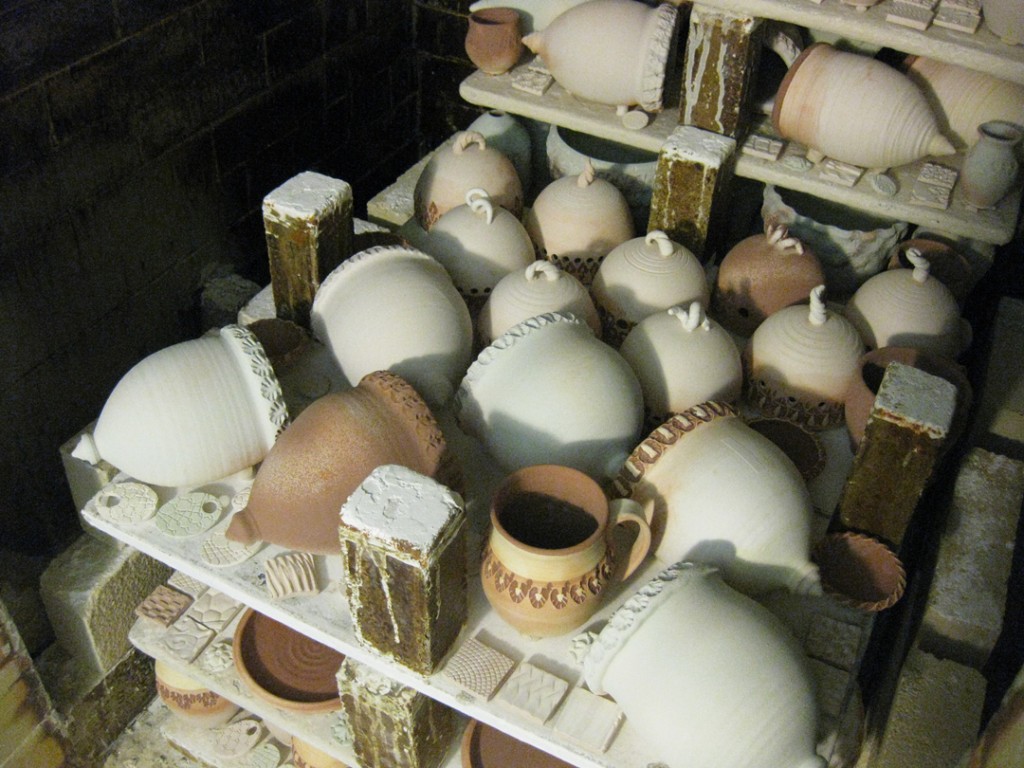
Lots of pots. Lots of tiles. All different sizes. All different shapes. It’s sort of a 3-D puzzle…
loading in pieces, trying to get as many pieces in as possible – while making sure there’s
enough air space around everything for good soda flow & coverage. It’s tough…
the more I “squeeze” in, the more I feel like I’m getting my money’s worth for the cost
of the kiln firing! Pack it too tight, and some of the work may not be covered & glazed
with soda. So I keep packing… up to the top!
Then it’s time to move to the front two shelves – and load them both at the same time,
layer by layer. Again, matching the brick heights with the work going in. Part way up…
another Kodak Moment.
More pots. More shelves. More posts. Layer by layer. And a LOT of tiles!!!
But then it’s done. Loaded all the way to the top. With one last shelf carefully slid in
at the top… just a few more tiles and a couple cups. Whew… a lot of stacking,
a lot of posts & heavy shelves! And I’m sweating… but glad it’s done.
Once the kiln is packed, and the cone packs in place, the door then needs
to be bricked closed. One brick at a time. Alternating, some this way, some that way.
Making sure that the peeps are in, and line up with the cone packs so I’ll be able to see
them during the firing. Yes, the peeps are the “brighter white” bricks that can be
pulled out for a quick peek.
And then it’s done for the night. Put to bed. Trying to get a good night’s sleep
for tomorrow’s long day of firing! And… scene!


Holy Crap!
That is a ton of pieces you’ve got loaded there.
Congrats and good luck on the firing.
So far so good… except for the “missing” cone pack on the bottom that apparently blew up early on in the firing?! Look through the peep and there’s nothing to see?! No cones. No pack. Gone! Good thing the top one is still there – which is the more important one for me!
That kiln looks deceptively small when empty.
I am most amazed that after we left the studio at 10:30ish you went home and uploaded all the photos and blogged. I made a quick phone call and passed out.
And what are those domes? I love them.
The “domes” are a new item I’ve been working on. They’re garlic keepers, and will have a small plate under them when done. These are the first batch… and as you can see, I never do the “test” with just one. Oh no… I jump right in and do a full batch right away!!! I sure hope they work.
That there’s the look of MONEY!
Pieces looking good, as always, I bet we’ll see them at Schaumburg Prairie Arts.
How many times have you bricked up the kiln door only to forget to place the peeps at the packs? Only ONCE, I bet!
Yes… many of these pieces will indeed be showing up at the Schaumburg Prairie Arts Festival – just one month away! And yes… most people forget to place the cone packs in the right place just once. After unbricking & re-bricking the door, you’ll learn a very valuable lesson! Count me in!!!