This week found me installing a “few” tiles…
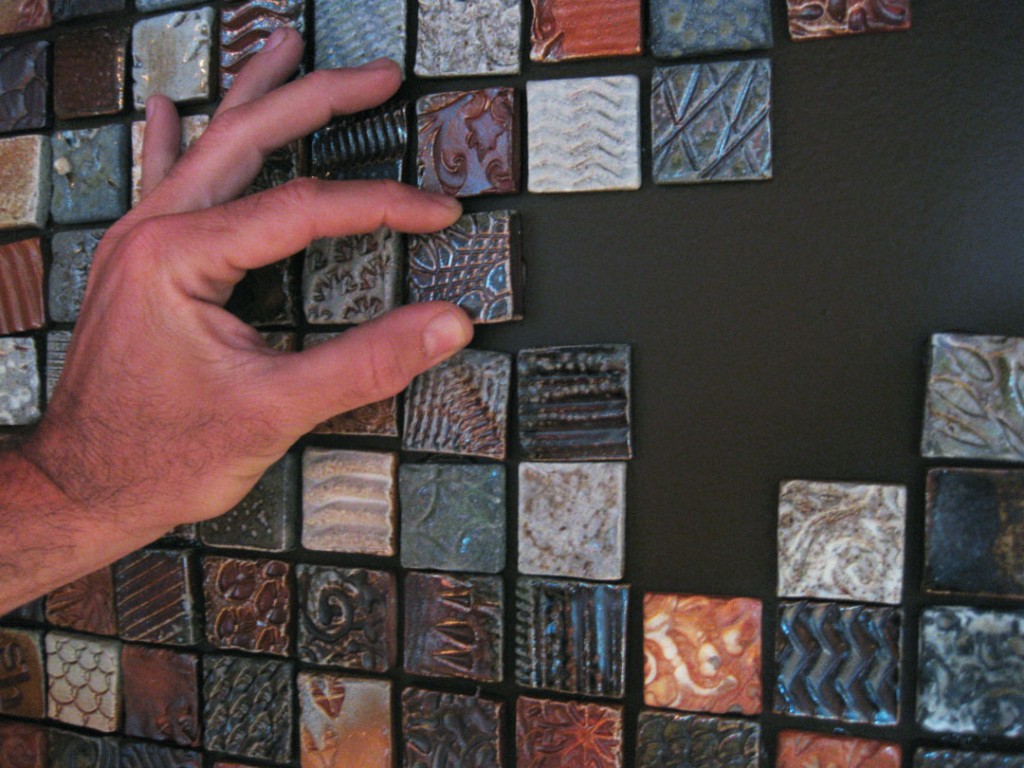
arranging… trying to create that “controlled random” placement effect…
glueing… sliding… straightening… sliding… straightening again… and again…
My sister and her husband had “commissioned” me to do another tile wall
installation, much like the one in my place, but this time… in their home!
So I’ve spent the past few months making tiles, and trying to get enough tiles
soda fired for the installation. Complete with some “custom” tiles with their
names, initials, address and other fun things “hidden” in the textures!
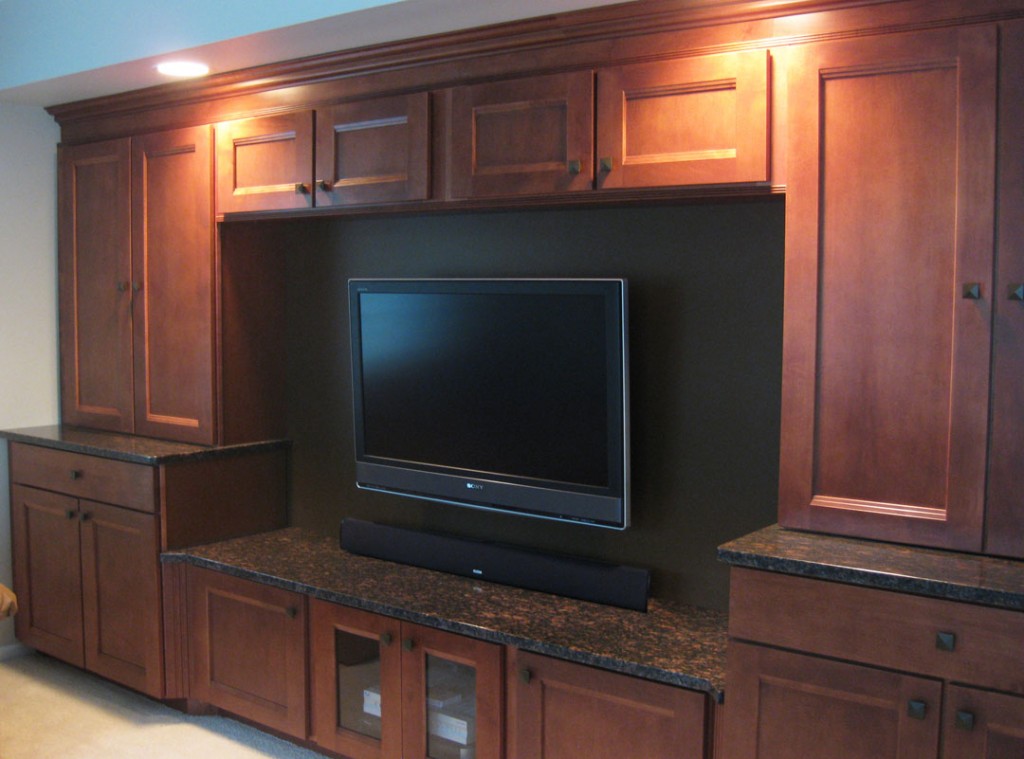
We started with a blank slate – a section of the wall painted dark brown.
The cabinets will “frame” the tile installation as the plasma TV will “float” on top.
Soon to be the main focal point of their family room!
I started tiling with high hopes of finishing in just one session. That plan quickly
dissipated as I needed to leave a little early for a concert at Ravinia. So after
Day One, I was about halfway finished – and very excited about how it was looking!
So I came back a couple days later and picked up where I had left off.
I cranked up the caulking gun and started adhering tiles again! For this sort
of tile installation project, I like to use Dab “Seal & Peel” for the glue. It’s kind of like
industrial strength rubber cement. Idea being that if the homeowner ever decides
to move, they can easily peel each tile off the wall, rub the rubber cement off
the tile and the wall, and re-install the wall at their new place! Plus, we leave the
brown wall paint showing instead of trying to grout around all of the textured tiles!

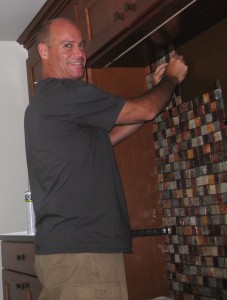
Well into the second “session” of tiling, my niece Taylor decided to take on
the role of “project photographer” and document the momentus tile event.
Surprisingly, she actually did a really nice job with the camera!

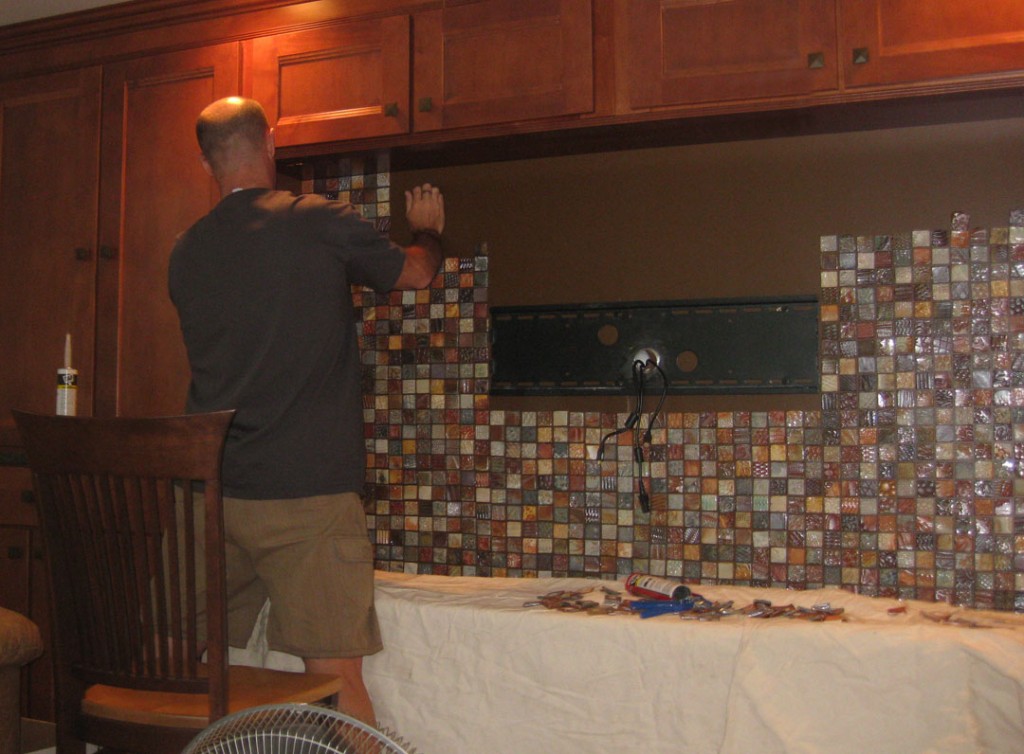
So the tile installation process went fairly smoothly. The real kicker is that
every tile starts to slide down the wall before the glue sets up. Damn gravity!!!
I think that is the main downside to the “Seal & Peel” adhesive… it doesn’t dry
fast enough. So as you add more, you always need to go back and straighten
the others. It’s like keeping those darn circus plates spinning up on sticks!!!
So after two sessions of tiling, a lot of straightening, some bad fumes and a little
playtime & biking with my niece Taylor… the wall was finally done. We re-installed
the plasma TV, connected the bottom speaker then sat back to admire the new wall.

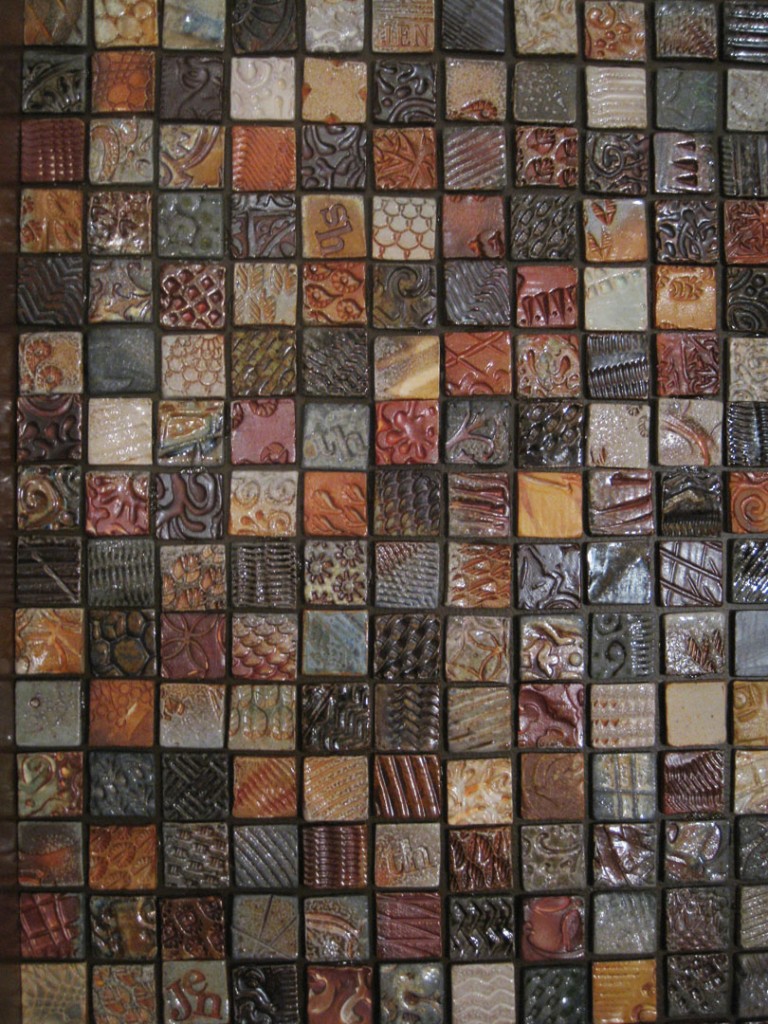
And then it was done… finally…Â just a mere 1,145 tiles later!!!
My wife suggests liquid nails as adhesive. Says they won’t slide.
Thanks for the adhesive recommendation. I too have used Liquid Nails and it did help with the sliding issue. However, I really like giving the owners the option to “take their tile wall with them” if they ever decide to move. With Seal & Peel, they can be popped off easily… not so with Liquid Nails. So which is better?… “no sliding” or “take it with you”???
holy cow that’s a lot of tiles! here’s my installation suggestion: cut some thin plywood/particle board panels in the shape of the desired installation, paint them, mount the tiles on them while they are horizontal, then screw the finished panels into the final installation spot.