As I prepare for my soda kiln firing this weekend, there’s been a lot of glazing
& wadding going on in the studio. Few people realize the huge number of steps
a piece goes through before it’s ready for use at the table. It’s not just a few minutes
of fun on the wheel… there’s countless hours of decorating, trimming, finishing
and firing… twice!
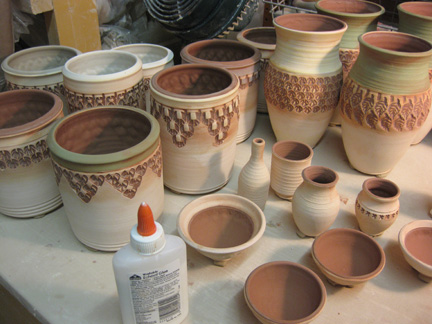
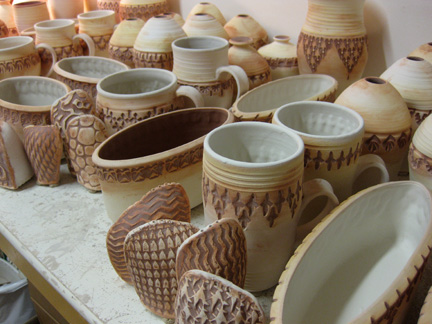
So I’m working every night this week trying to get everything glazed & wadded
for my firing. One of the benefits to the soda firing process, is that my glazing
is somewhat minimal. It’s mostly liner glazes and a few accents… with great
anticipation that the soda atmosphere will create the glossy “glazed” effect
on the sides of the work, along with some great flashing marks!

So every pot is glazed and cleaned up. You want to make sure that edges are crisp,
drips are wiped off and everything is ready to go. After liner glazes & cleaning, I then
glue on little balls of wadding to the bottom of the pots. Wadding is a “soda-resistant”
clay-like material that helps lift the pot off the kiln shelves during the firing. The
concept is that it will keep pots from sticking to the shelves if there is an excess
of soda build-up.
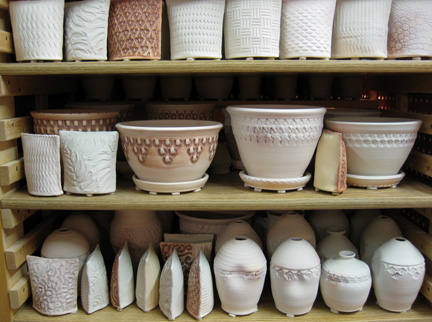
Once they are lined & wadded, I separate them into different categories… some
of them waiting to be lightly sprayed with accent colors. Just a bit of color to work
along with the colored slips I’ve applied before bisque firing and the color flashings
the firing will create in the kiln.

Then the pots get stacked back onto my rolling cart… which will make the journey
downstairs, in the rickety freight elevator, tomorrow to the kiln room for loading.
My hope is that all pots & tiles will be wadded and ready to go by the end
of tonight’s studio session. We’ll see… still have a long ways to go!

great pics of pre-fired work… very cool
Hi Gary,
I’m from Brazil and I loved your pottery.