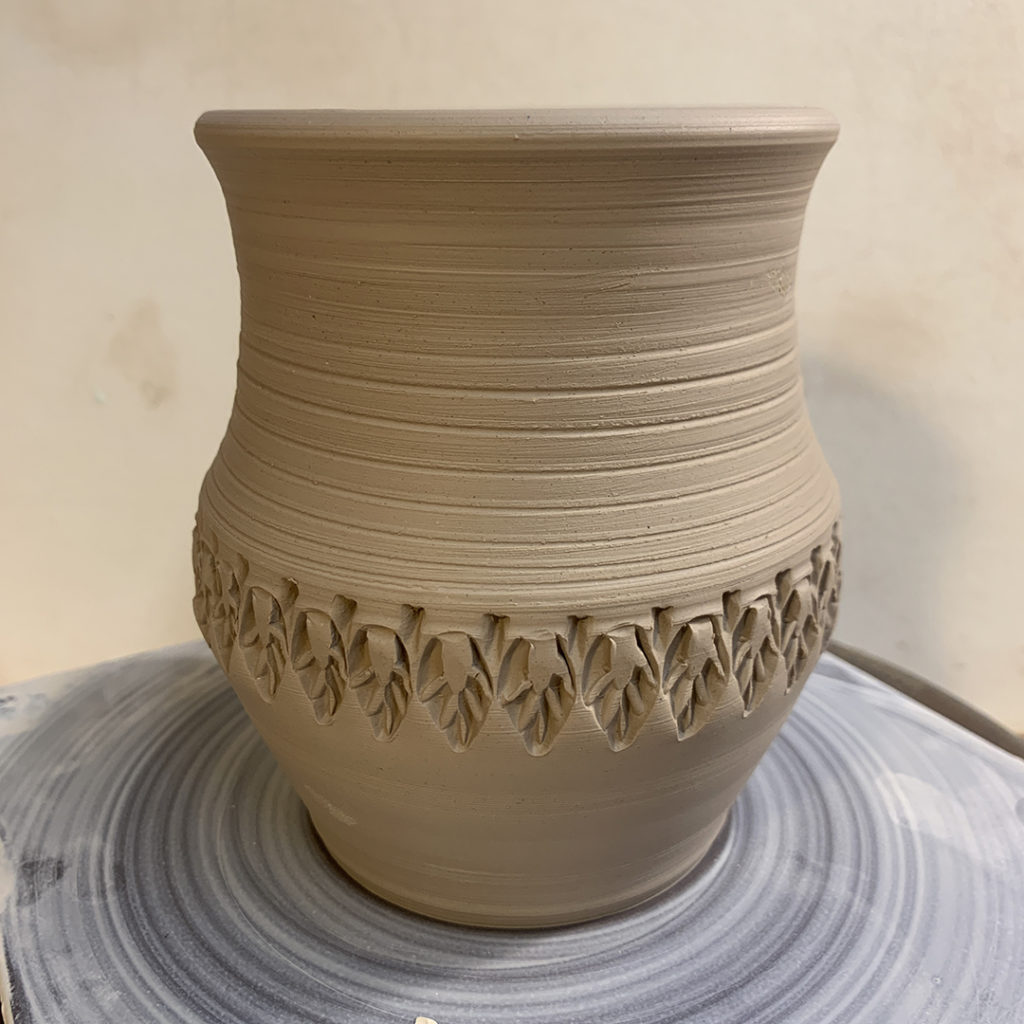
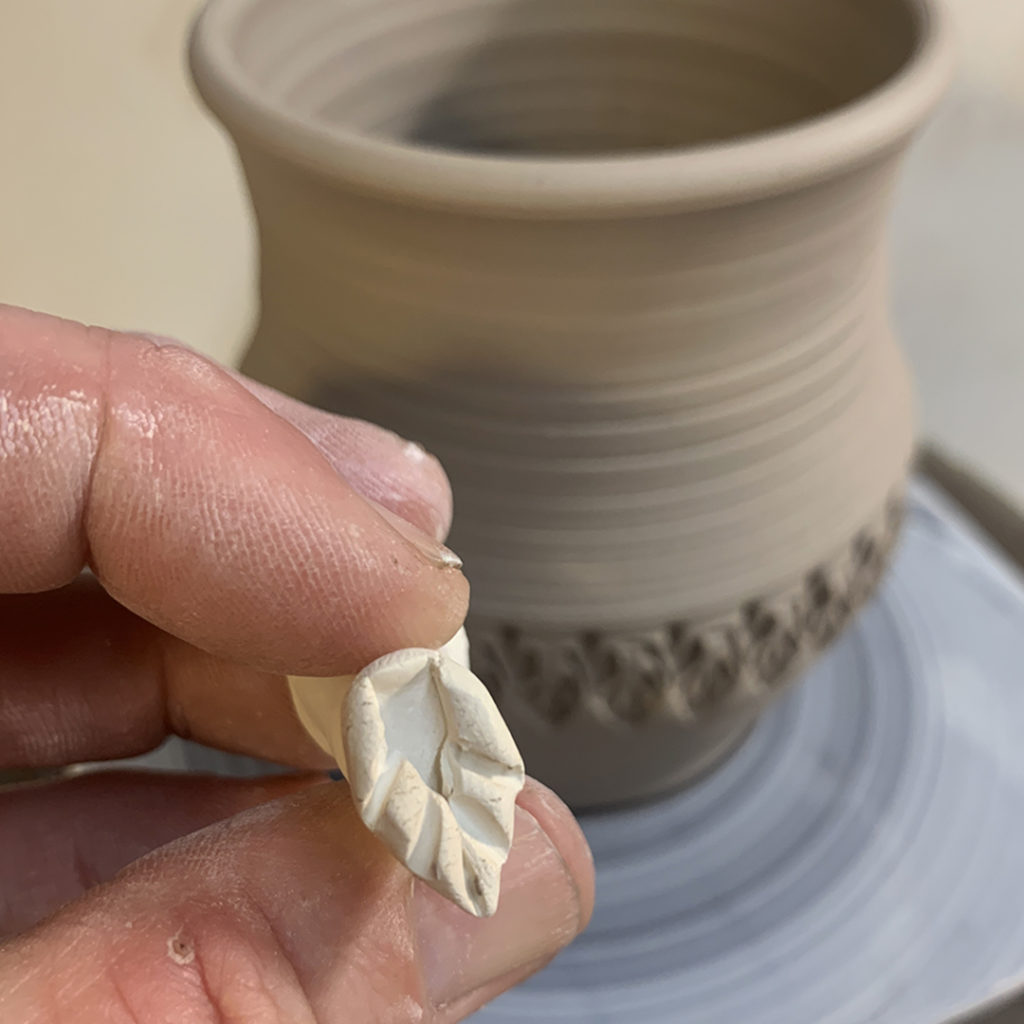
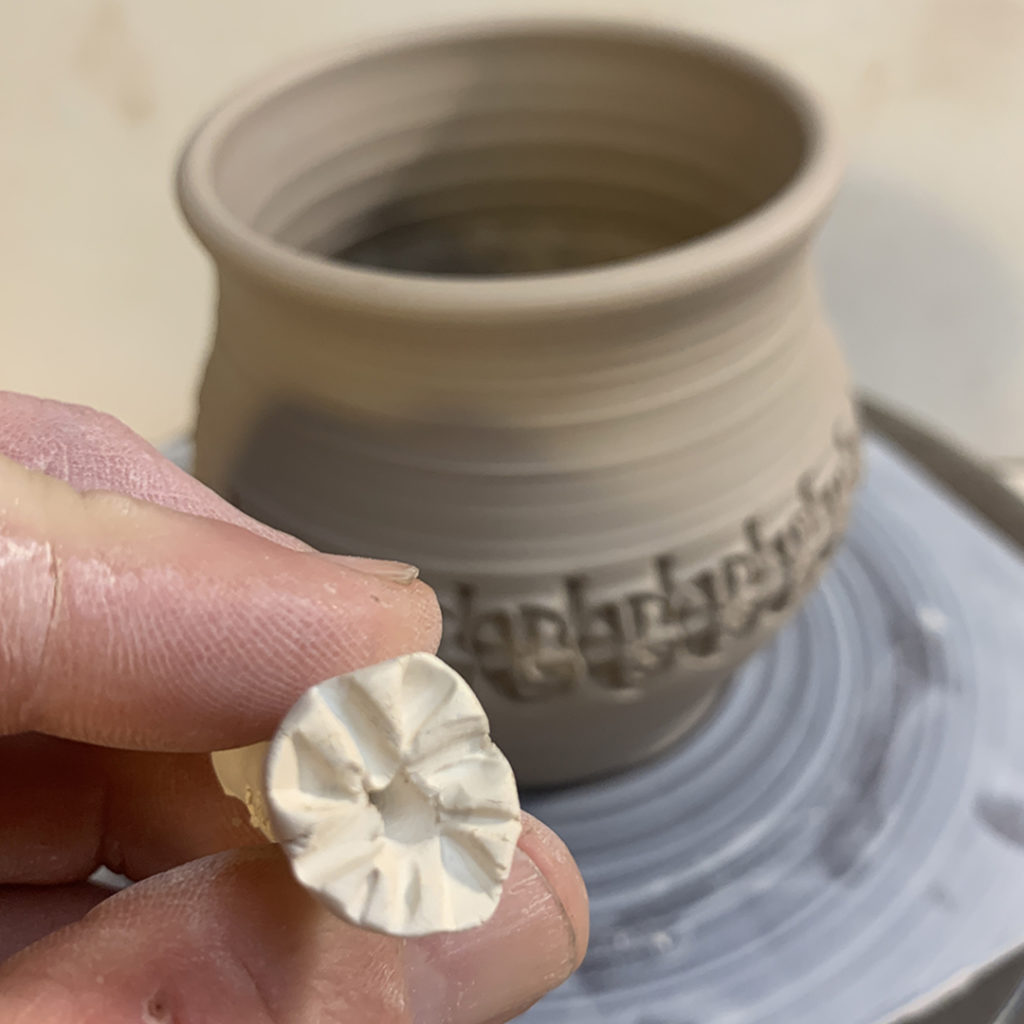
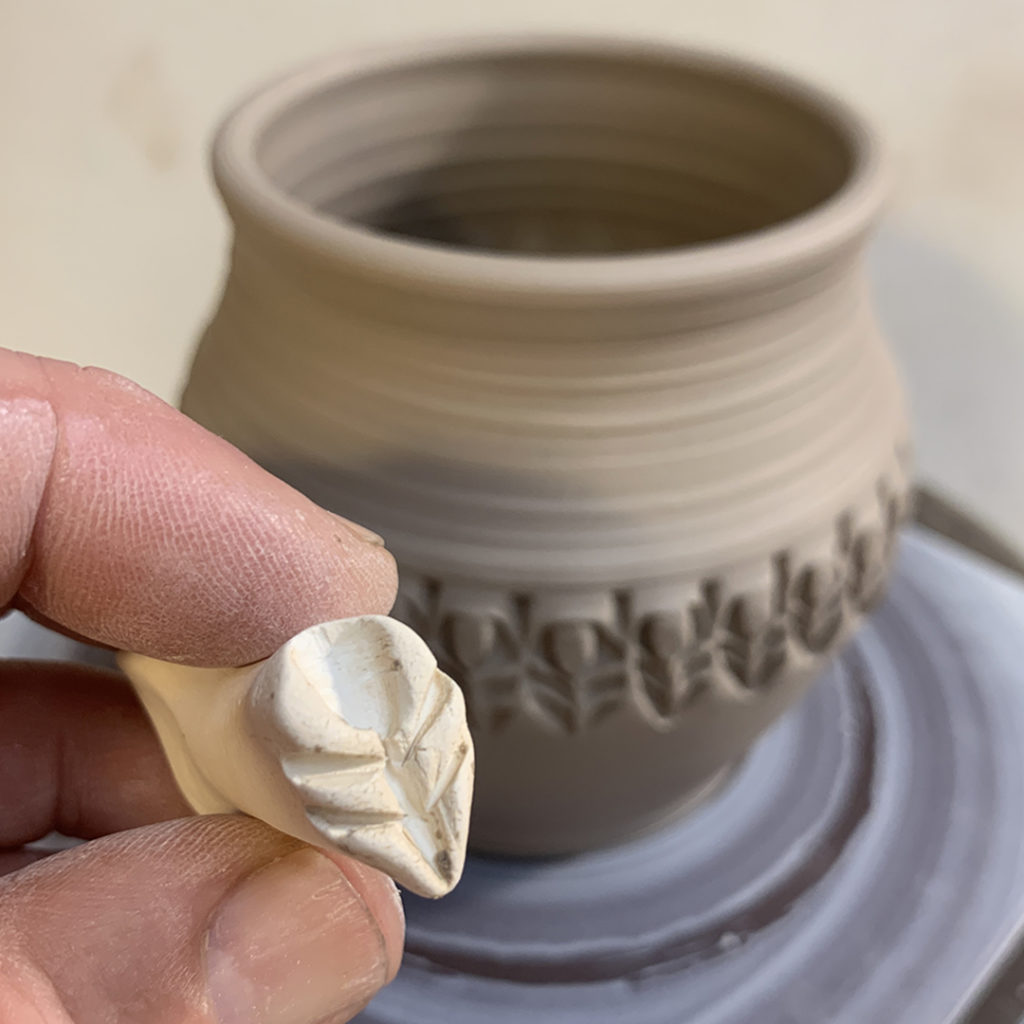
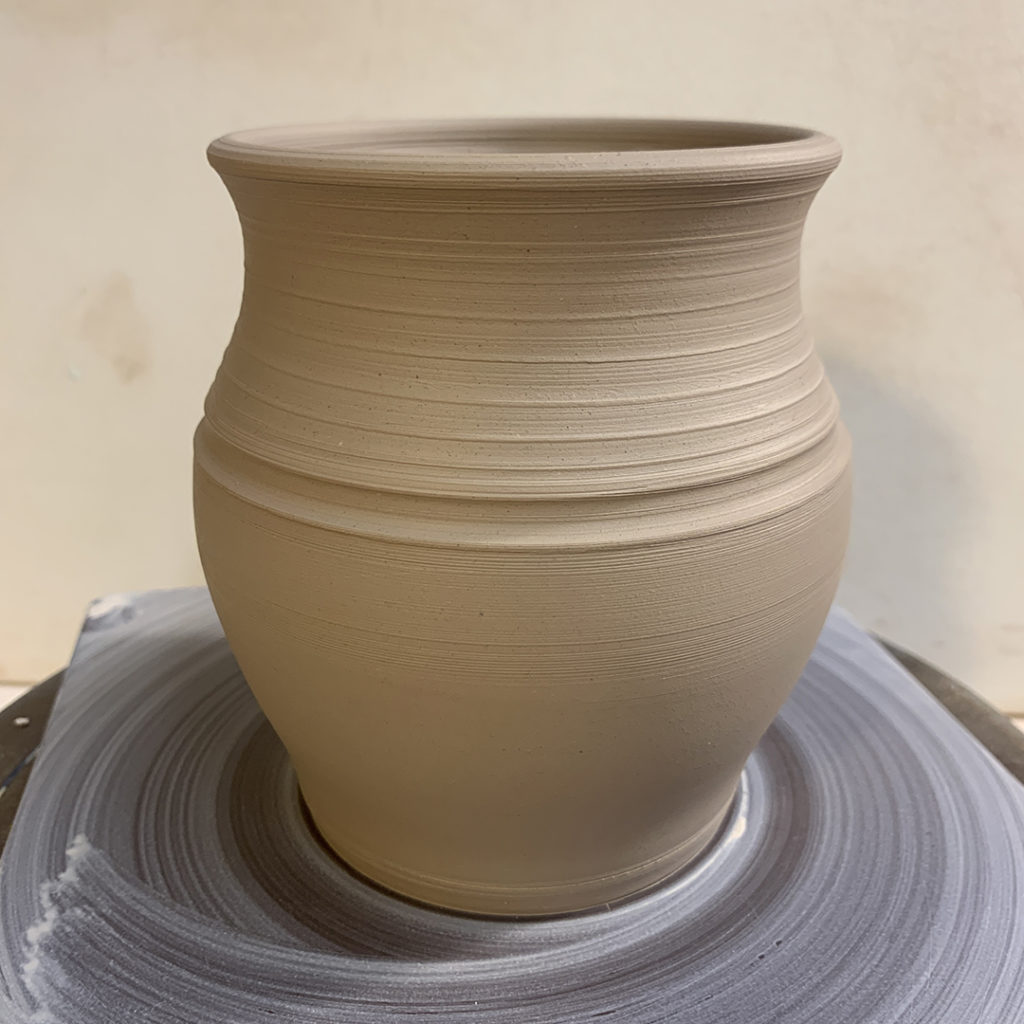
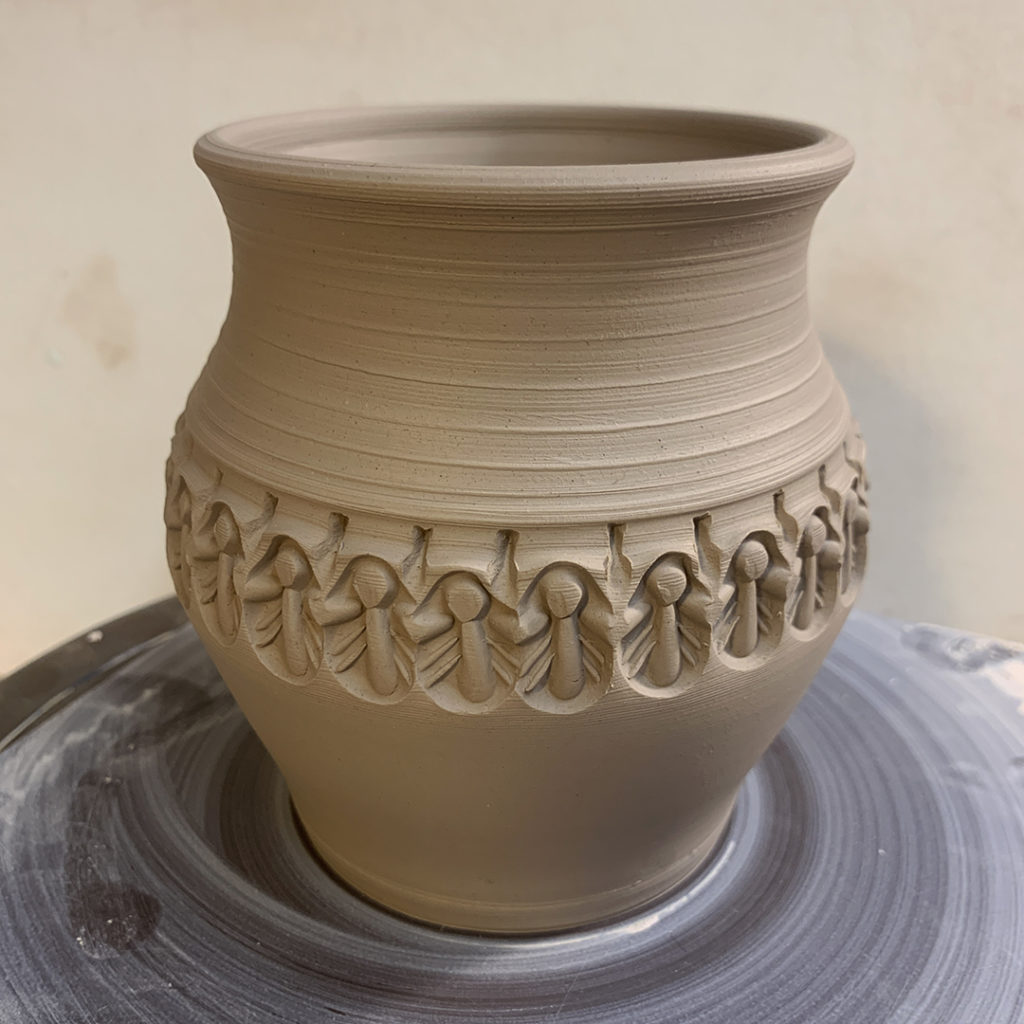
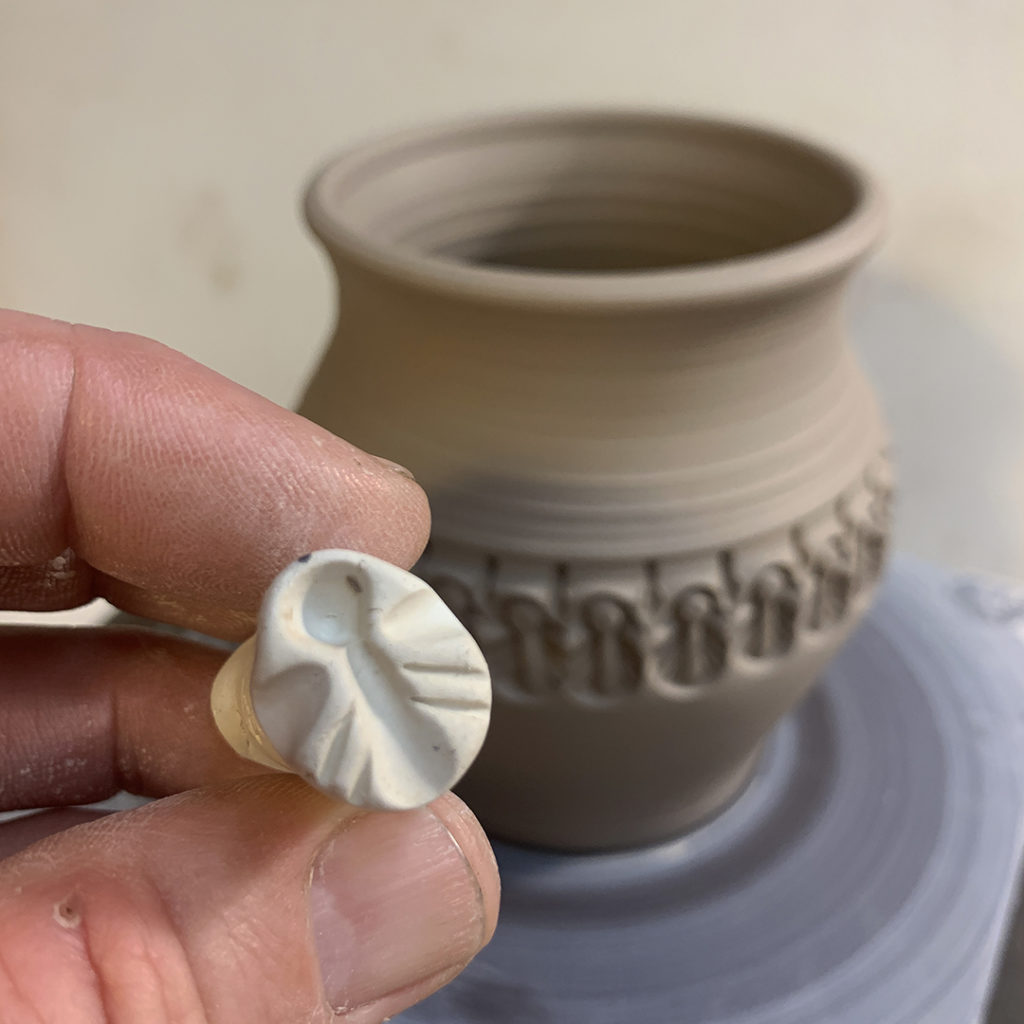
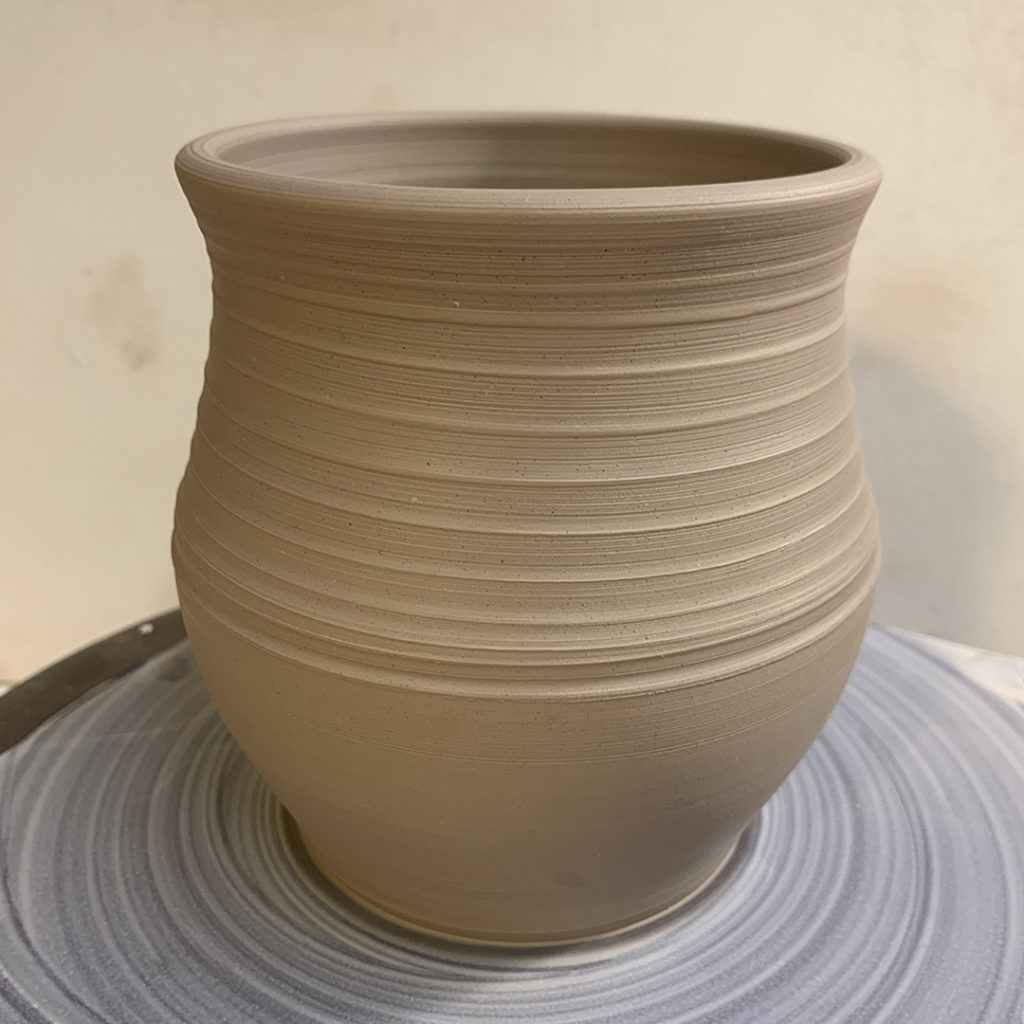
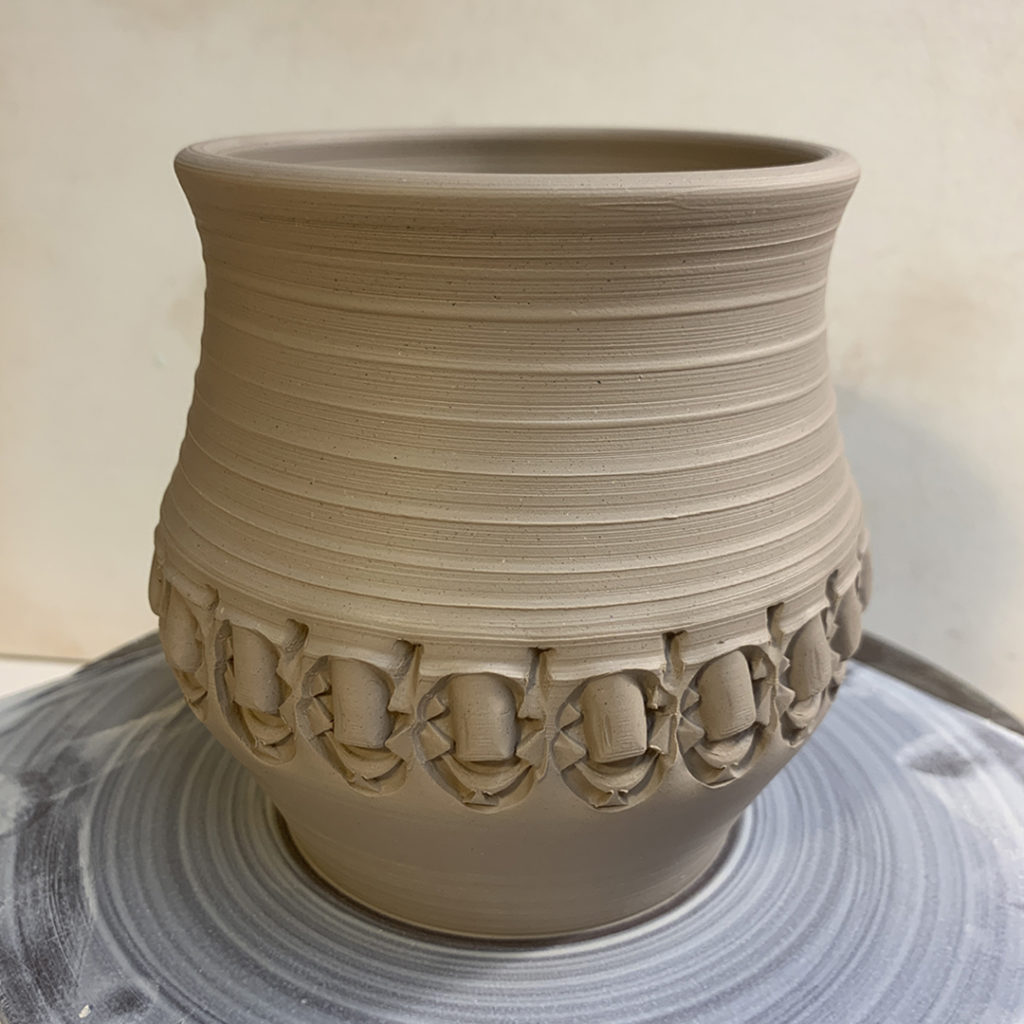
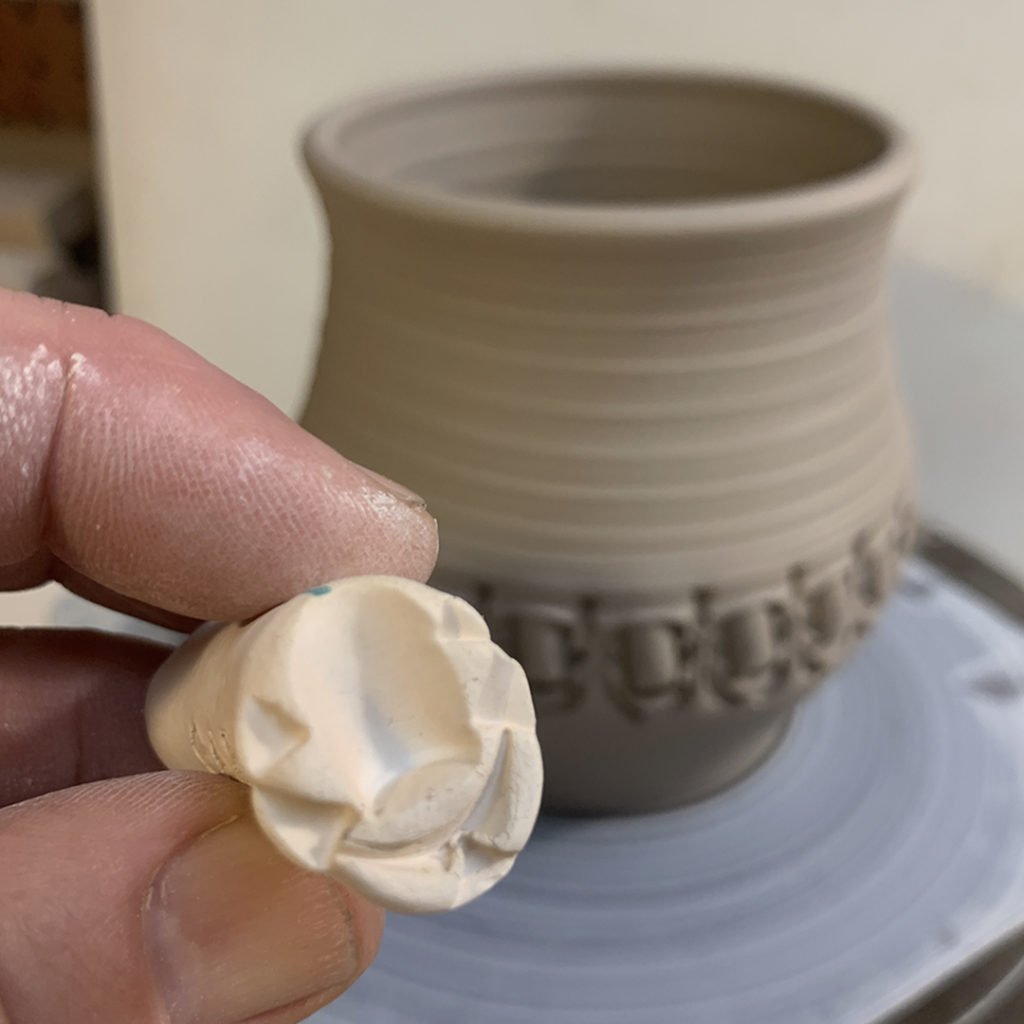
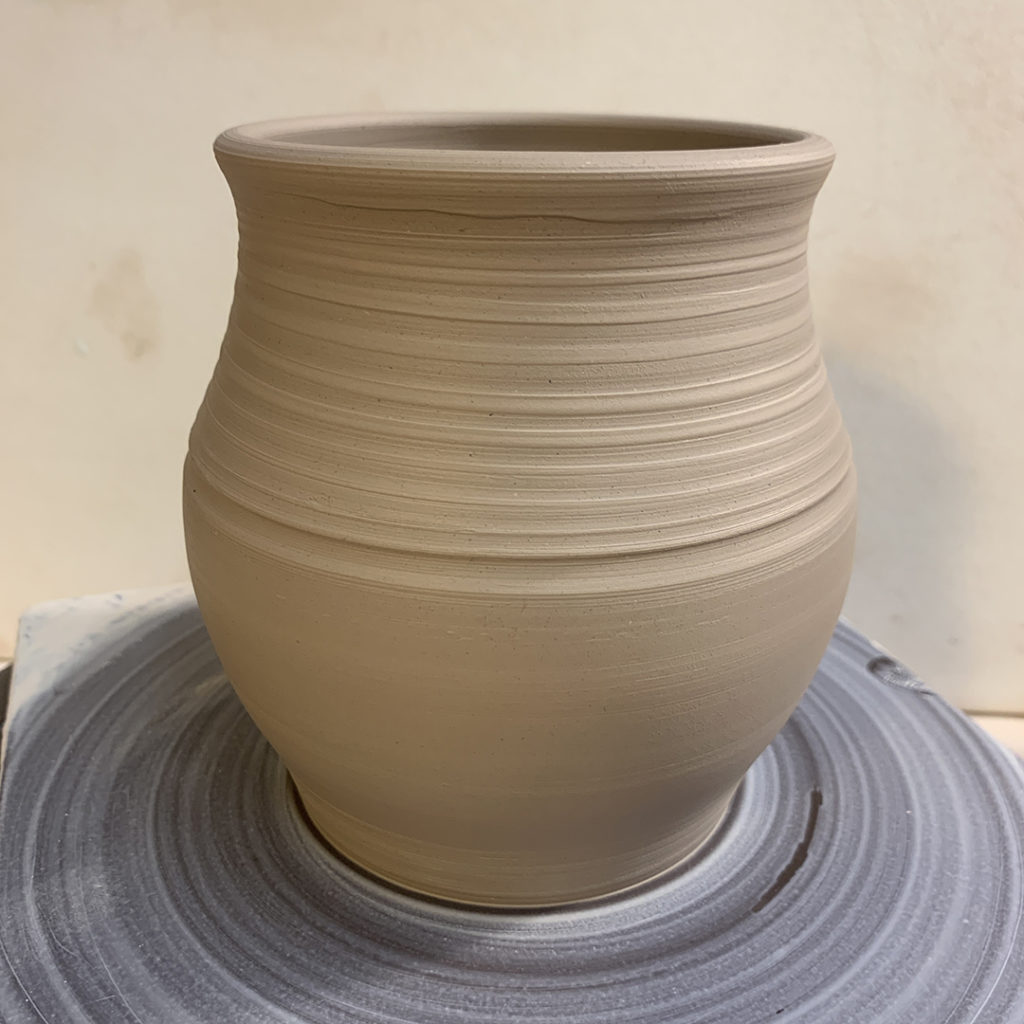
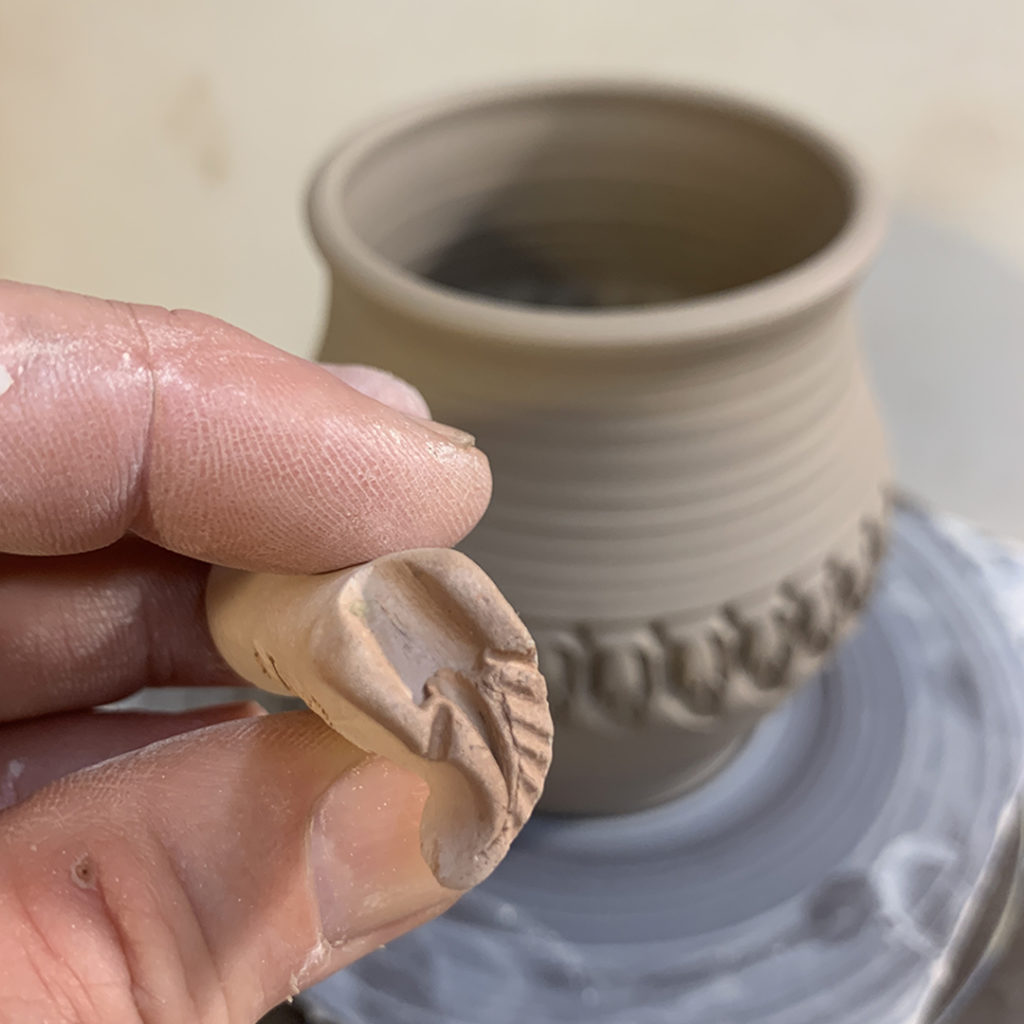
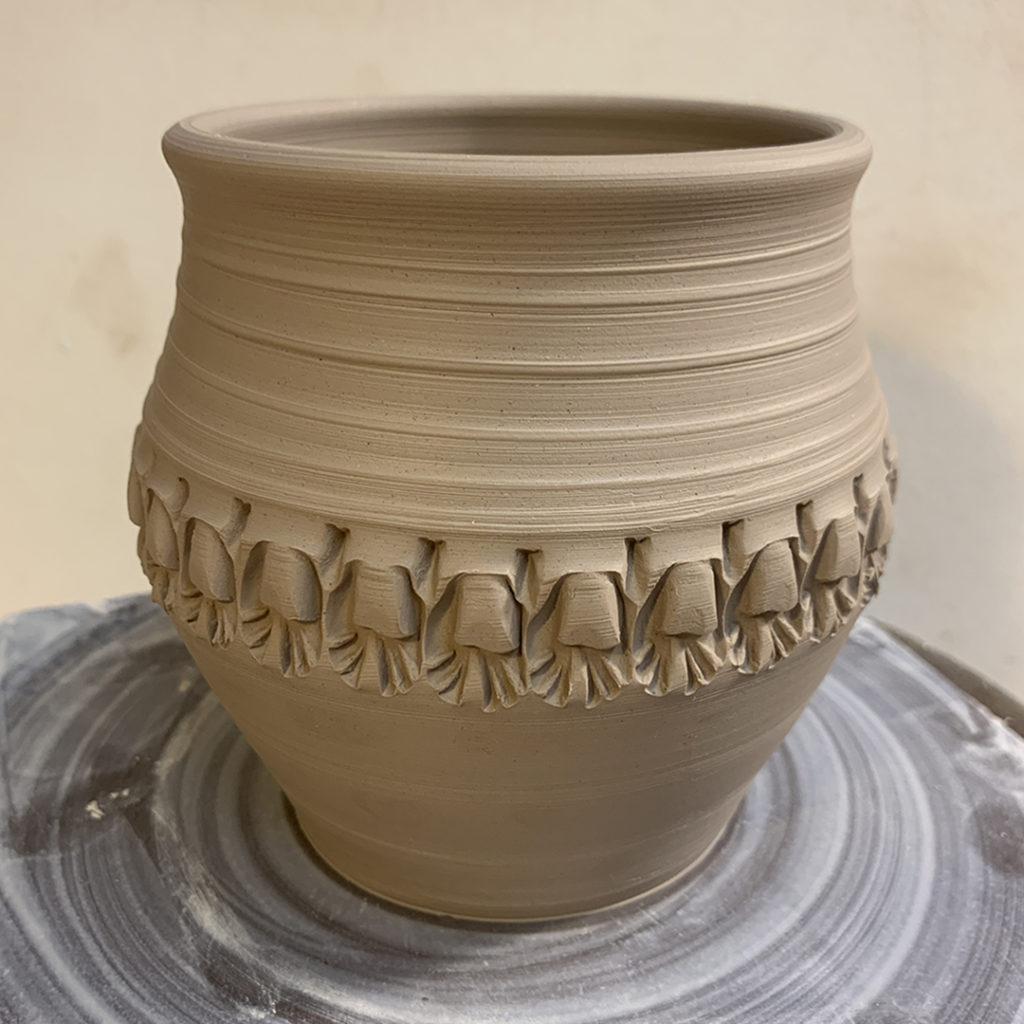
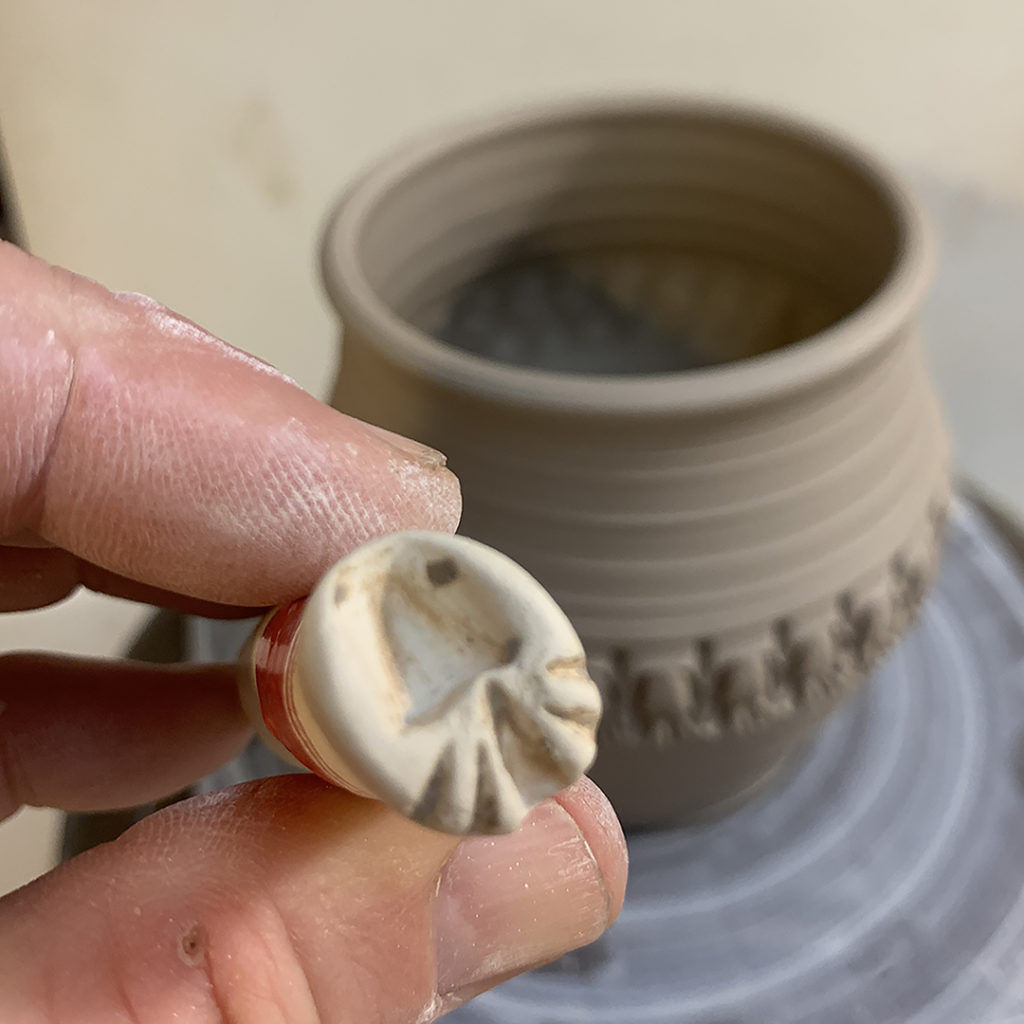
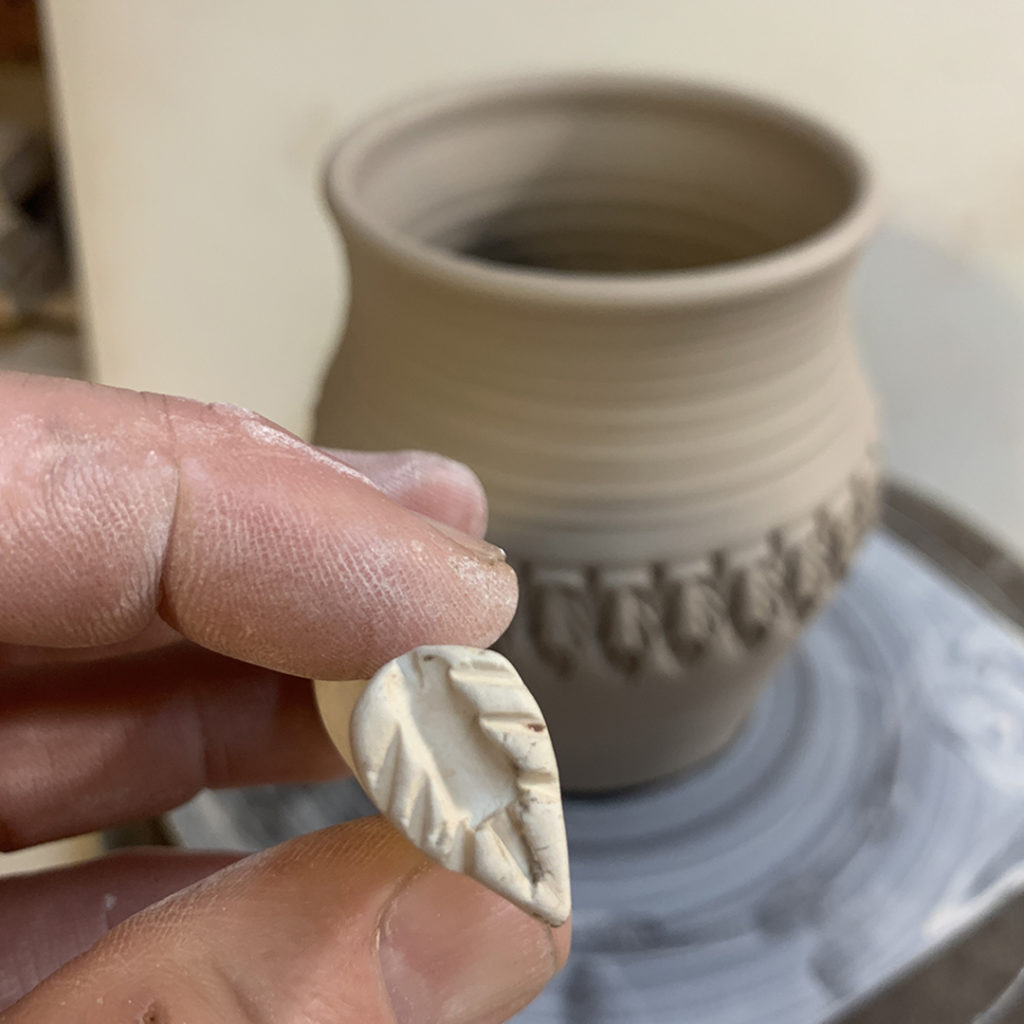
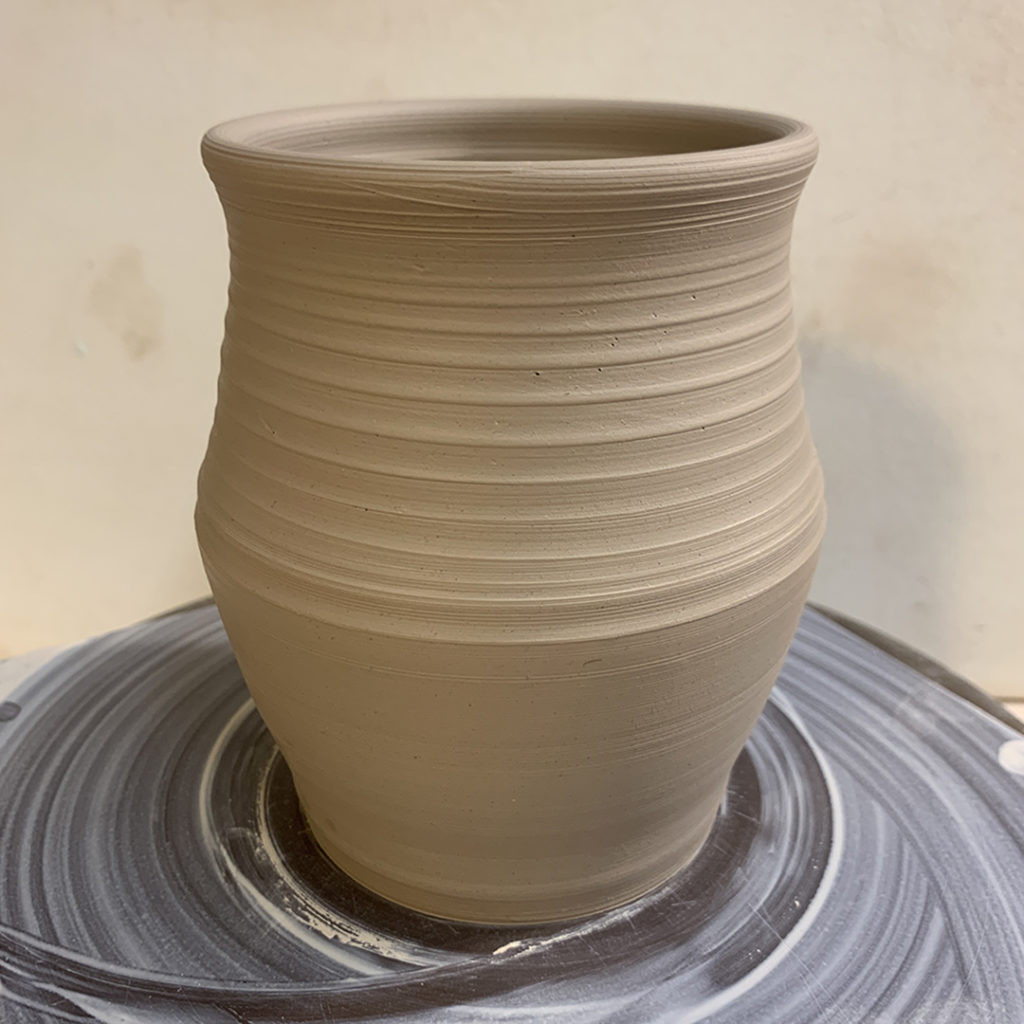
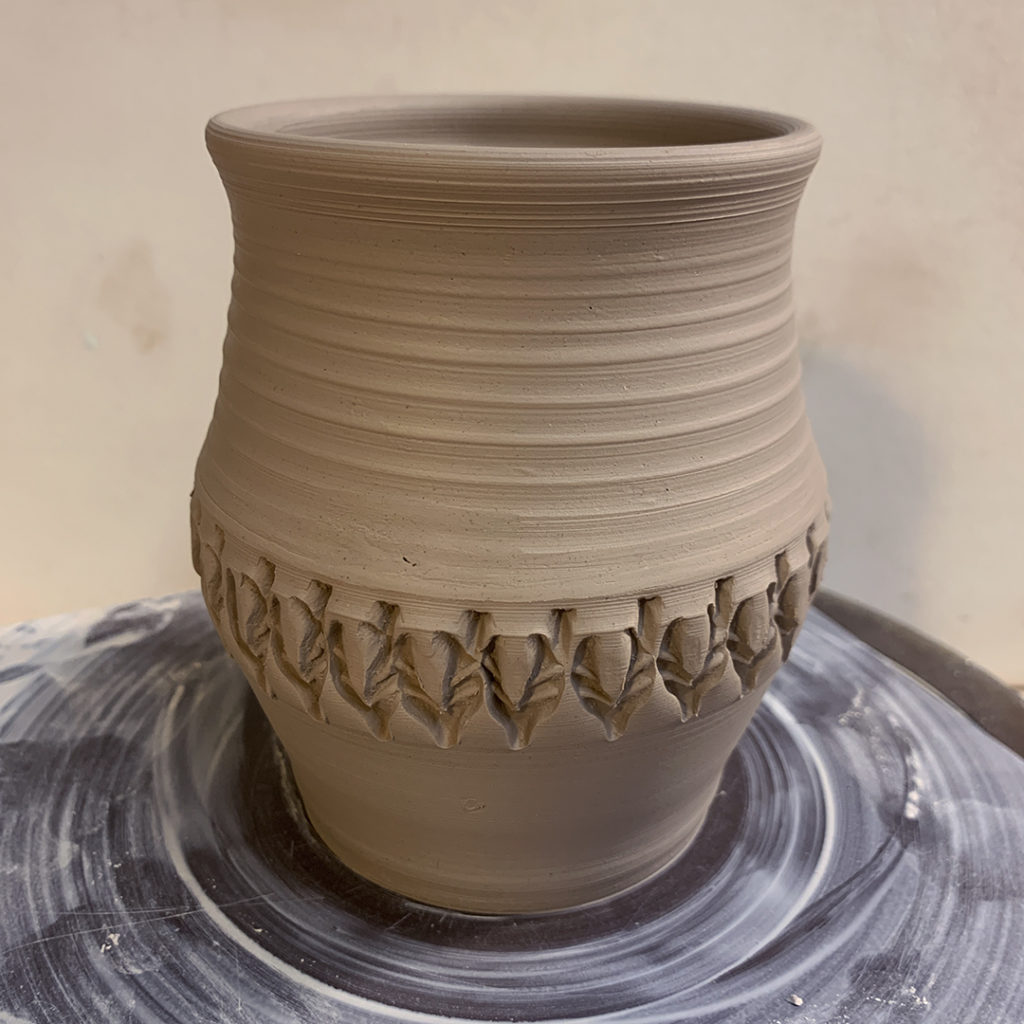
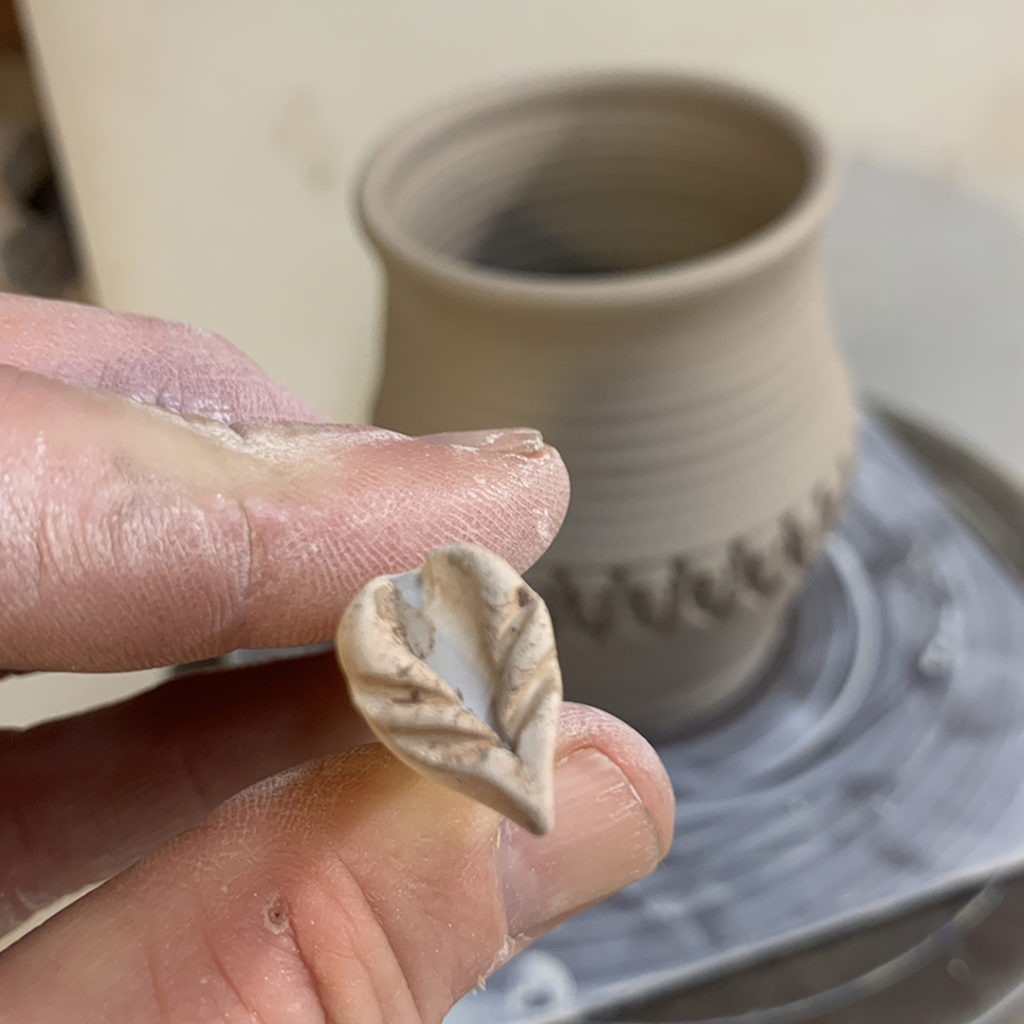
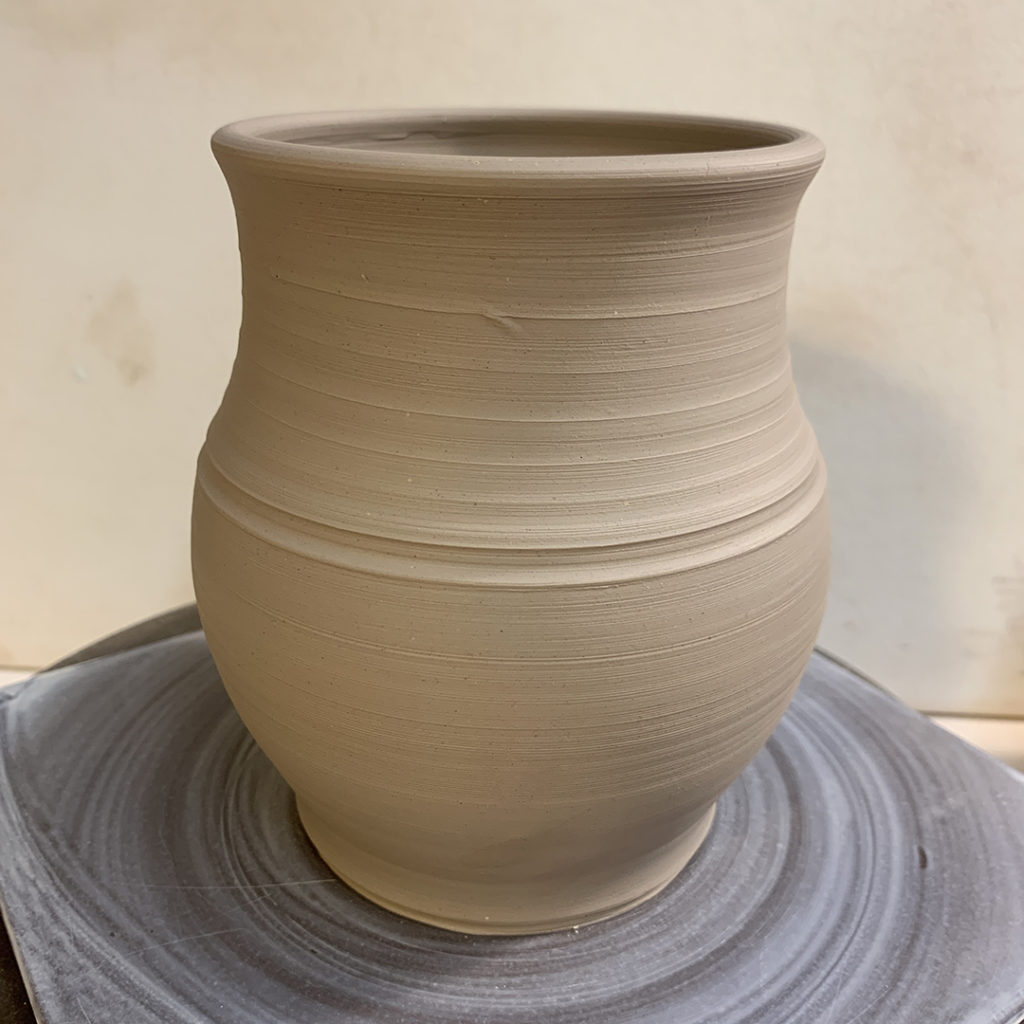
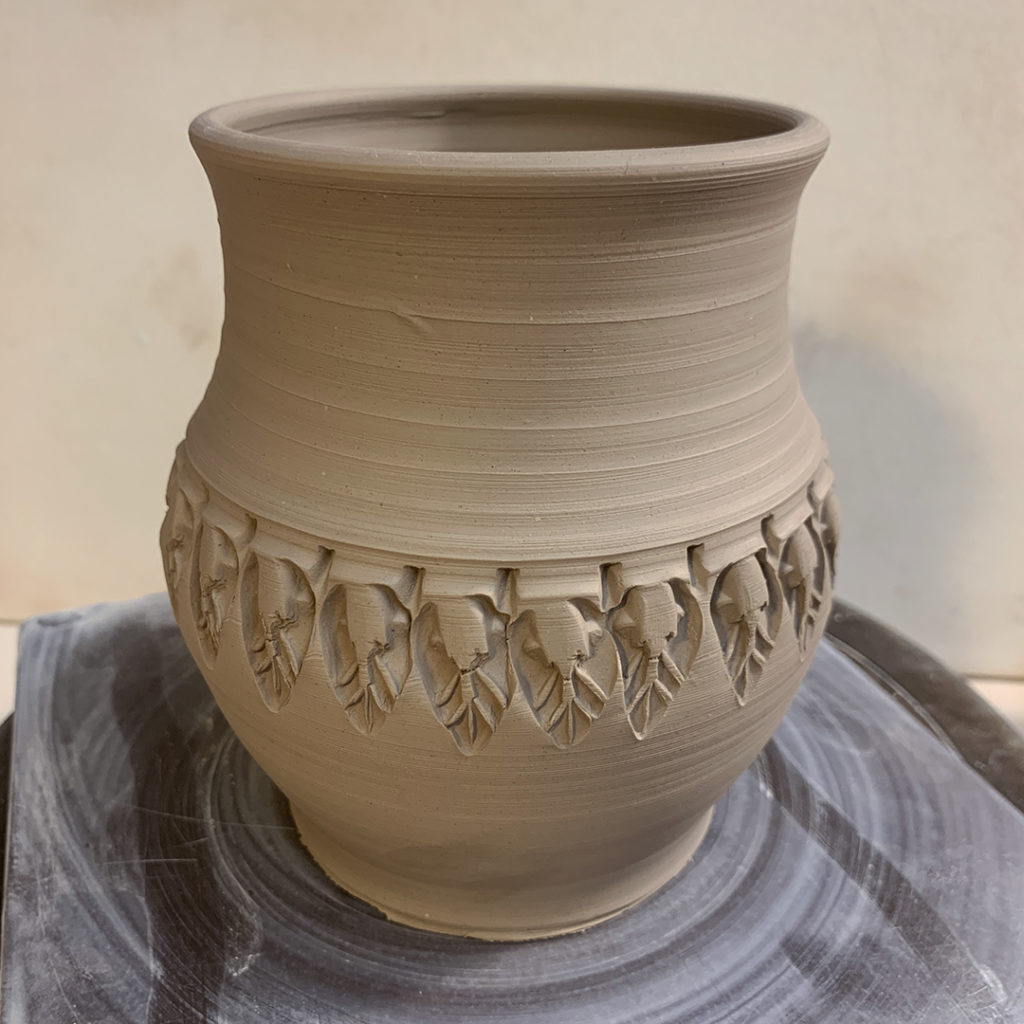
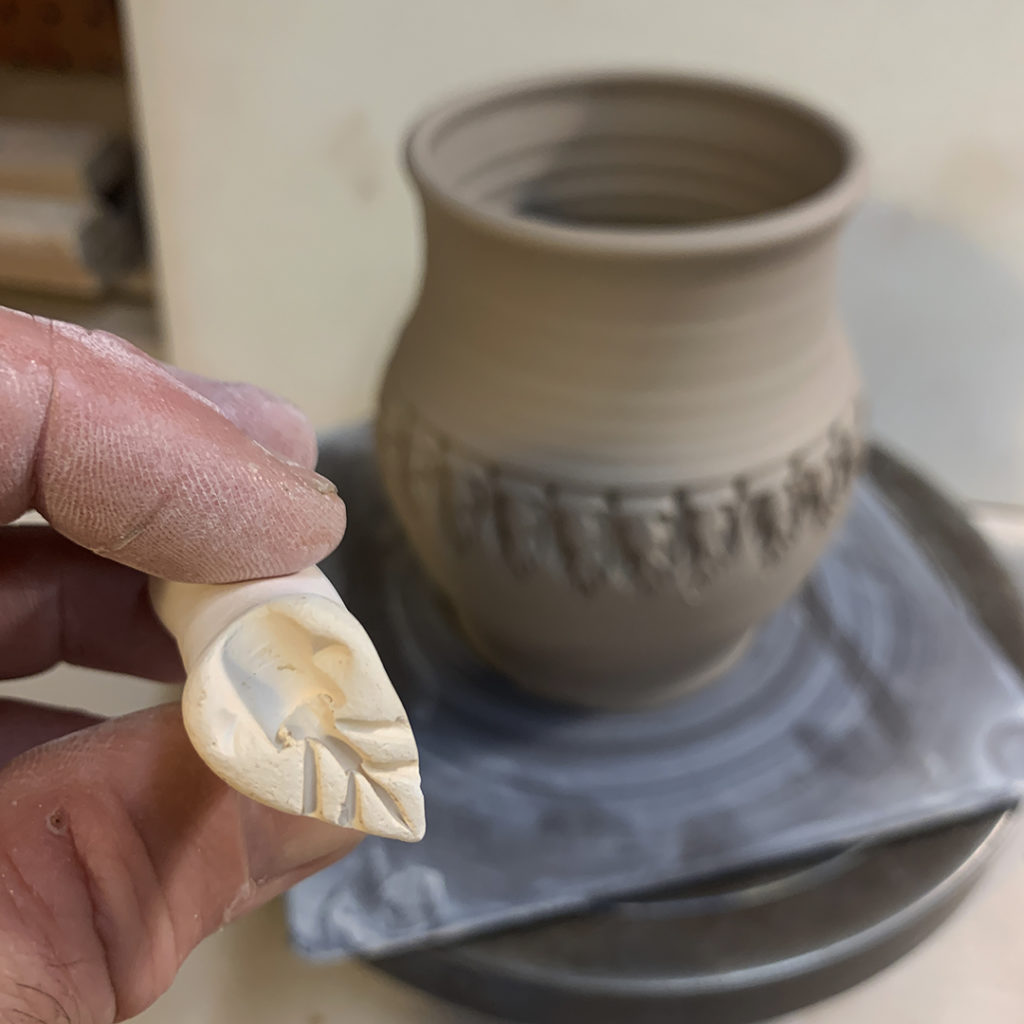
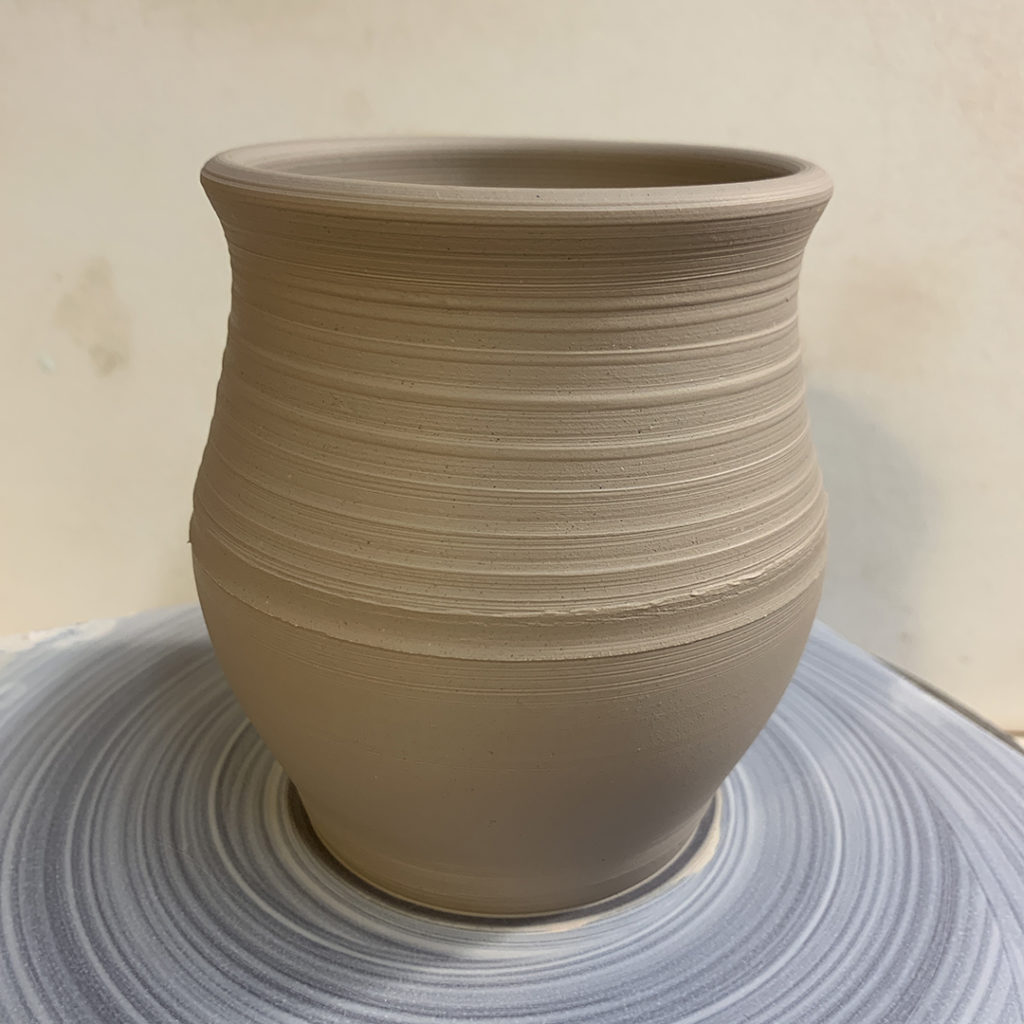
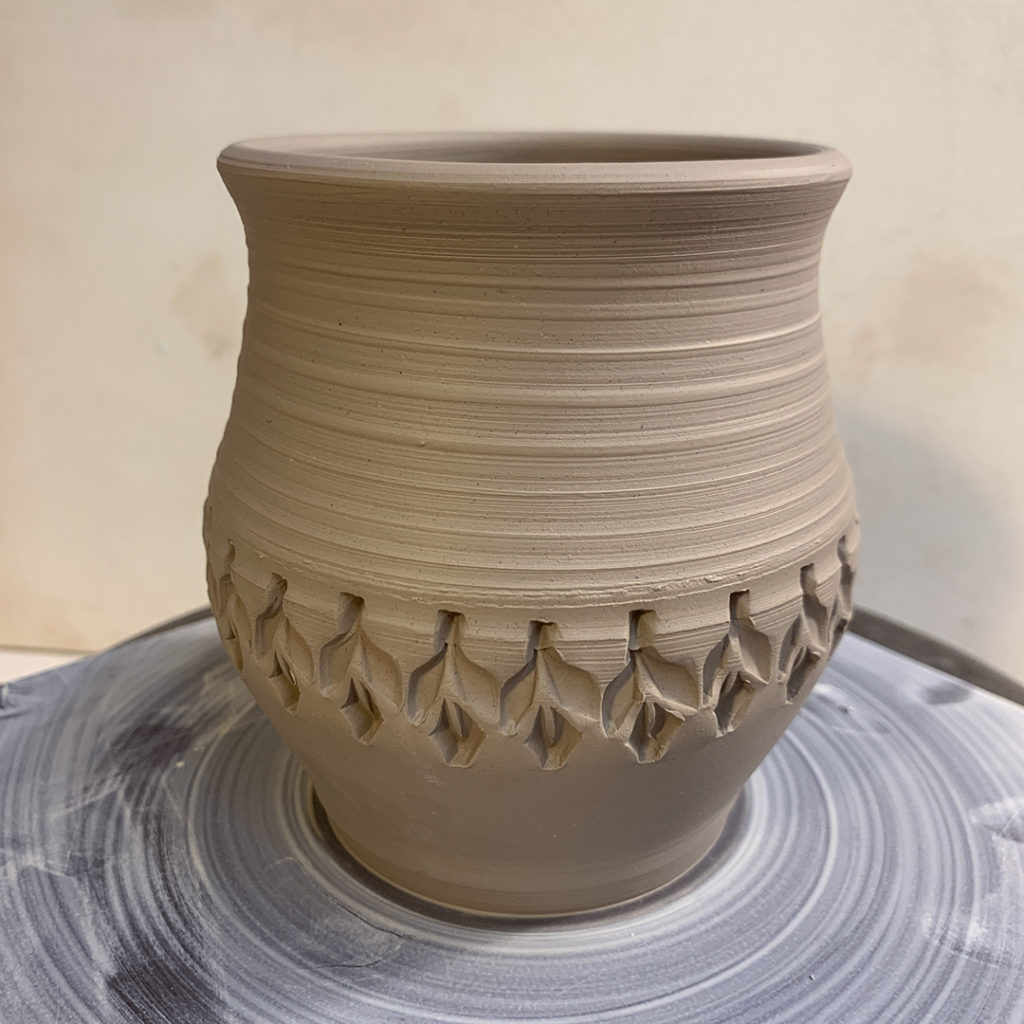
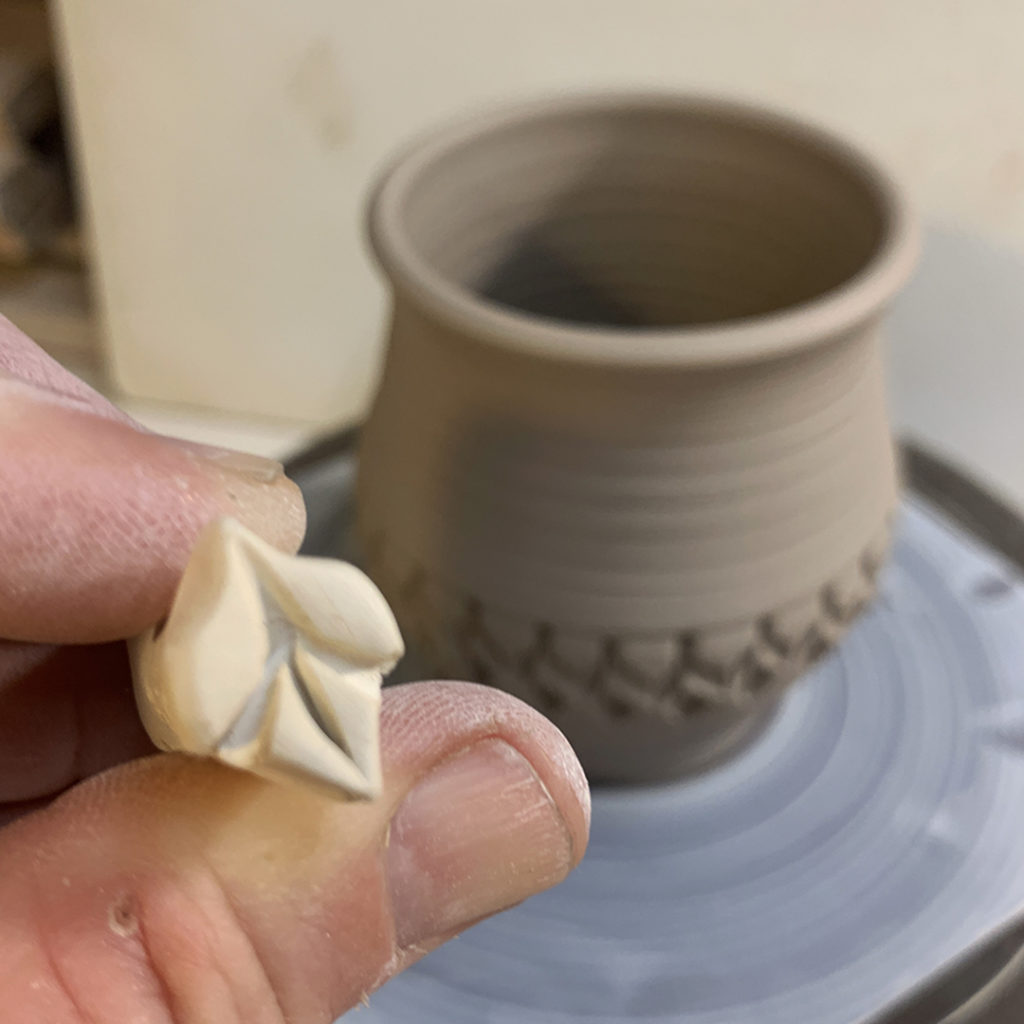
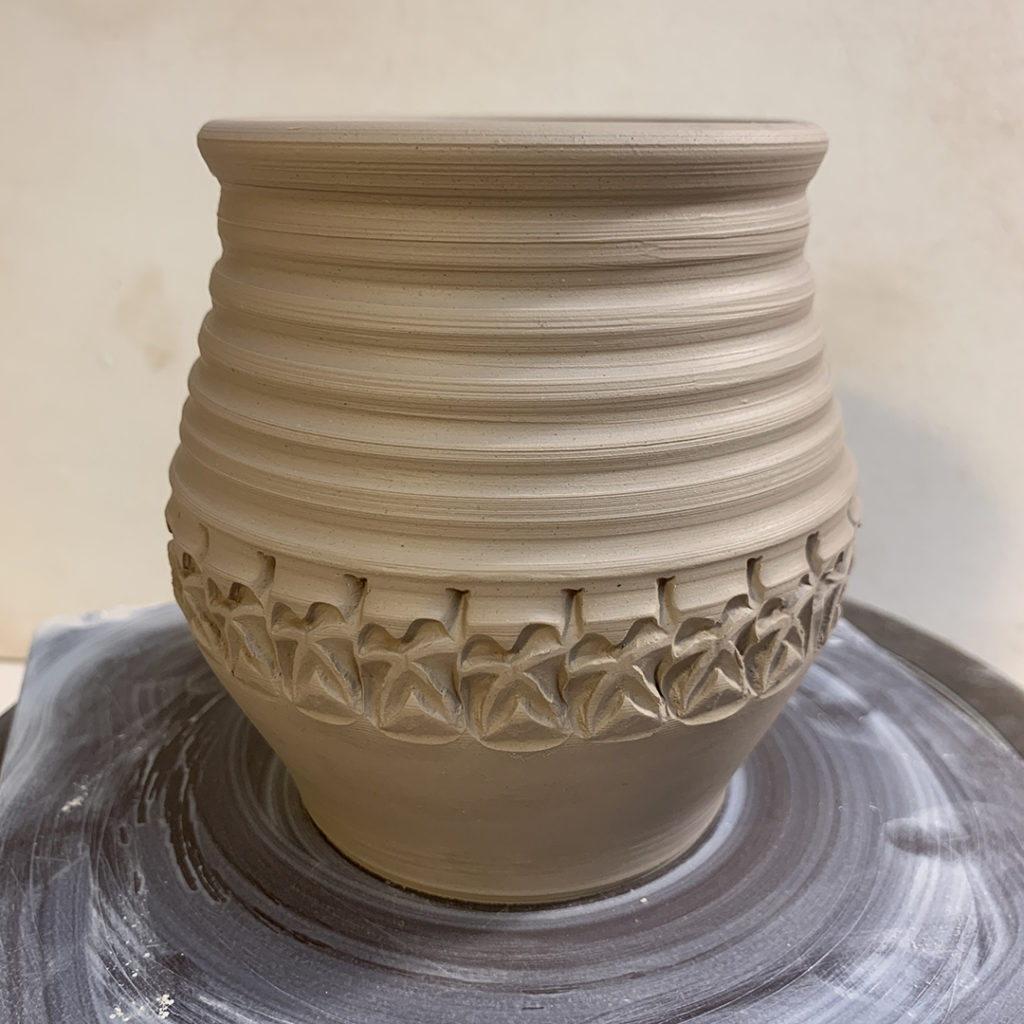
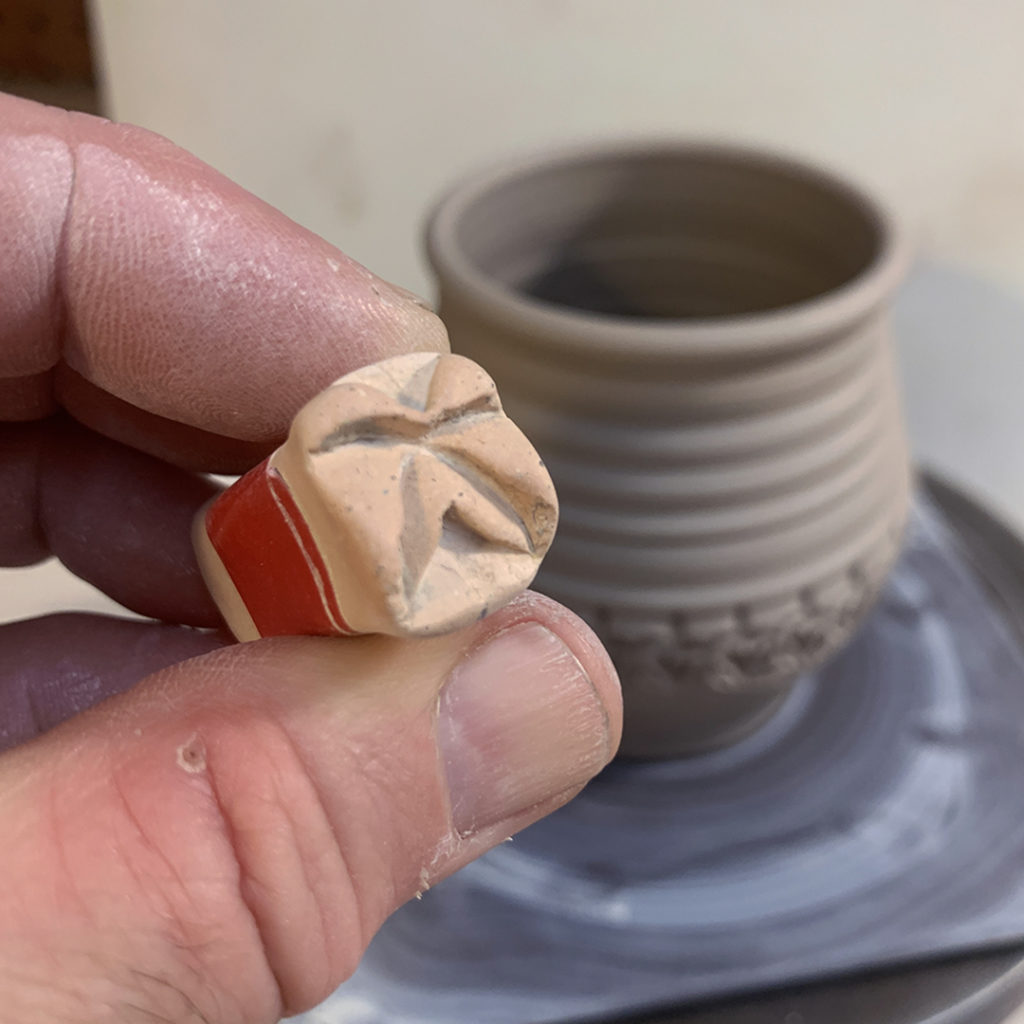
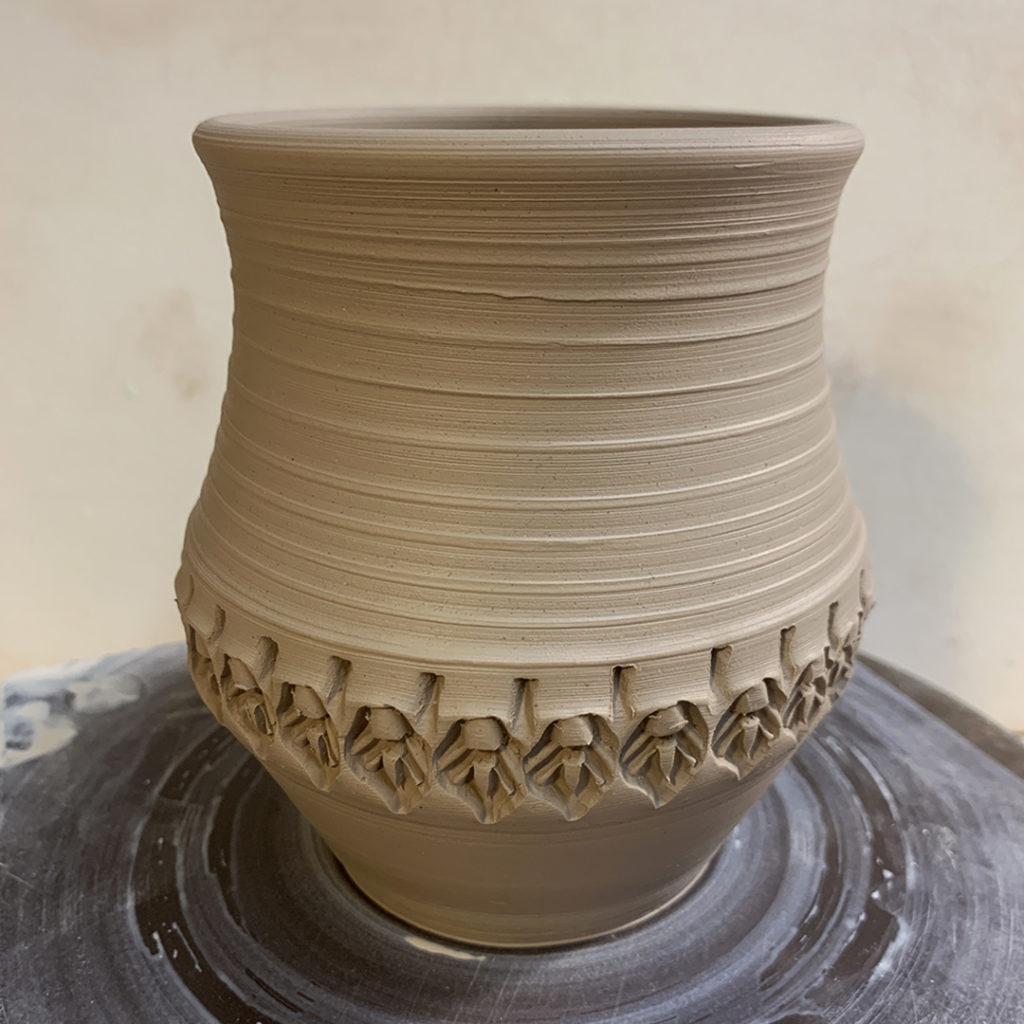
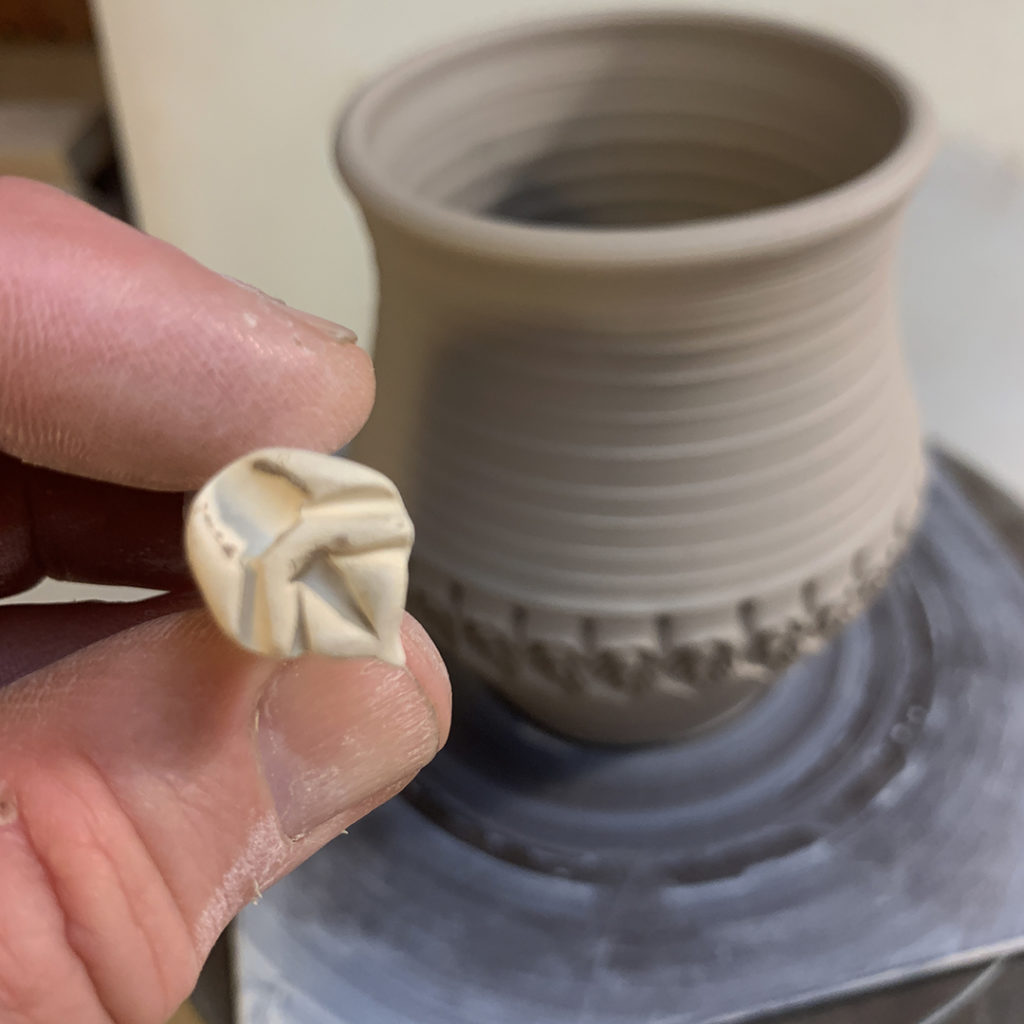
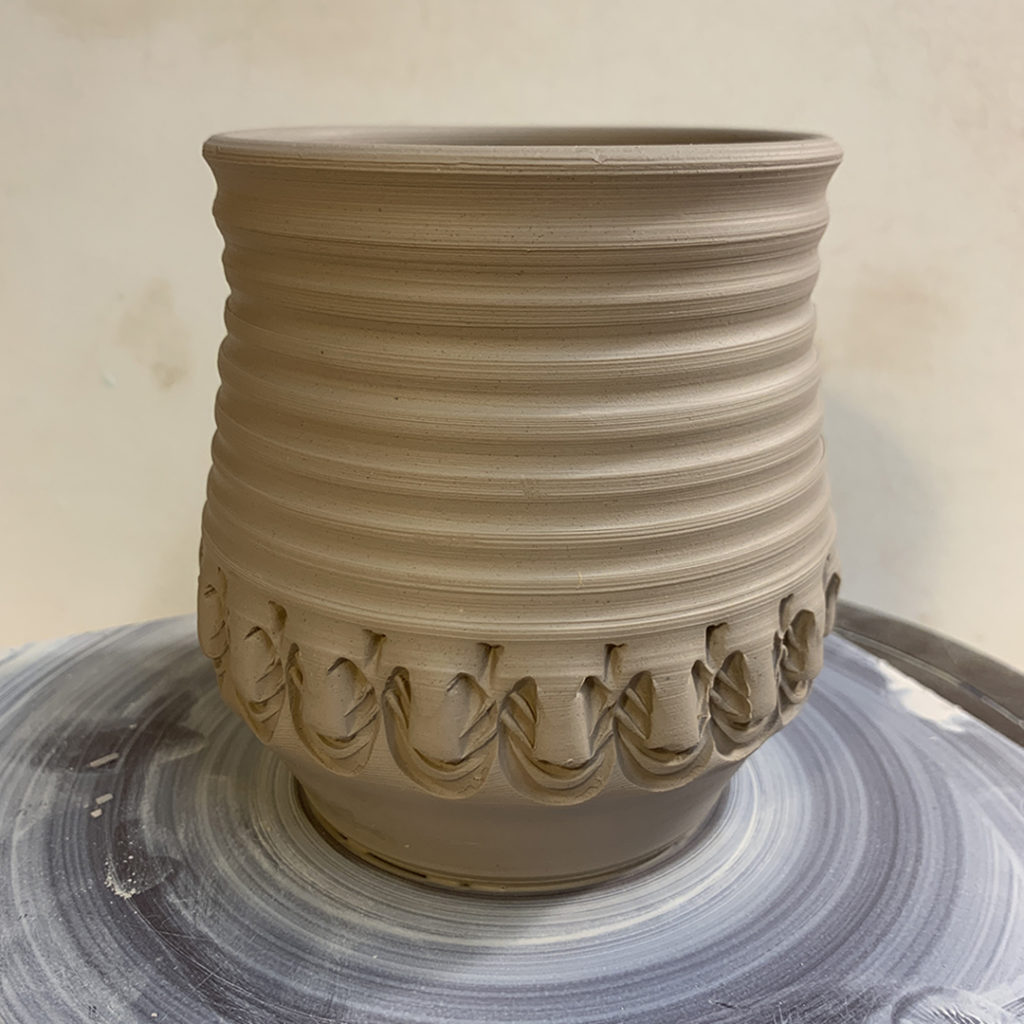
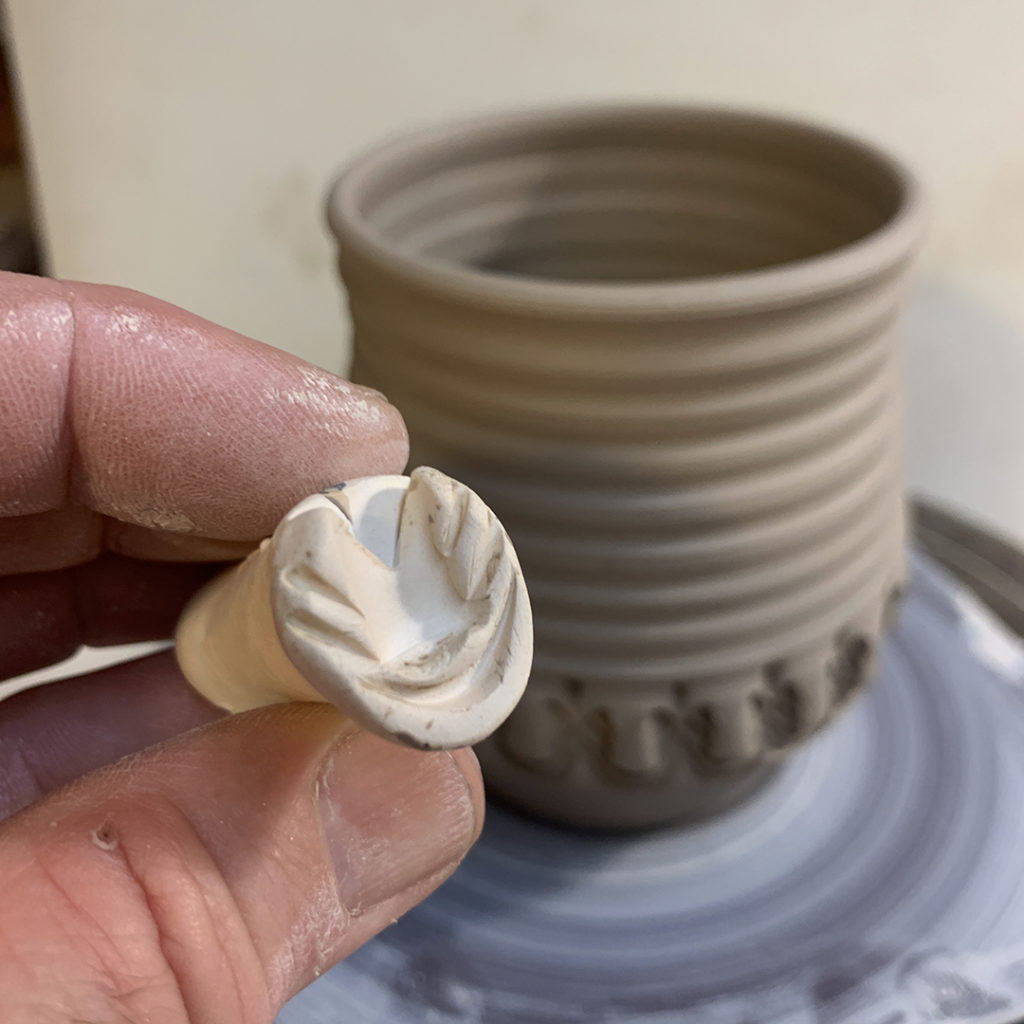
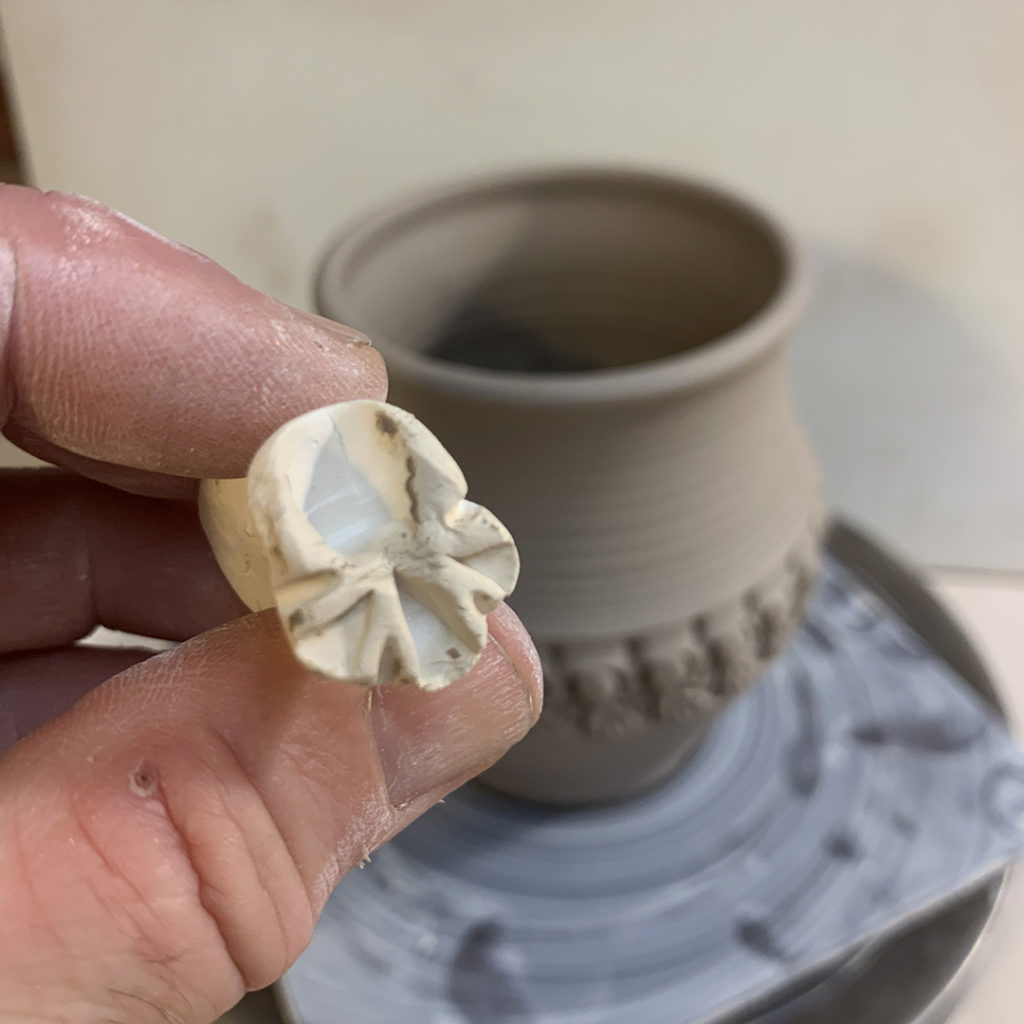
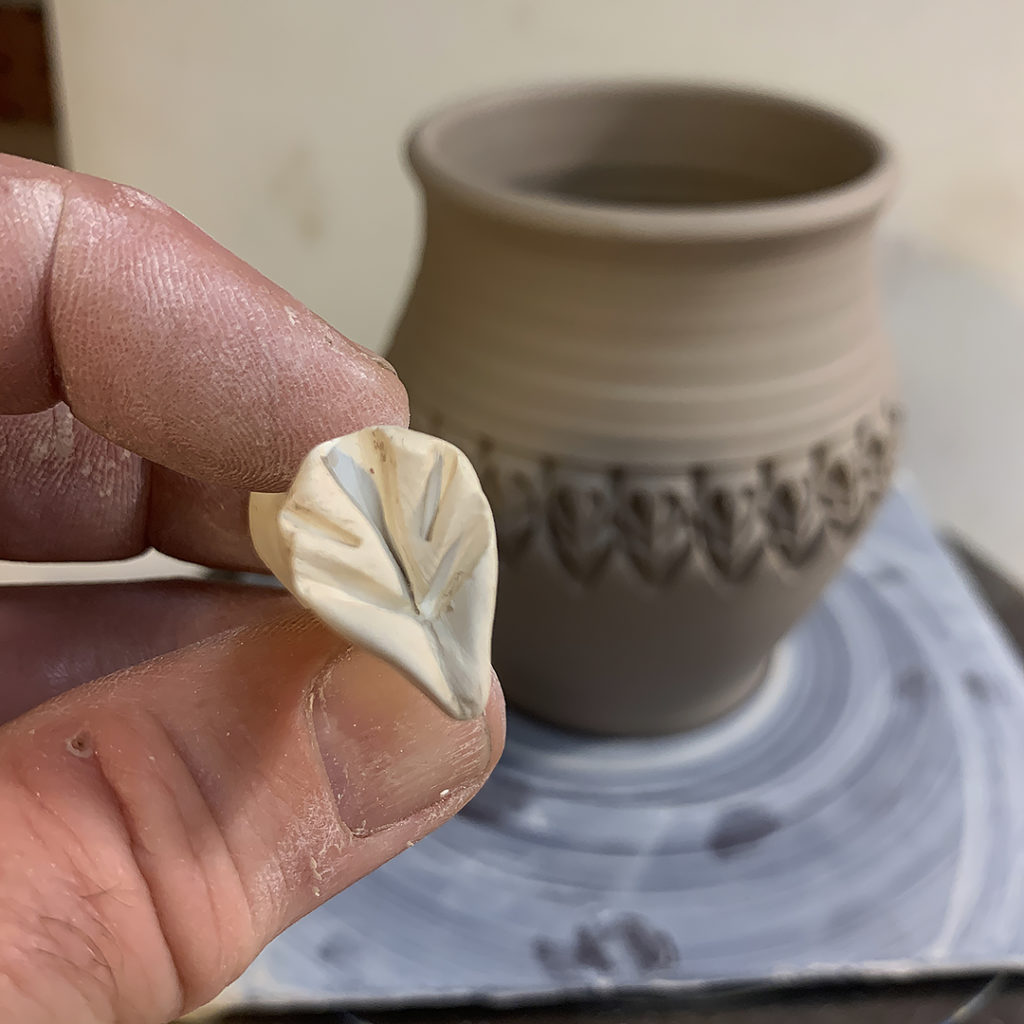
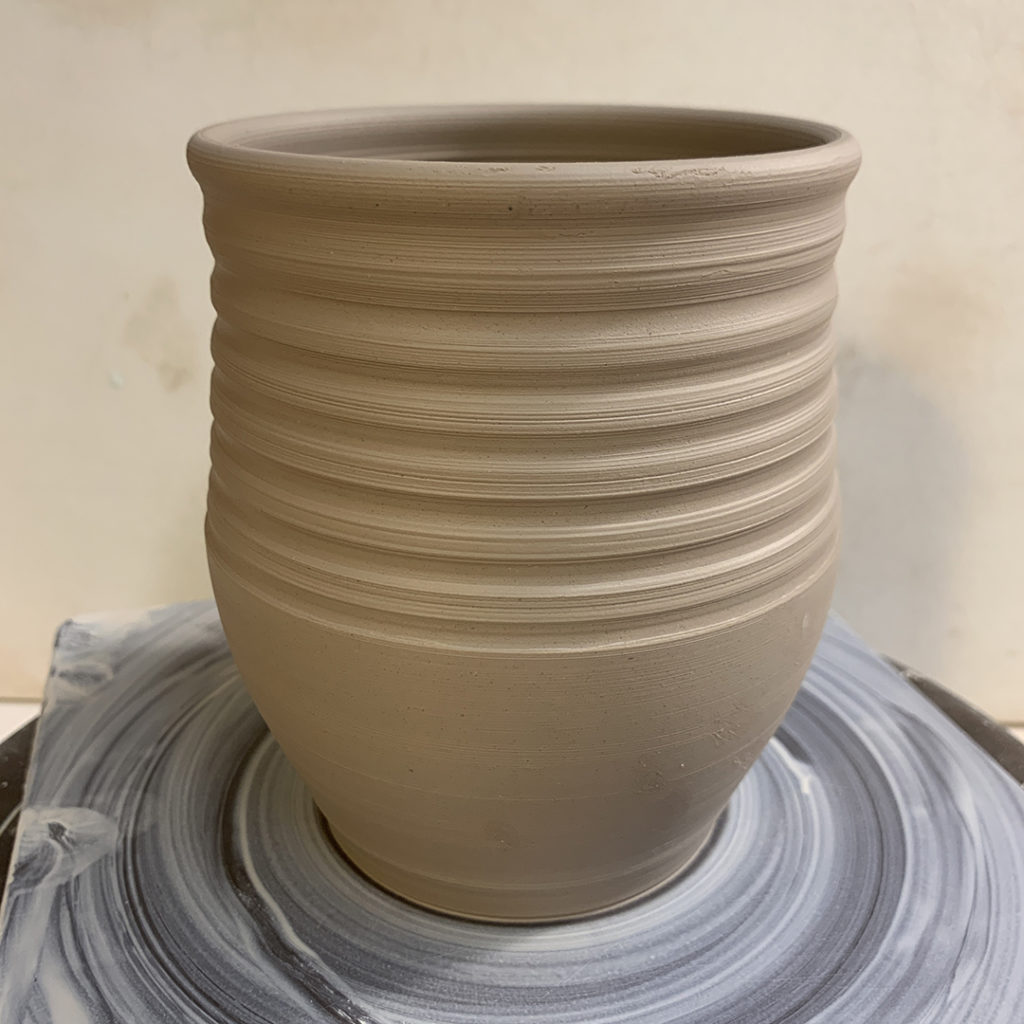
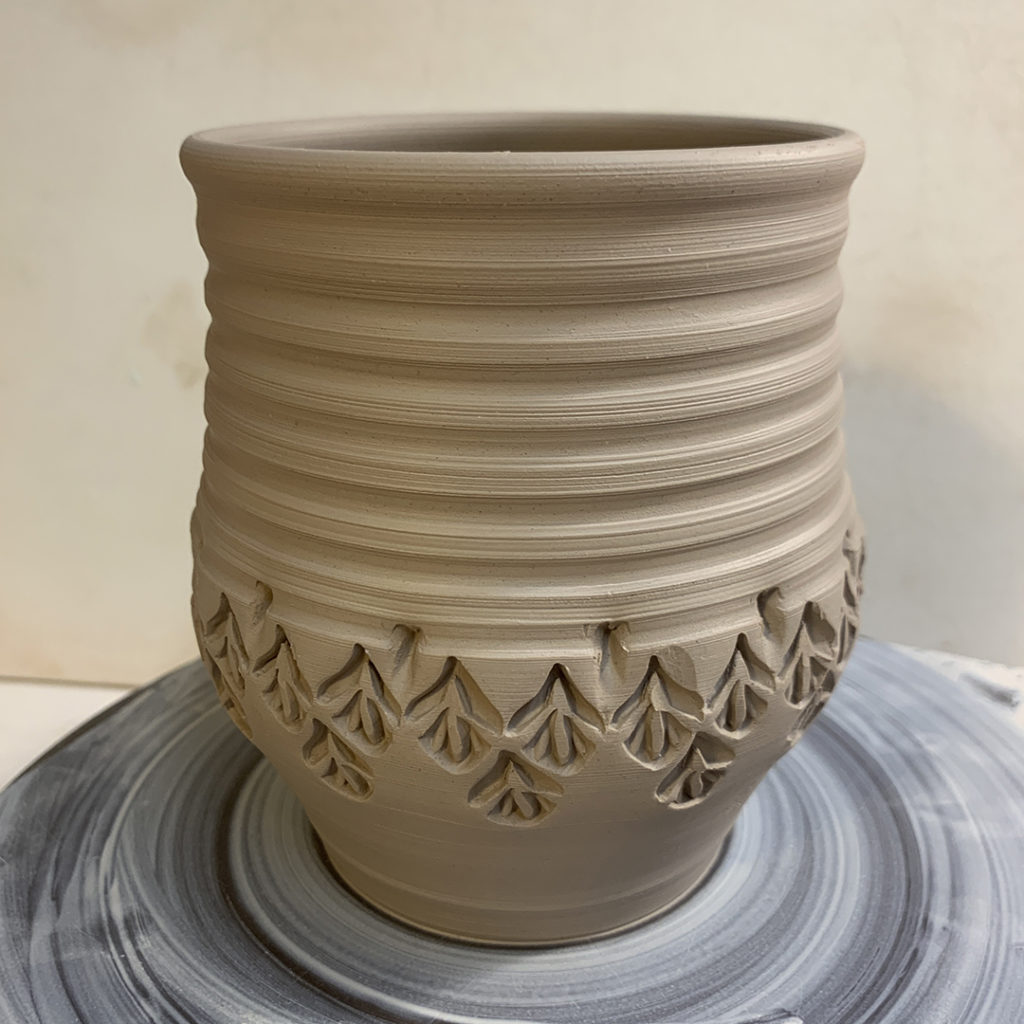
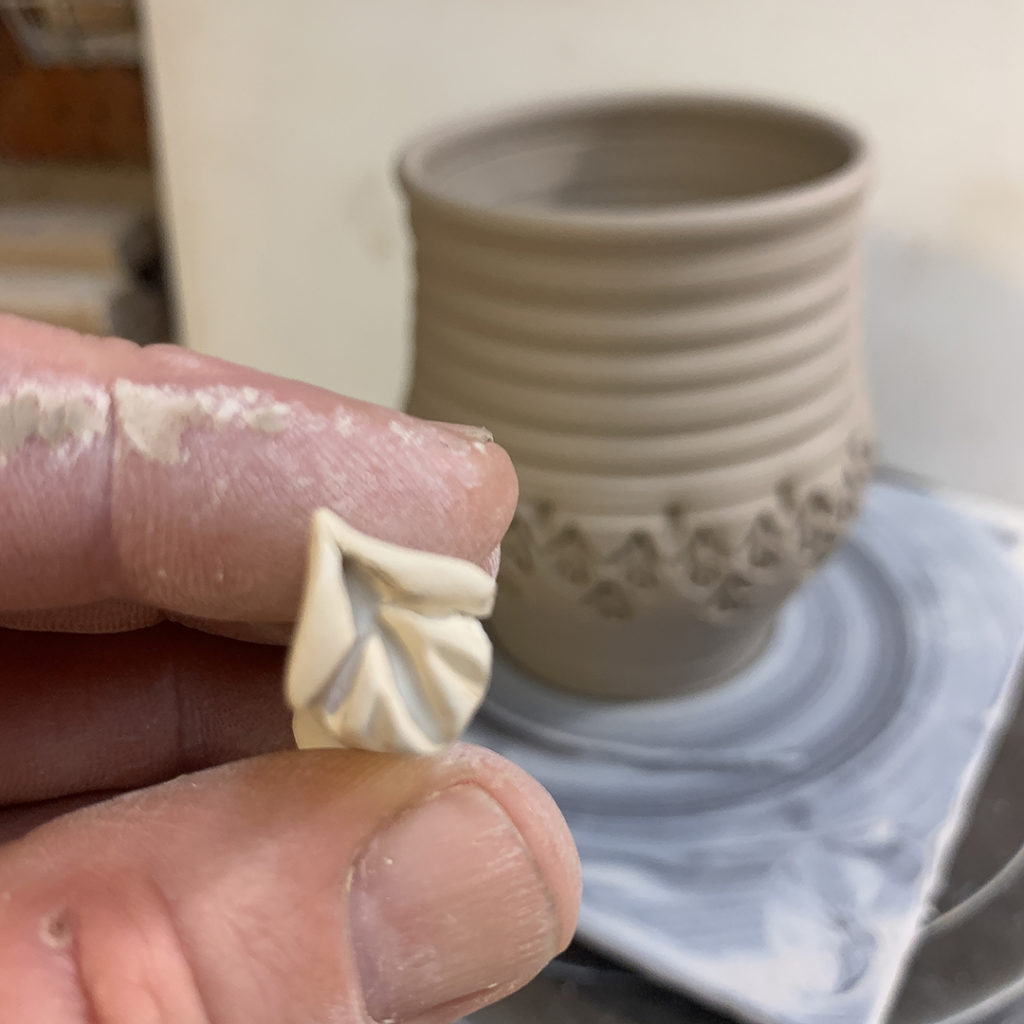
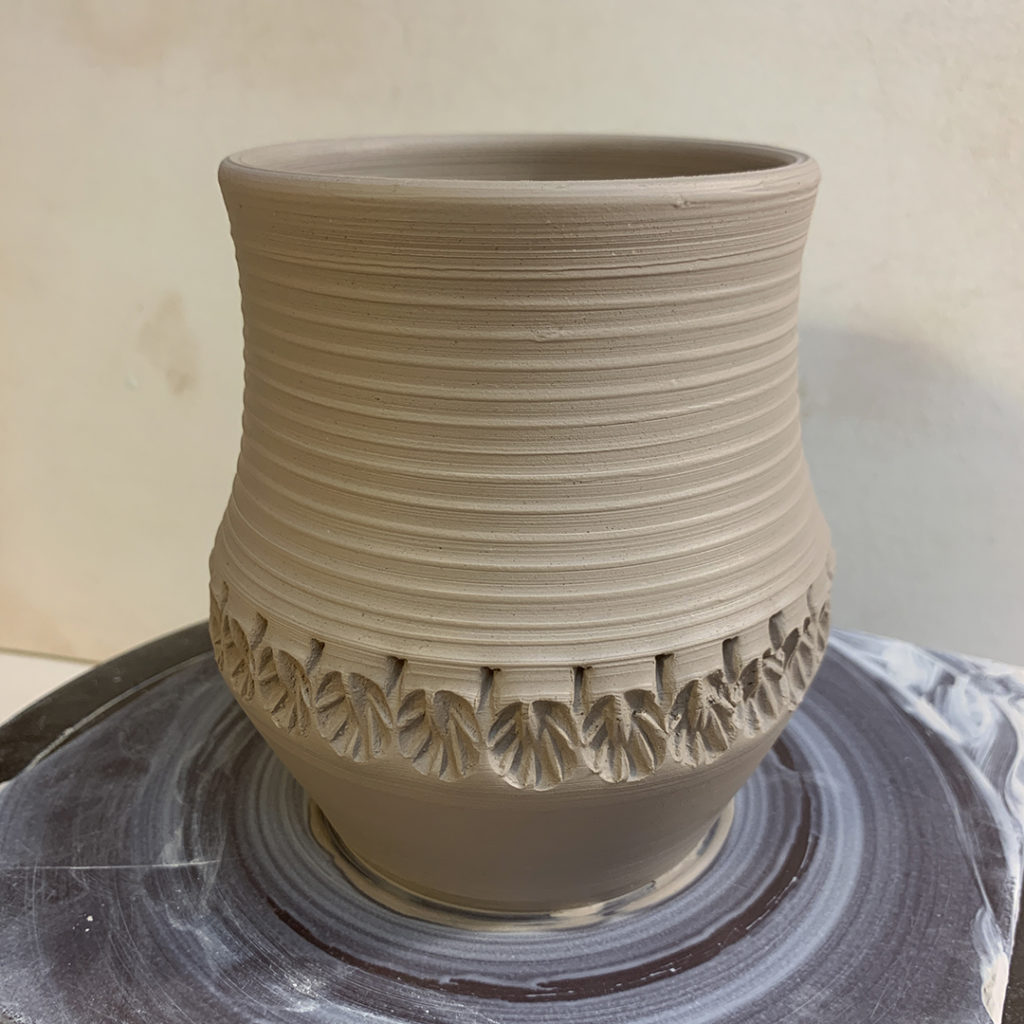
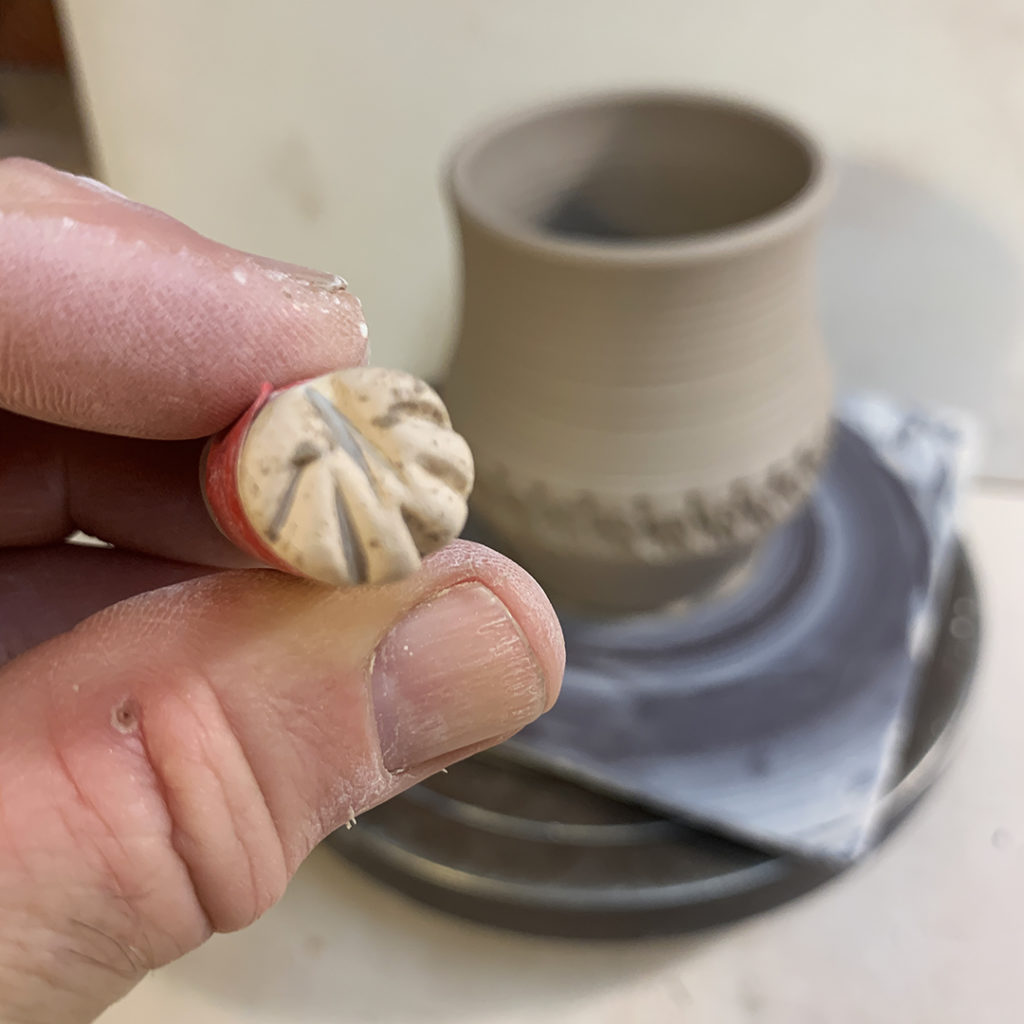
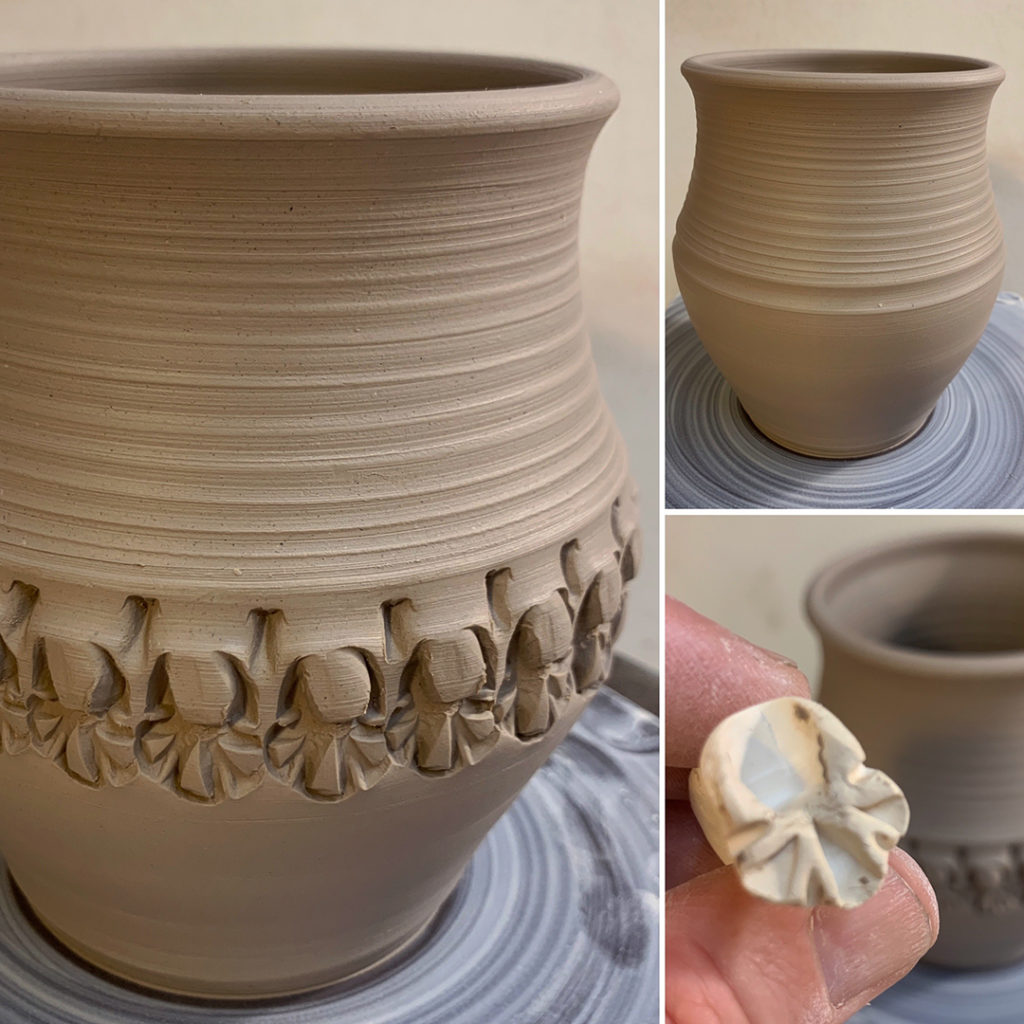
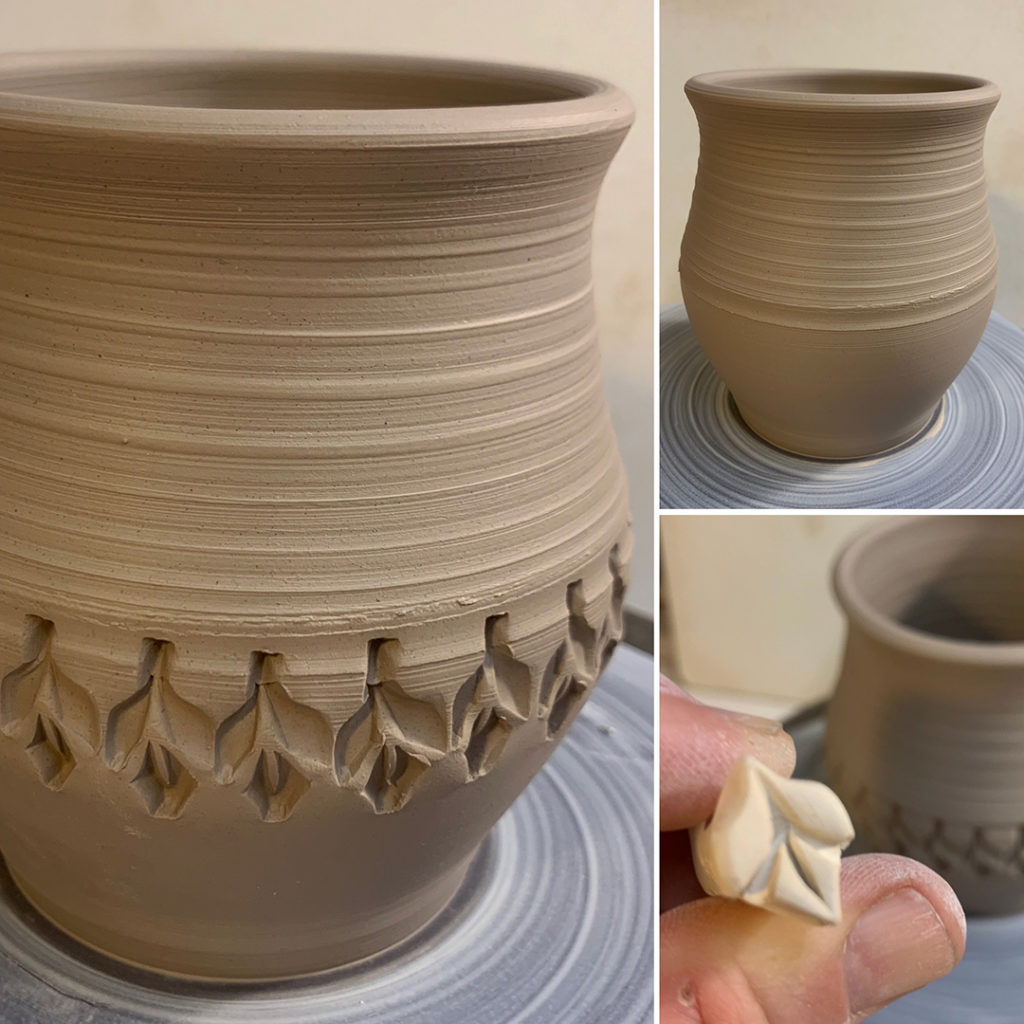
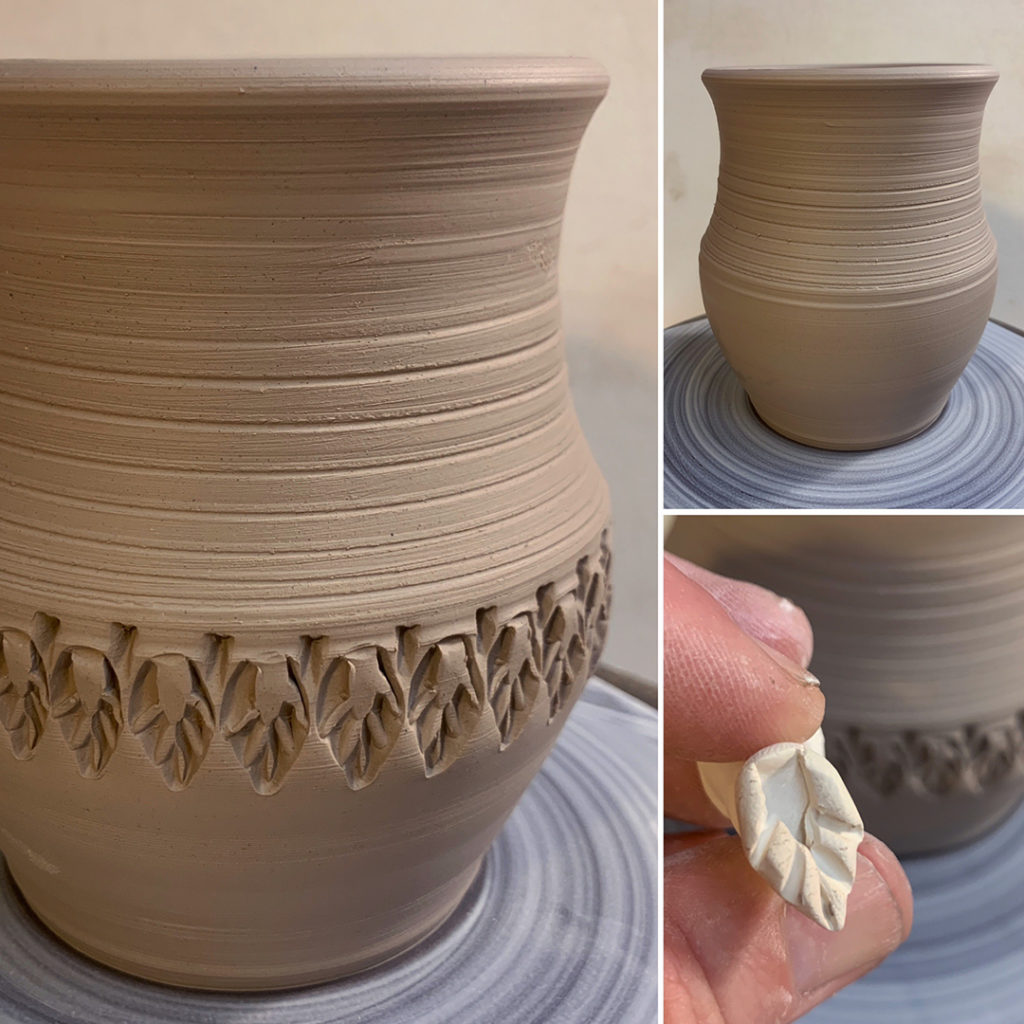
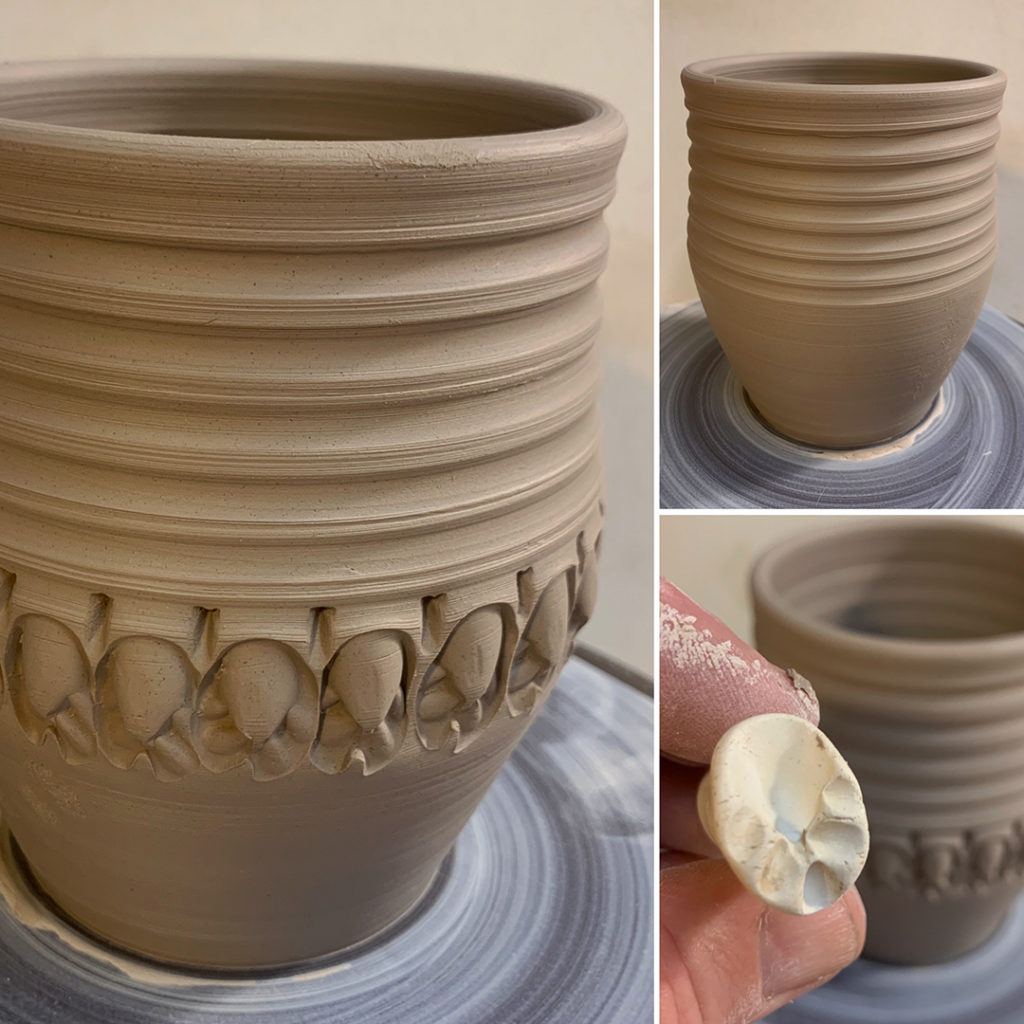
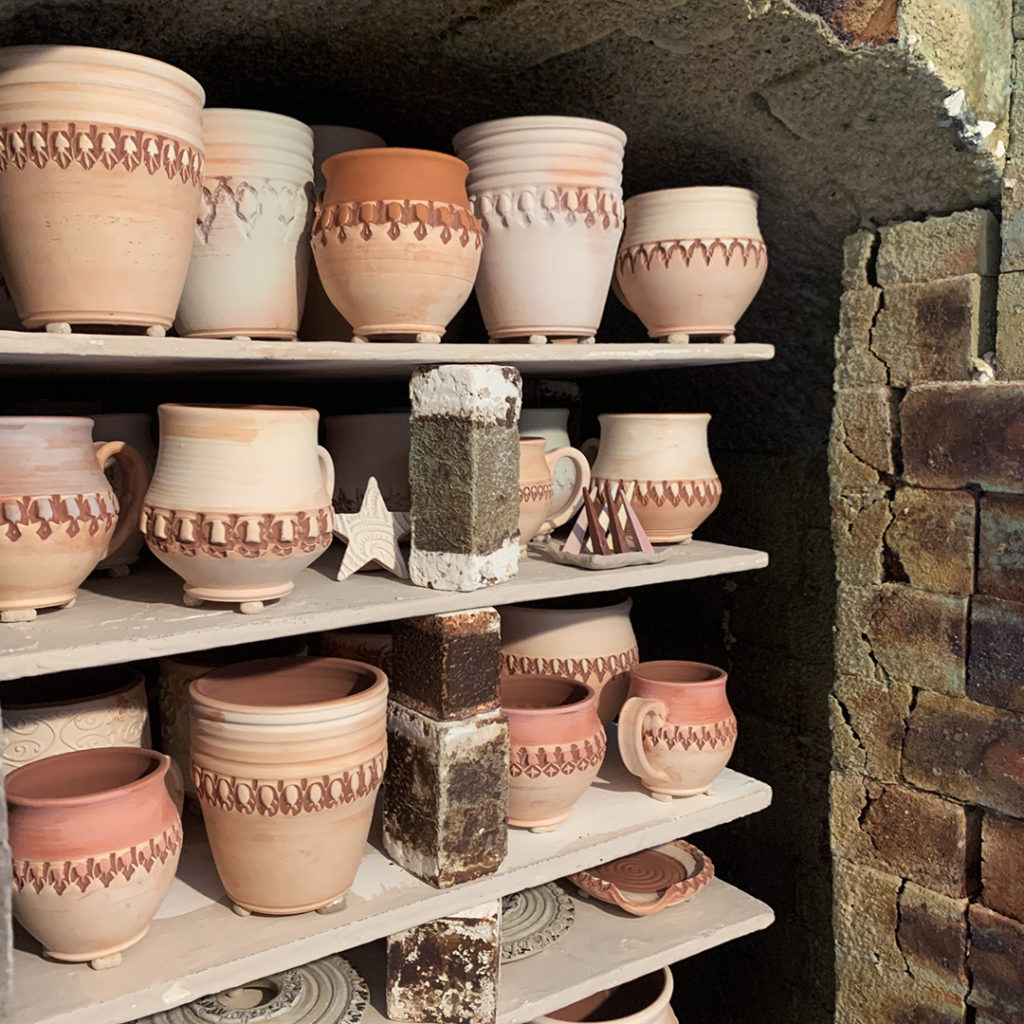
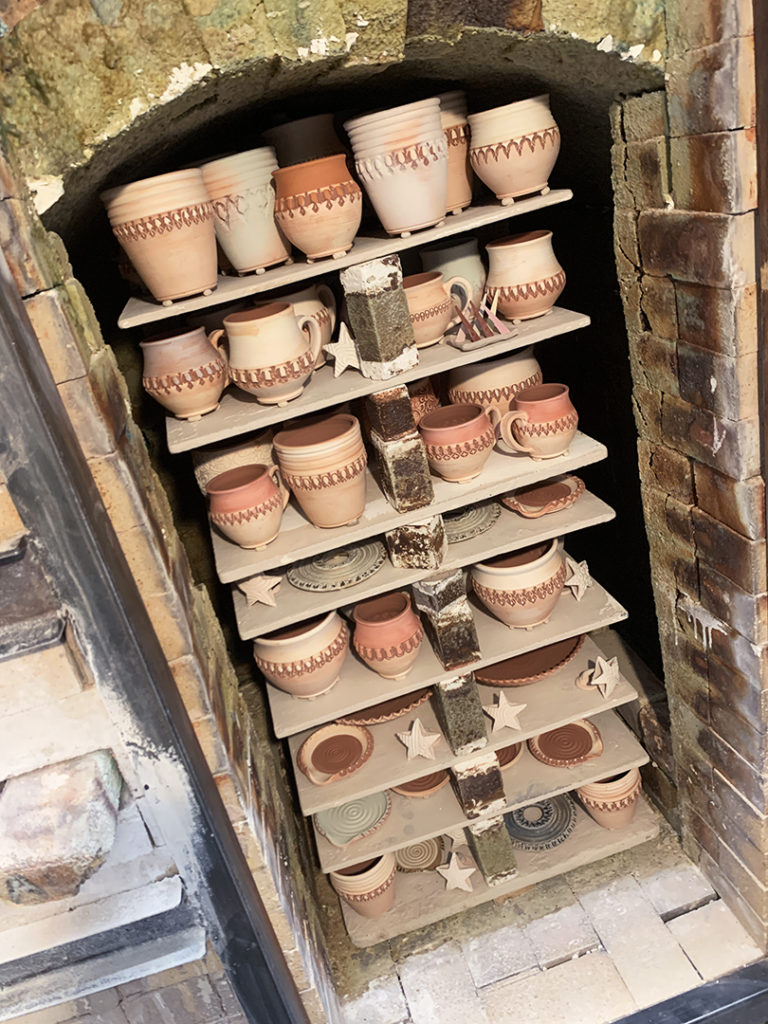
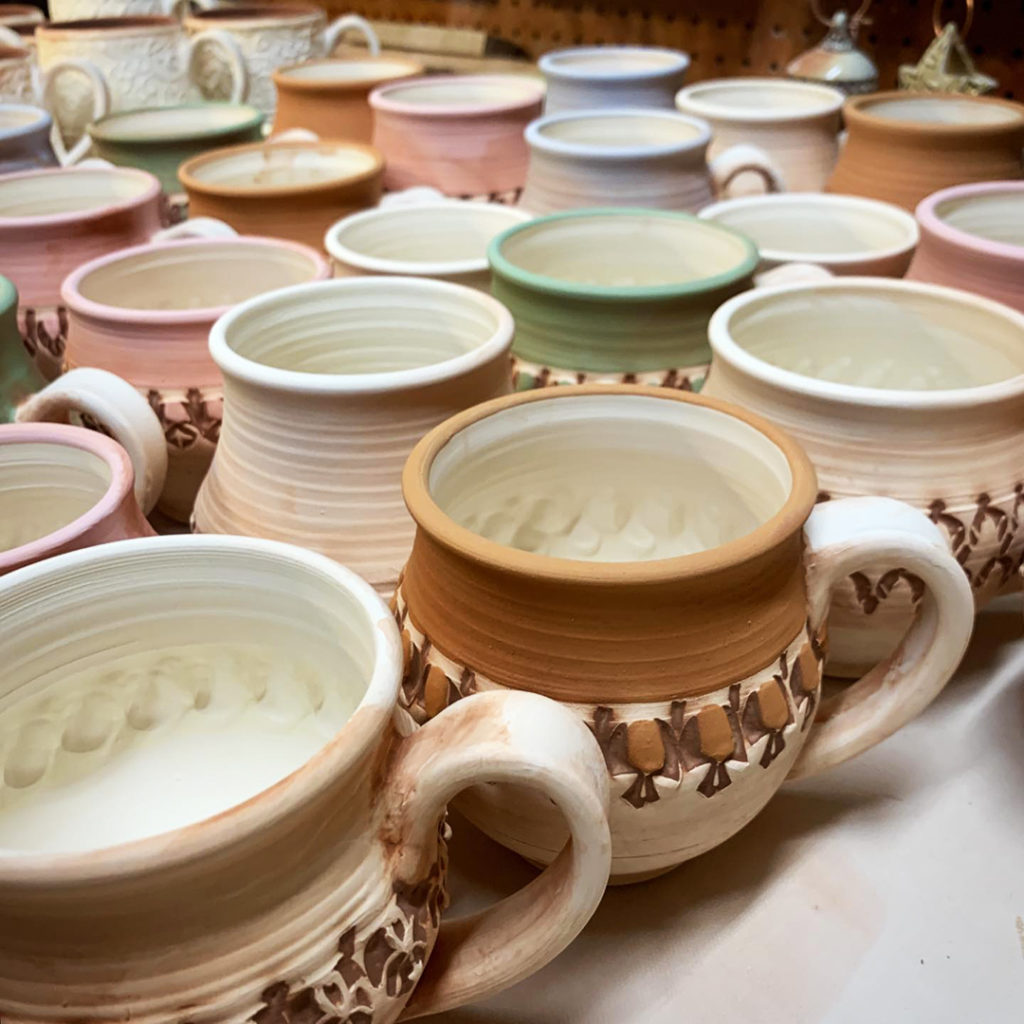
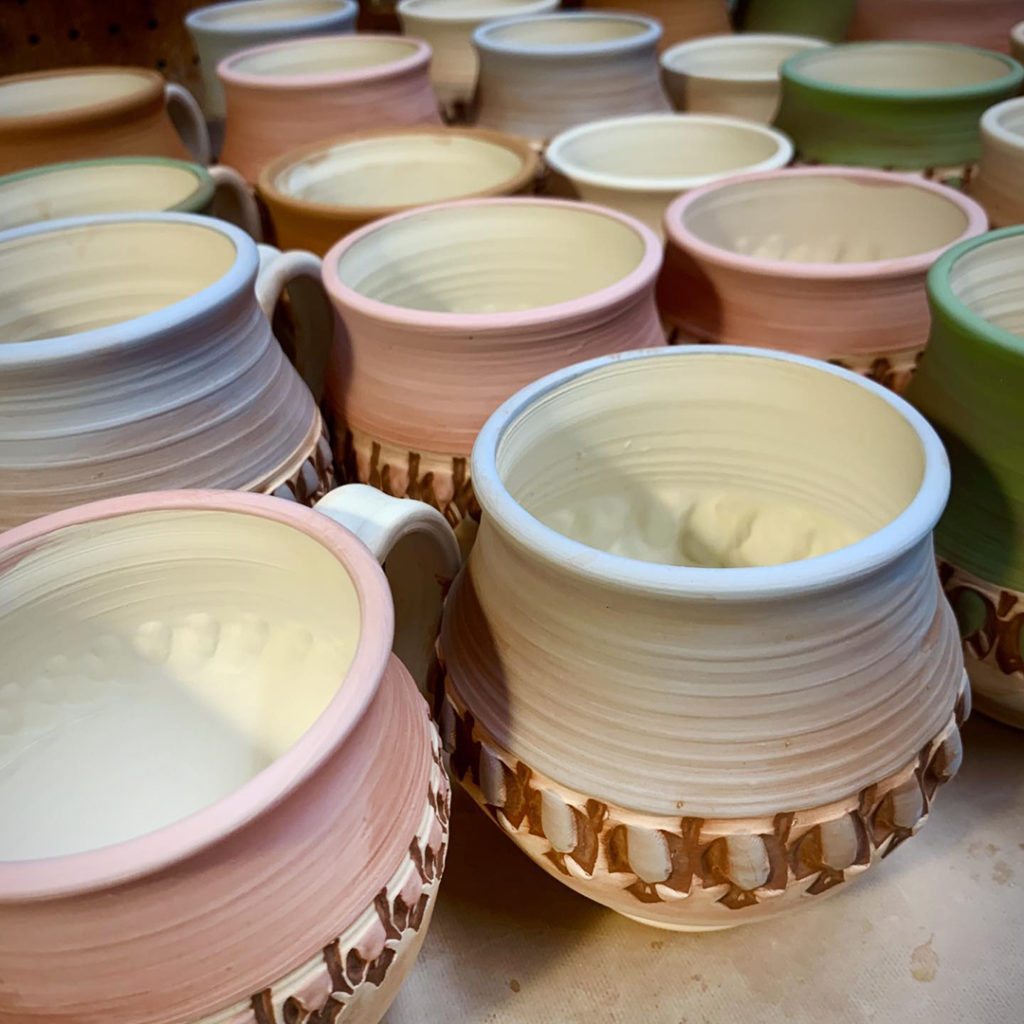
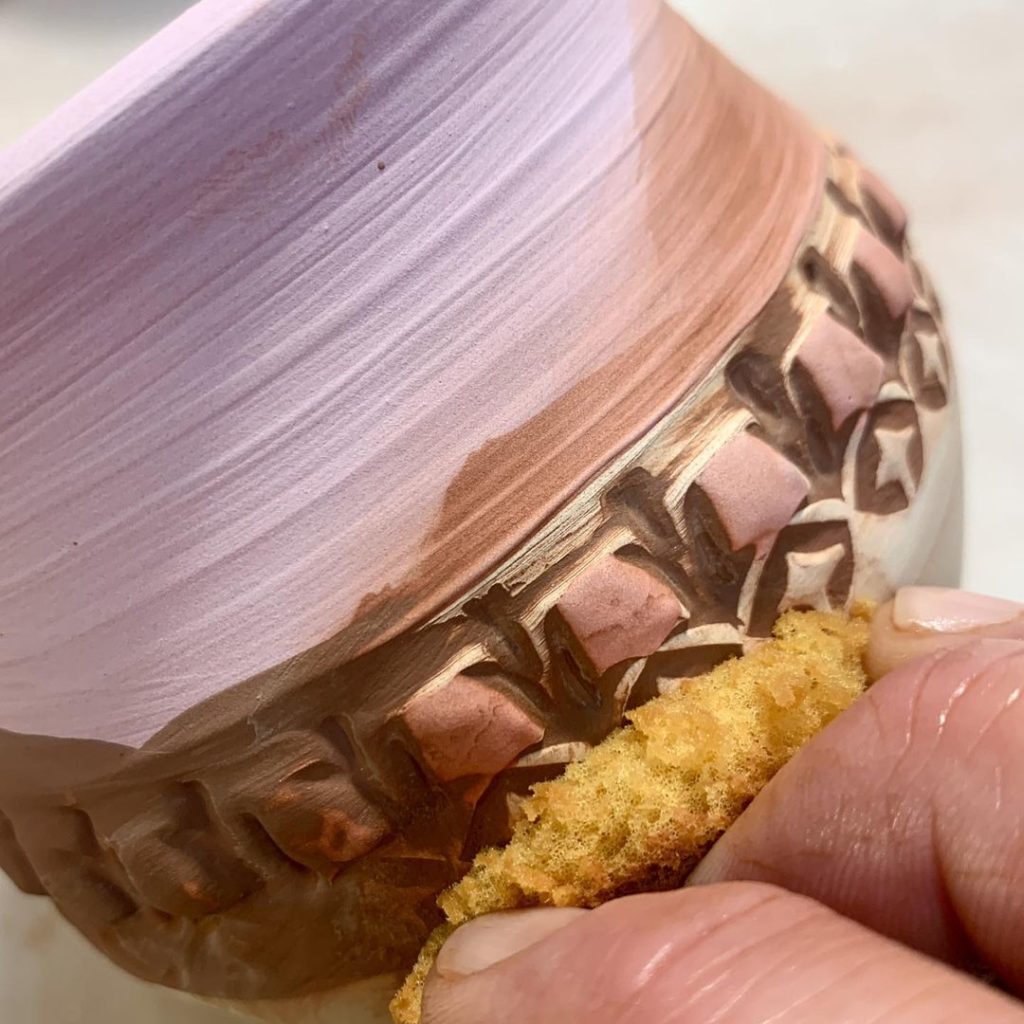
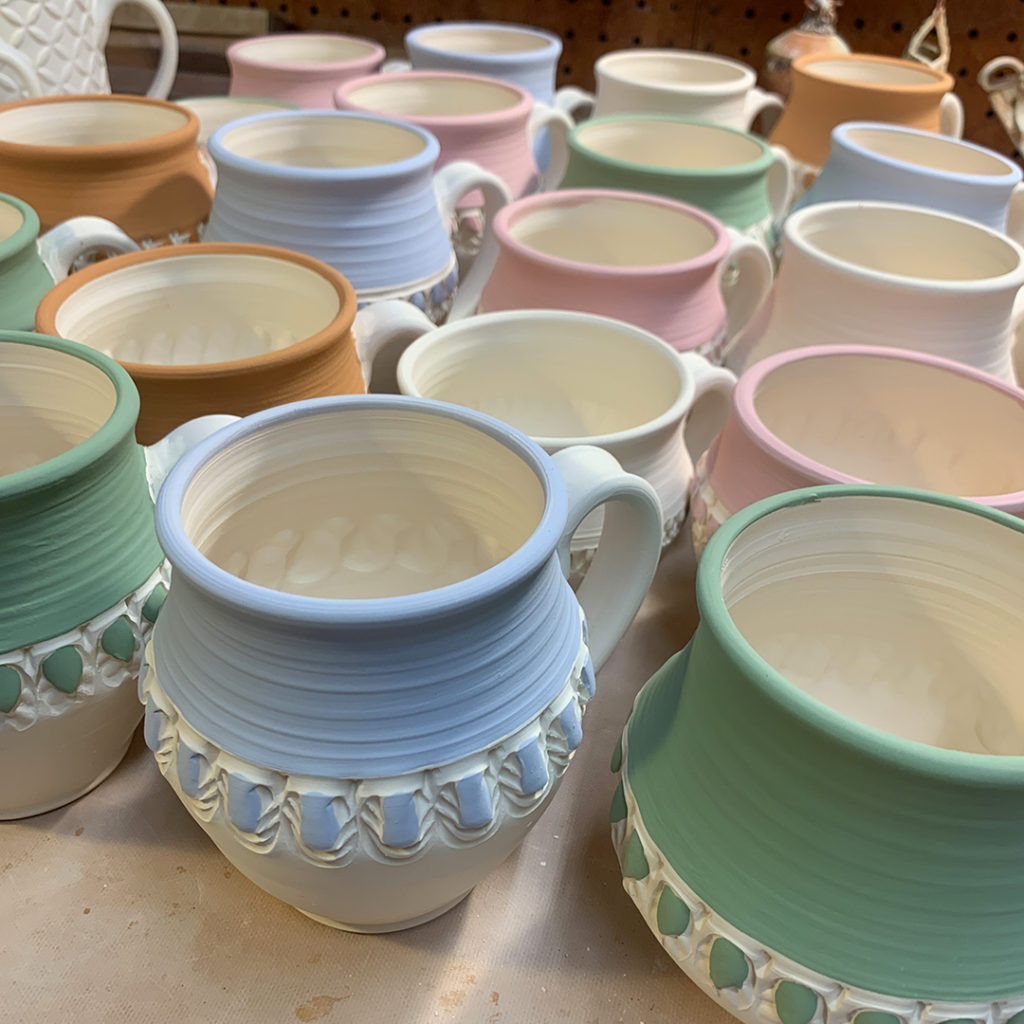
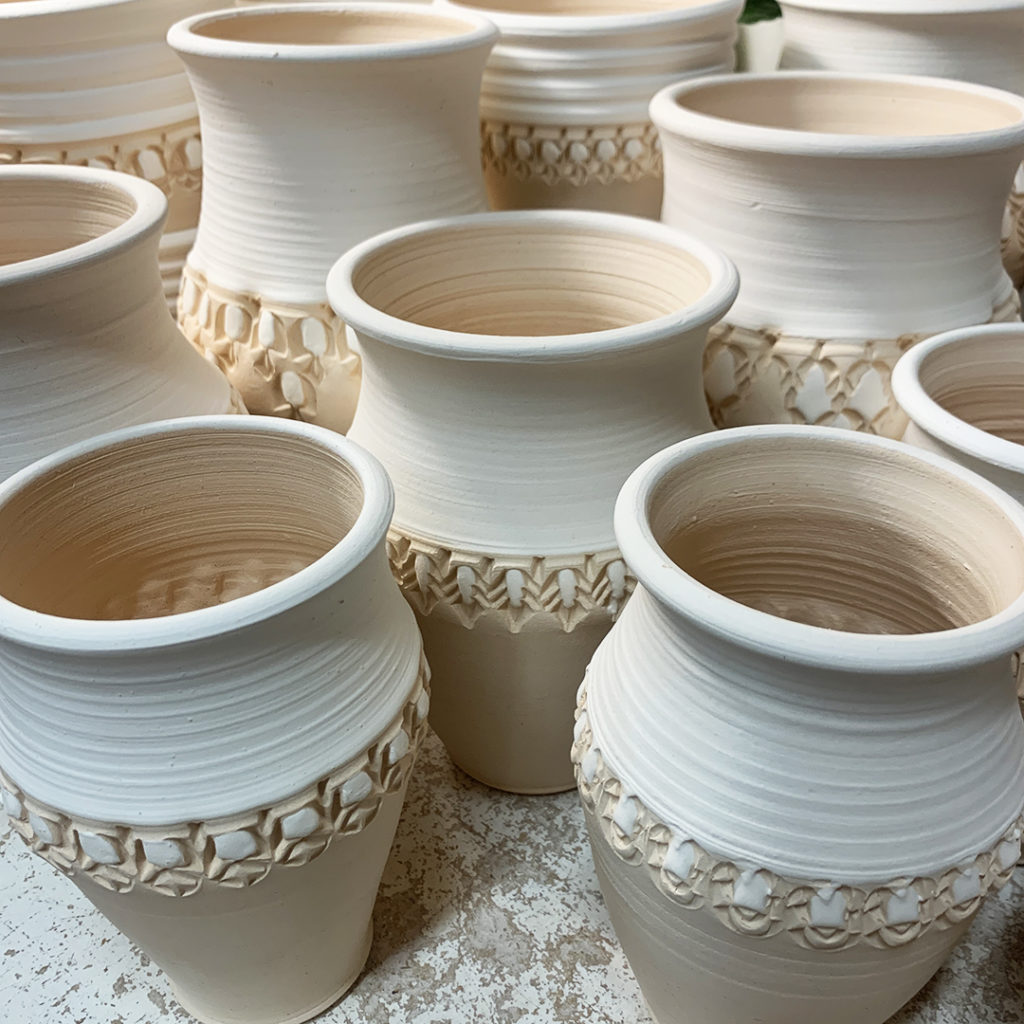
So the cylinders that were thrown yesterday were ready today to start stamping. They were under plastic overnight so now they are at a good stage that I like to call “wet-leatherhard.” Not quite stiff enough to trim yet, not quite wet enough to be squishy or sticky… but instead firm enough to hold its shape, and yet wet enough to press in good impressions with my handmade stamps.
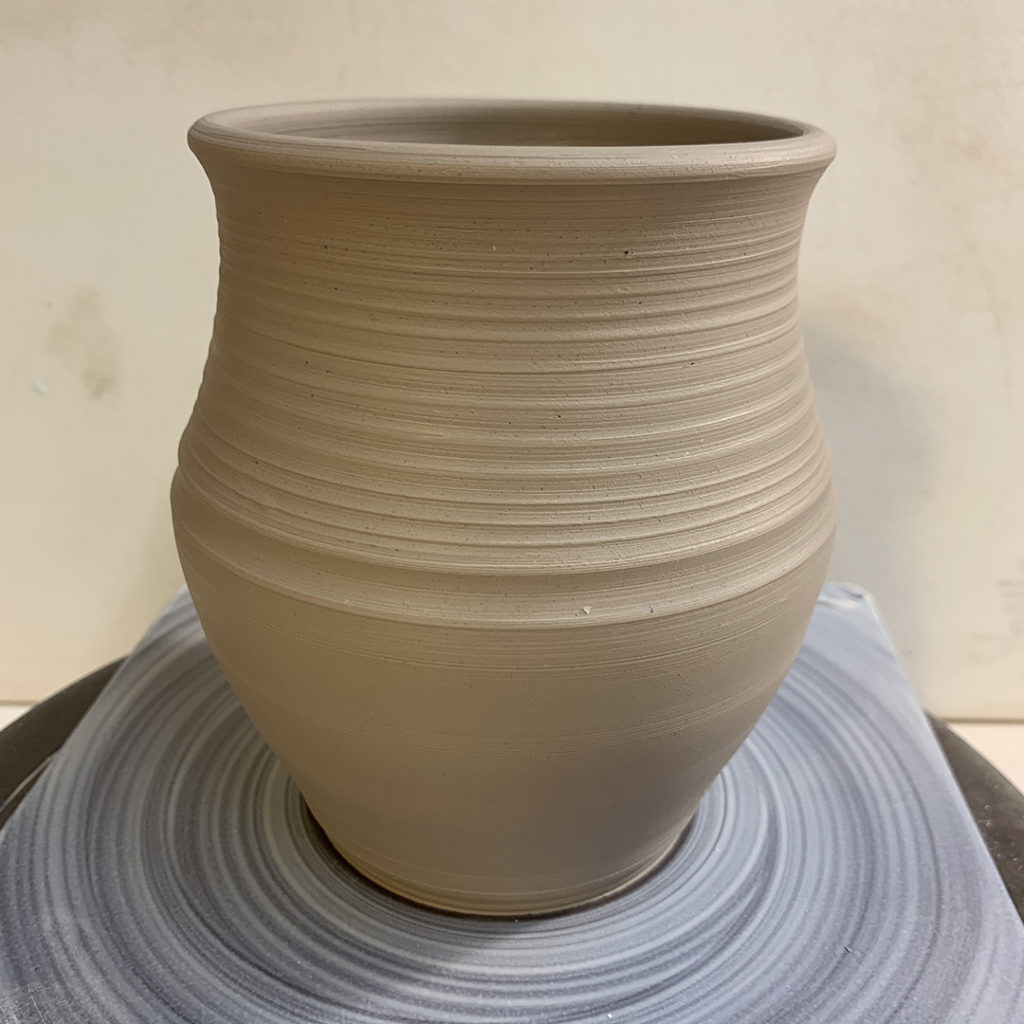
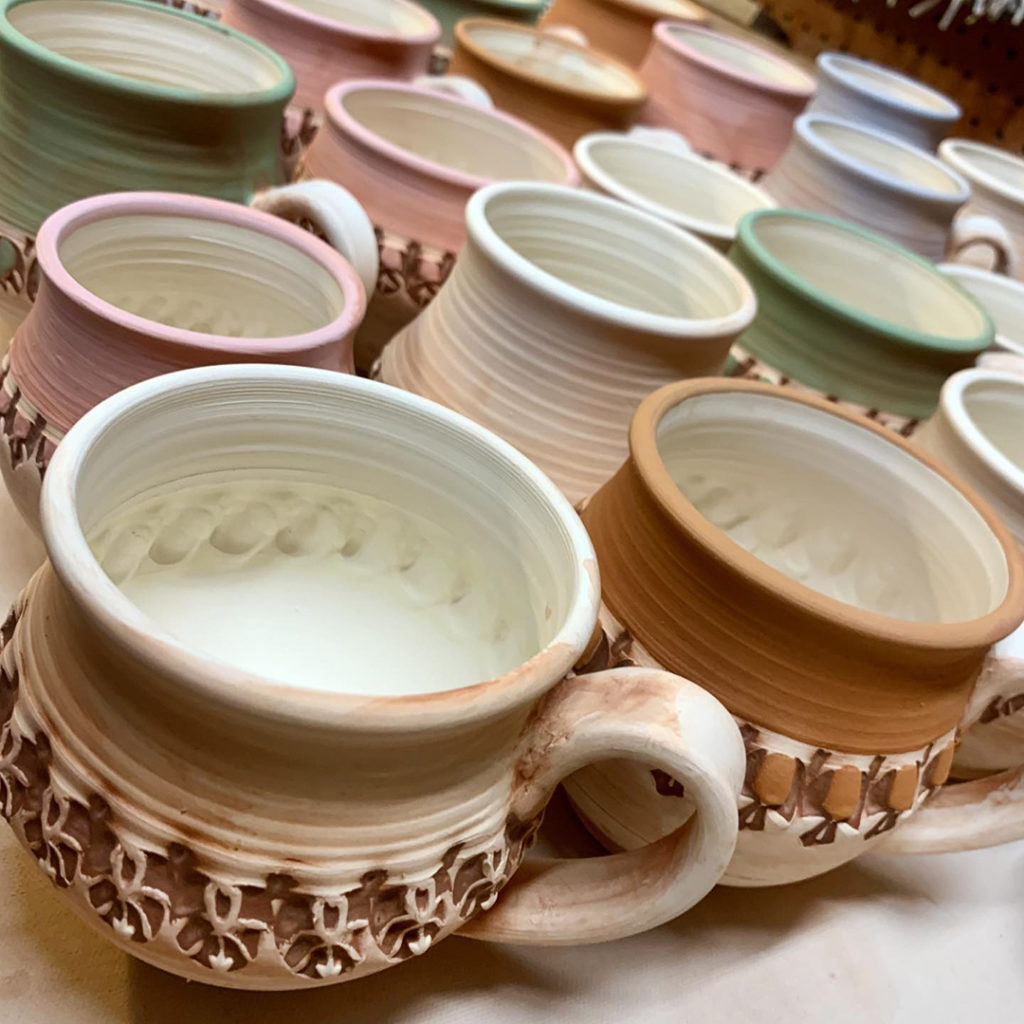
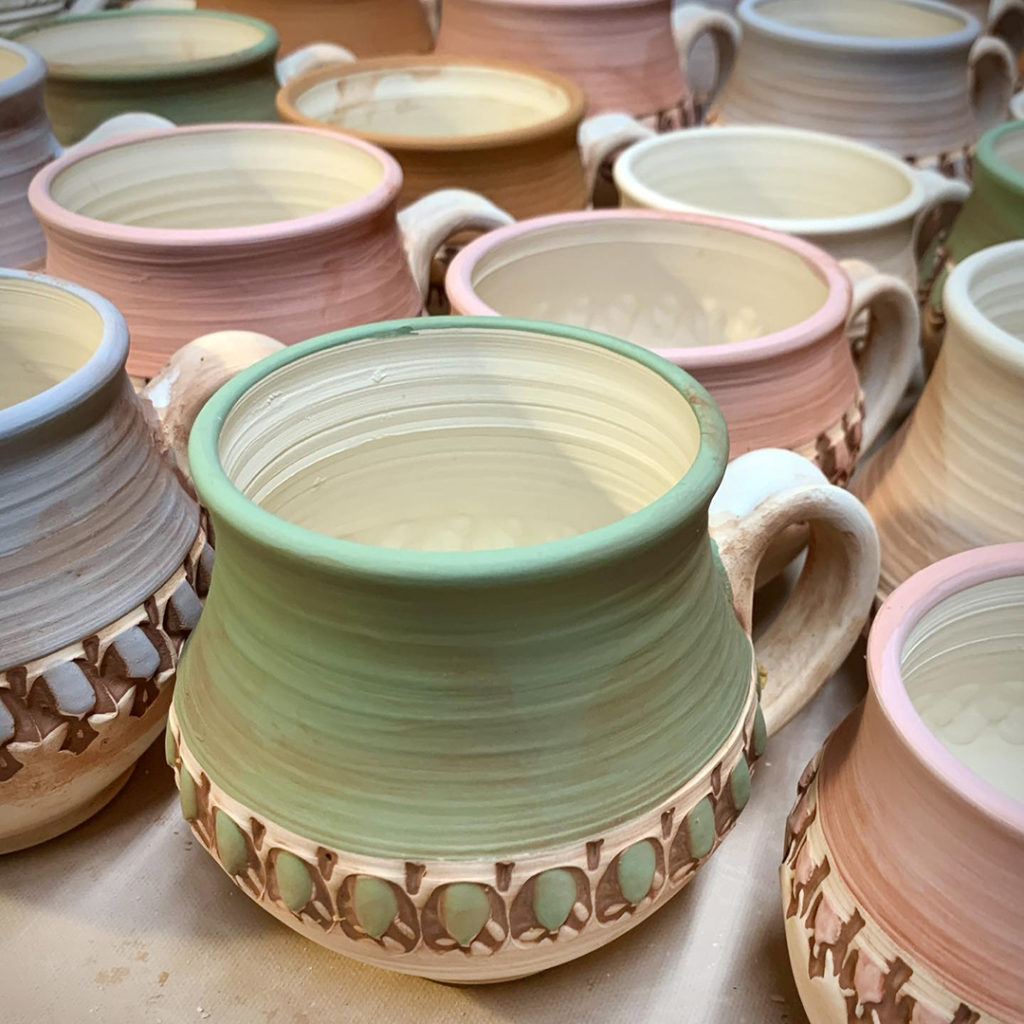
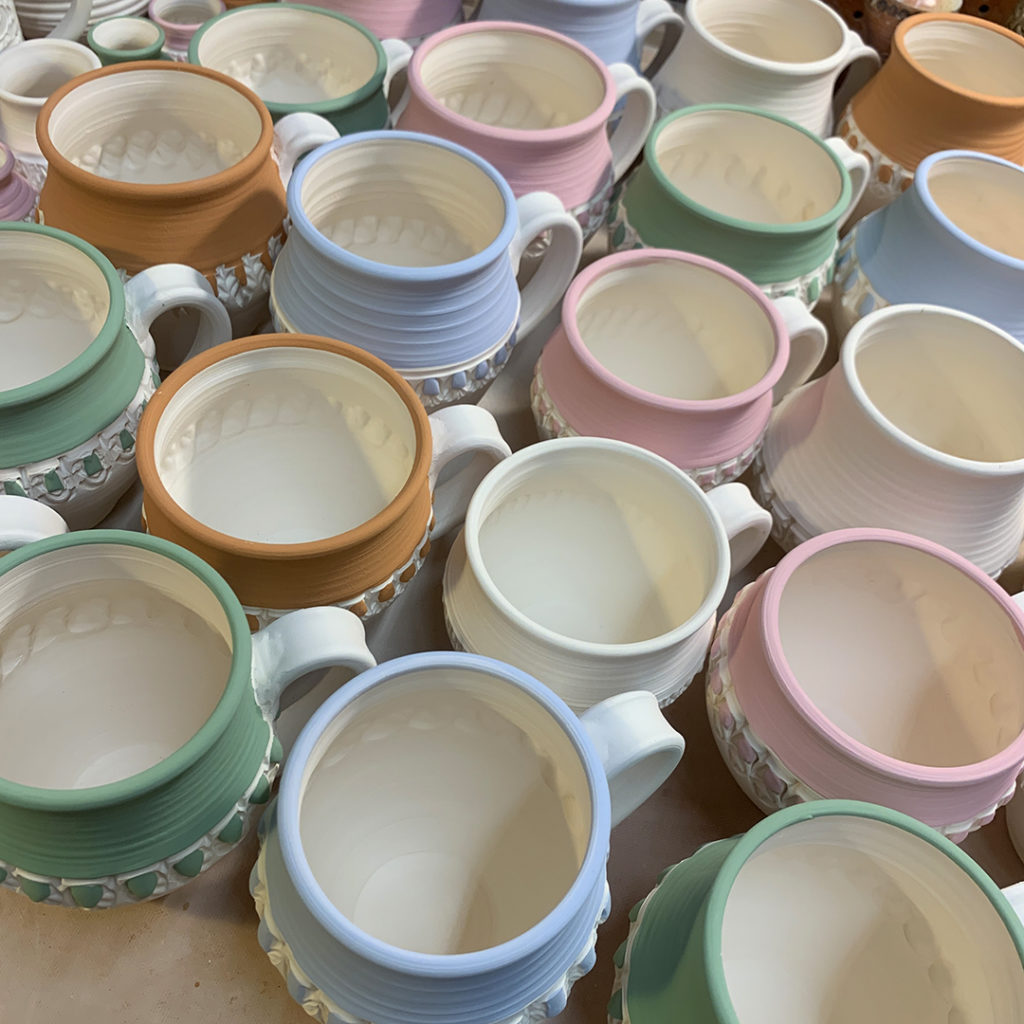
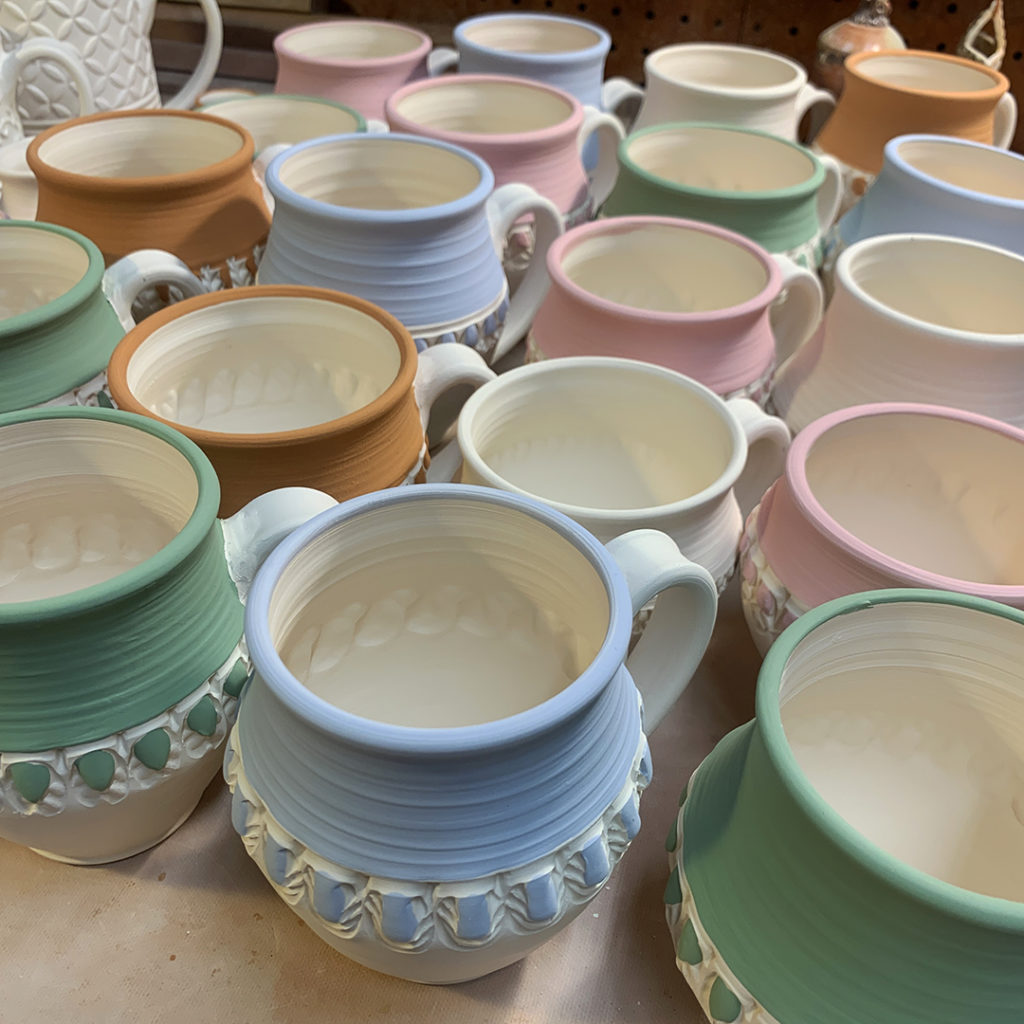
Mug #1 –
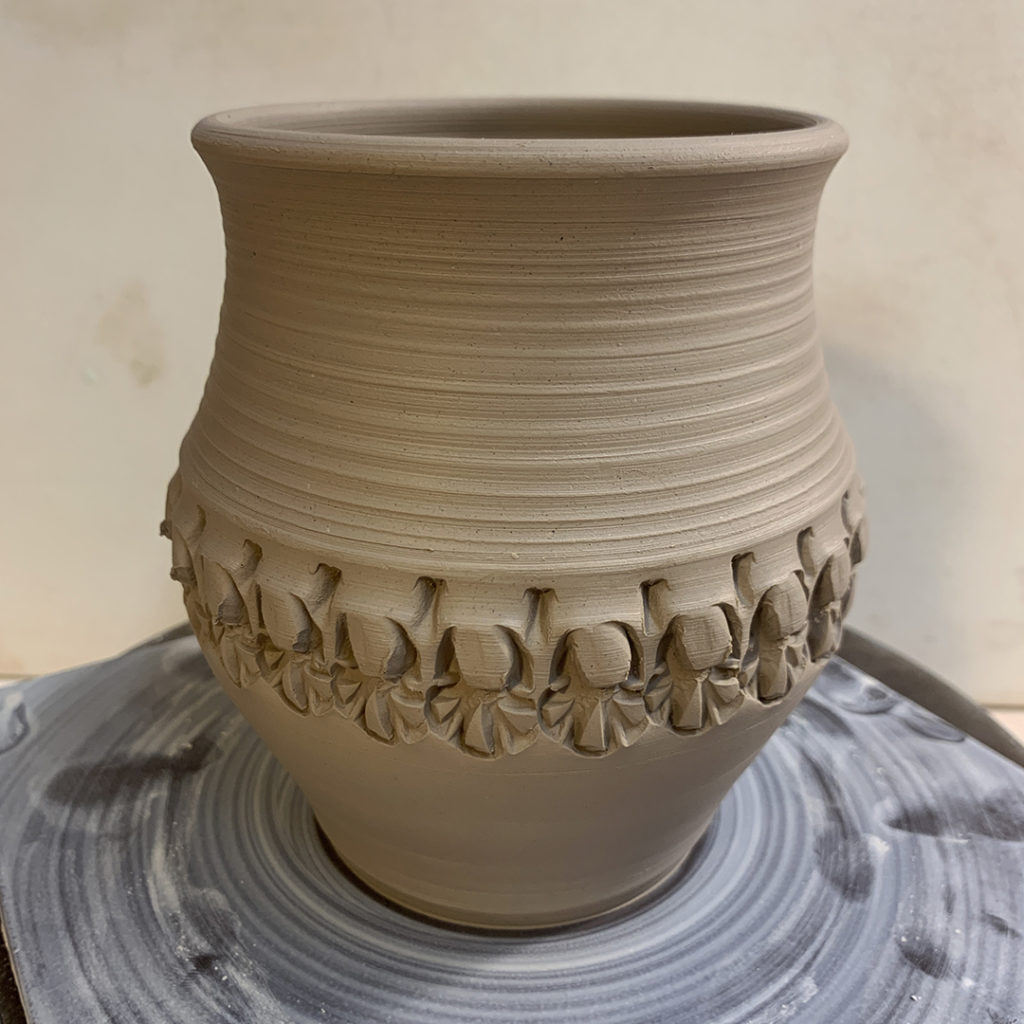
Mug #2 –
Mug #3 –
Mug #4 –
Mug #5 –
Mug #6 –
Mug #7 –
Mug #8 –
Mug #9 –
Mug #10 –
Mug #11 –
Mug #12 –
Mug #13 –
Mug #14 –
Mug #15 –
Mug #16 –
Mug #17 –
Mug #18 –
Mug #19 –
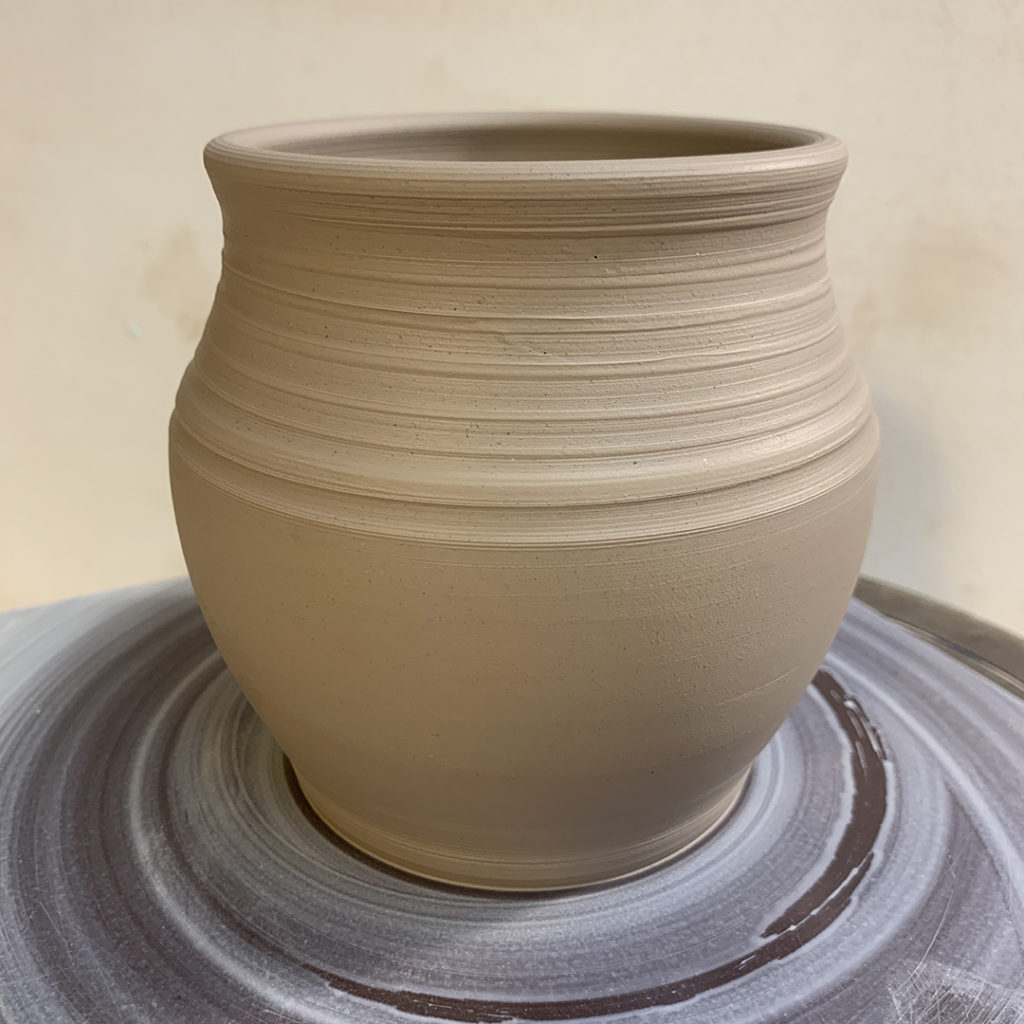
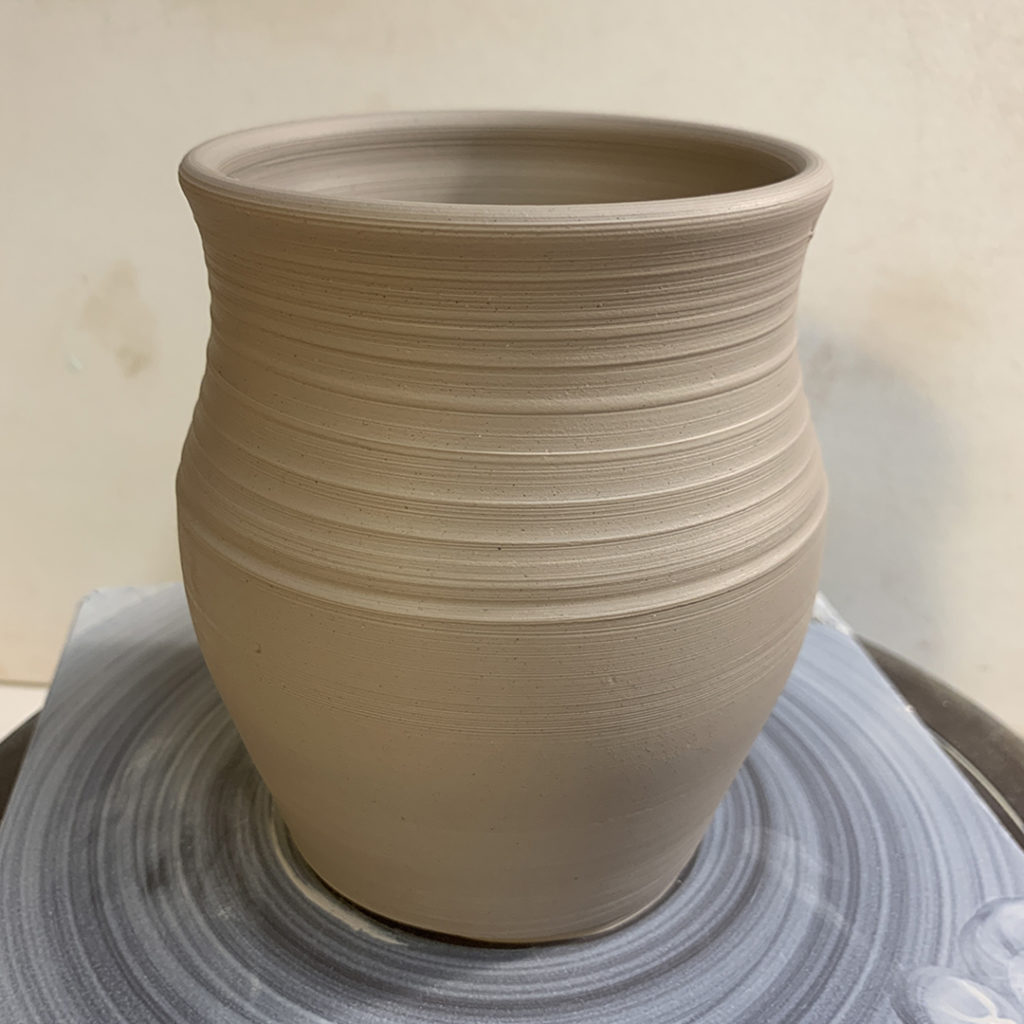
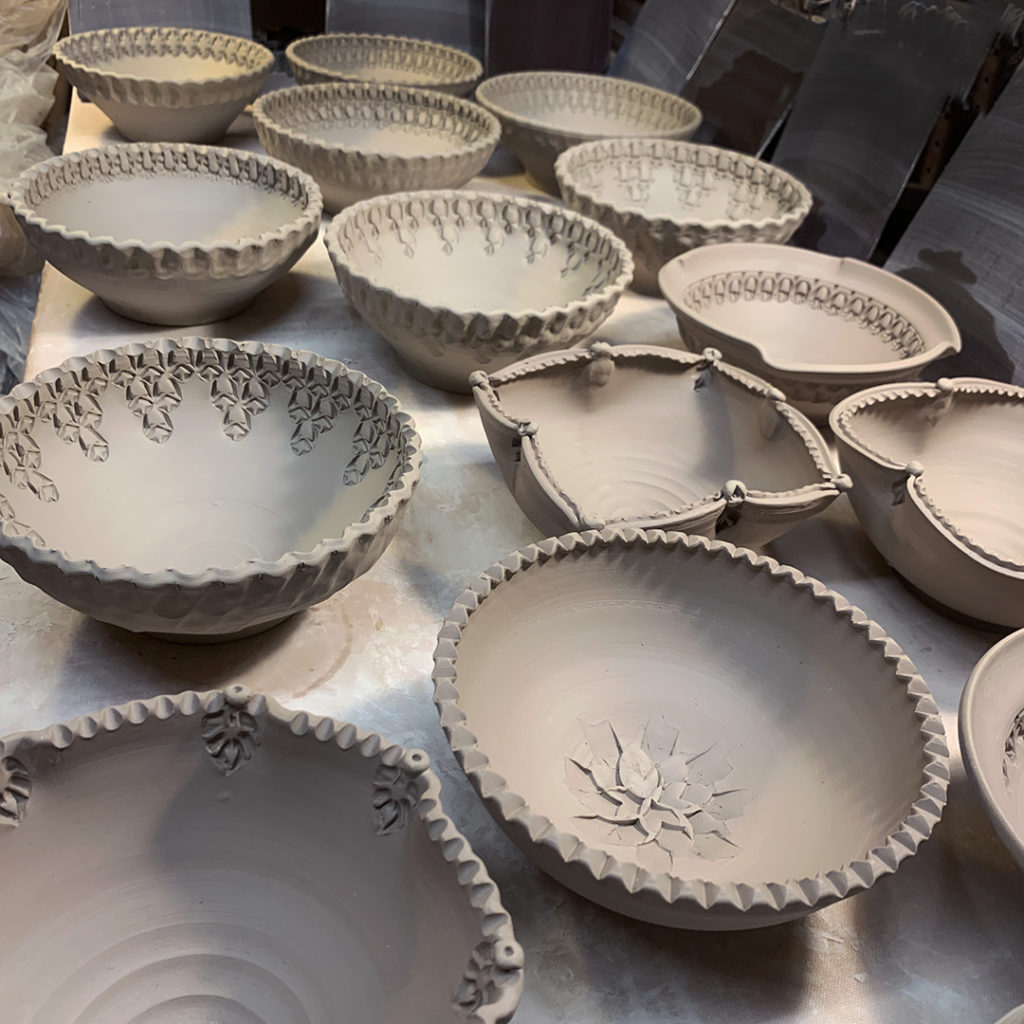
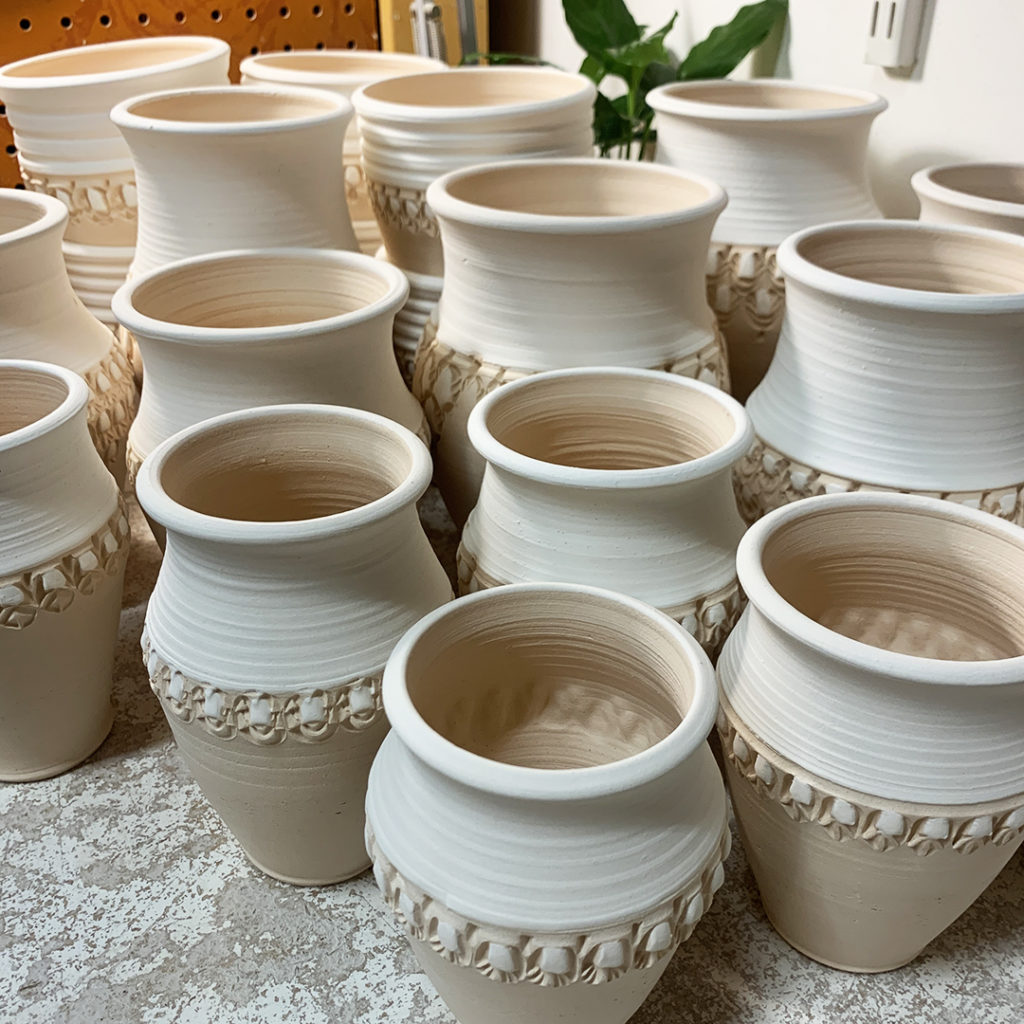
So for now they’re all back under plastic wraps… drying up a bit more until they are leatherhard and ready for trimming. And then… the ever-popular task of adding handles to all of them!!!