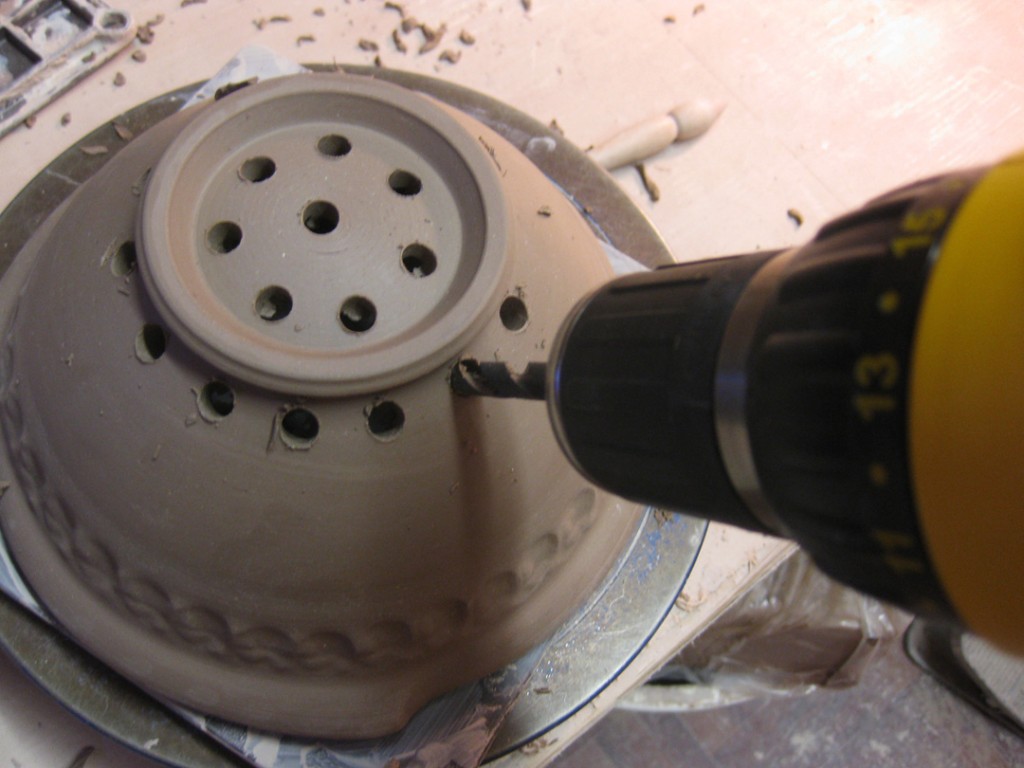
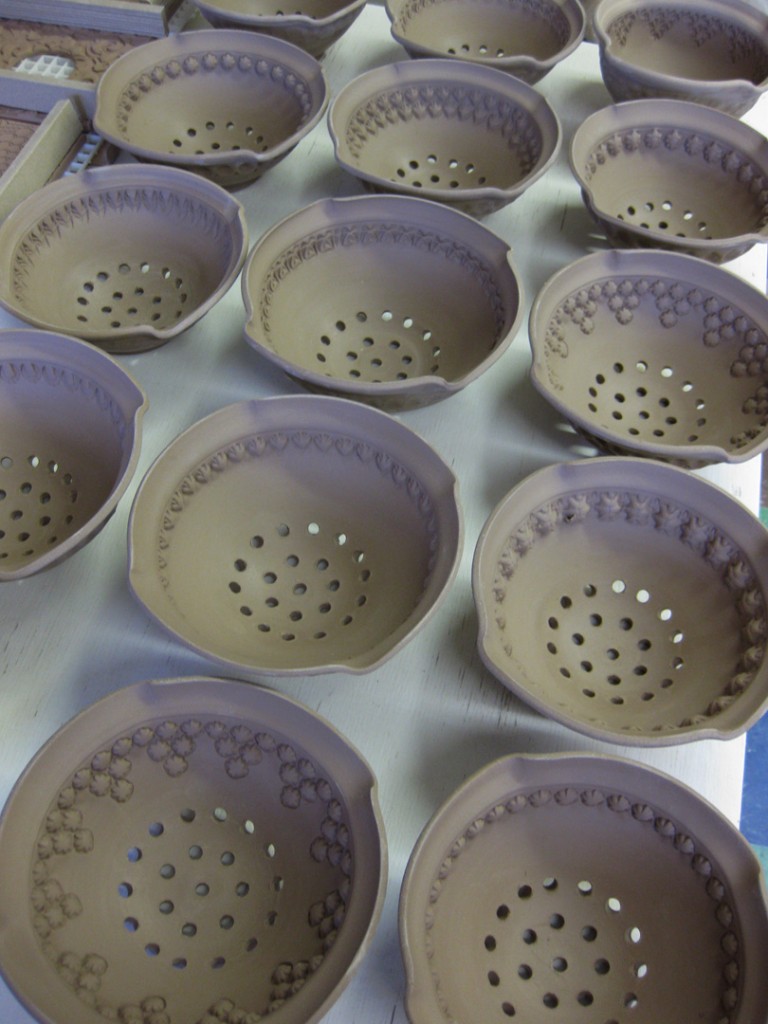
I’ve often thought that there had to be a better way to put holes in my berry bowls.
It finally dawned on me to bring in my power drill to do the holes. Yeah, it took me
long enough to figure that one out, right?!
With a little planning and some simple marks for spacing, the power drill was so much
quicker & a whole lot cleaner!!! When I used to push the hole punch tube through the
leatherhard clay I would always get these crazy burs and rough clay edges.
With the drill… not so much. I can’t believe it took me so long…
Tonight was week #9 of my beginning wheelthrowing class. Only one more week!
They have all of the basic skills and are busy working & making pots!
So tonight I thought it would be great to surprise them all with a wonderful surface
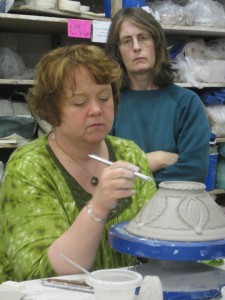
decoration demonstration by my friend & potter Amy Higgason. Amy has been in town
for the weekend, and after her Trunk Show on Friday, we thought it would be fun for her
to do a demo for my class. So Amy threw a few pots last Friday, trimmed ’em today
and set off carving them tonight! A special treat for my students.
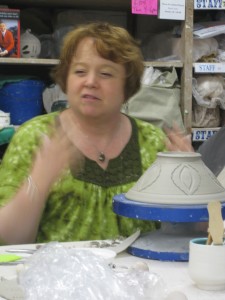
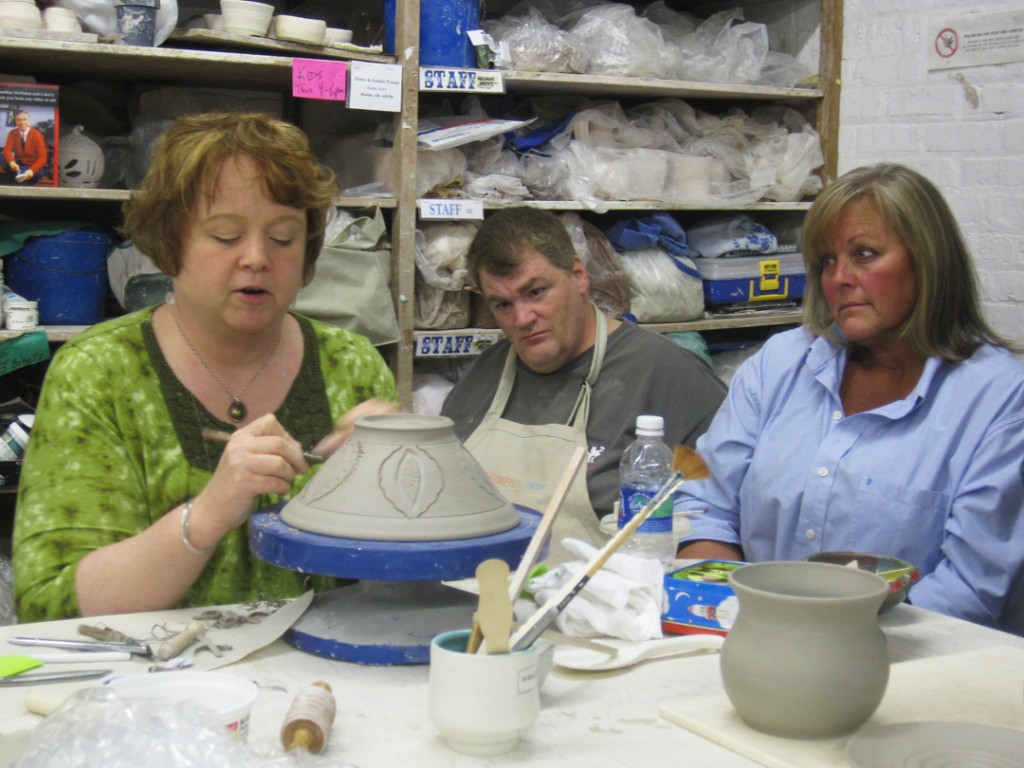
Amy started her demo with a discussion of the tools she uses… a few simple tools
that make a wide range of textures & patterns. Some of them actual ceramic tools,
while others are found items like a broken TV antennae! She then started in on her
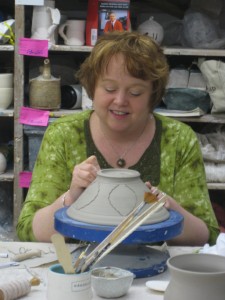
demonstration of how she decorates a simple bowl.
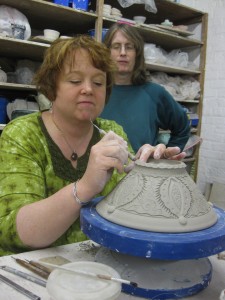
Yeah, well it started out simple anyway…
Suddenly, not so simple of a bowl any more!!!
Then she moved on to a small creamer pitcher. A quick trick of cutting a vase shape to make
the spout. A little wetting, sponging, finessing and shaping to create the spout. After the spout
is formed, she then set in to the carving & decorating of this piece.
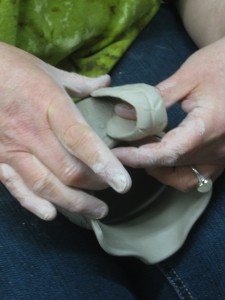
Amy then showed my class how she makes her leaf-shaped handles out of a slab.
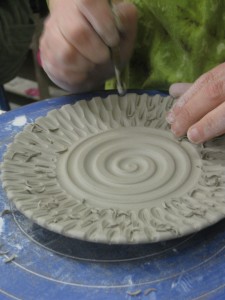
And then in Amy World, a pitcher can’t be just a pitcher… it needs a saucer to sit on too!
And not just any saucer, but an over-the-top, decoratively carved plate!!!
And then to close out the evening, I surprised Amy with a birthday cake
to help celebrate her big day. Nothing says birthday like a big chocolate cake!!!
So let me send out a quick Thank You again to Amy Higgason for sharing her talents
& creativity with us. I’m sure my students were inspired and will be incorporating some of
her techniques into their work. I know I enjoyed Amy’s time here this weekend,
and I hope she had some fun with us celebrating her big birthday!
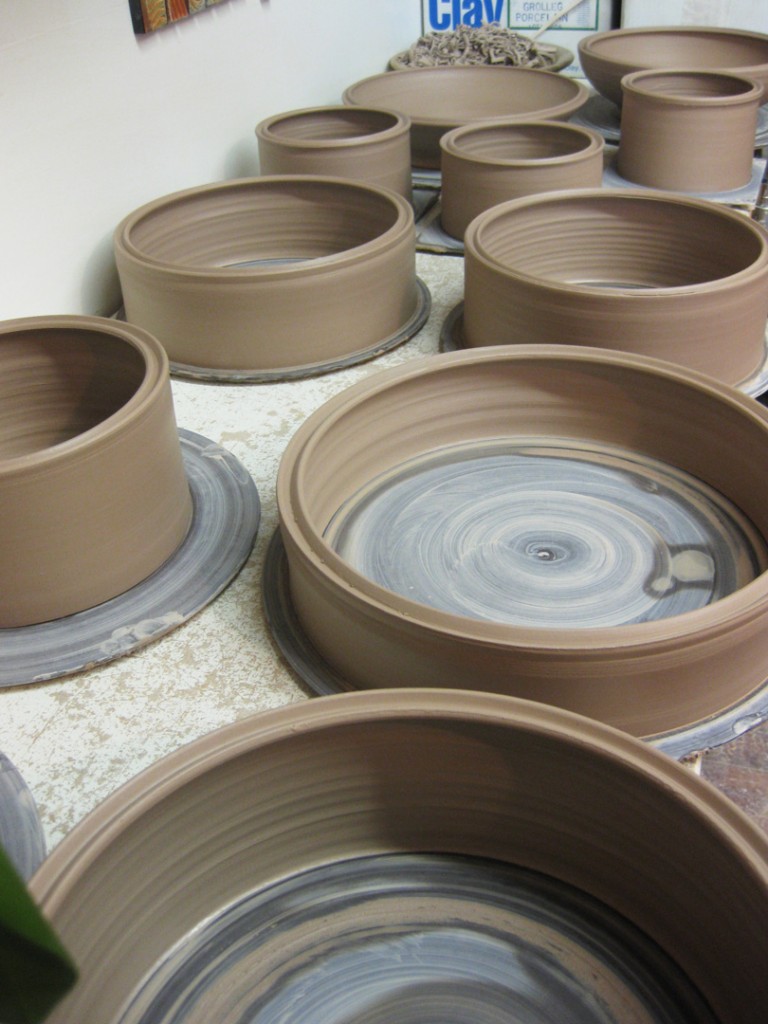
After yesterday’s productive day of throwing…
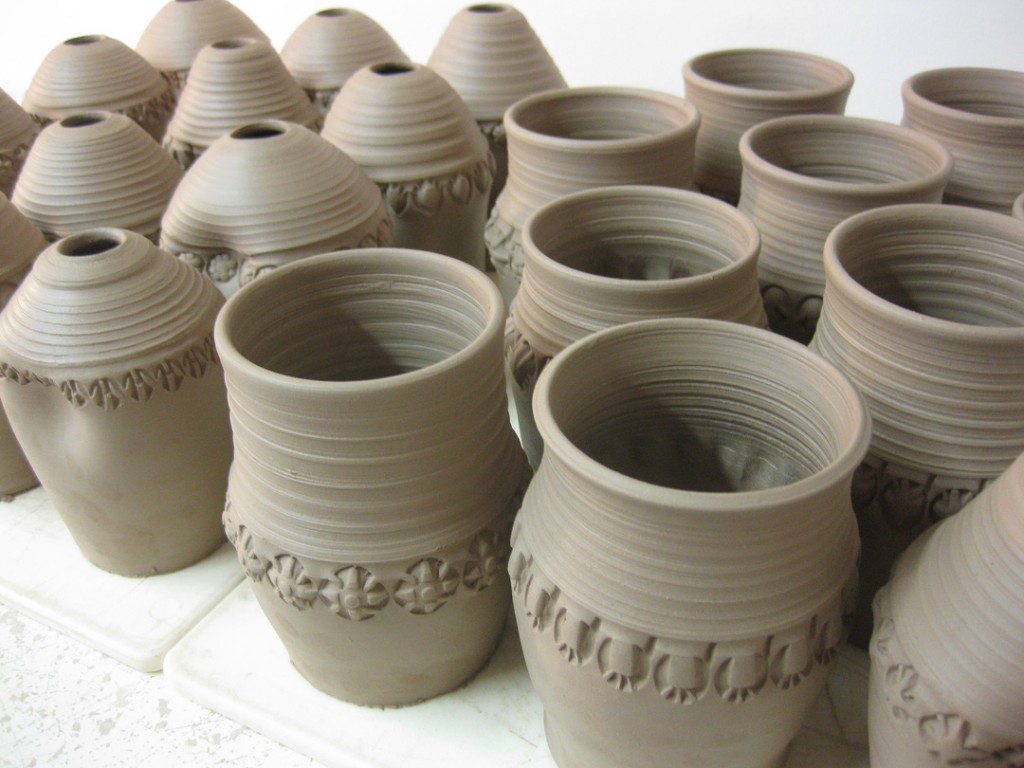
Today was another productive day of stamping & trimming.
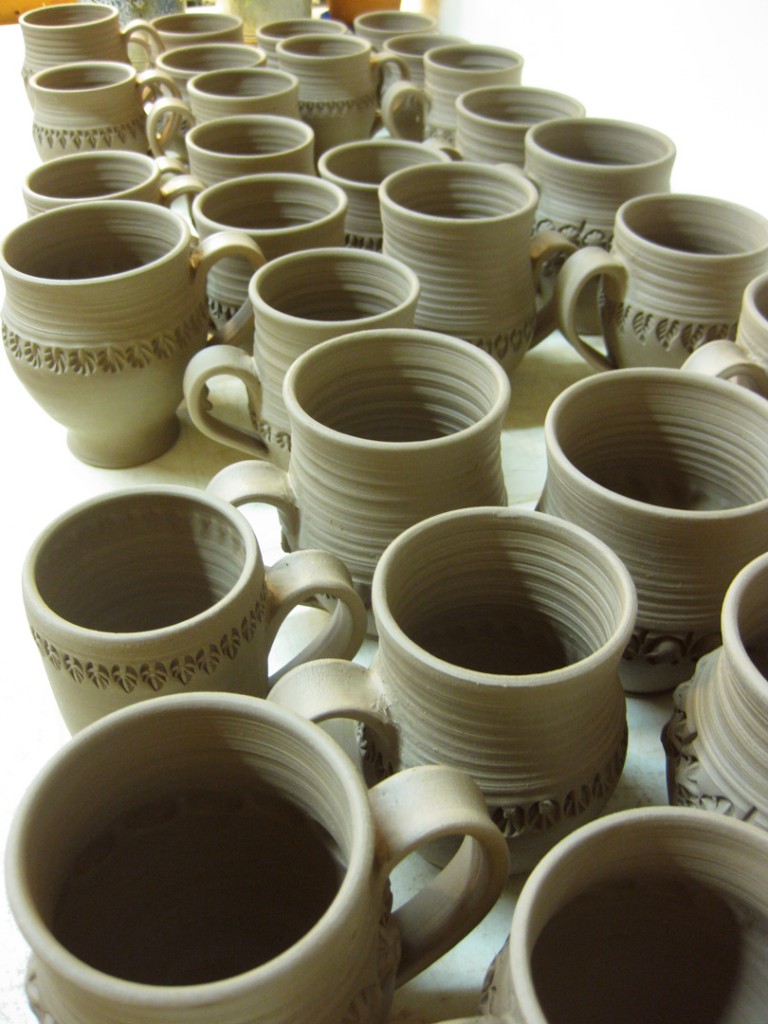
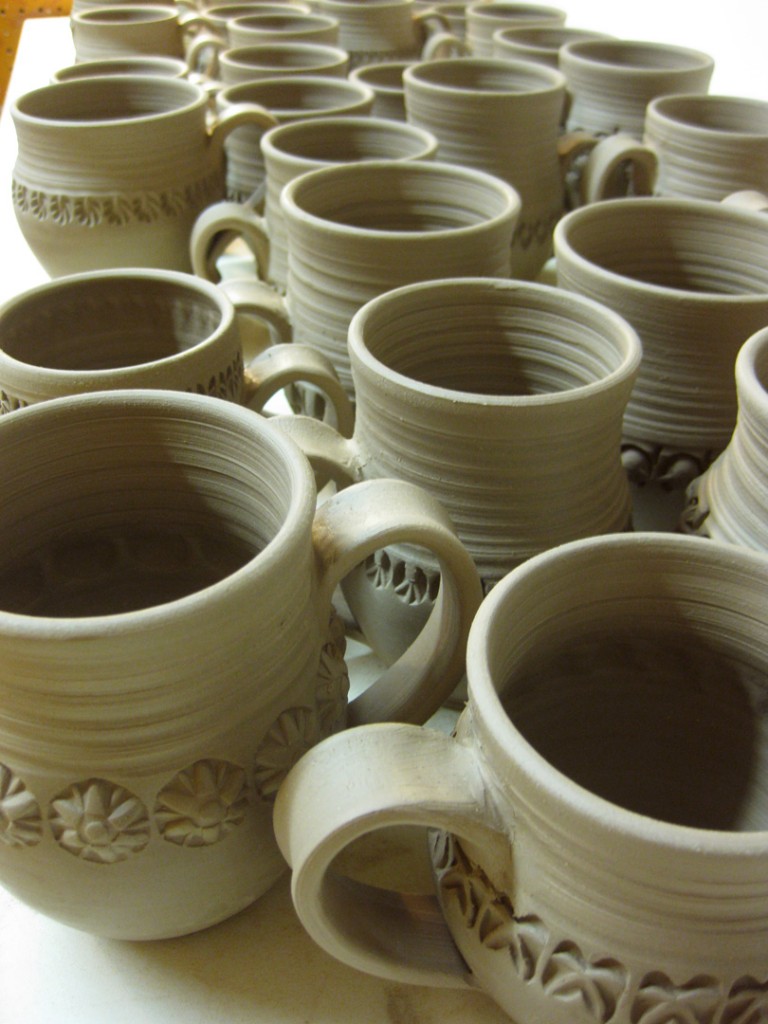
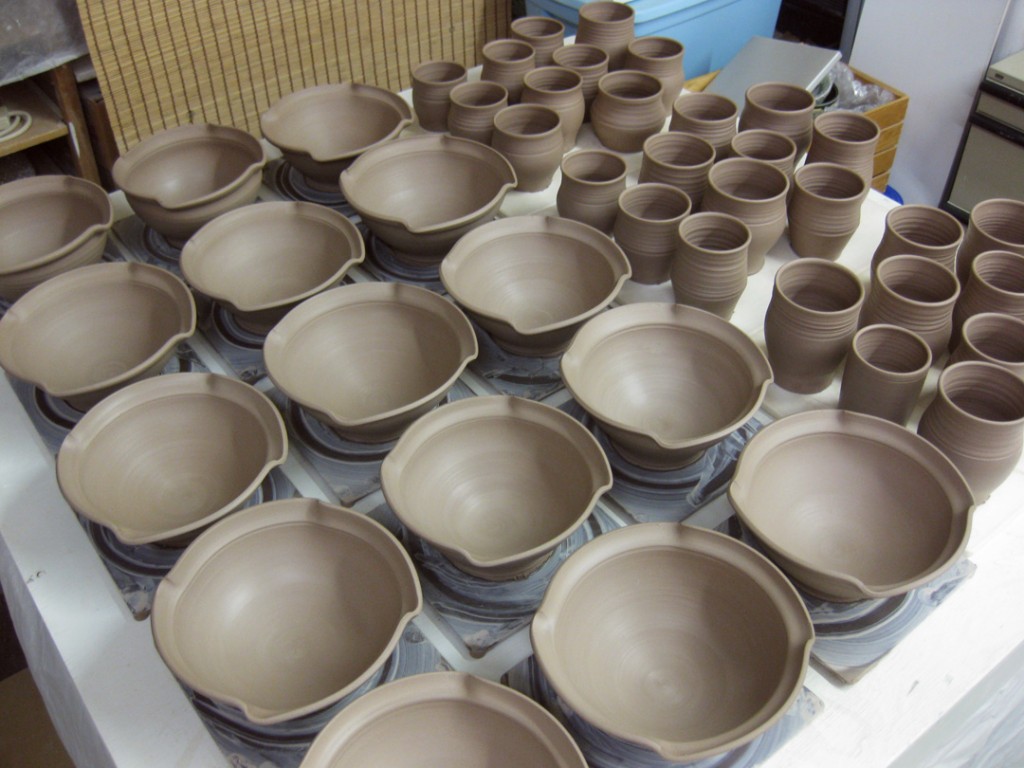
And yes, all bowls & mugs are stamped. As well as another 25 pounds of freshly
thrown pieces that I did this morning that are also now stamped & trimmed.
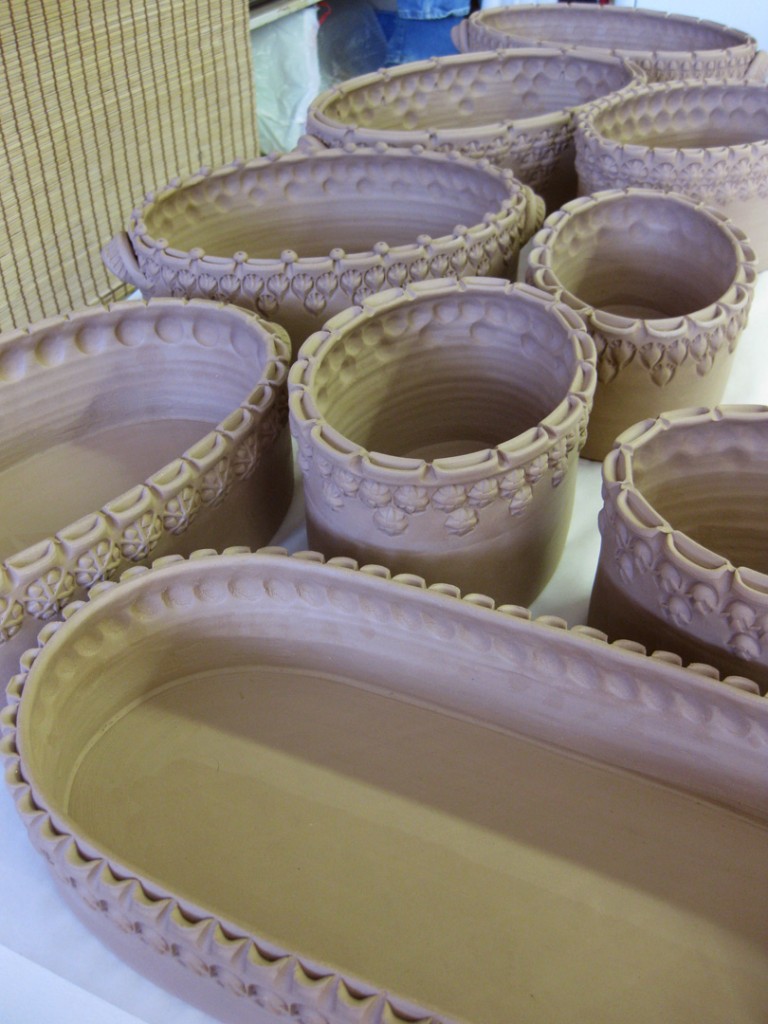
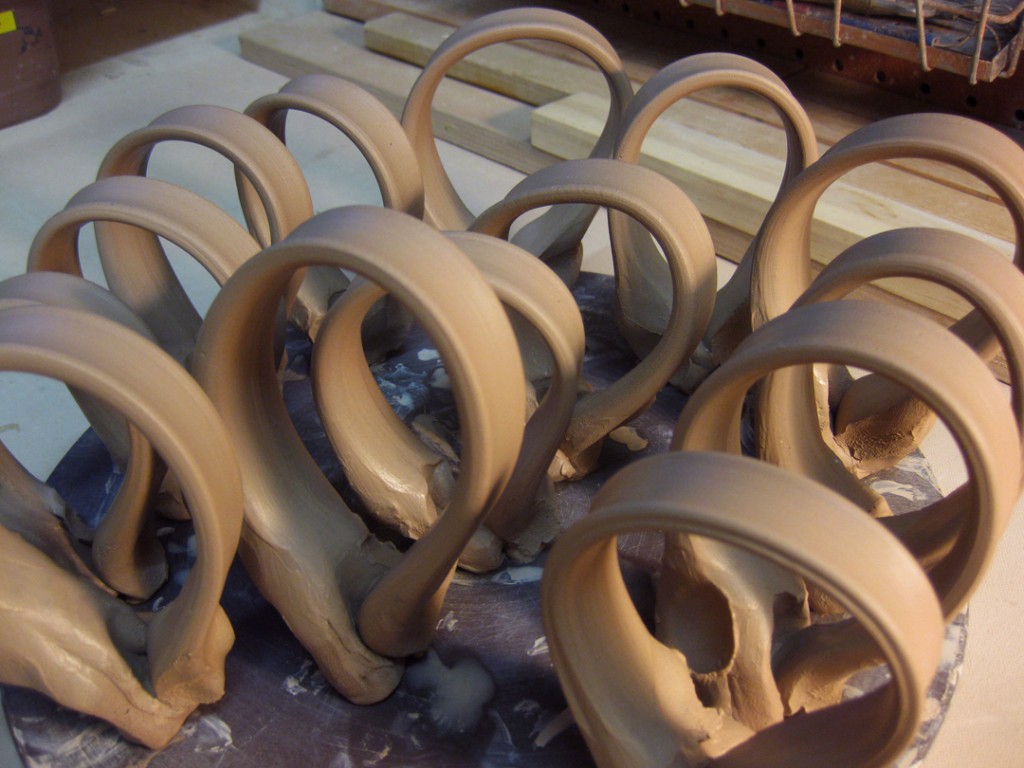
Next up… looks like I need to make a few handles for the mugs, huh?!
As well as punching drainage holes to make these into berry bowls.
Oh, and then they need small drip plates too… always more work to do!!!
After I had moved all of my clay around… sweaty & exhausted…
I decided it was time to get busy. So I wedged up a bunch of clay and got down to business.
Lucky for me, my studio neighbor Karen is out of town for two weeks…
and she left her studio table wide open & clear – perfect for me to use for MY new pots!!!
Looks like tomorrow there’s going to be a lot of stamping & trimming?!
So my day in the studio started with me moving around a LOT of clay.
I had to organize all the boxes & bags of clay strewn about my studio.
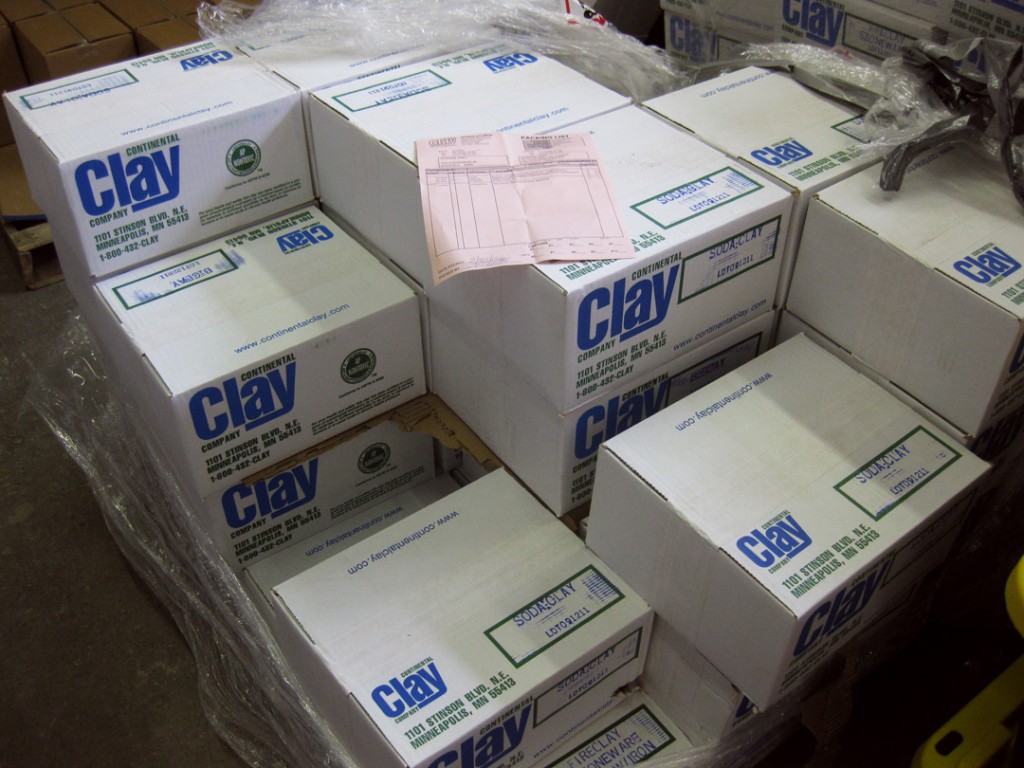
And then I had to move up my most recent clay purchase from the loading dock.
It was a lot of work & sweat. Moving everything around in my studio. But once it was done,
it looked great. And I just kept telling myself that it was “thirty boxes of potential.”
Well, Tuesday night one of my students requested another plate throwing demo.
Who am I to disagree?… so I threw them a 7-pound platter demo for them.
And what’s a good platter without some fun stamping?! So here we go…
We always start with a plain platter and a smooth flange waiting for texture!
Then I root through my tool boxes full of stamps to find the one I want to use.
Some simple repetitive stamping with the same stamp creates a nice border.
And if one row of stamps is good, would more stamps be even better?!
And then, to accentuate the pointed design, I used a smaller stamp to make a tiny
indentation at the bottom of each point.
All the way around to make a nice repetitive pattern. A little fluting around the edge
and the platter is done for now. Now it needs to stiffen up a bit and dry enough to be
considered leatherhard – ready to trim! And there’s another platter done!
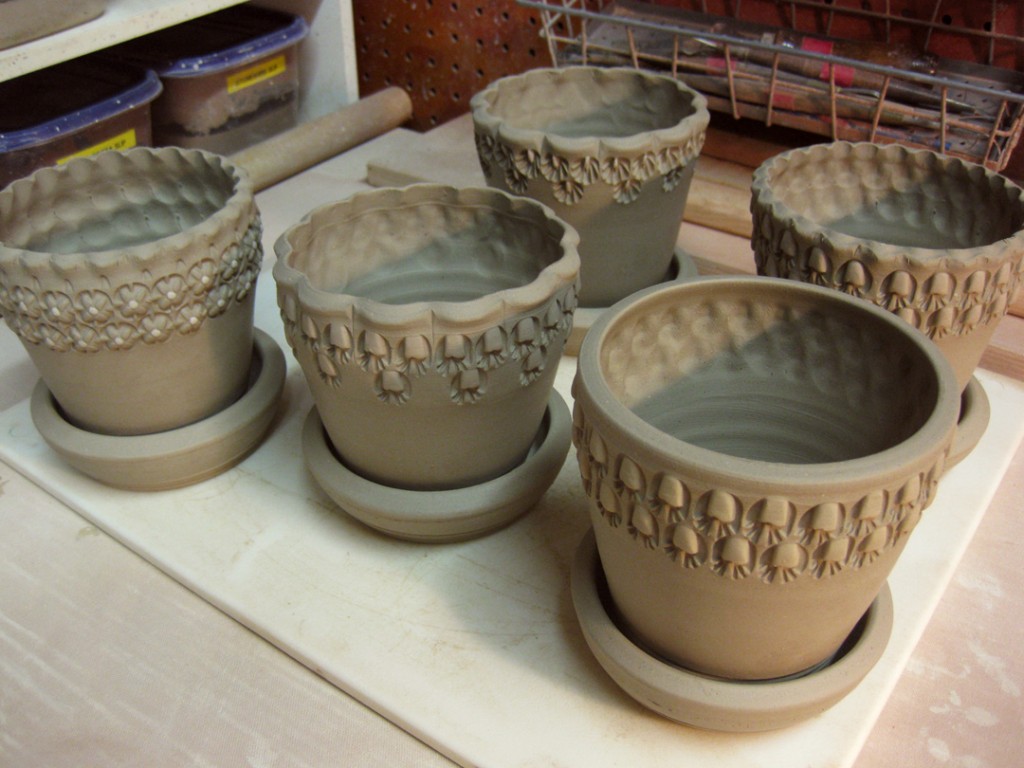
I think that the small flower pots I threw yesterday are going to be the perfect little pot
for window herb gardens! For some reason, they look a little larger than life in the photo?!
So the pots I threw yesterday before my bike ride are now all stamped, slipped, trimmed
and sitting on my rolling cart ready to dry.
Which was all part of my master plan… and time crunch.
I knew I had to make something that I could finish fairly quickly so that I could
get everything onto my rolling cart – and out of the way!
My friend & fellow potter Amy Higgason is coming in tomorrow to set up her work
for her Trunk Show in my studio. It was questionable for awhile whether she was
even going to make it to Chicago?! She was snowed in with over 3-feet of snow and
couldn’t even get out of her driveway. But she shoveled and drove south!!!
Can’t wait to see her and her new pots fresh from her kiln!!!
