After finishing the slab vases with some colored slip accents,
it was time to make another “batch” of something. I was feeling a little less than inspired,
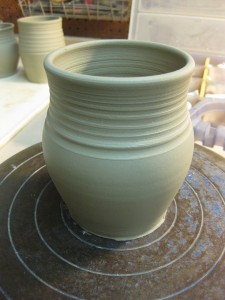
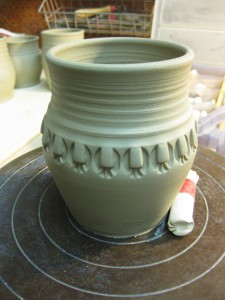
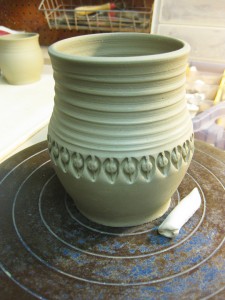
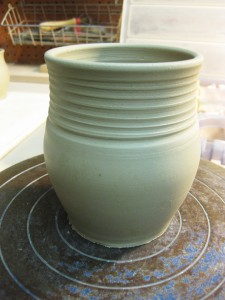
so I decided to make one of my favorites. No, not mugs… but ovals.
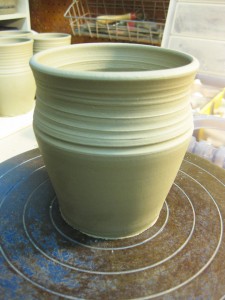
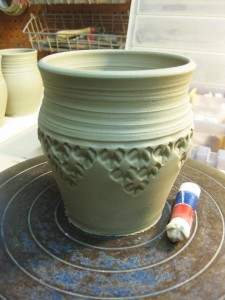
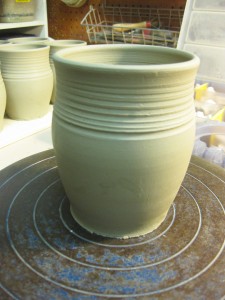
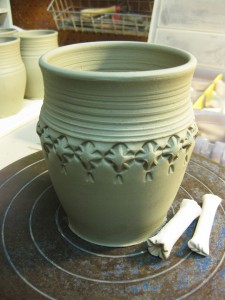
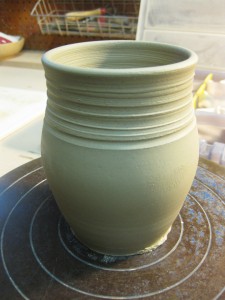
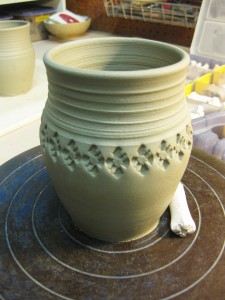
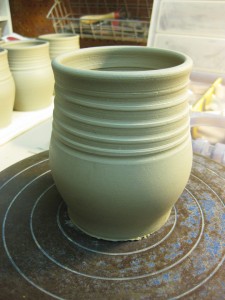
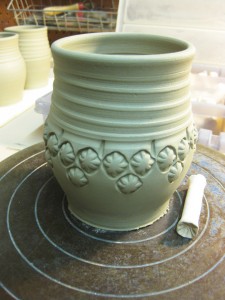
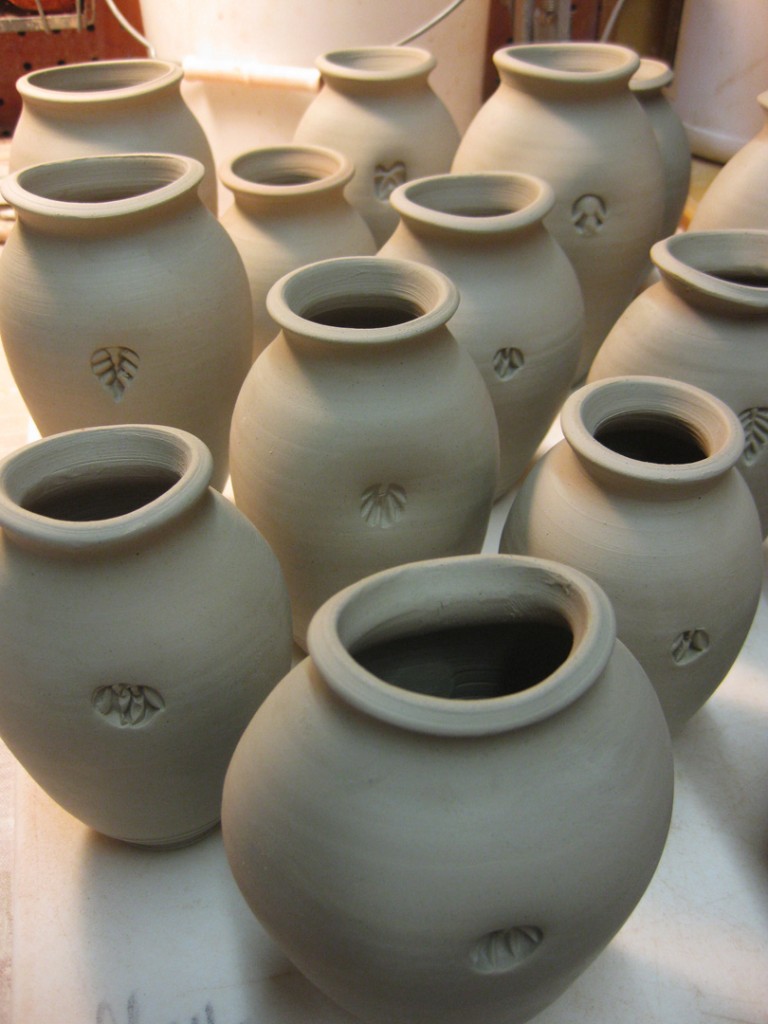
This time they’re slightly smaller – not so much a casserole, but more of a bud vase or
tchotchke keeper! I was pretty pleased with today’s “production” mode. Throwing them all,
stamping them all and ovaling them all in one afternoon! Okay, so I “pushed it” a bit.
The ovals were a little wetter than I would like them to be… in fact, I had one casualty while
stamping when the clay was to wet, stuck to the stamp & wouldn’t release! It ripped instead!
They’re wrapped up overnight and tomorrow I’ll add the bottoms, as well as some
colored slip accents! Finish these off… and then it’s another batch of… something?!
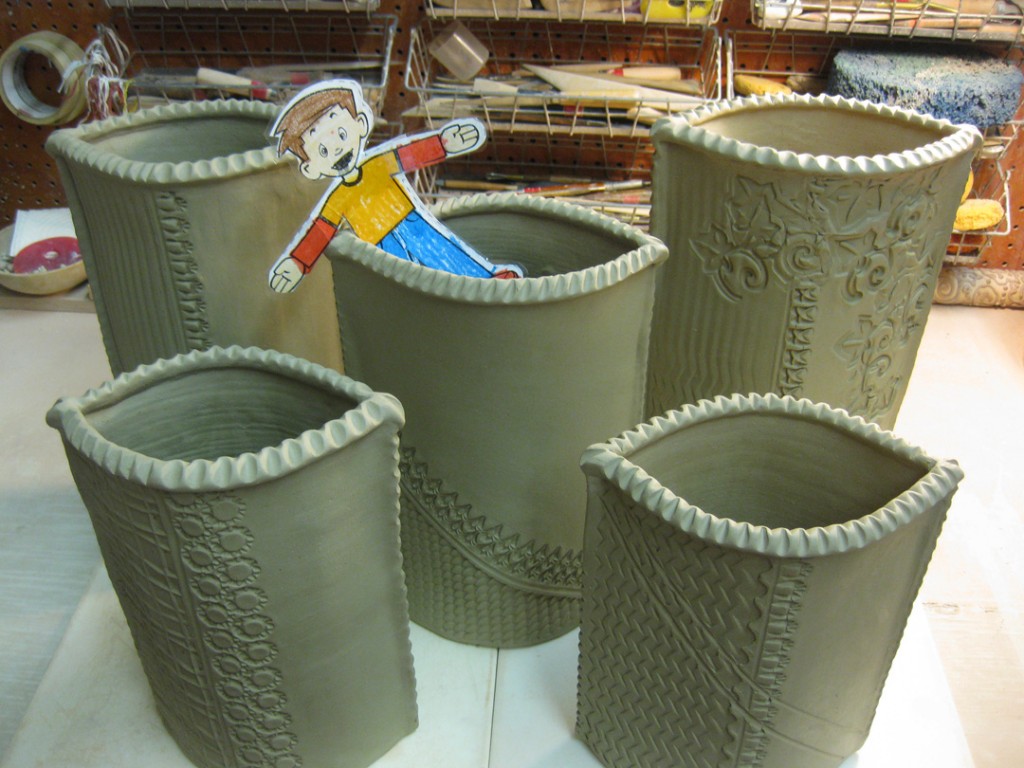
With my next soda kiln less than two weeks away, it’s time to start making some of the taller
pieces that will go on the top shelves… and follow the curve of the roof quite nicely. These
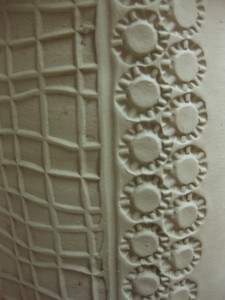
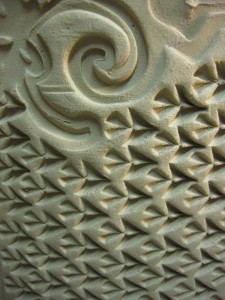
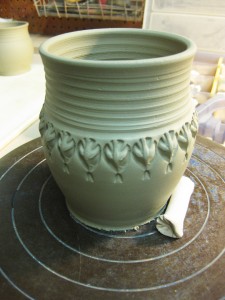
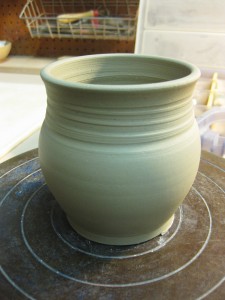
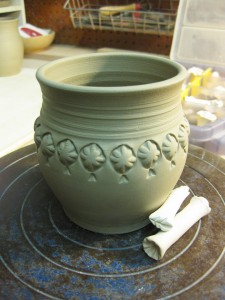
large slab vases are a lot of fun to make with different textures on each side of each vase.
Now that they’re all stamped and ready to start drying, I just need to add some colored
slip details on them. Good thing Flat Stanley stopped by to help!
Yep, my first grade niece Taylor read one of the “Flat Stanley” books and is now watching
Stanley travel around. I received Flat Stanley in the mail yesterday and have about a week
to capture his travels and exploits around the city. I thought it only fitting that Flat Stanley’s
first stop would have to be the studio where Taylor loves to play in the mud!
Apparently Flat Stanley like to play in the mud too!

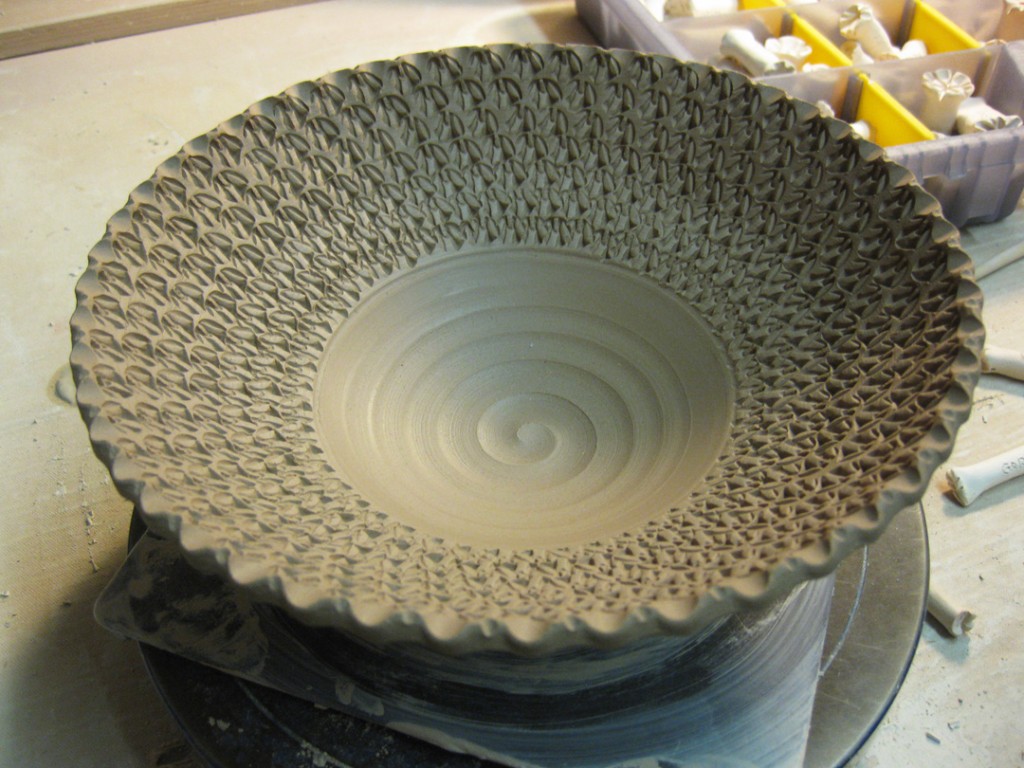
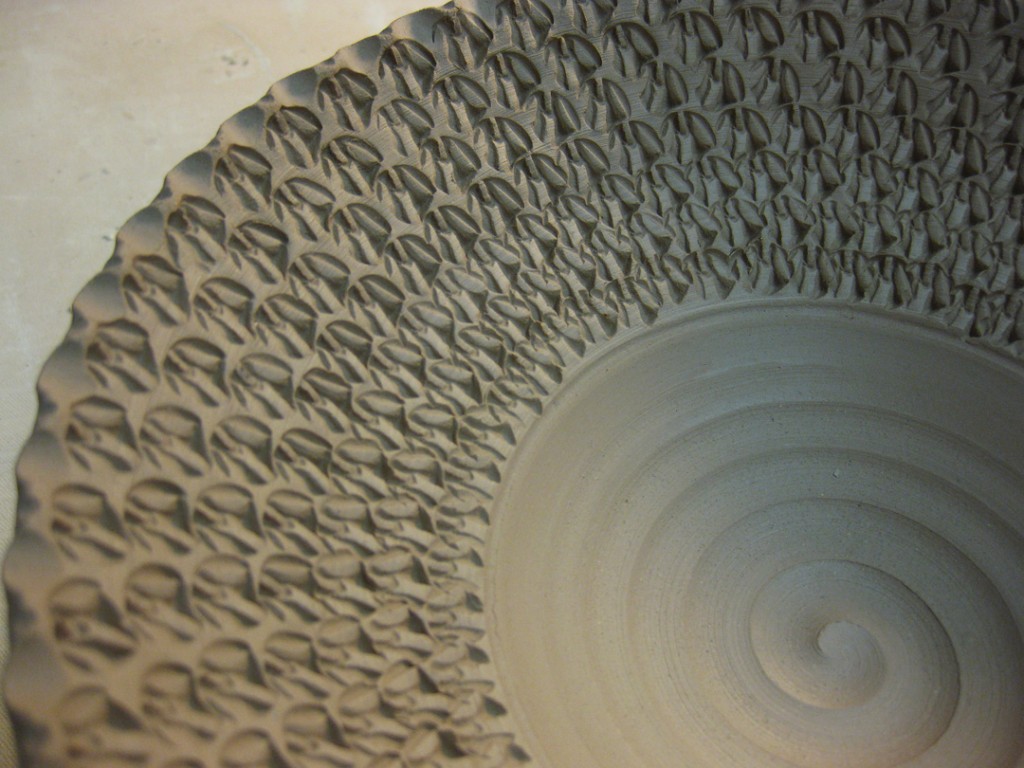
So tonight while I was in the studio, I checked the bowls we threw last night
during my Beginning Wheel class demo. They were protected under plastic
and drying slowly. Luckily, with a little patience, they were ready to stamp a
few details into a couple of them. If you want to compare them to the original,
check the blog post from yesterday… you’ll the difference a little stamping can do!!!
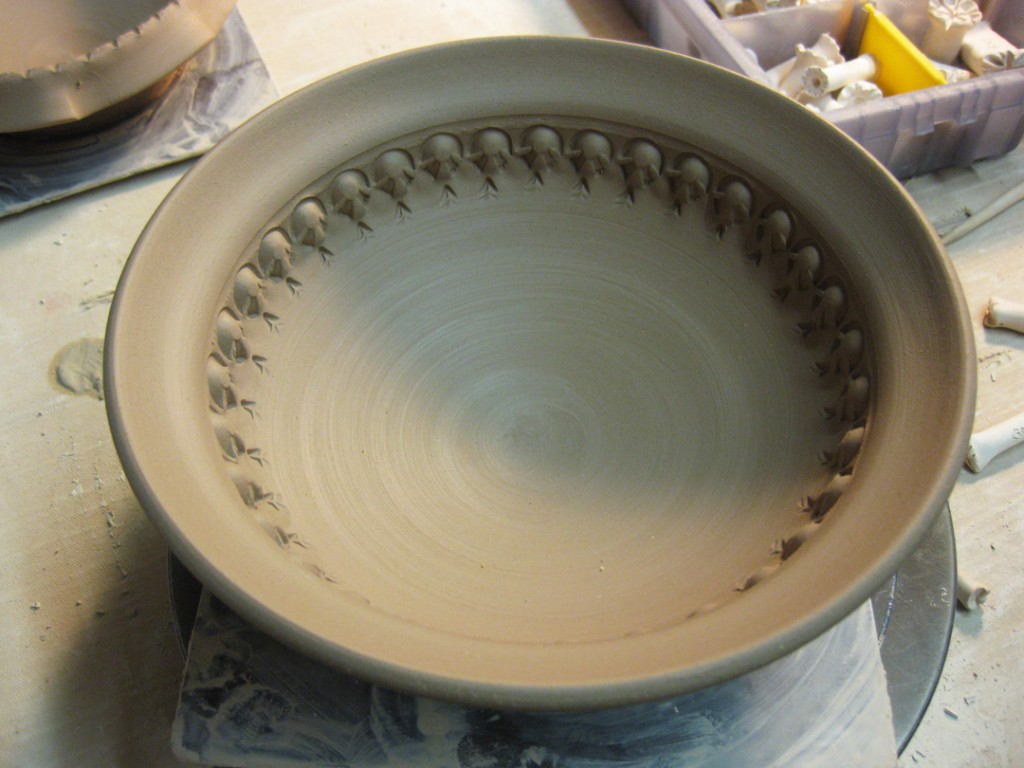
Bowl #2 – Flanged… and now stamped!
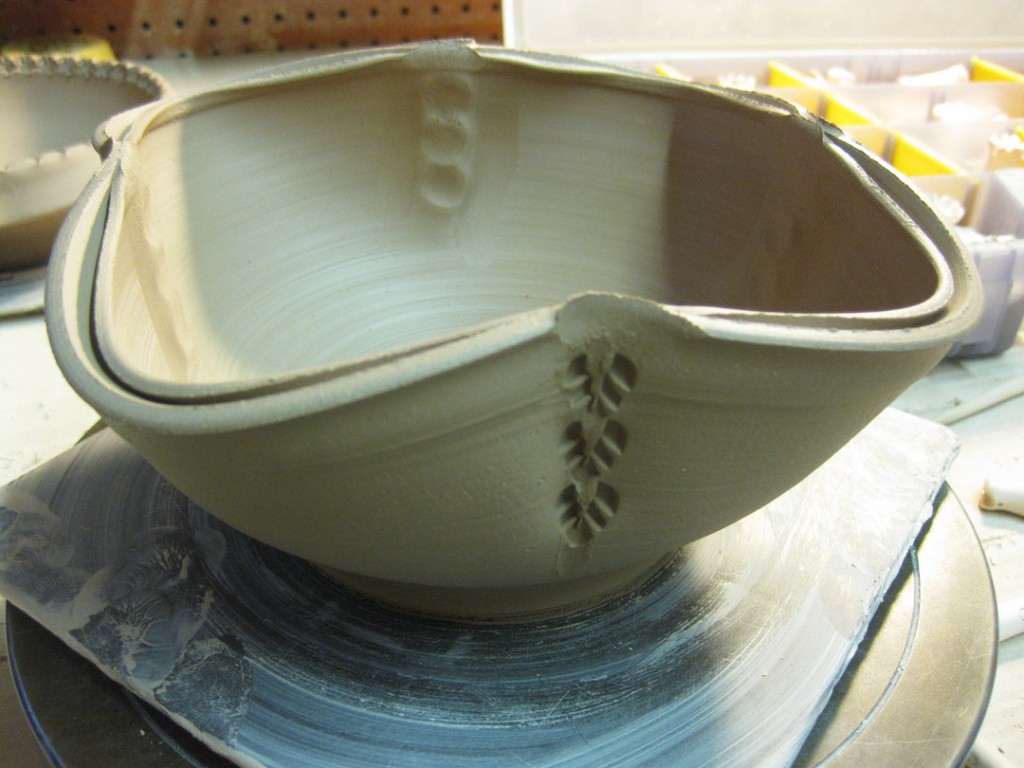
Bowl #3 – Flanged, Fluted & Flopped… and now stamped!
Bowl #4 – Wide Flange… and now stamped!
Bowl #6 – Divided, Pinched, Squared… and now stamped!
Once this one gets trimmed, I’m also planning on adding some little “balls” on top
of the four pinch points. I’m not really a fan of the “pinch marks.” So I think they’ll
need some “creative camouflage.”
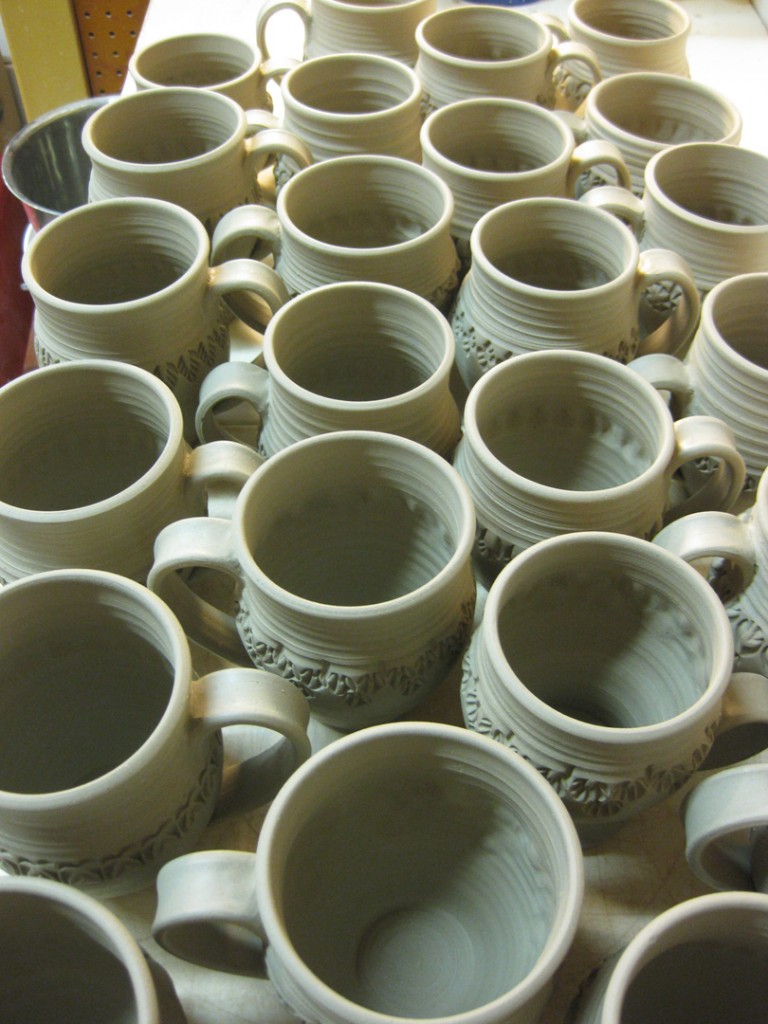
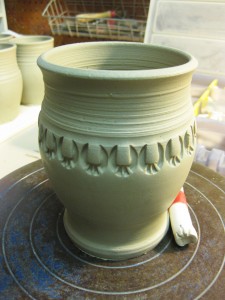
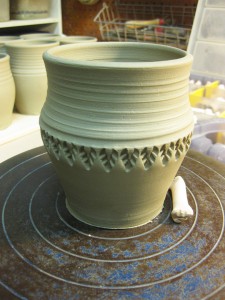
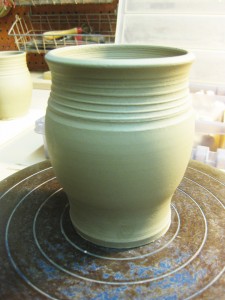
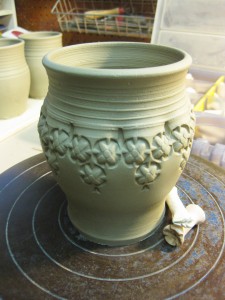
Tonight I stamped…and stamped… and stamped some more!
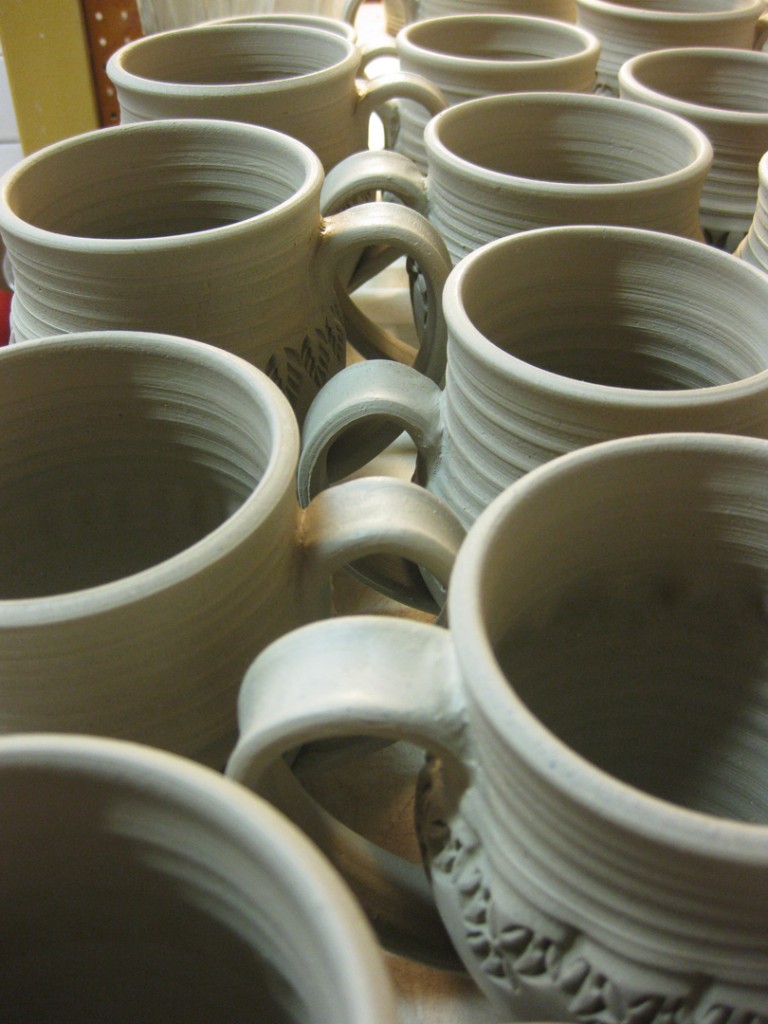
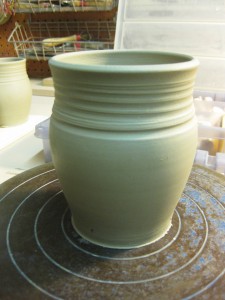
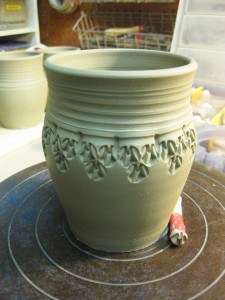
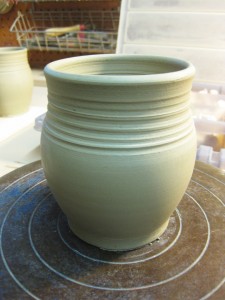
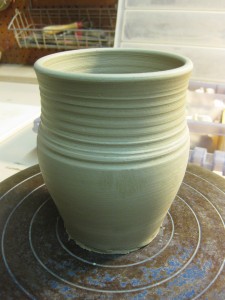
With twenty-four mug cylinders to stamp, I started stamping and thought you might
like to see some them… side by side! Along with the stamp that did all the hard work!!!
Next up?… trimming, handles and some colored flashing slips.
Looks like tomorrow might need to be another productive day?!!!
I’ve got just over three weeks to build a full soda kiln’s worth of pots!
My next soda kiln is scheduled for Saturday, May 5th… loading on the 4th.
So it’s time to kick it into high-gear again. Again tonight, it seems like I tend to
start with the smaller pieces and work my way bigger for some reason?!
Today’s going to be a long day…
My parents are coming over for the day to help out in my basement storage room.
There’s a LOT of pots down there from my recent kilns that need to be unpacked,
cleaned, priced and organized. Not to mention all of the other “garbage” that is scattered
all over the place. I have far too much “stuff” down there. I have a tendency to keep things
that “I’m sure I can use someday”… and they pile up. Tools for this. Supplies for that.
Things we can use for kid’s projects at Summer Camp. But at some point, all of that stuff
starts to get in the way too. So today it might be some ‘tough love’… things have gotta go!
Today I unloaded the glaze kiln I shared with Karen Patinkin.
As you may remember, in that kiln were some new glazes I recently made.
I was encouraged by the test tiles that I fired, and couldn’t wait to actually put them
to the test on actual pieces! And of course, I can’t start small with just a couple mugs.
Instead, I glazed a LOT of pieces in this kiln with the new glazes. Luckily… they seemed to
work very well so I gave them names and labeled the buckets! Here’s a very quick preview.
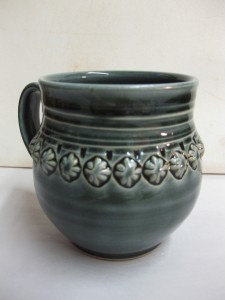
SPRUCE – a beautiful dark evergeen shade that breaks well on my stamped textures.
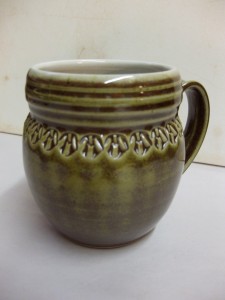
GOLDEN CRANBERRY – a thicker glaze that breaks golden, but pools with a burgundy tone.
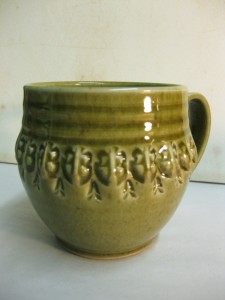
CILANTRO – kind of a yellowy, parsley color… didn’t break as light as the test tile did?!
And the best part?… they look even better on B-Clay!!! And they feel great too!!!
I love how the Spruce Green turns a beautiful shade of blue and yet breaks so beautifully.
The Golden Cranberry shows more depth and pools well in the grooves.
Cilantro is yellower, with a nice clear color that accentuates, but doesn’t fill the stamps.
Guess I gotta start making more things out of B-Clay, huh?!
Last night I finally got around to glazing all of my long-overdue class demo pots.
It’s amazing how they pile up after a couple sessions of “not” glazing them?!
I also glazed a couple for the soda kiln loading that was going on as I glazed.
Then later today, we’re unloading the glaze kiln I just shared with Karen Patinkin.
And I still need to glaze more for the kiln that we’re re-loading today… another glaze
kiln this time sharing with Corinne Peterson!!! I just found out about this one yesterday!
But when opportunity knocks, I’m always glad that I have some bisque ready & waiting!
And oh, but wait there’s more… the terra cotta planters that we made while my cousin
and kids were in town are ready to be underglaze-stained & liner glazed. More fun for today!
I love getting things through the end of the process.
Making room in my small studio to start again making more, more, MORE!!!
Busy, busy… a whole lot of new pots coming soon!!!


