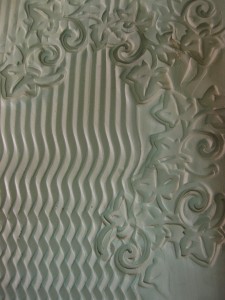
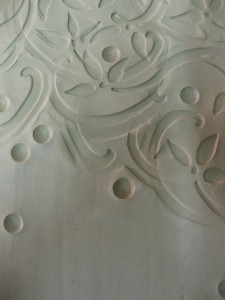
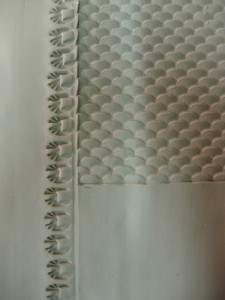
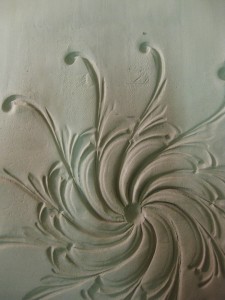
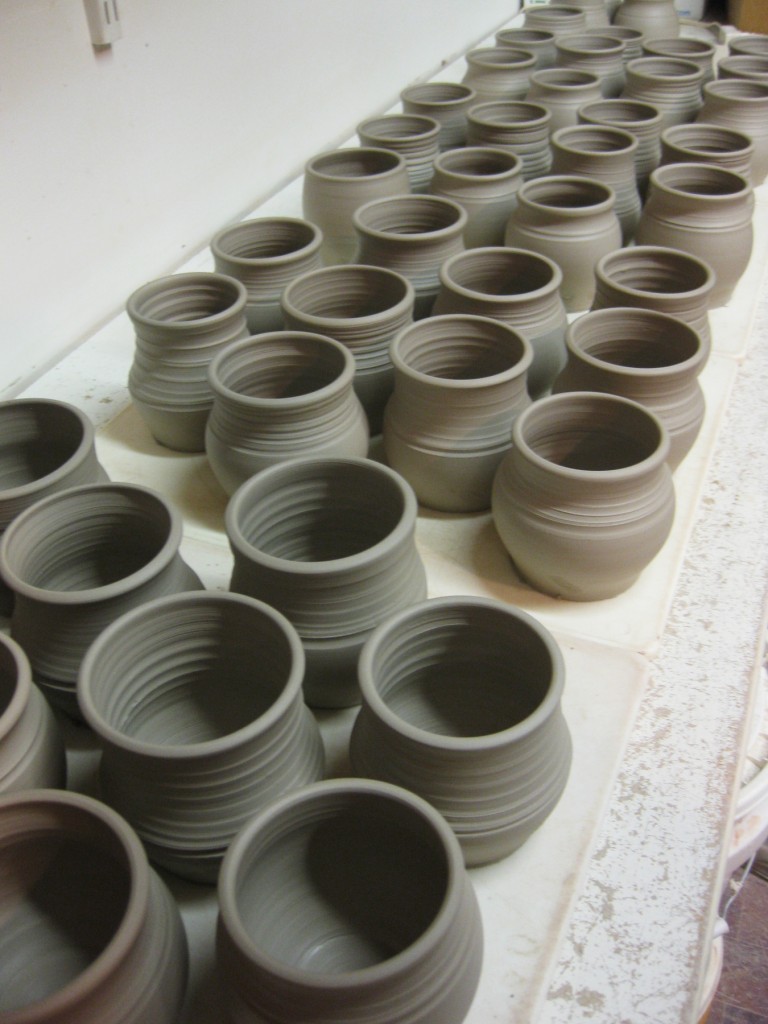
Tonight was my last chance to make some new pieces for this weekend’s soda kiln.
I have a bisque kiln scheduled for tomorrow… so I’ve got to get these done, slip painted,
dried and ready to go into the kiln quickly. So I decided that some more large textured
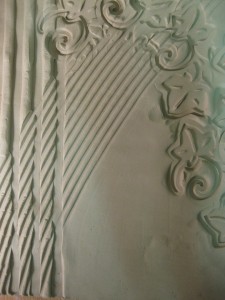
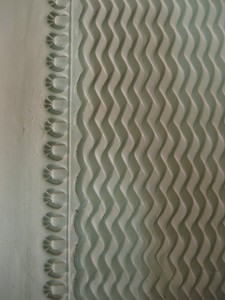
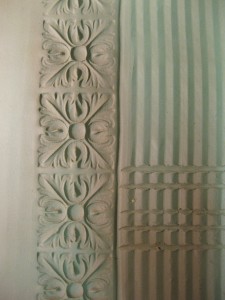
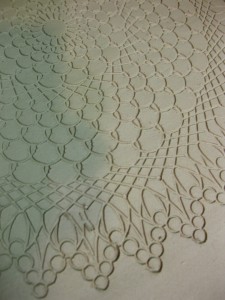
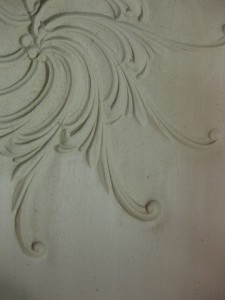
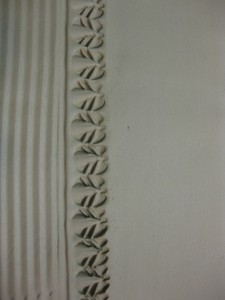
slab vases might be a good way to go. And here are some more textures on the slabs…
soon to become textured vases!
Getting ready for my next soda kiln… trying to make more, but quickly running out
of time! So tonight I loaded another bisque kiln for firing. Not really my “best work”
in filling a kiln… but sometimes you just need to get it loaded and get it done.
As the glazing portion needs to begin really soon!!!
Kiln Layer #1 -More bowls, mugs & ornaments!
Kiln Layer #2 -More bowls, mugs, tumblers & ornaments!
Kiln Layer #3 – Plates, gourd leaves, ornaments and some “filler” from Catherine Tweedie!
Kiln Layer #4 – More mugs, tumblers, ornaments & “filler” from Tweedie!!!
So, Friday night I spent some time reclaiming clay and incorporating it with some other,
stiffer clay. Then I threw a few pieces with that “new” clay. Well today I was back in the
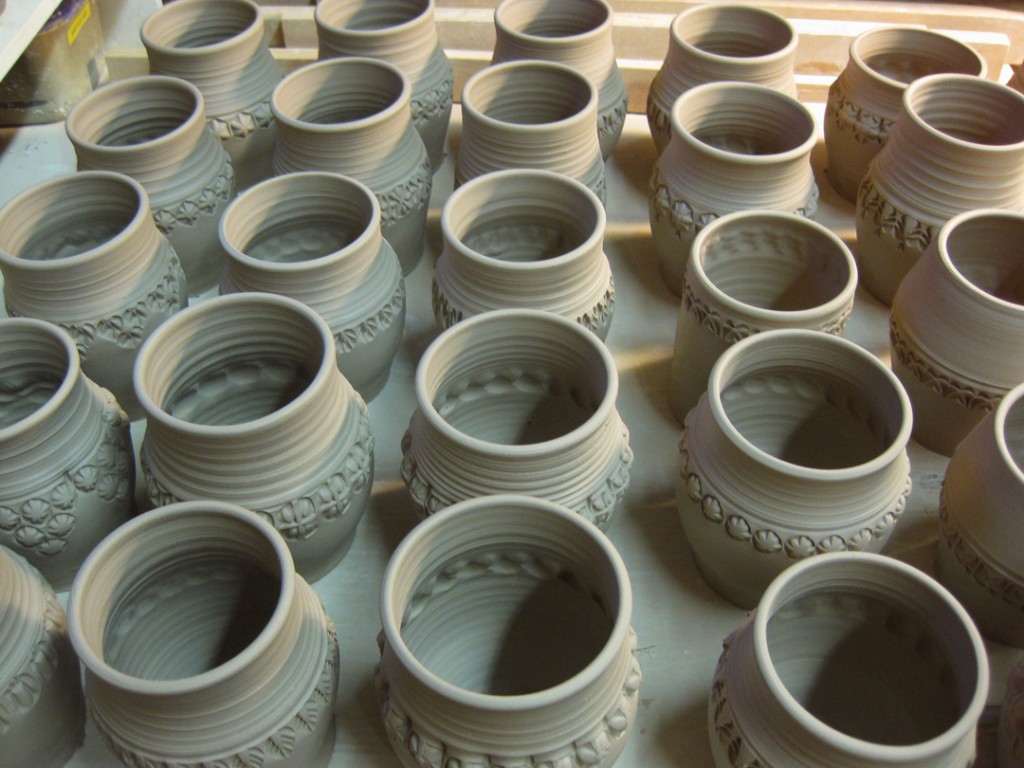
studio trying to finish off everything I threw Friday night. First it was stamping & trimming….
Followed by adding some colored slip accents. The slips I used are special for firing
in the soda kiln atmosphere. They may look dull now, but once the soda hits them,
they will turn into saturated colors like orange & gold.
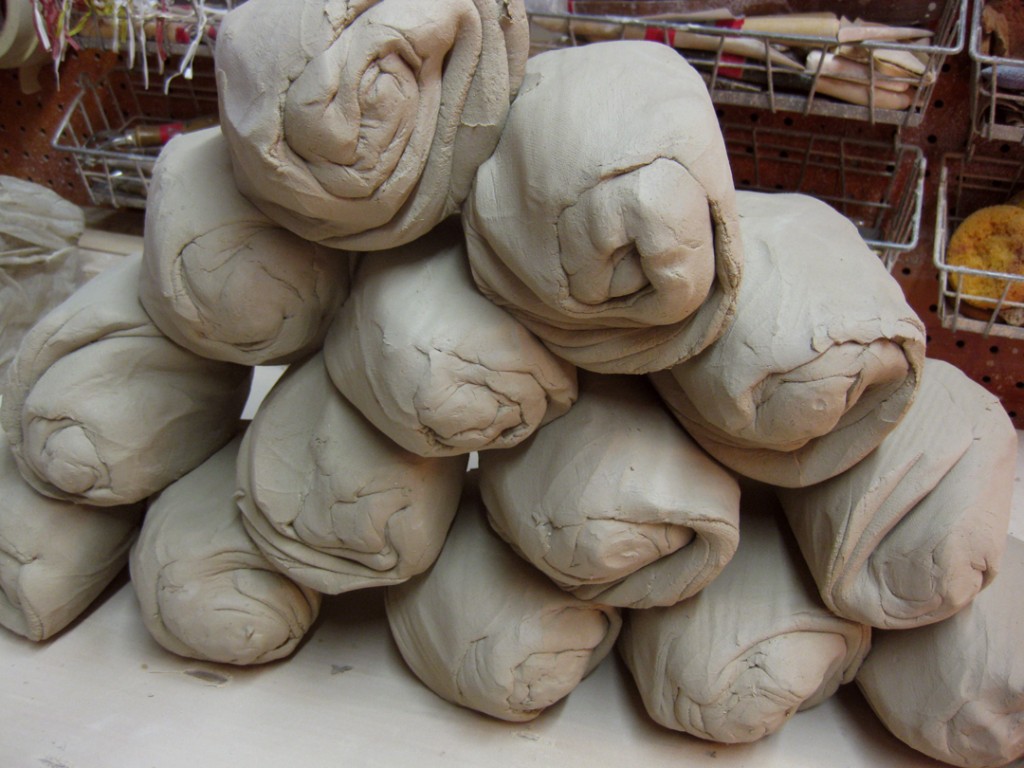
So you know how much I love “free” clay?! So tonight I went to make some new work…
but my bags of reclaim were a bit too wet & squishy. And new bag of soda clay I grabbed
was a bit too hard. What to do?… mix them together of course! Instead of power wedging”,
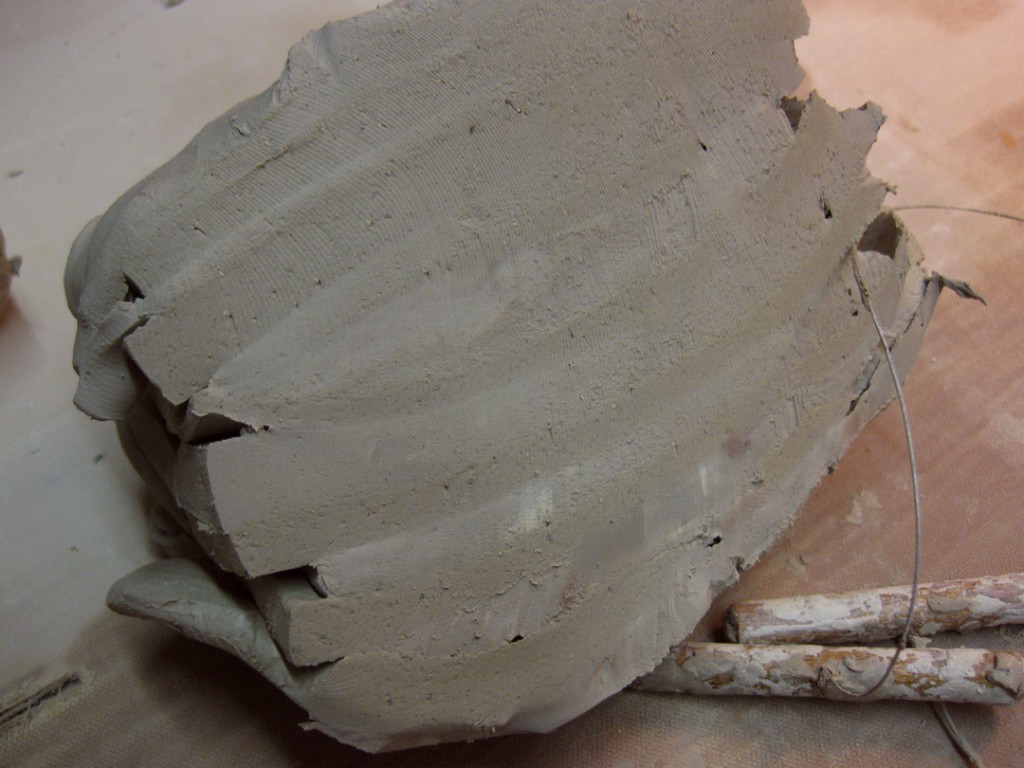
I find it a lot quicker & easier to layer the two. I start by piling up thin layers of each clay.
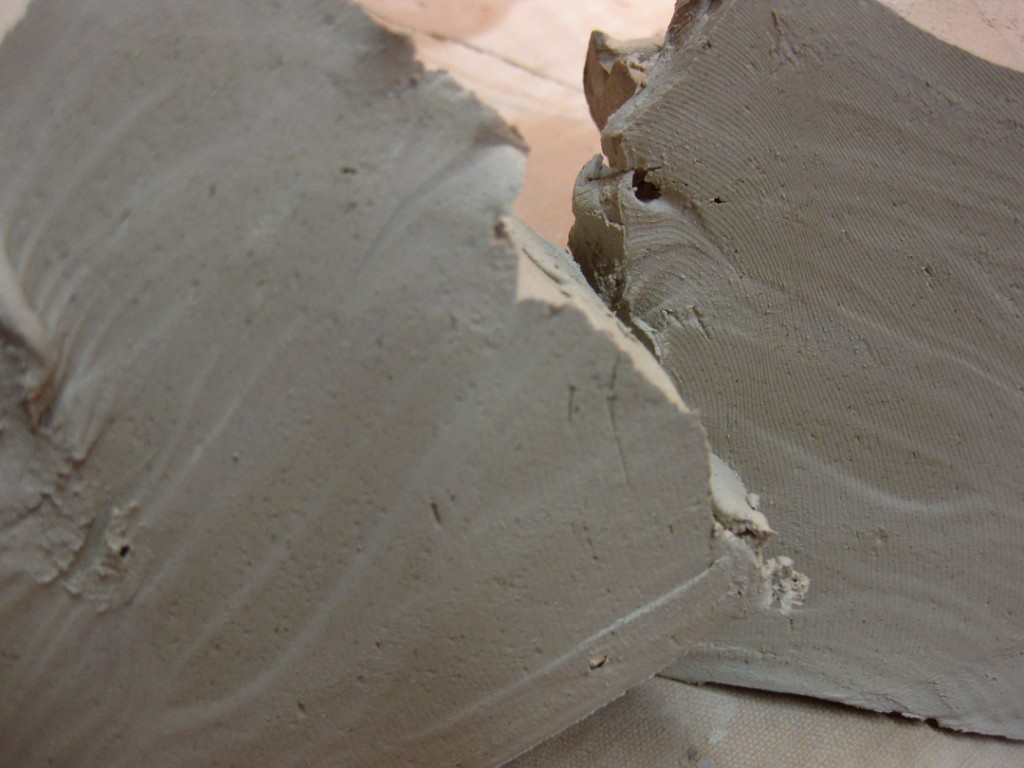
You can actually see the layers of the clay when I cut the pile in half.
After cutting, you take one half and slam it down on top of the other half. Press them down
together, slam if necessary, and cut in half again. Take one half and place it on top of the
other half. Press down and squish together again. Repeat. Every time you re-pile and squish,
the number of layers doubles. Thus making the layers thinner & thinner each time.
Cut in half. Restack. Press. Squish. Repeat…. and see how the layer are getting thinner???
After cutting & layering the clay several times, the two separate layers kind of disappeared
and were ready for some wedging to finish mixing the two. Not finished wedging… just some
quick wedging to mix it all up!!! And to start thinking about what I was going to make?
Once the clay was all incorporated, wedged and ready to go…
I cut up the clay into smaller chunks and wedged them into balls for throwing.
So I threw some more “replenishment” pieces… and threw.. and threw… and threw…
So now I’ve got to get them all stamped, slipped & trimmed…
and dried so they can make it into my next bisque kiln coming up VERY soon!!!
It was a great day today at the RAVENSWOOD ARTWALK.
A lot of great people stopped by today to see our studios… and, even better,
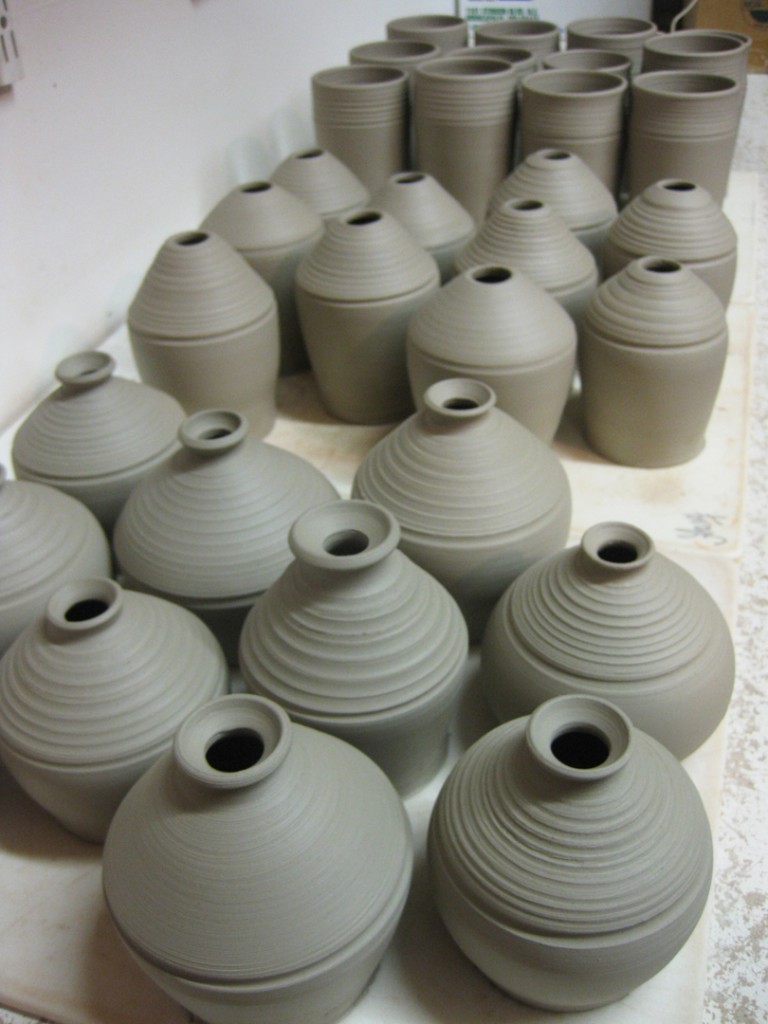
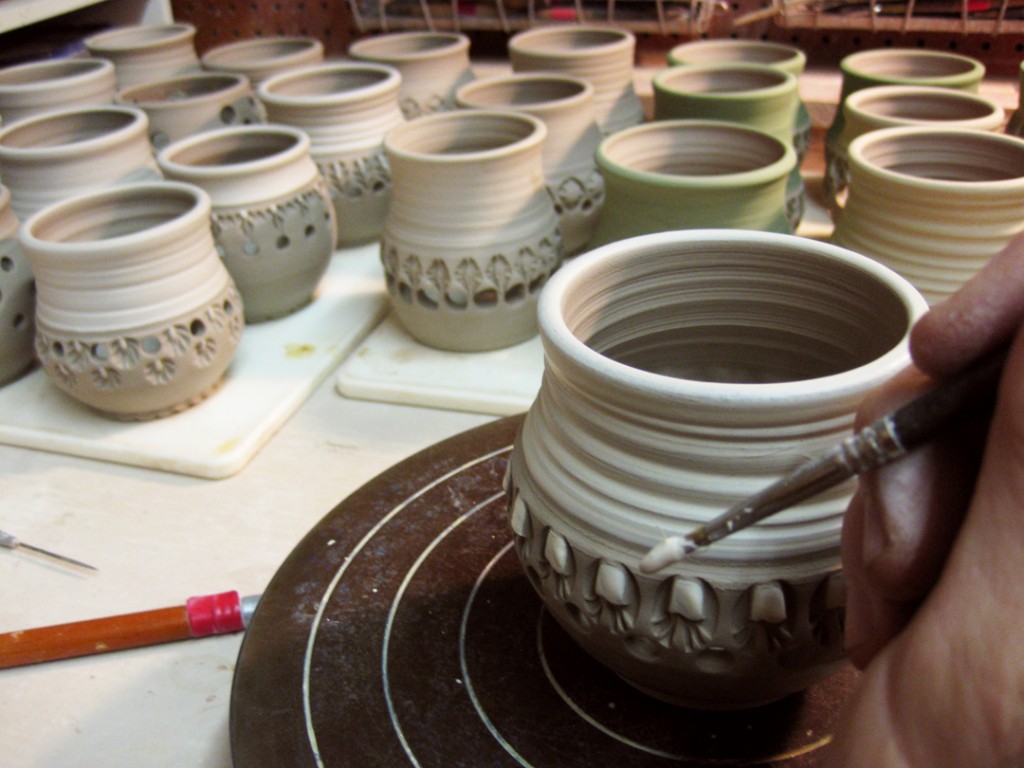
I was very productive through the day. I finally finished detailing these votives!
Forty-four thrown… forty-four finished.
Stamped, pierced & slip painted. Now they need to dry and find a bisque kiln.
Last night was one of my favorite demos every session. It was the night when my beginner’s
learn how to make a bowl on purpose… instead of a cylinder gone bad. I show them the basic
techniques to make a bowl with a smooth, refined curve on the interior.
Once we finish the first bowl demo, I dismiss my students so they can get back to throwing –
and trying to make a bowl or two while it’s still fresh in their minds. At the same time,
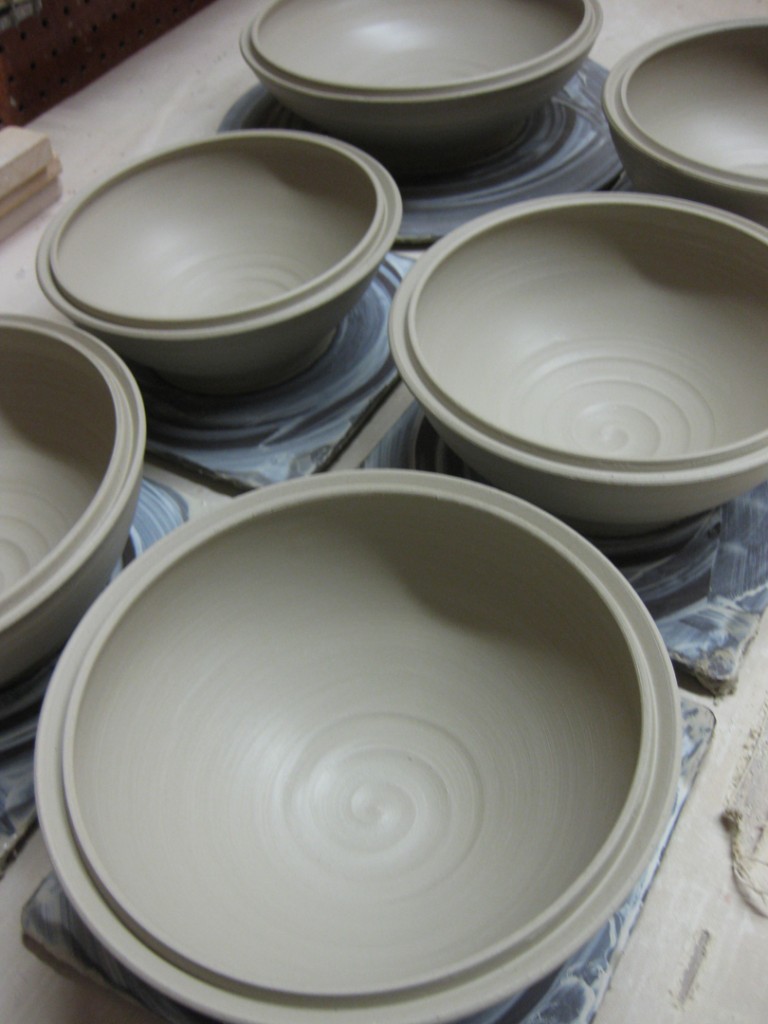
I continue to throw a few more bowls. This time, I threw eleven not quite “matching”, but
relatively close bowls. Once I had them all thrown, I had my class reassemble for “Part Two”
of the demo. When I show them that “it’s just clay” and you can do quite a bit to decorate
it and make it your own! So we moved through pretty quickly with the intention of “introducing”
some concepts, techniques & tricks to get them over the “preciousness” of every piece.
Here’s a quick overview of my eleven bowls… that used to be the same. Now?…
not so much.
A little overwhelming at first… so let’s break it down a bit…
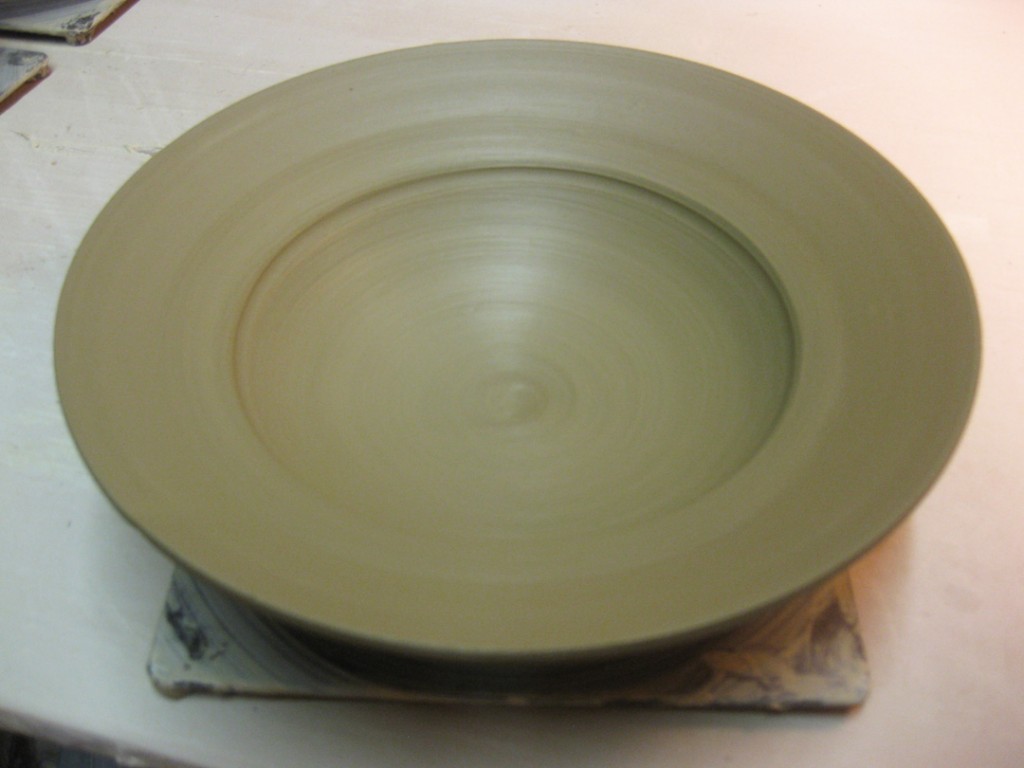
BOWL #1 – Simple fluted rim… with a pinch and a twist!
BOWL #2 – Simple fluted bowl times two! If four are good, eight are better, right?
BOWL #3 – Flared out flange… waiting for some stamped decoration when it stiffens up!
BOWL #4 – Flared flange bent upwards… looks like a handle over the top will tie it together!
BOWL #5 – Split rim with four pinches and gently squared off a bit.
BOWL #6 – Split rim pinched back together evenly in eight places.
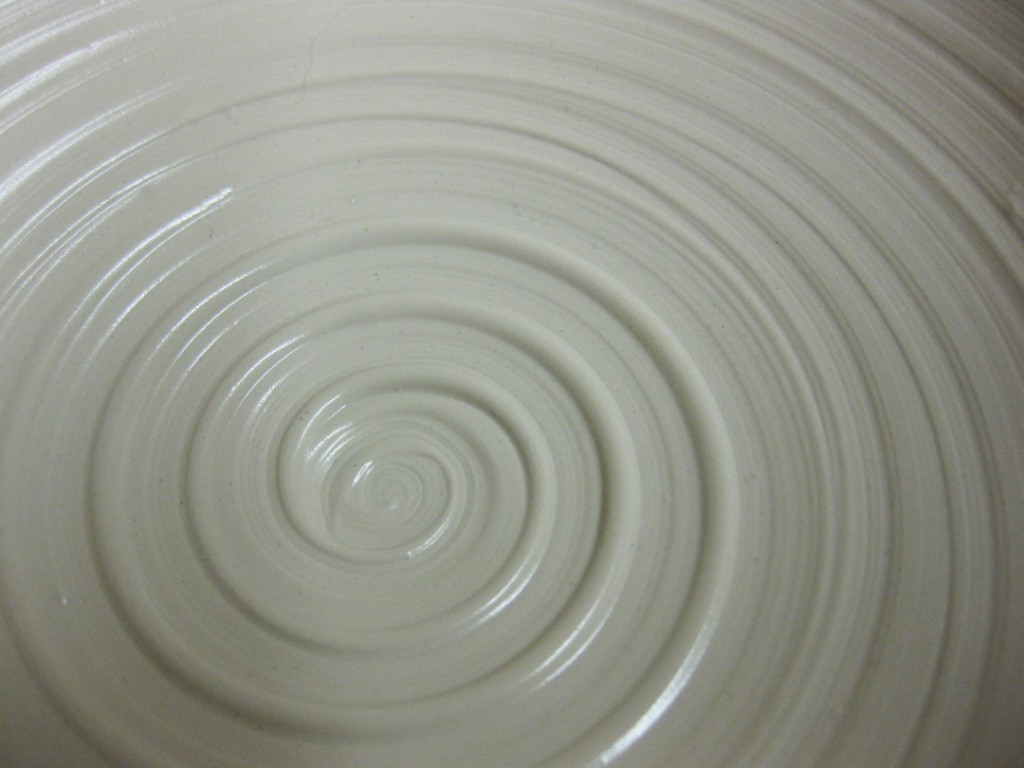
BOWL #7 -Basic introduction to white slip… leaving a little extra thickness to make
a groovy swirl in the bottom. A little “surprise” for good glaze pooling!
Bowl #8 – After covering with white slip, I dragged a wood tool through the slip while it
was spinning on the wheel to create a dramatic spiral.
Bowl #9 – Rhythmic chattering through the white slip while it spins on the wheel.
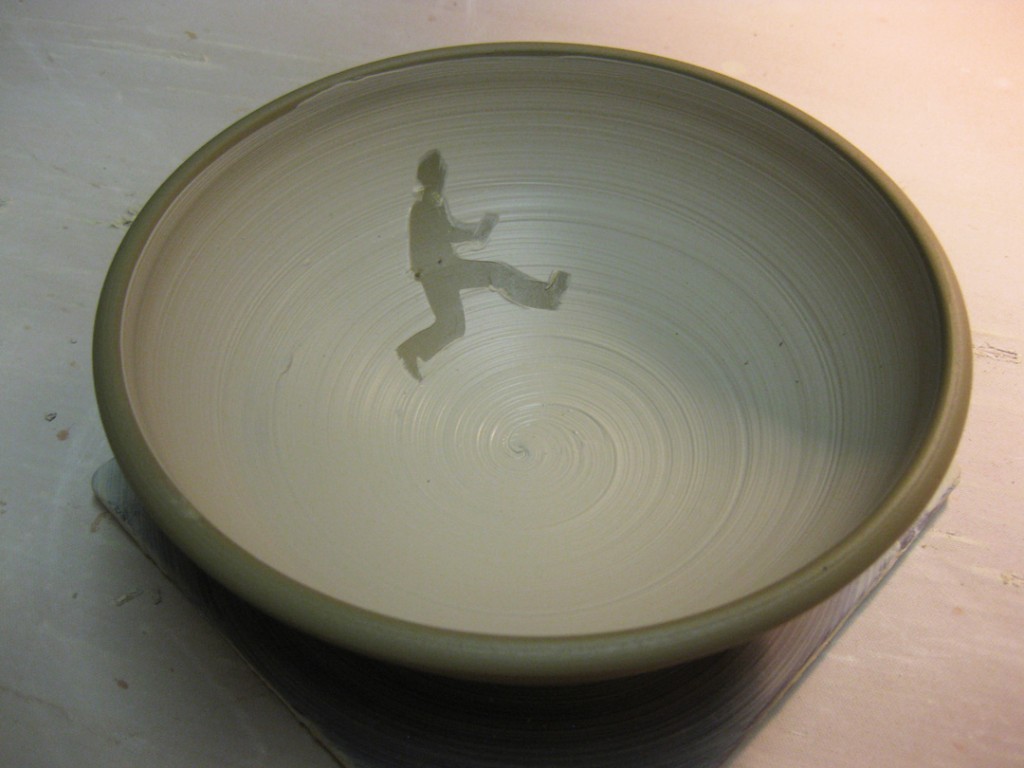
Bowl #10 – A little newspaper cut-out stuck onto the clay with water… then carefully slipped
over completely. The newspaper character is carefully pulled out after slipping.
Bowl #11 -Using a normal tool in an unconventional way… the corner of a wood rib
pressed in to create this “snowflake”-esque pattern in the bottom of the bowl.
The bowls are now wrapped up in my studio stiffening up a bit. A few of them need some
extra “detailing” before I can call them done. There’s some stamping to be done, and
some additions & refinements to be done. And of course, trimming for them all.
“Art In The Barn” was very successful. Which is always a good thing.
But sometimes in my head that also equates to “Oh my God, I need to make MORE!!!”
So tonight I was back in the studio getting back into production mode. I’ve got
another full soda kiln scheduled about three weeks form now. And I need to make
enough work to fill it… including replenishments after this weekend!!!
And yes, for those of you counting… that’s forty-four cylinders that will need to be
trimmed, stamped, pierced & slipped to become replenishment votive candle holders.
