I’ve seen this technique before done by a few artists I reallly like.
It’s a much better way to get clean linework & details in your stamps. Because you
actually draw the design you want to see first, and then carve it out so the stamp
is the same as your drawing. A much better way if you want illustrative, figurative,
lettering or intricate lines. I’ve only “played” with it before, this time, I’m going to
focus & make more… and we’ll see where this new direction may take me?!
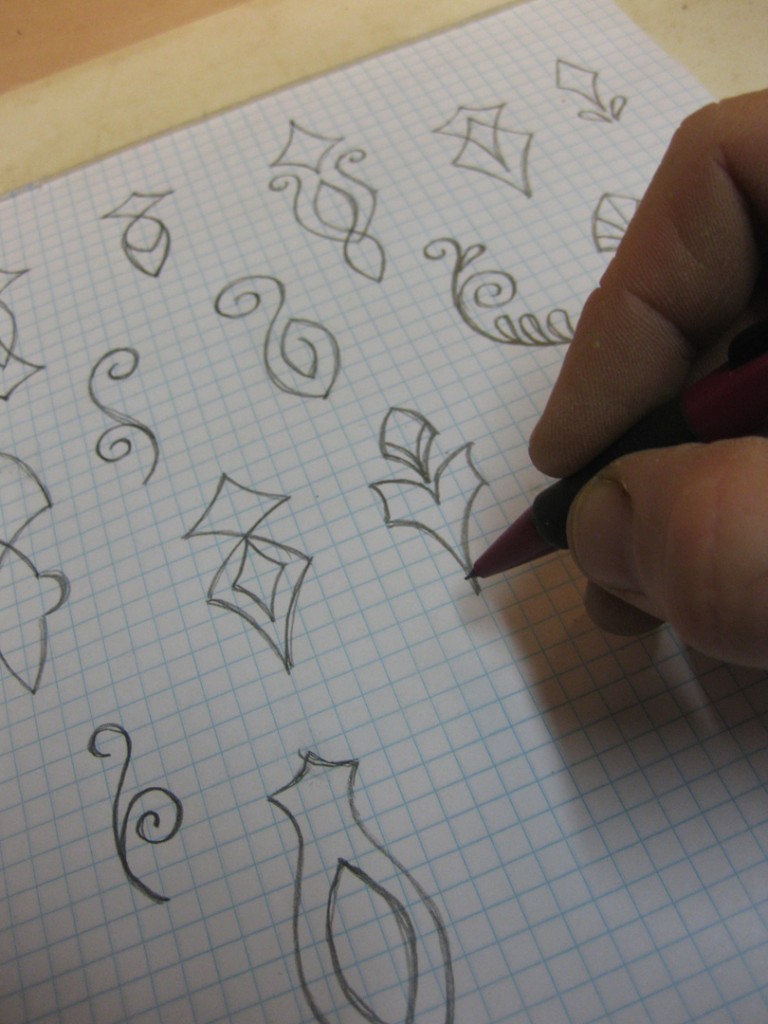
First off, I started drawing some different patterns on grid paper. I love using grid paper
for all of my doodling. I find it so much easier for me to get good proportions and more
balanced designs. Trying to remember that they’re just doodles. Draw lots of them!!!
Once you find a few designs that you think would make good stamps, the design needs
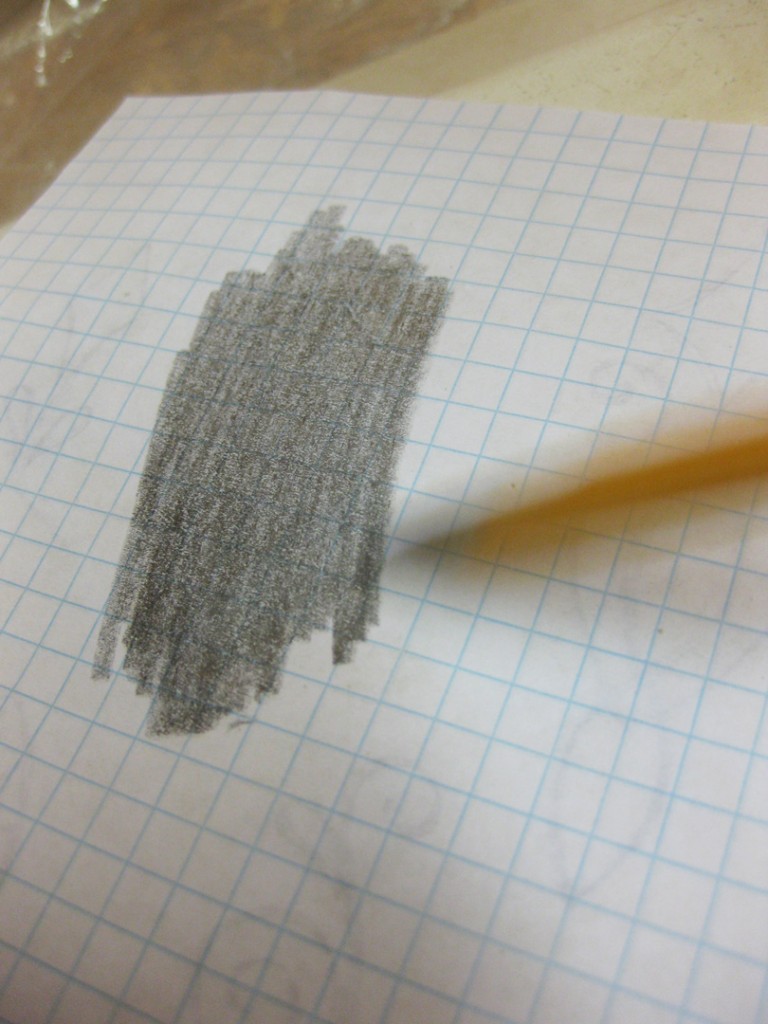
to be transferred to a sheet of plaster. So I started by flipping over the paper and rubbing
my pencil all over the back side of the design. Basically leaving carbon all over the “back”
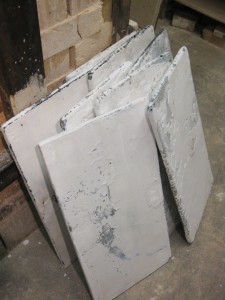
of the design. Then you flip over the paper, place it on the plaster slab and trace over the
design. If you press hard enough, the carbon transfers to the plaster. Then you can trace
over it easily to get an “exact” replica of your doodle.
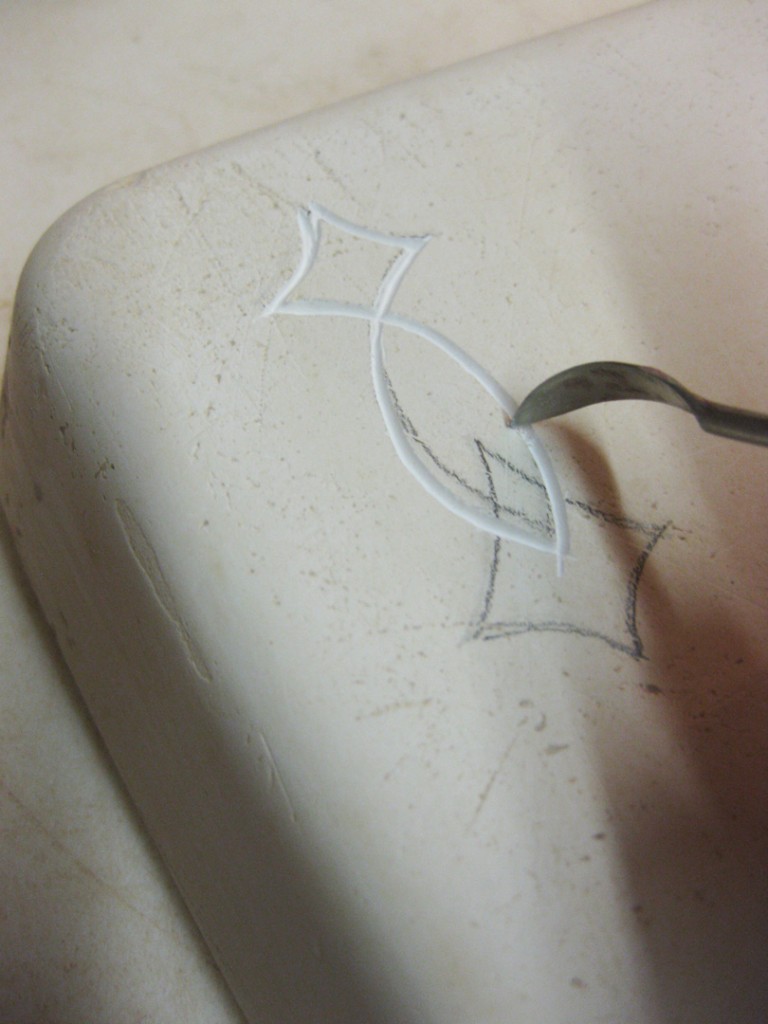
Once your design has been transferred onto the plaster, you can start carving away the
plaster “under” your design. Basically tracing over your design with a sharp tool. Use
whatever tool seems to work the best for you. A needle tool was a little too thin & pointy
for my liking. This tool has a pointed Xacto blade on one end and this curved tip on the
other. It seemed to work the best for me. But of course, different tools with different
points & different widths will give you different results. I must admit, it’s not as easy
as Kristin makes it look in her video. The plaster is very scratchy, and somewhat tough
to keep a clean, straight line. But… the cleaner your lines, the cleaner your stamps!
You do need to be very careful to keep your work area clean of the plaster dust.
I covered my work area with a sheet of plastic to catch the dust. I can then empty it easily
into my garbage can. Plaster dust & chips can ruin your clay if it gets mixed in. So by all
means DO NOT let the dust carvings get mixed in with your clay, fall in your splash pan,
or get into your reclaim buckets. And as always, be sure you are not breathing in any of
the plaster dust as you are carving your designs.
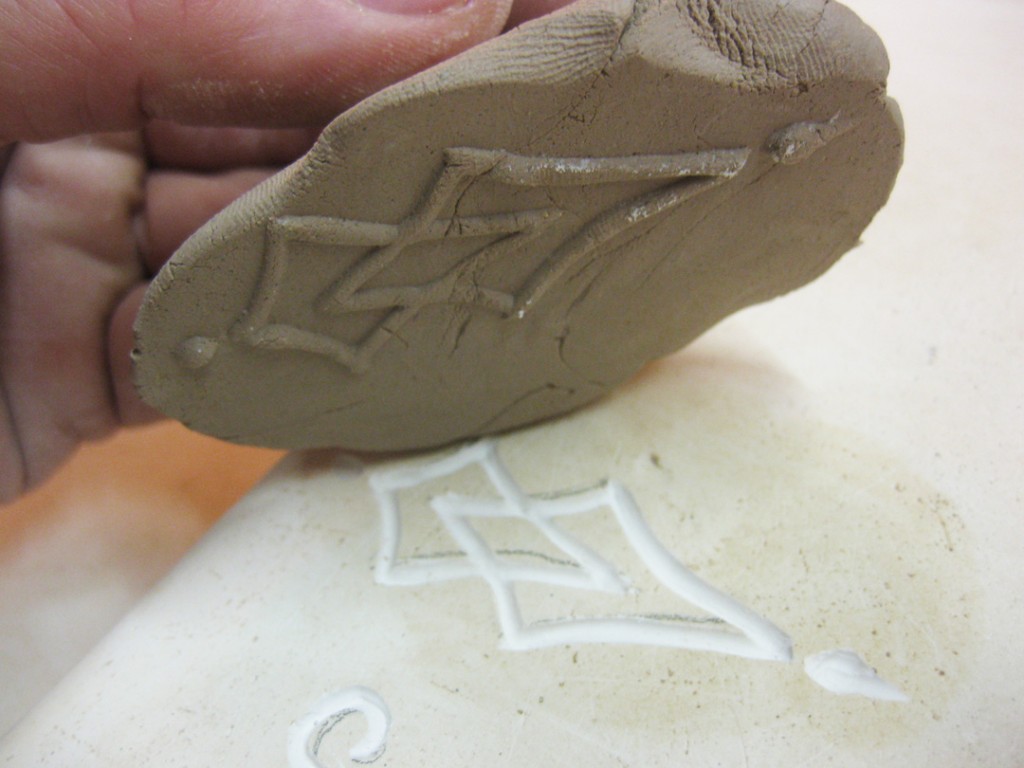
Once you design has been carved out, take a piece of clay and carefully press it into the
carved relief pattern. Be sure to press hard enough to get clay into all parts of the pattern.
One good thing about this technique is you can press a stamp at any time in your carving.
Carve part, press a stamp. Carve some more, press another stamp. Keep testing it until
you love the results! And then press a couple stamps... and save the mold for later!!!
When you get to the the “final” stamp, press in your clay and keep a little extra clay
in the center to act as the knob. Press all around the design and what clay “pops up”
through your fingers becomes the knob.
After you press in the clay, give it a couple seconds and then remove the clay very carefully.
The resulting stamp will be on the bottom of the clay.
But when you’re going to be using them as stamps, remember that what you’re pressing
into your clay will leave a lasting impression. So it’s not just the raised design, but it’s also
the perimeter of the pressed clay. So to clean them up a bit, and get the perimeter to go
along with the design, I took my Xacto blade and trimmed away the excess edges.
And when you’ve made a couple, do it again and make some more!!!
You can use the same slab of plaster over & over again. Put your carvings all over the place.
Doodle. Draw. Carve. Test. Carve. Refine. Press. Trim. Finish. Repeat. Repeat again.
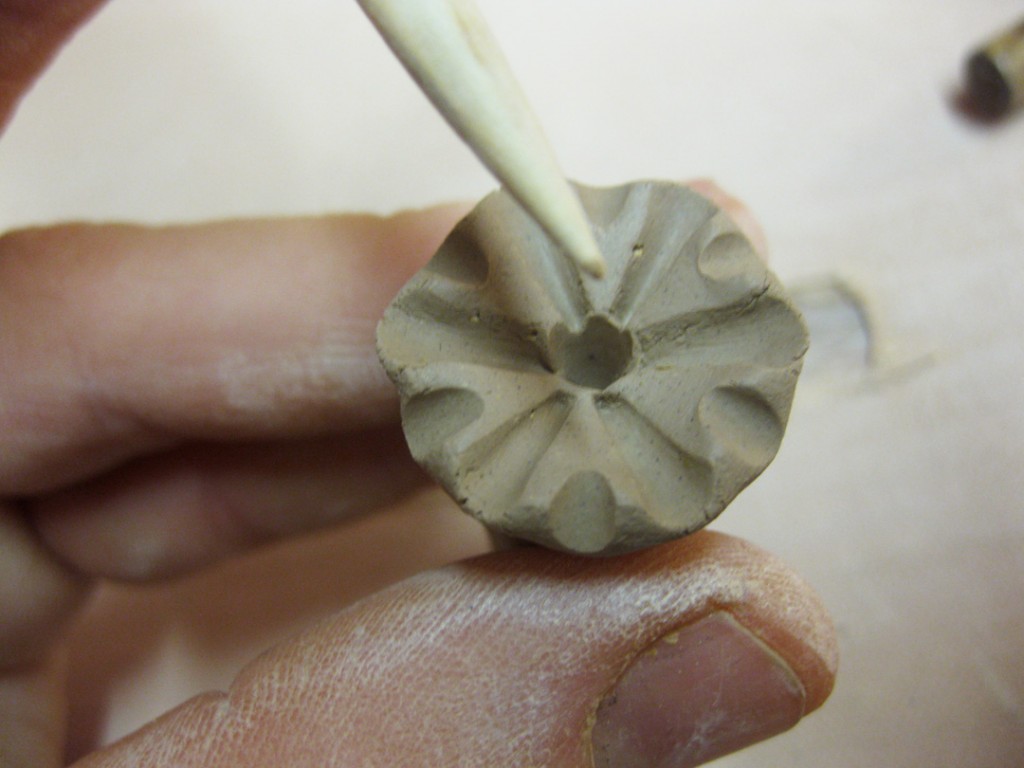
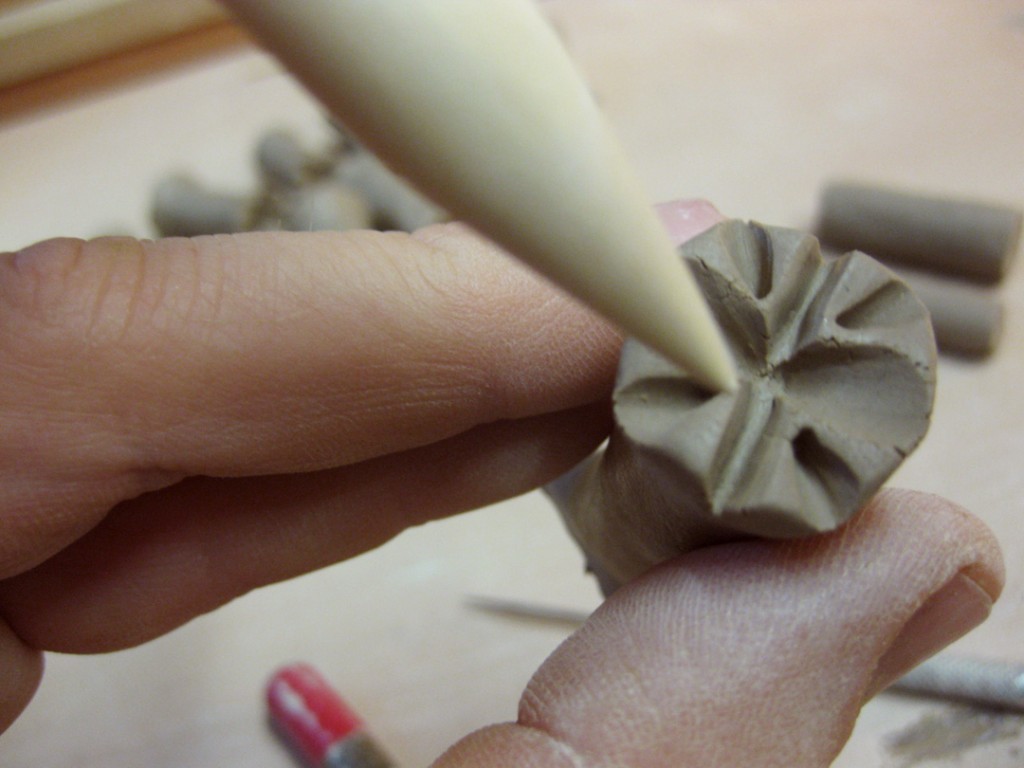
After making a couple of these “raised line” stamps, I was wondering if I could add a bit more
of my own technique? So I added a few impressions ala my own stamp making style into the design.
My thought is that it might add a nice contrast to the clean line work of the raised stamp pattern.
Nice lines AND a little geometric “pop-out” in between!
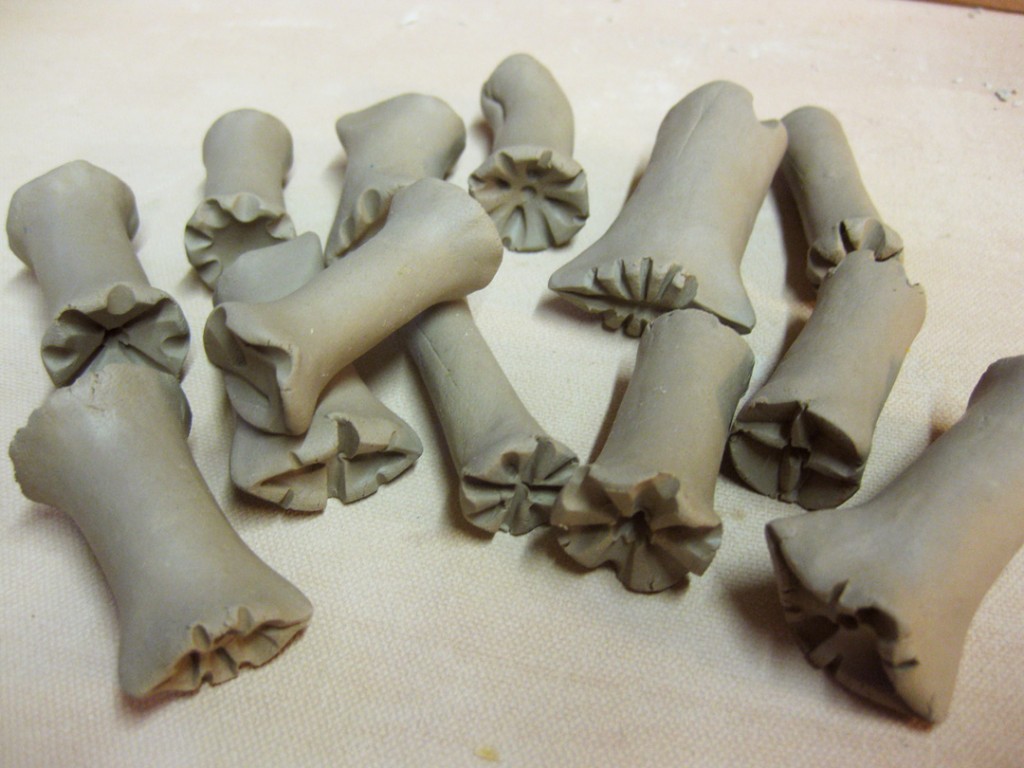
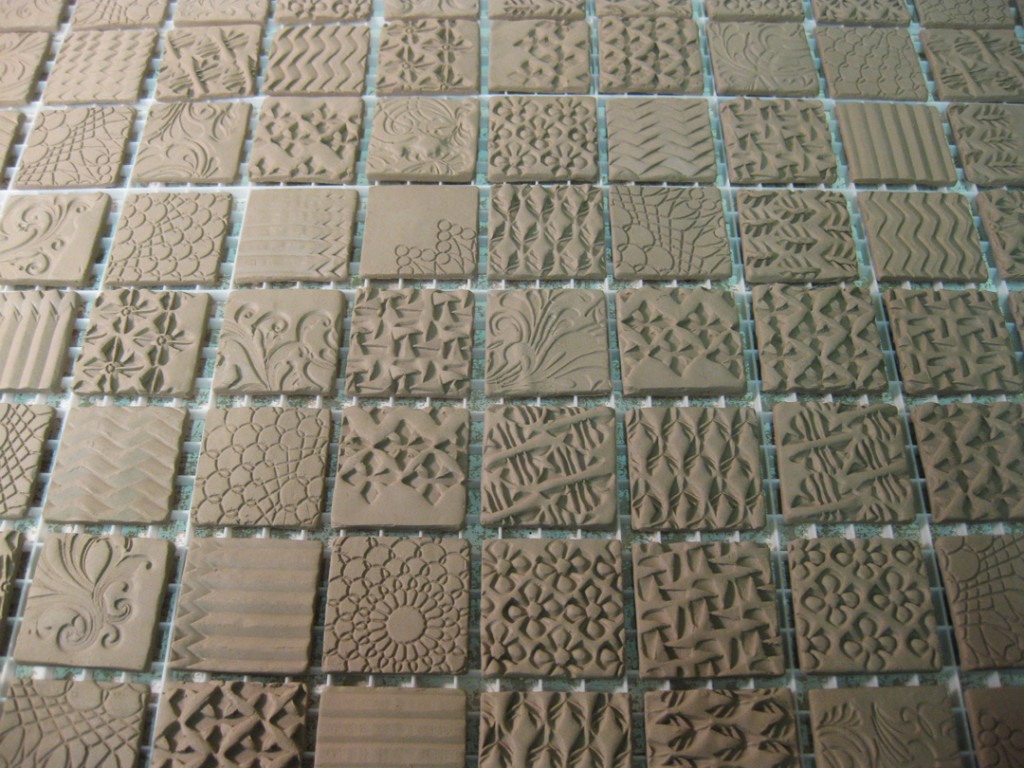
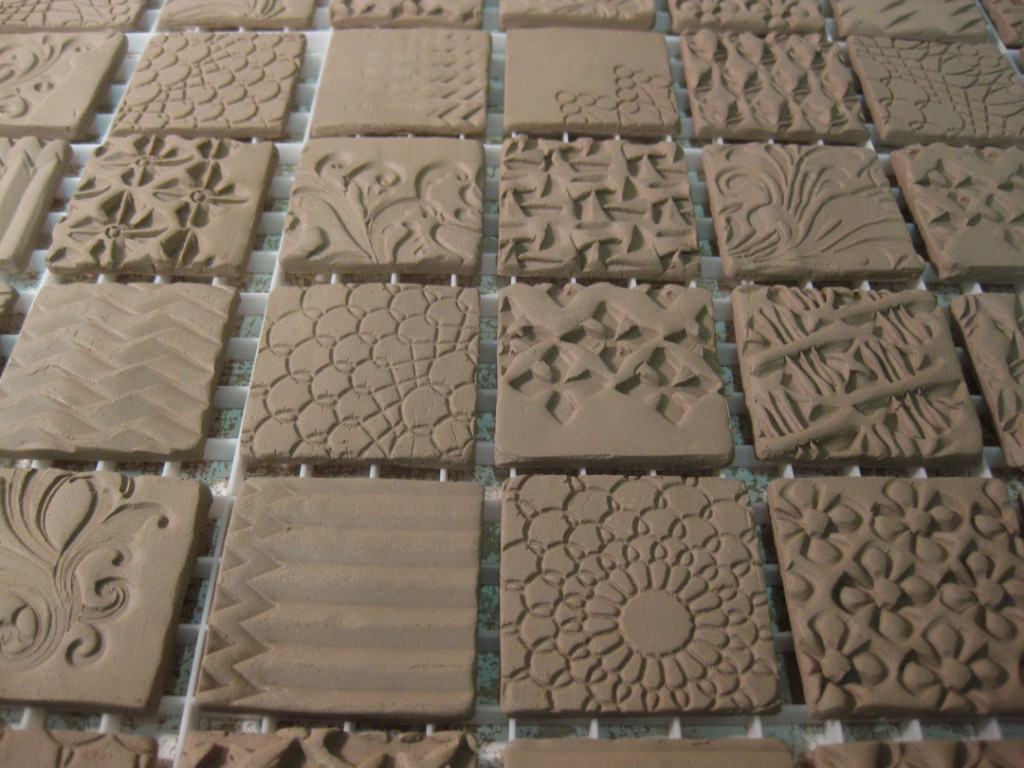
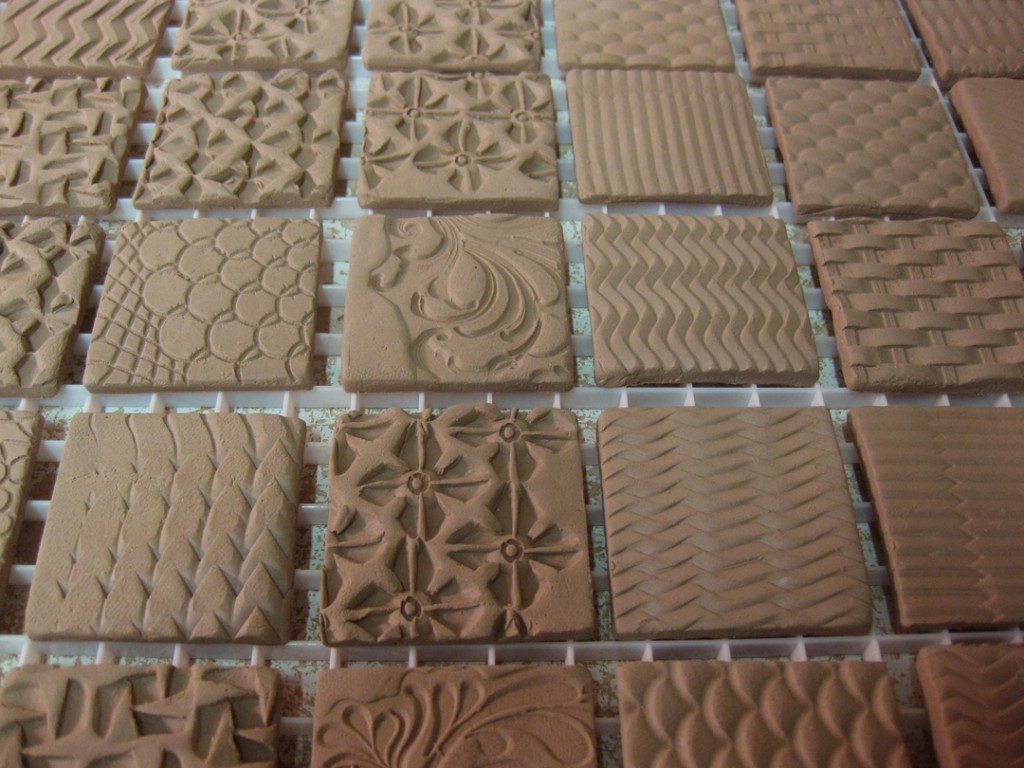
After I had made a few, it was time to let them sit out to dry. Once they’re dry they can go
into a bisque kiln. Remember, you want to keep your stamps porous so they release cleanly
from the leatherhard clay.
We’ll see how they work after they’re bisqued. I’m excited to be trying something new…
and yet a bit apprehensive to see how I can work them into my own style.
