08.02.2020
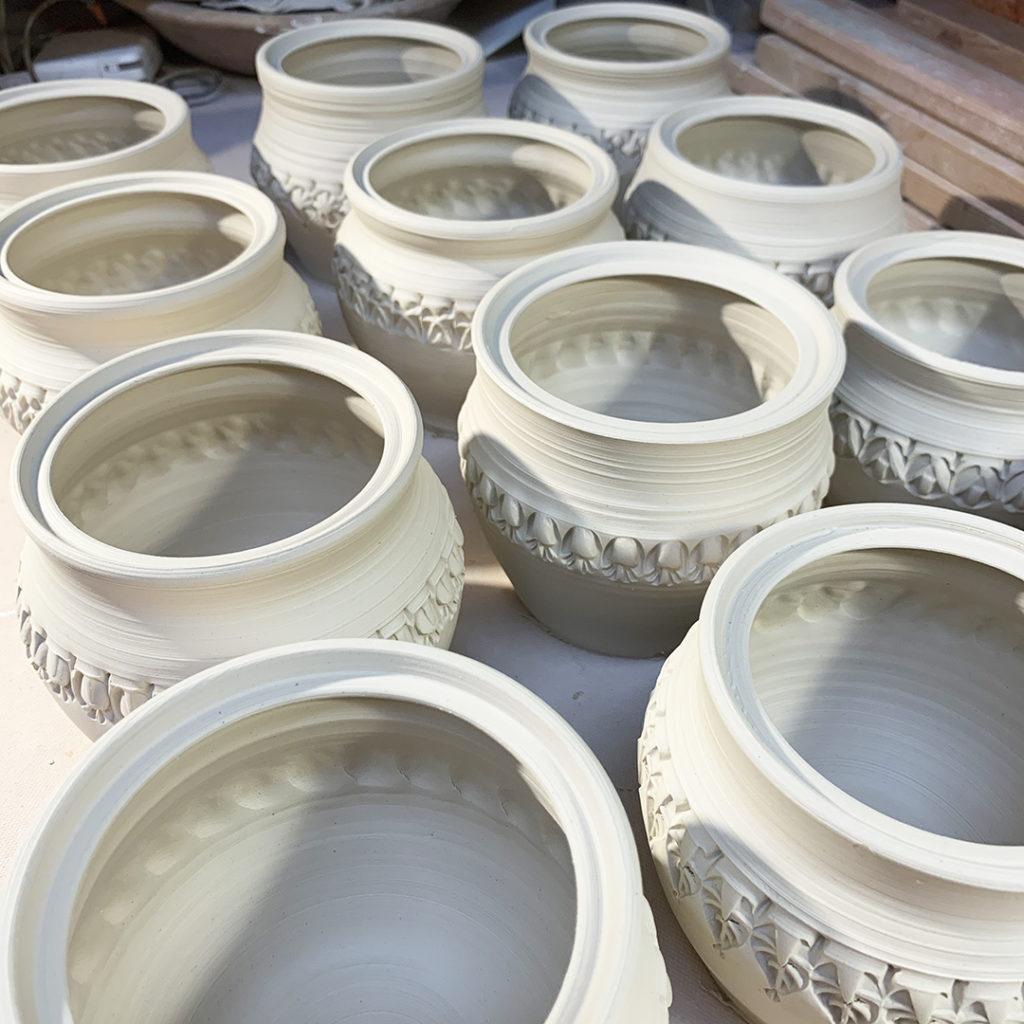
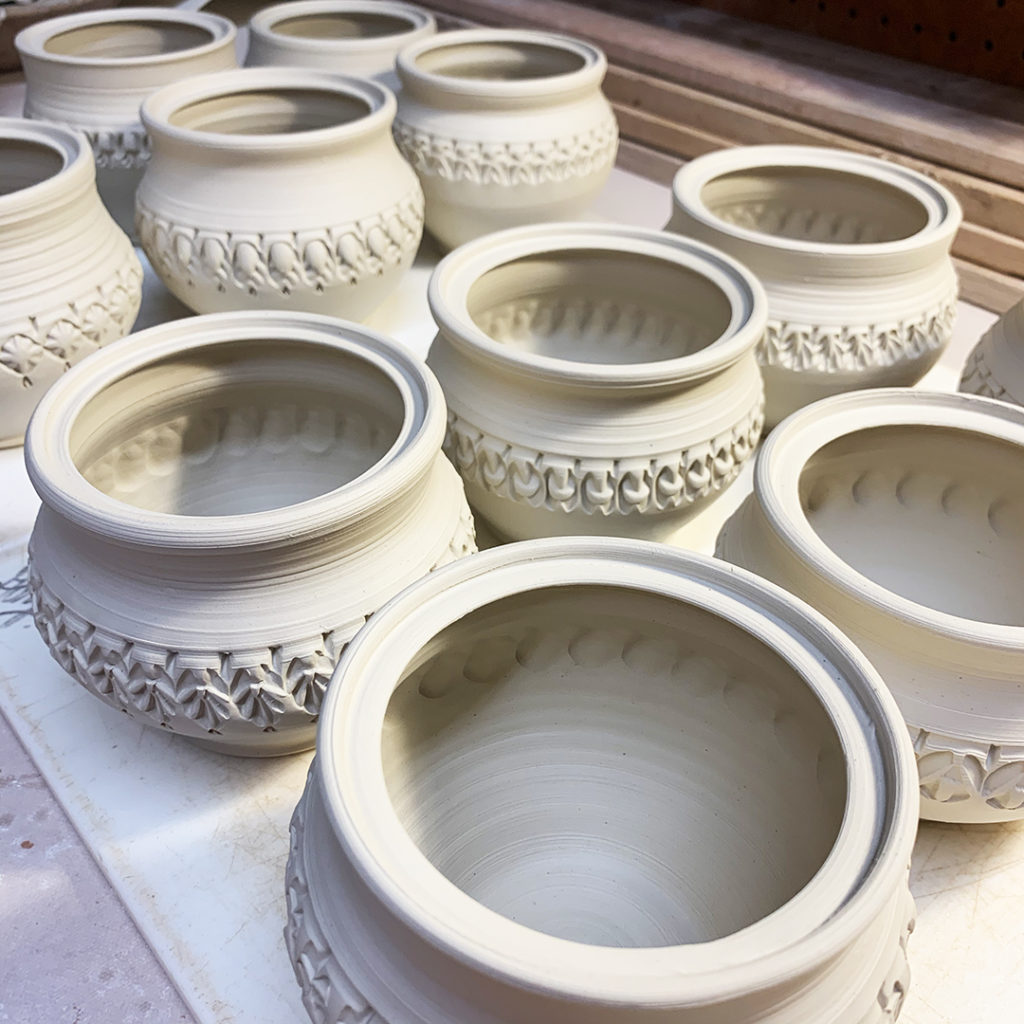
Part two of my production today… the bottom jars to go with the new lids!!! The jar bottoms are a little further ahead as I just finished stamping them! Just hope the lids fit?… always said with fingers crossed.
Gary Jackson: Fire When Ready Pottery
A Chicago potter’s somewhat slanted view of clay & play |
Part two of my production today… the bottom jars to go with the new lids!!! The jar bottoms are a little further ahead as I just finished stamping them! Just hope the lids fit?… always said with fingers crossed.
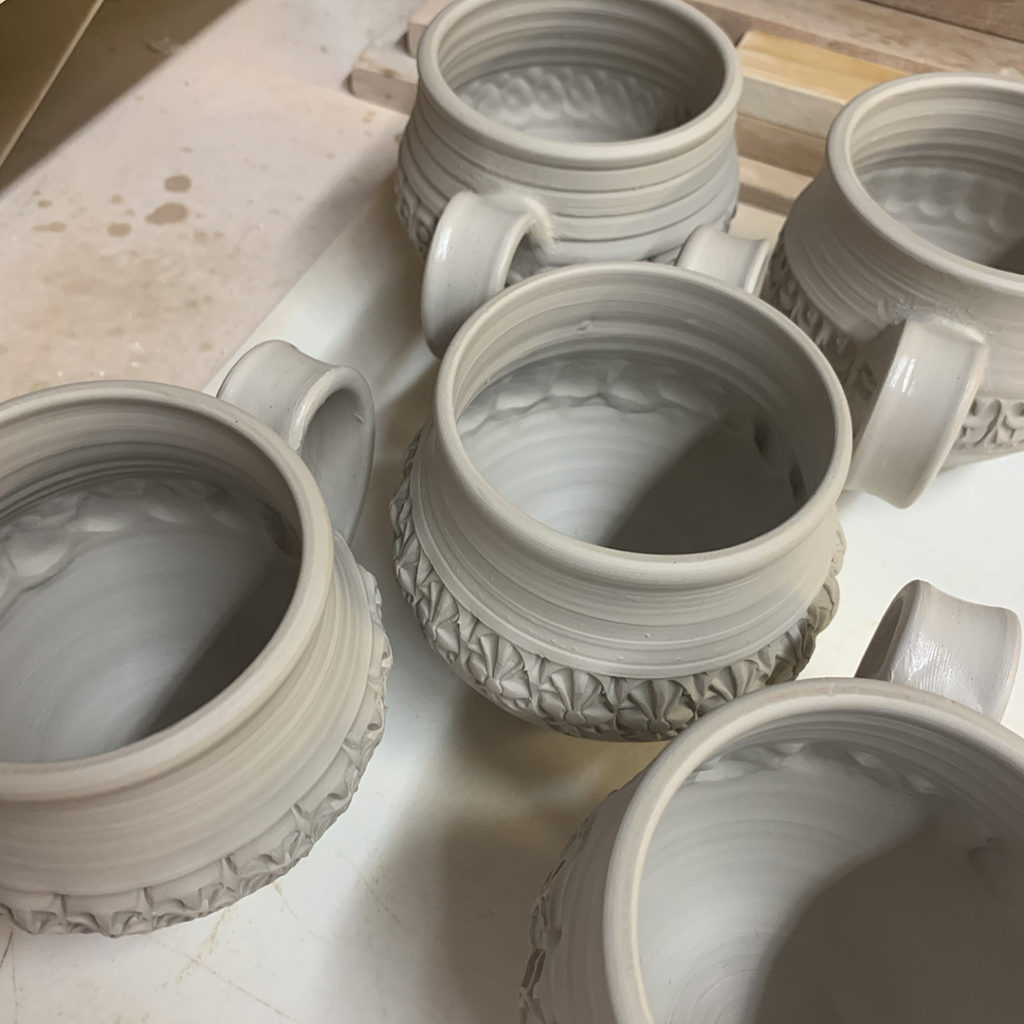
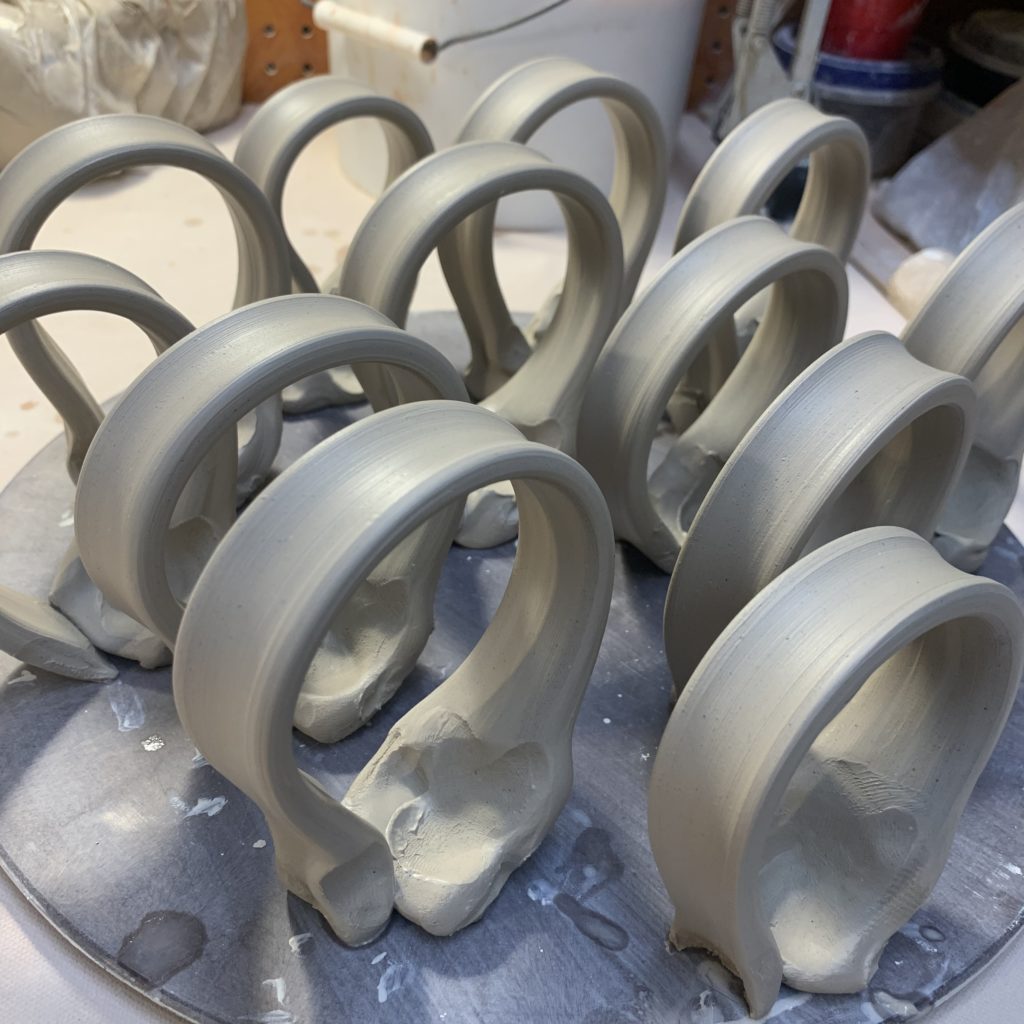
Ten cylinders now have handles… making that ten fresh new mugs!!!
These are the same ones from my Tuesday night class challenge with Ashley… finished just in time for my Saturday morning class… with minutes to spare…


Gonna try to crank out some quick mug handles before class starts at 10:00am this morning! Pulling them is easy… it’s the attaching that takes forever… but who doesn’t like a good challenge???
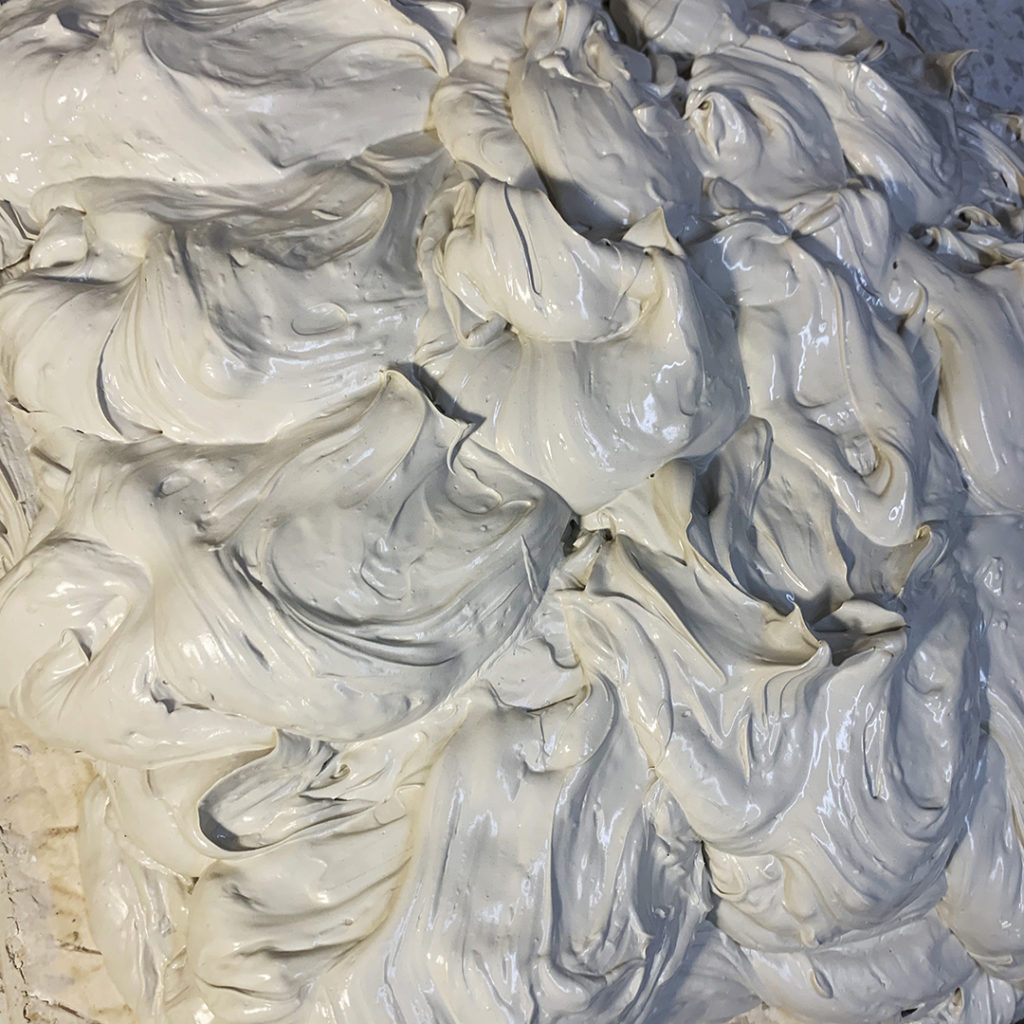
Gotta keep things moving along… pulling out another large batch of porcelain reclaim clay in the studio tonight. I let the clay pieces, trimmings & chunks dry completely before breaking them down. And then it’s all been soaking & slaking down for quite awhile. Enough of the water has evaporated that I could pull it all out of my reclaim bin and set it up on a large plaster bat. It will sit there for a few days while the excess water seeps into the plaster bat and the clay stiffens up… and then the real wedging begins!

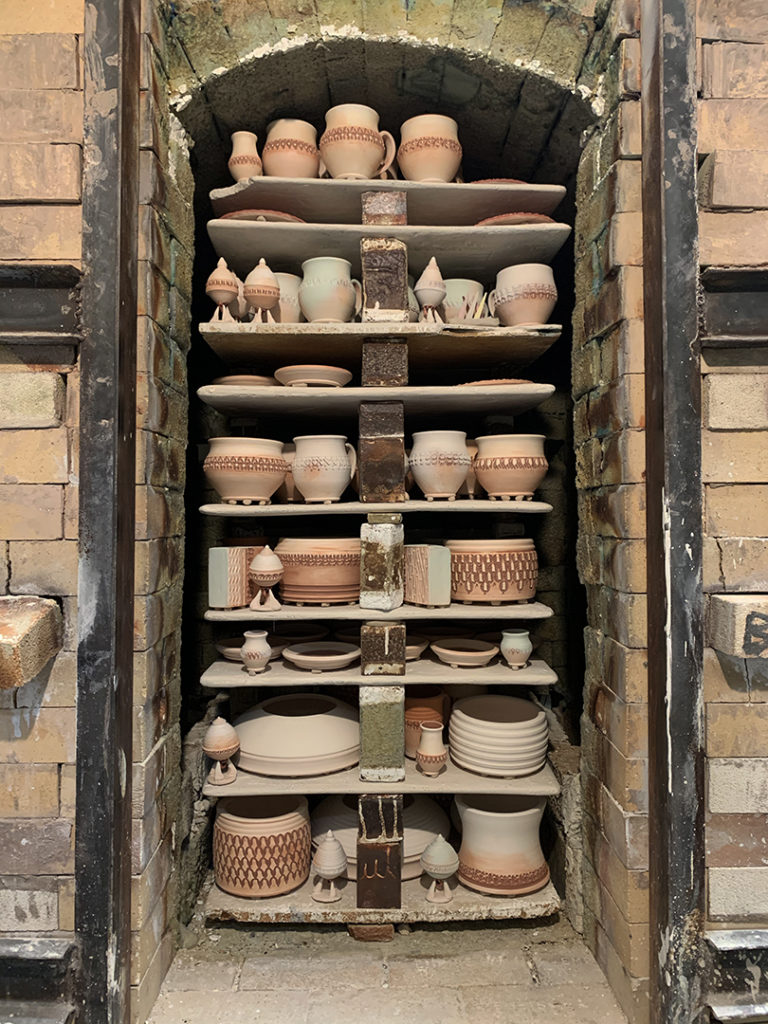
Three stacks of pottery, shelves & bricks from tonight’s loading. A lot of work “crammed in there”… hoping that the soda atmosphere can still make its way around inside to move the soda around!
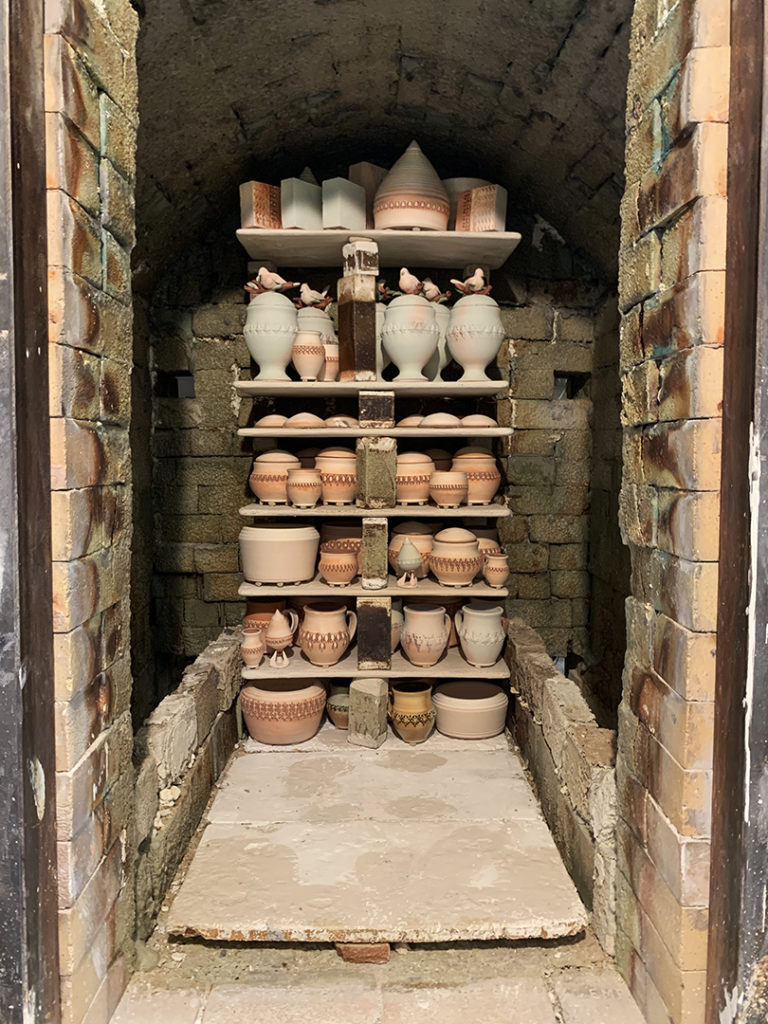
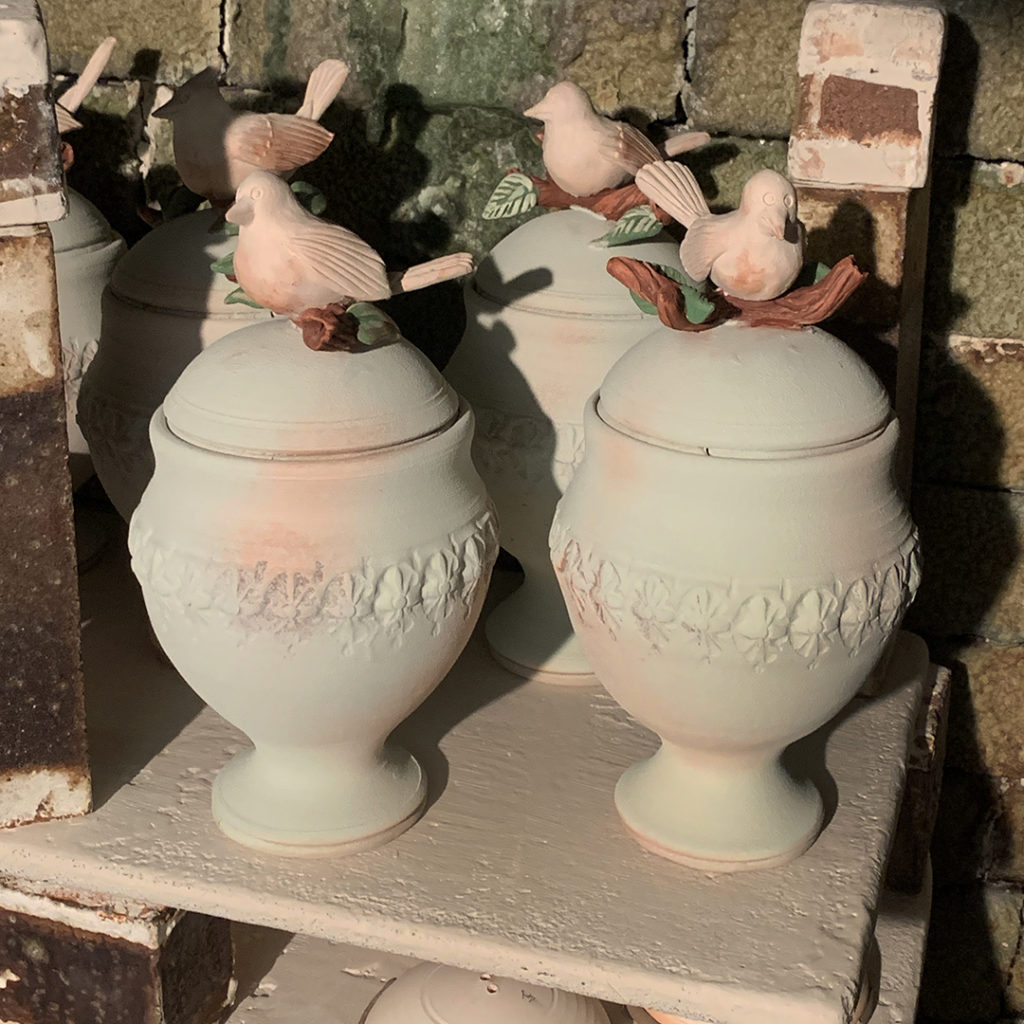
If you look close, you can also see where my flock of birds have landed!!!
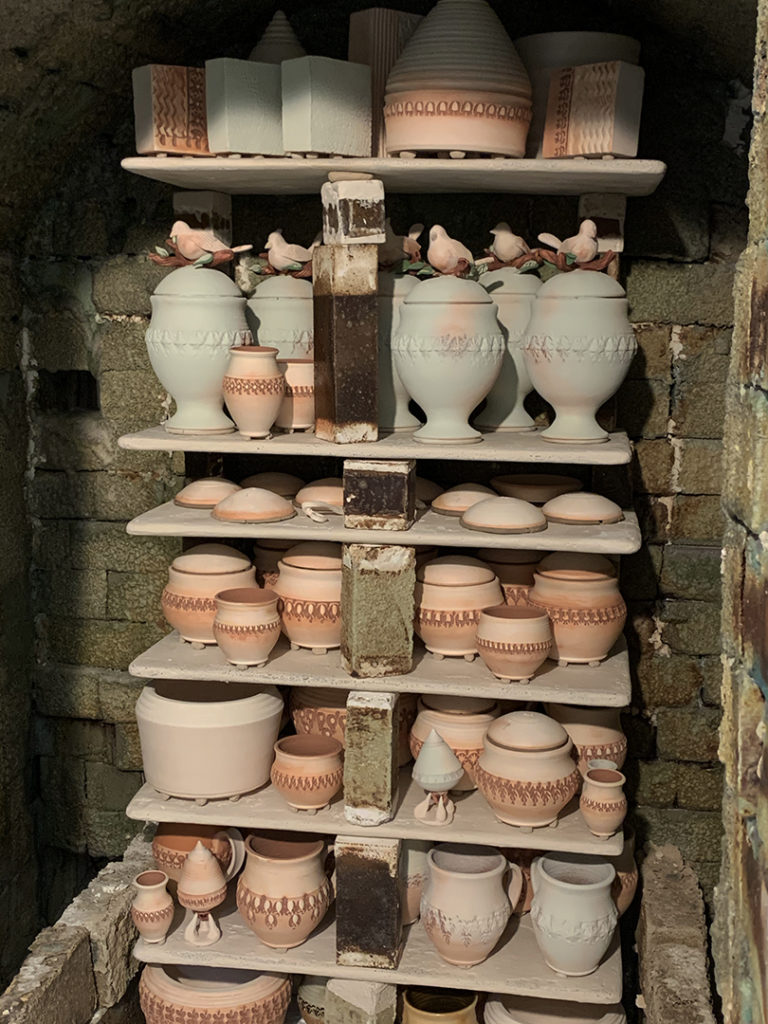
And then the front stack…
which is actually a “square” made of two shelves side-by-side”
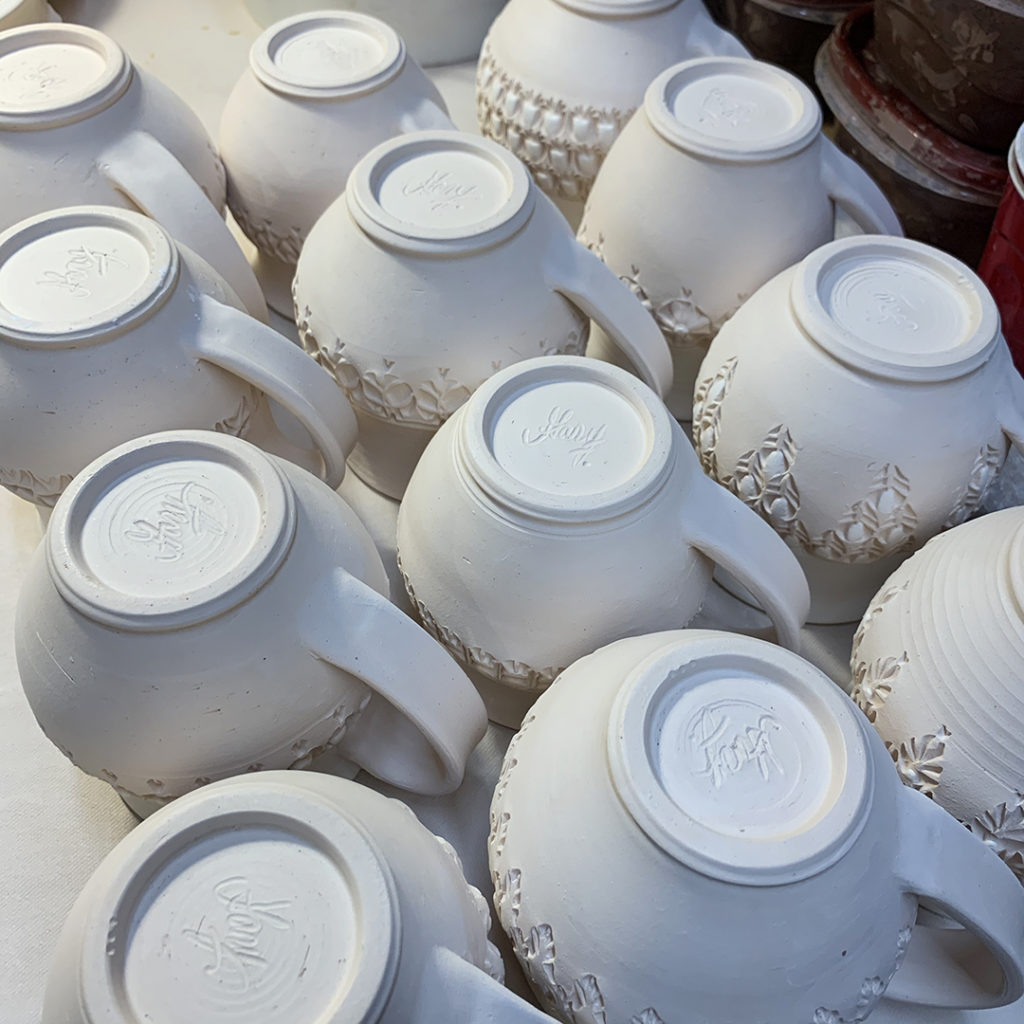
Just a few more pieces fresh from my bisque kiln to glaze quickly…
as I load the soda kiln tomorrow night after Summer Camp!
I fire all-day Saturday… so I’ve got to stay focused and get this done!!! Inlay glazes into the stamped impressions, liner glazes, clean, wad & ready to go!


Under wraps for the night… so I can come back to them later to do a little smoothing & touching up. As well as adding some accents & details with a bit of colored flashing slips. Then they can be left out to dry… and then into a kiln!!!
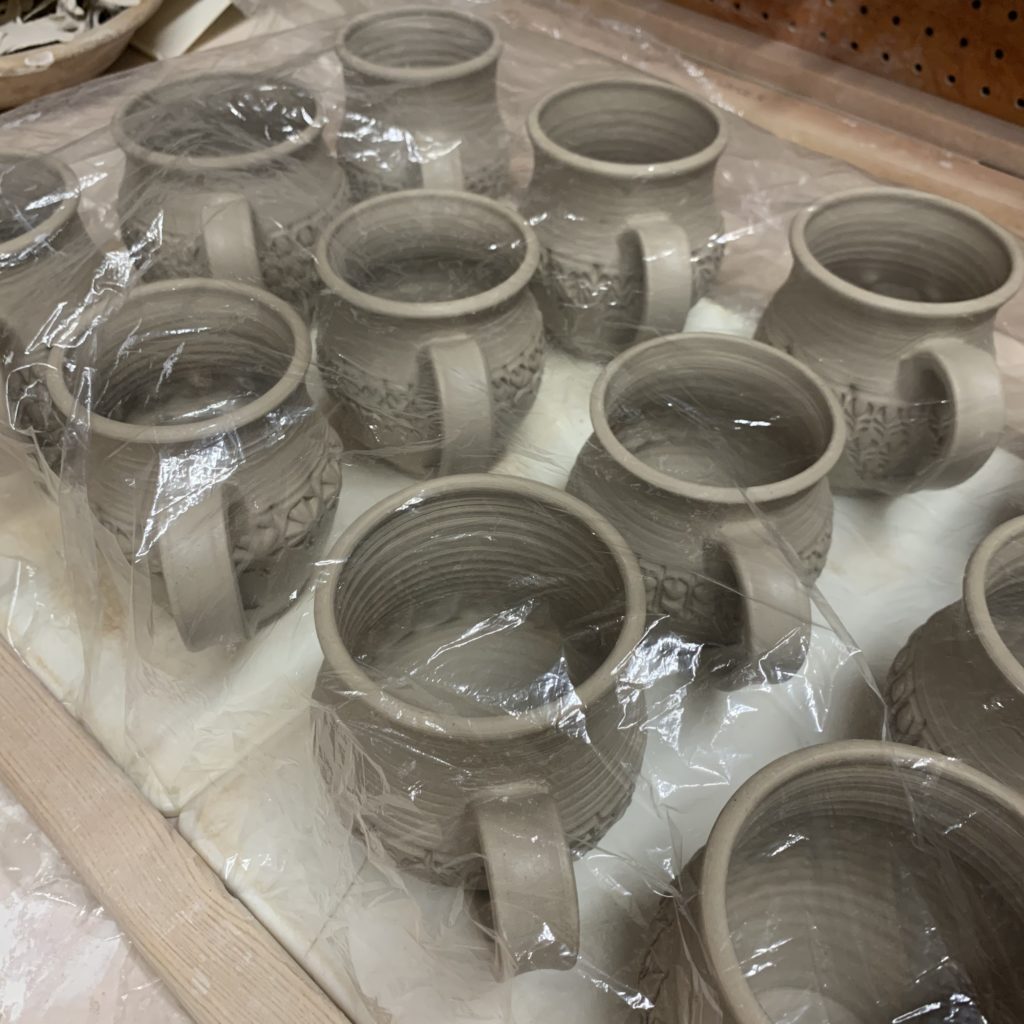
After a productive night in the studio, we now have a dozen mugs…
ready for some colored flashing slip accents and then a quick trip to the bisque kiln!!!


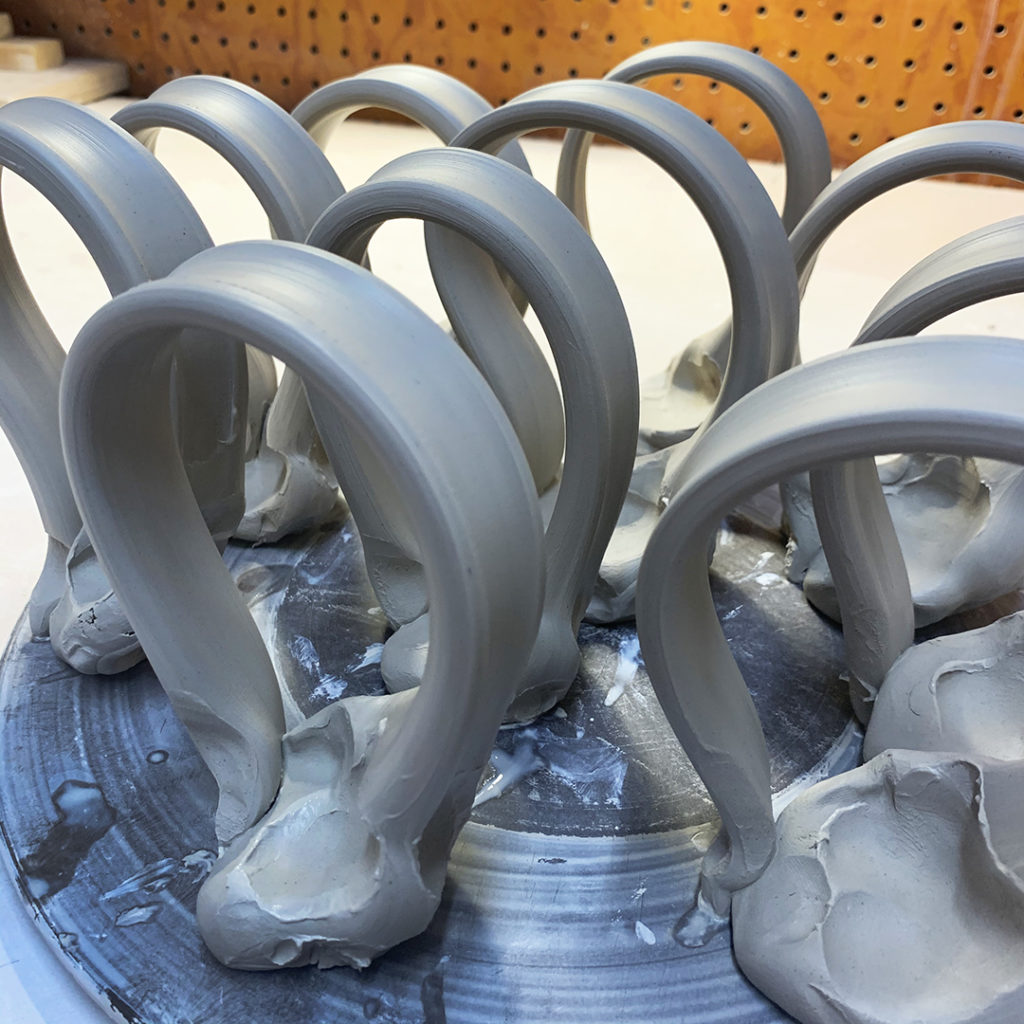
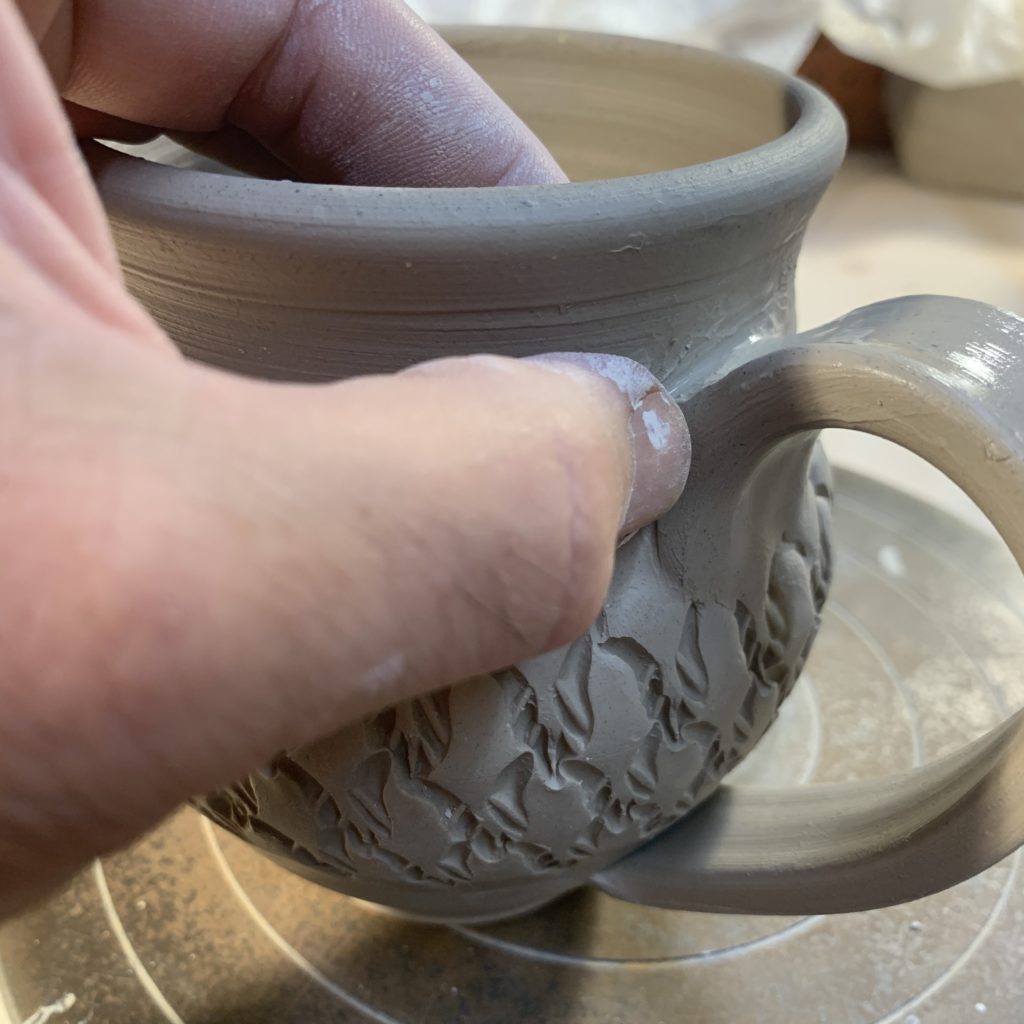
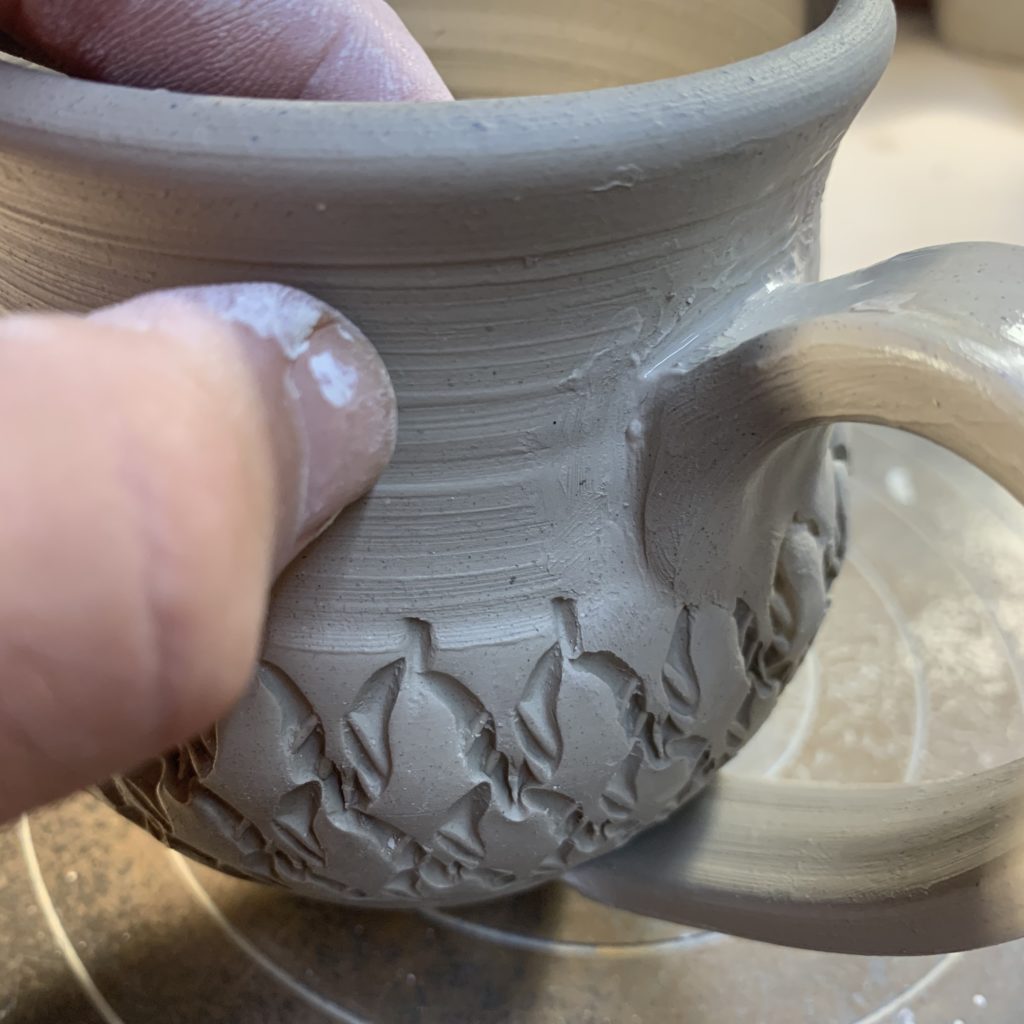
Here’s the “fussy part” of doing handles… score, slip, attach, repeat.
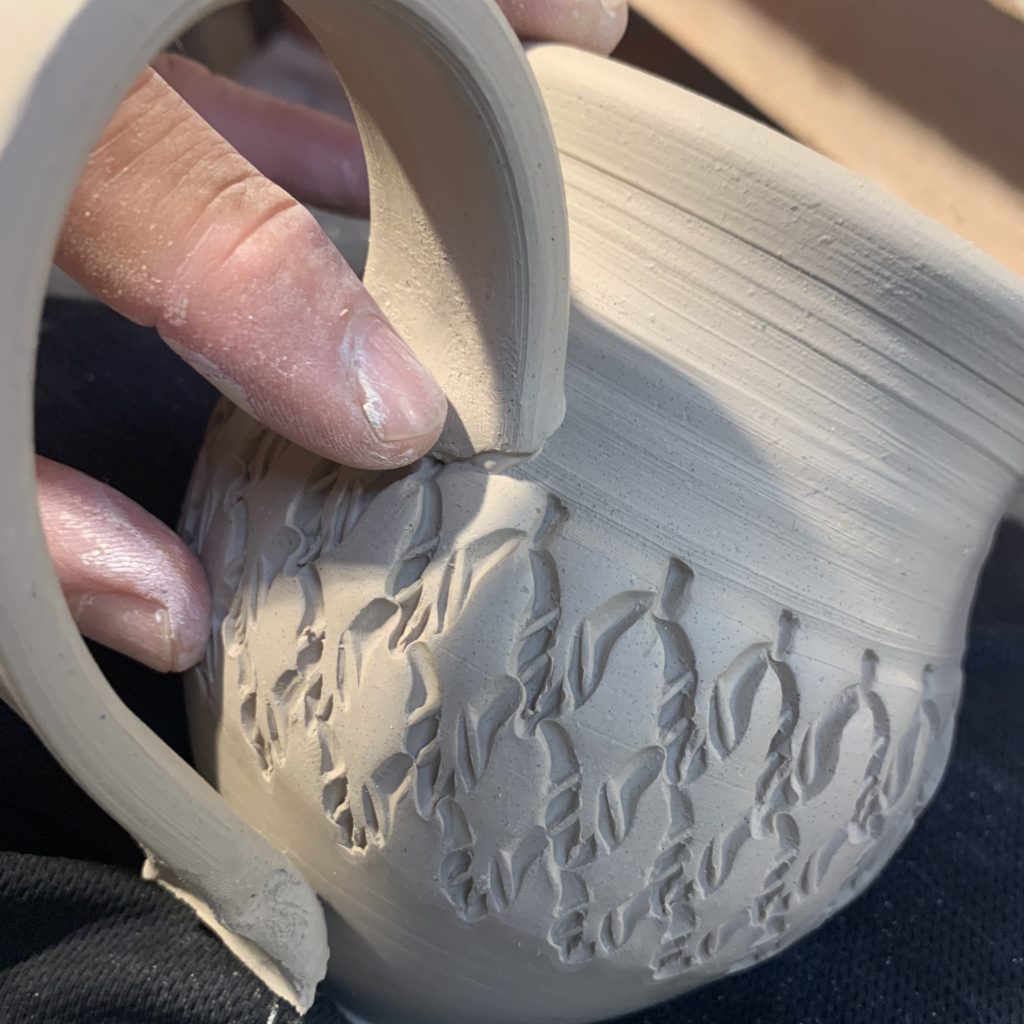
I always start with the top attachment… then move on to the bottom attachment making sure it’s secure, lined-up and that the handle is a good proportion to the cup.

I try to smooth them in as much as possible… but know that I can do a little more refining when I come back to them. Thus another one of the reasons I keep my mugs under plastic again after attaching handles!
Making handles for the new mugs… starting with small blocks of wedged clay that I slam on the table to make these “carrot” shapes.
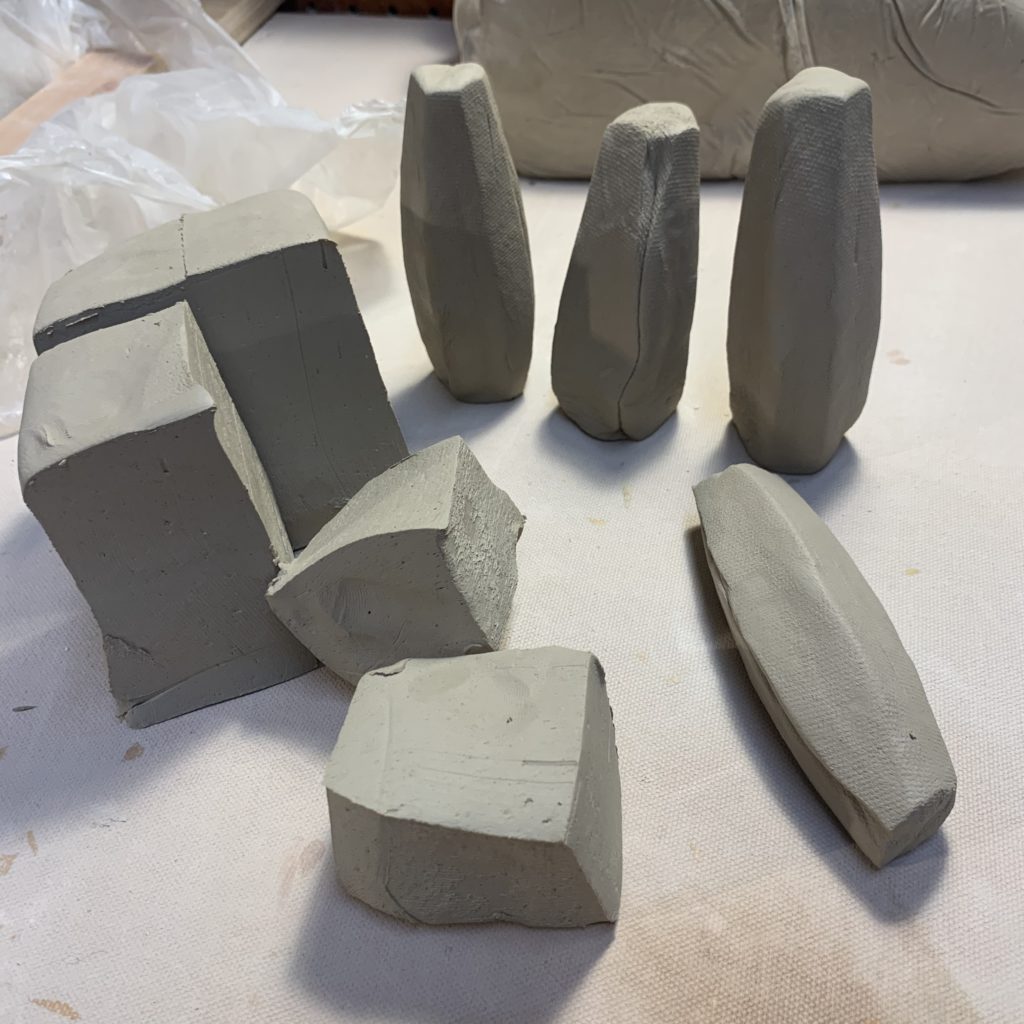
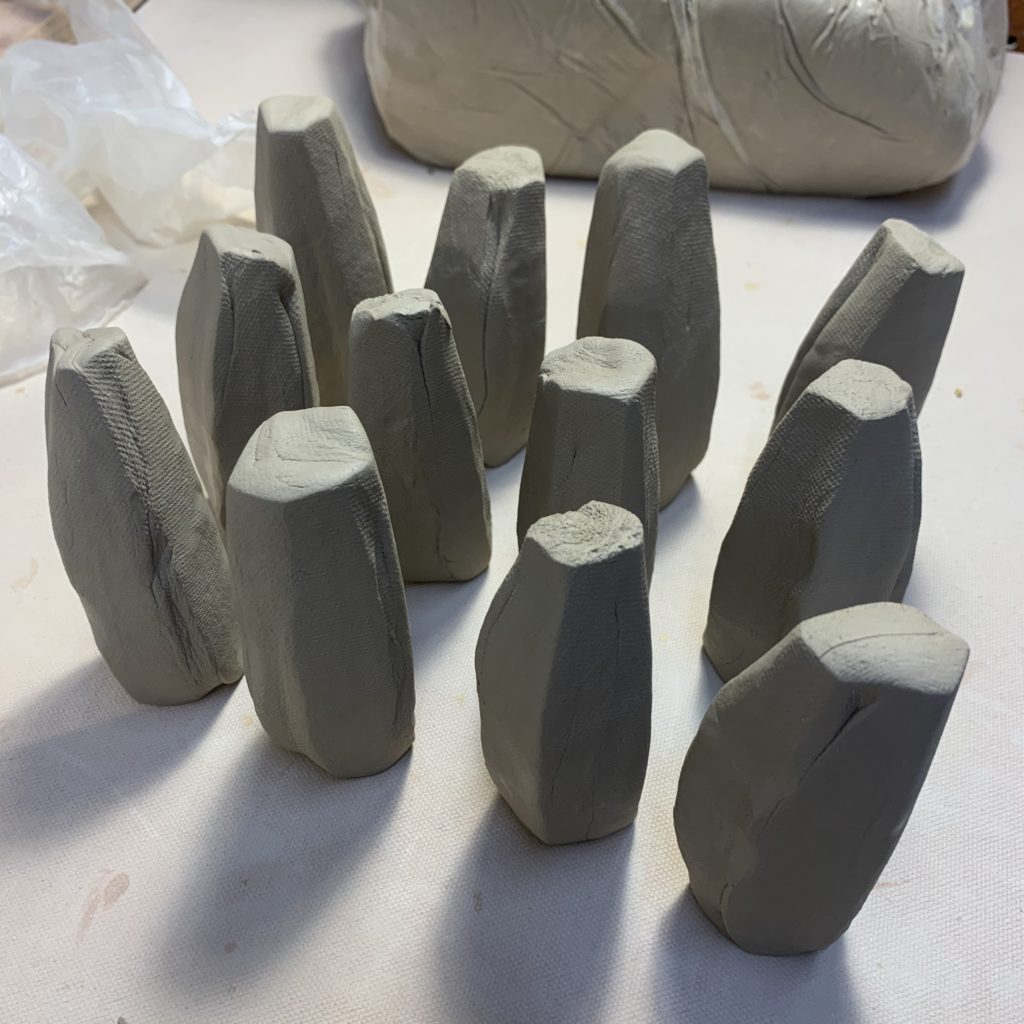
And then I pull my handles the old-school way, let them set-up and then attach them to my mugs!
Several steps & timing along the way…
all to make a cylinder become a MUG!!!
|
Gary Jackson: Fire When Ready Pottery
Lillstreet Studios ∙ 4401 North Ravenswood, Chicago, Illinois 60640 ∙ 773-307-8664 gary@firewhenreadypottery.com |