09.19.2020
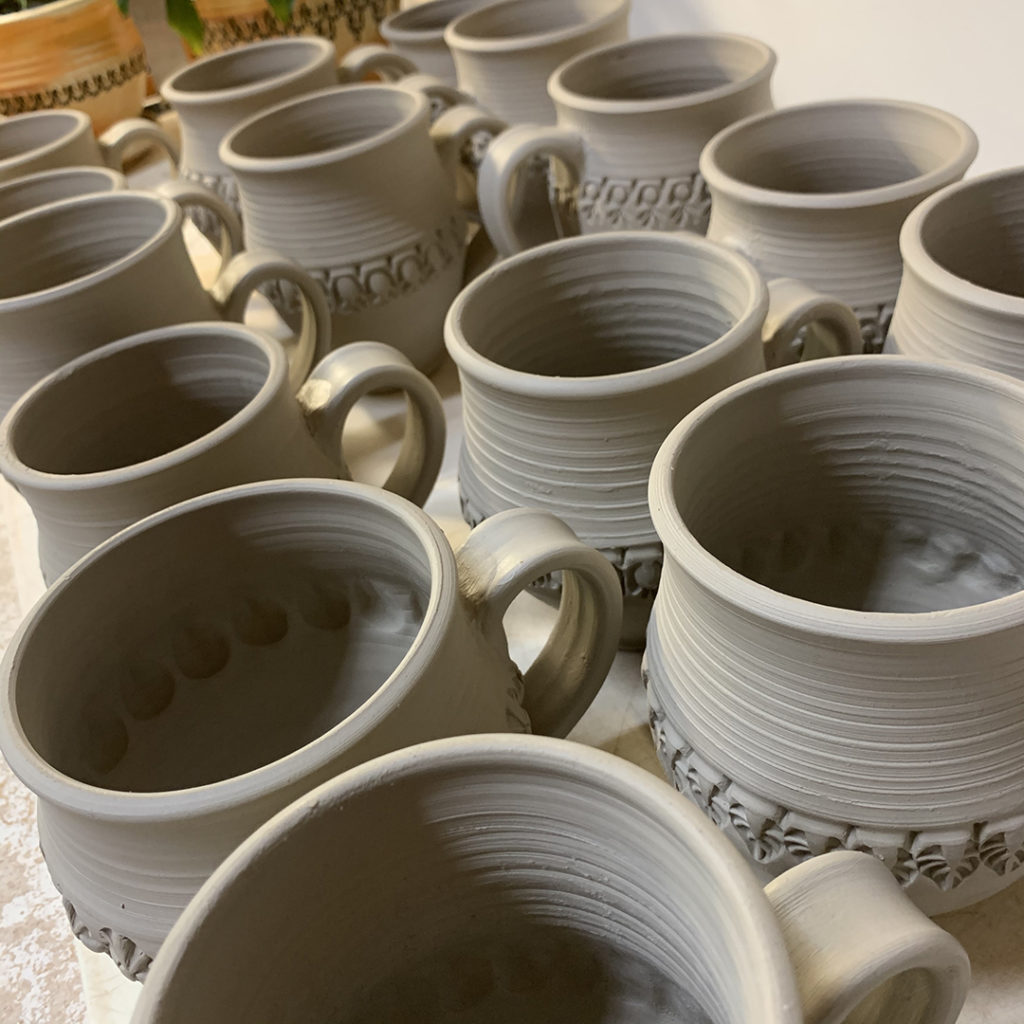
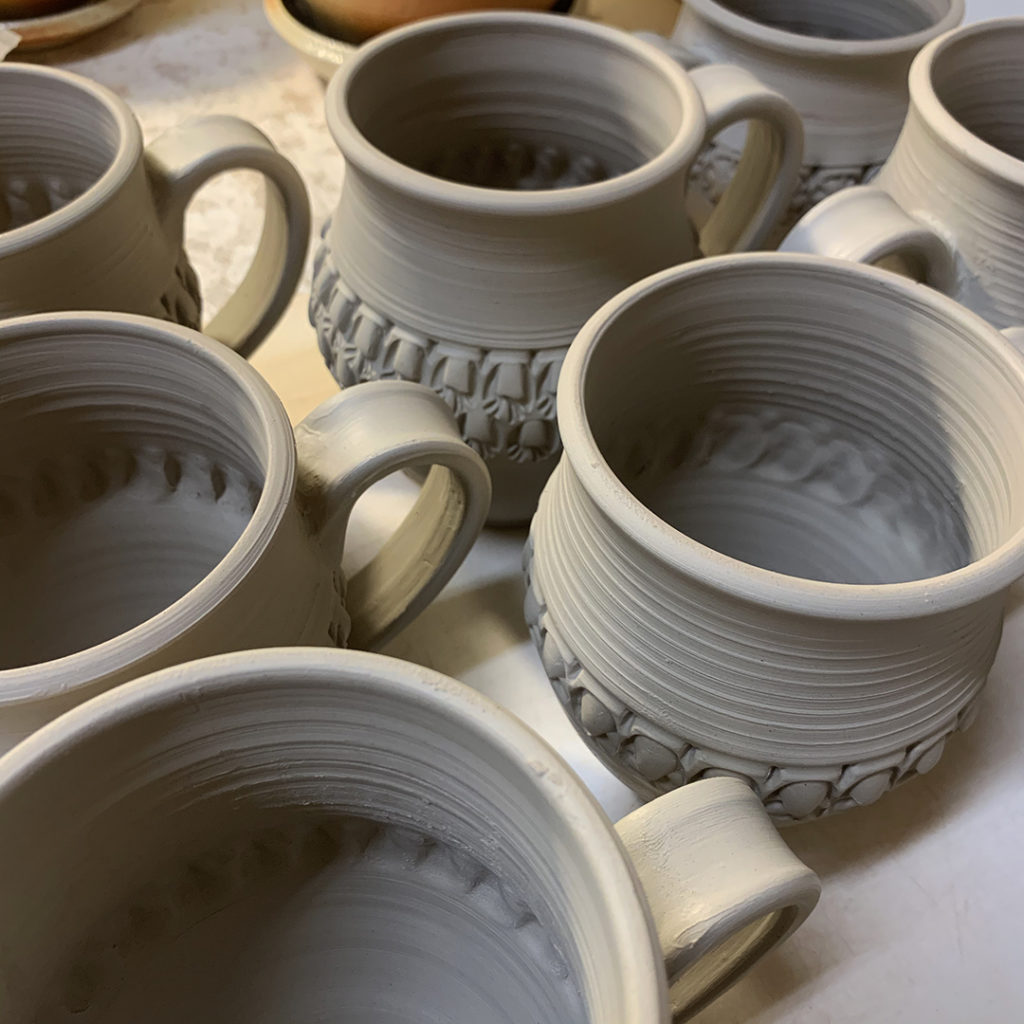
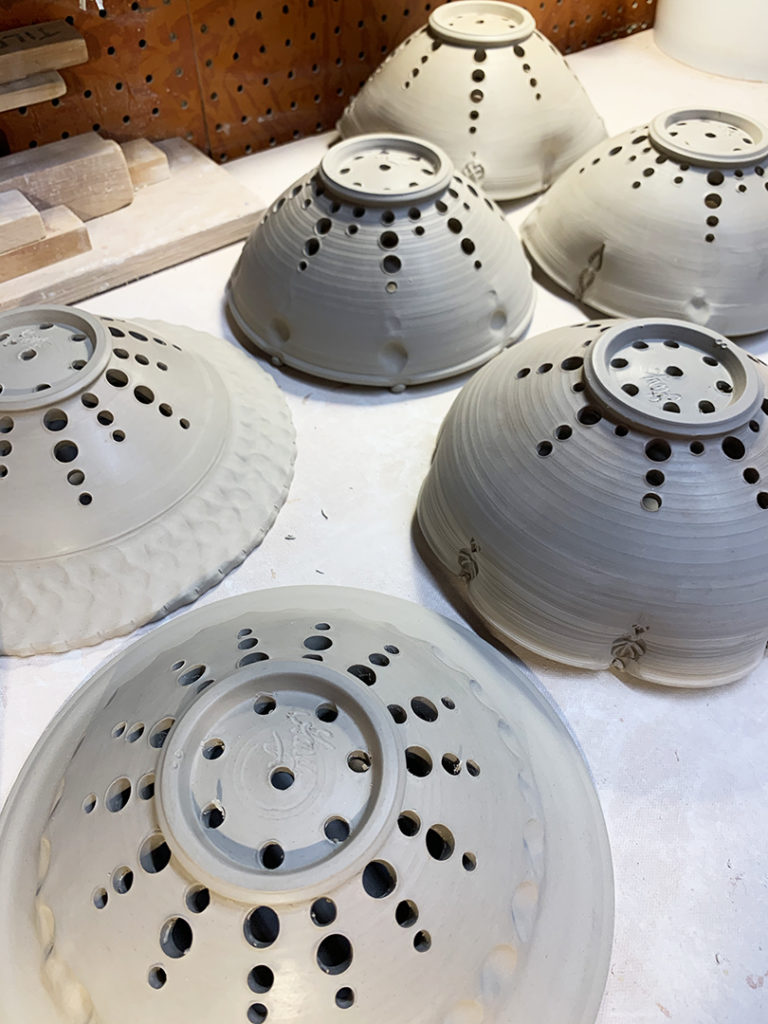
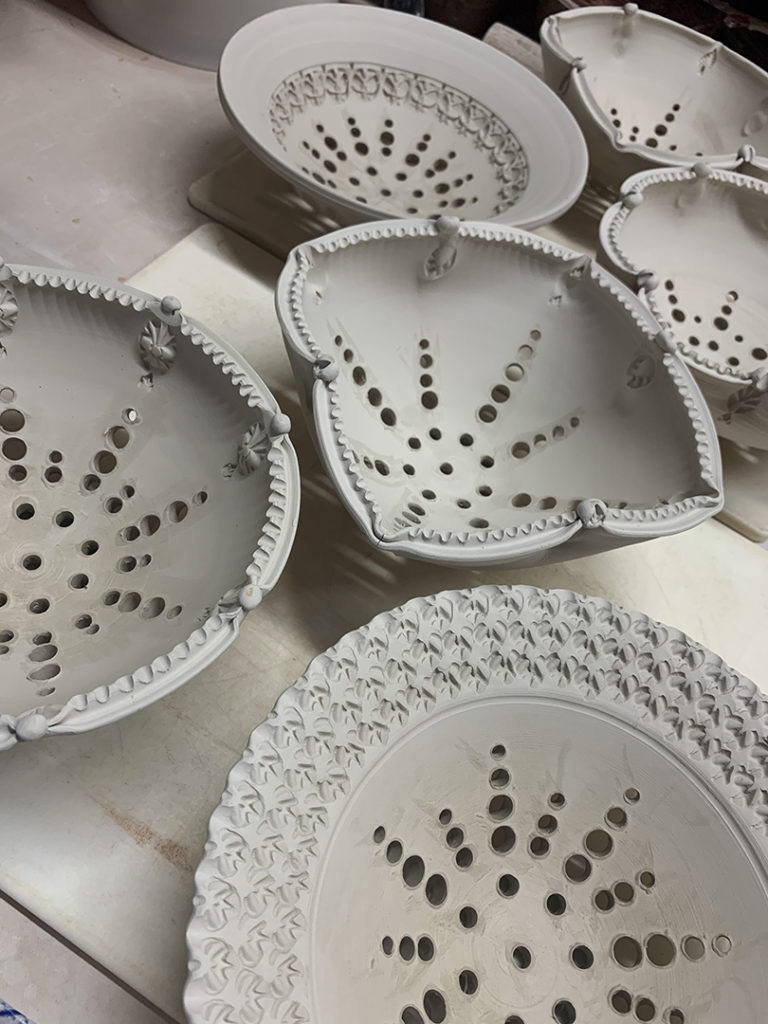
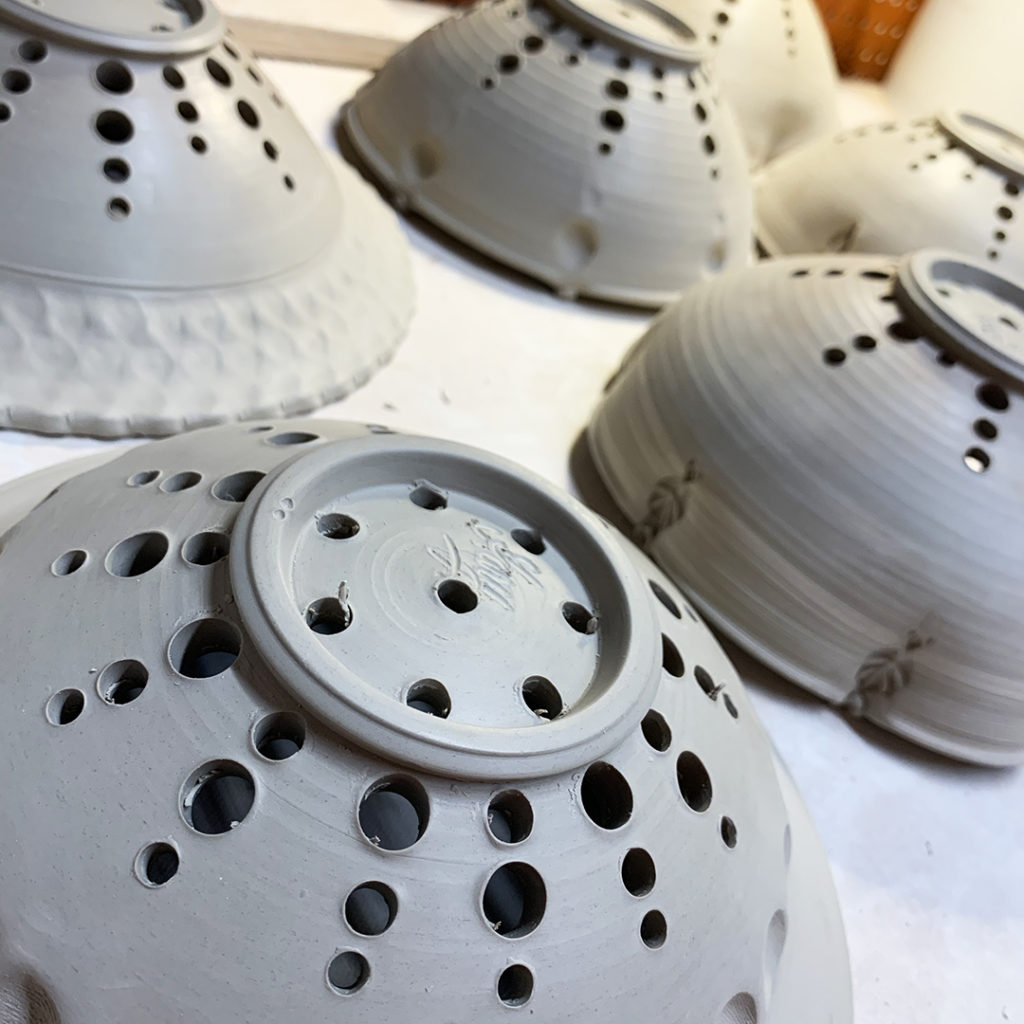
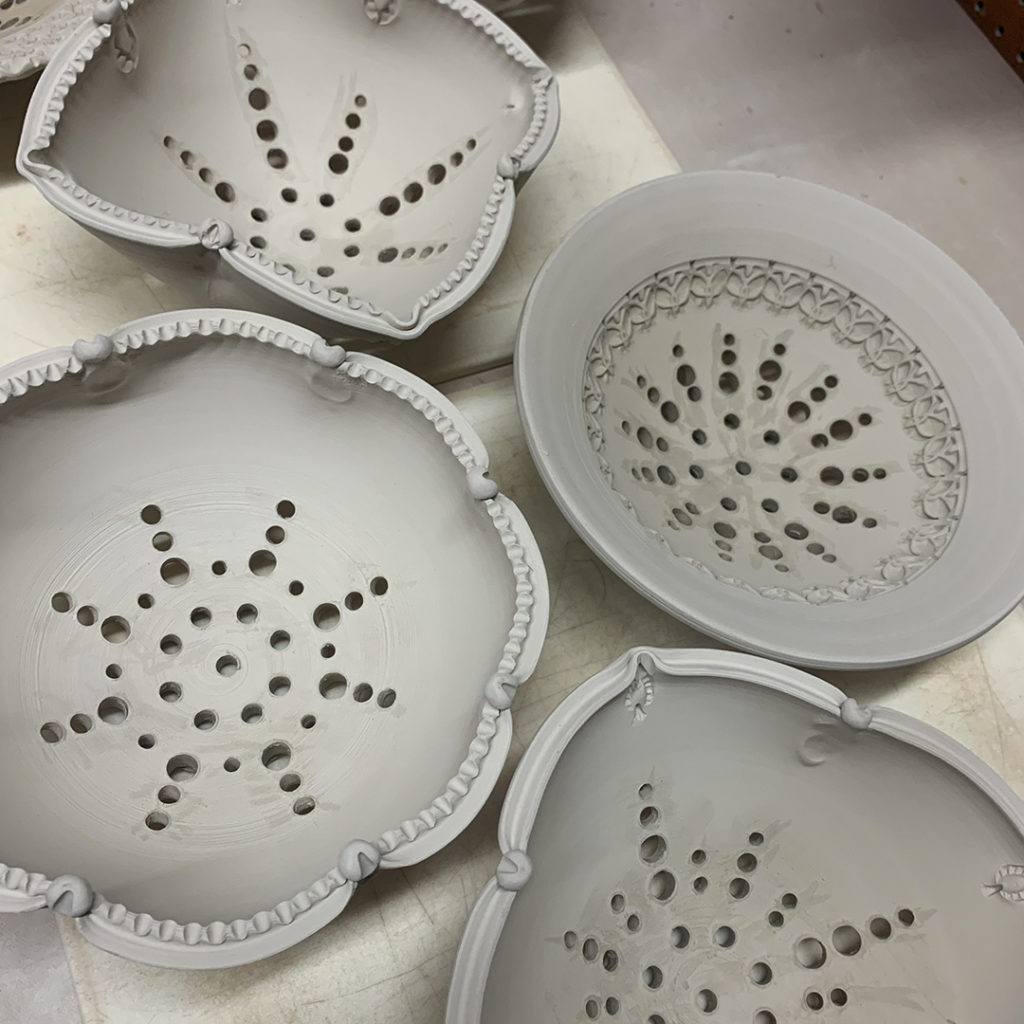
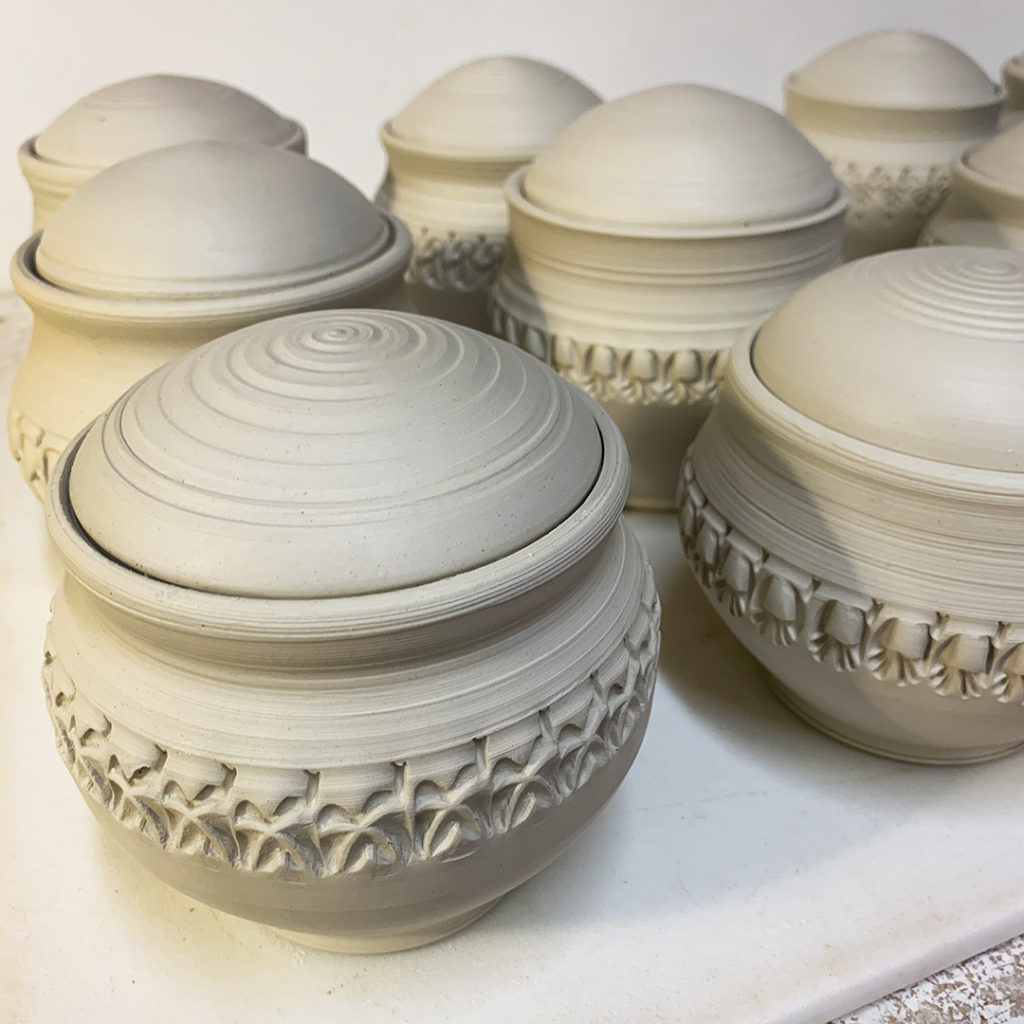
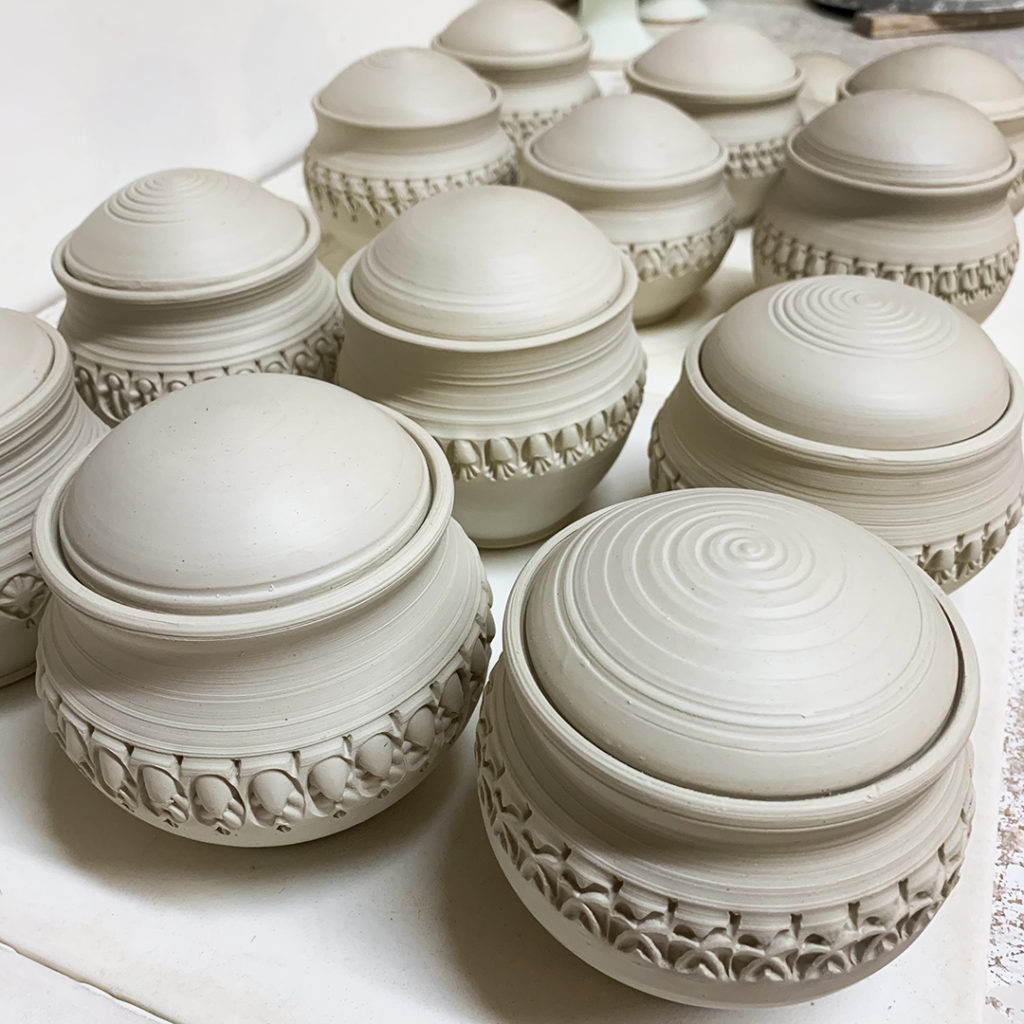
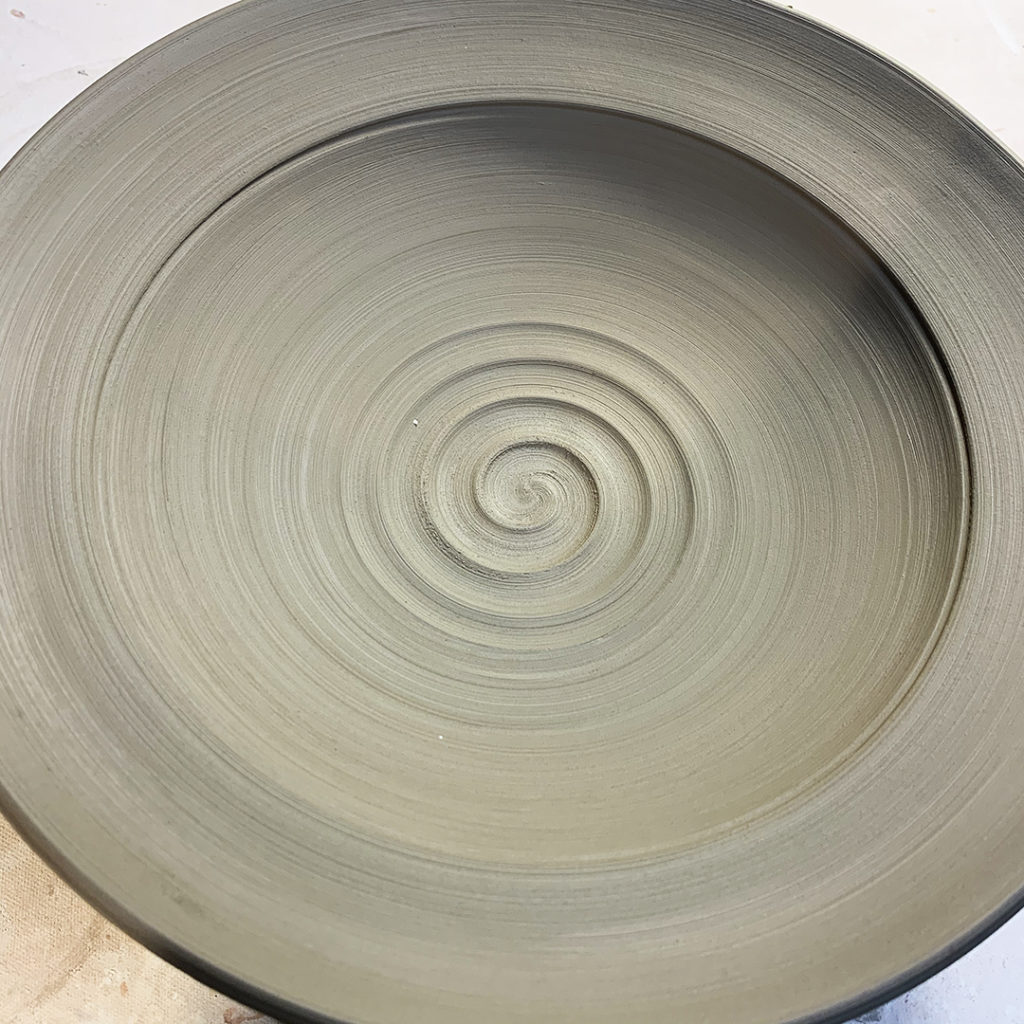
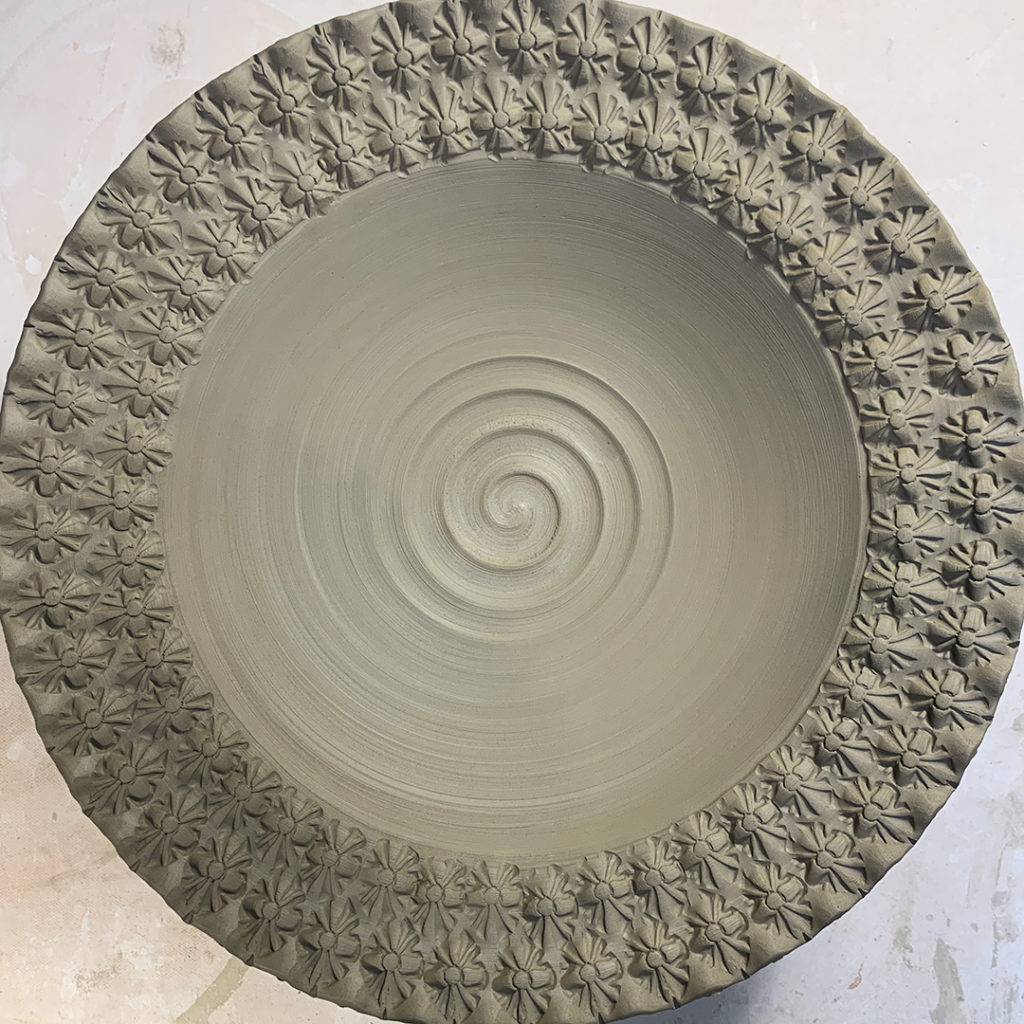
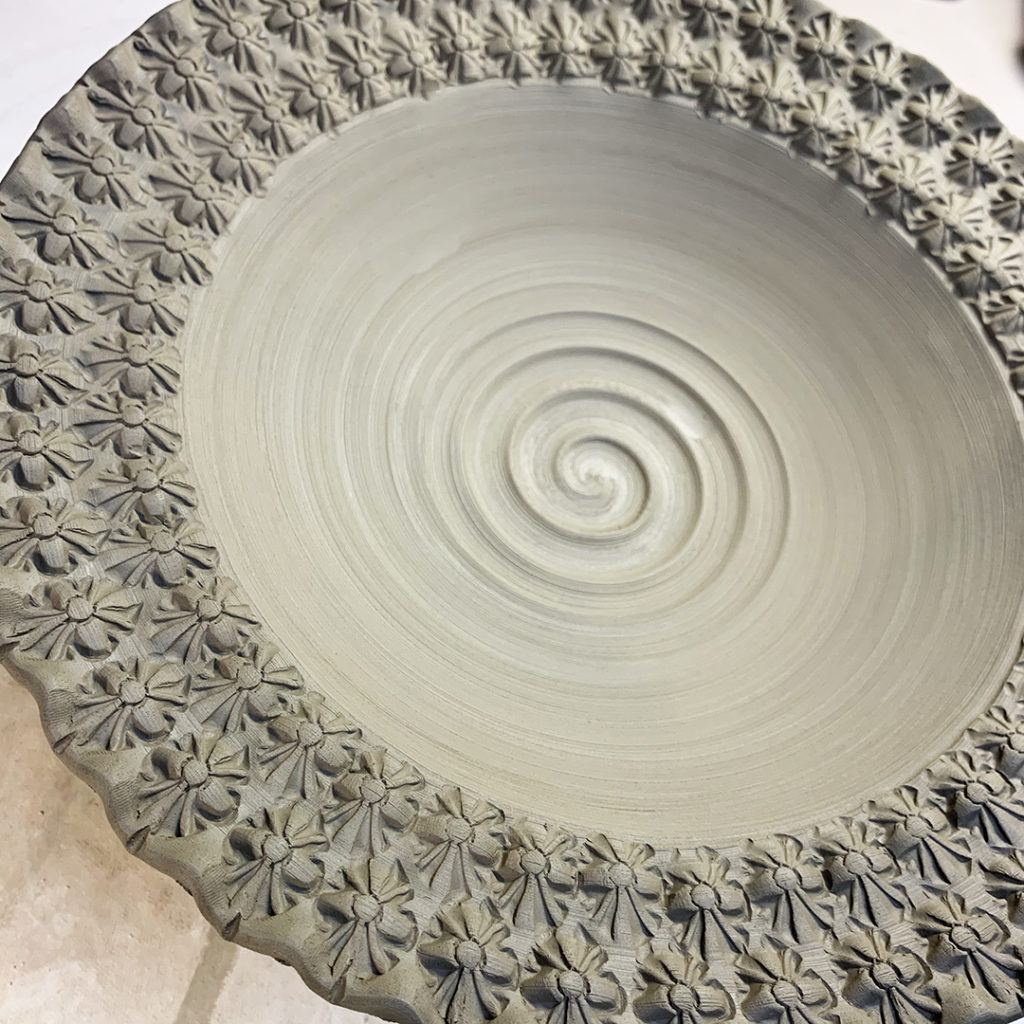
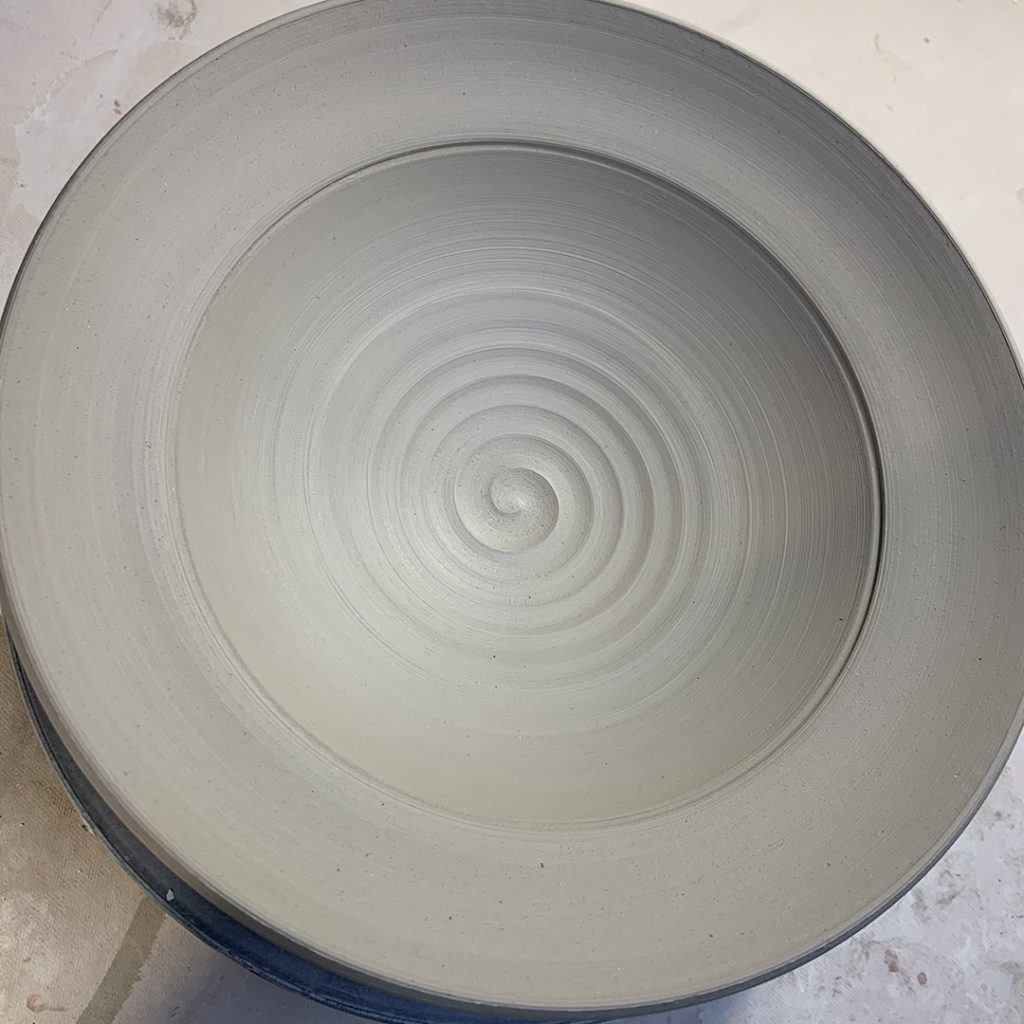
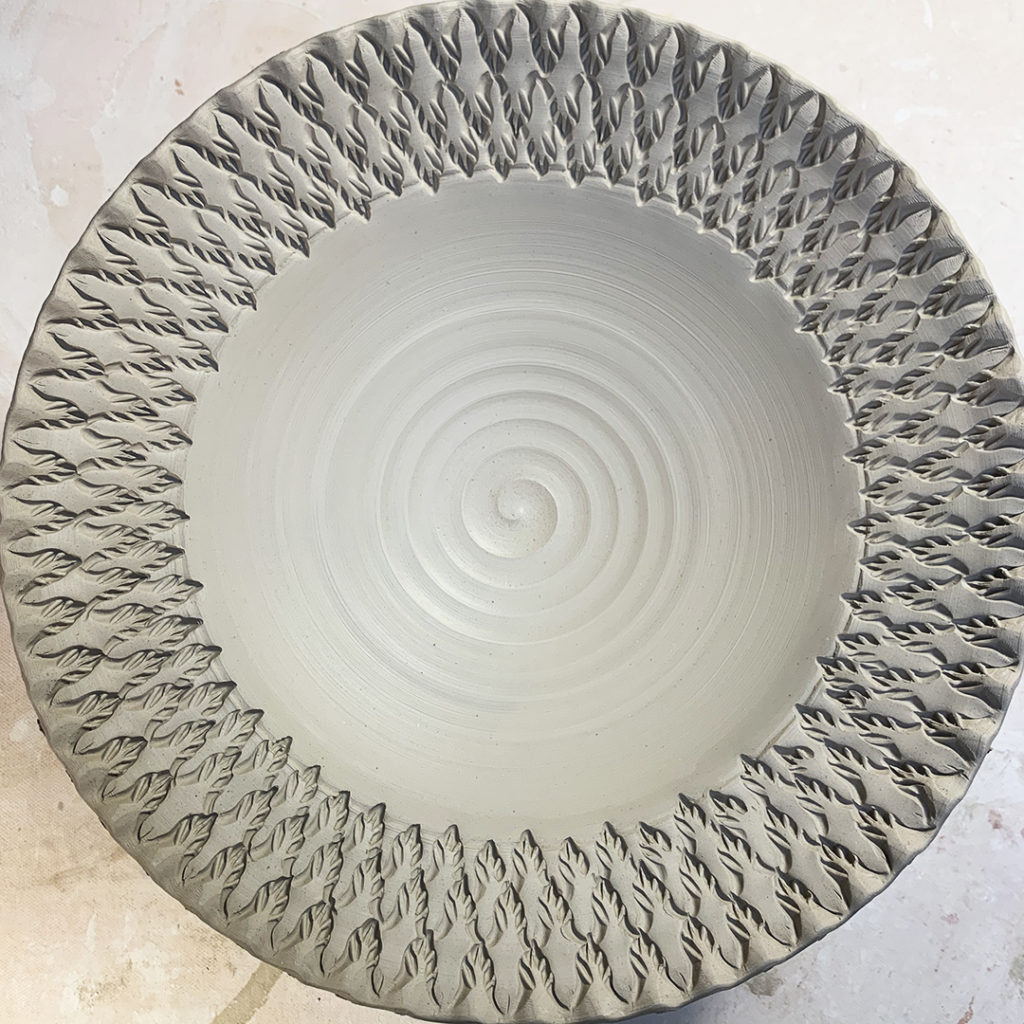
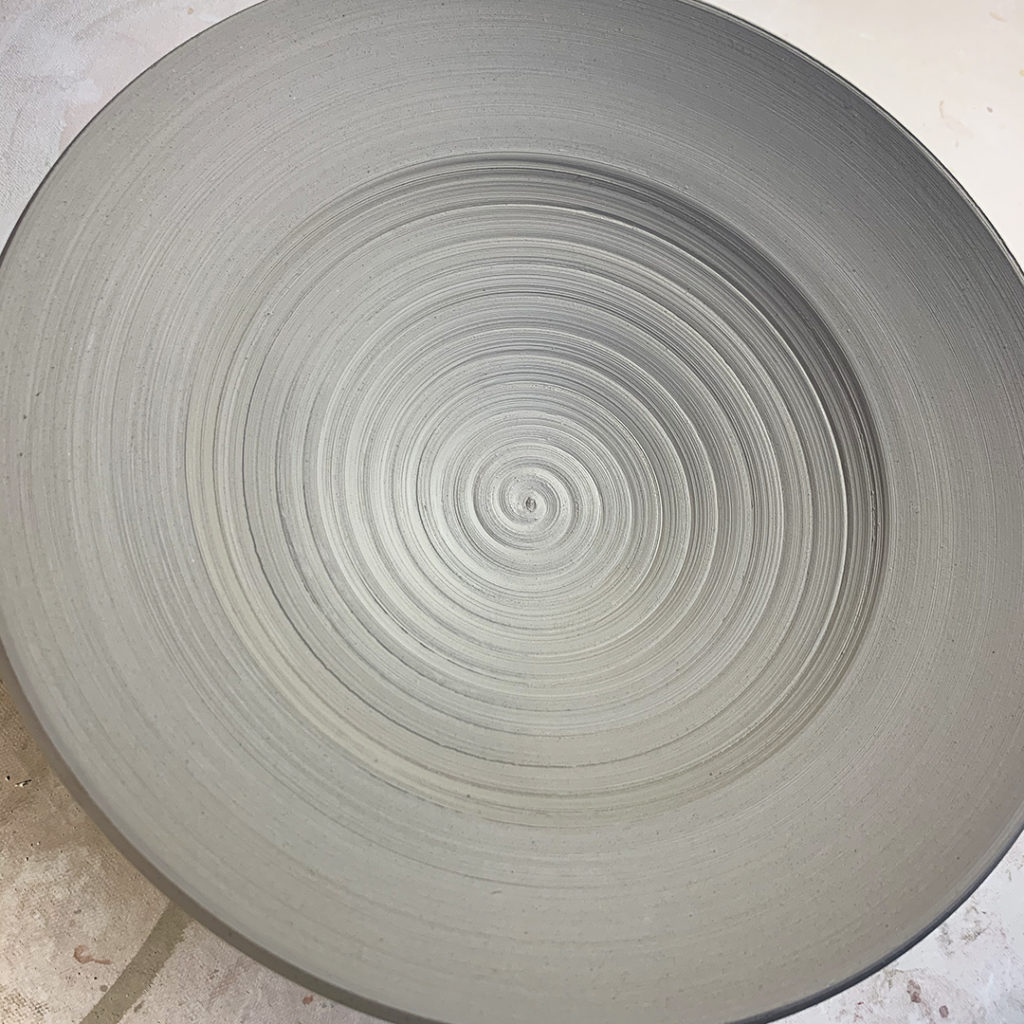
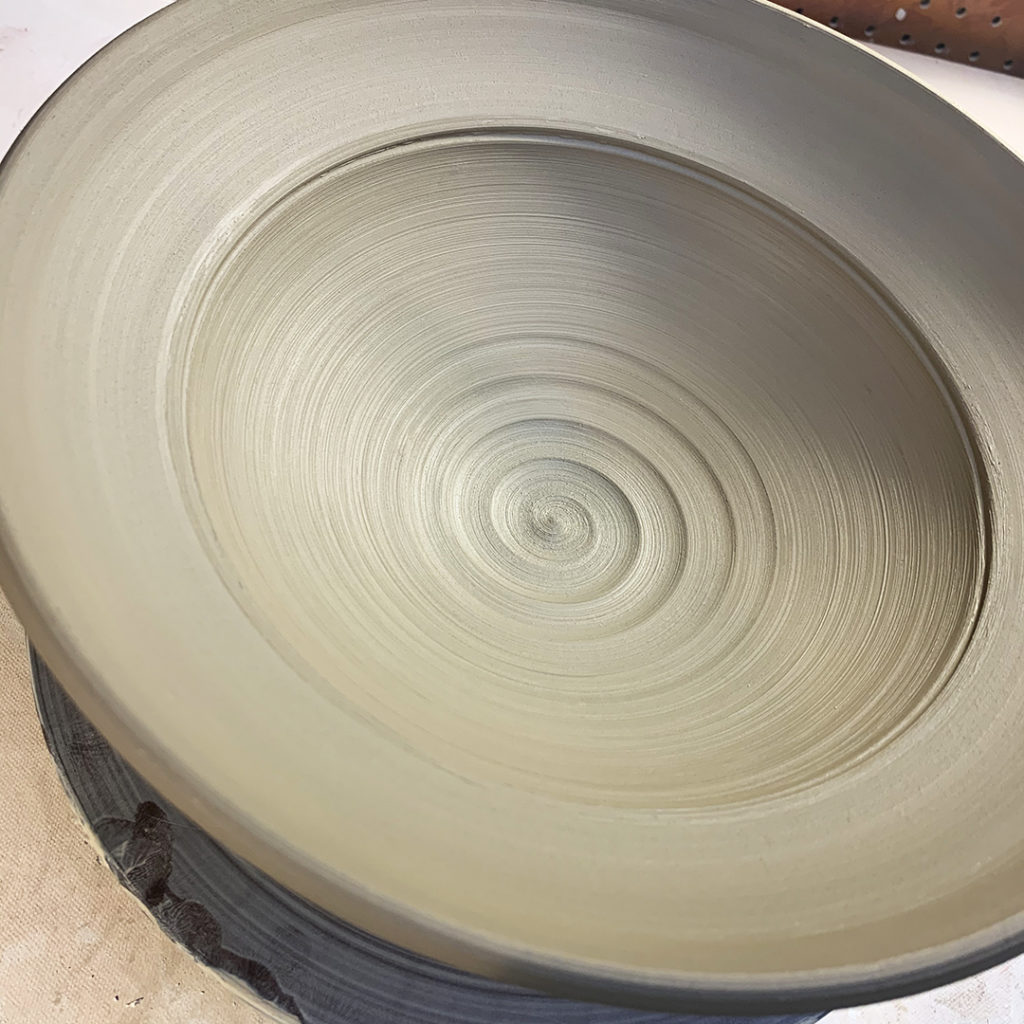
Spent a little time making some more bowls. They’ve were thrown yesterday and kept under-wraps overnight. So today they were just a little too damp to stamp. But after leaving them set out for a half hour or so, they were good to go. So I did some stamping… because I’m addicted… and because MORE IS MORE!!!
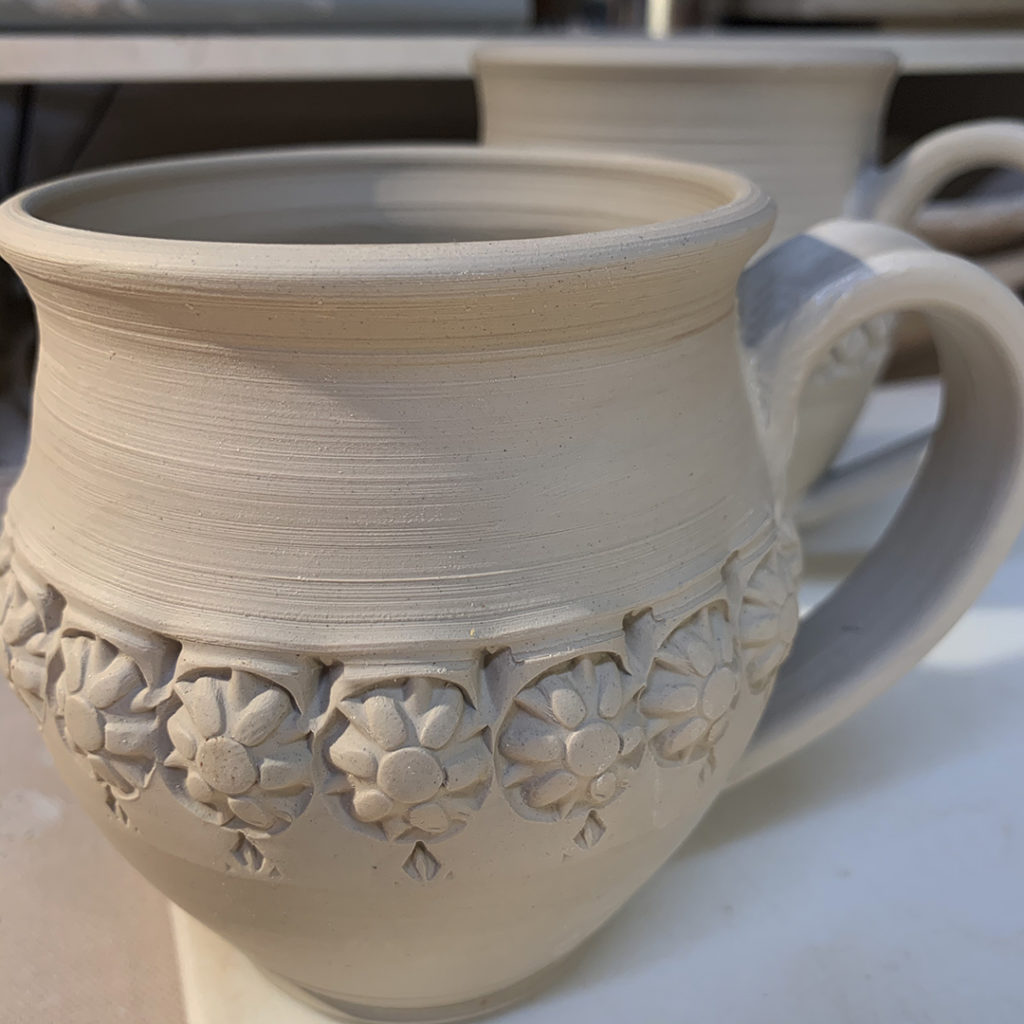
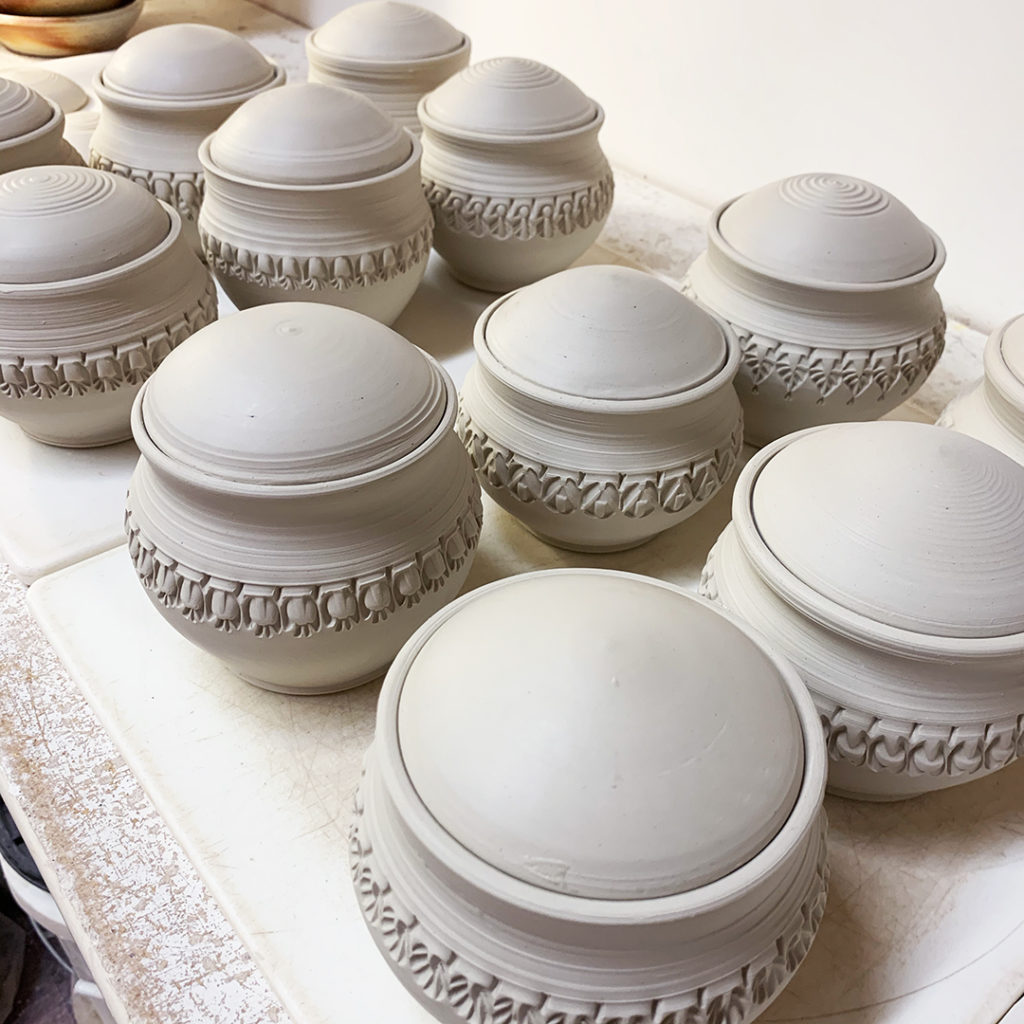
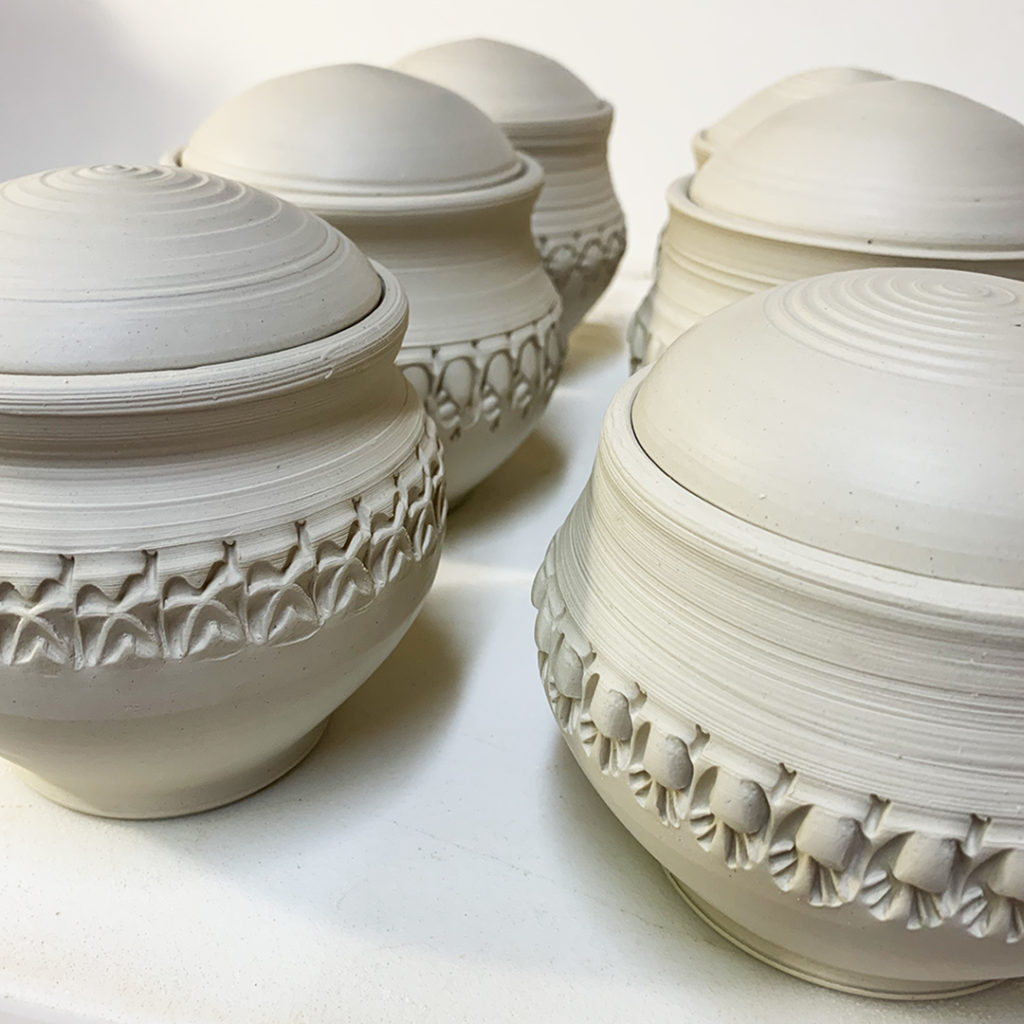
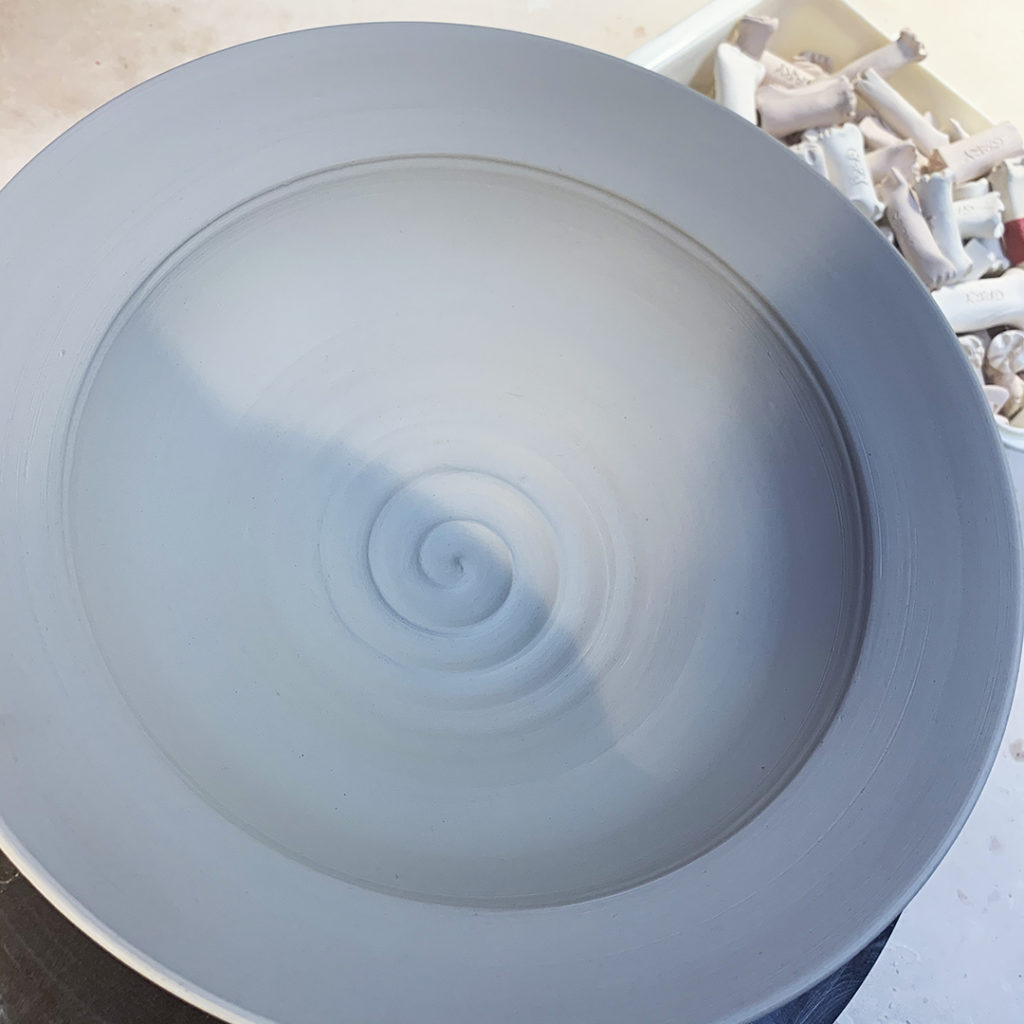
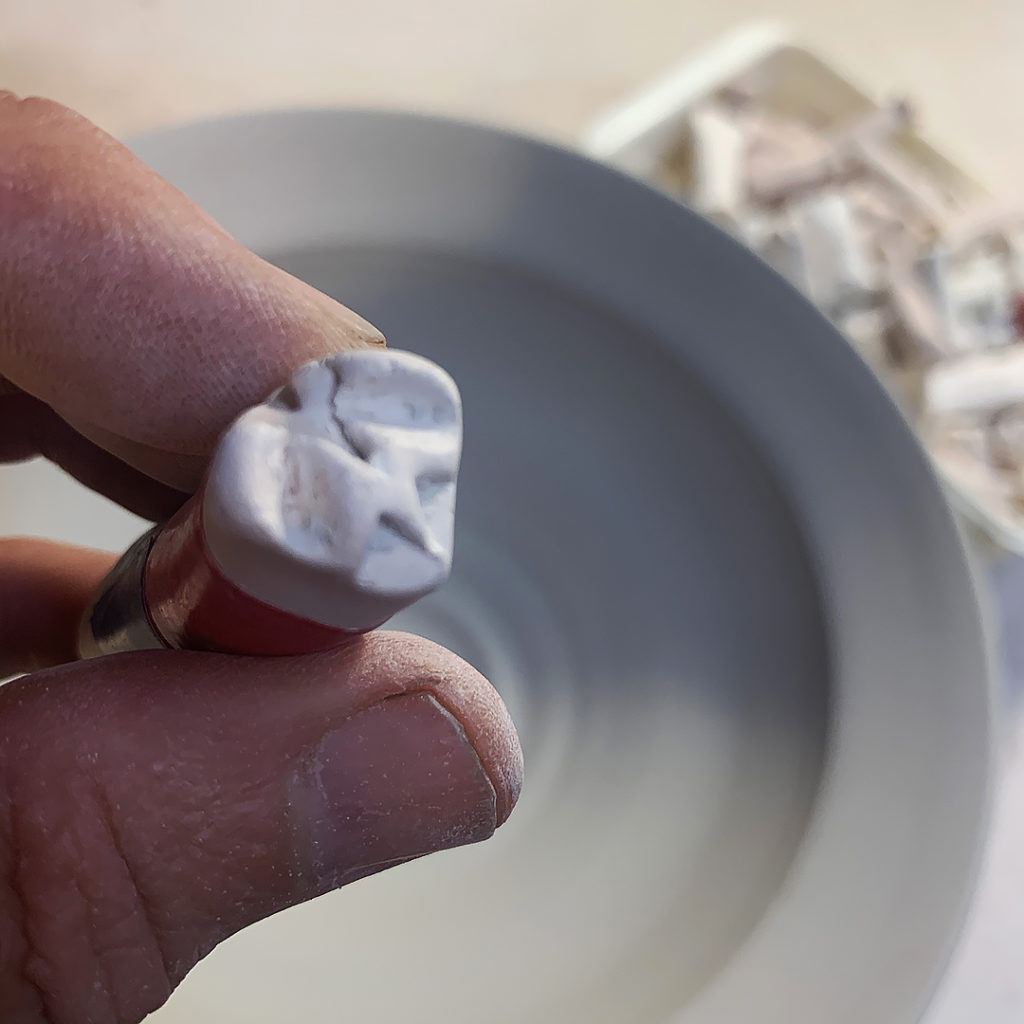
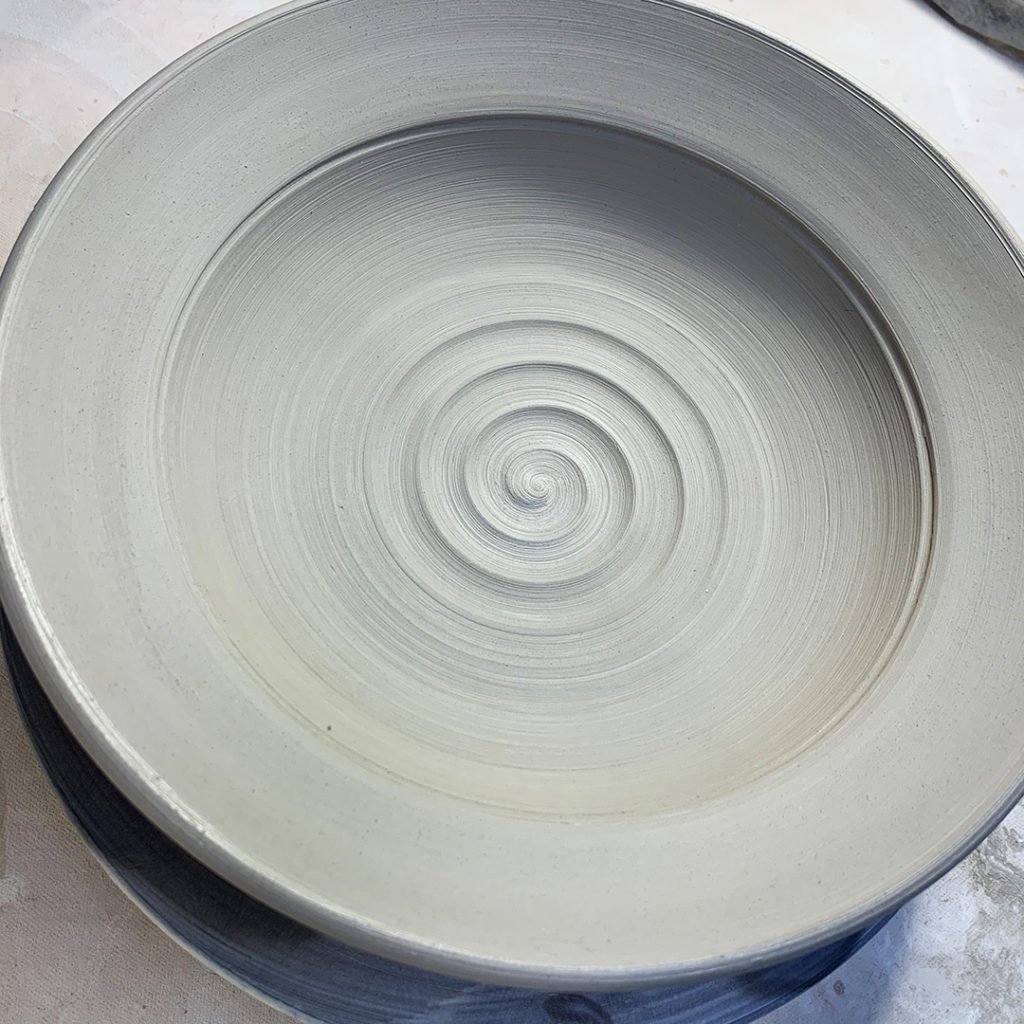
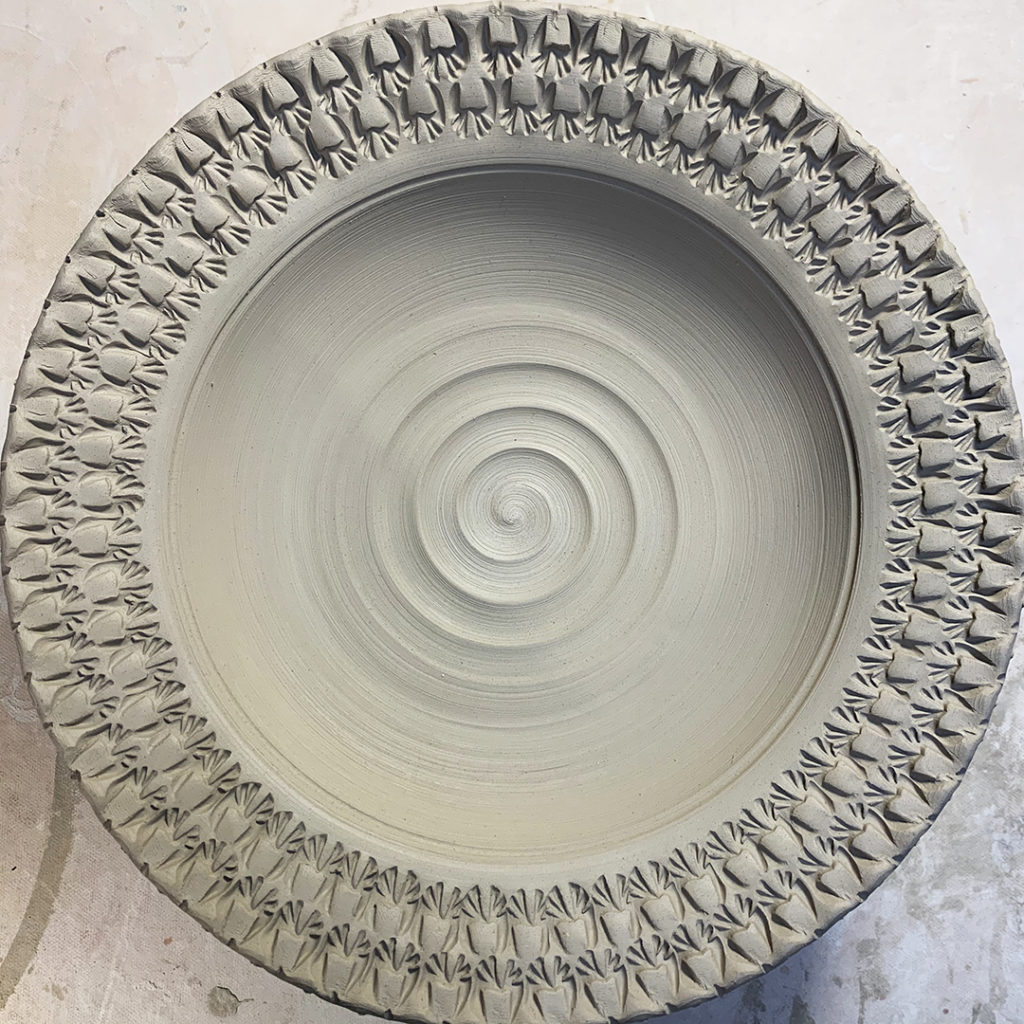
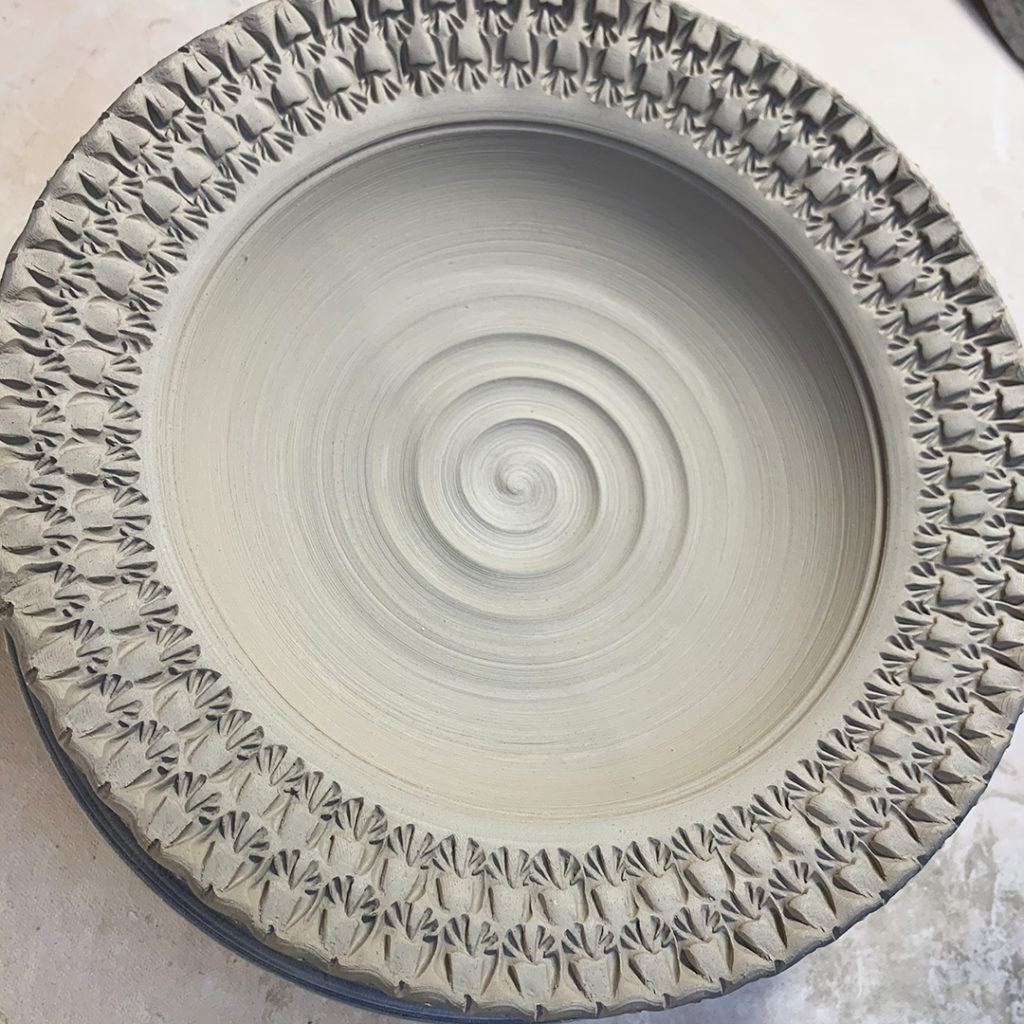
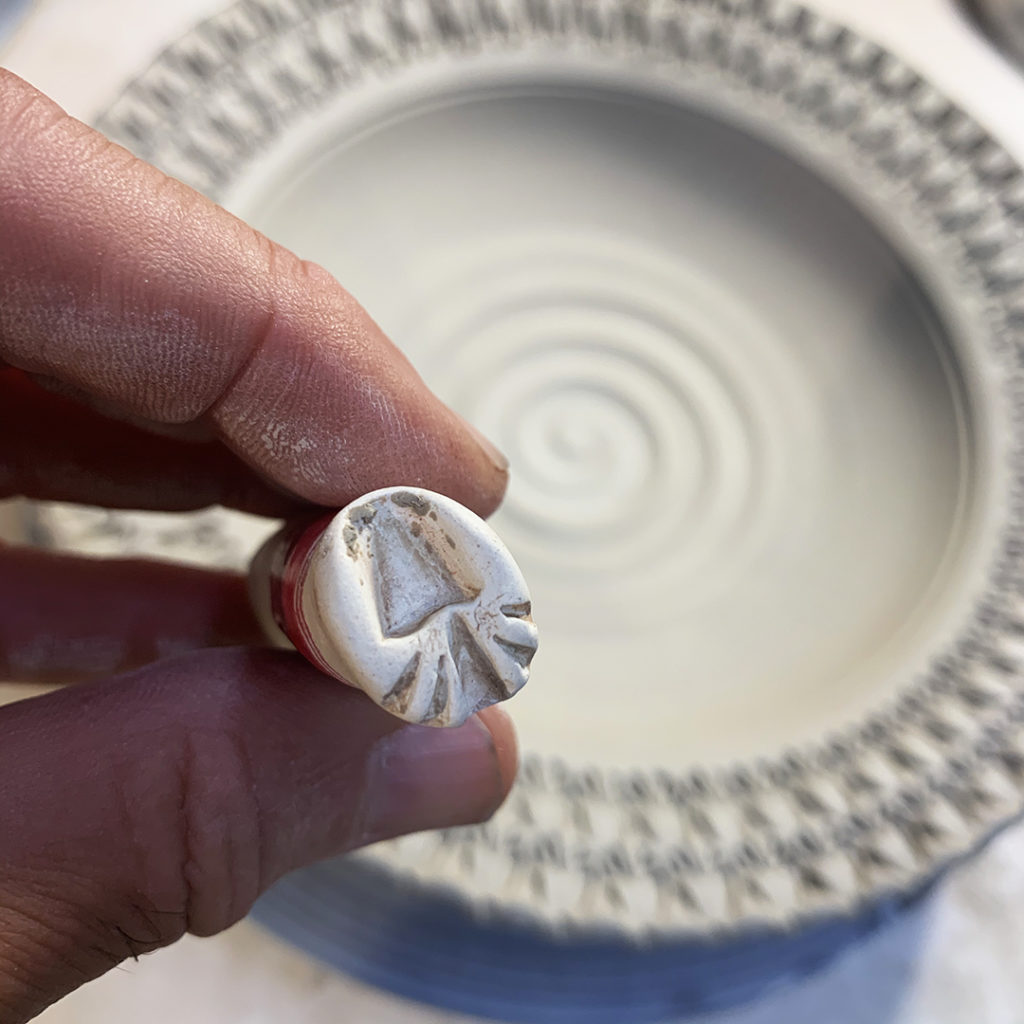
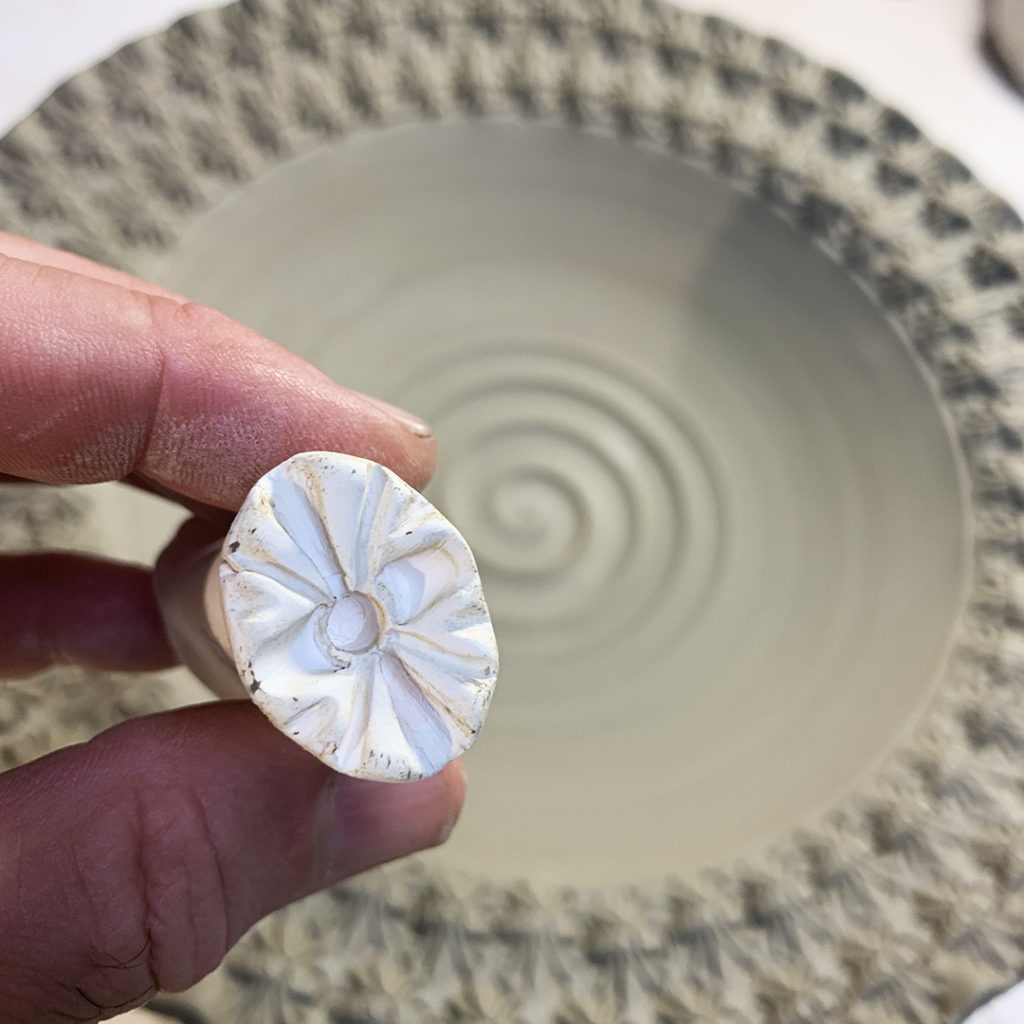
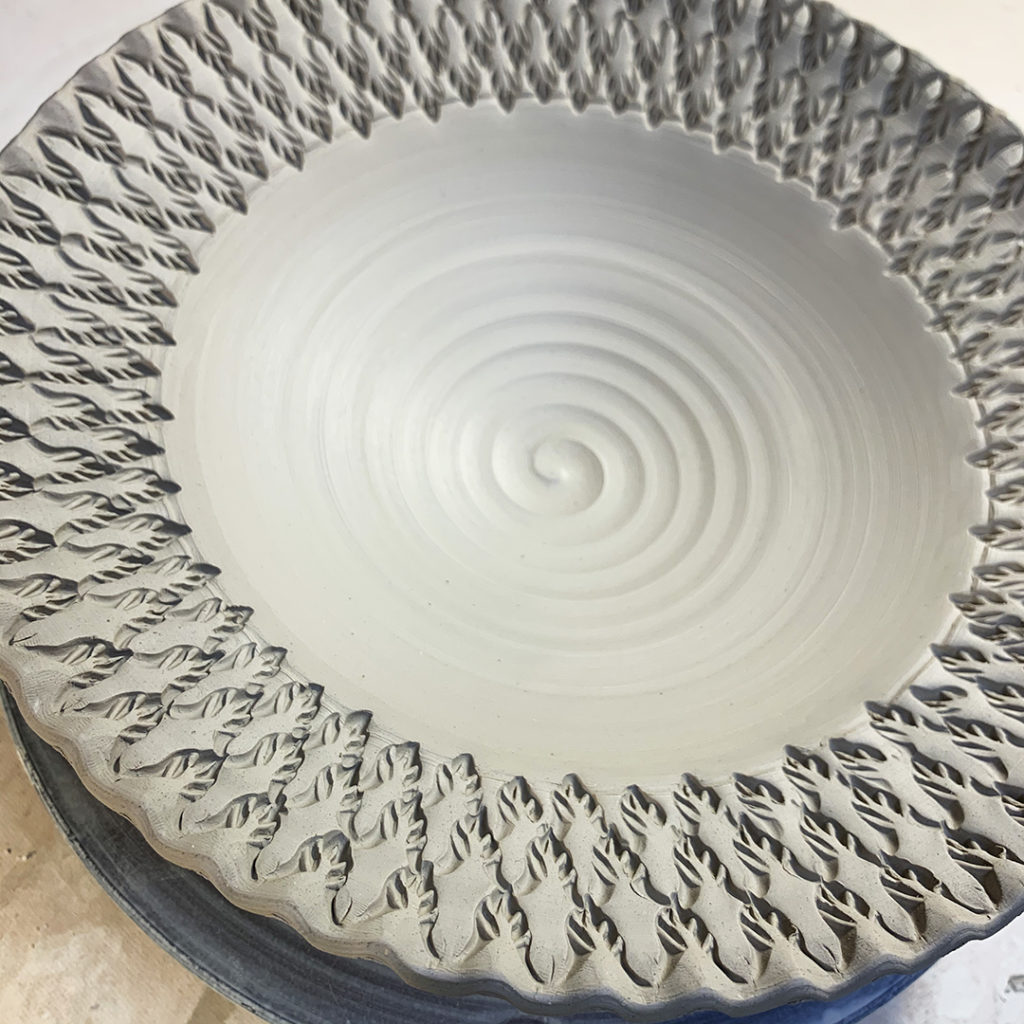
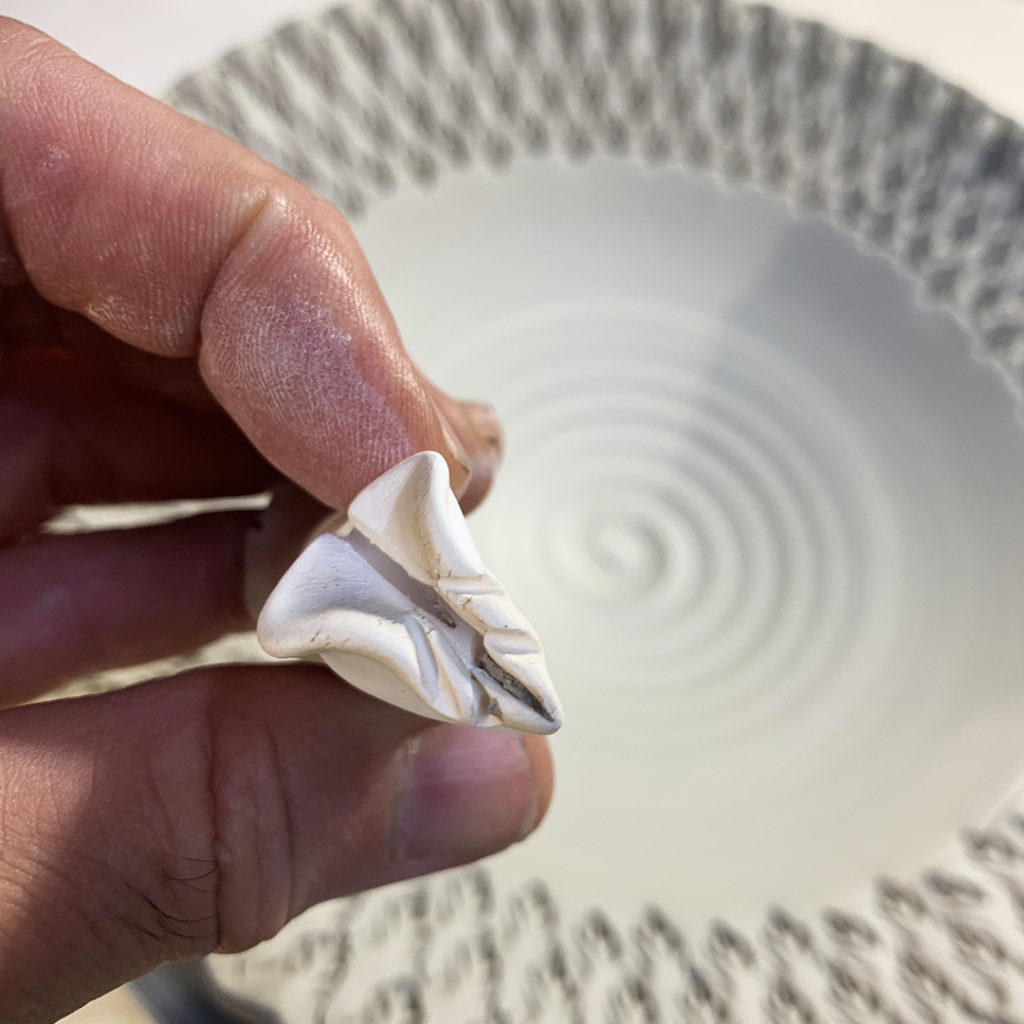
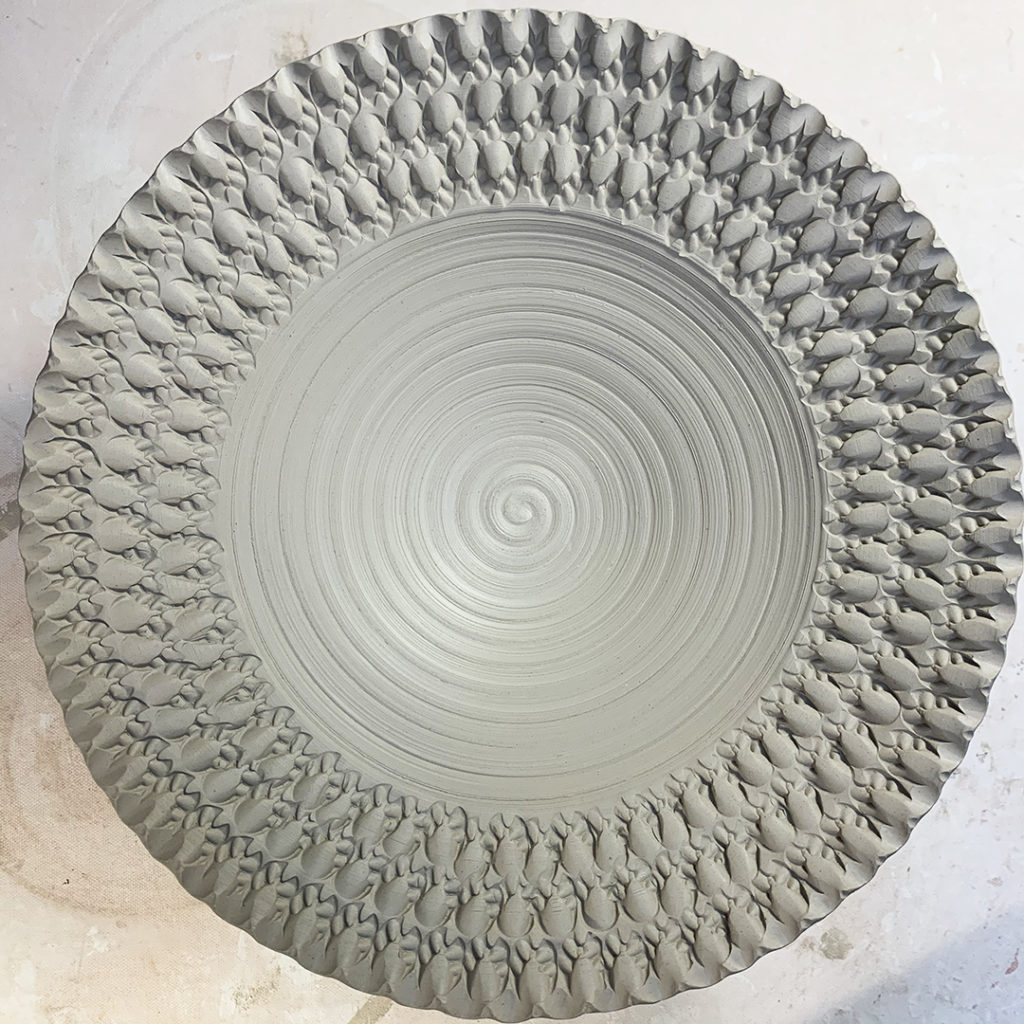
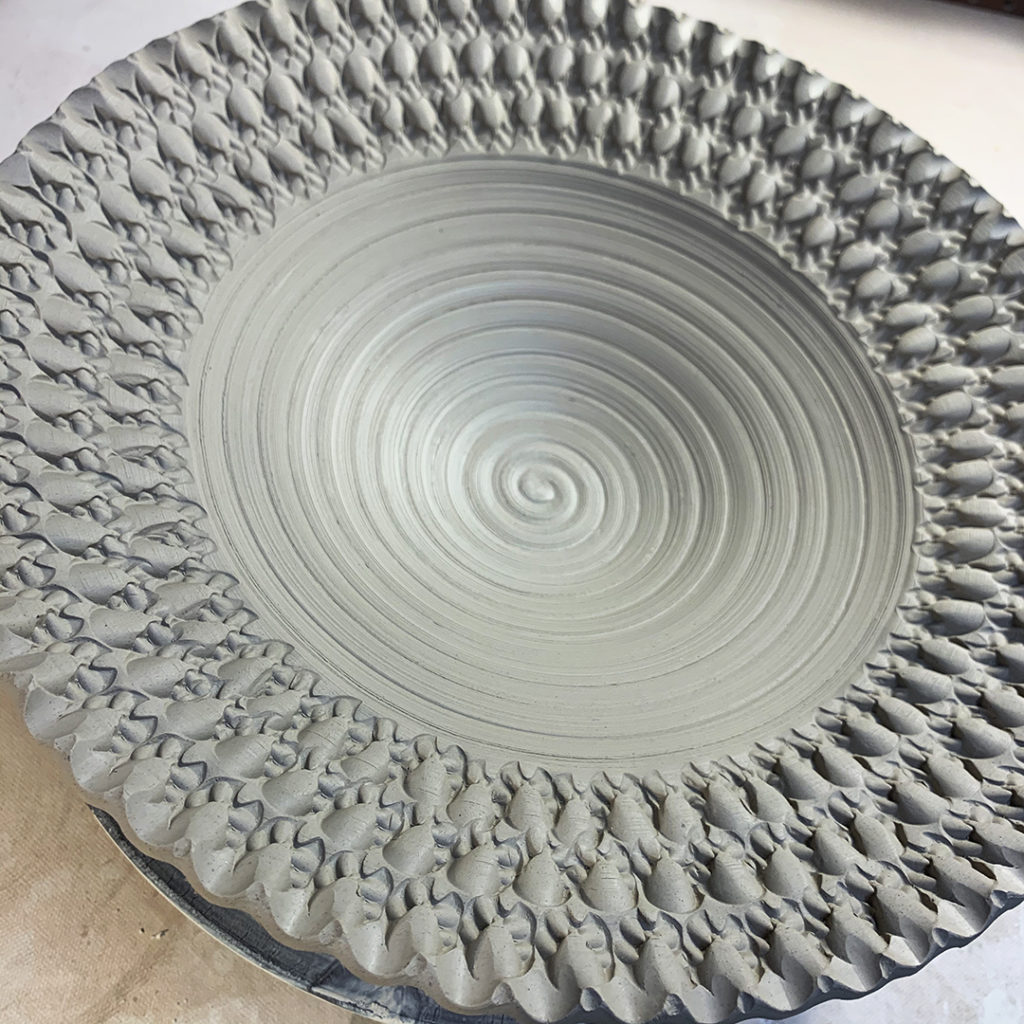
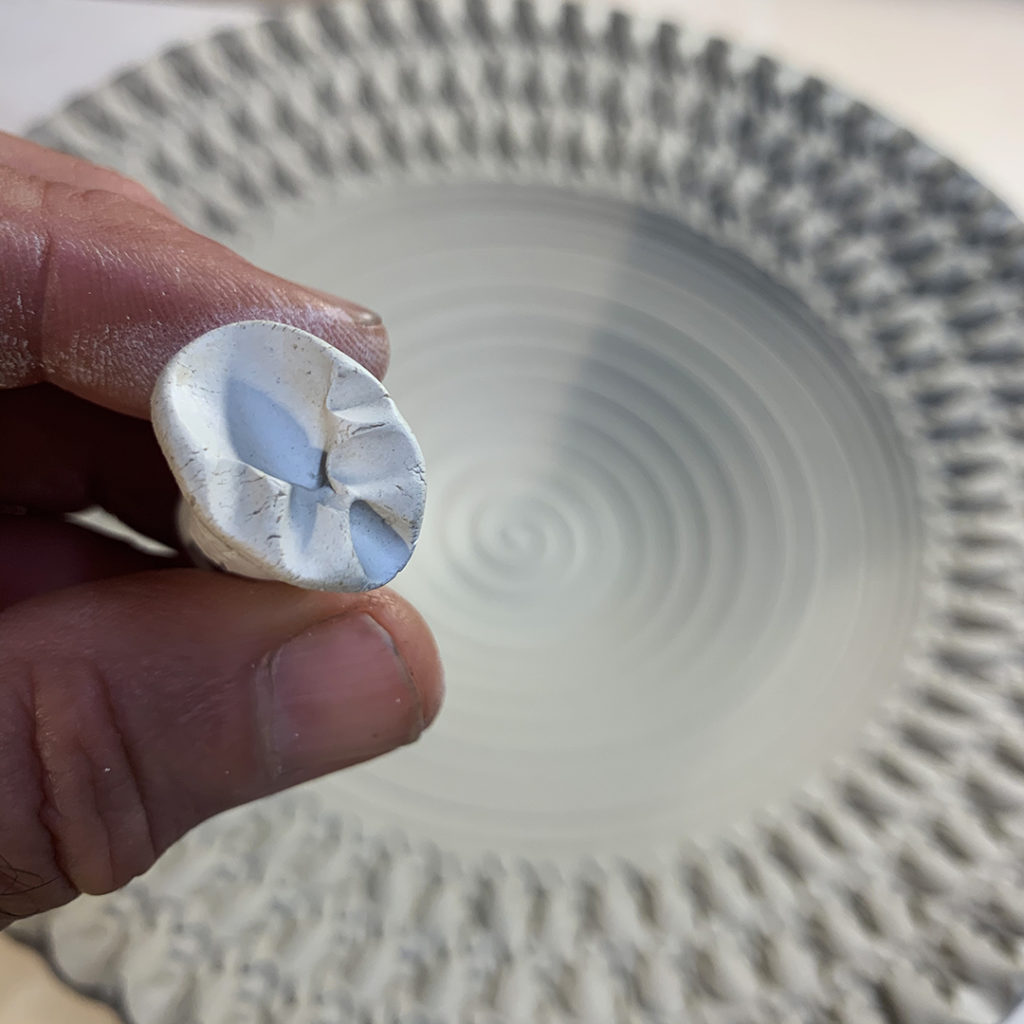
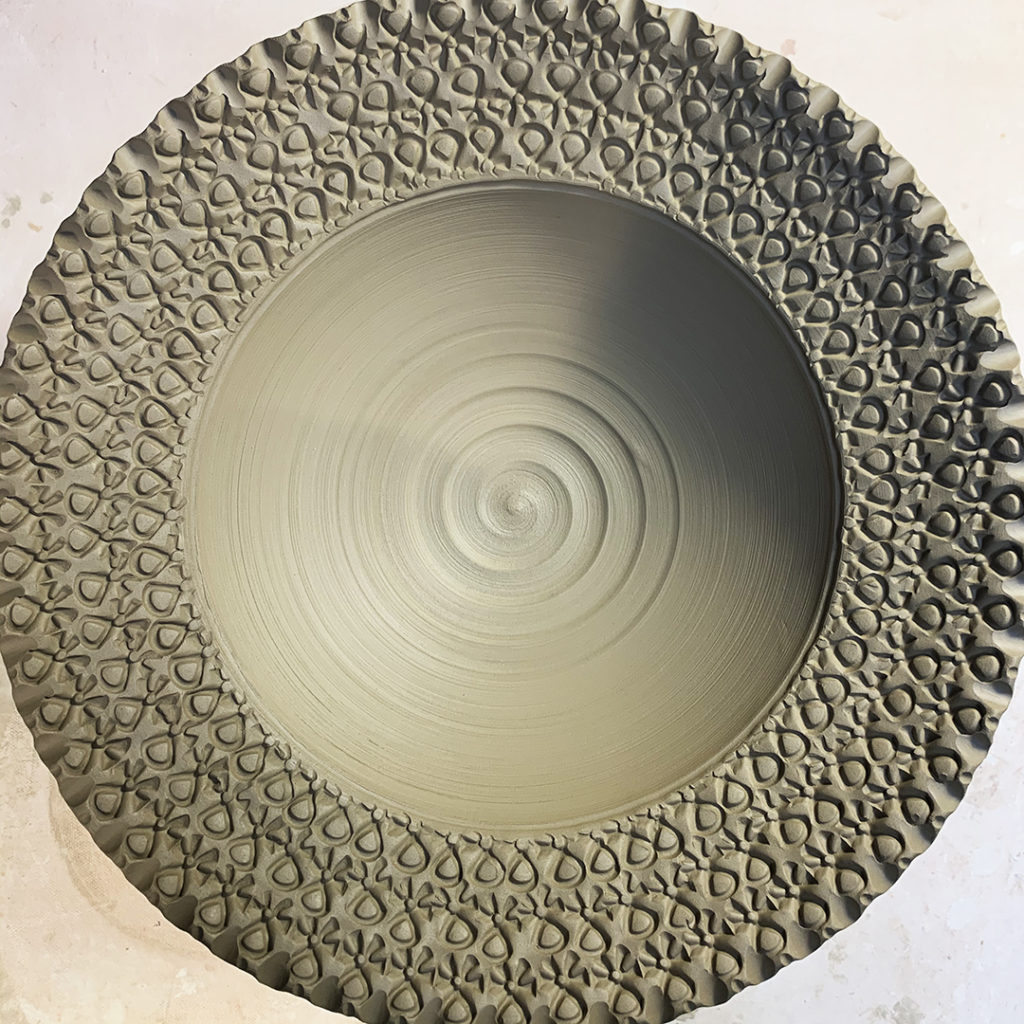
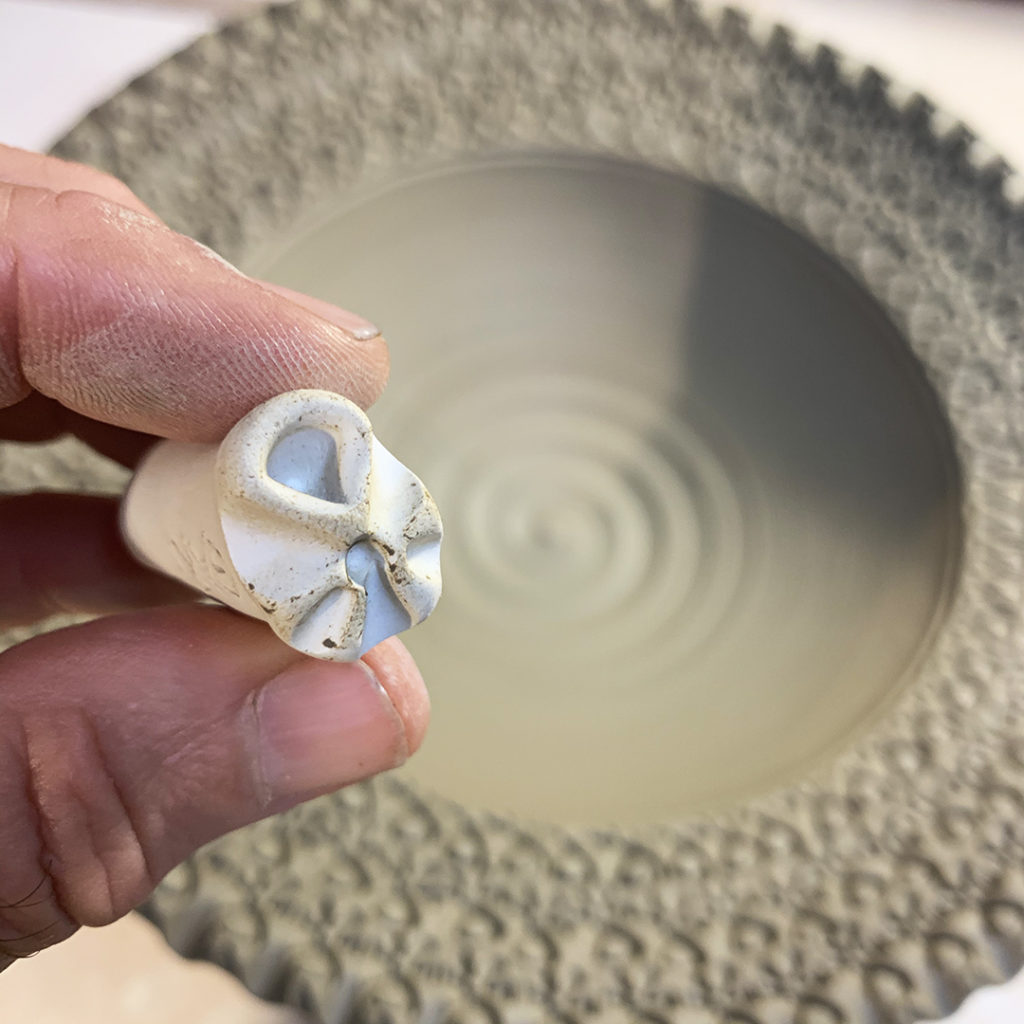
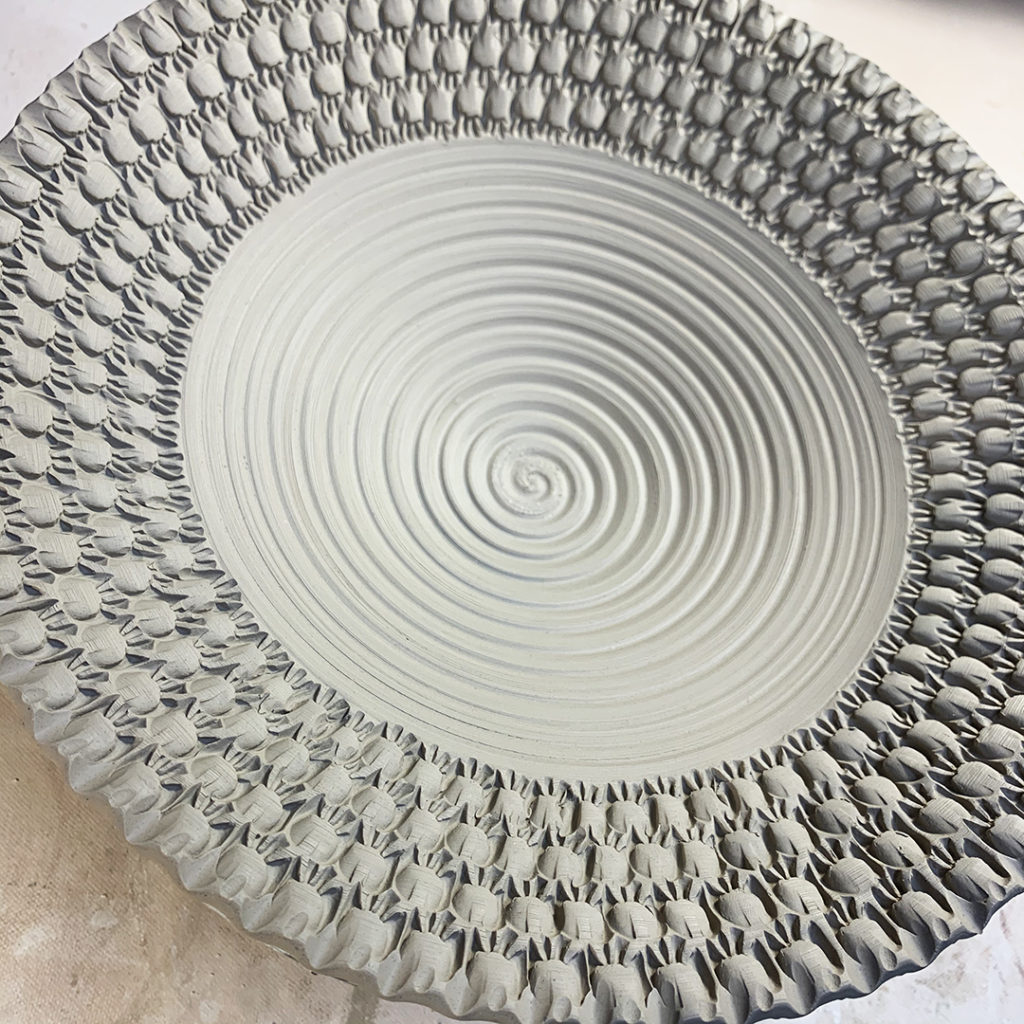
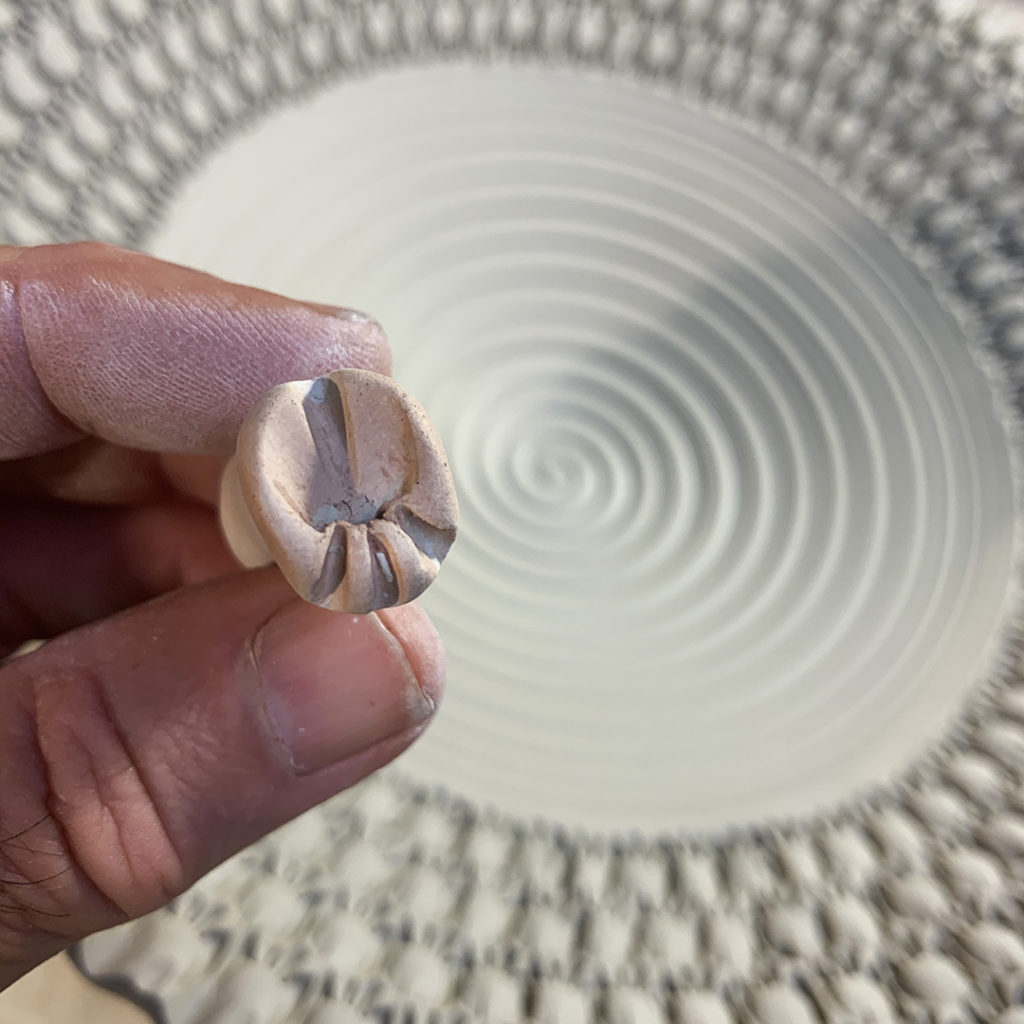
So here they are… before… after… and the stamp that did most of the work!!!
BOWL ONE


BOWL TWO
BOWL THREE
BOWL FOUR
BOWL FIVE
BOWL SIX

BOWL SEVEN
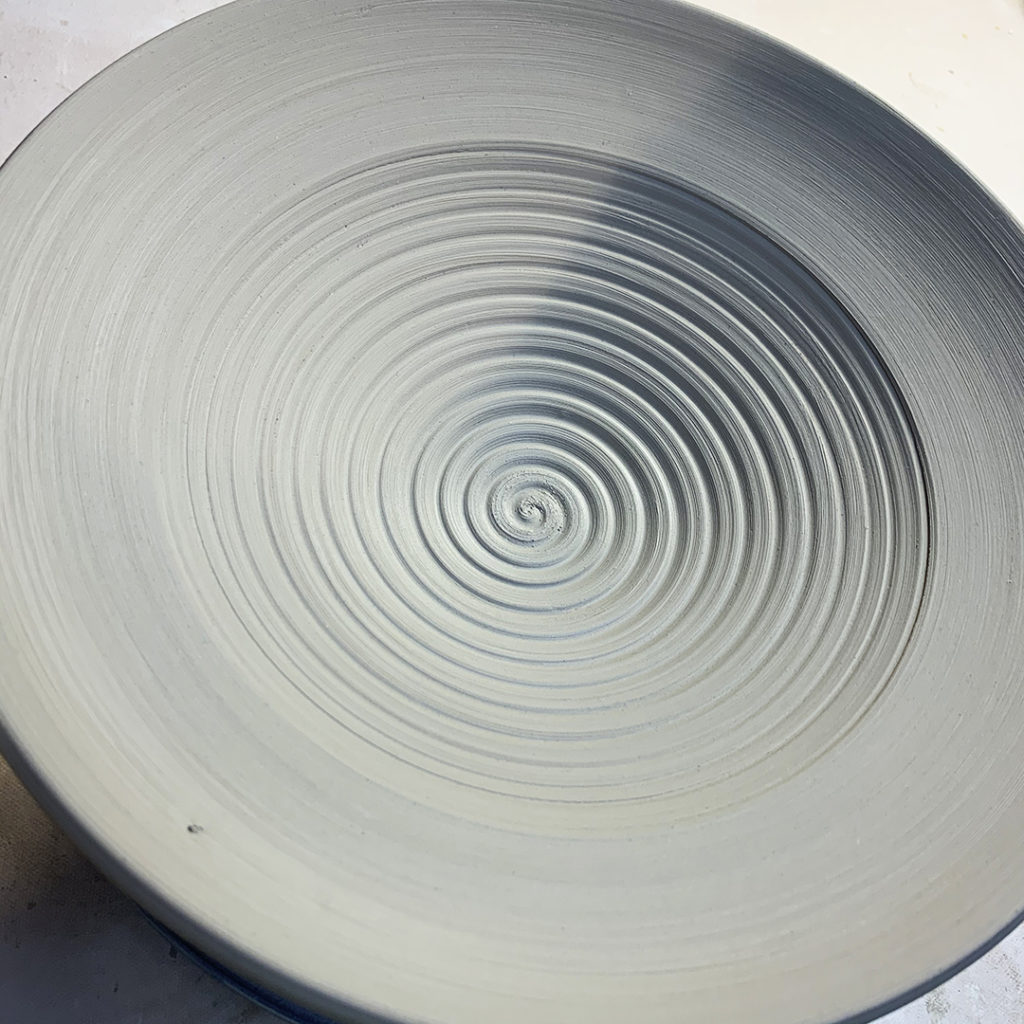

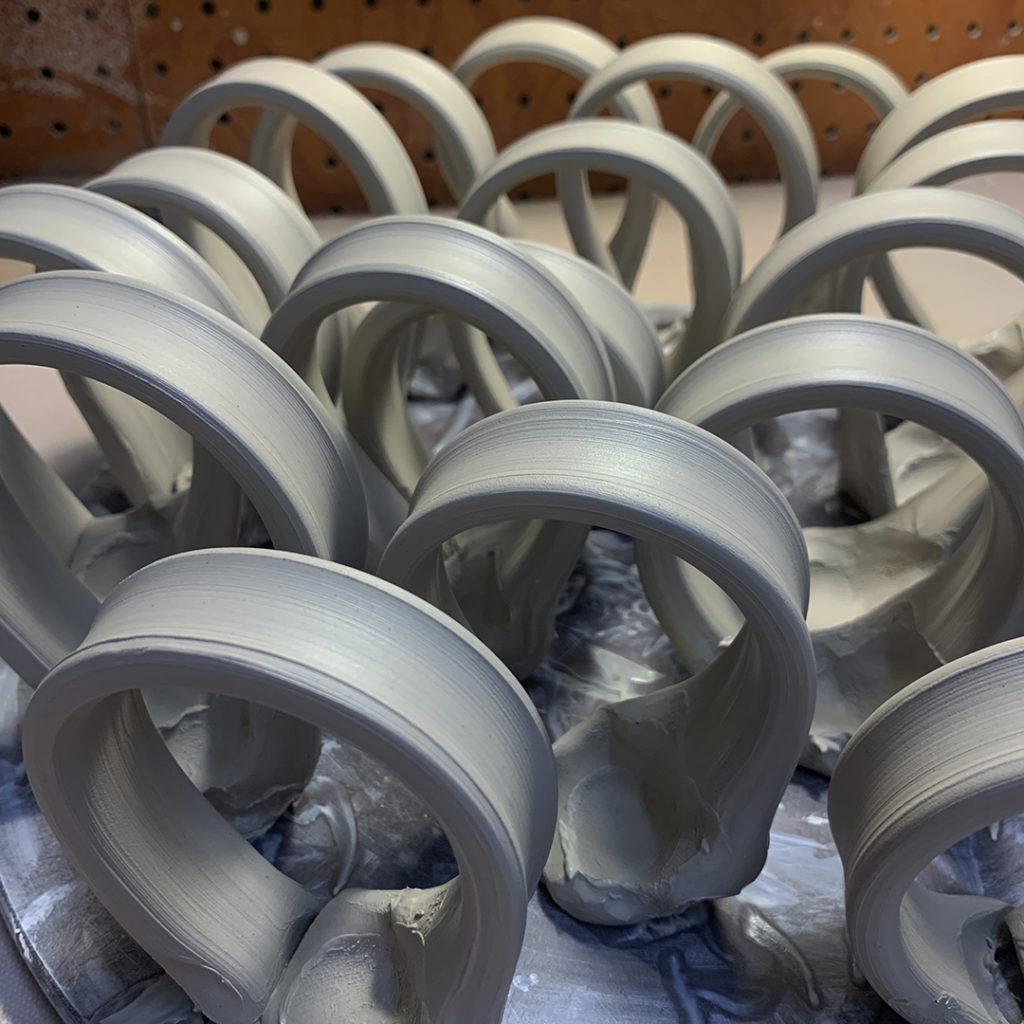
So for now, they’re all back under plastic so they can dry a bit slower. They still need to be trimmed & dried… and then bisque fired… glazed… and fired again! Still a ways to go – but they’re looking pretty good so far!