06.17.2021
Tomorrow is the big kick-off of the NORTHERN ILLINOIS POTTERY TOUR! Check-out the website for information, artist links & to register for FREE POTTERY DEMOS!!!
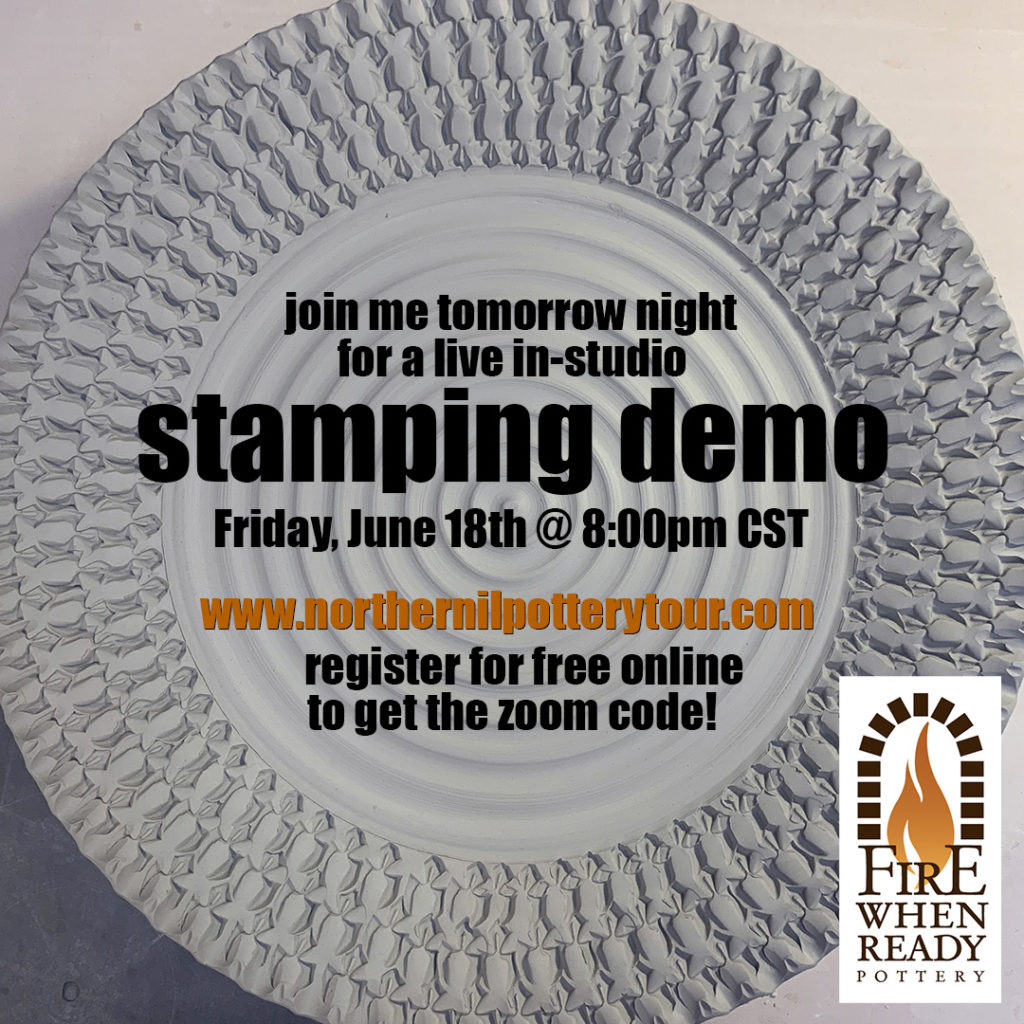
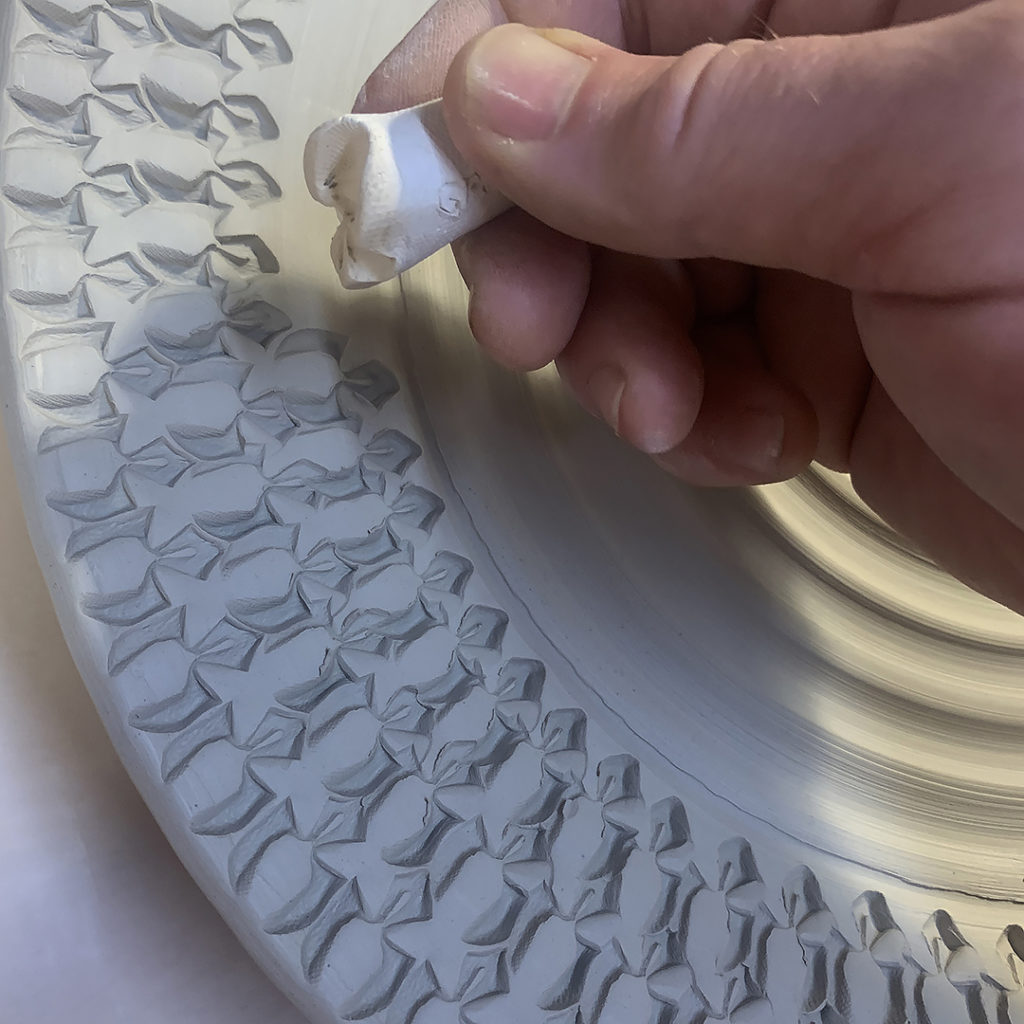
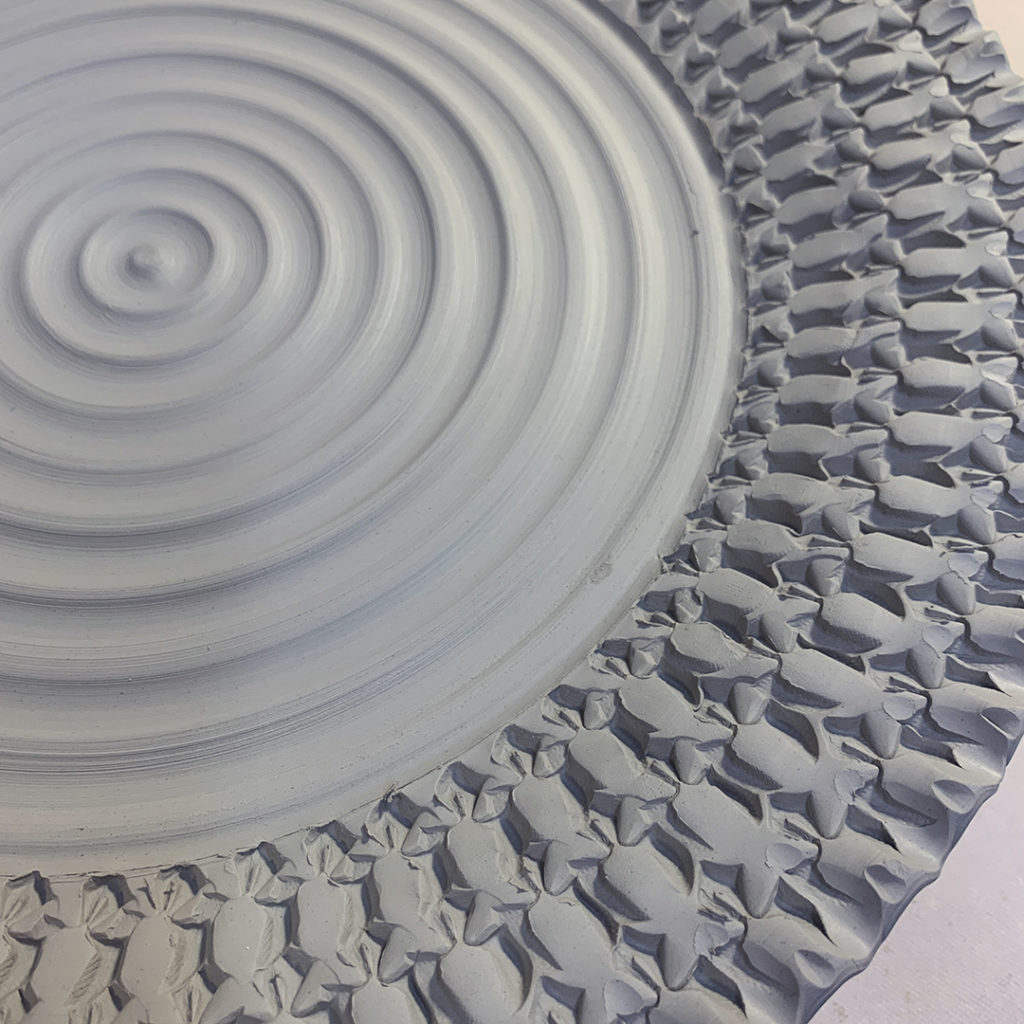
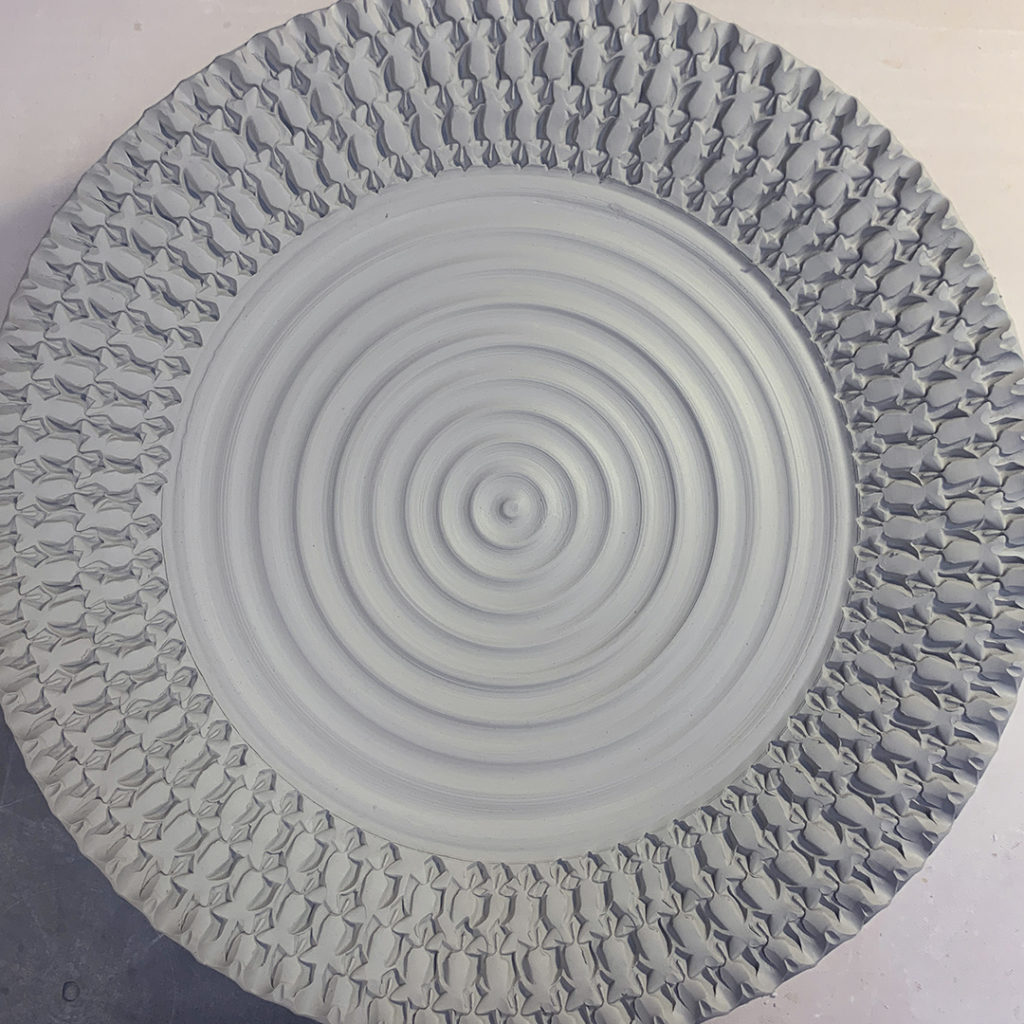
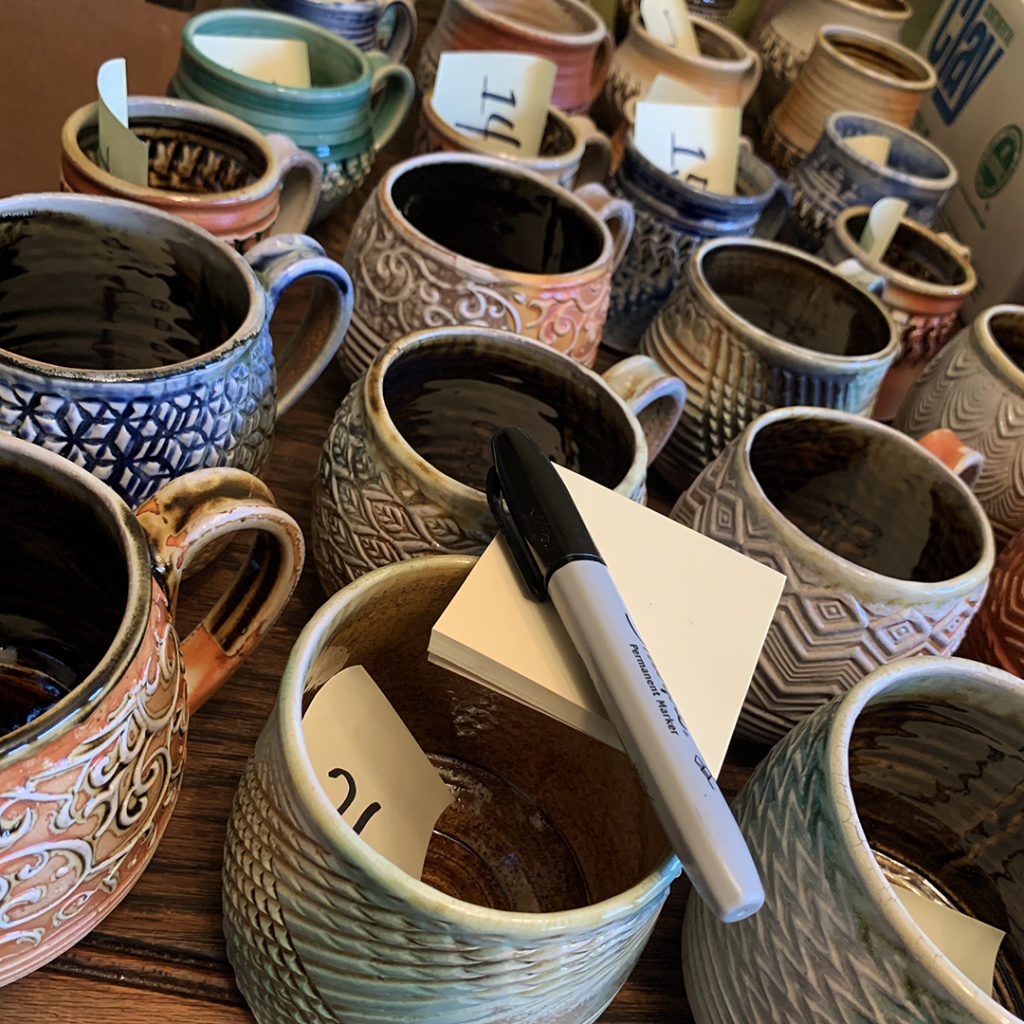
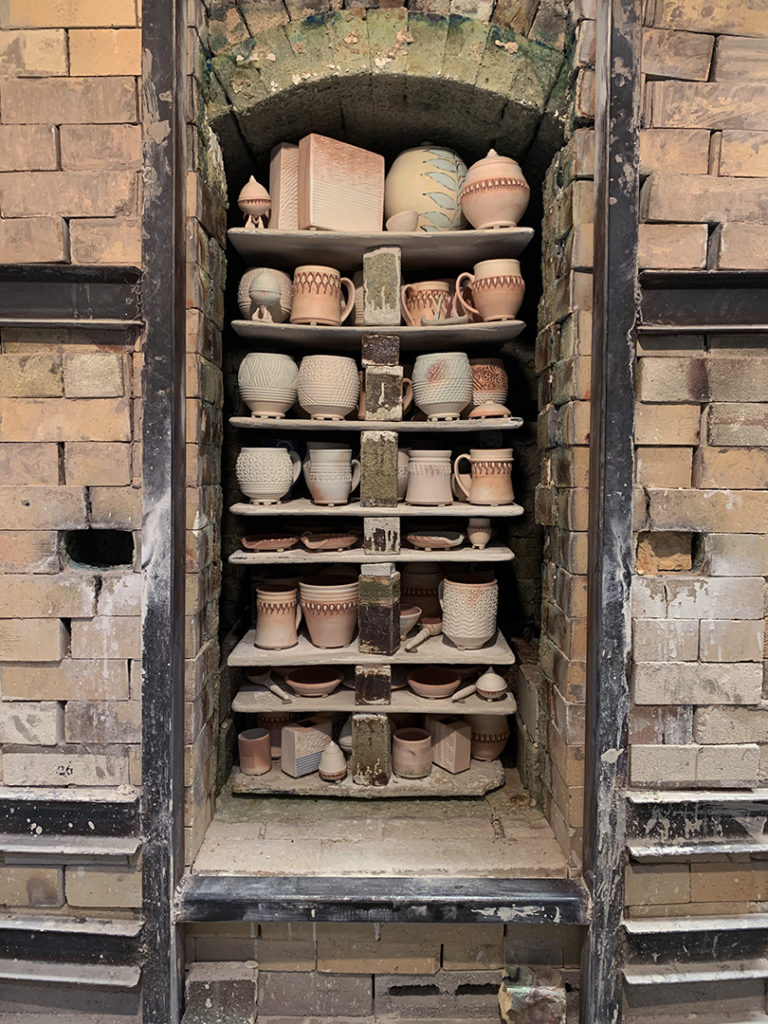
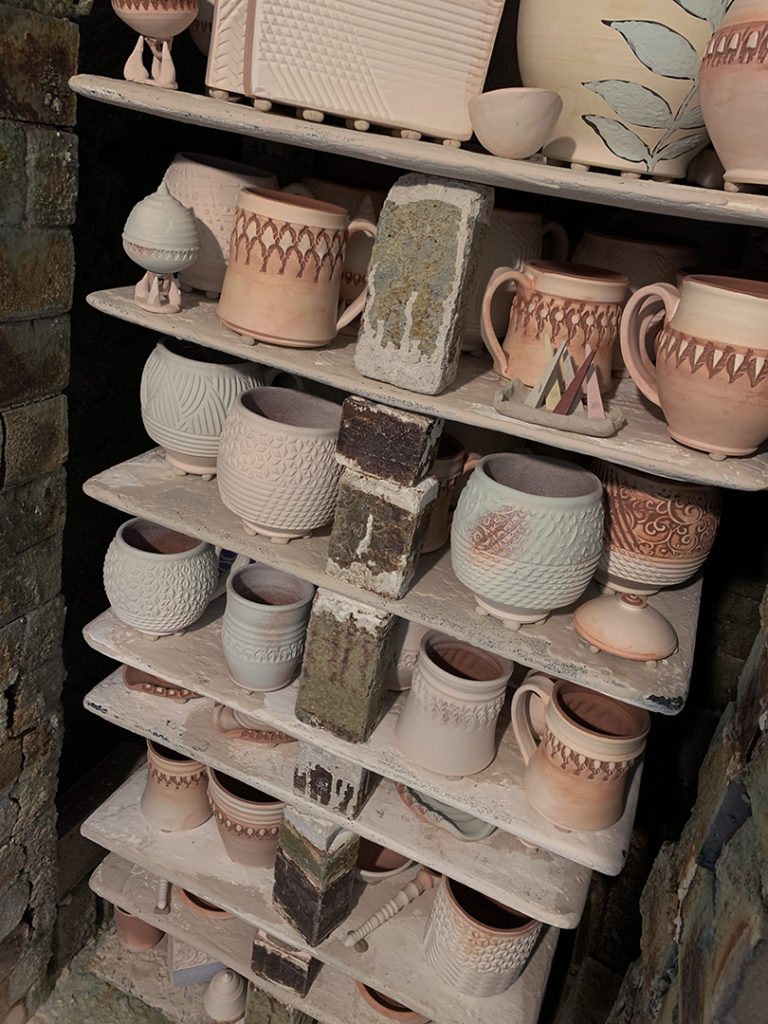
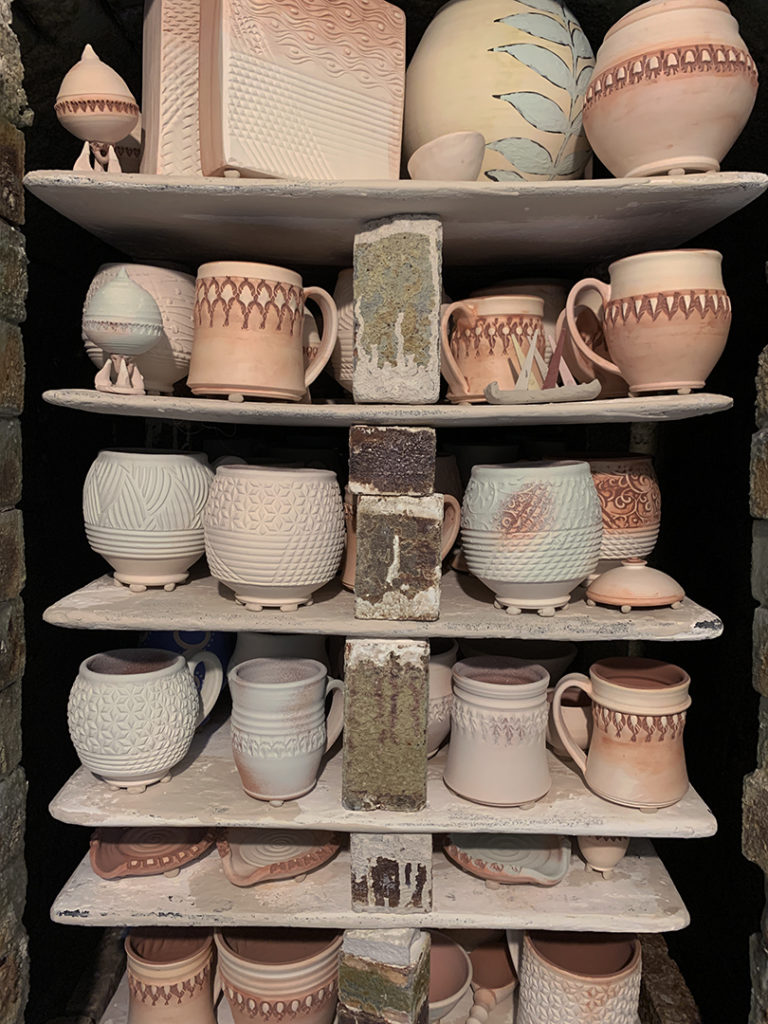
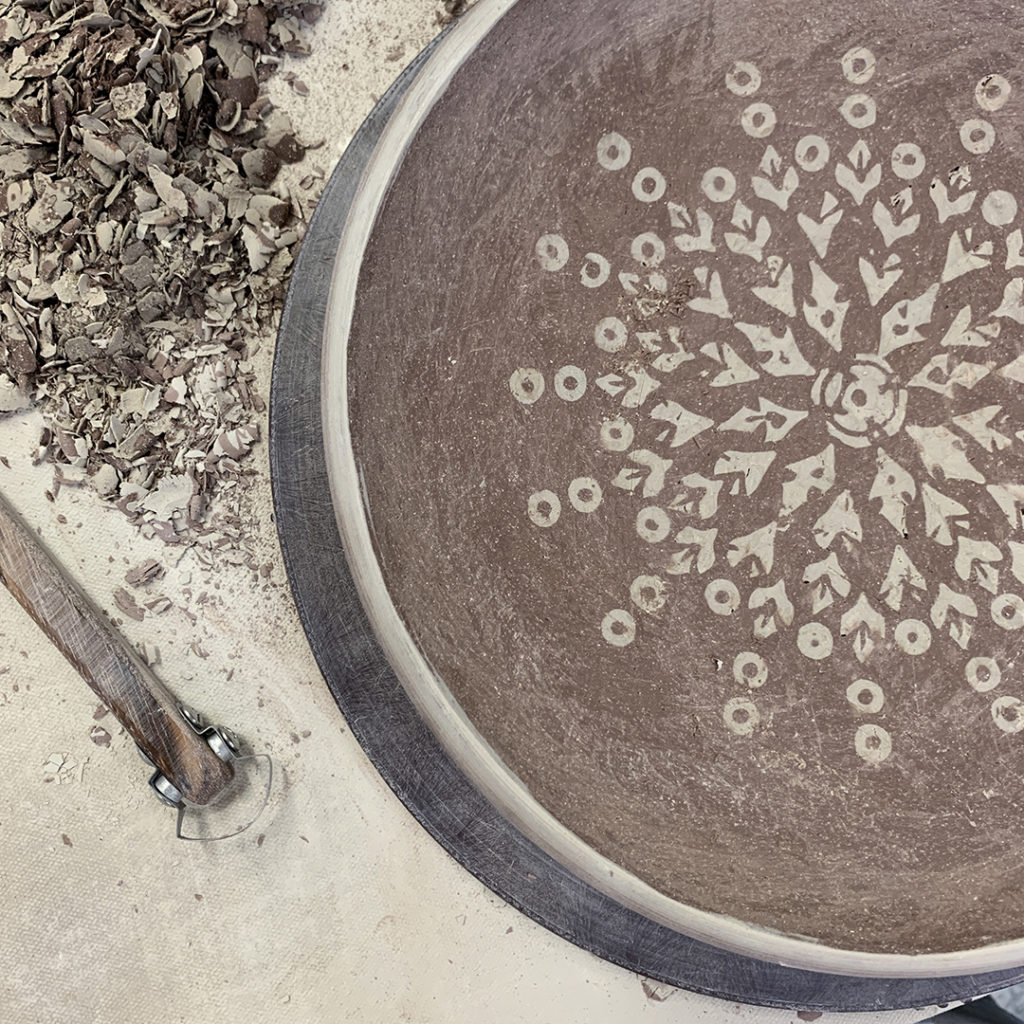
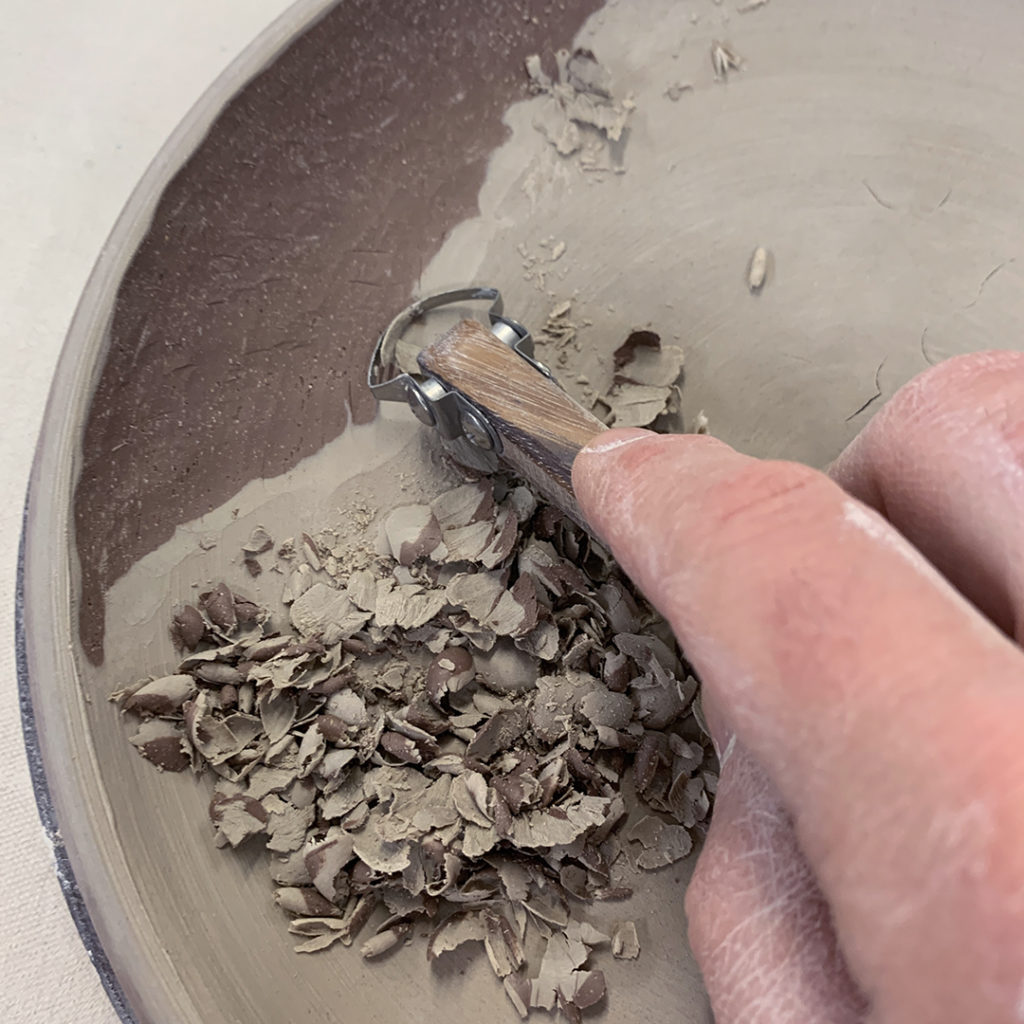
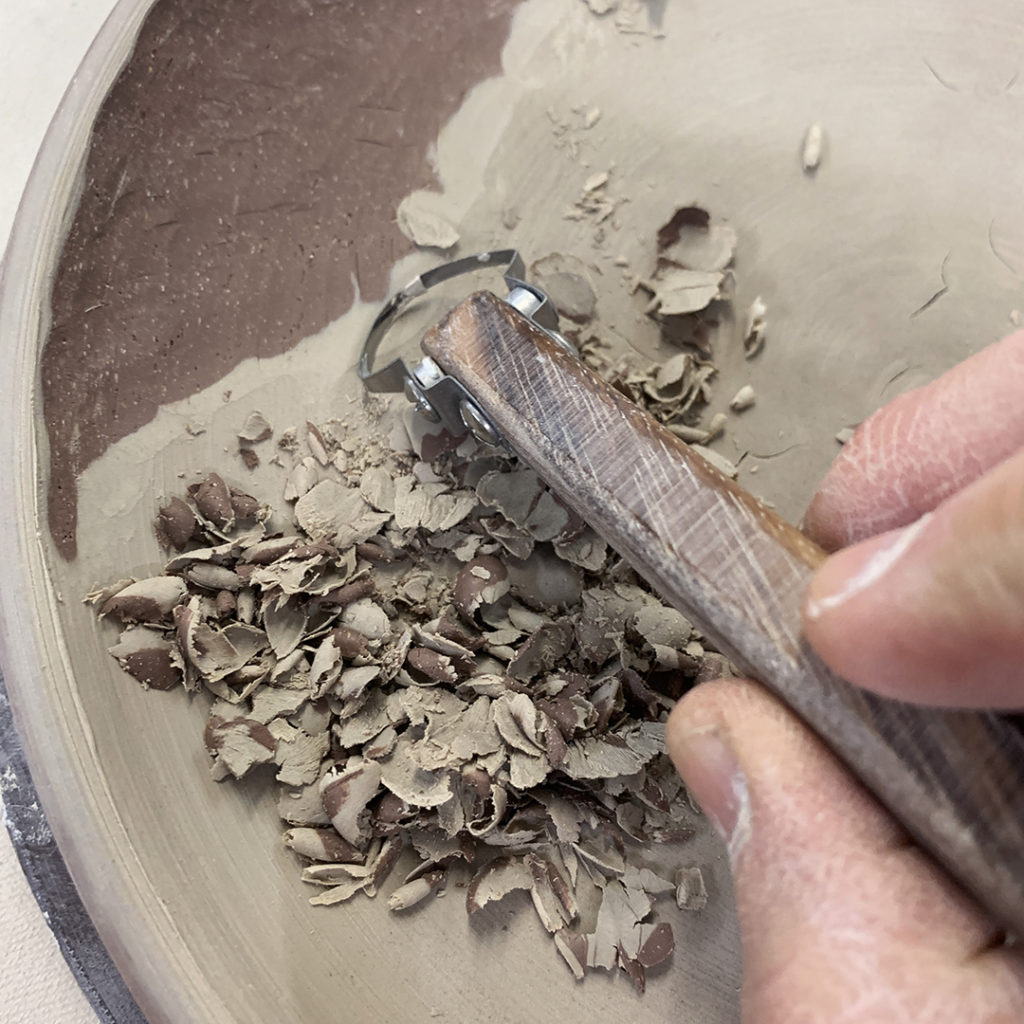
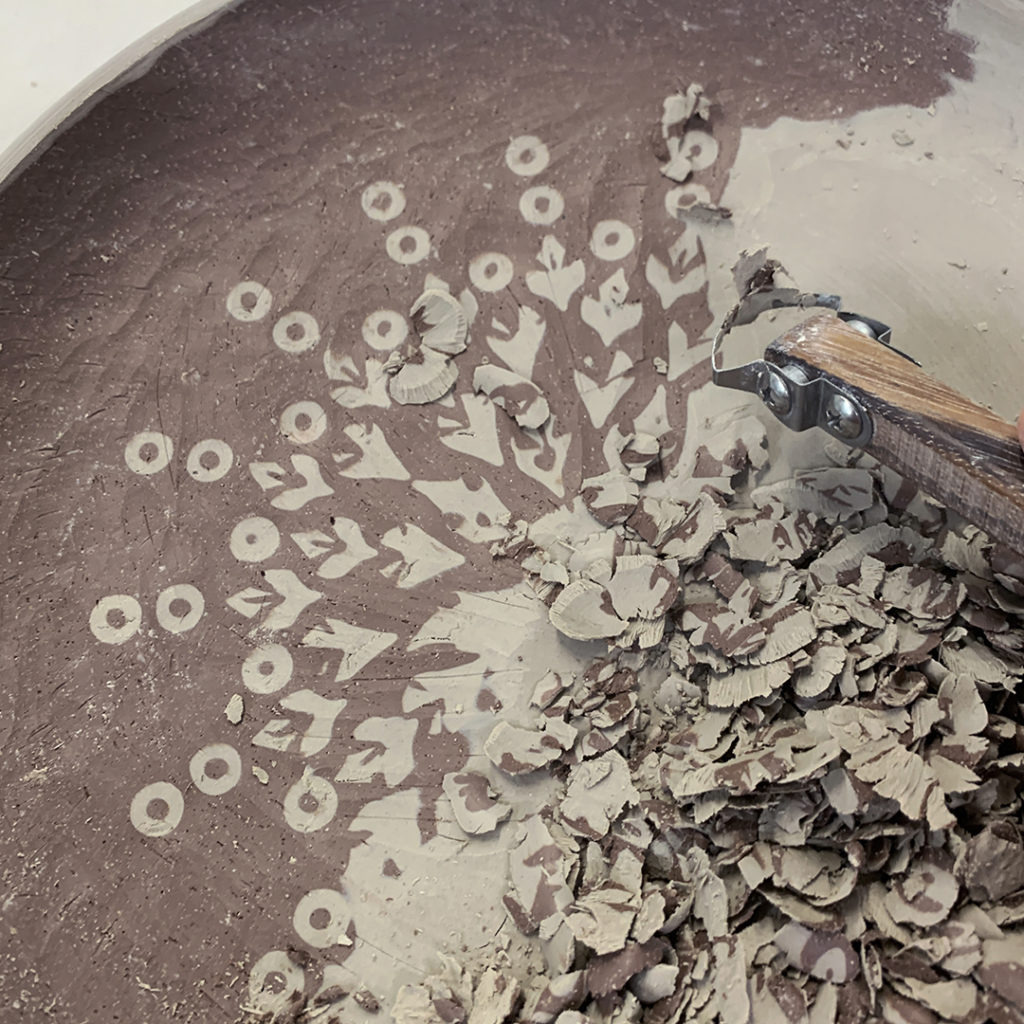
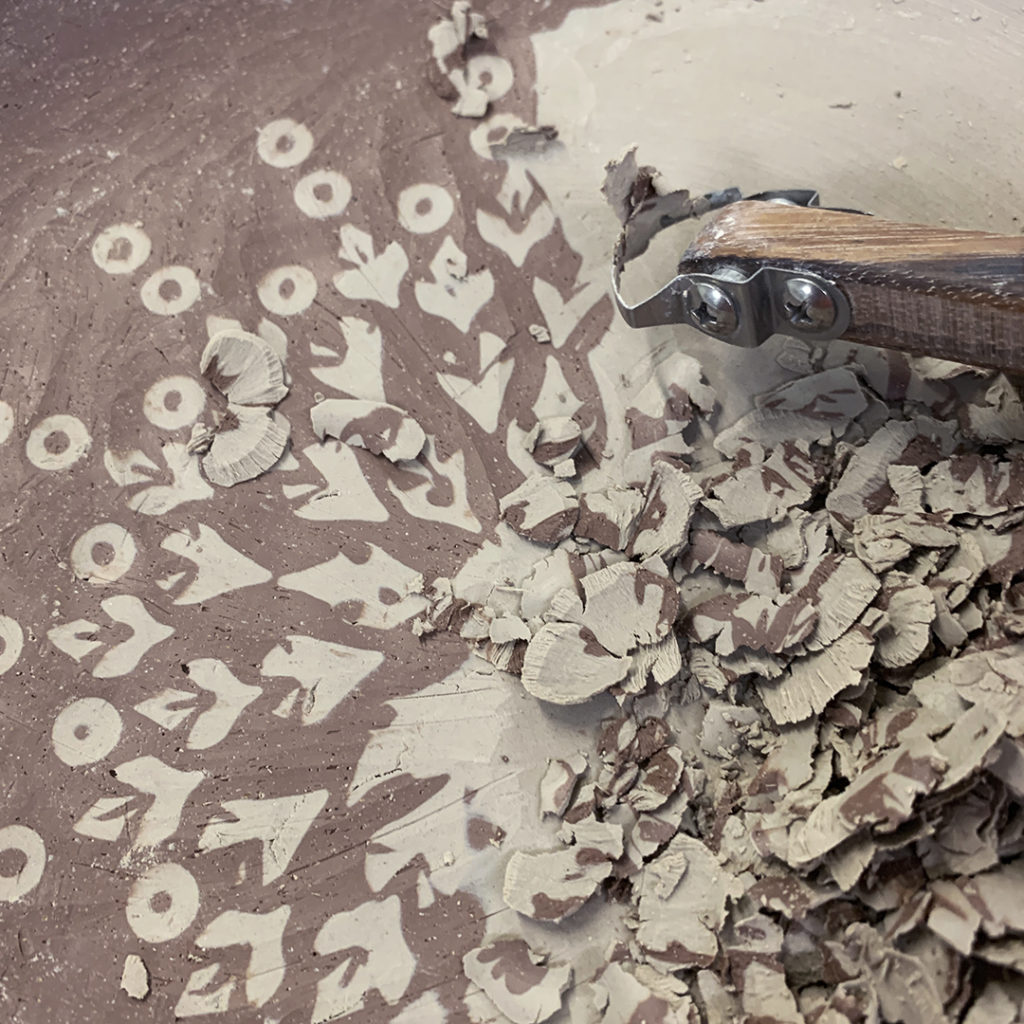
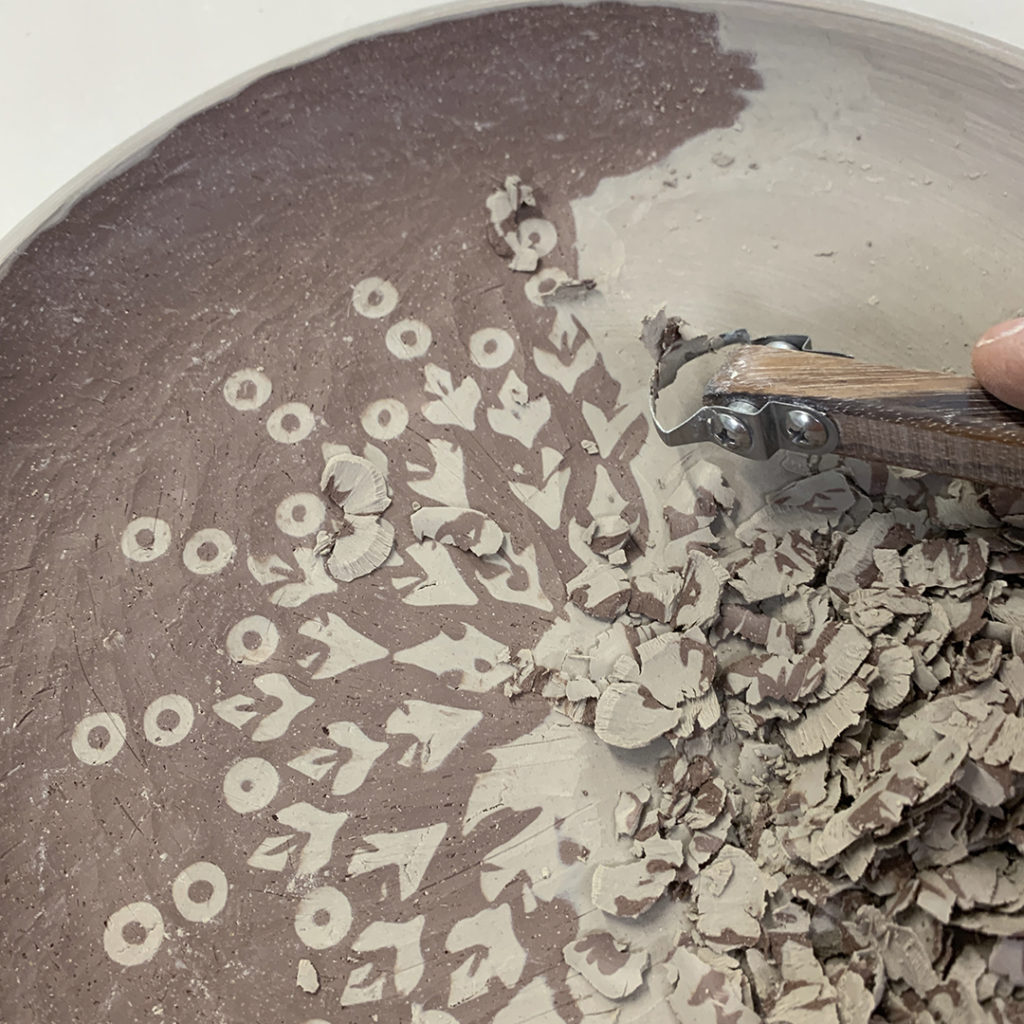
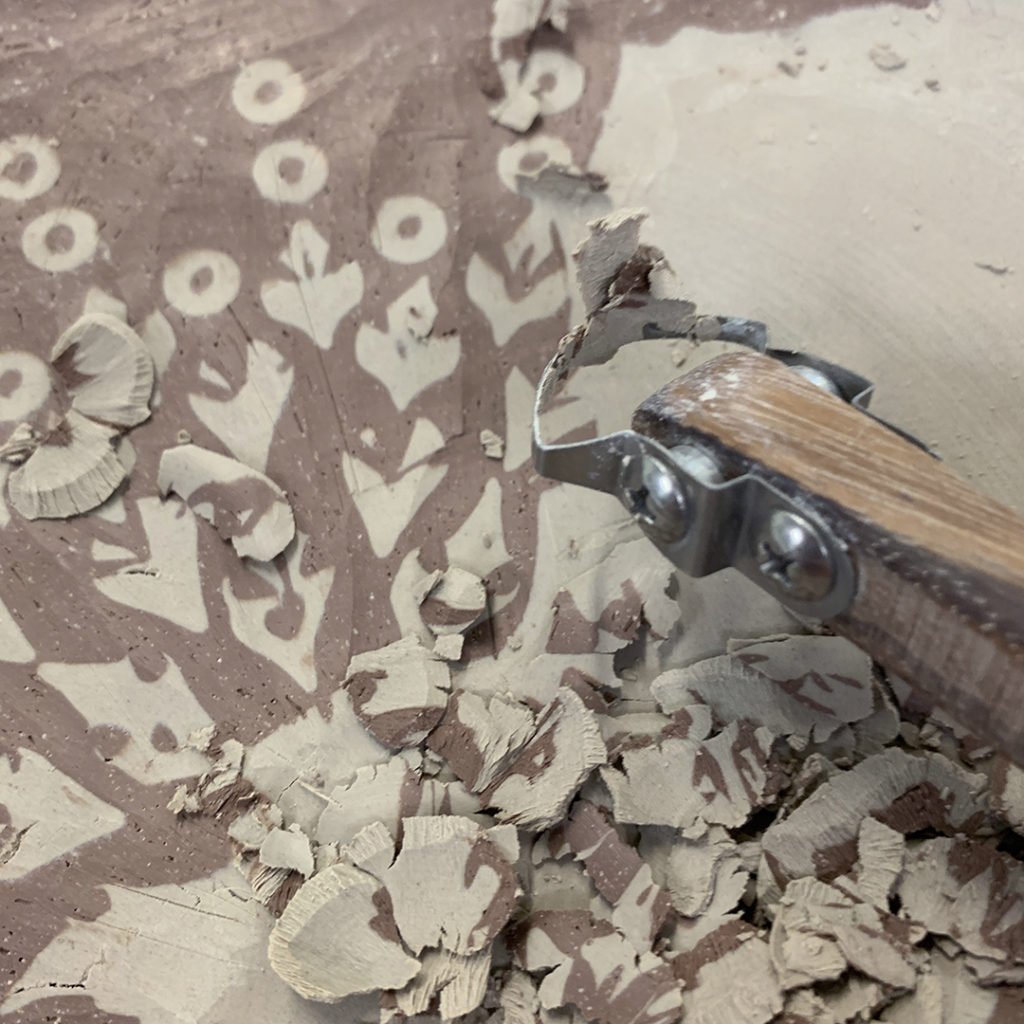
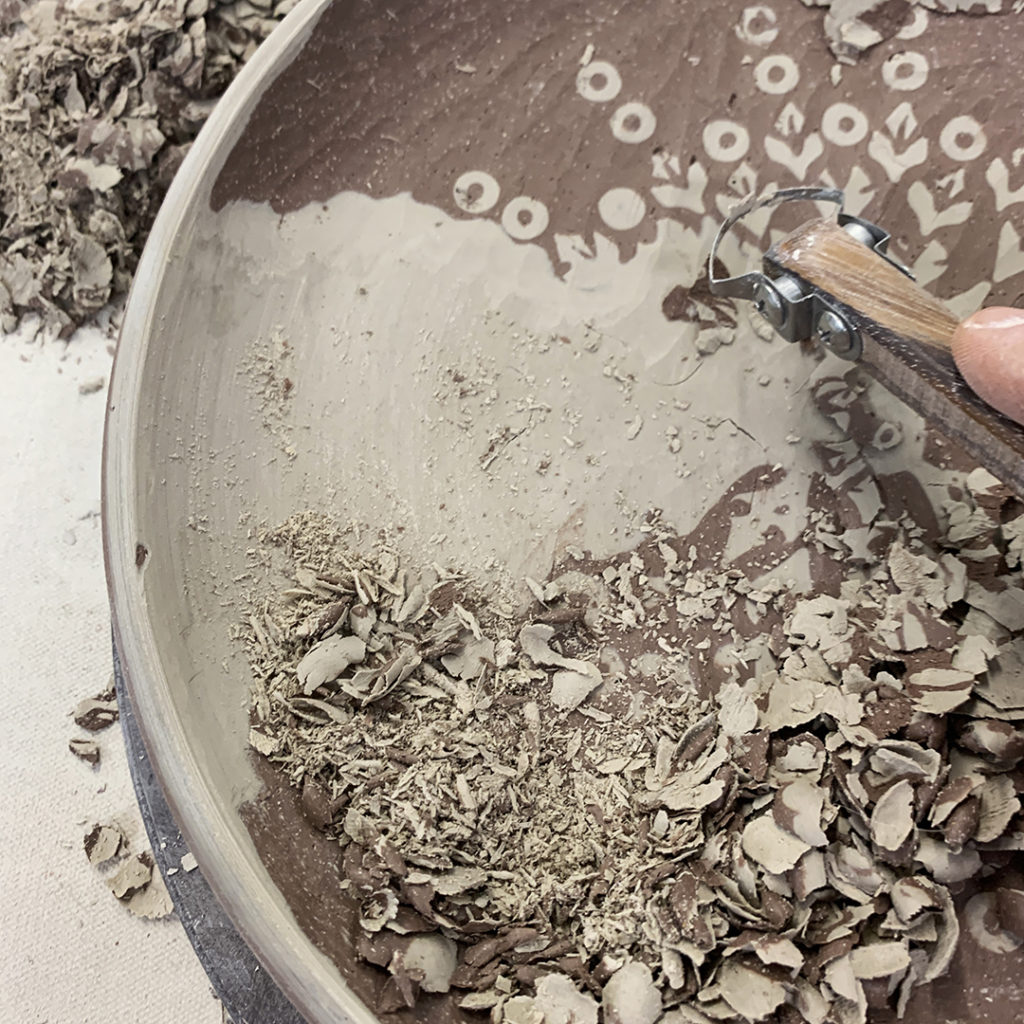
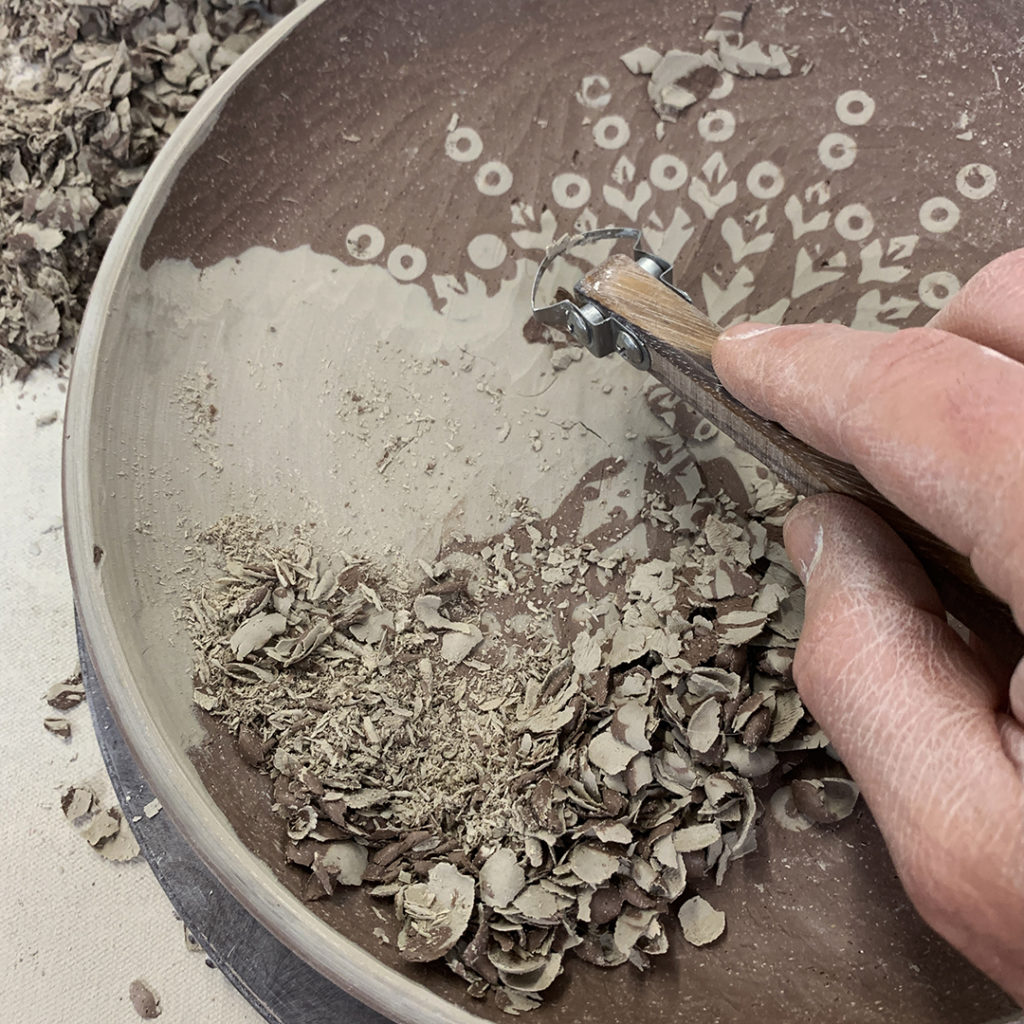
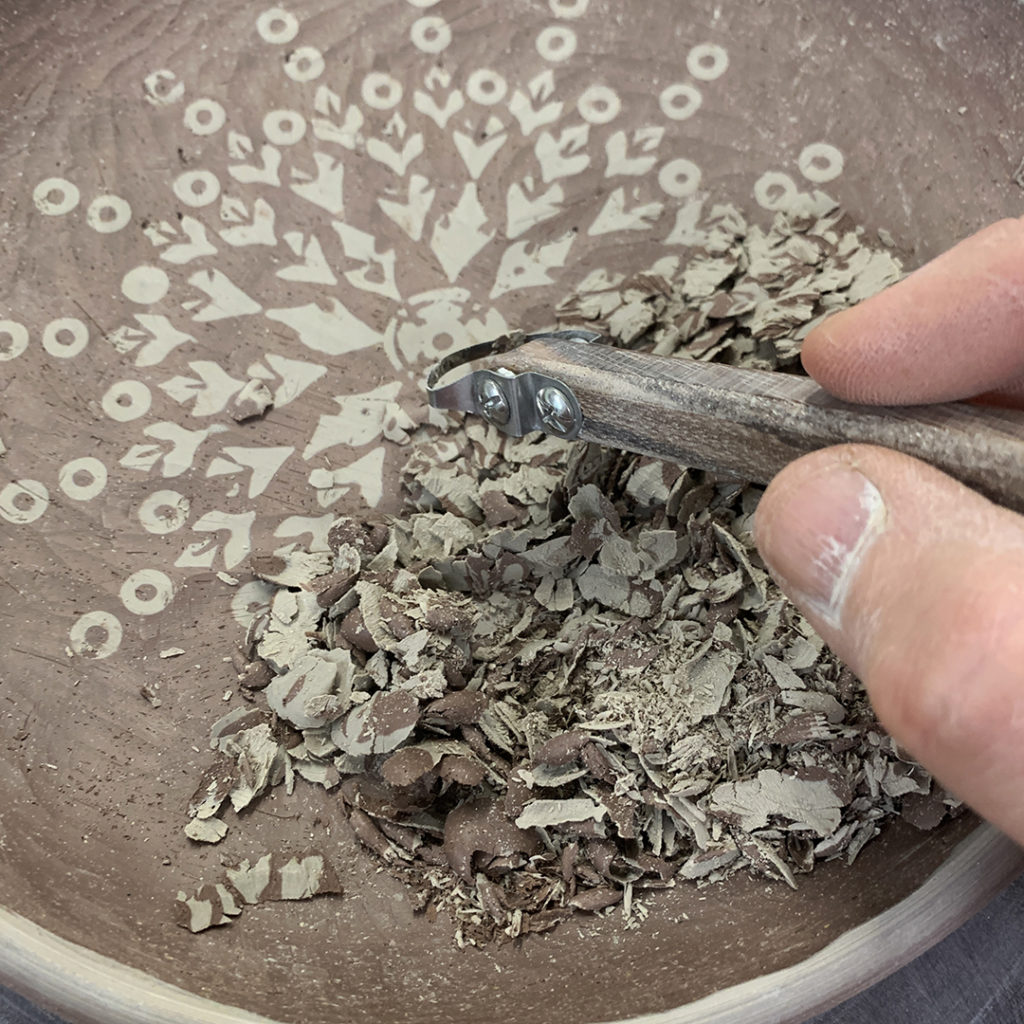
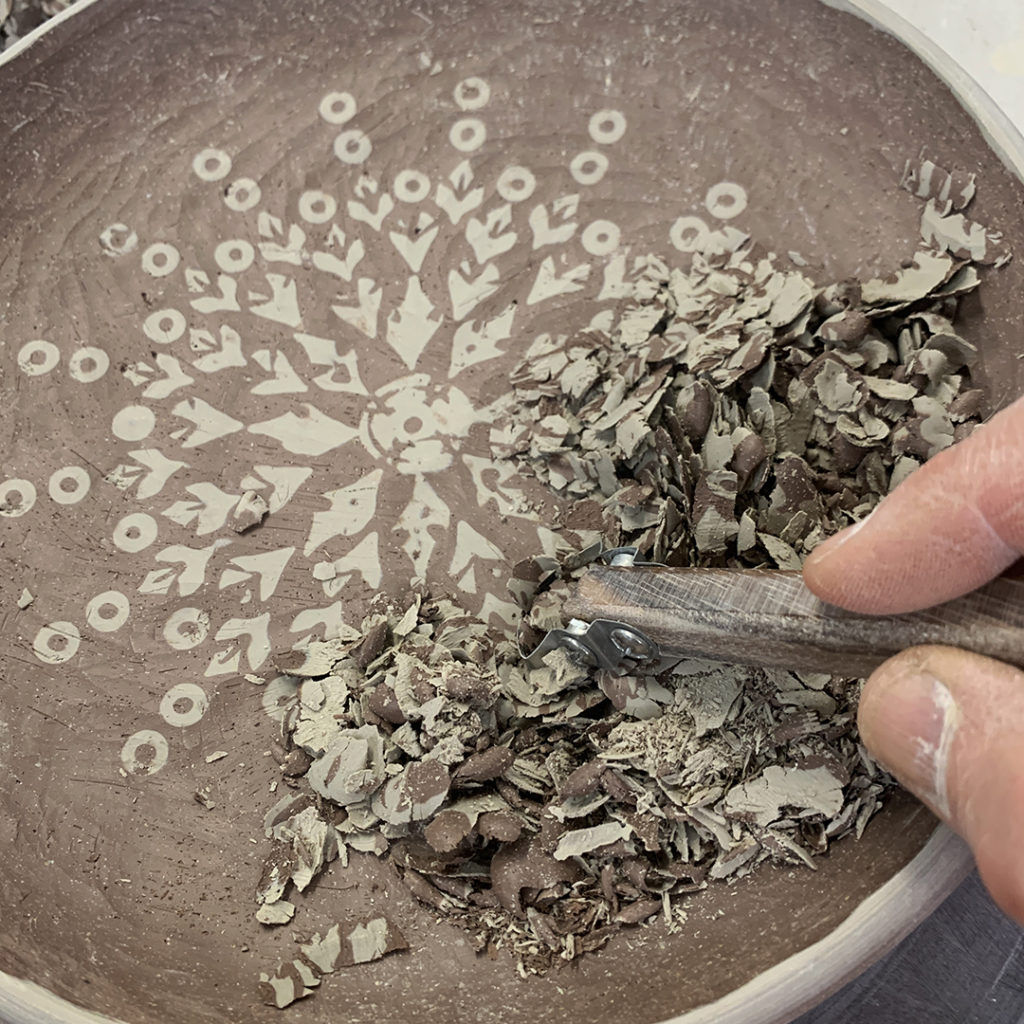
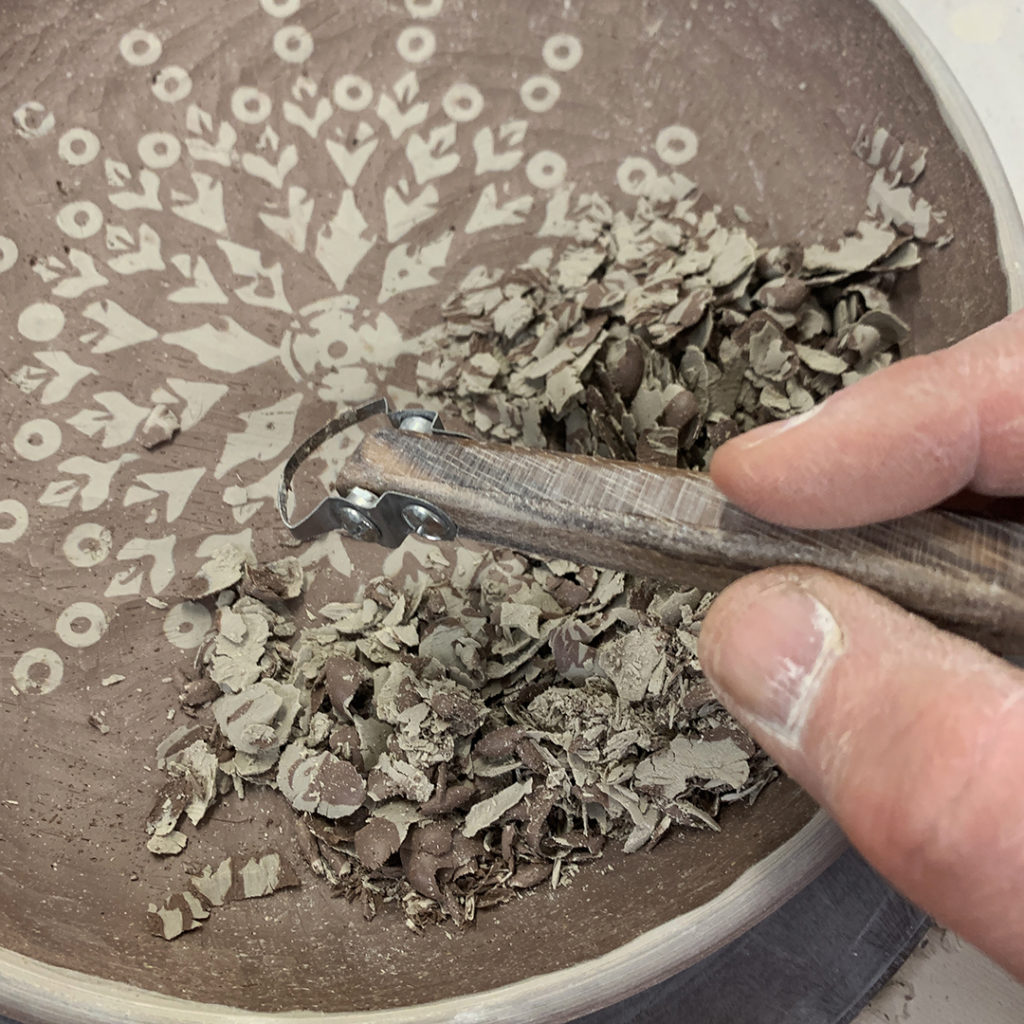
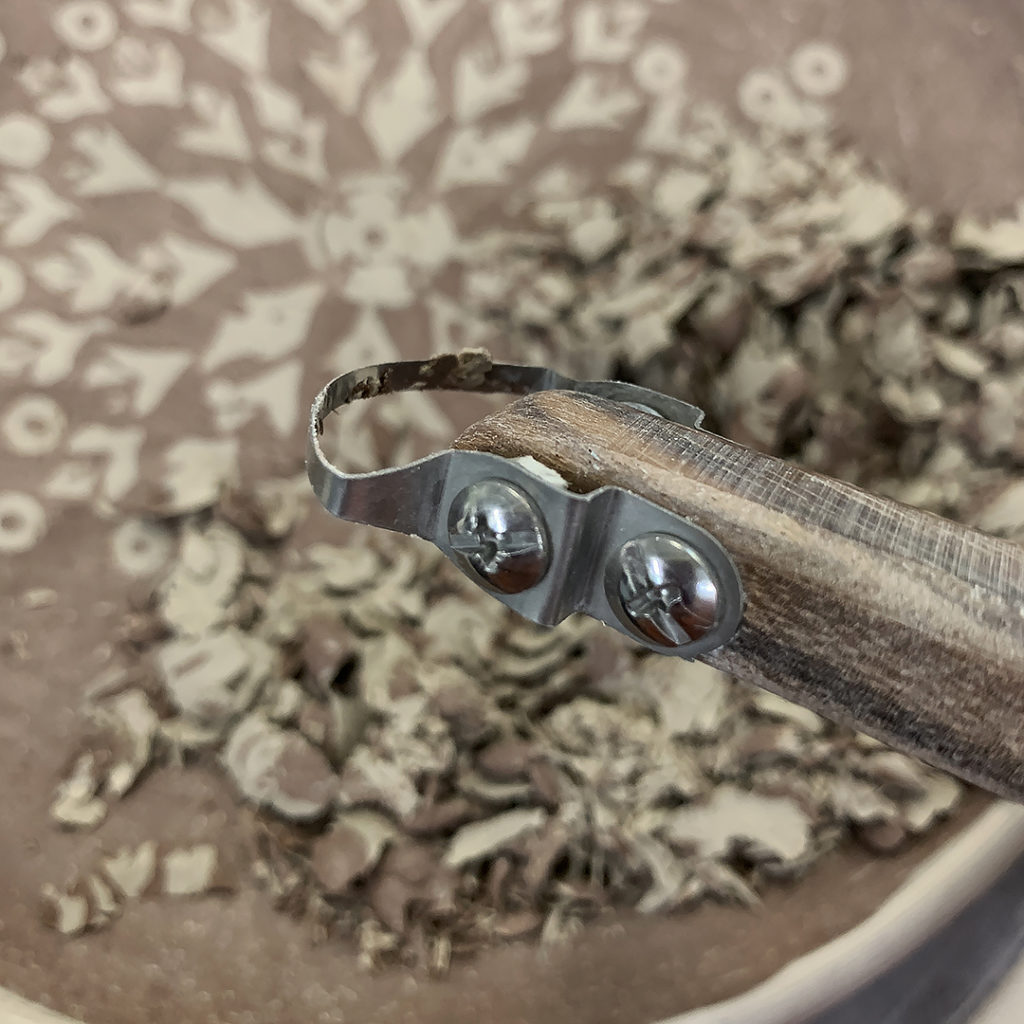
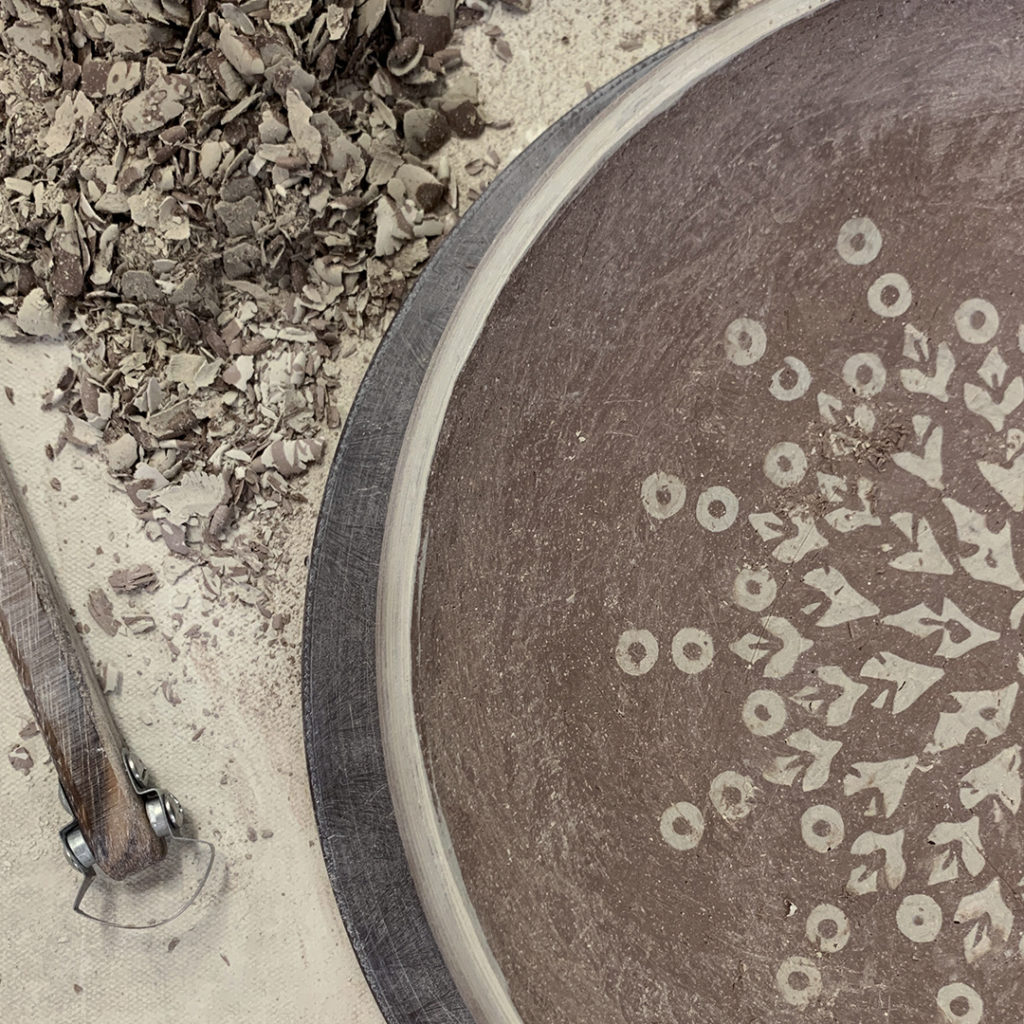
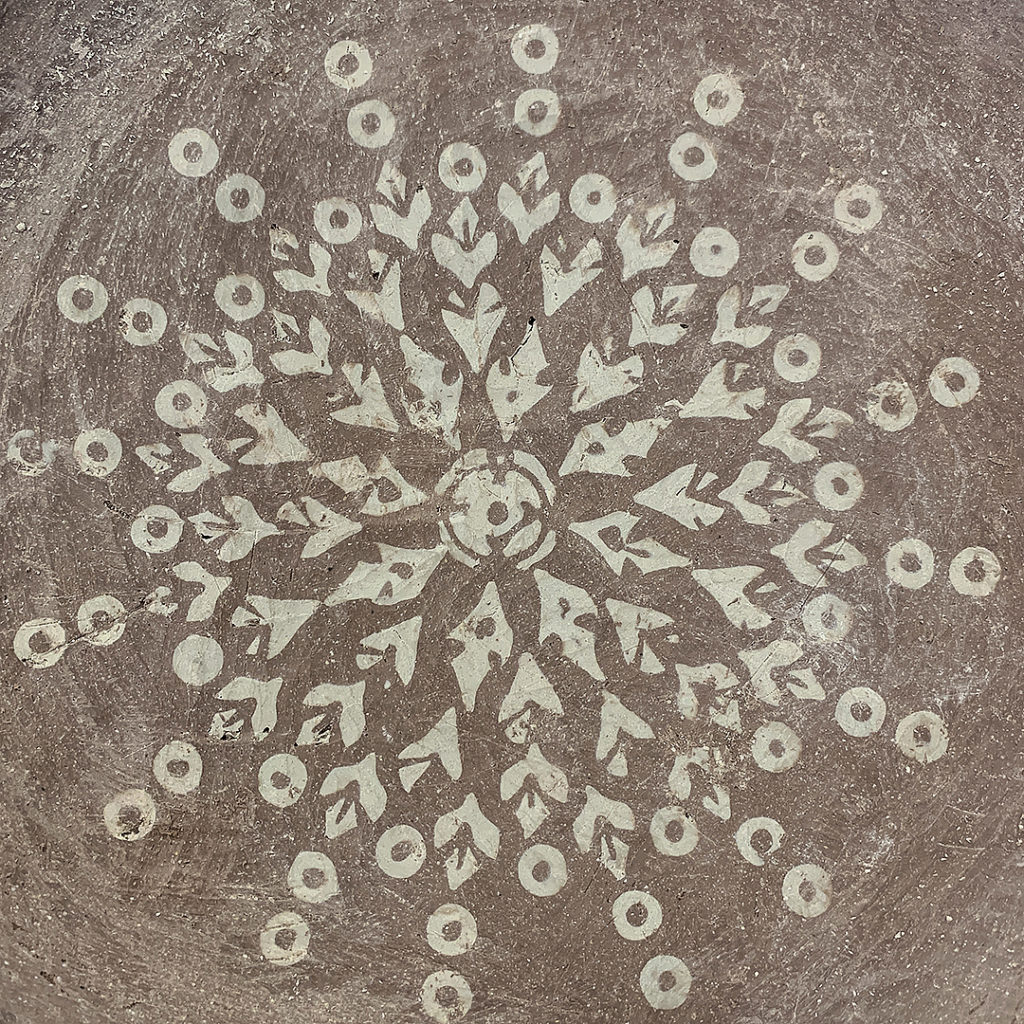
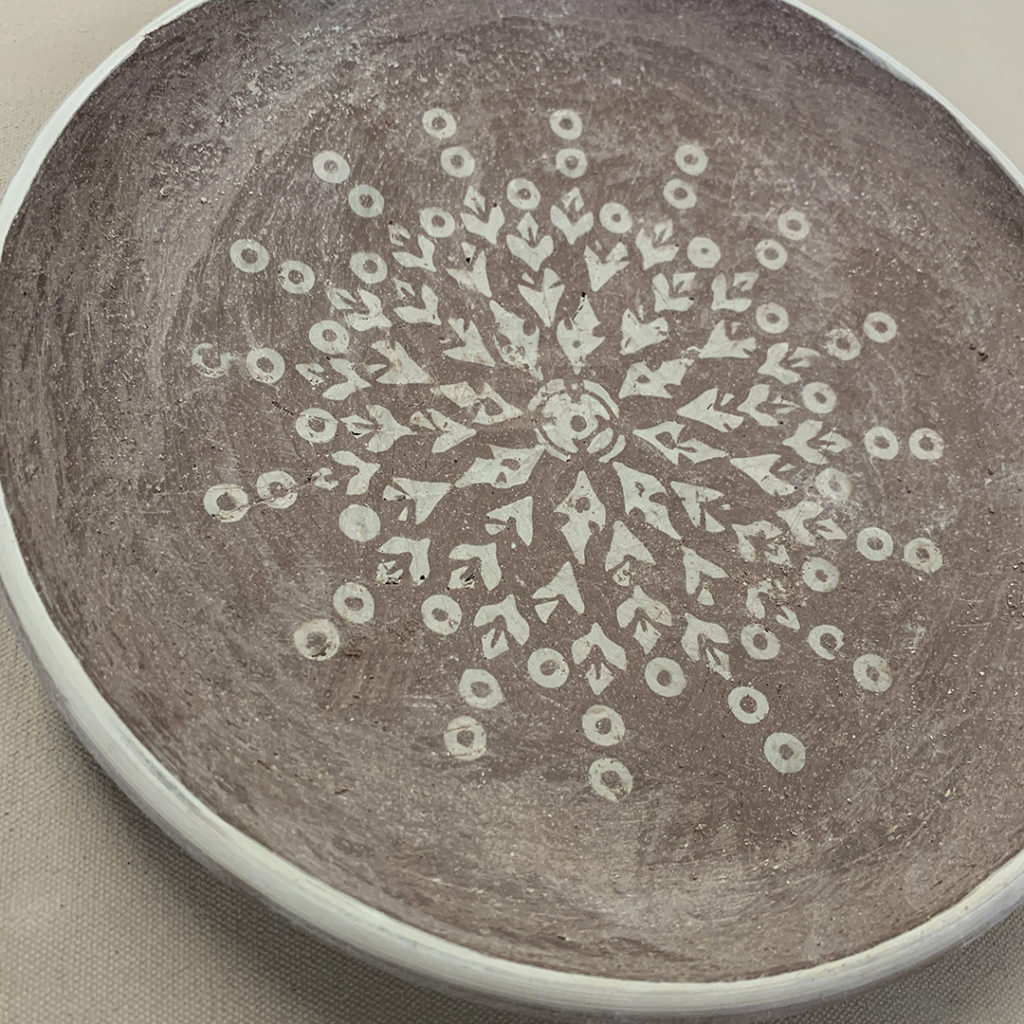
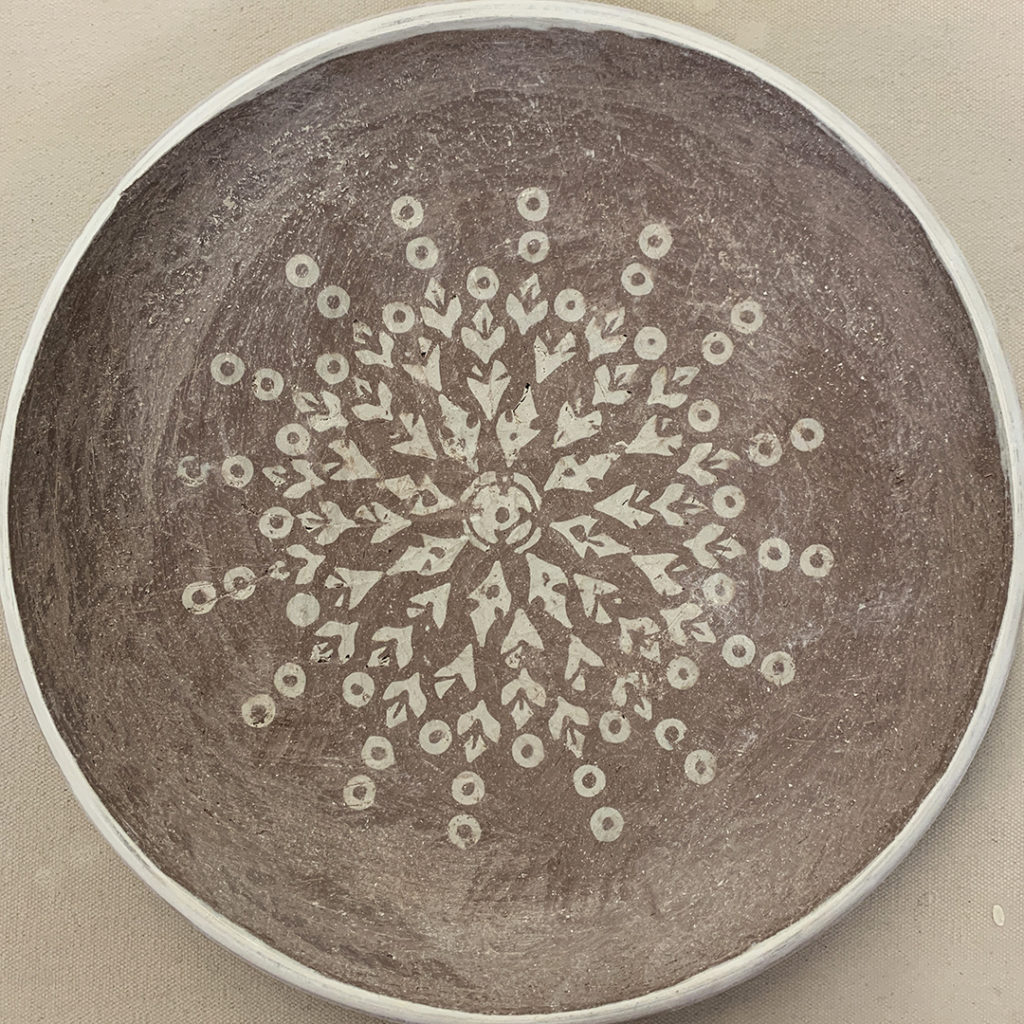
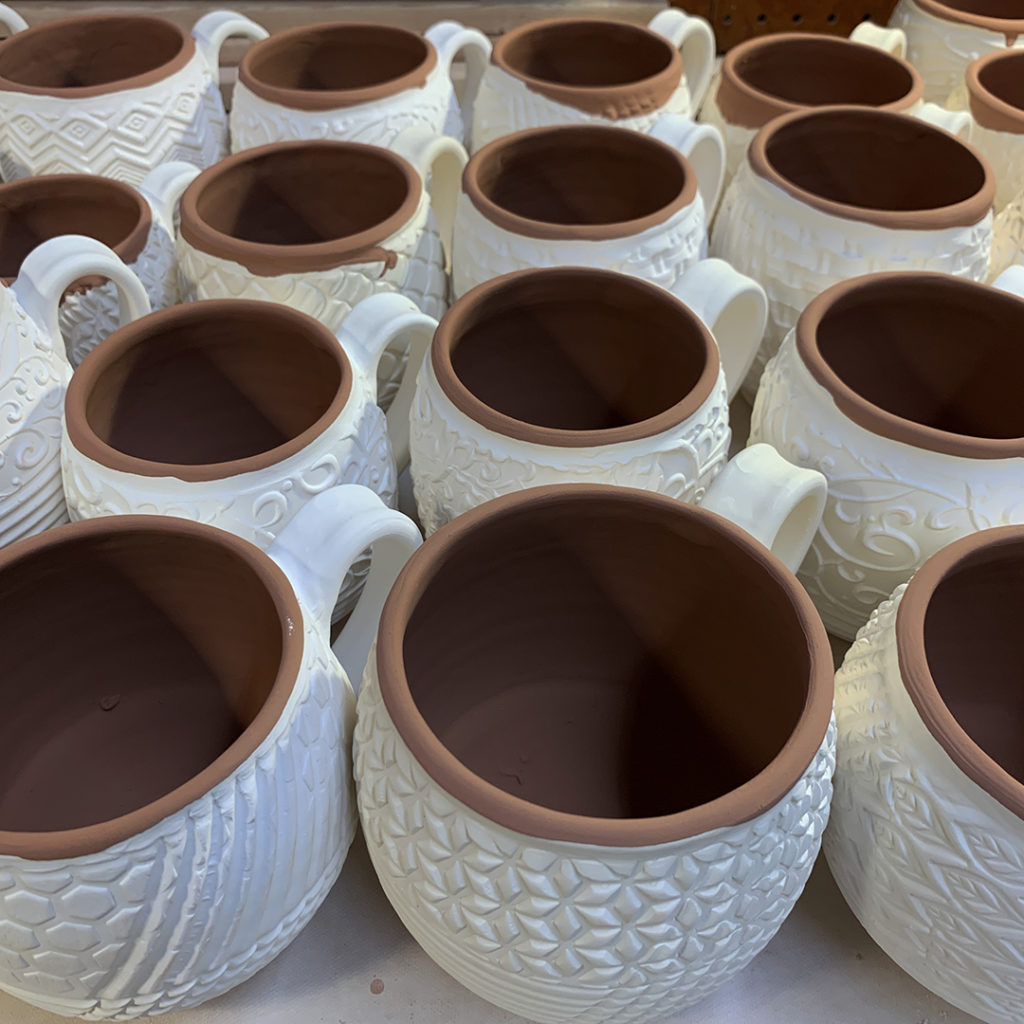
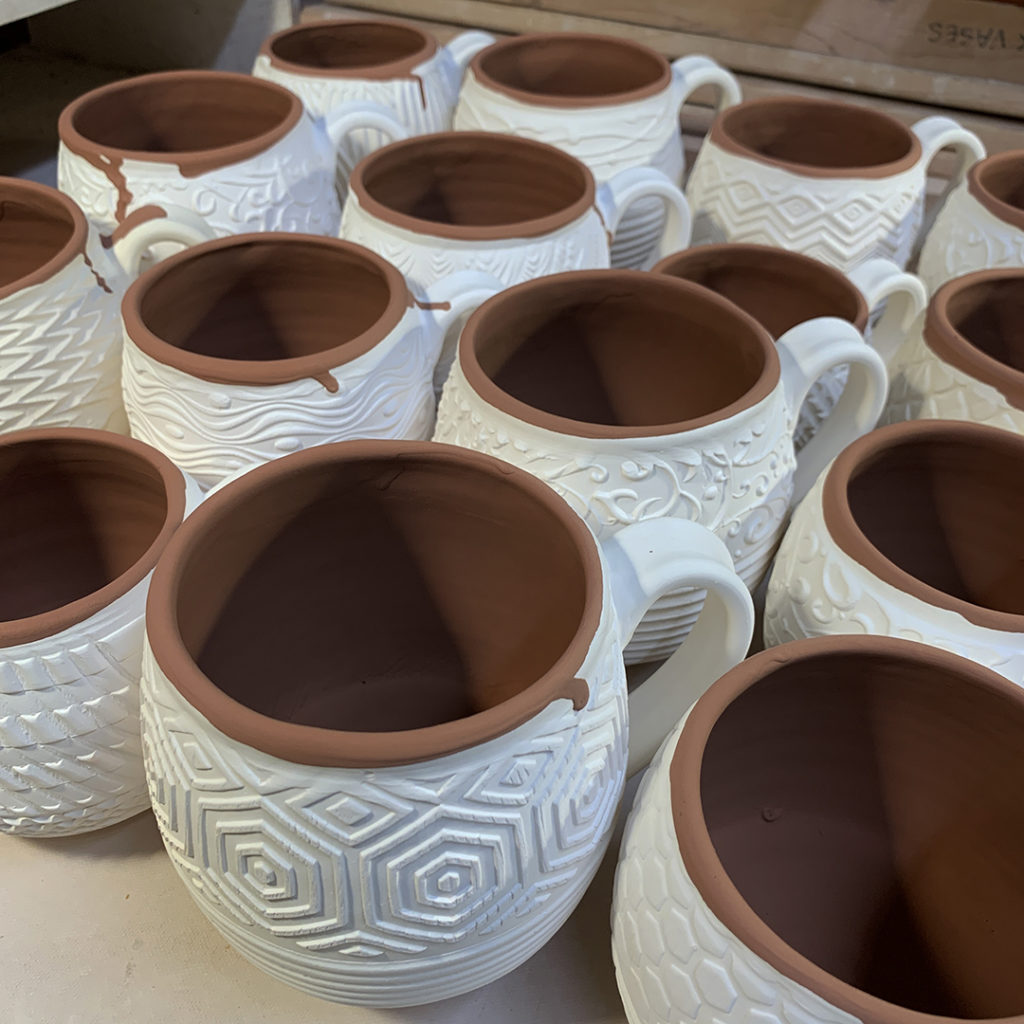
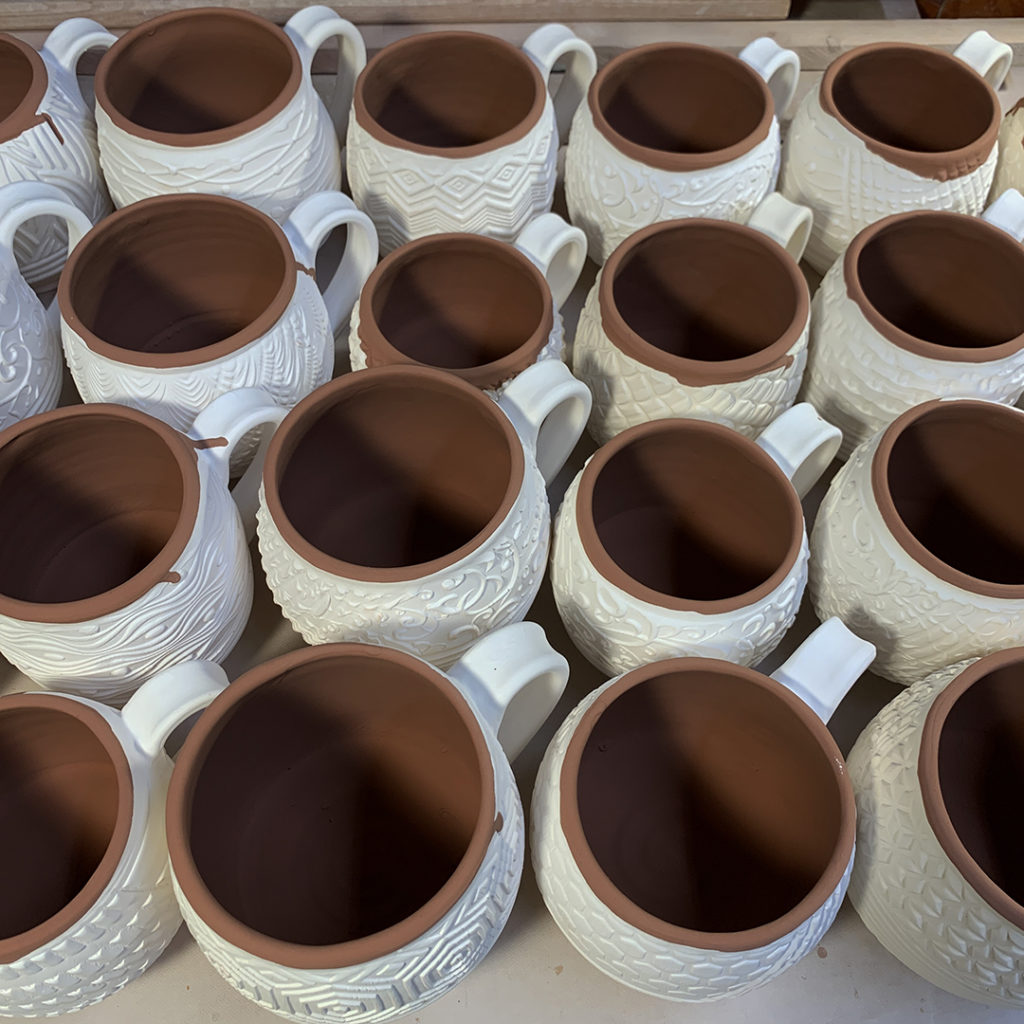
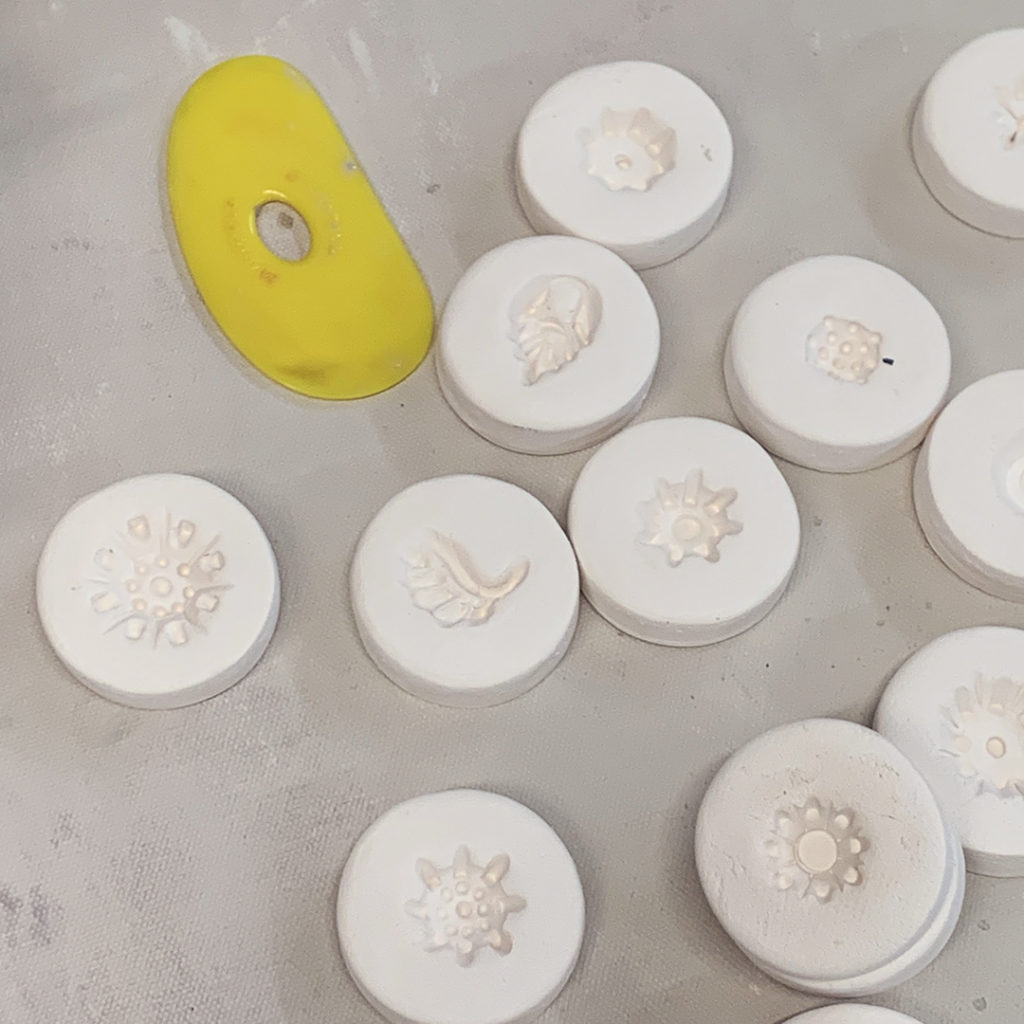
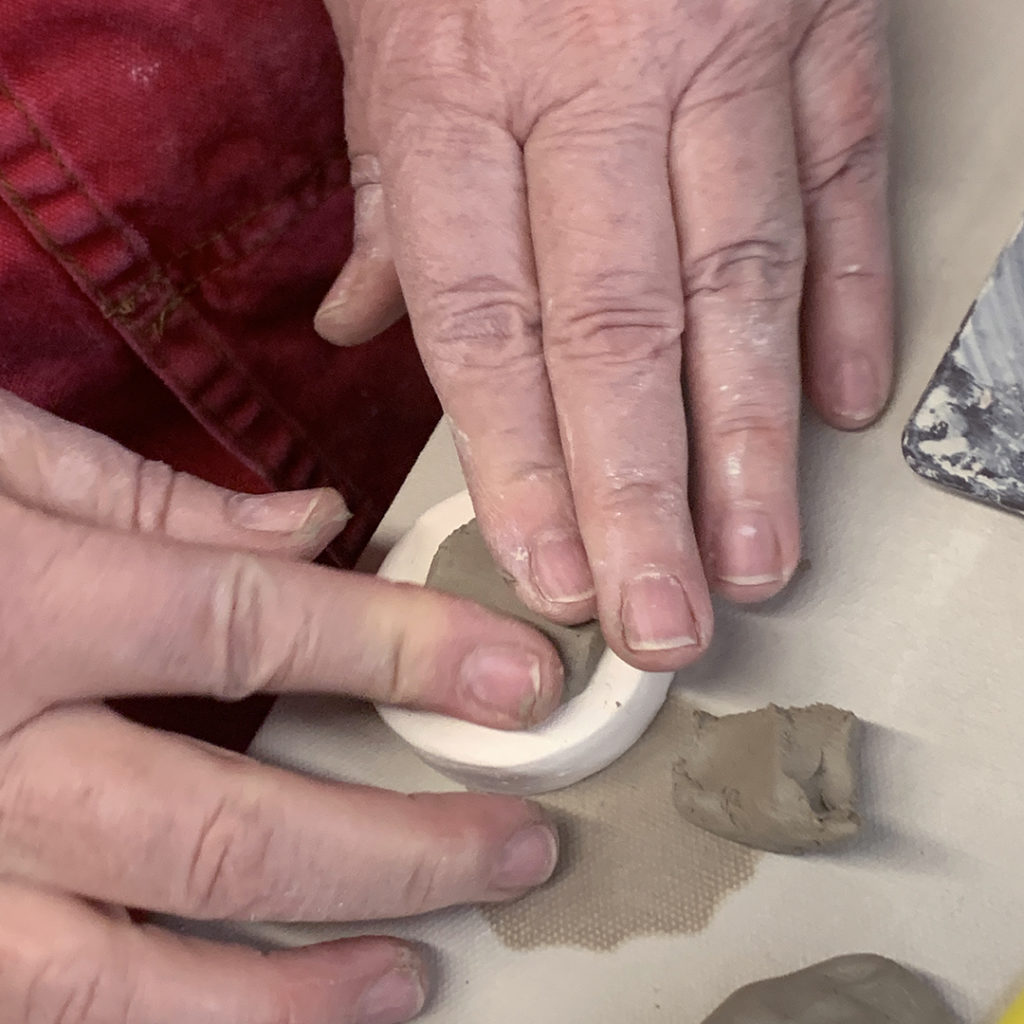
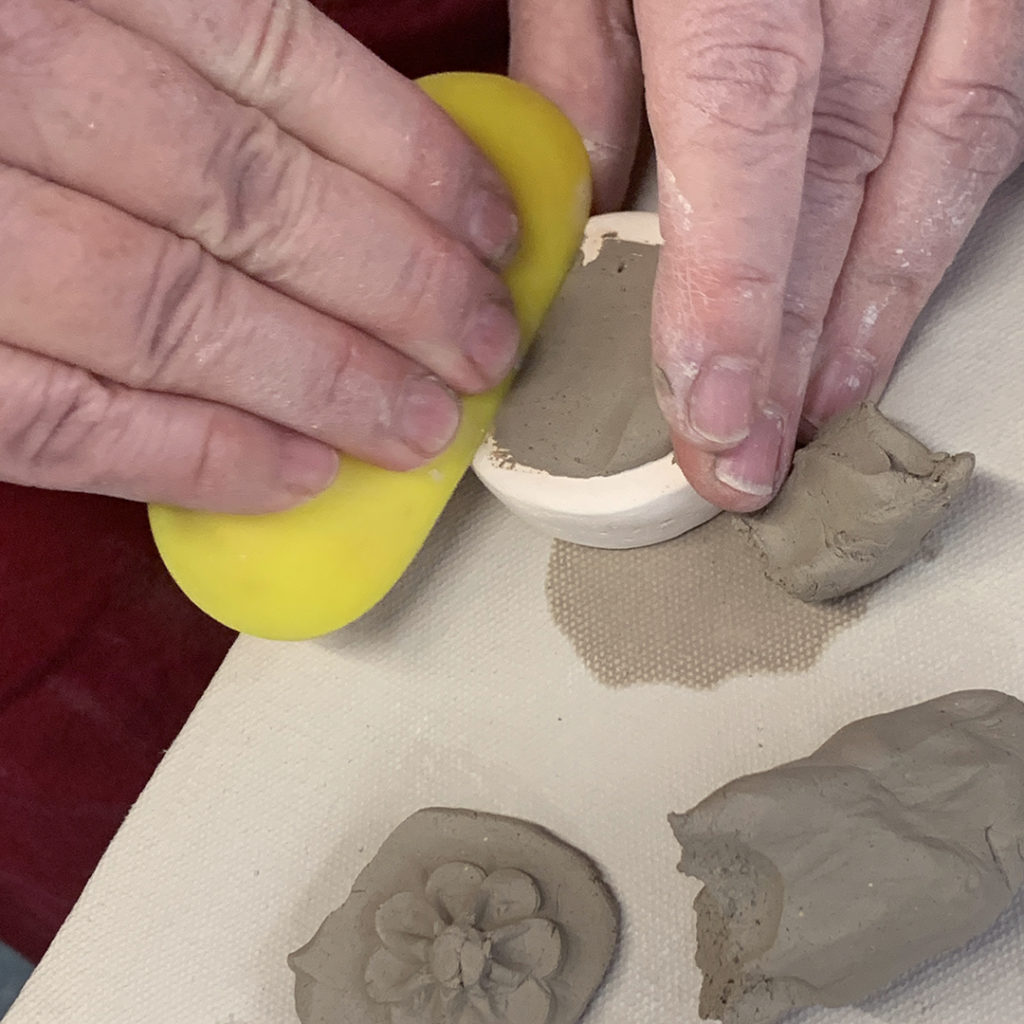
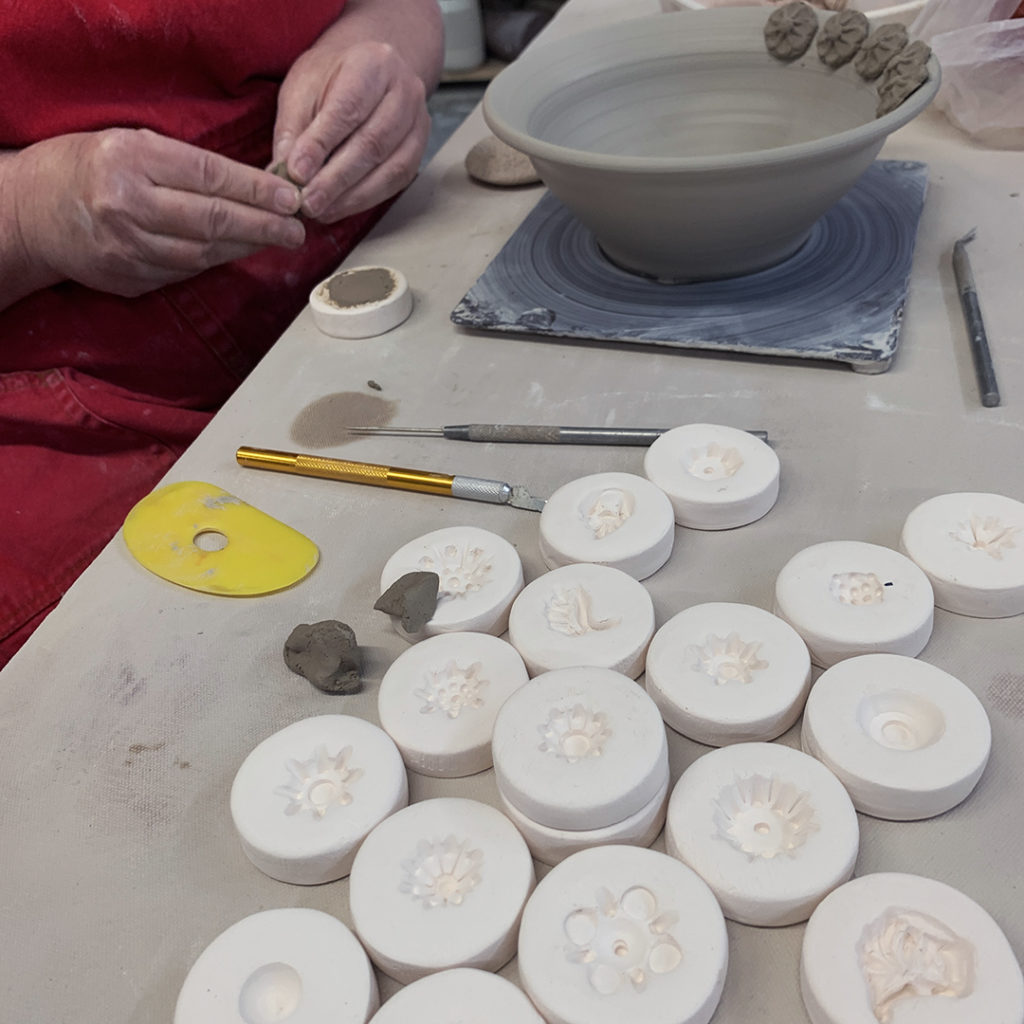
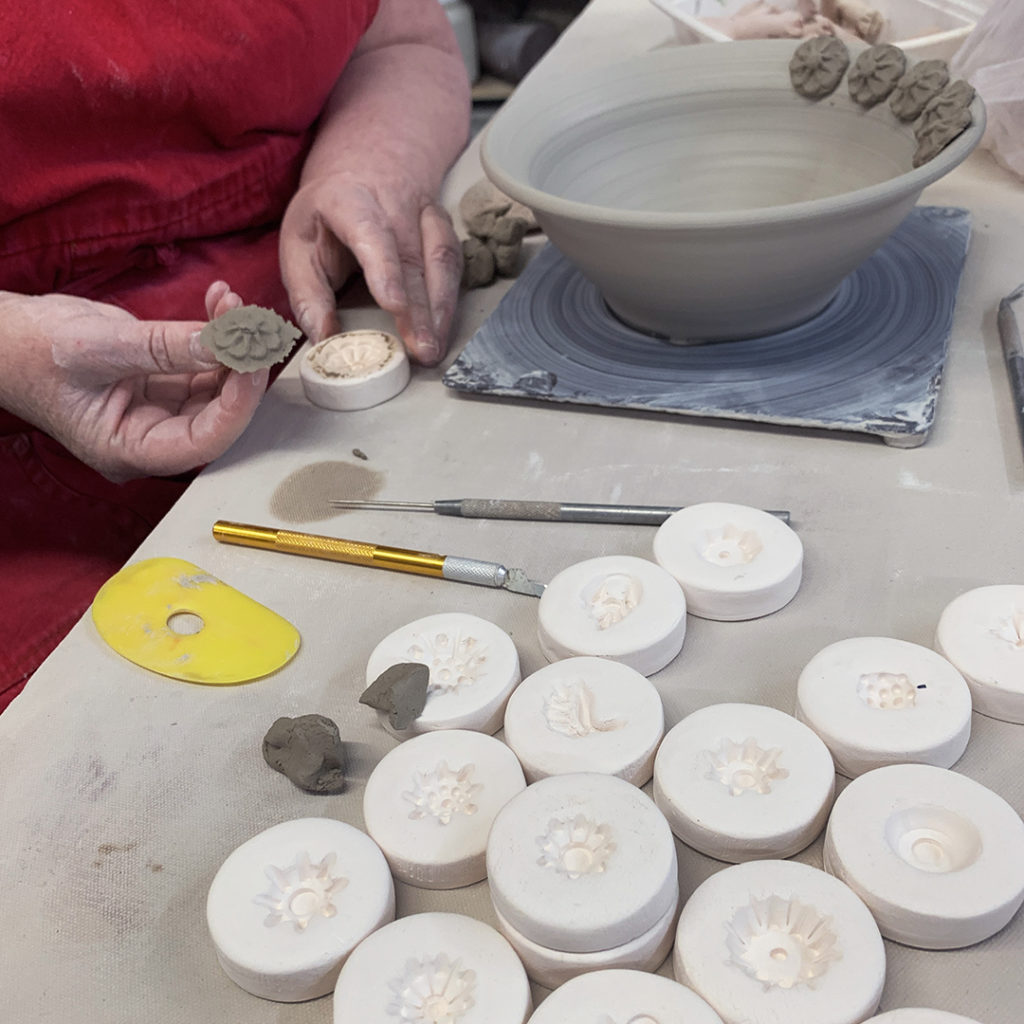
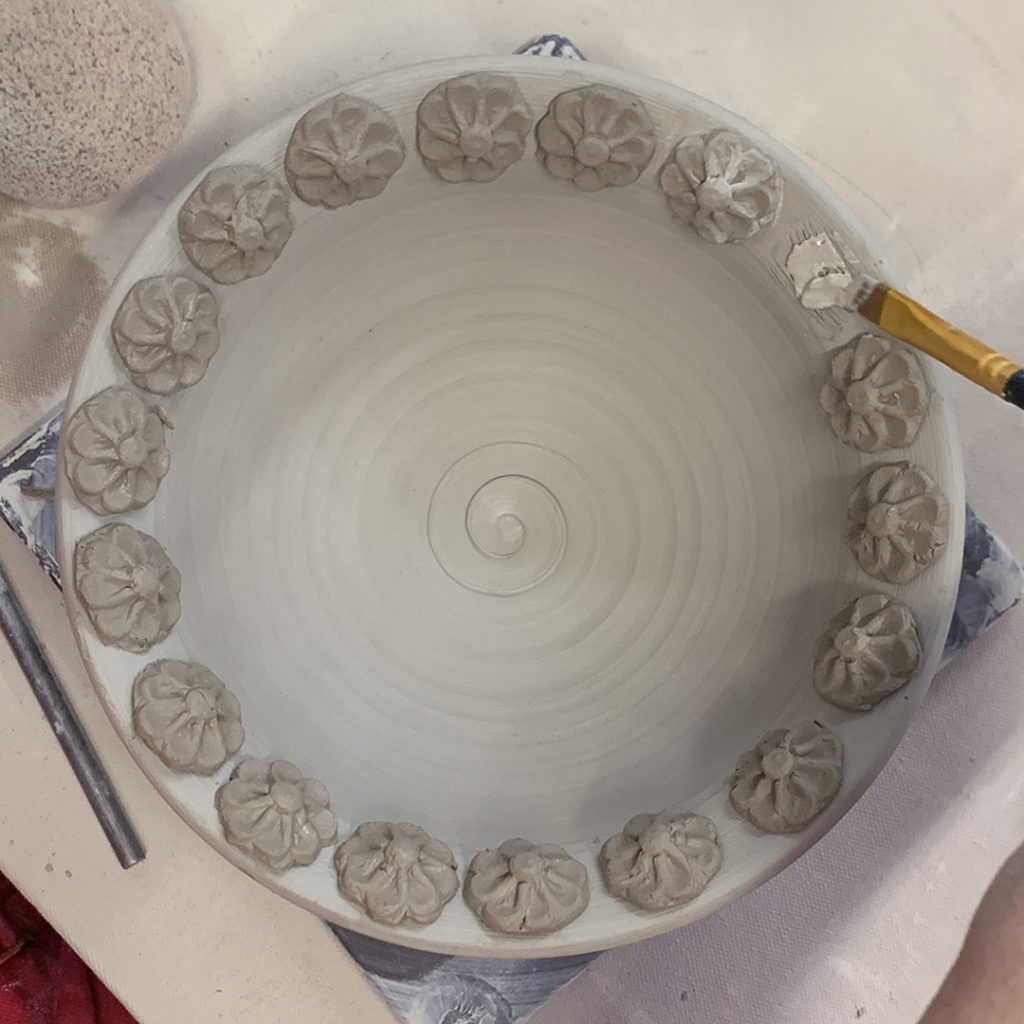
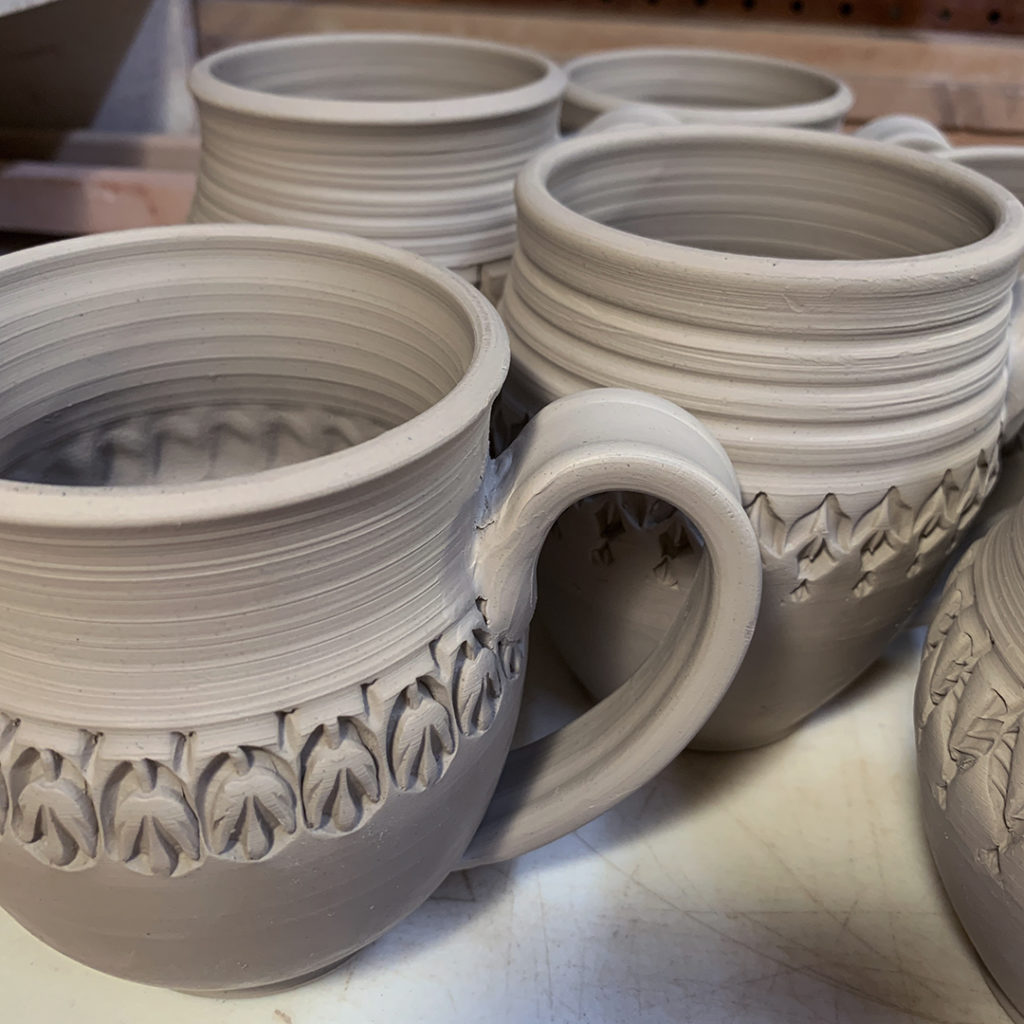
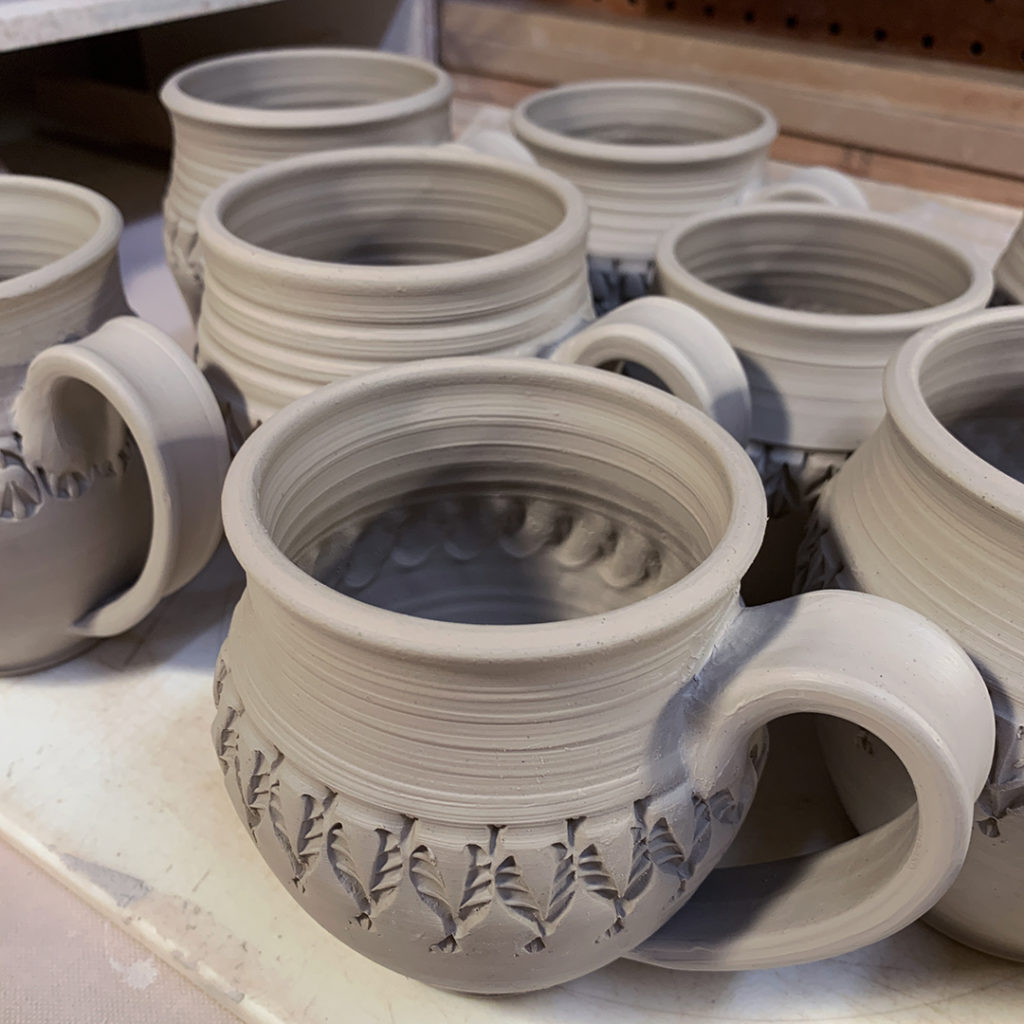
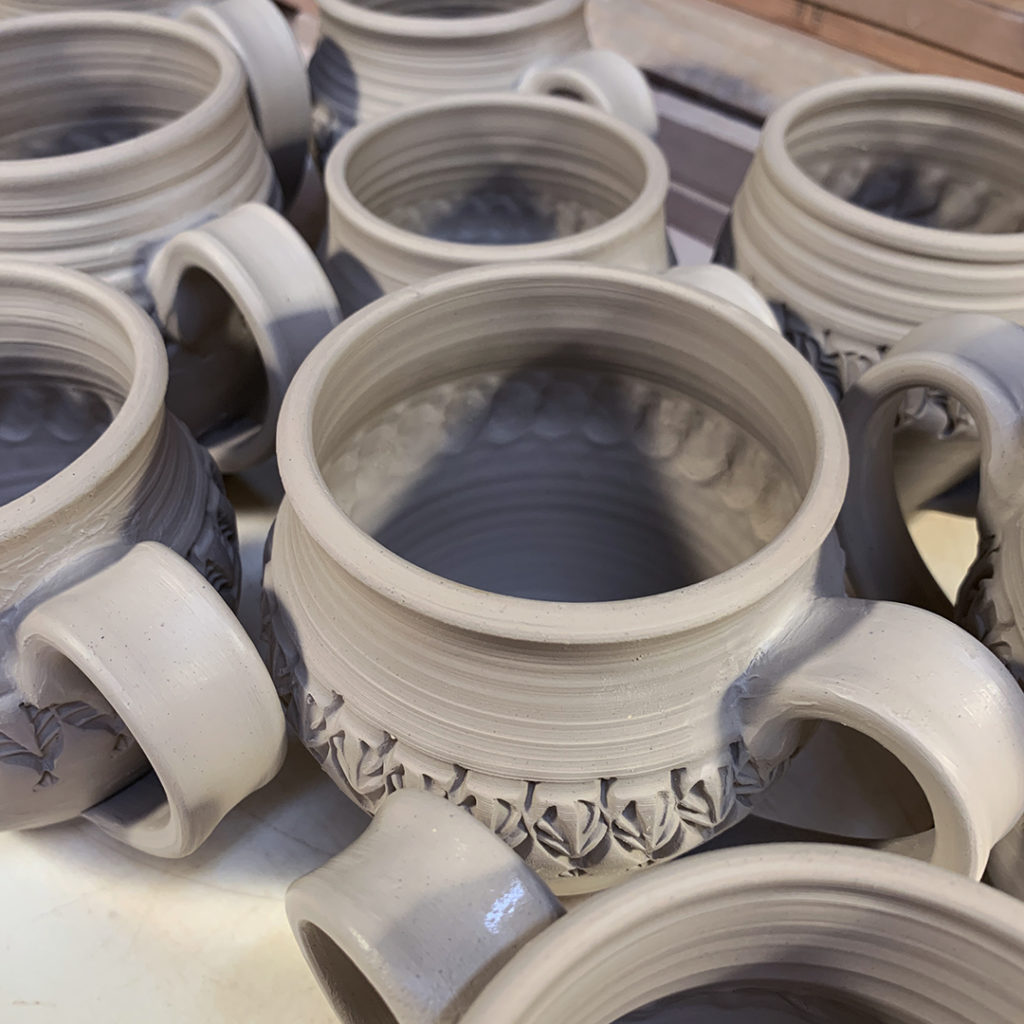
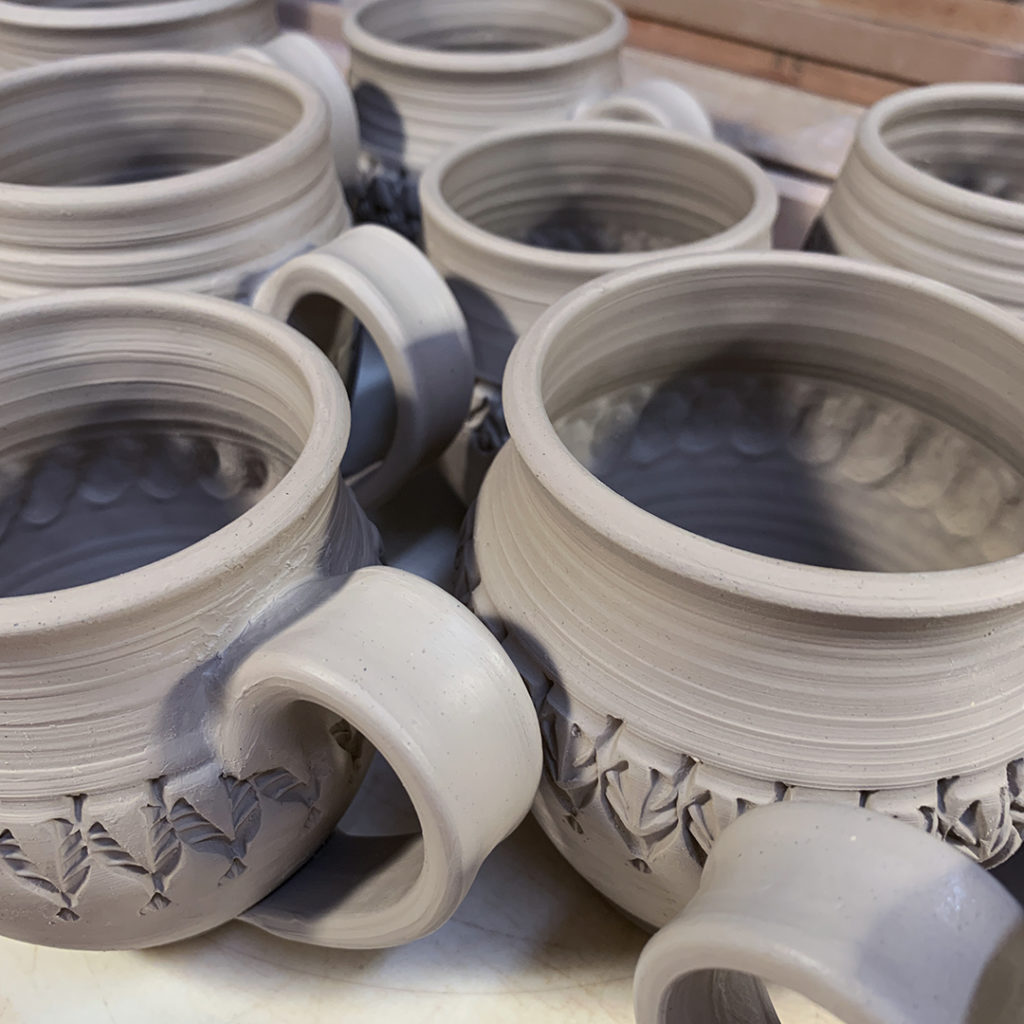
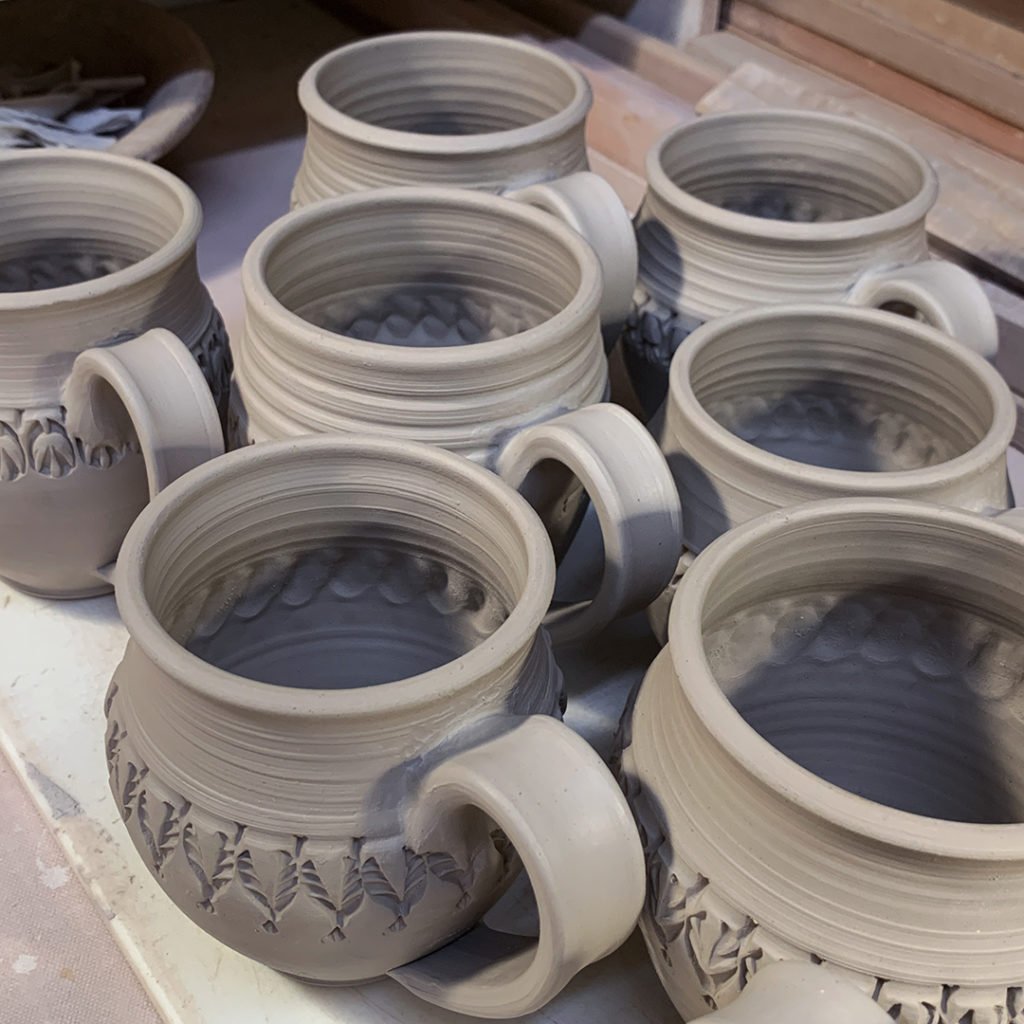
We have twenty-one potters on The Tour, many of which will be doing free demos. I will be in my studio tomorrow night doing a demo on how I uses handmade stamps to add texture to my pottery. If you would like to join me in my studio, you just need to register online to get the ZOOM link for all of the demos… plus, you’ll also be registered in a drawing for some free pottery by our Tour Hosts!!!
GARY JACKSON : STAMPED POTTERY DEMO
FRIDAY, JUNE 18th, 2021 @ 8:00pm CSTMore info at www.northernilpotterytour.com