Gary Jackson: Fire When Ready Pottery
A Chicago potter’s somewhat slanted view of clay & play
Categories: clay, process

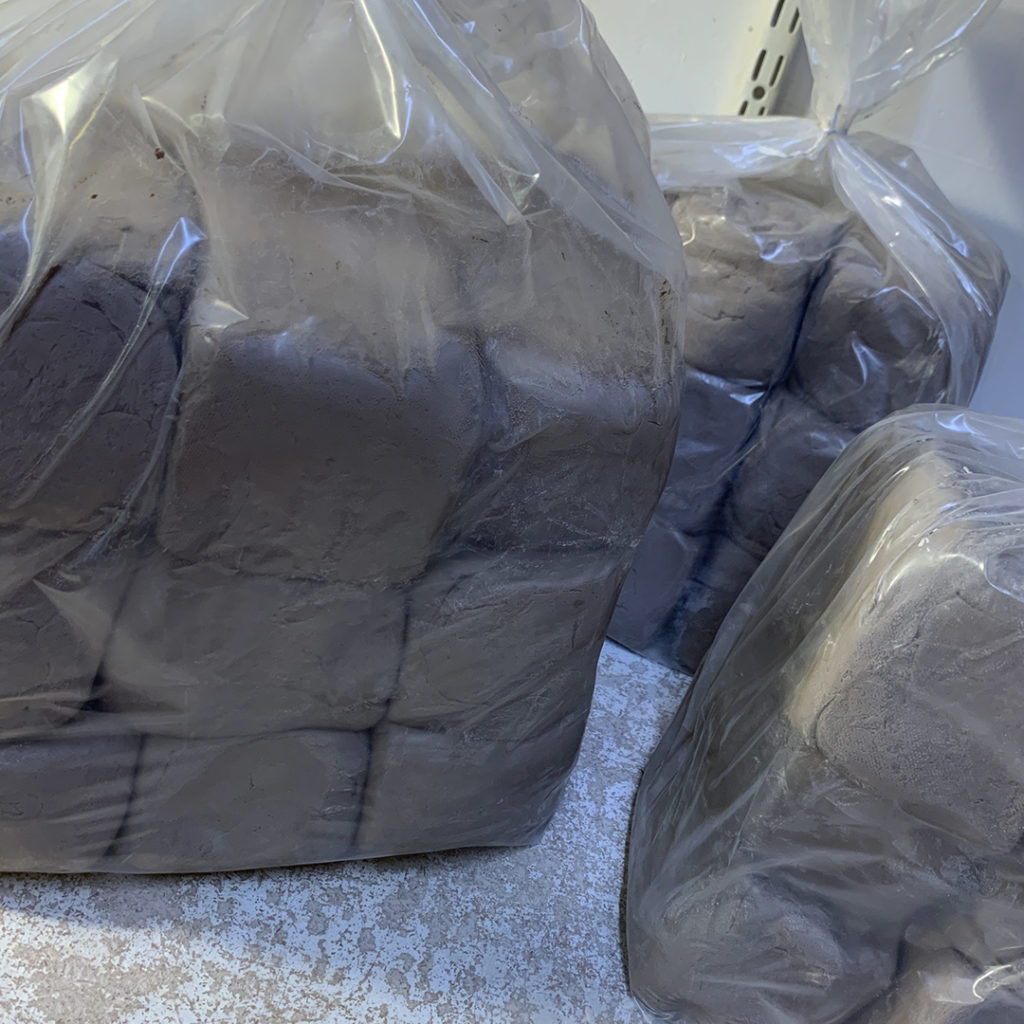
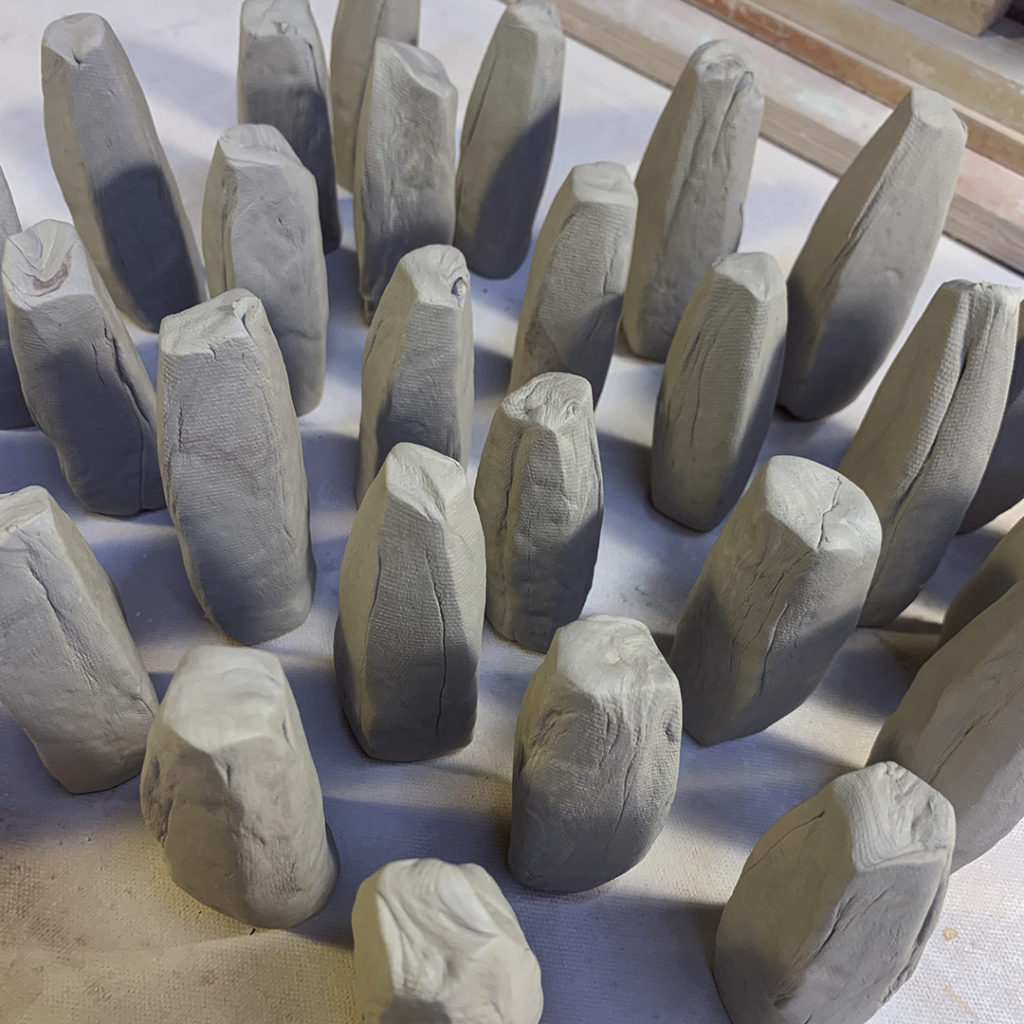
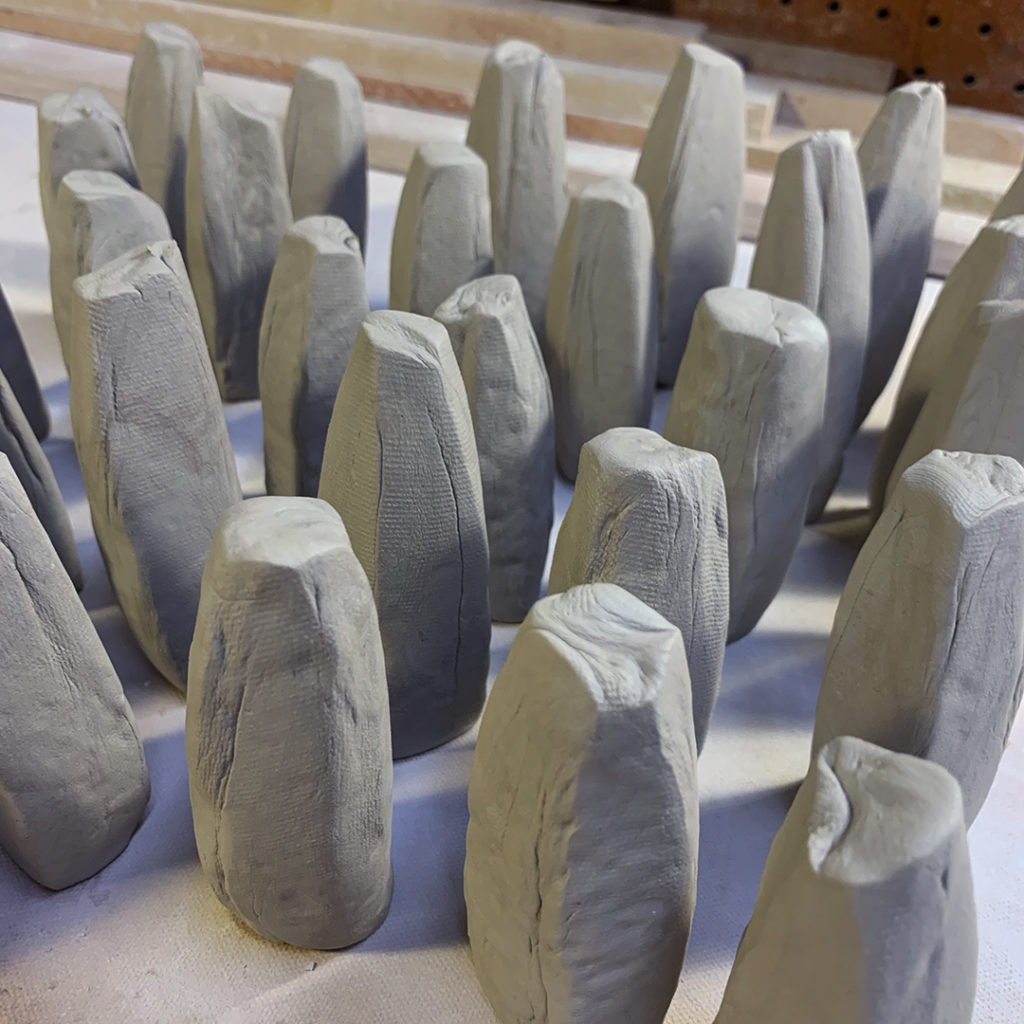
Finally got around to wedging up my pile of reclaimed clay! It sat on my large plaster bat for awhile as the extra moisture evaporated & the clay was finally stiff enough to wedge. So a little “elbow-grease” and now several bags of FREE CLAY!!! My favorite kind of clay!!!

Categories: glaze, kiln firing, process, production

A great combination… an empty soda kiln & my studio cart FULL of glazed & wadded pots. Late Friday night I loaded the kiln with a LOT of pots to be soda-fired on Saturday. My rolling cart has to travel from my second floor studio down to the first floor kiln room… on a very rickety freight elevator. So I always add some “seat belt” straps of masking tape to help keep pots in their place on the trip down!

Categories: process, production, soda-fired

Backing it up just a little… someone asked what “wadding” is when they say all of the mugs I was glazing and said that I still “needed to add the wadding.” So here’s a quick shot of the bottom of the mugs… similar to every piece put in a soda kiln. The little balls of “wadding” are made of a special clay mixture with alumina hydrate mixed in which makes the clay resistant to the soda atmosphere. The goal is to keep the pots elevated off the kiln shelves so they don’t fuse during the firing while the soda atmosphere in the kiln is “glazing” all of the pots. After firing, these little balls of clay will fall right off.

Categories: glaze, mugs, process, production

So now the stamps have their inlaid glazed… and a liner glaze too! The outside stays basically unglazed as the soda-firing process will finish & “glaze” the outsides for me! Now to start wadding all of them…

Categories: glaze, mugs, process, production

Filling all of my stamped impressions with a dark tenmoku glaze. And then wiping away the top surface leaving glaze only in the indentations. Sure, it’s a lot of work, but he darker inlaid glaze always seems to make my stamped patterns “pop” more!

Categories: mugs, process, production

Colored flashing slip applied… mugs are done for the night!
Just in time to teach class downstairs tonight. So now they can start drying before they go into my bisque kiln… hurry up, dry… dry… dry!!!

Categories: mugs, process, production, stamped

So now that we’ve got a bunch of mugs, it’s time to add some colored flashing slip accents. If all goes as planned, these slips should change to brighter colors in the soda kiln. I know it doesn’t look like orange right now, but this mug should when it comes out of the kiln! Fingers crossed…

Categories: mugs, process, production, stamped, stamps

Stamping mugs again… using my own handmade clay stamps to make the impressions. I press them in when the clay is a soft-leatherhard. Still a little malleable, but not at all sticky. If the pots dry out too much, the stamp won’t go in deep enough to make a good impression.

MUG 1 –

MUG 2 –

MUG 3 –

MUG 4 –

MUG 5 –

MUG 6 –

MUG 7 –

MUG 8 –

MUG 9 –

Next up we need to do some trimming… carving out a footring on the bottom! Then a few handles… and voila’... soon we’ll have more mugs!!!

Categories: glaze, mugs, process, production

My summer campers just left for the day… so now it’s back to glazing & wadding more mugs! Yes, it’s the last week of summer camp… and I’m trying to glaze & finish a full soda kiln at the same time. Days with the kids, nights in my studio!

Categories: process, production

Here we go… gonna try to squeeze out some quick handles on my mugs… after summer camp & before I teach my intermediate wheel adults tonight. It’s gonna be close…