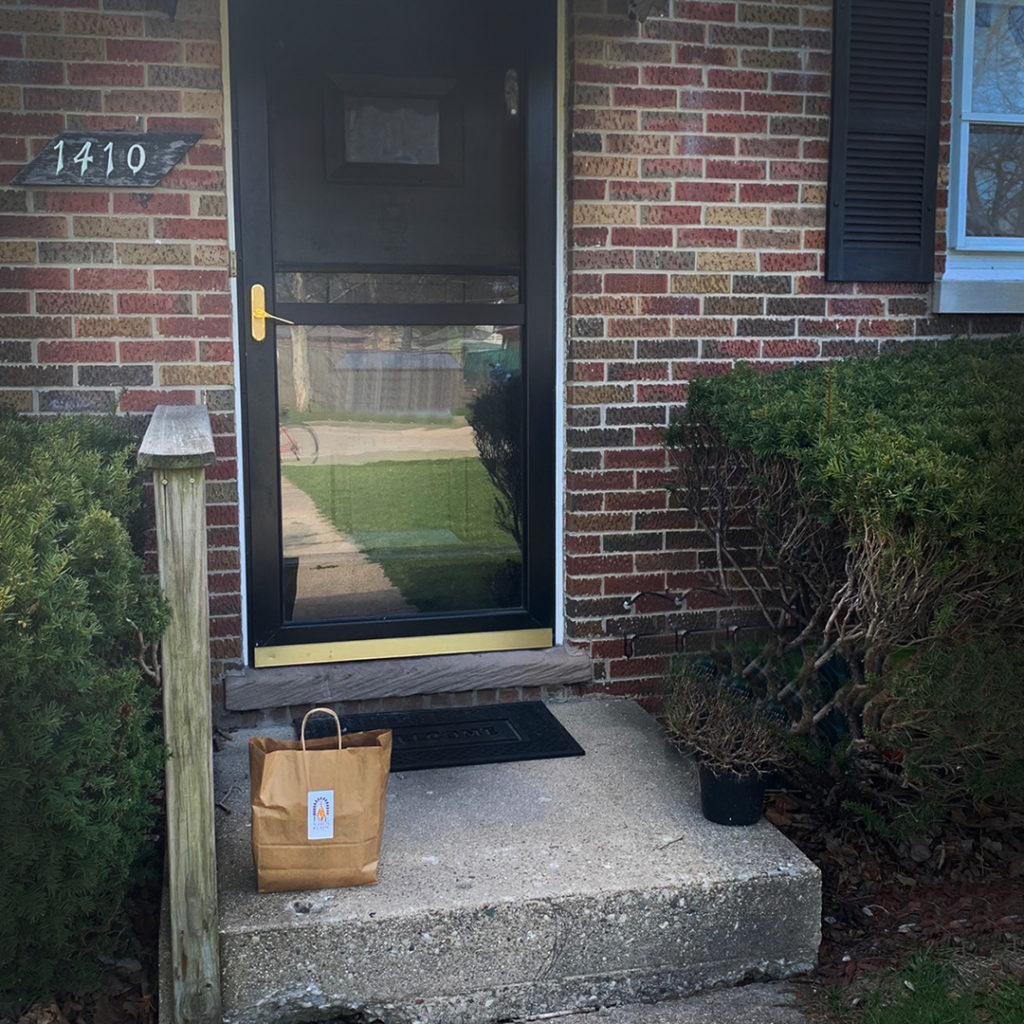
So it has come to this… yesterday I did my first no-contact pottery delivery! I rode my bike up into Evanston to drop off two mugs for a customer who bought them online. I took all the precautions, wore gloves & my “mask”… we chatted from about 20-feet away… and then I pedaled away! All good, but… I MISS ART FAIRS!!! I miss seeing & interacting with my customers! Some day soon, I hope!
Looks like my friend Pam made herself a healthy & yummy dinner last night while self-isolating… and I’m sure that eating it out of one of my bowls only made better!!!
If any of you have been enjoying my pottery in your new “quarantined life”… I would love to see a photo! Please send a few pics to my email – gary@firewhenreadypottery.com. Thanks, be safe, be healthy!
Okay, so we’ve all become so accustomed to Mugshot Monday… so let’s try something new… as I’ll be switching it up a bit. Why not make it a “Mug-SHOP Monday” for this coming Monday?!
Monday morning at 10:00am CST I will be posting a photo album on Facebook with a dozen handmade mugs that are going up for sale! I don’t do a lot of online selling… but I figure right about now you’ve gotten tired of that old, boring mug you’ve been sequestered with. Might be time for a NEW ONE!!!
So check out my Facebook Fire When Ready Pottery page at 10:00am CST on Monday, March 30, 2020. The first person to claim a mug as “MINE” in the Comments section of each page of the Photo Album will get that mug! Each mug will be $55 which includes shipping & handling within the contiguous United States. Easy enough right?… presuming that USPS plays along and we’re still allowed to ship things out during this crisis!
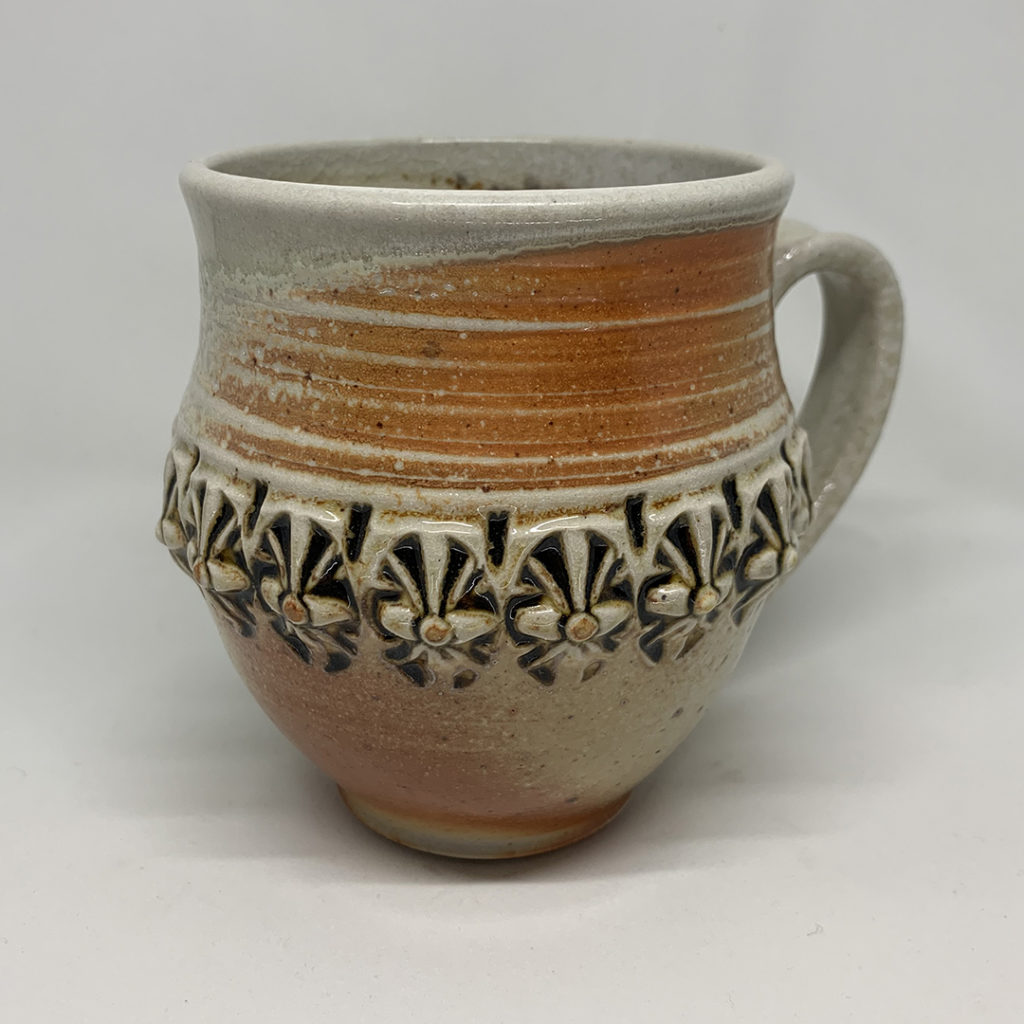
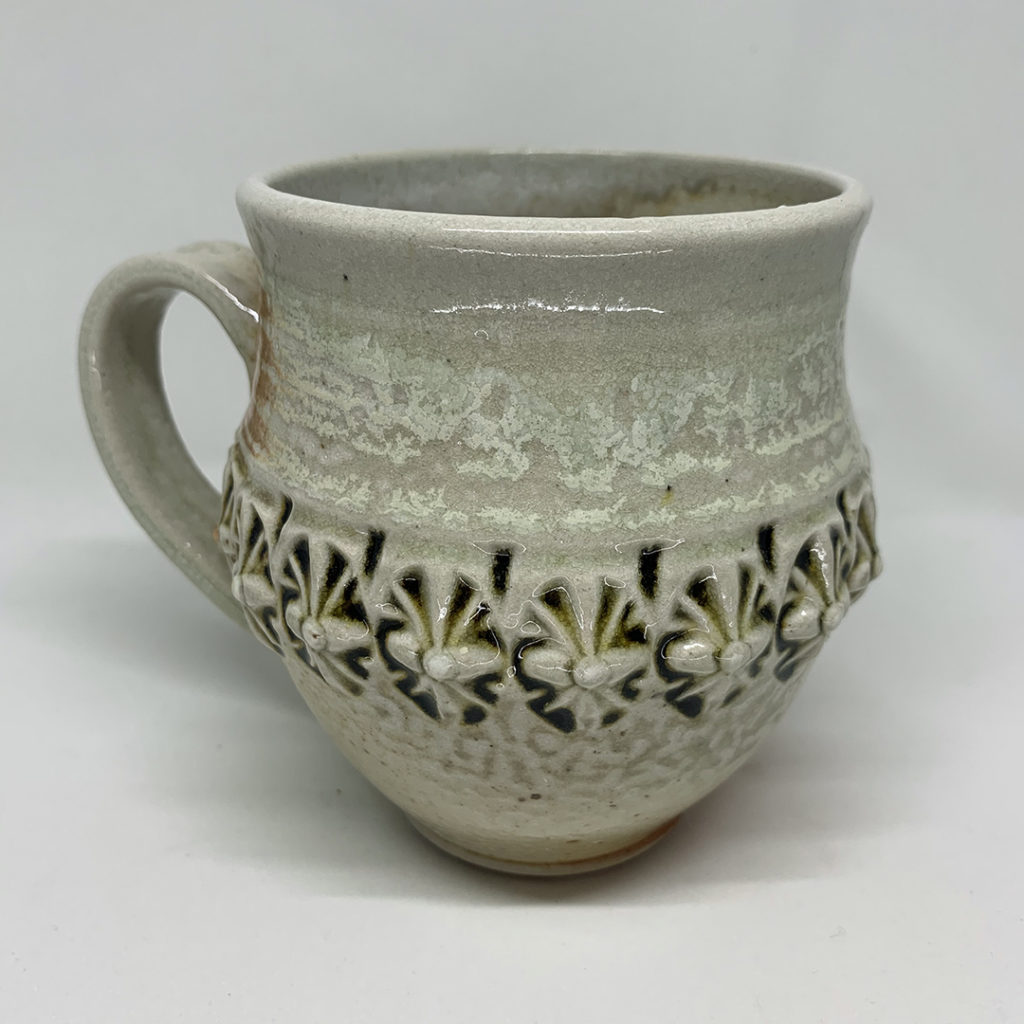
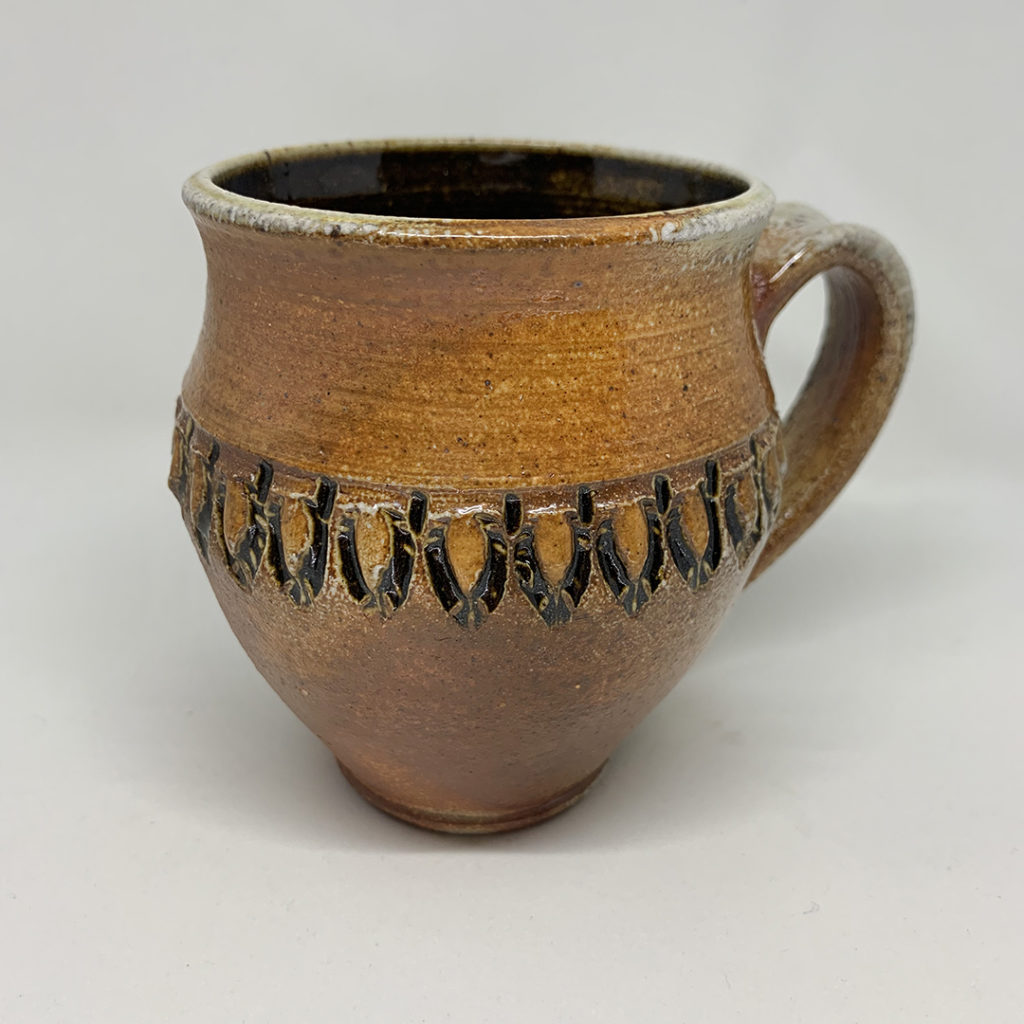
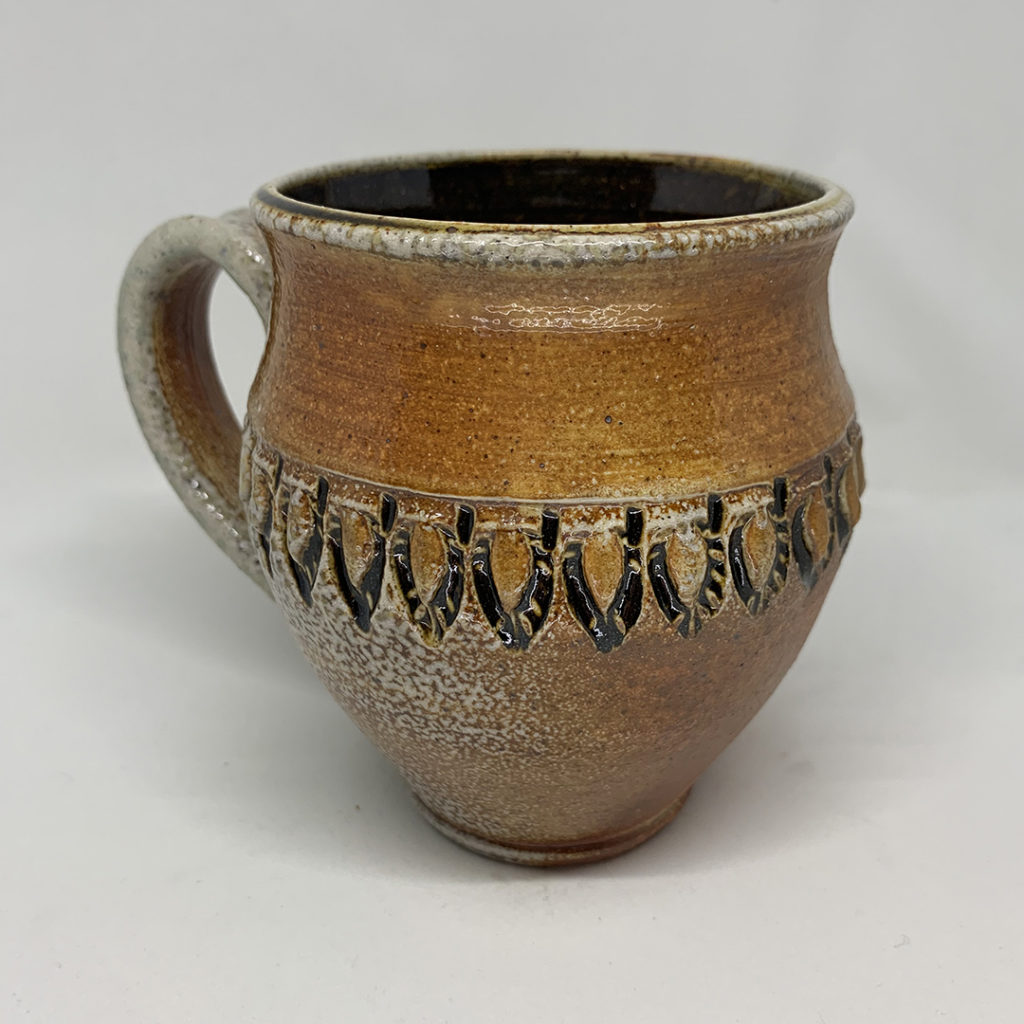
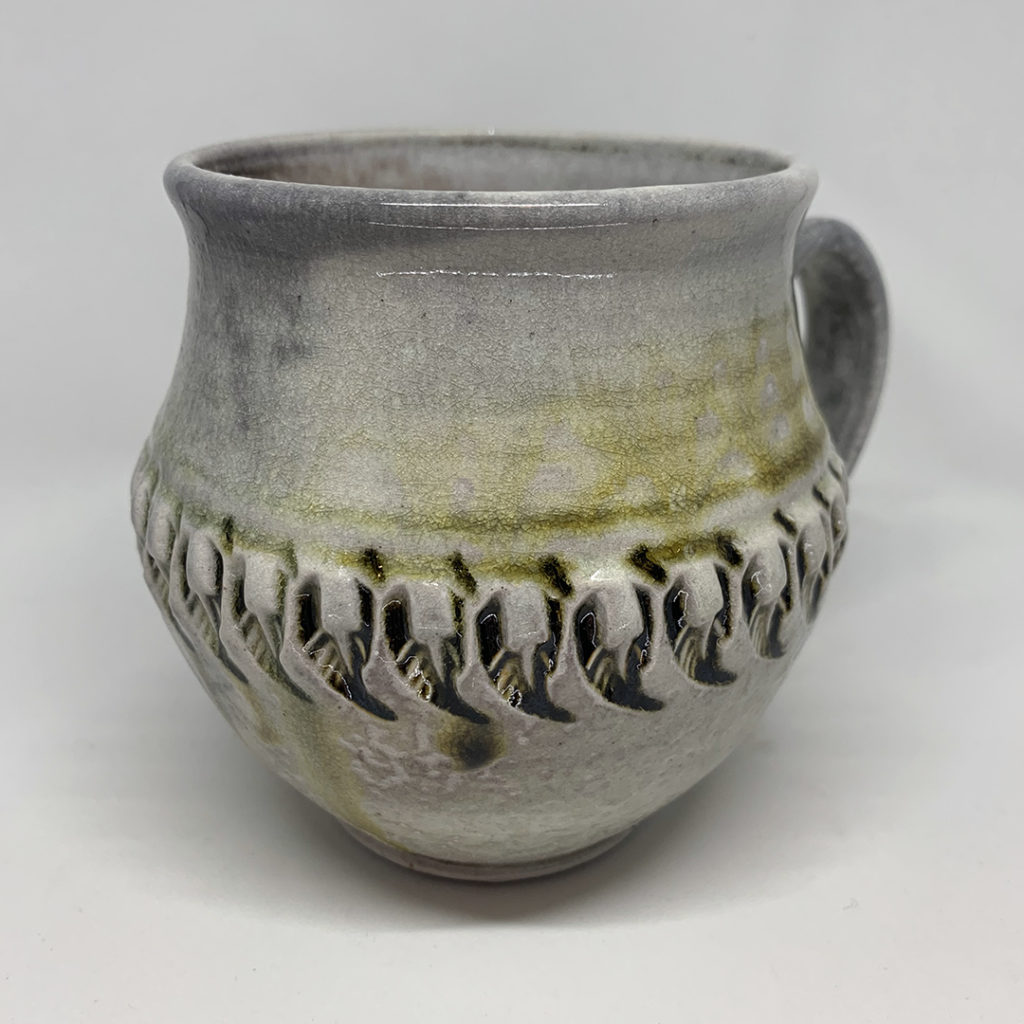
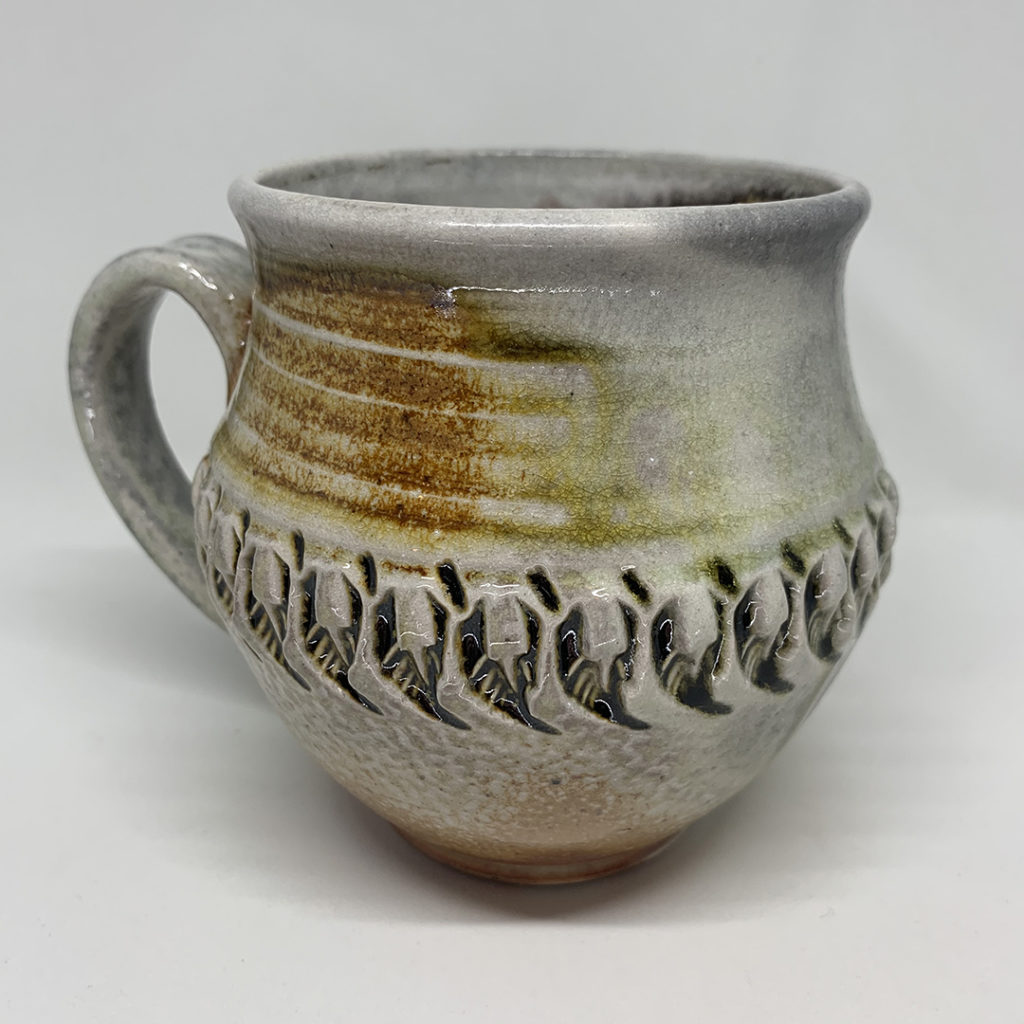
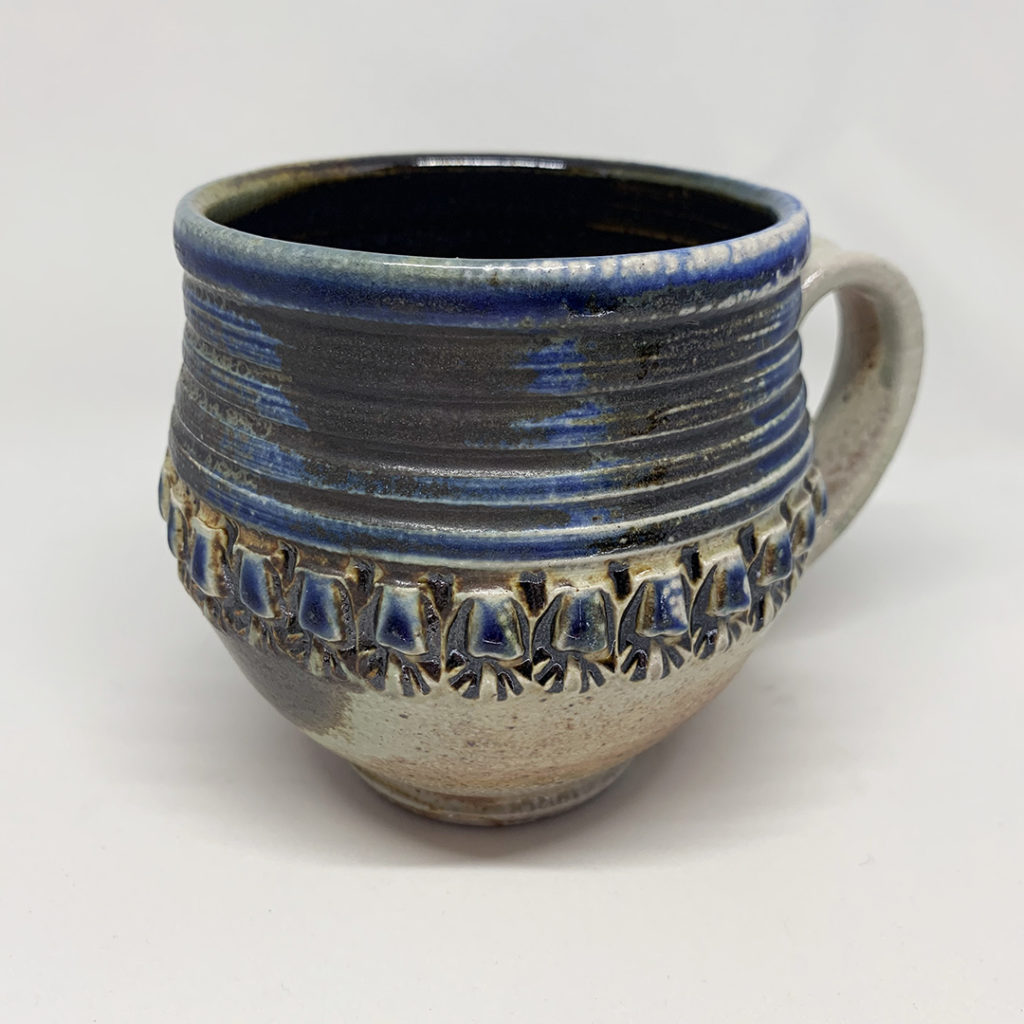
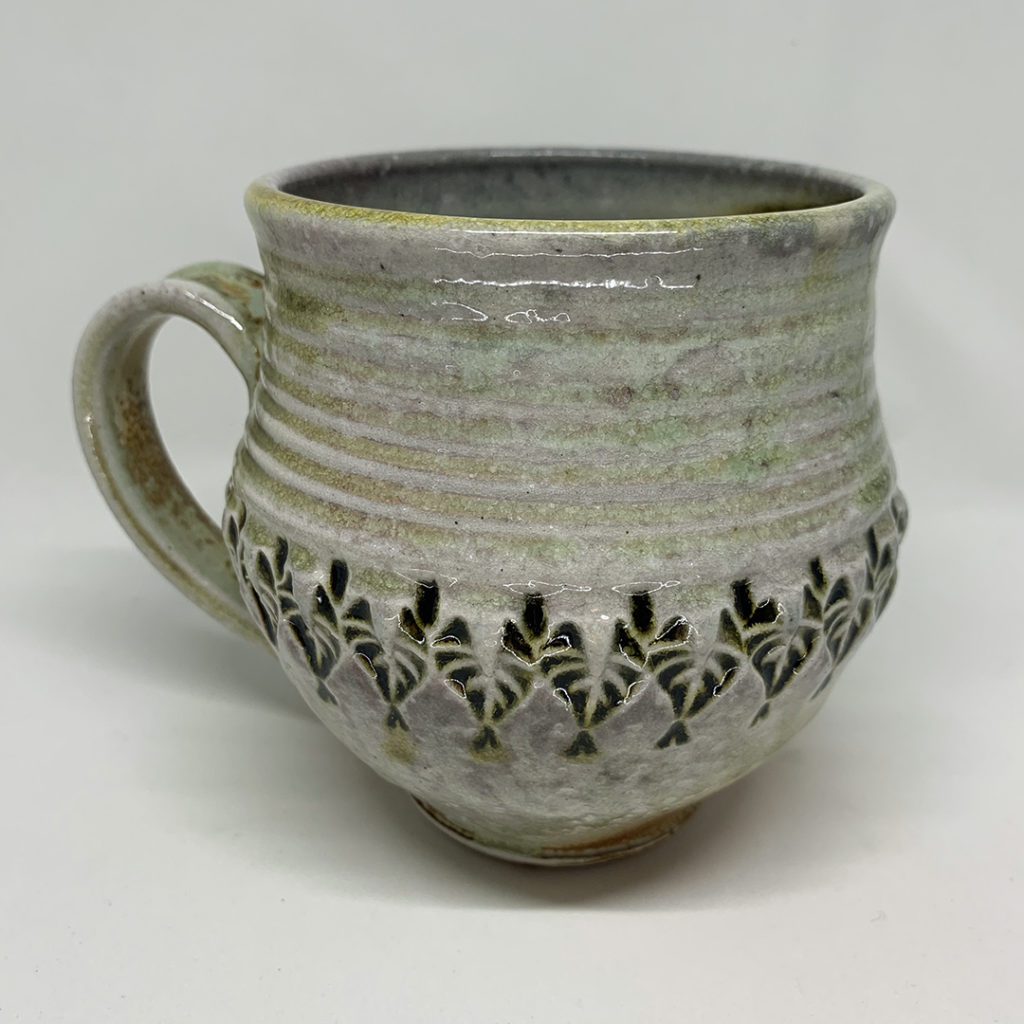
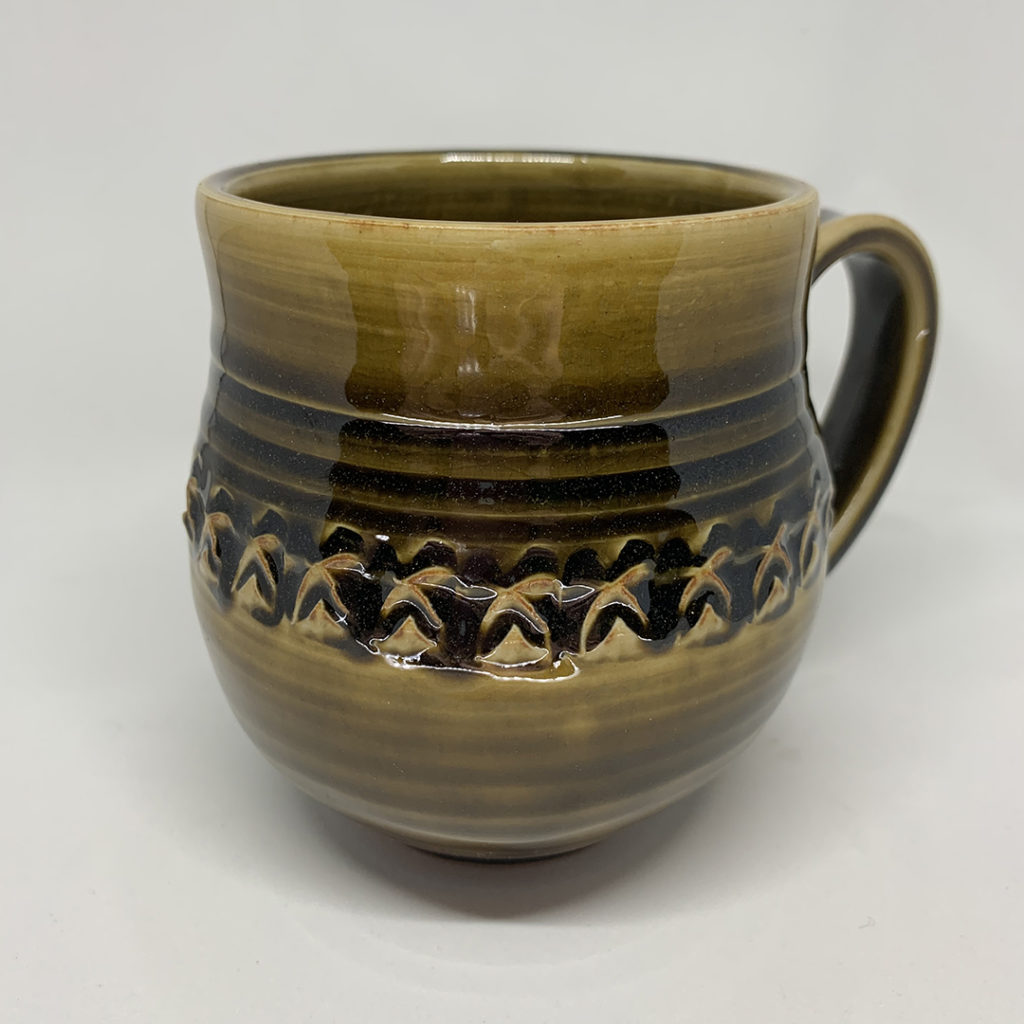
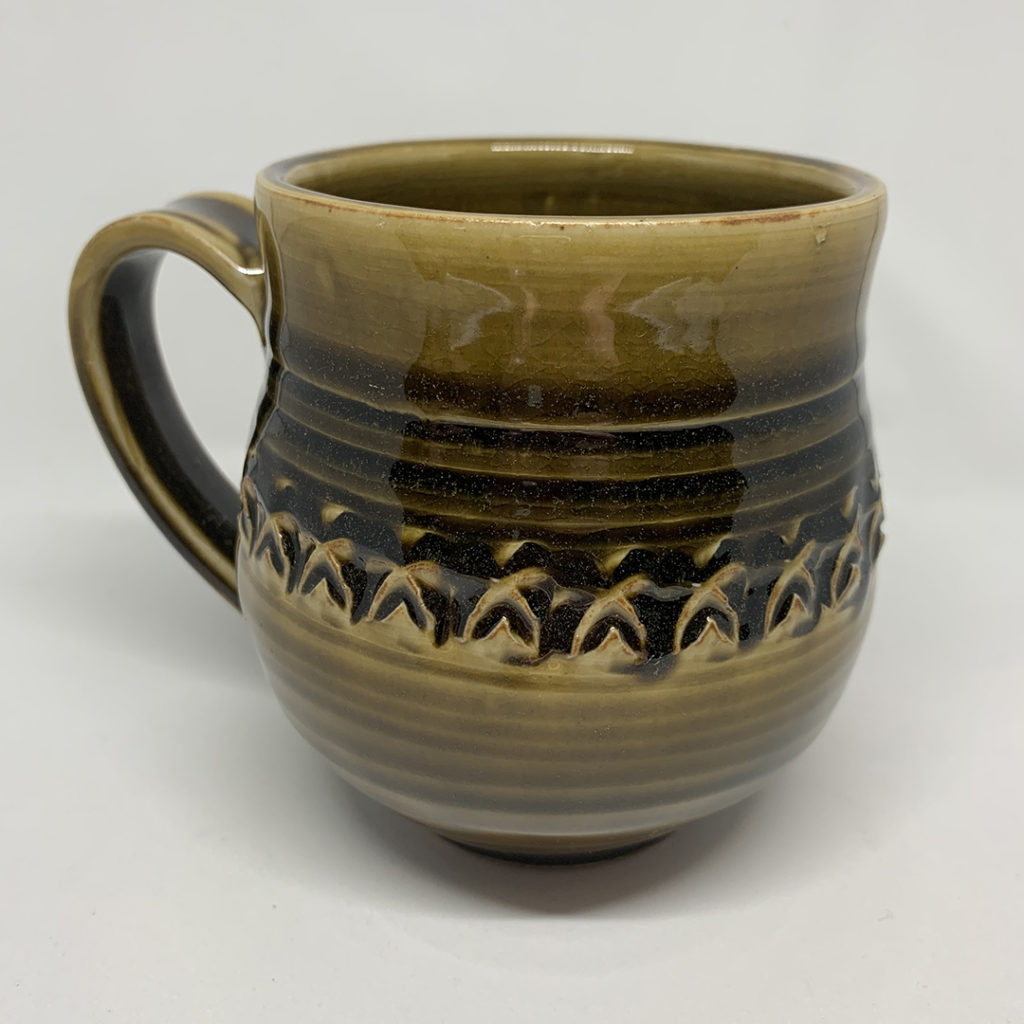
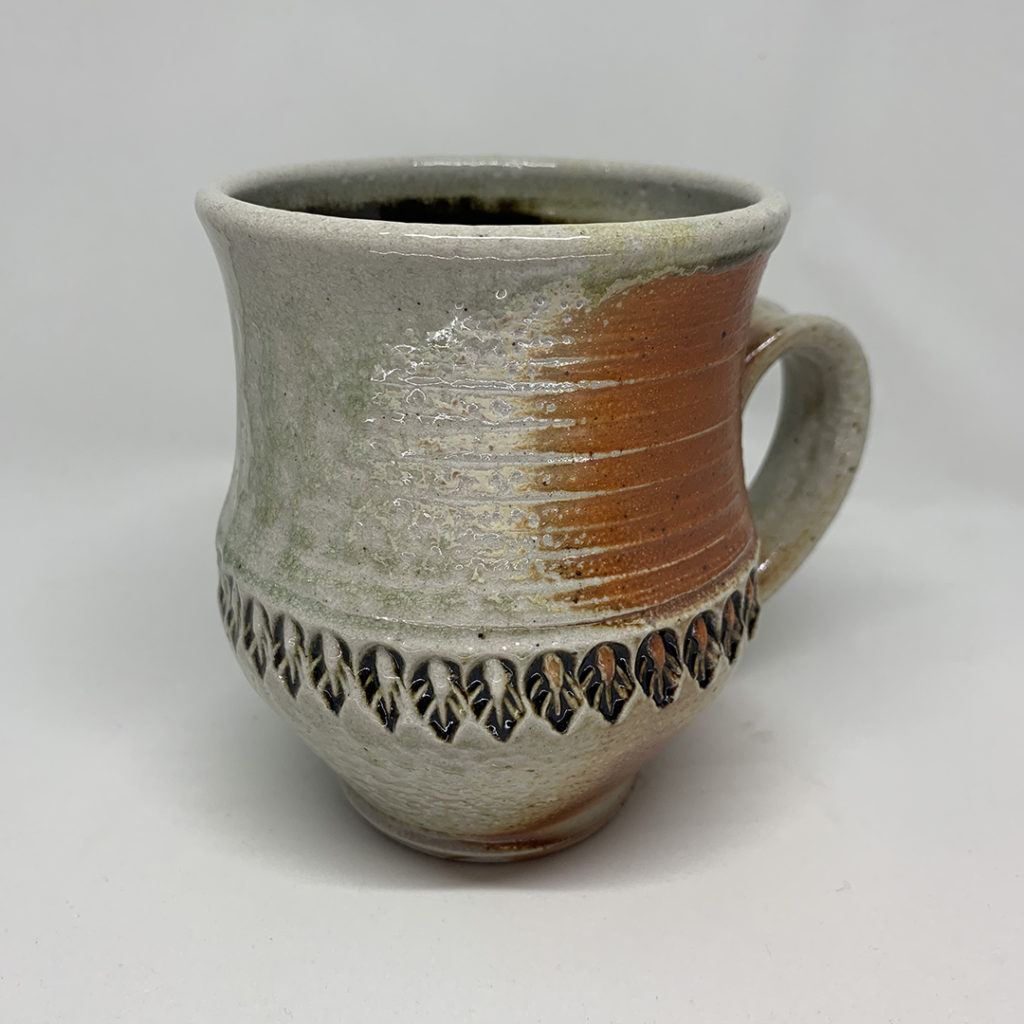
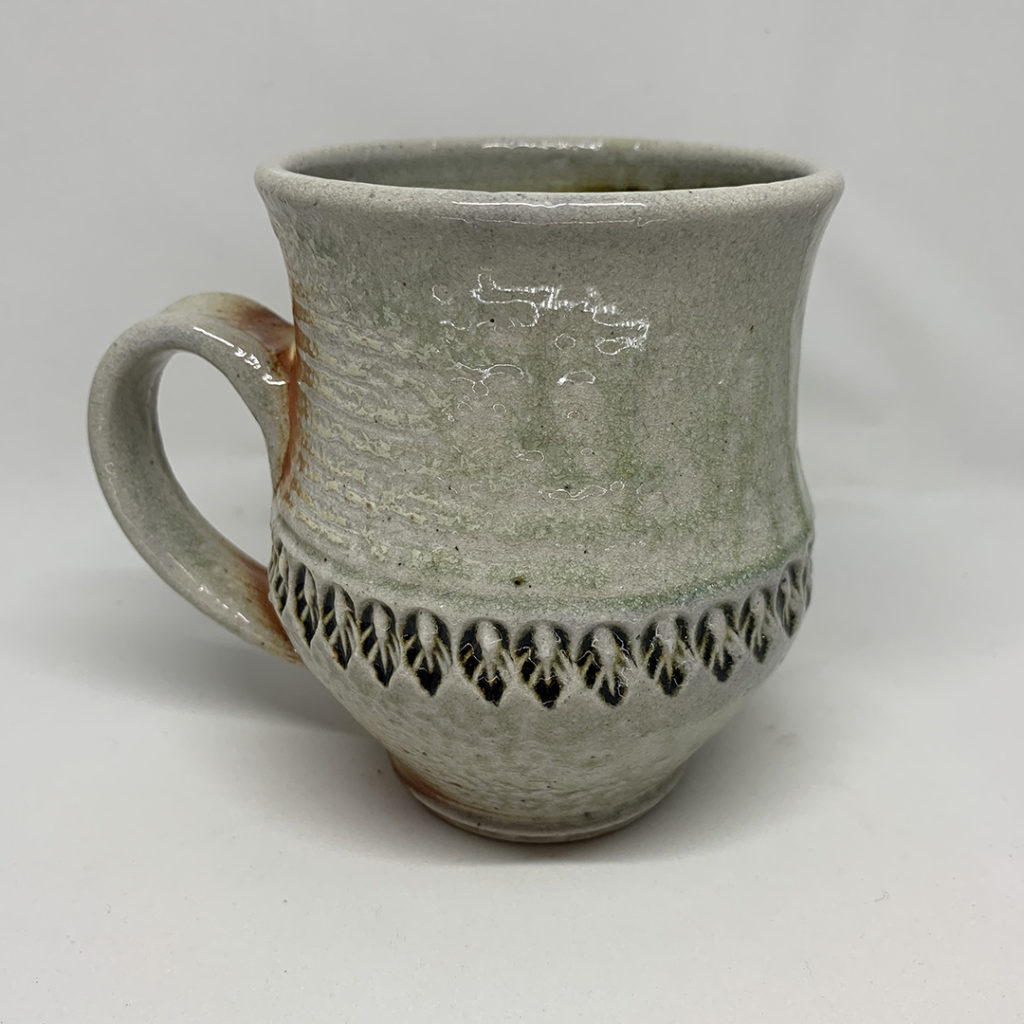
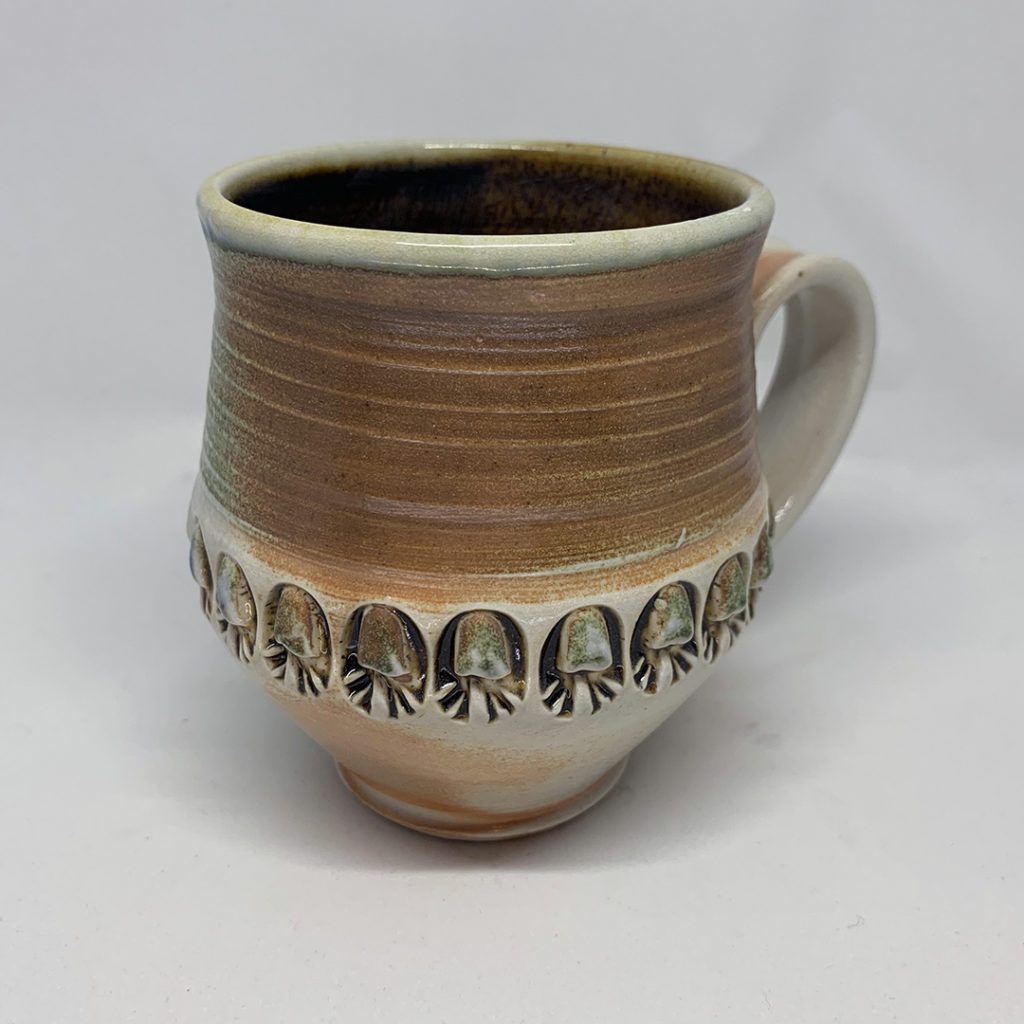
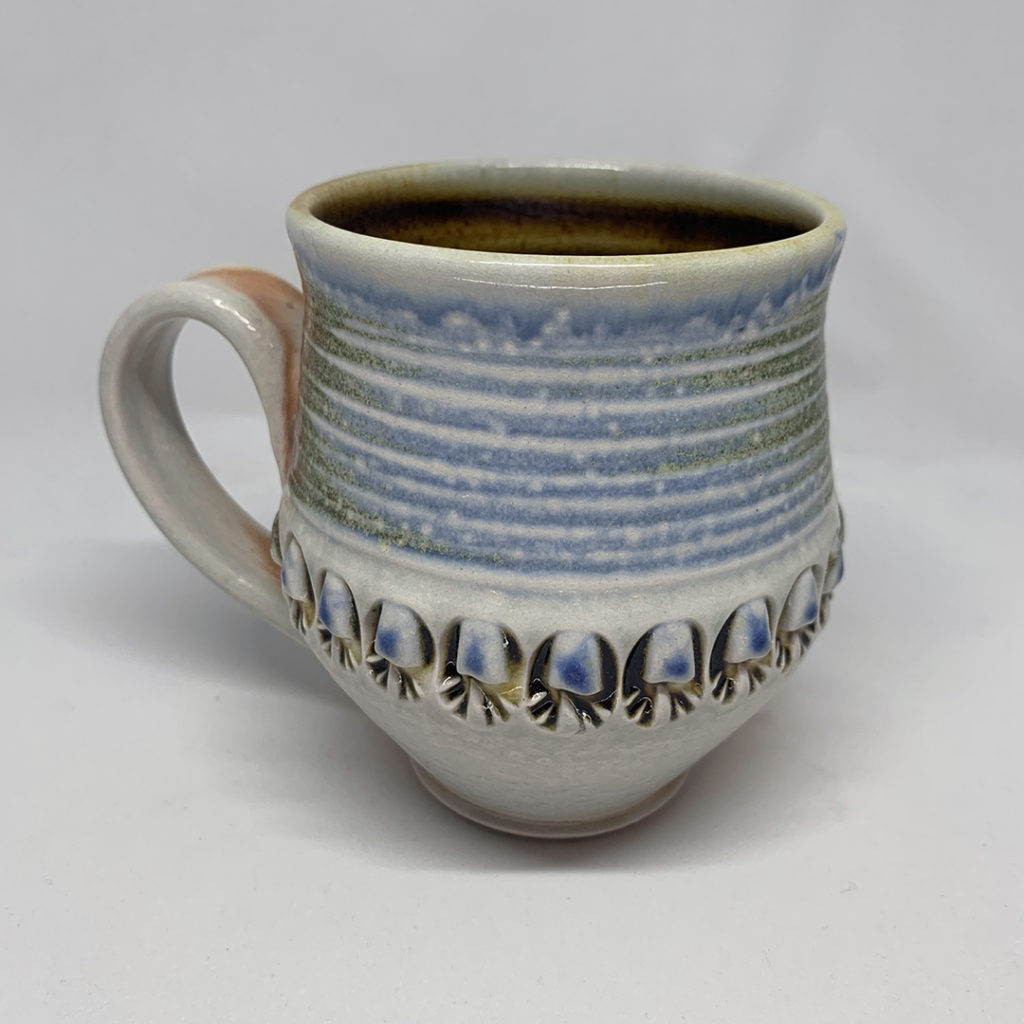
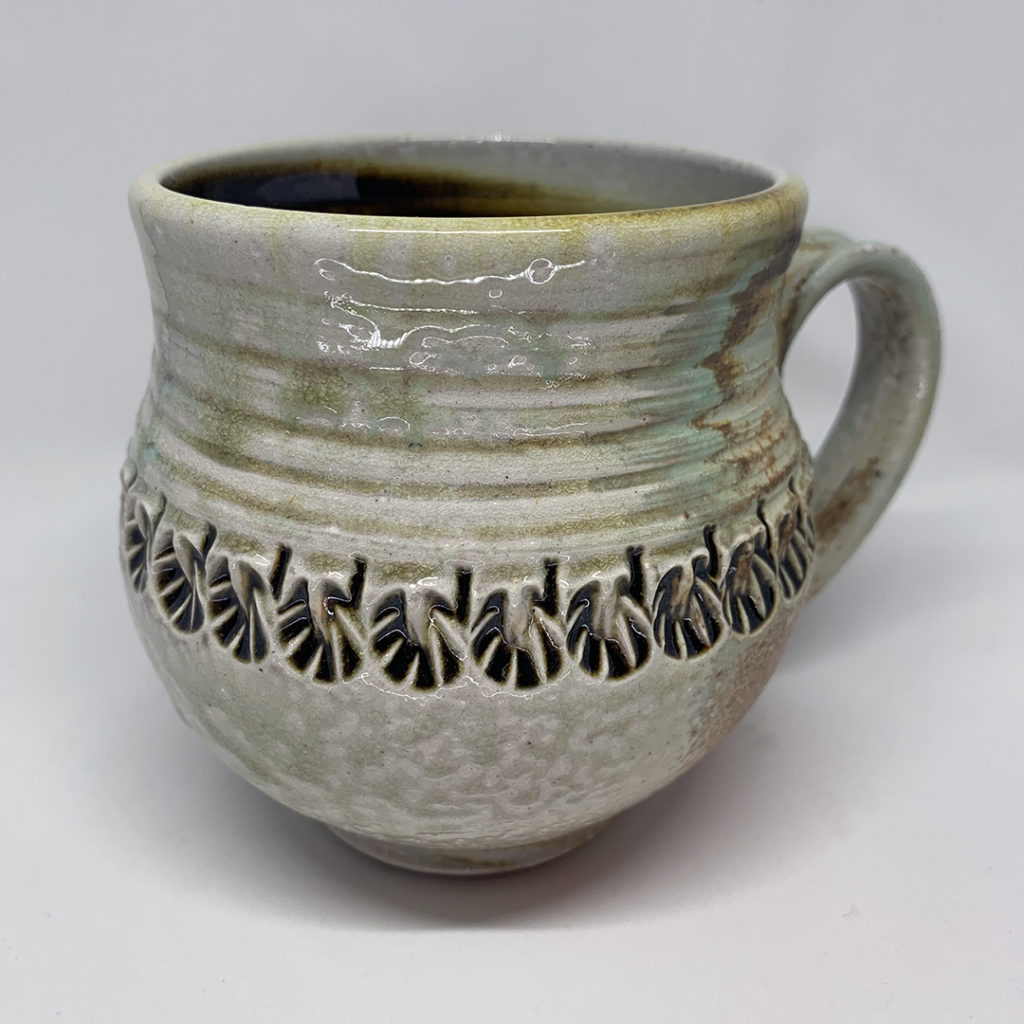
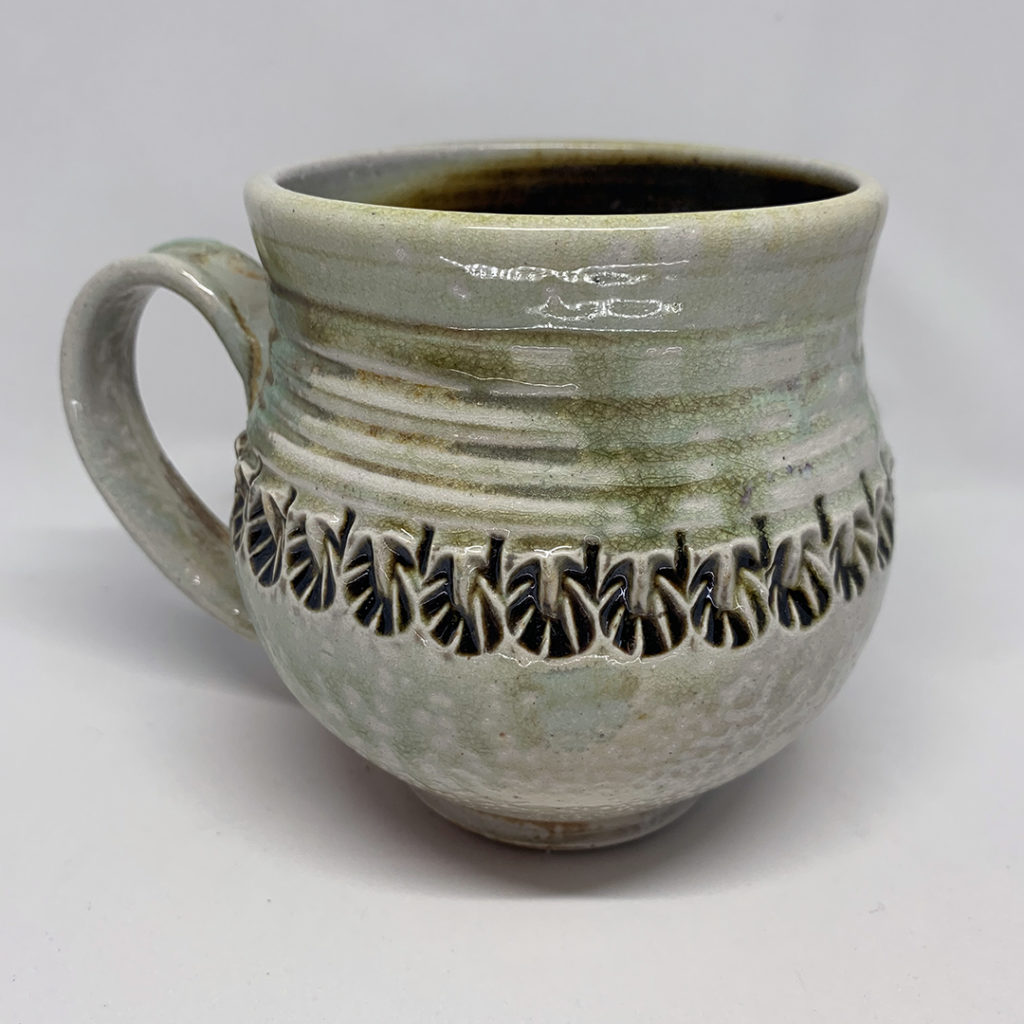
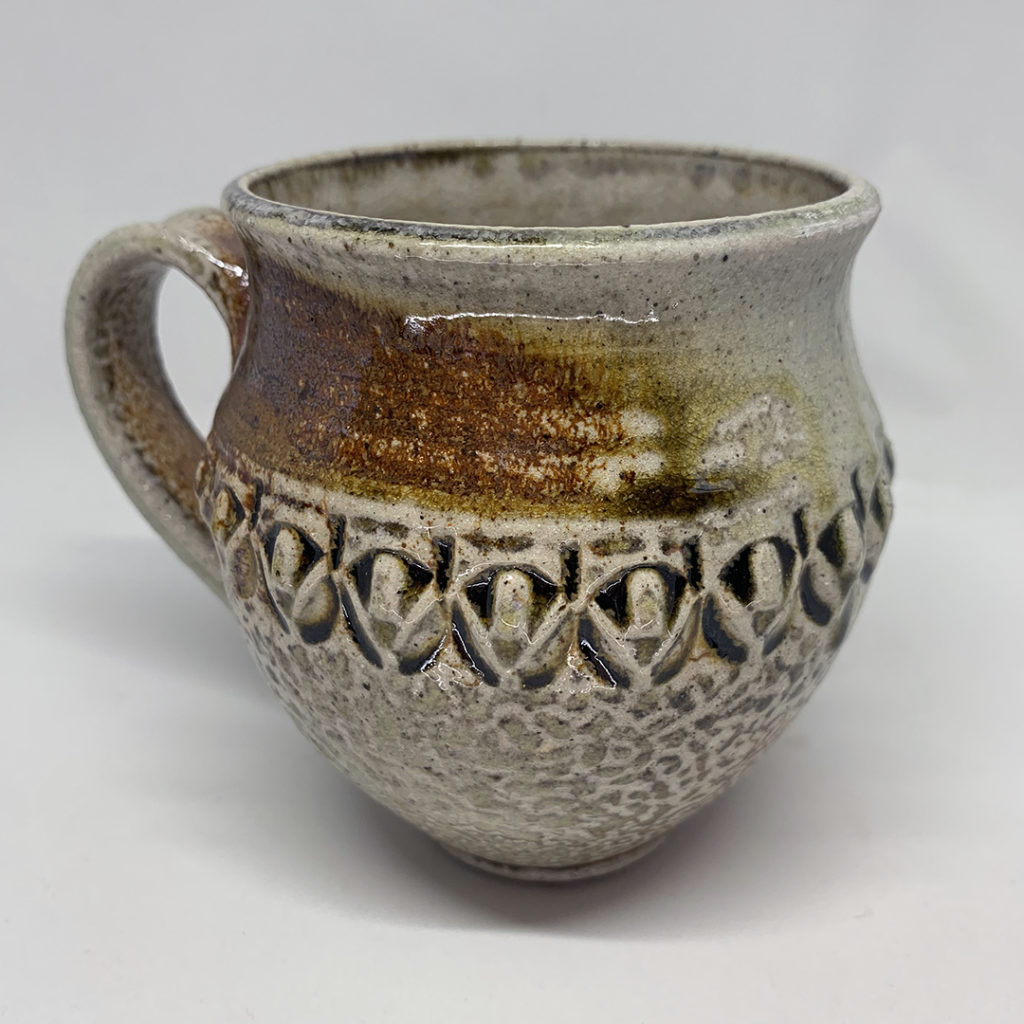
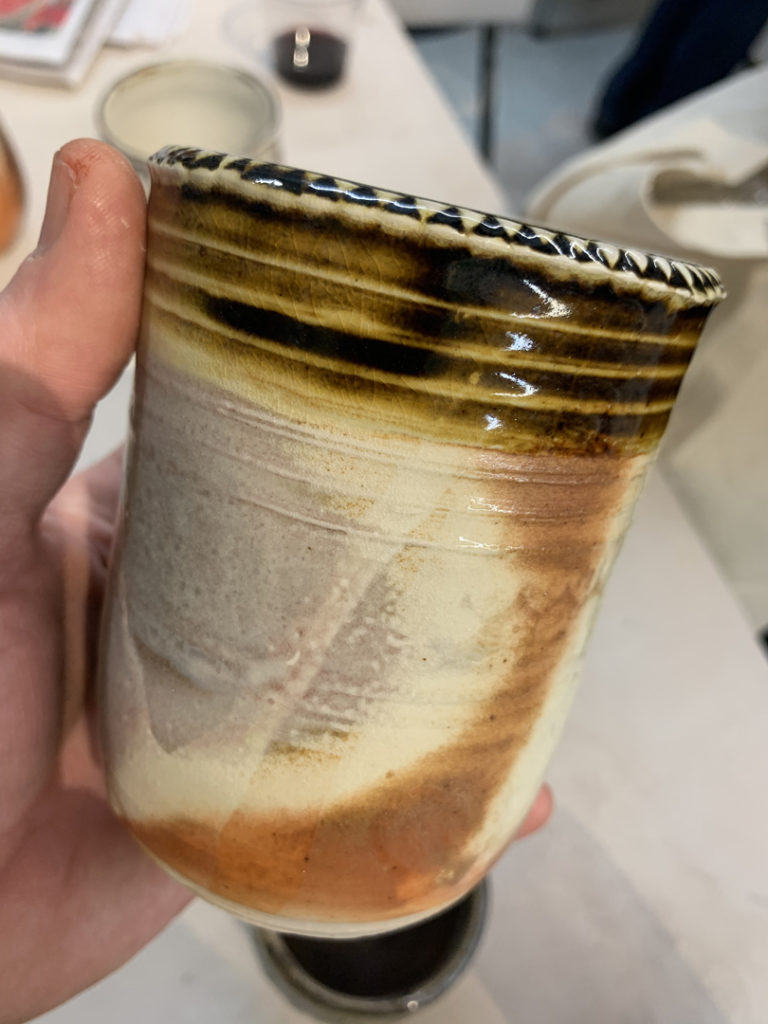
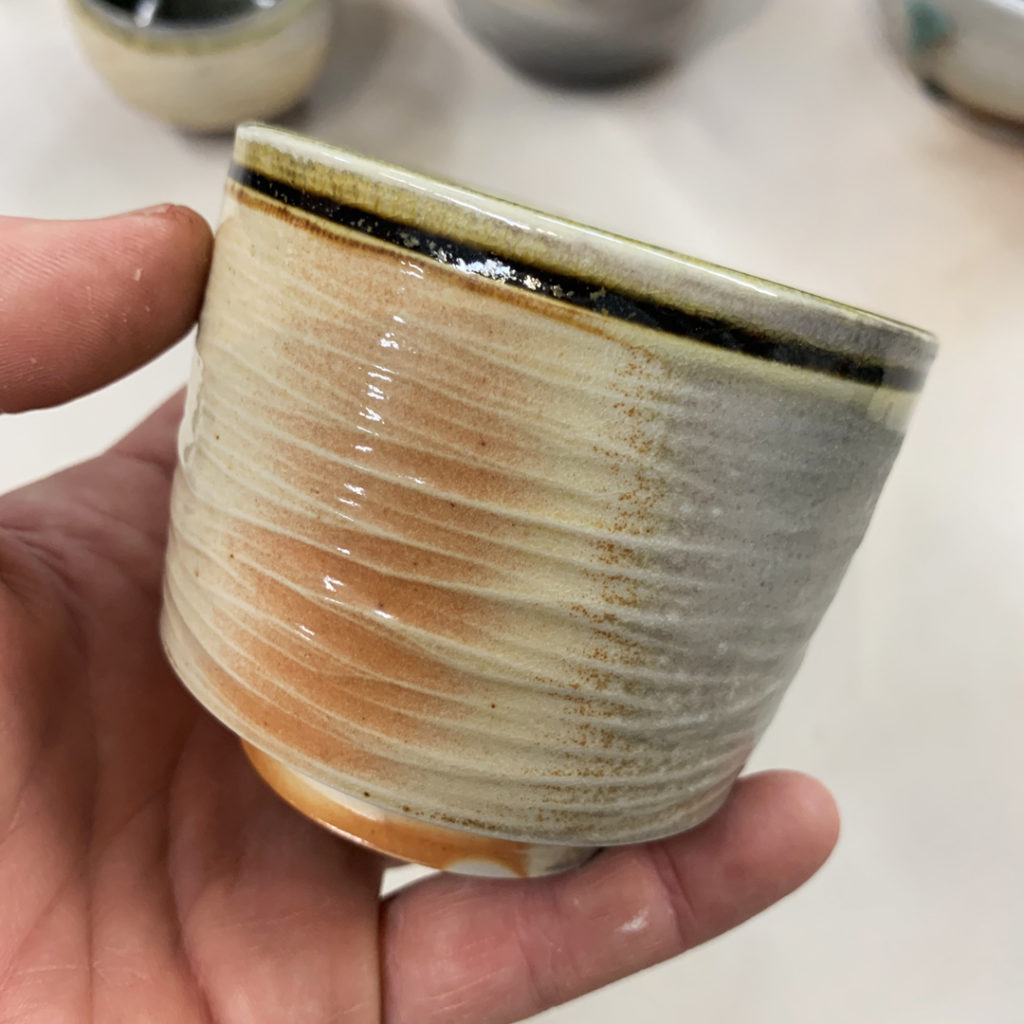
So here’s a SNEAK PEAK of the twelve mugs going up for sale on Monday. Remember, there is no shopping from this preview… that can only be done Monday morning on my Facebook page… click here!
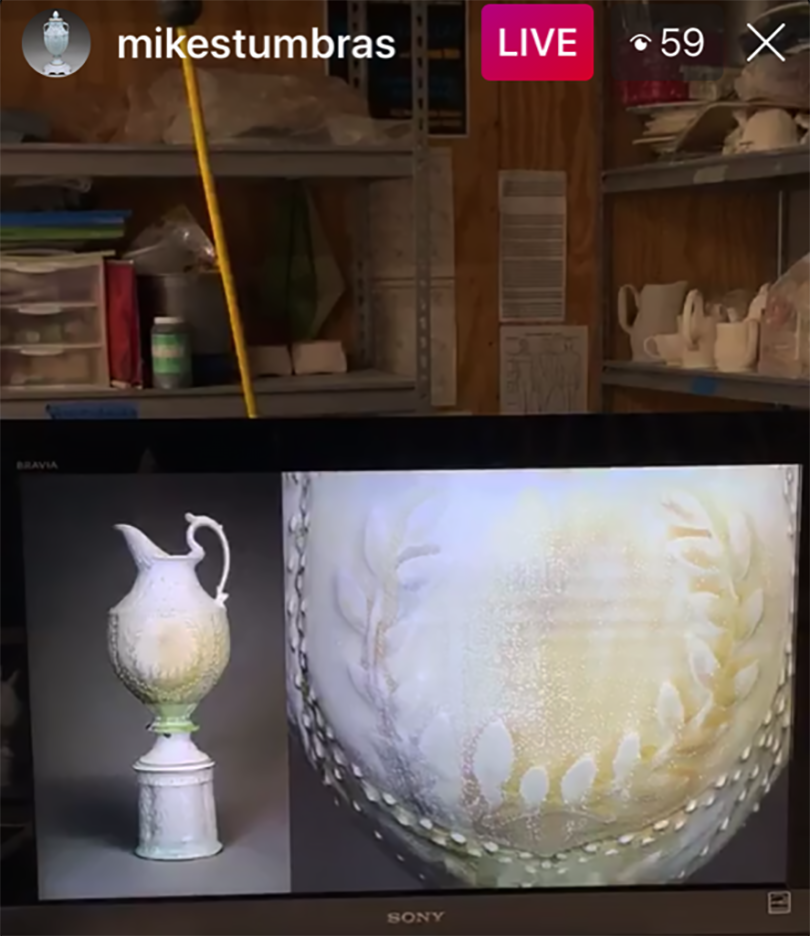
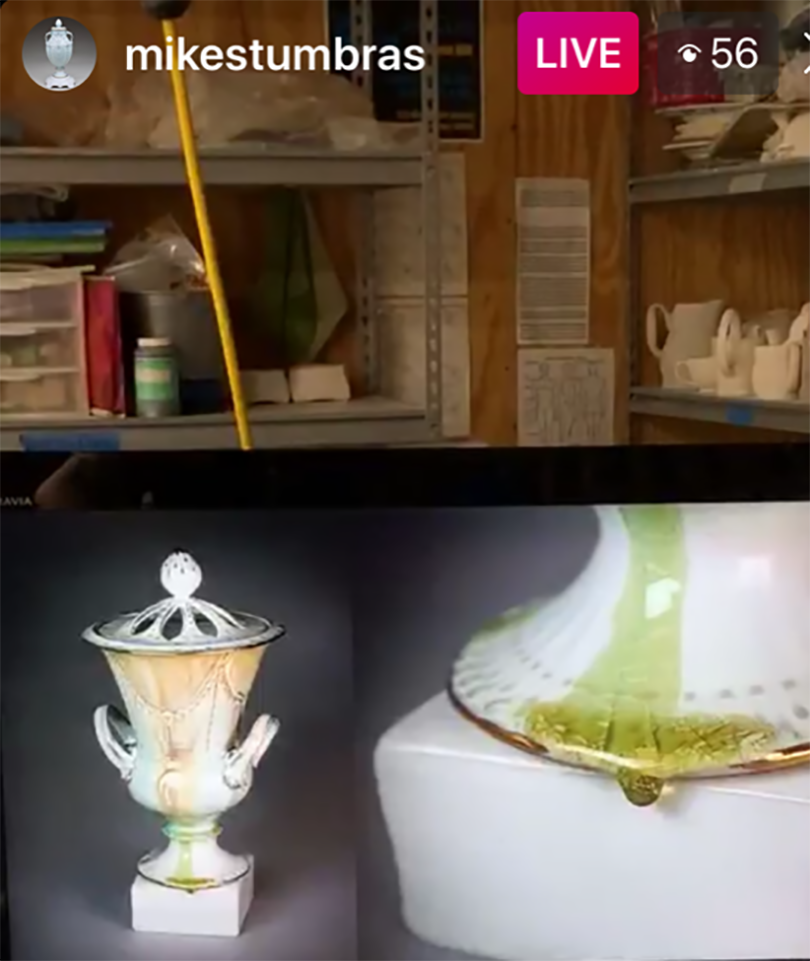
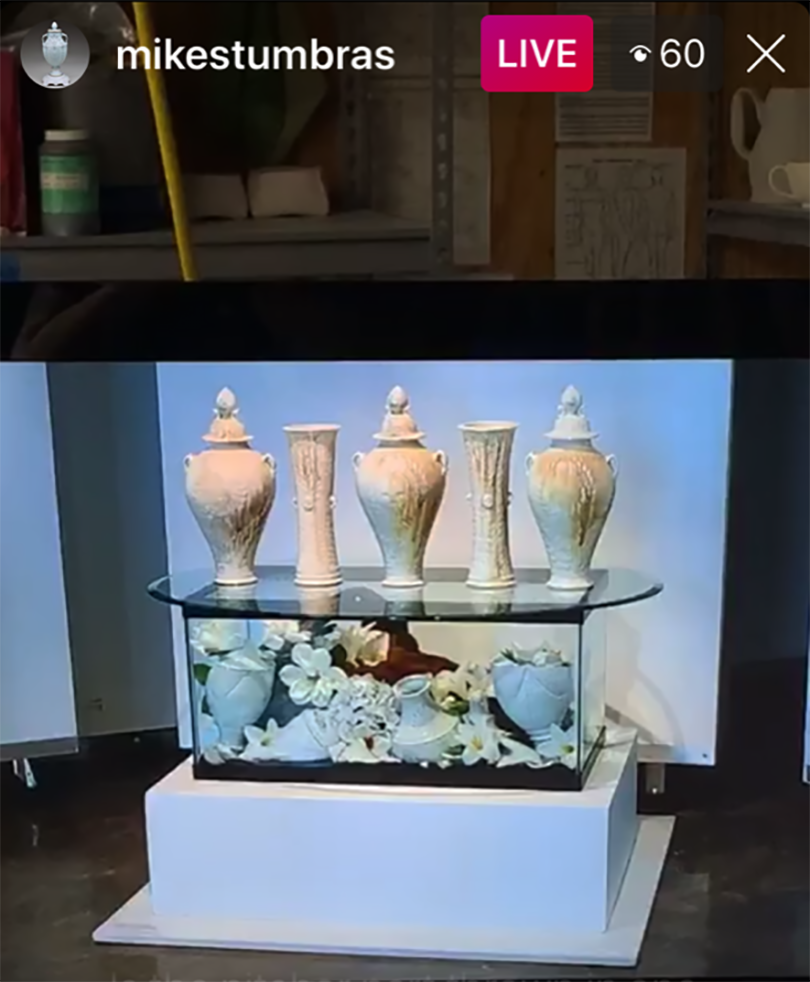
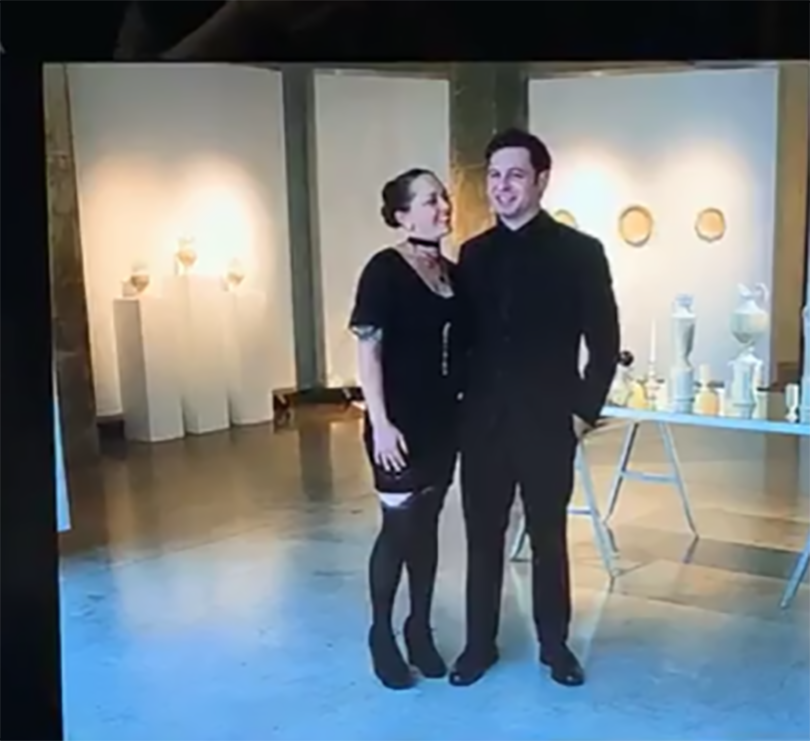
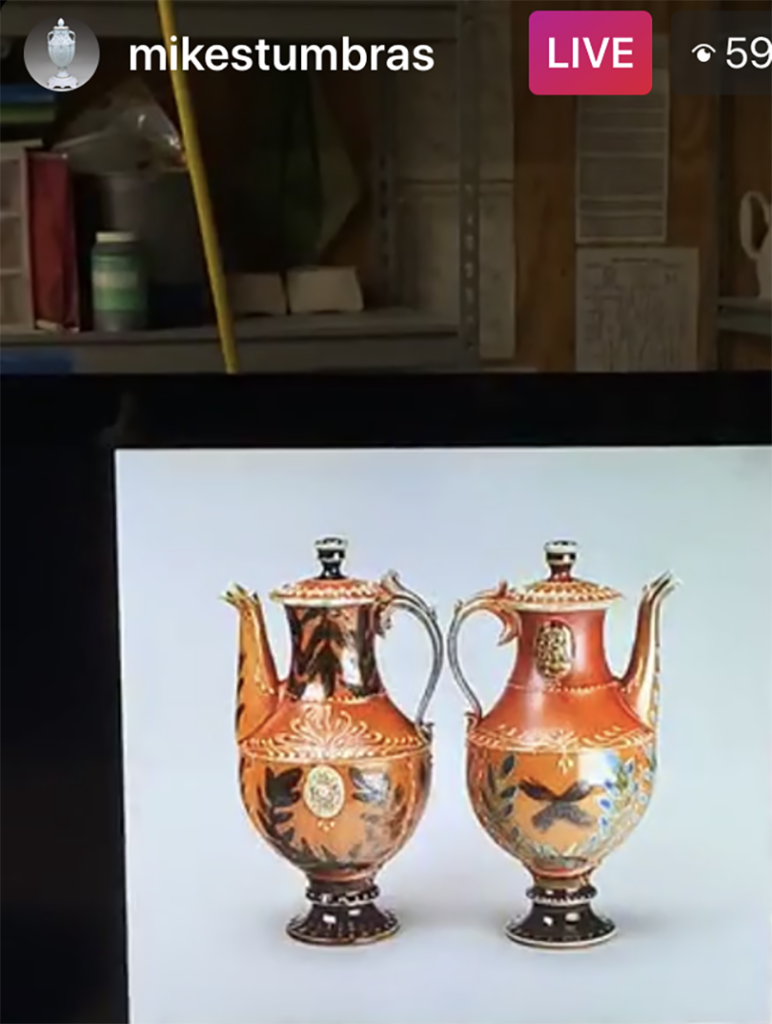
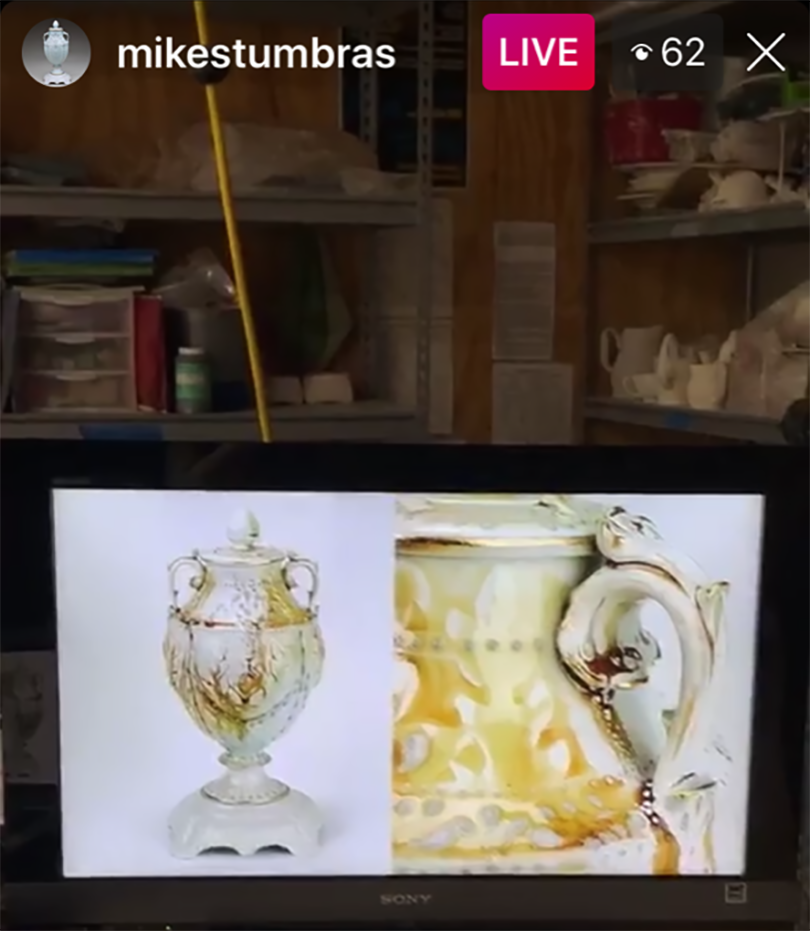
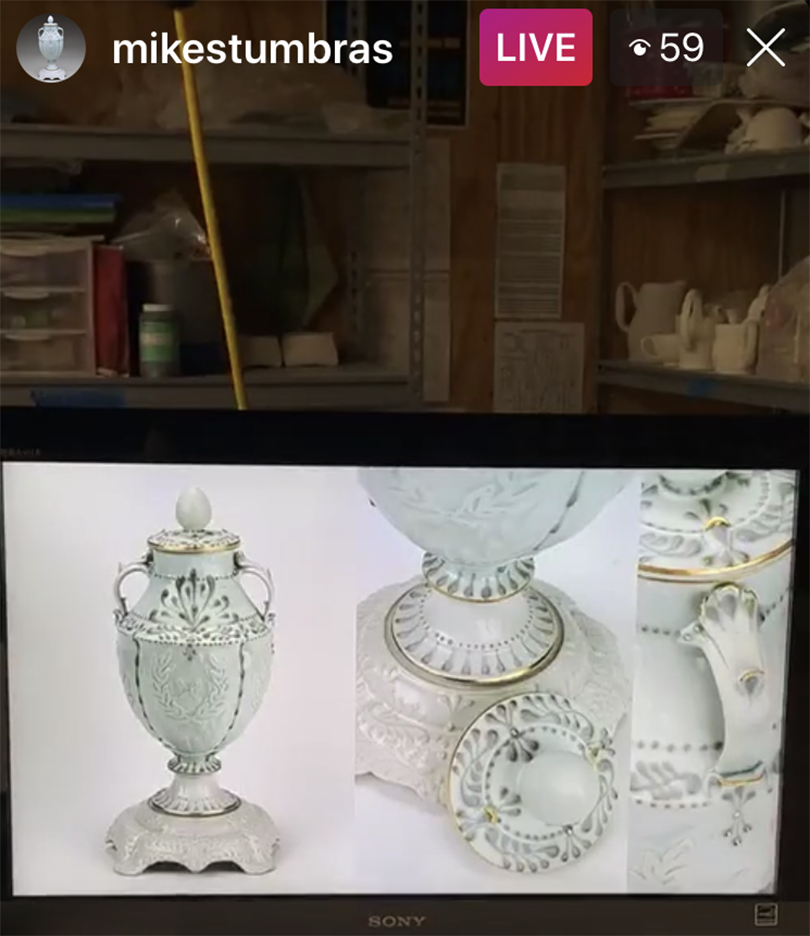
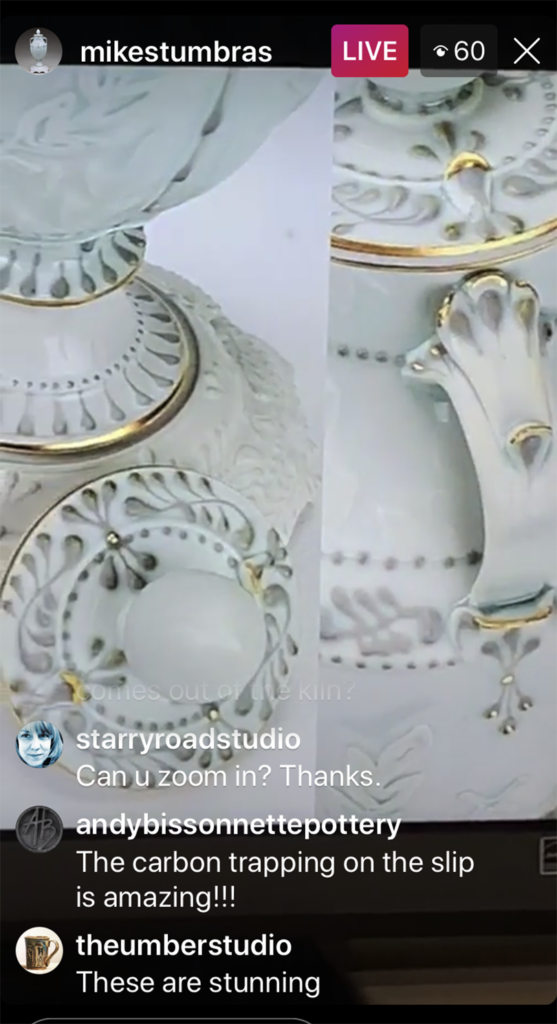
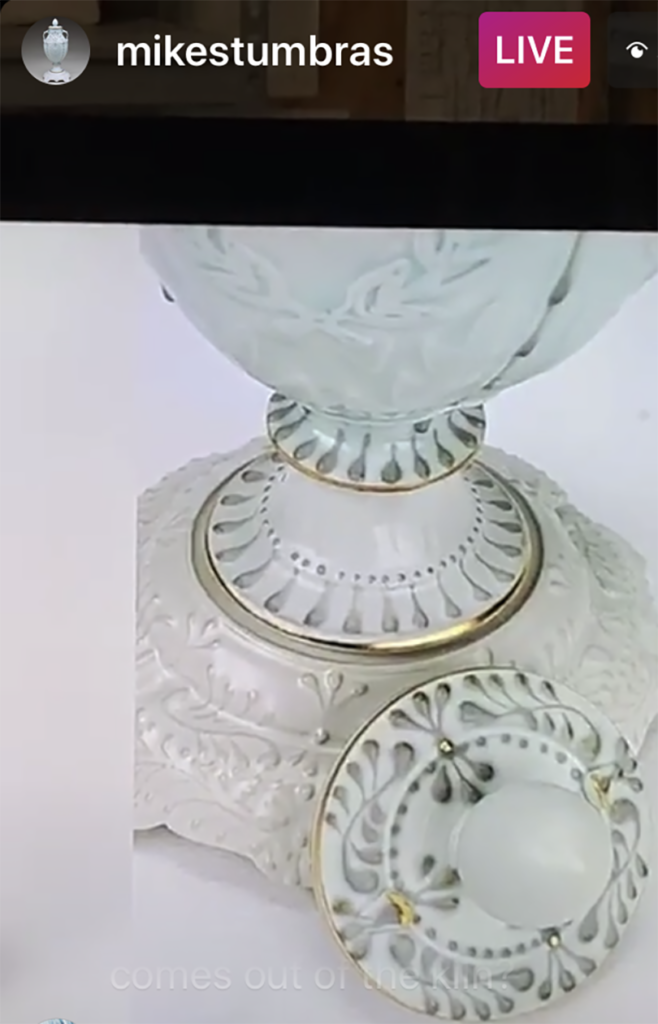
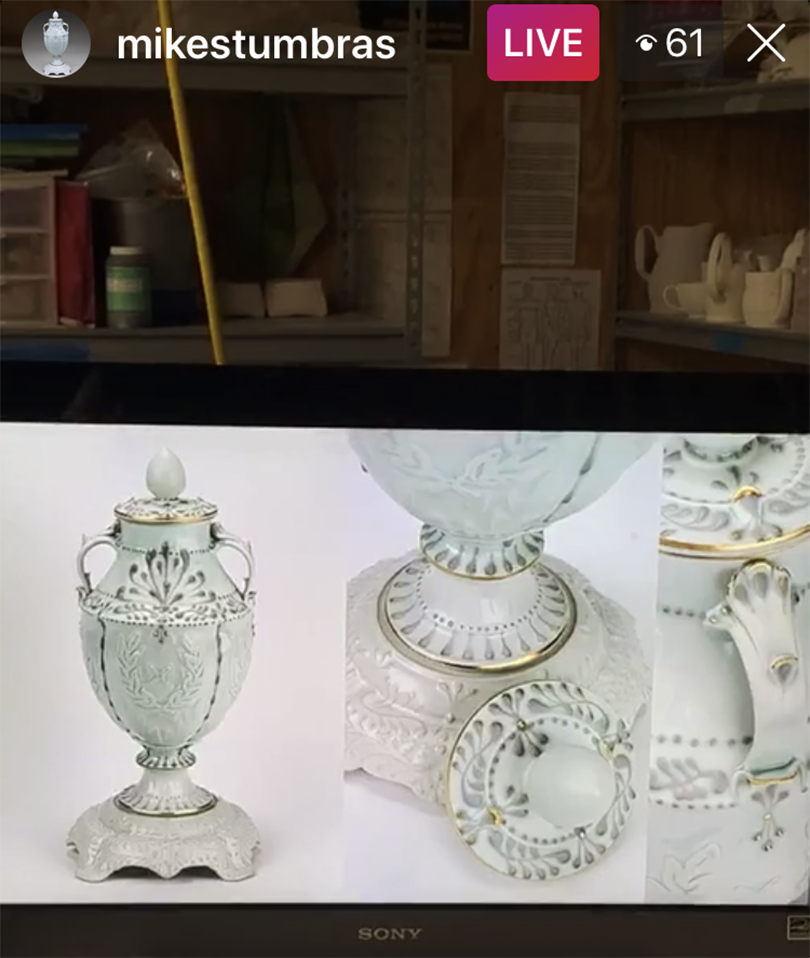
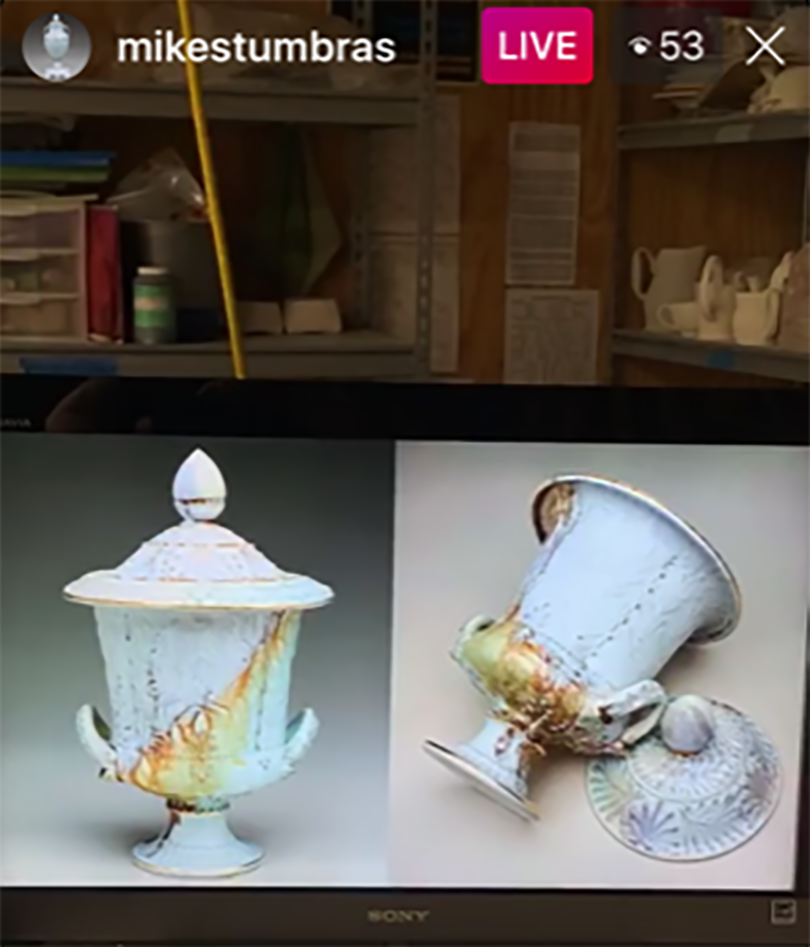
After Steve Lee, we were also treated to my pal Mike Stumbras on INSTAGRAM LIVE! Mikey took us on a wonderful “tour” of his ceramic journey through education, history, dead things and so much more! His work is amazing… so if you’re not following him on Instagram yet, you definitely should be!
HAPPY MUGSHOT MONDAY! As we’re all self-isolating & spending far too much time at home… tackling some long over-due projects… I thought to myself, “Sure, I could dust those shelves.†Instead, I just thought better and decided to post them as they are. Stacked. Over-flowing. And yes… DUSTY!
Don’t hate. I’ll try to take care of that when “I get some spare time.†Oh wait…
With the end of the LILLSTREET THROWDOWN bearing down on us, I had to get started on a “little project” of my own a couple weeks ago! Getting ready for the final night when the Big Winner would be revealed!!!
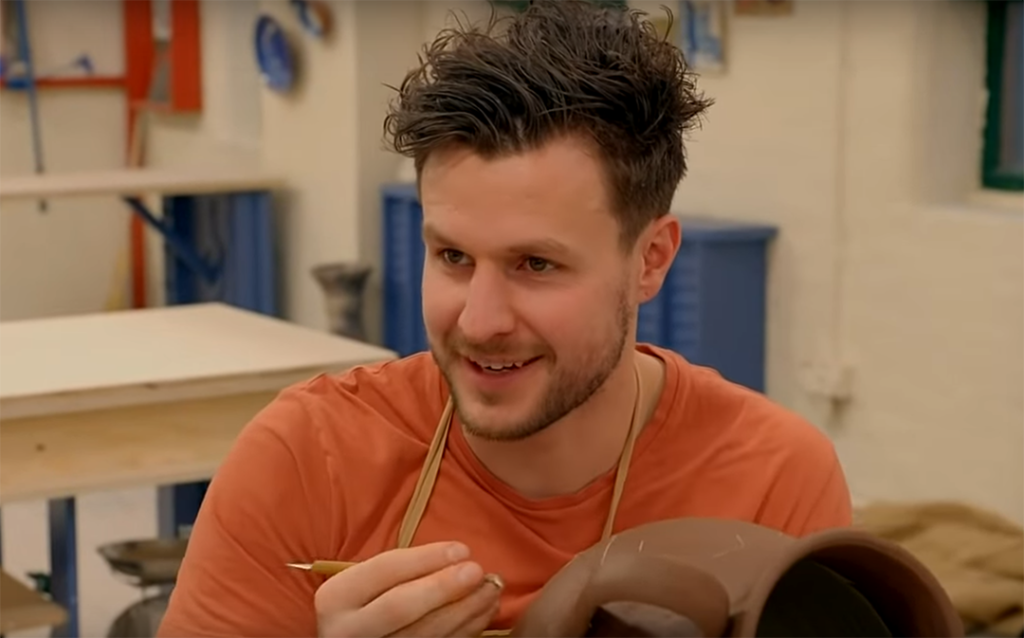
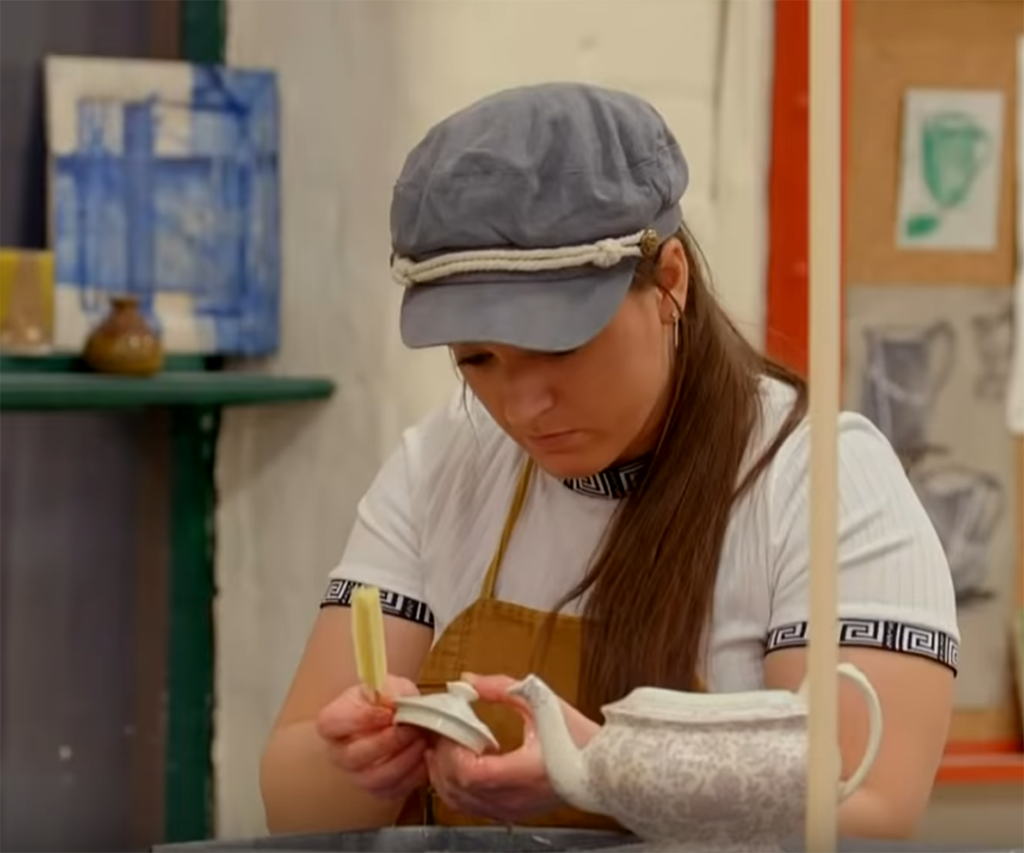
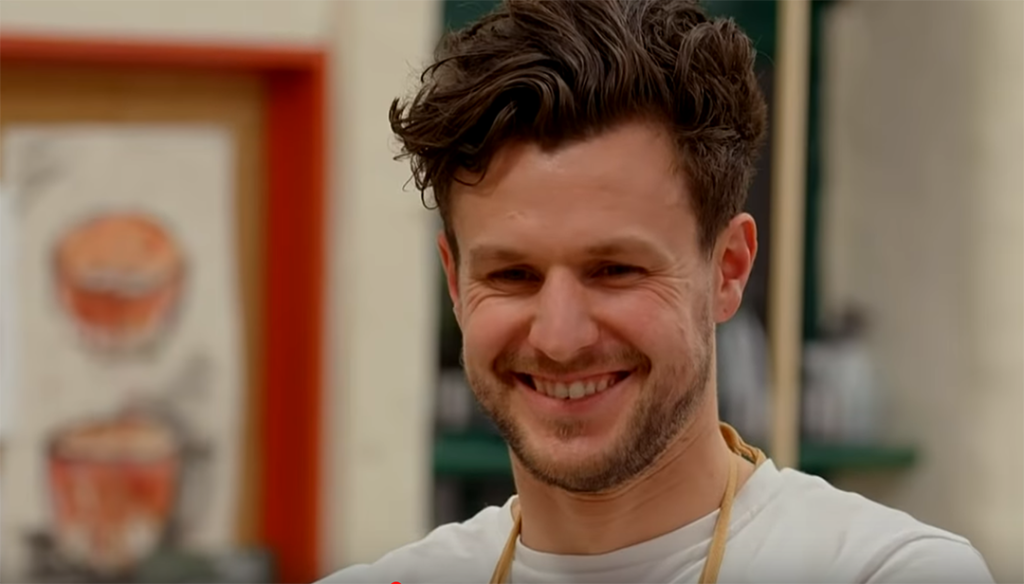
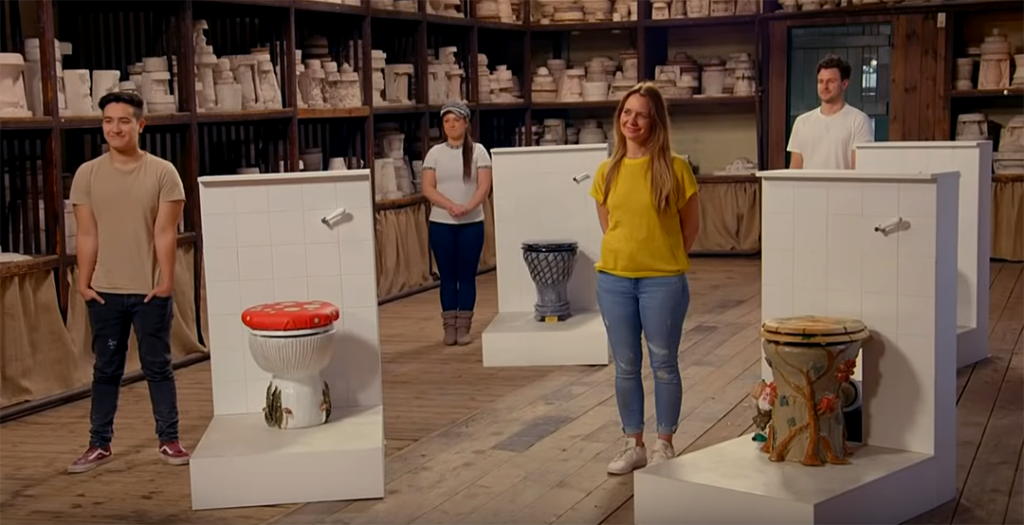
So I just watched this week’s episode… The Quarter Finals of THE GREAT POTTERY THROW DOWN! Where we go from four potters to three. And then I realized that somehow I forget to post last week’s episode where we went from five to four! So here it is… with a fun outdoor pit firing, some sgraffito carving and another great wheelthrowing challenge!
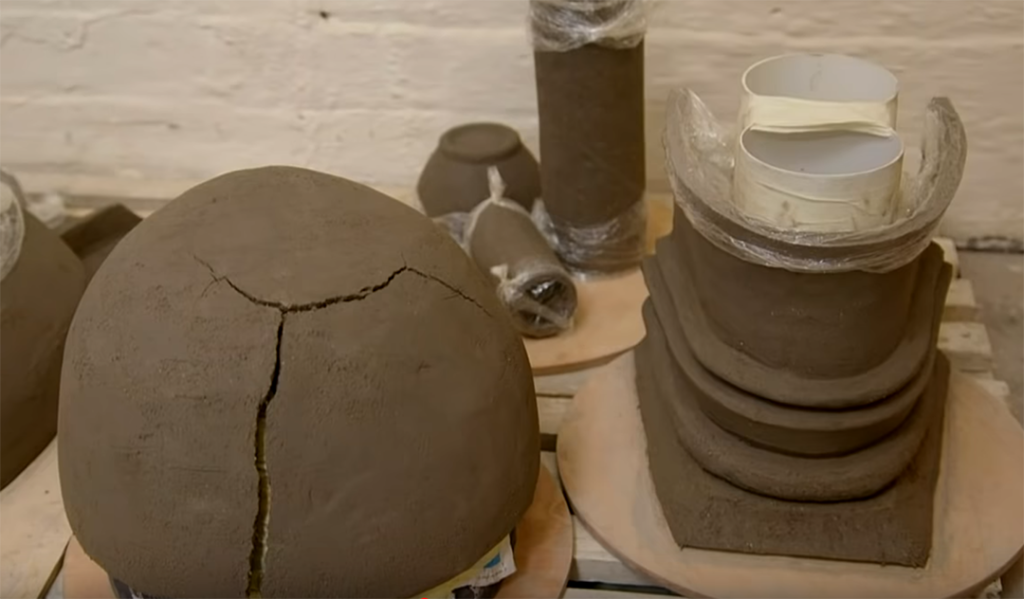
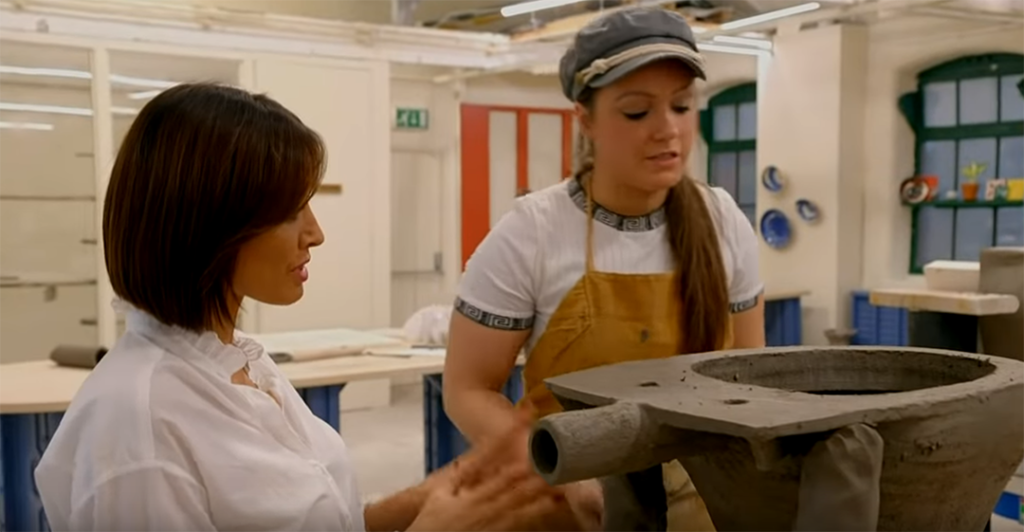
And then if you’re going to binge-watch two episodes back-to-back, here’s a few images from this week’s episode of THE GREAT POTTERY THROW DOWN. This episode is The Quarter Finals with their largest handbuilding project where some get “wet & messy”… as well as a little “wet & fussy” decorative spot challenge of underglaze transfers along the way! And then next week is The Final episode… WHOO-HOO!!!
After the “eventful” firing day Saturday… and a full cooling day yesterday, it was time to come back and unload the soda kiln with my workshop participants. I stopped in on Sunday to help speed-along the cooling process, as well as early Monday morning pulling a few bricks off the top row.
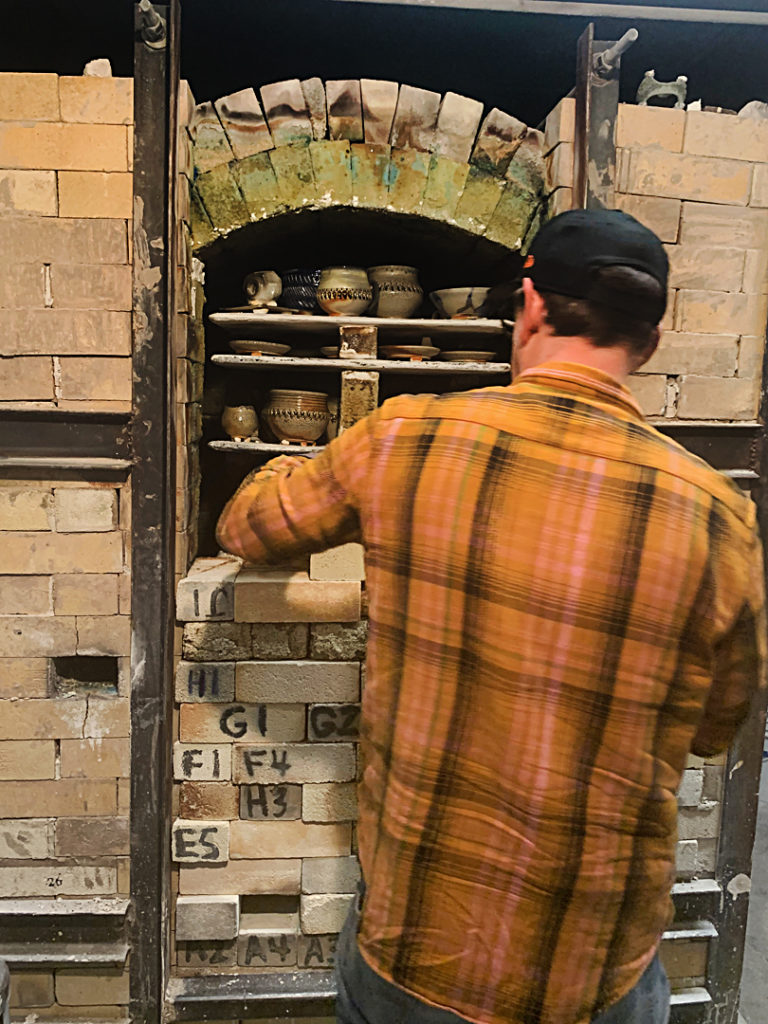
When the class showed up, we started taking off the kiln door brick. It’s always fun to see the “treasures” inside kind of reveal themselves layer by layer!
Eventually the entire door was off… and they could all see their newly soda-fired pots!!!
We unloaded the kiln, took all of their pots into the classroom while we cleaned the kiln, scraped the shelves and re-kiln washed the shelves. Once all of the busy-work was done, we could enjoy our potluck… and admire our new pots!!!
Cassie’s pots…
Kate’s pots…
Martin’s pots…
Christi’s pots…
Dan’s pots…
Charles’ pots…
Jacob’s pots…
And a couple of my mugs… as a little kiln filler along the way!
All in all, a great firing. Even with the crazy firing “issues’ we had, the work still came out nice. Good amount of soda, lots of flashing, nothing too crazy!!!
I think all-in-all, everyone had a great time in the Soda Workshop. I know three days are not really enough time to “learn” everything about soda-firing… but it was at least a good primer for them. Kind of a quick glance to see if they “like” soda-firing or not… before the addiction truly begins!
For subbing Lisa’s class, I like to do “demo-on-demand “…
which means I’ll kinda do whatever they want. So today Jeannine requested some bowl finishing tricks, and Julia wanted me to “throw something too tall to put on her class shelf.†Which turns out to be about 12-inches. So I did four quick bowls, threw a tall vase with just four pulls, decorated the bowls… and then chatted & solved all of the problems of the pottery world. As always, a fun class to sub for!!!