Gary Jackson: Fire When Ready Pottery
A Chicago potter’s somewhat slanted view of clay & play
Categories: clay, summer camp

When new clay meets “graveyard” reclaimed clay during Summer Camp!!! So my wheelthrowing campers “recycle” their bad & shmooshed pots by slightly drying them out on plaster bats and then wedging them back together with some new clay! Looks like it might be another Marbled Monday!

Categories: classes, clay

And apparently THIS is something new?… I guess the class last night thought it was a good idea to dry their clay in front of a fan??? Too bad it was still there this morning with the fan still going!!!! My campers would never let this happen! Just sayin’…

Categories: clay, process, studio

After summer camp today, I putz’d around in my studio for awhile trying to catch up on a few “projects” that have been hanging out for quite awhile now. One of them was to pull out my latest batch of reclaimed clay & put it on a large plaster bat so it can start to dry. Goopey-gloppy fun… and a lot of FREE CLAY!!! Do you see the not-so-hidden surprise???!

Categories: classes, clay, color, vases, wheelthrowing

This week in my Beginning Wheel class we played with colored clay for “marbled” pots! I started by coloring some clay ahead of time for them with mason stains layered & wedged into B-Clay. We then layered regular B-Clay and/or Brown Stoneware with the colored clays… and then gave it two simple wedges to start the marbling. So much fun to see the colors presenting themselves as you’re throwing. When we were done, the pieces still have a “smudgy” layer of mixed clays like a dirty skin on the pot. When they get to leatherhard, we will carefully trim the entire surface off to reveal the clean lines of layered & marbled clays.

And yes, if we were doing more than one or two pots, I would have definitely used rubber gloves. But since this was a “quickie” demo and not a long-term pottery career of marbled clay… I figured it was tough enough for my students to throw their own forms, let alone to do it with gloves on!

Categories: clay, production, tools, wheelthrowing

These tools have been very productive today!
Gotta love a full day of wheelthrowing… at least until you start to run out of shelf space to store the pots under plastic?!

Categories: clay, process, studio

It’s a new day.
It’s a new clay!

Finished up my latest batch of reclaim clay with a bit of wedging & bagging today. Sure, it still needs more wedging when I go to actually use it… but for now it’s back to being real clay… real FREE CLAY!!!

Categories: clay, mugs, process, production, stamped, stamps

So I’ve been stamping another batch of mugs! A little “something” different as they wre made with a new kind of clay. A tilemaker friend of mine bought some new clay and didn’t like how it “felt” when he started using it. And then when he fired his tiles, they all cracked during the firing. So he believes there might be something wrong with the clay?! He passed it on to me to give it a try… and here I did. I will agree it felt a little goopey & sticky… a little more finicky… but ultimately I made some cylinders for mugs. It was a little tougher to get them to stand up & hold their shape. But I’m sure I’ll get used to it… as he’s planning on passing his “bad” clay onto me!!! Bring it on… CHALLENGE ACCEPTED!!!

Mug 1 – before & after…

Mug 2 – before & after…

Mug 3 – before & after…

Mug 4 – before & after…

Mug 5 – before & after…

Mug 6 – before & after…

Mug 7 – before & after…

Mug 8 – before & after…

Mug 9 – before & after…

So for now

Categories: classes, clay

So apparently I touched my face… err, my mask… a bit more than normal in class this morning?! I think it might have been when I had to pop it off for a second when I showed them how to blow into a bottle to “inflate” and enlarge it a bit.

And did anybody notice how I said “mask” and “normal” in the same sentence and it didn’t seem weird?

Okay, THAT’s weird!!!

Categories: clay, process, studio

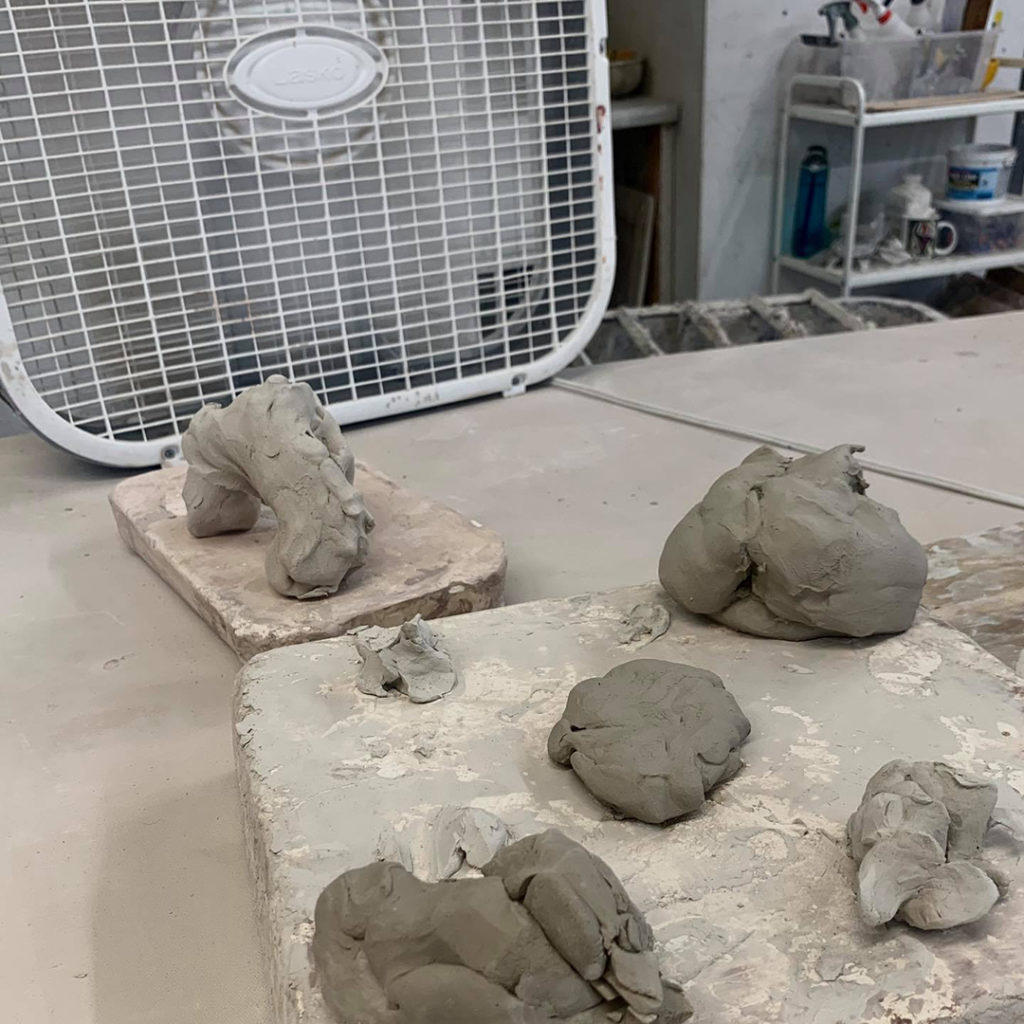
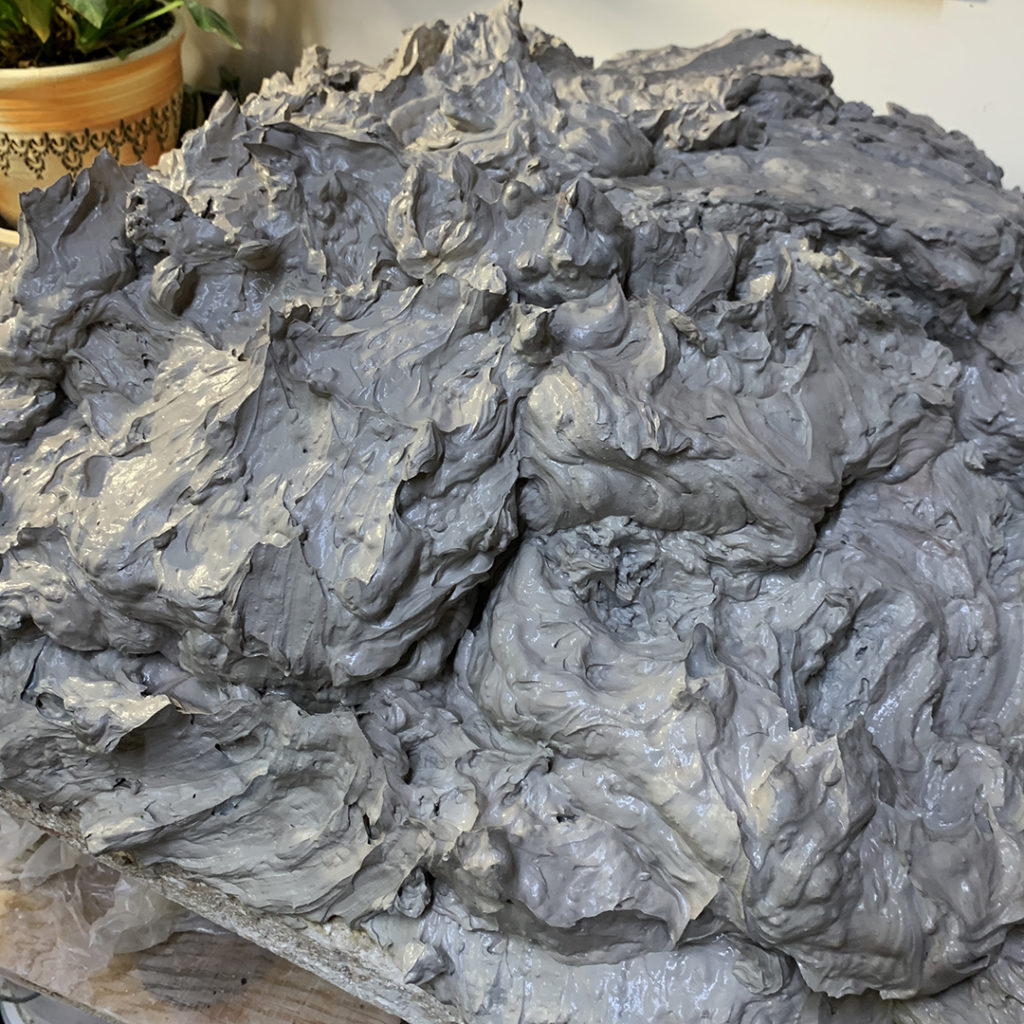
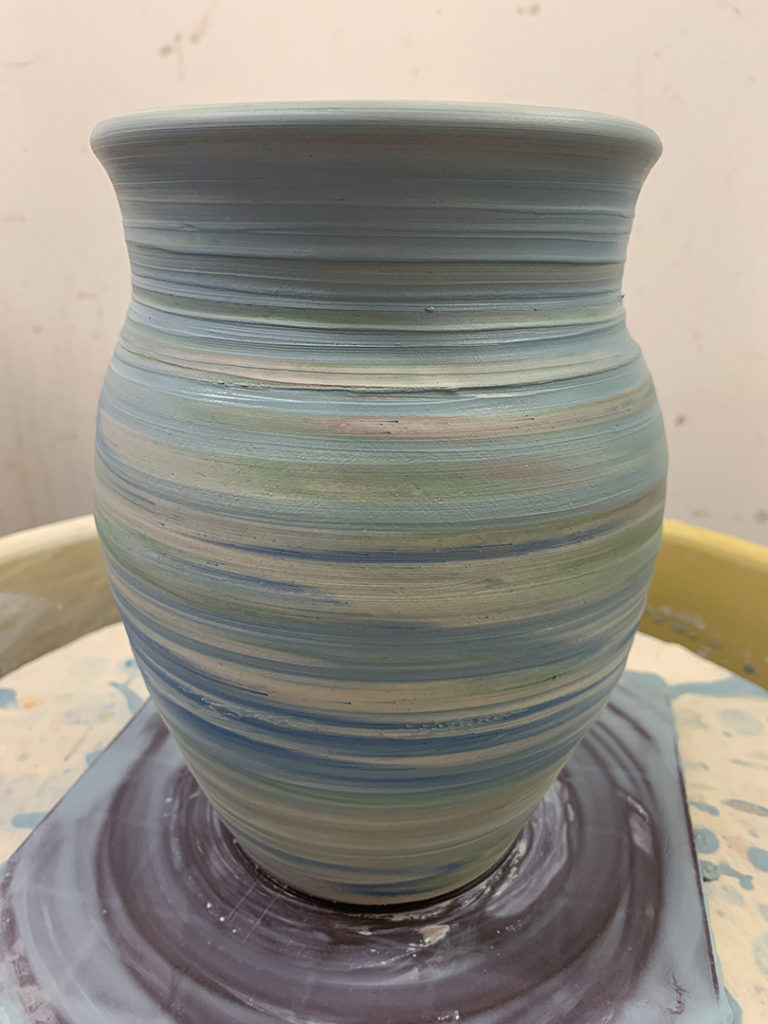
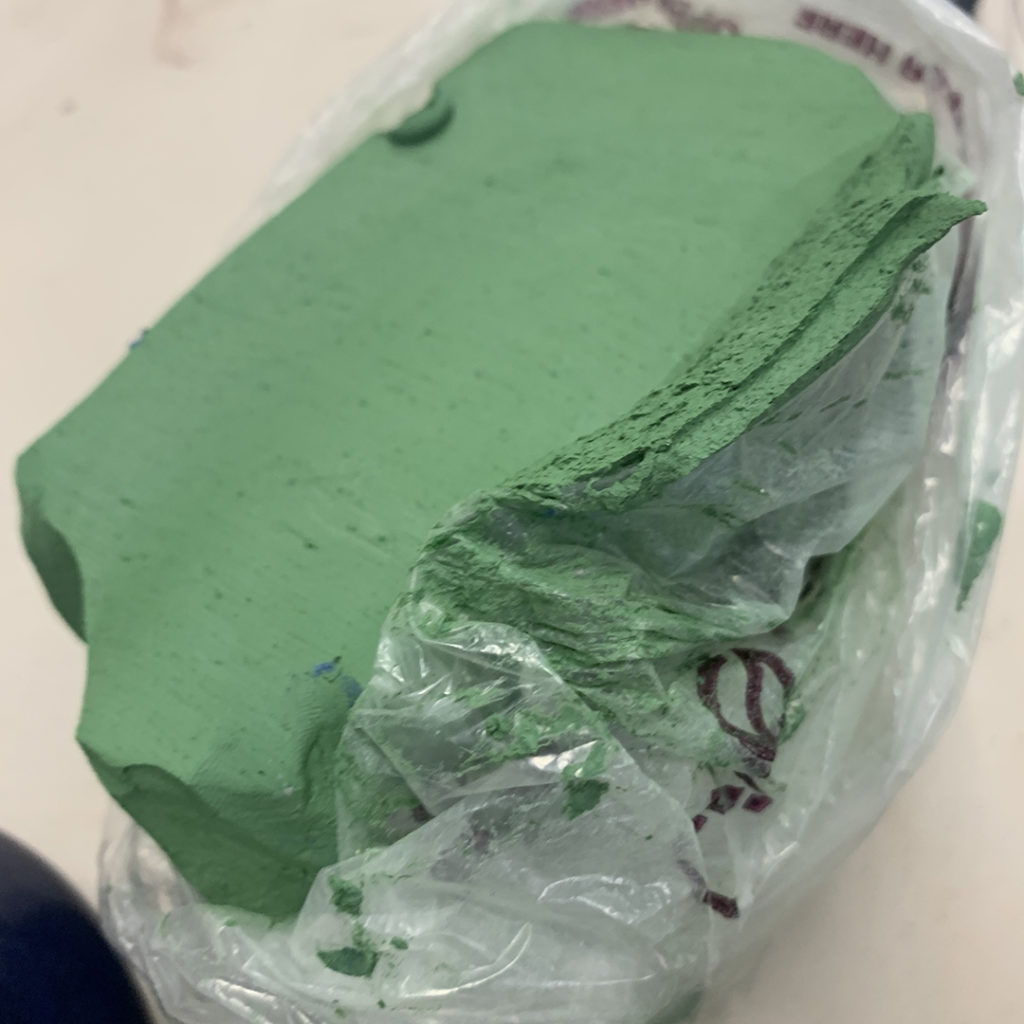
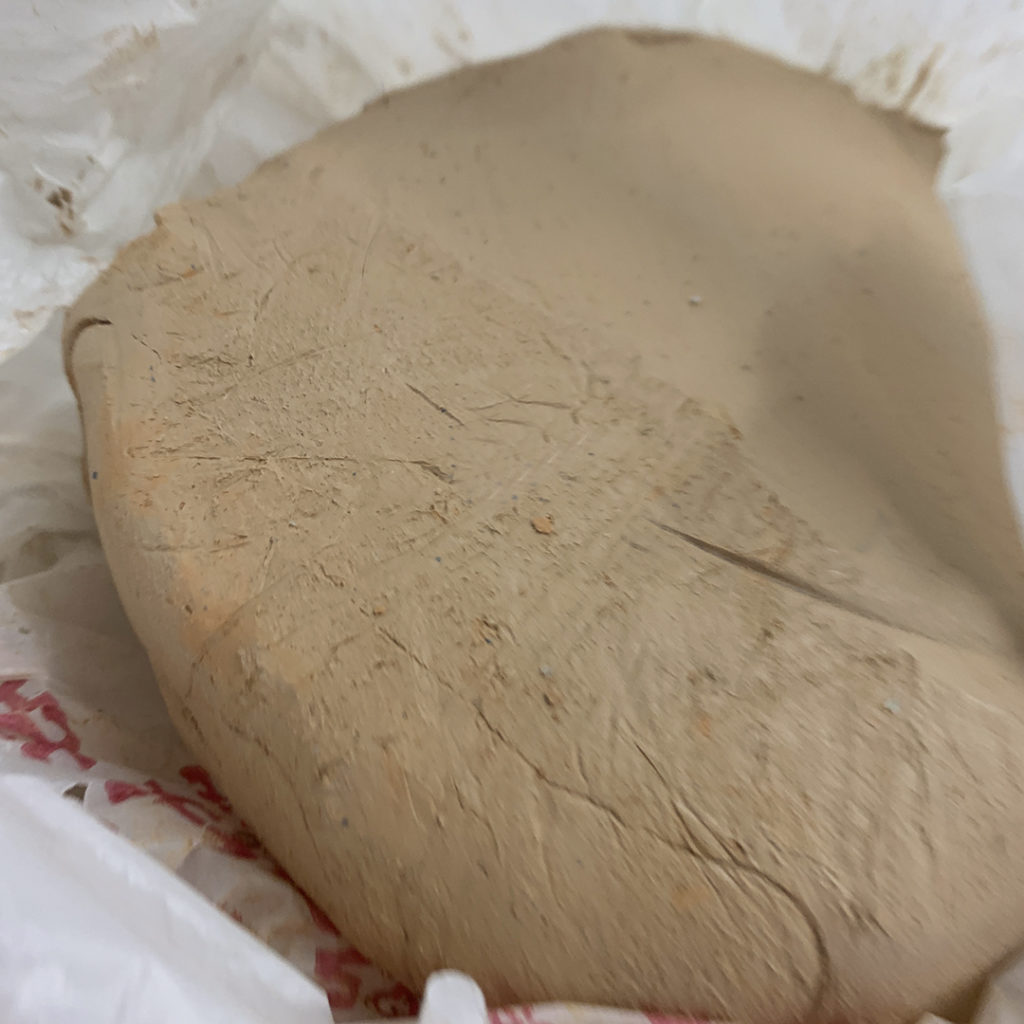
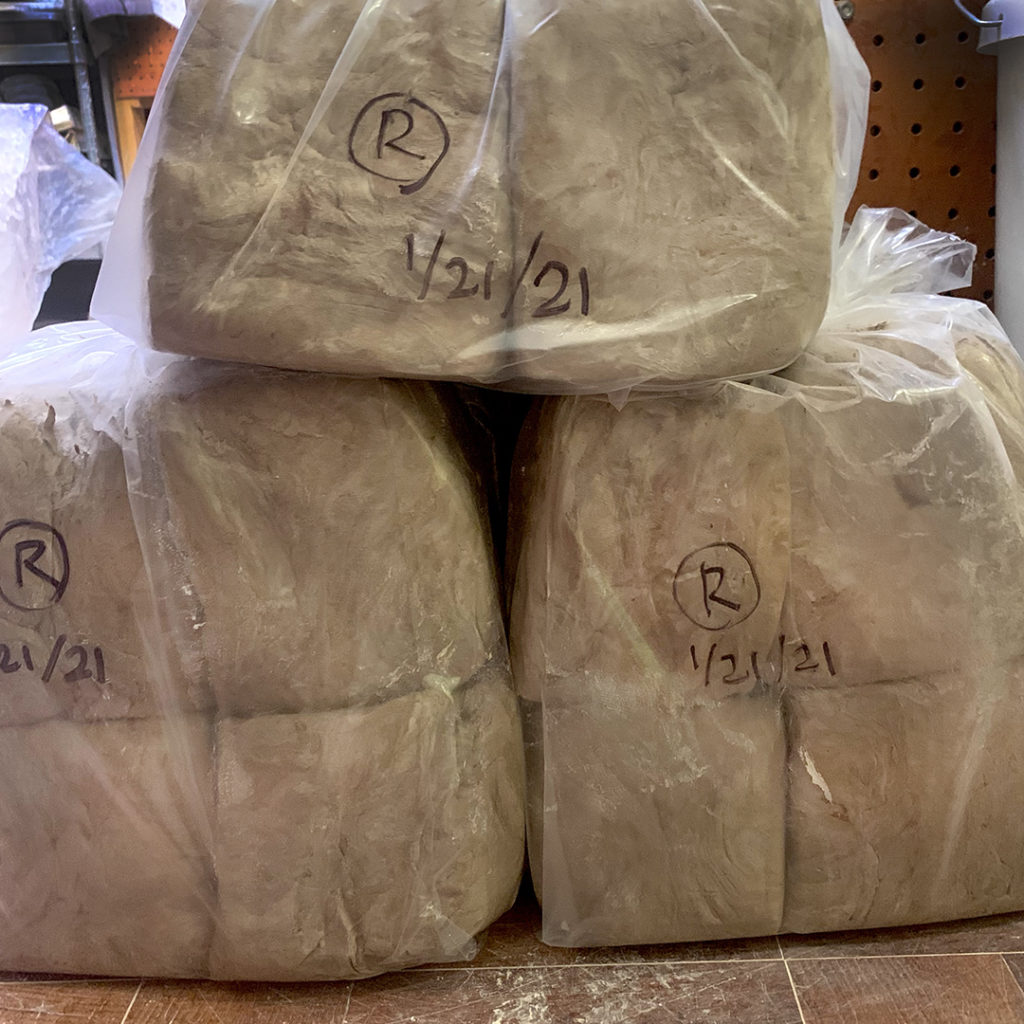
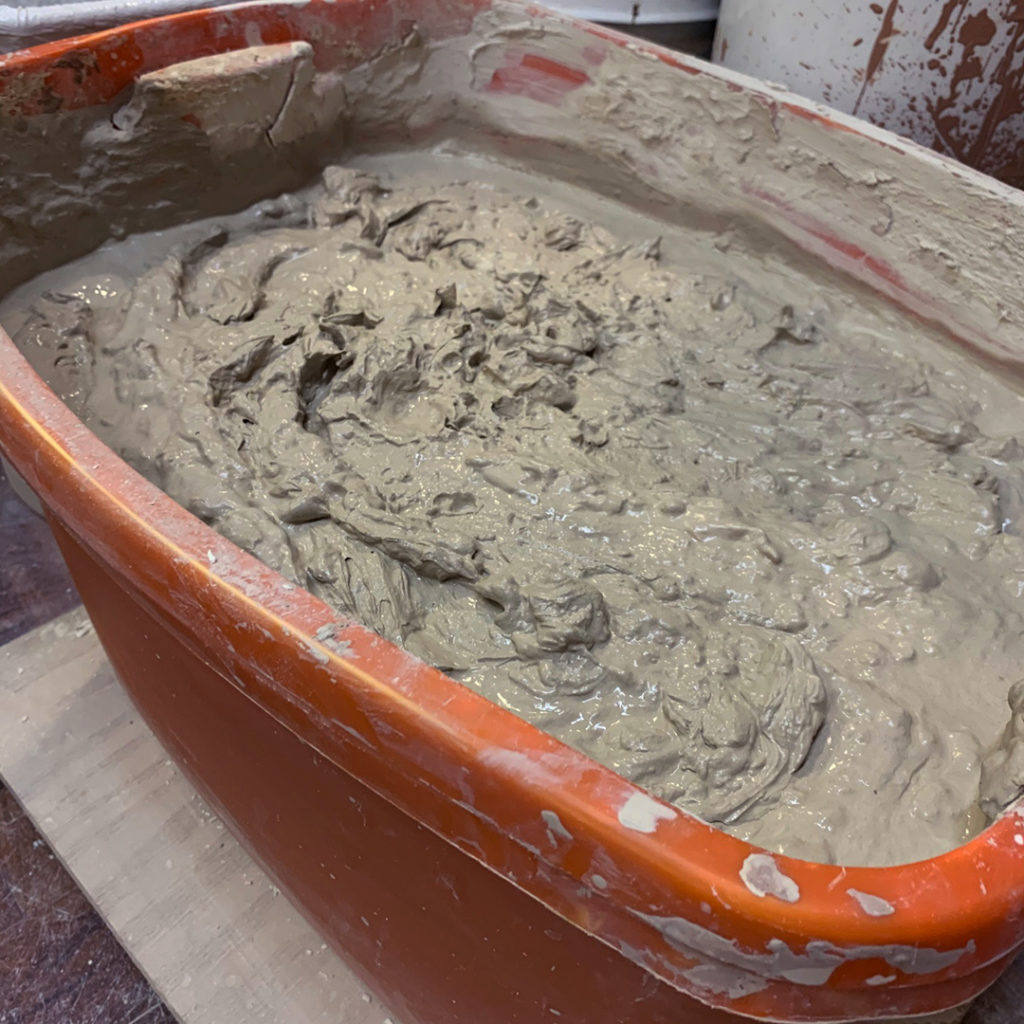
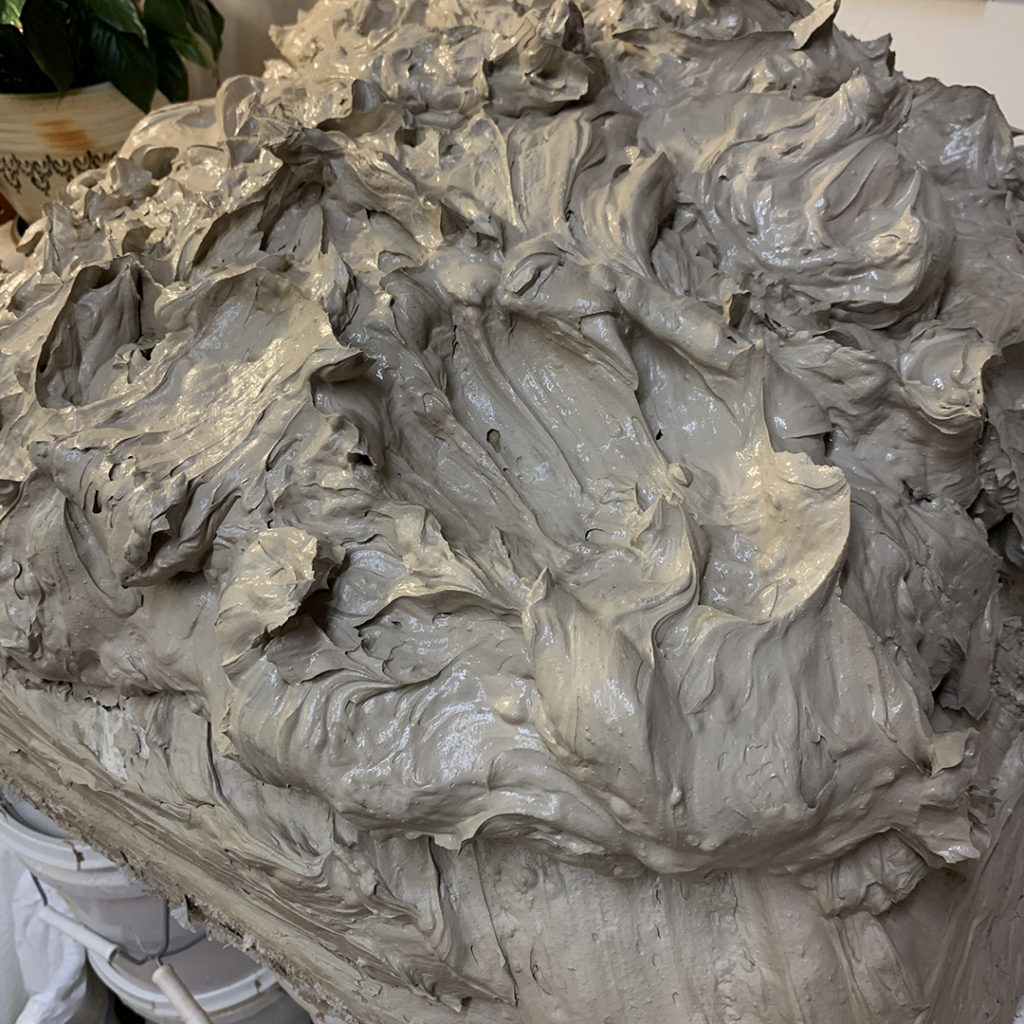
So I spent part of the night “processing” my clay… taking bags of kinda-wet reclaim, kinda-dry stoneware, and some random scraps of clay left over in a few bags sitting around my studio. It’s always nice to work them all together to make a “new” clay that is all evenly blended… and to get rid of a bunch of random clay bags lying around my studio!

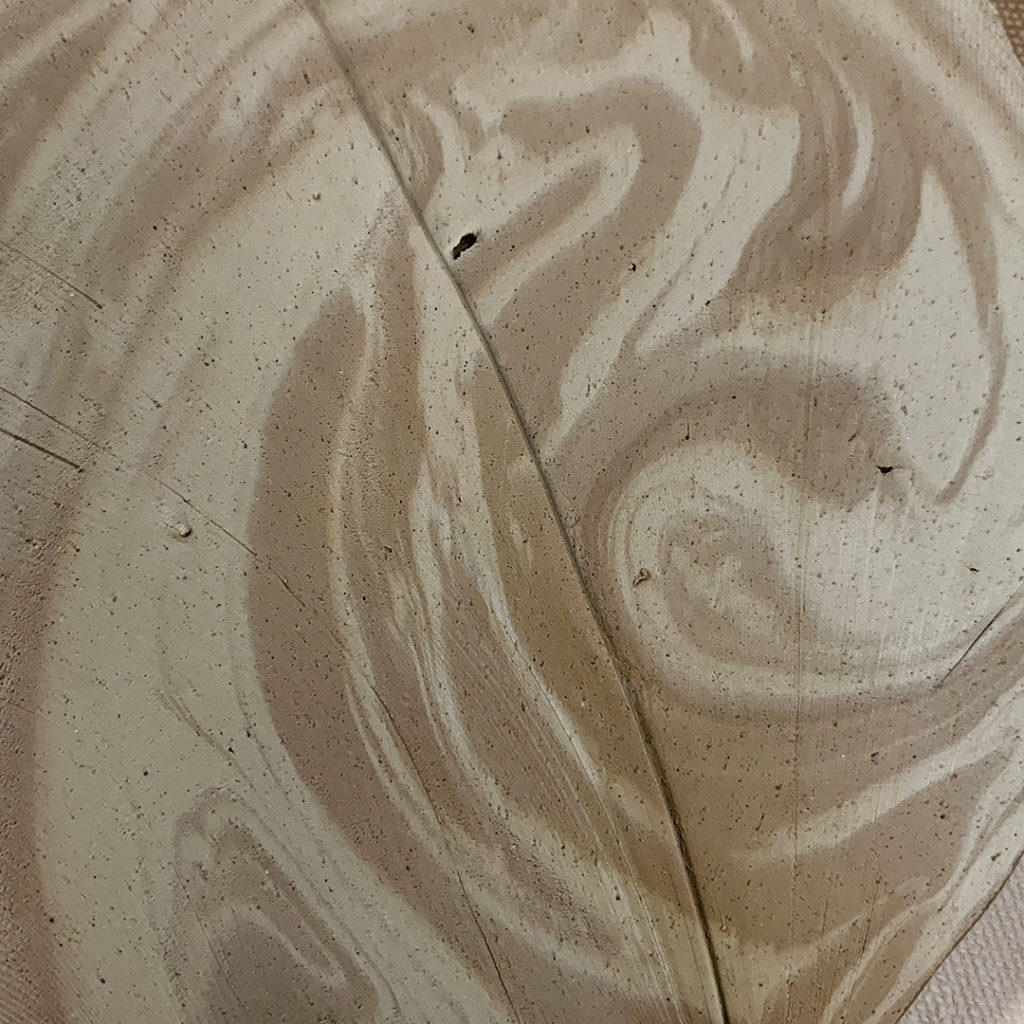
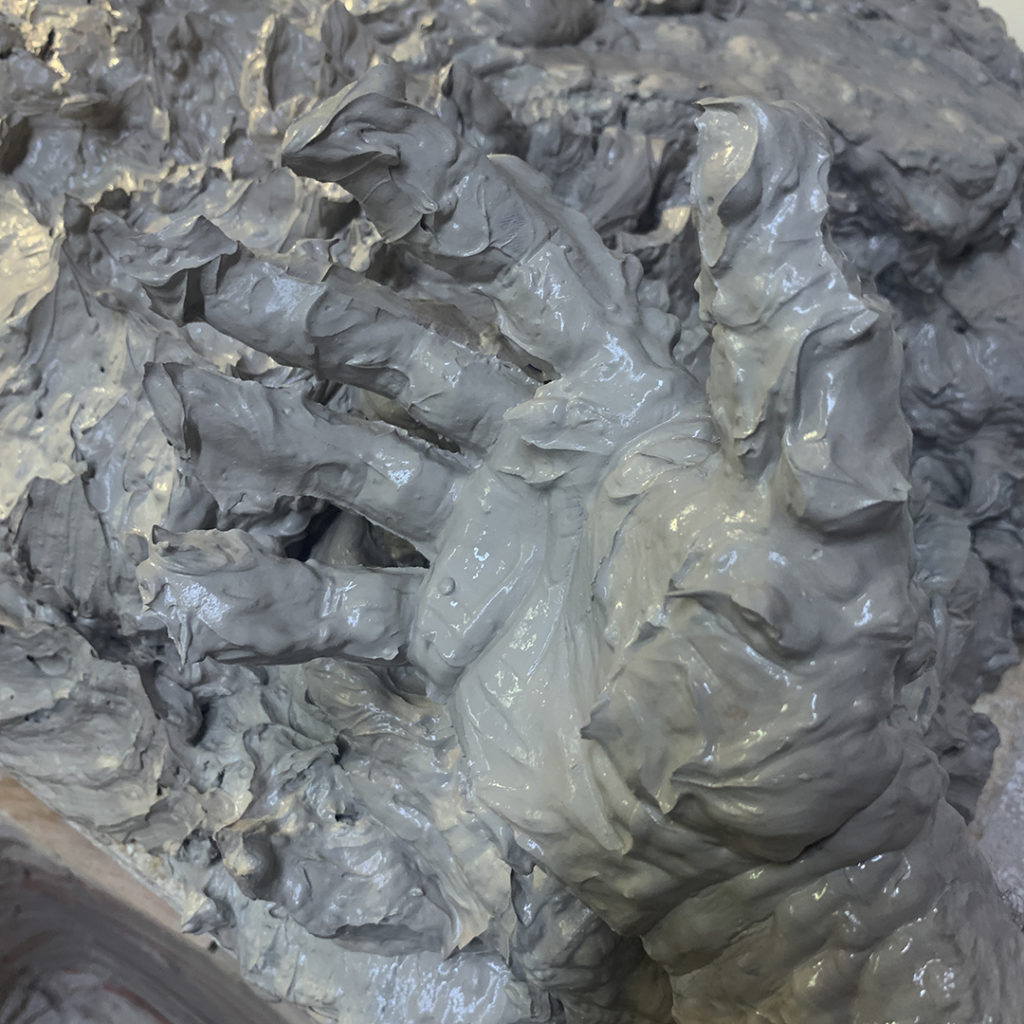
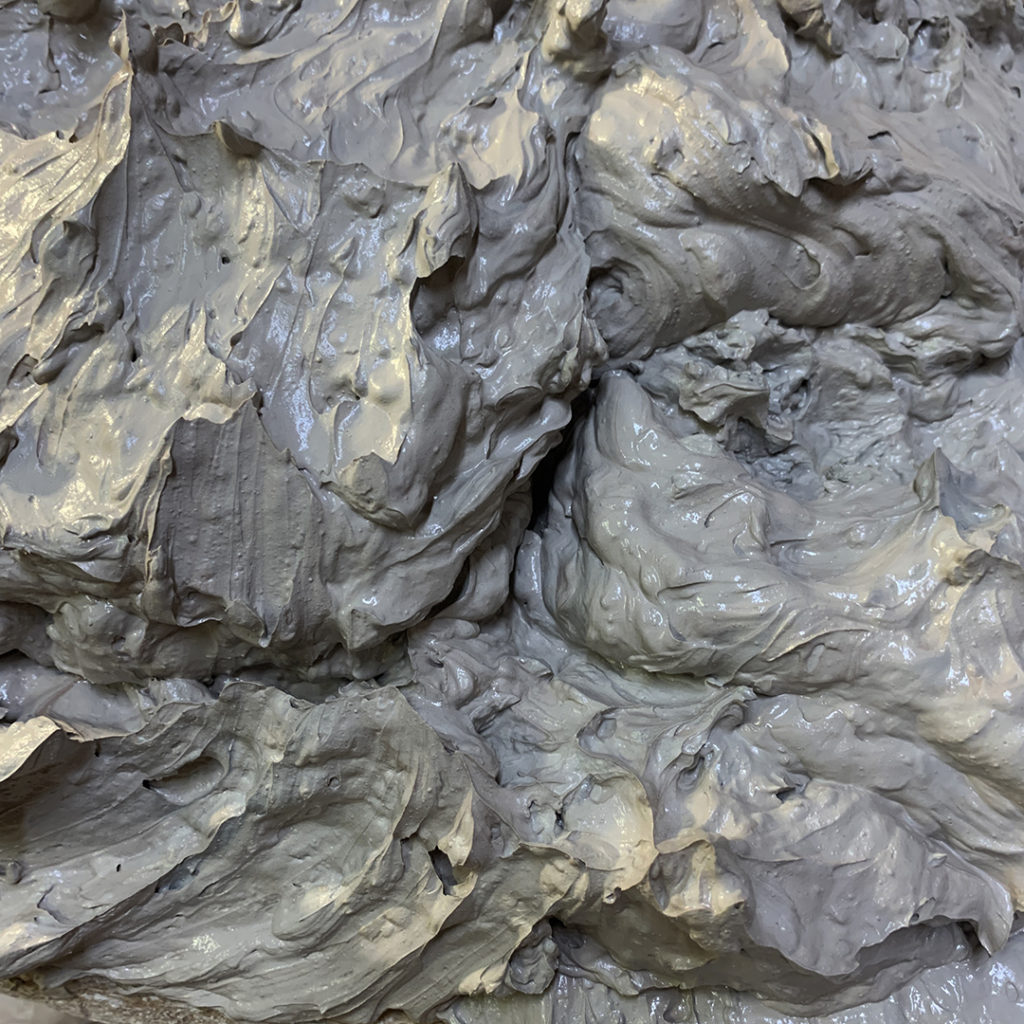
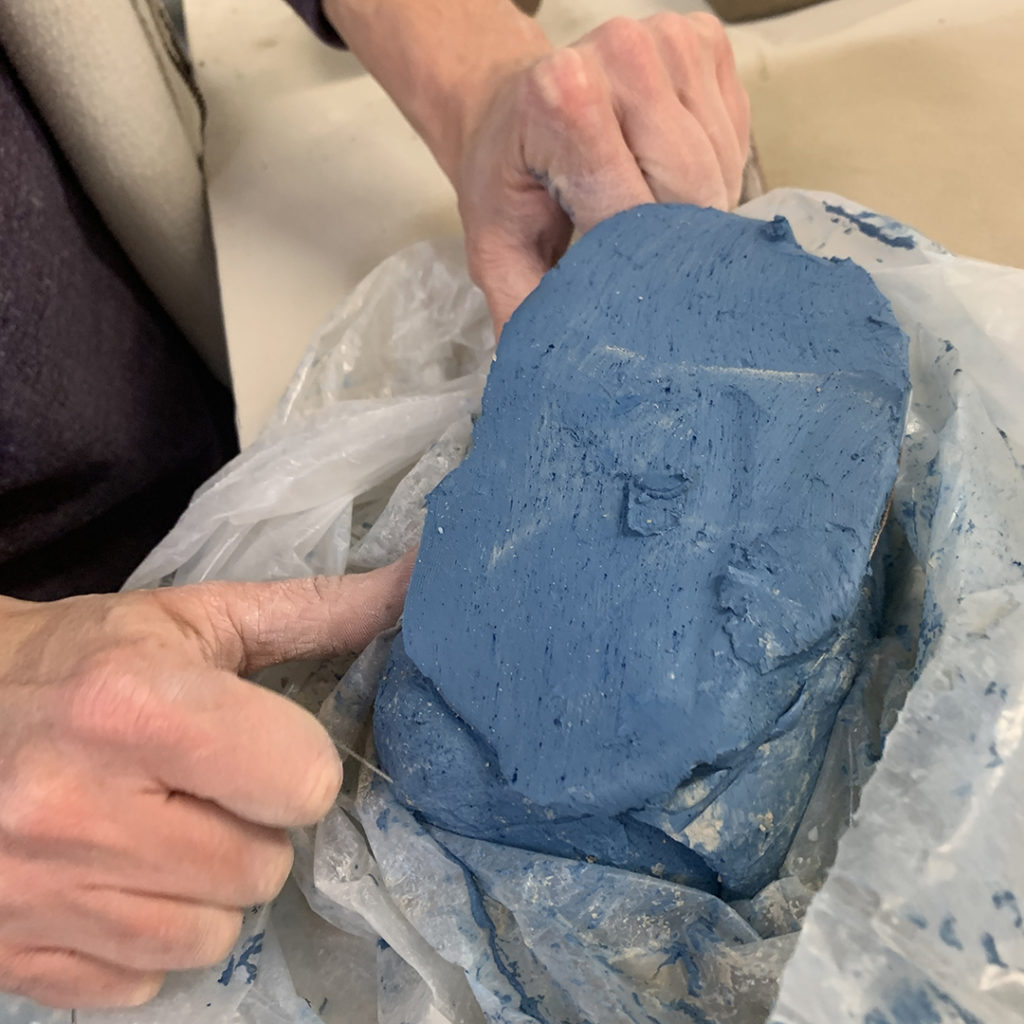
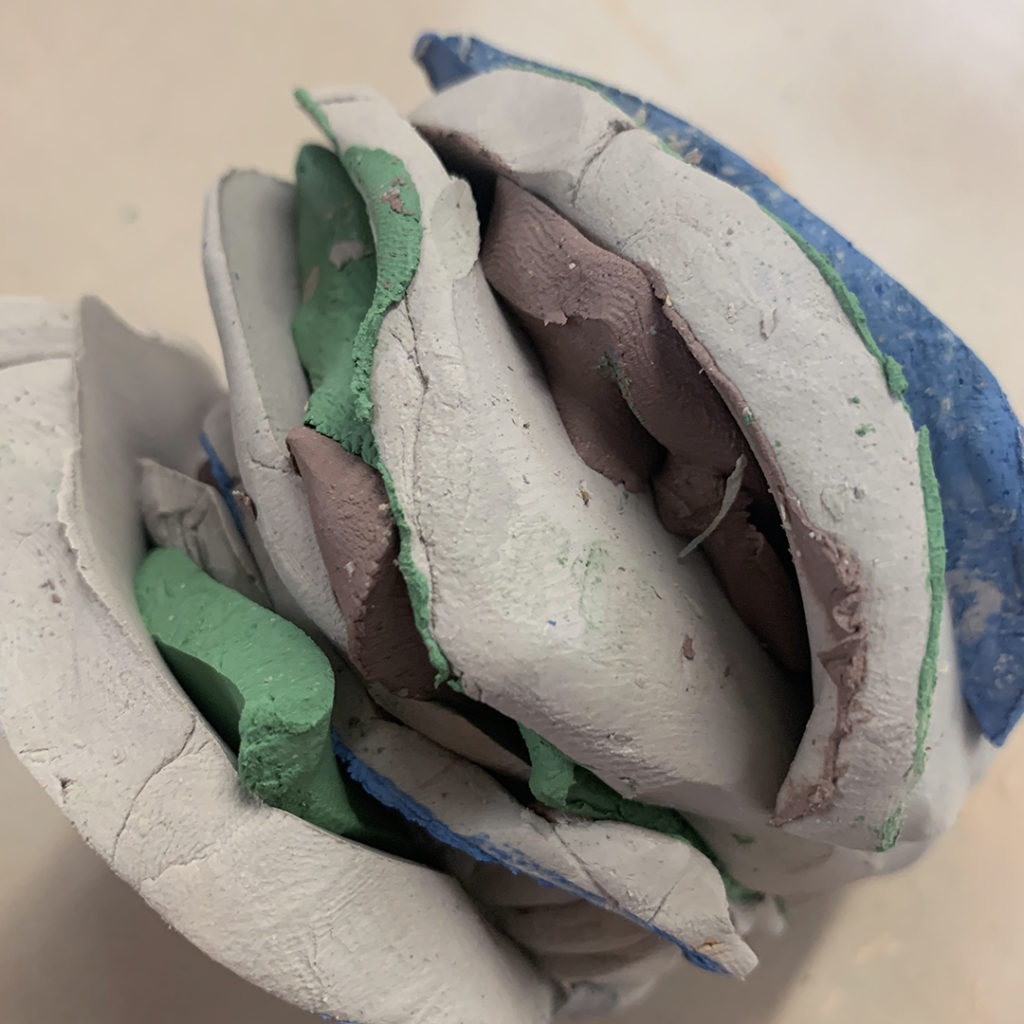
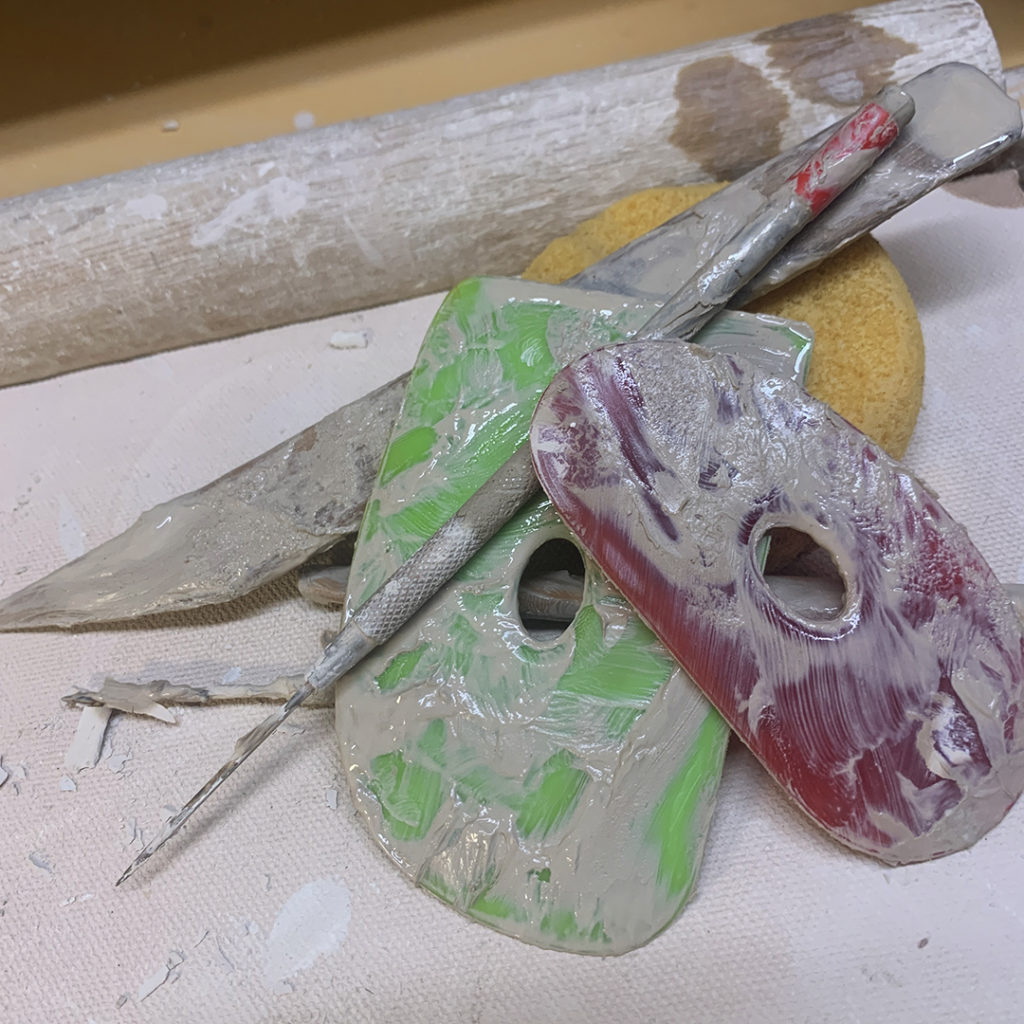
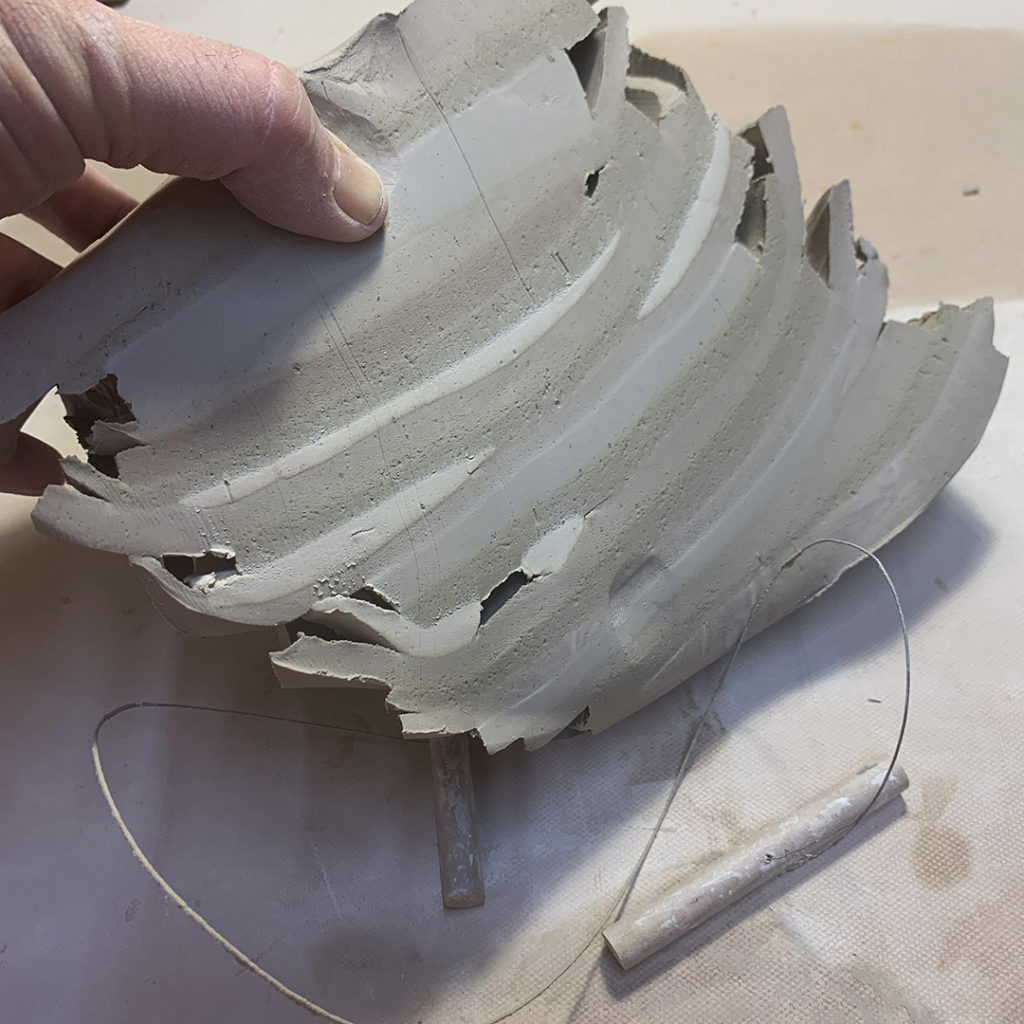
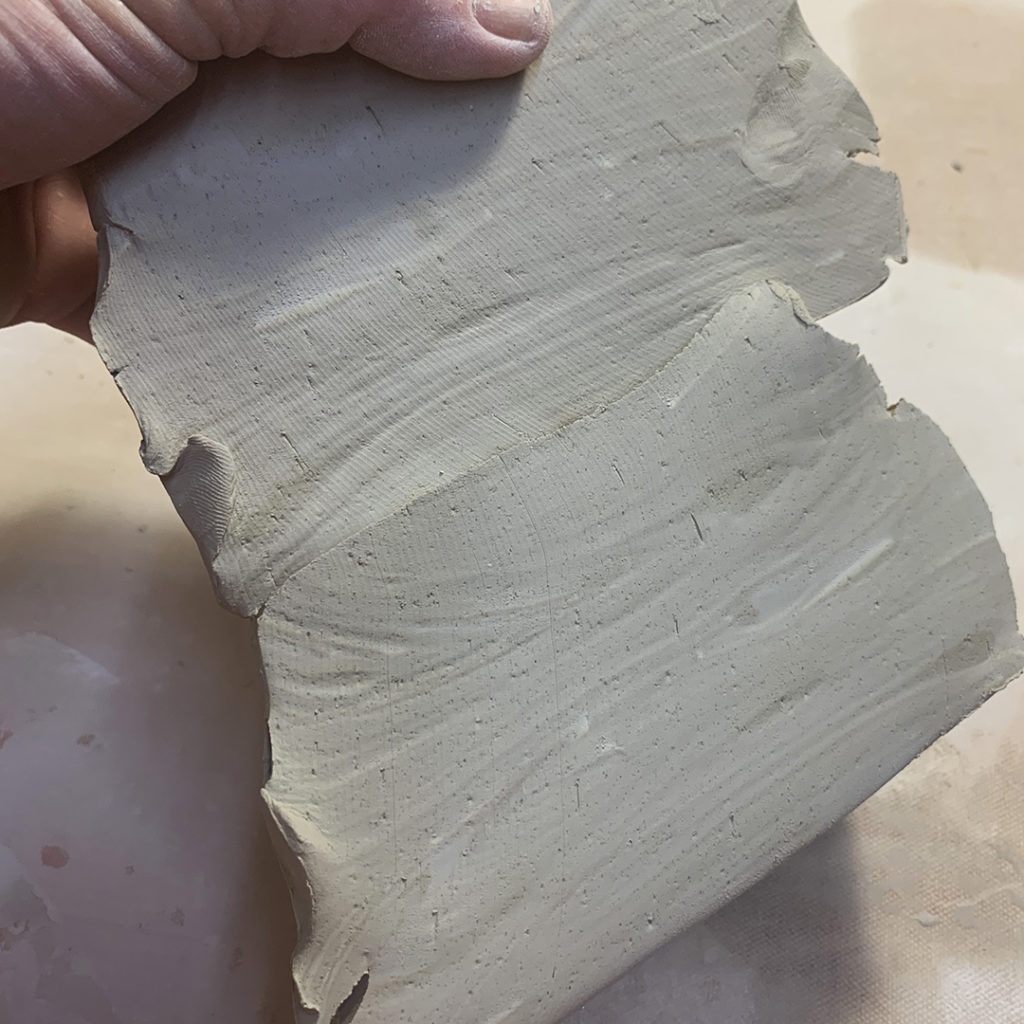
Instead of wedging them all together, I like to alternate thinly sliced layers of each clay. Then I take the stack and cut it in half vertically… stacking one half on top of the other half. A little slam on the table, and then I repeat the slicing, stacking & slamming. Time after time. Eventually the clay layers thin out enough that the clay appears to be blended.

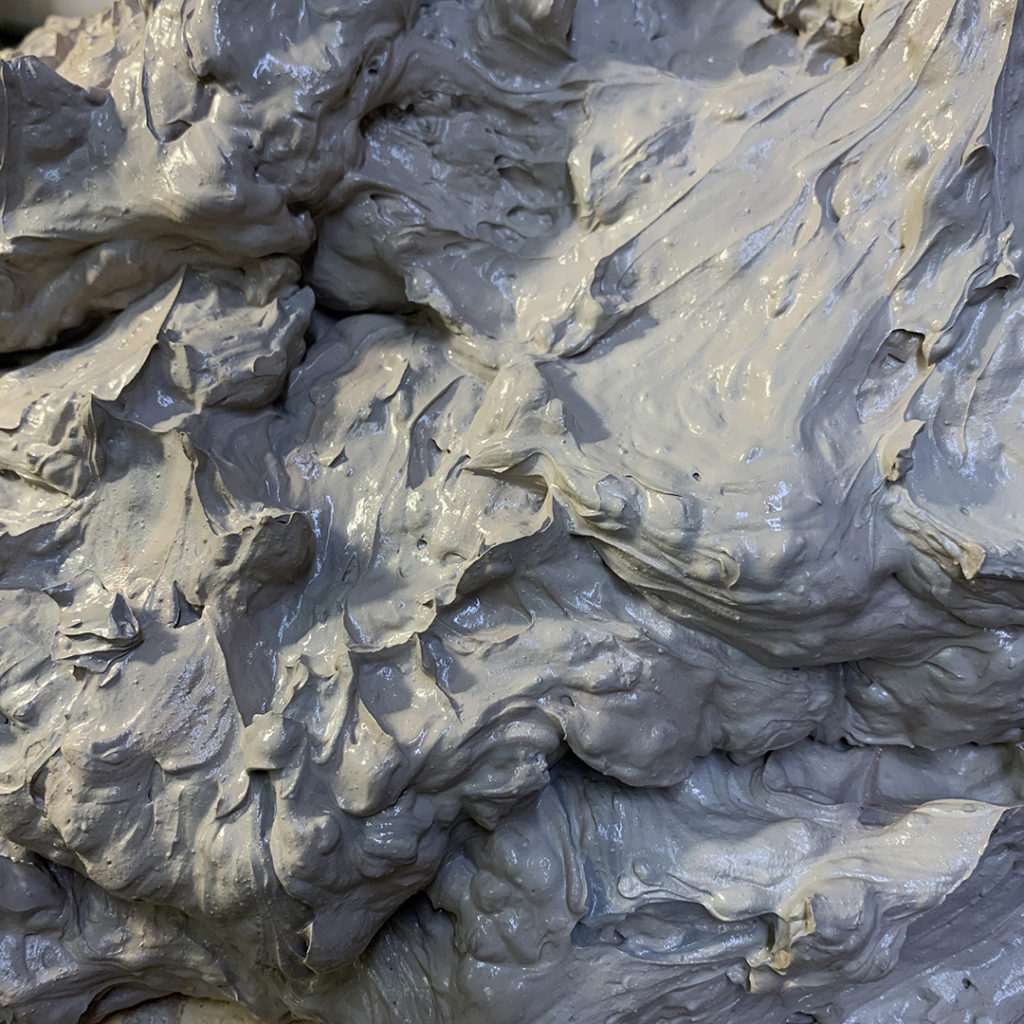
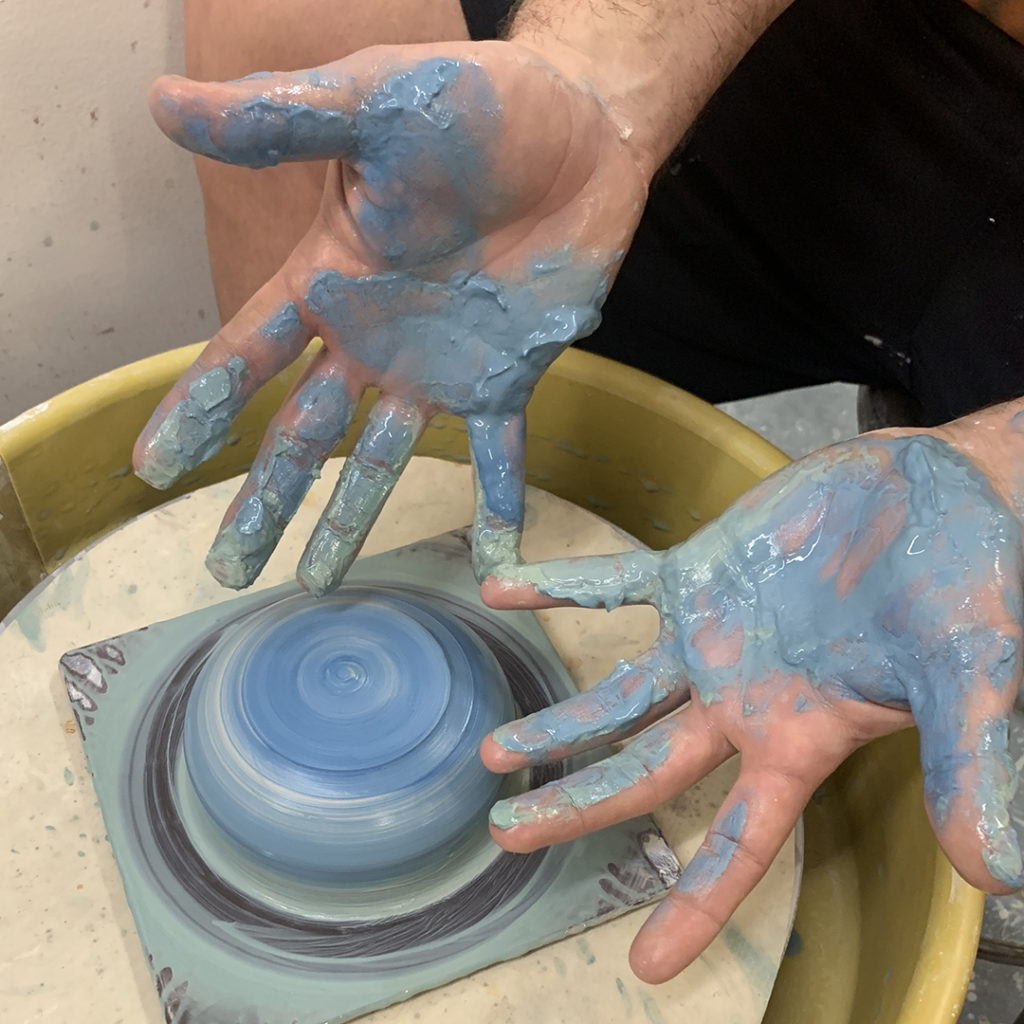
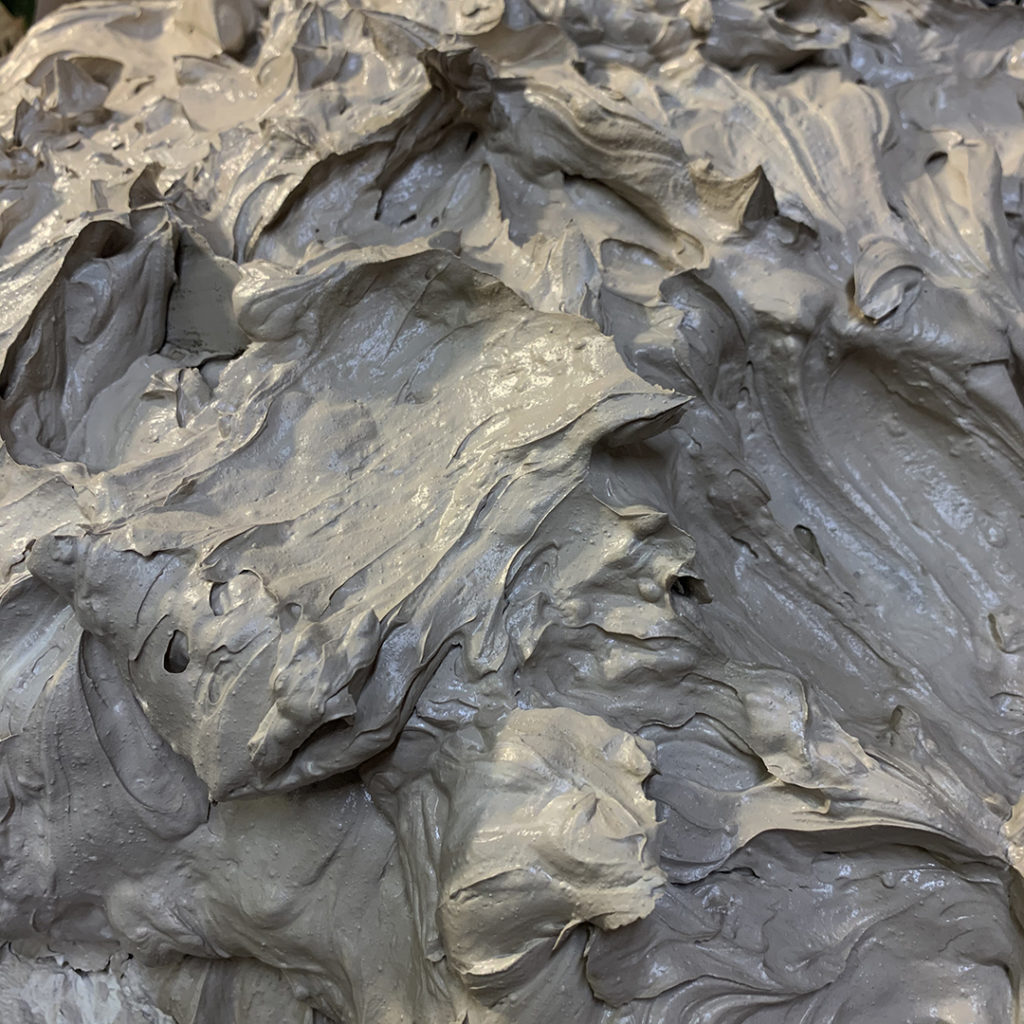
You can see that every time you slice and stack, the layers are getting thinner & thinner…

Sure, it still needs a little bit of wedging… but this is so much easier than wedging all of the clays together from the start!

Categories: clay, process, studio

While we’re all secluded and anxiously awaiting to “reclaim” our normal lives… I thought it was time to turn out another large batch of reclaim clay! A big pile of wonderfully gooey stoneware reclaimed clay ready to set-up on my plaster bat until it solidifies enough to start wedging up again!!! Gotta love FREE CLAY!!!