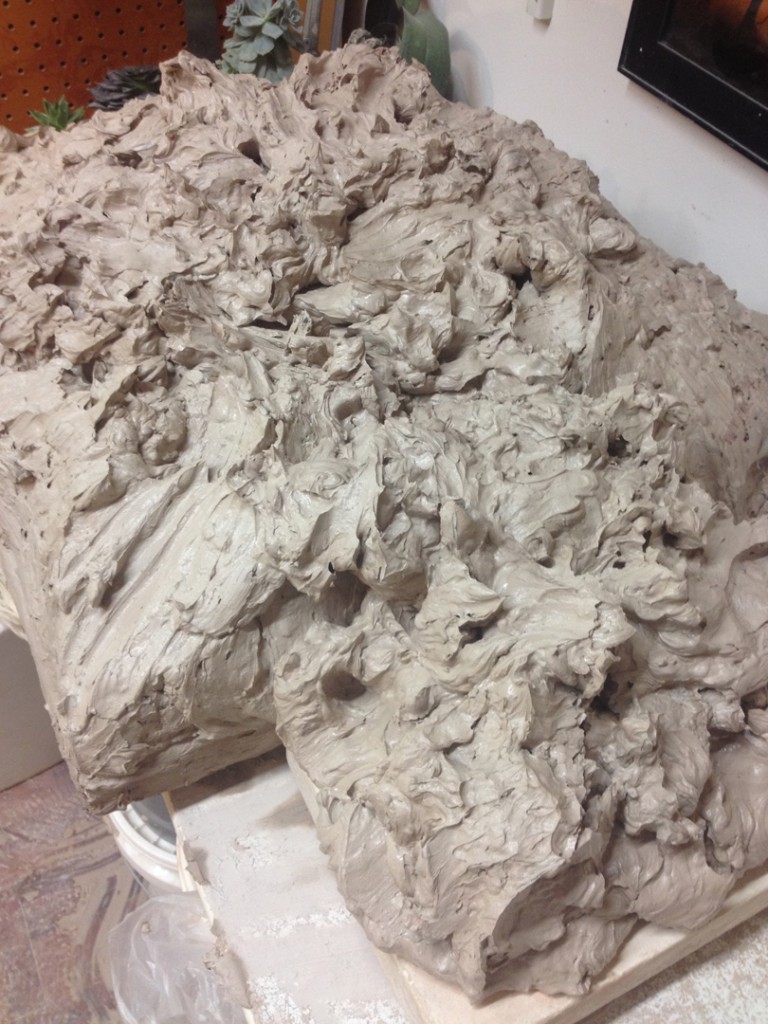
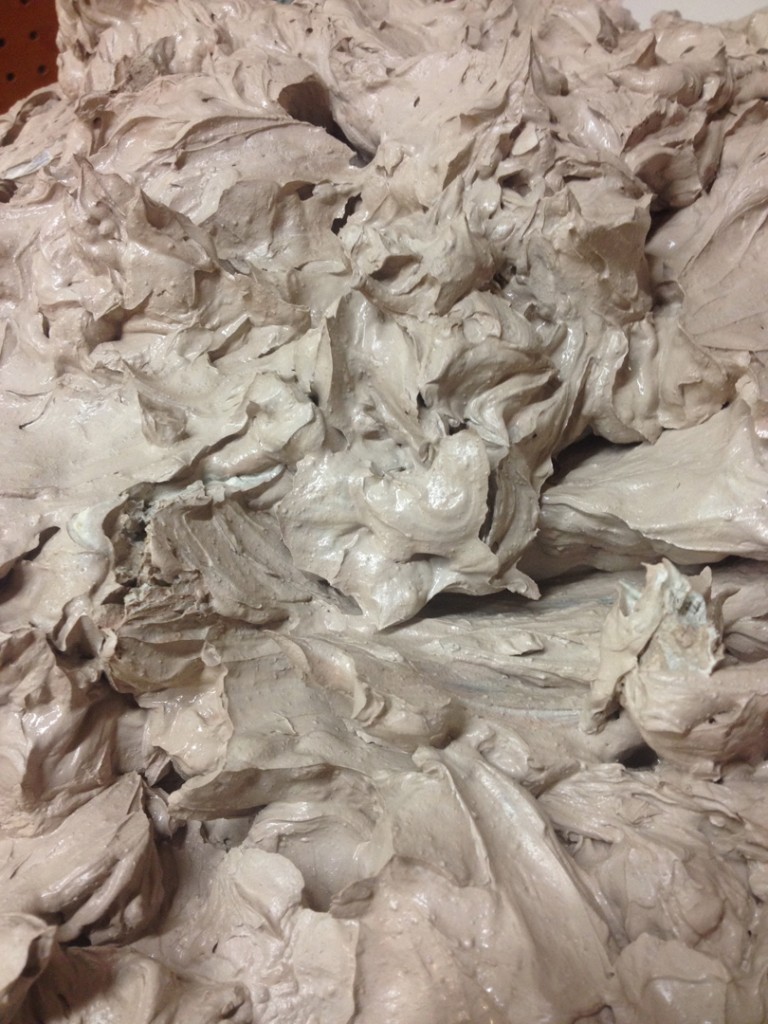
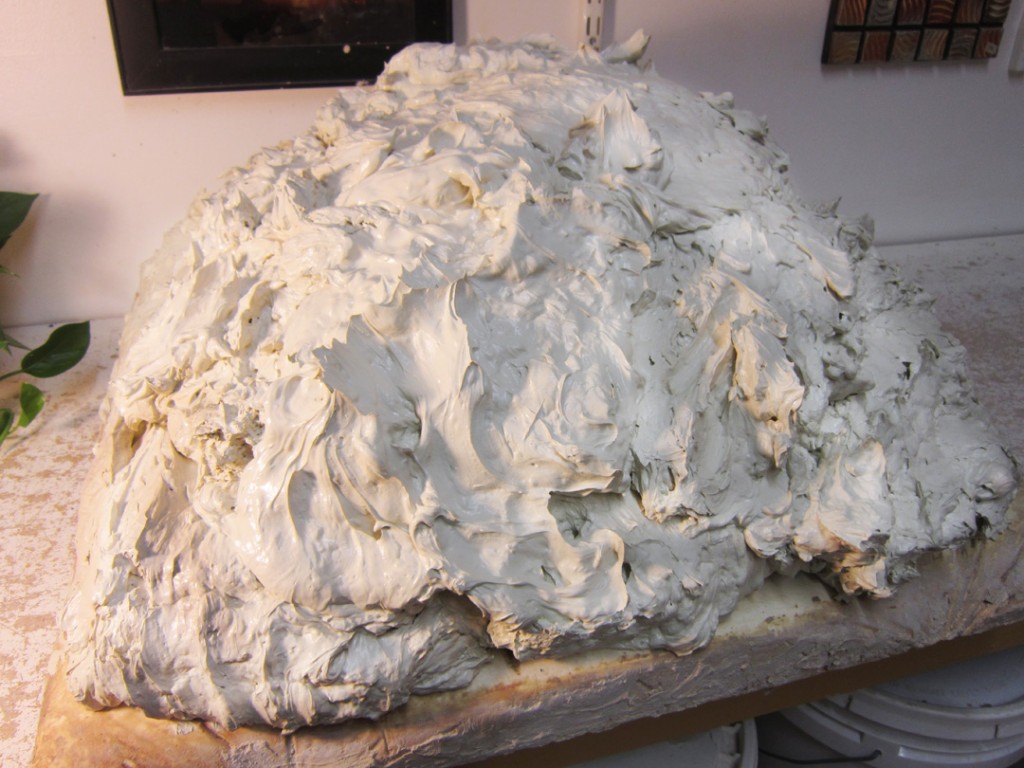
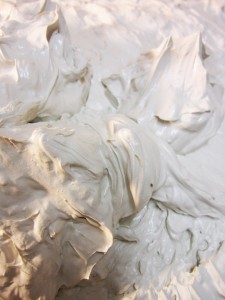
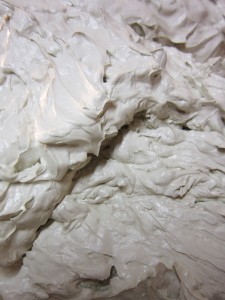
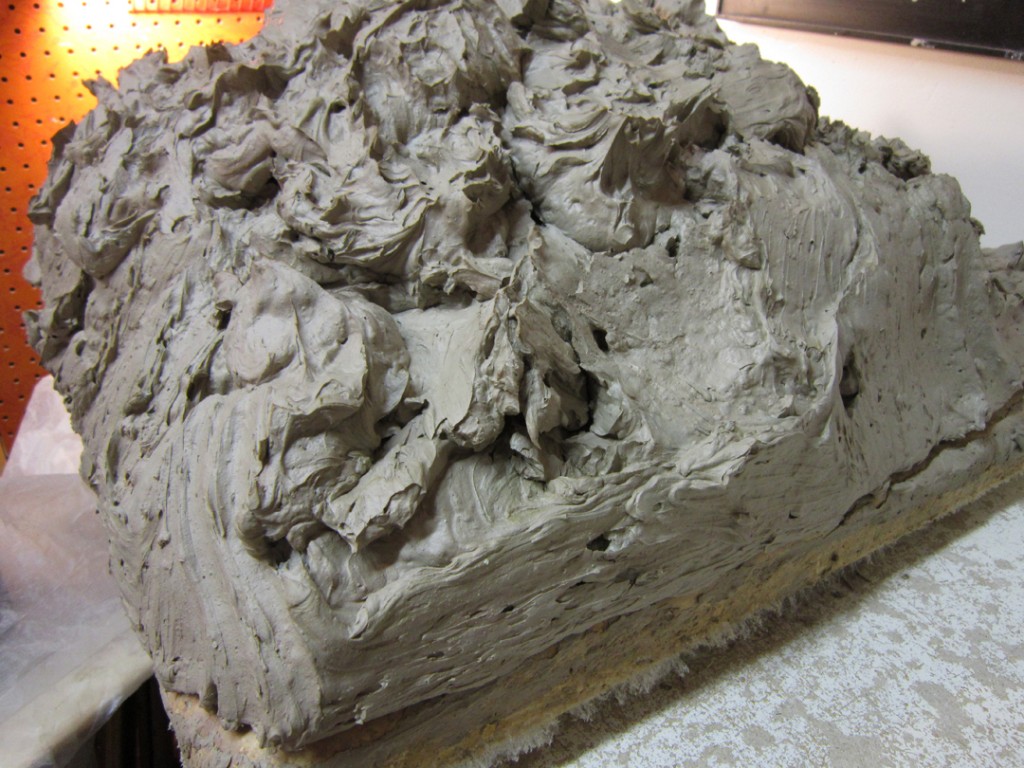
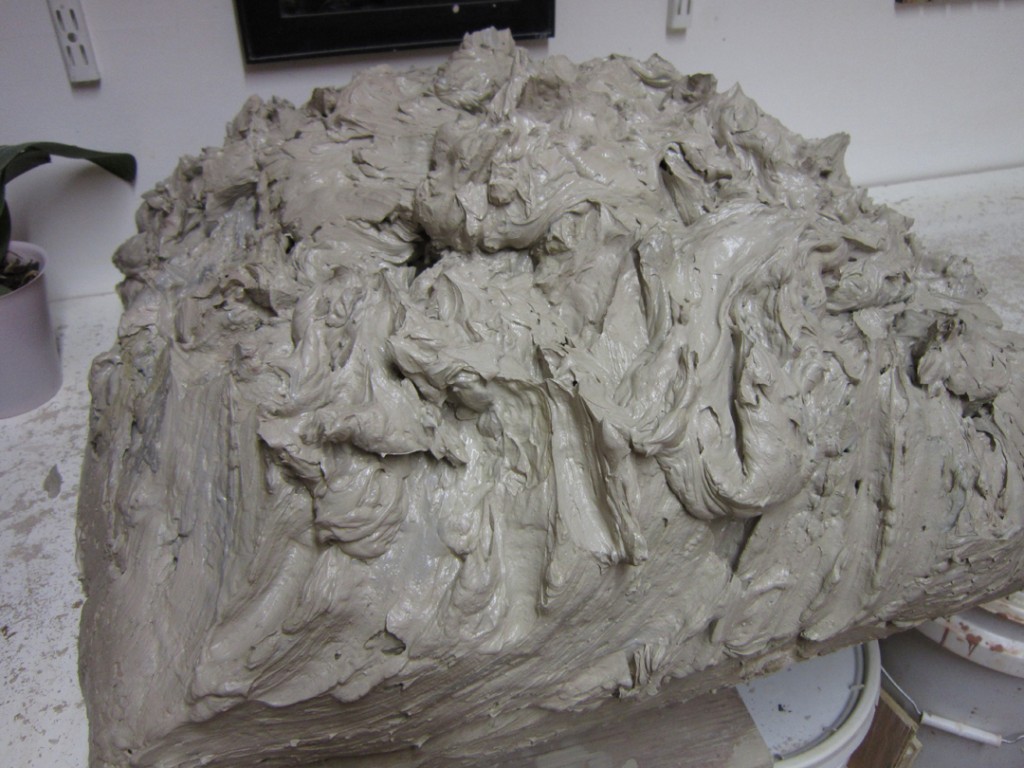
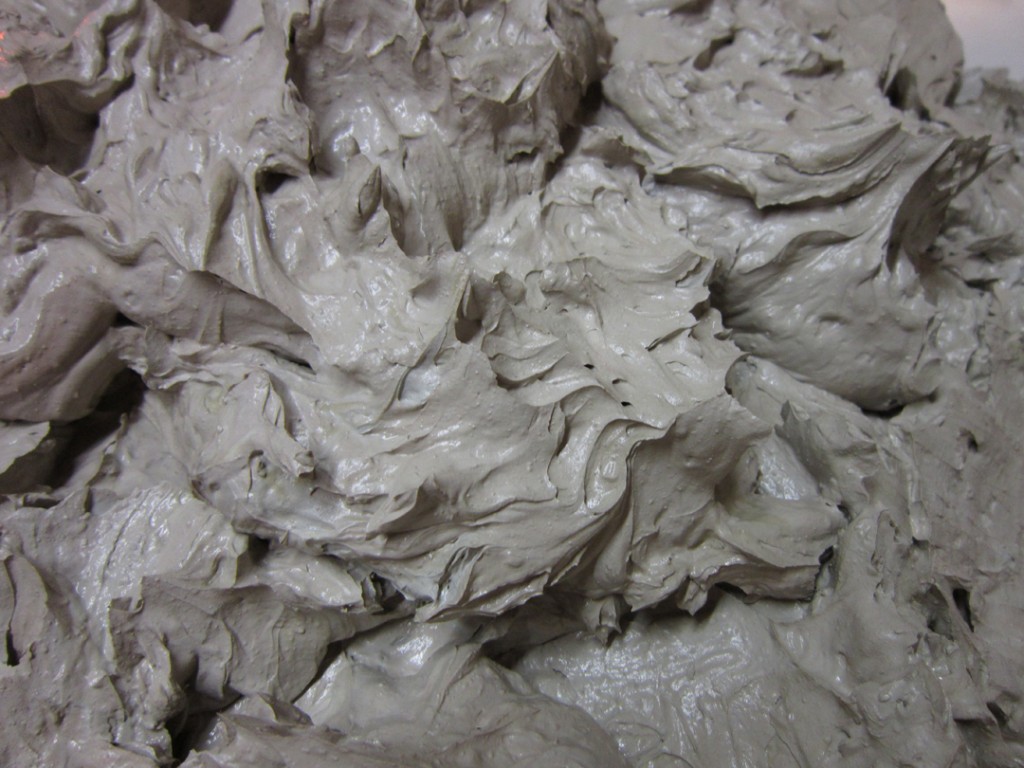
No room for more scraps & trimmings when the bucket’s full. Another pile of reclaimed clay piled up on my plaster bat tonight. Too much for my usual large bat, so I had to add on a little “extension” on the side! It’s a strange mix of clays… a couple varieties of stonewares, some with iron, some with ochre, some B-Clay and some porcelain scraps for good measure! All cone 10 clay bodies so we’re good.
WARNING : I will be “infecting” all of my students tomorrow night during the first night of our new pottery session. My Beginning Wheel students better be ready… I hope their immunizations are up-to-date?!
For those who can’t quite ready the small type…
WARNING!  CERAMIC FEVER. VERY CONTAGIOUS!
Symptoms: Continual complaint as to household duties. Paints day and night instead.
Sleepless nights dreaming up ideas. Anxiety waiting for final firing.
Swell head when you receive your first ribbon.
NO KNOWN CURE
TREATMENT: medication is useless. disease is not fatal.
Victim should attend as many classes as possible.
Thanks for sharing Emily Murphy… and for spreading your own contagion “Blog-itis Maximus” to me several years ago. YOU are very contagious as well!!!
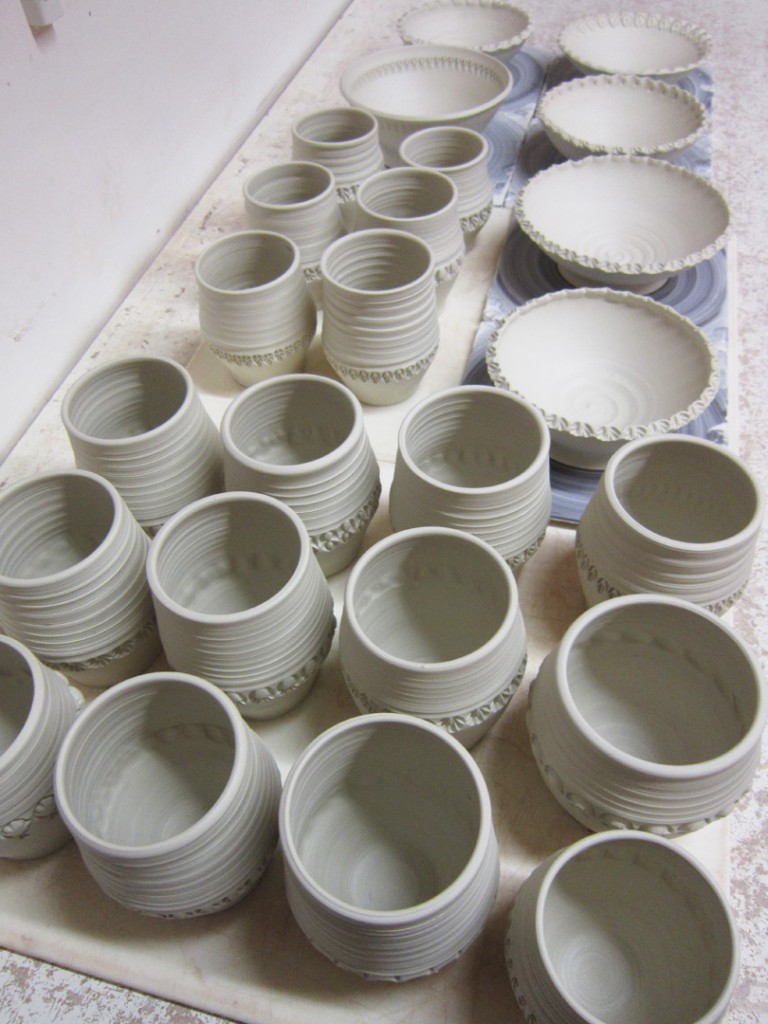
After detailing the bowls, I decided to start another batch of mugs. You know how I LOVE making mugs!!! They’re my favorite. And if I’m hoping to start the Holiday Home Show with a 100 mugs again this year… I’ve got some makin’ to do!!!
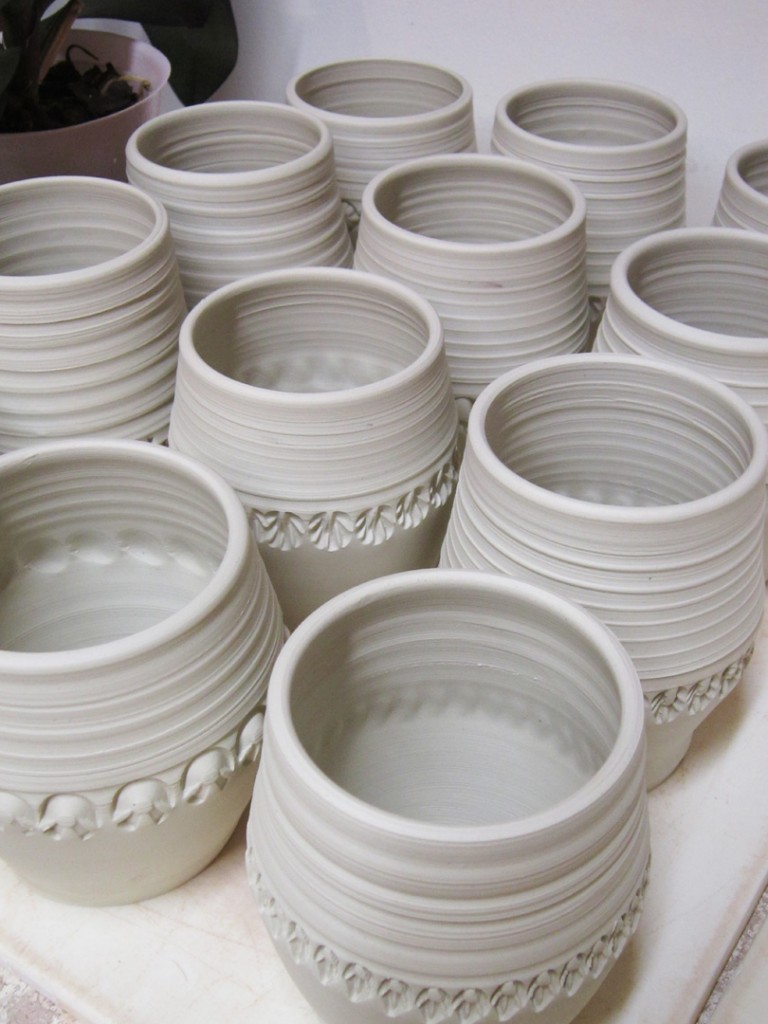
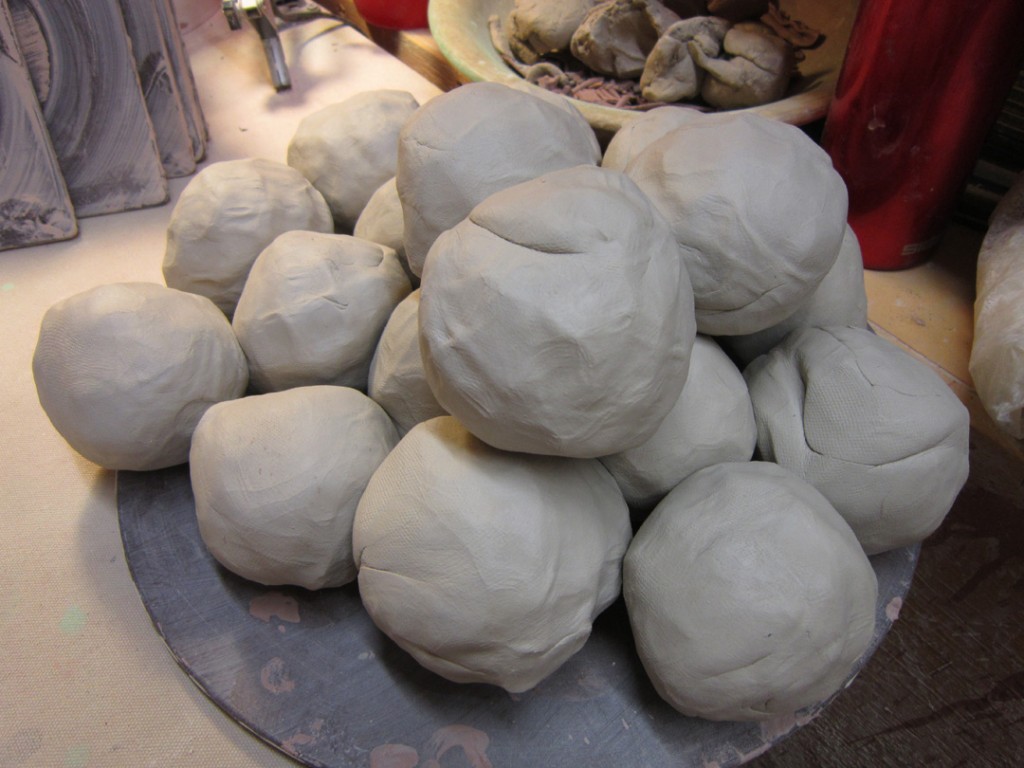
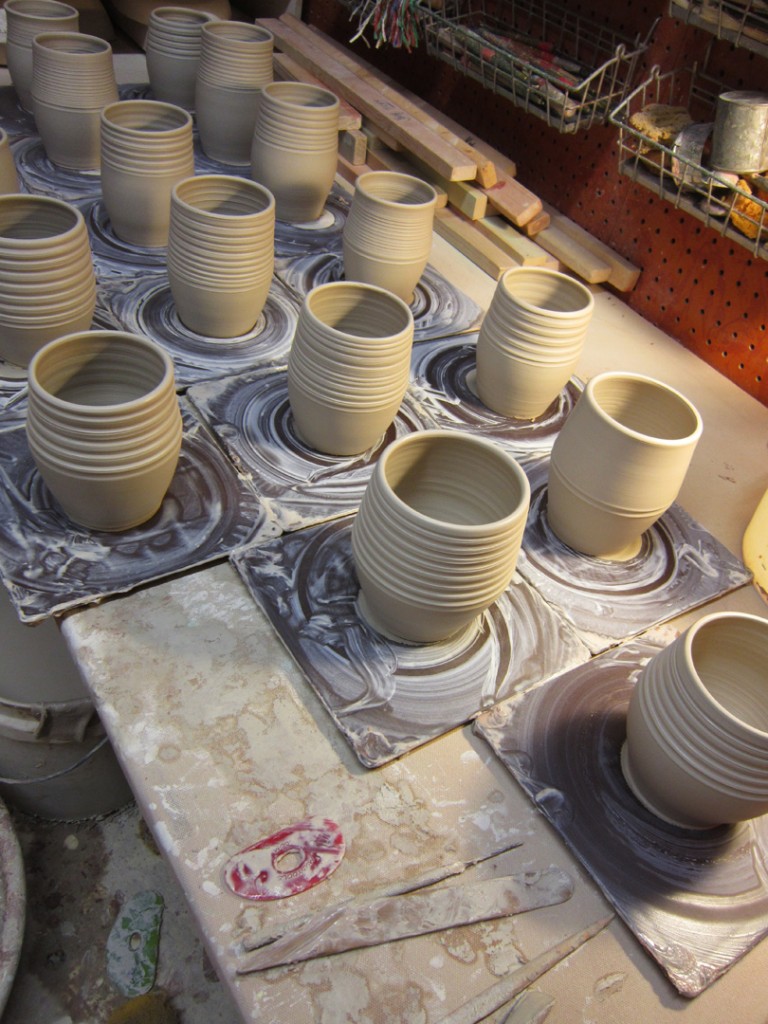
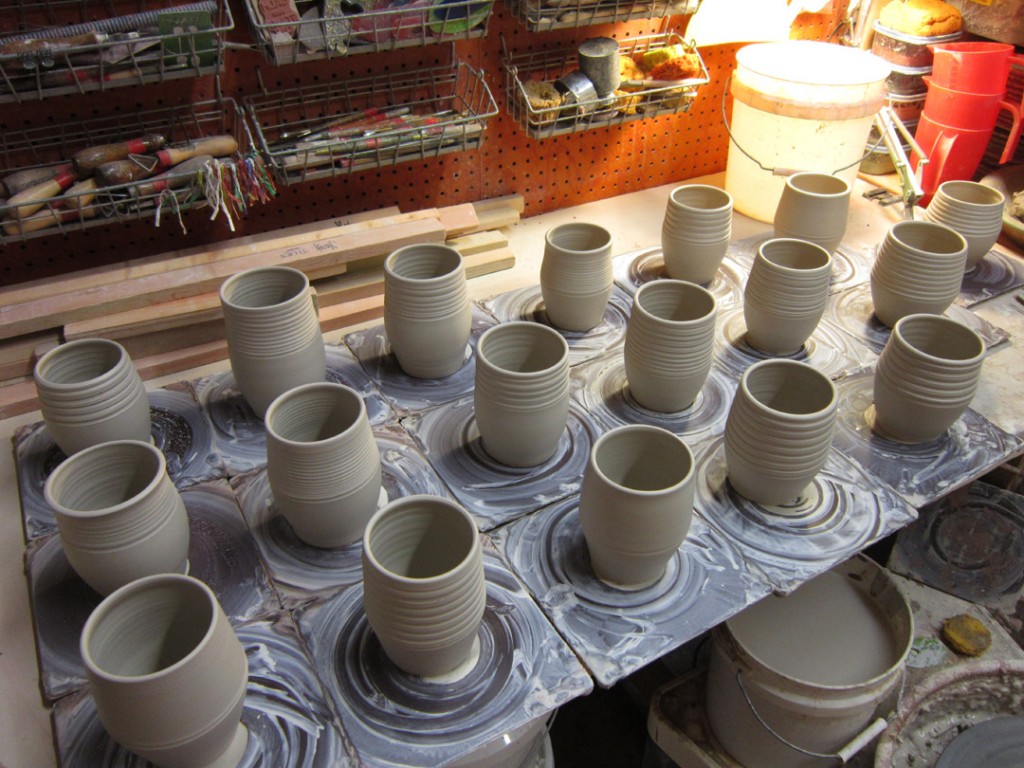
And from those balls of clay I made 18 cylinders. Each one a bit different.
Thrown on square bats – because I love throwing everything on a bat.
After they stiffened up a bit, I carefully removed them from the bats and placed them on a plastic ware board. A great way to condense space… and free up my bats for another round of something!!! They’ll all stay under wraps until I have time to stamp them all… maybe tomorrow???
Upon my return, I was pleased to find that my plants were still alive.
That my class demo pieces under wraps were not totally dried out.
And that my reclaim bucket full of slaking porcelain scraps wasn’t solid hard.
So I pulled out the porcelain reclaim and spread it out on my plaster bat.
I’ll leave it there for a few days and hope that it stiffens up to a good consistency quickly. Then I’ll do some pounding & wedging to get it back to a nice homogenized clay. Bag it up and keep it for my next adventure working with porcelain. Remember, this is “free’ clay from my friend Emily that I brought back from Minnesota back in May!!!
And I LOVE free clay… and this is only HALF of the scraps I brought back!!!
You know how I love free clay!
Okay, so sure I needed to do some physical labor to get it done, but it was well worth it. So I took my stoneware scraps, dried them, smashed them up and then soaked them in a big tub. After awhile, you can take the re-hydrated clay out of the bin and place it on a large plaster bat to help suck the moisture out. I’ve been trying to judge the moisture level of my pile of reclaim. It always dries out faster on the outside, and stays gooier on the inside. Tonight was the night.
So I carefully took the clay off the plaster bat in batches. Then did several sliced layer towers to help homogenize the clay. Some more pounding, slicing, stacking, pounding, stacking, slicing, and so forth.
By the time I finished reconstituting the clay, I had it all packed & bagged… and it turned out to be a 151.5 pounds of FREE clay!!! It’s not fully wedged at this point, but it will set up in the plastic bags. When I get ready to use it, I will do the full wedging then.
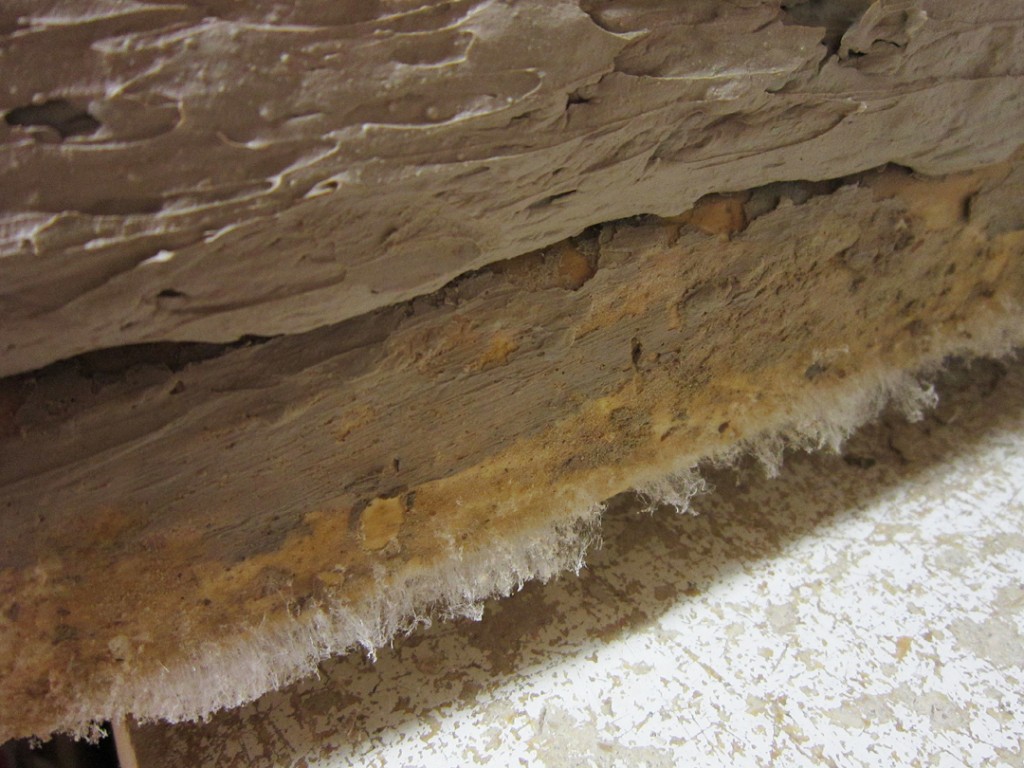
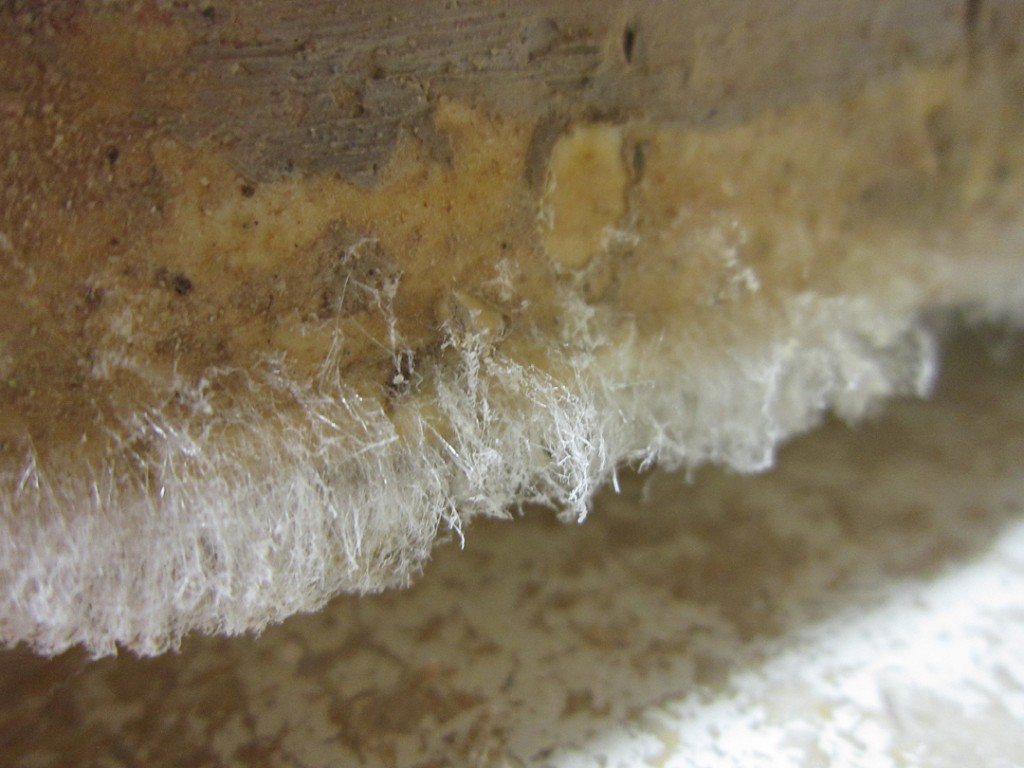
While working in the studio this evening, I stopped for a second to look at my pile of reclaim clay. Typically it just sits there on the plaster bat and dries out slowly. But tonight something odd caught my attention… look closely at the bottom edge of the plaster bat!!!
Yep… there’s something “funky” growing down there…
Now I’m not really sure what’s going on here?! I probably should call my sister the High School Science Teacher. Or maybe someone else out there can explain this “fuzzy phenomenon” to me?!!! Either way, it’s pretty cool…
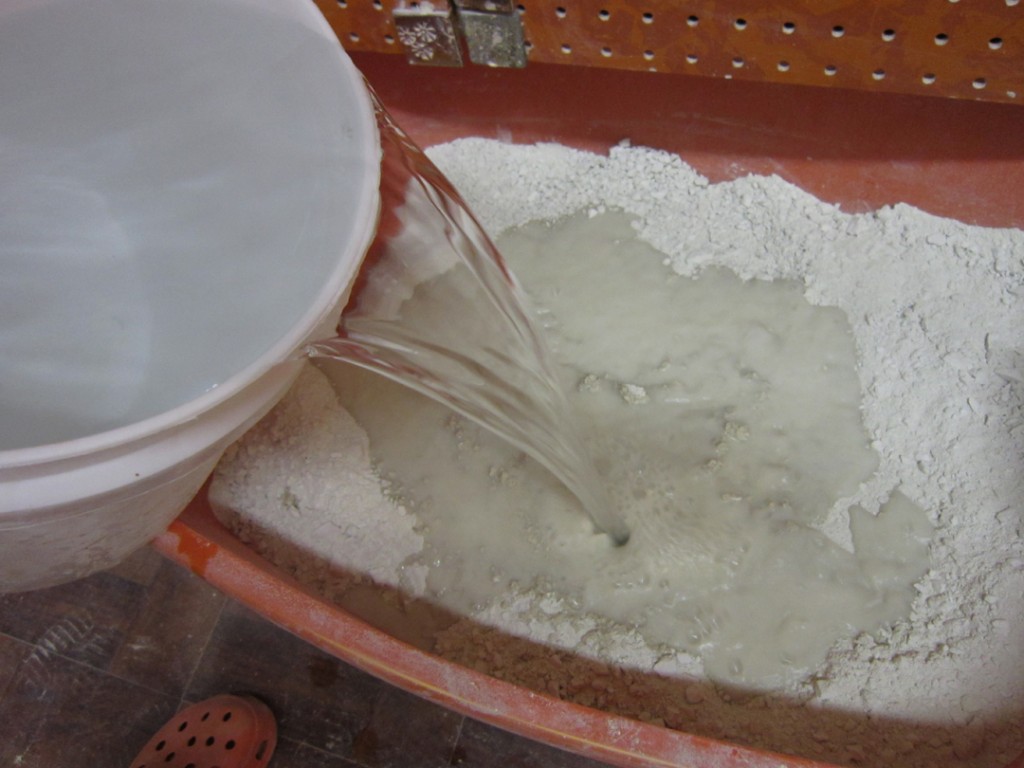
With several bags of dried porcelain scraps from Emily, I felt obligated to get the process started. So I turned out the stoneware reclaim that I’ve had in my orange tub. So I stirred it up, added a little more powdered EPK and stirred some more. I then turned it out onto a large plaster bat for it to set up. The plaster bat will help absorb the moisture out of the gooey clay blob. After a few days, I’ll be able to start wedging it back into usable clay… FREE usable clay!!!
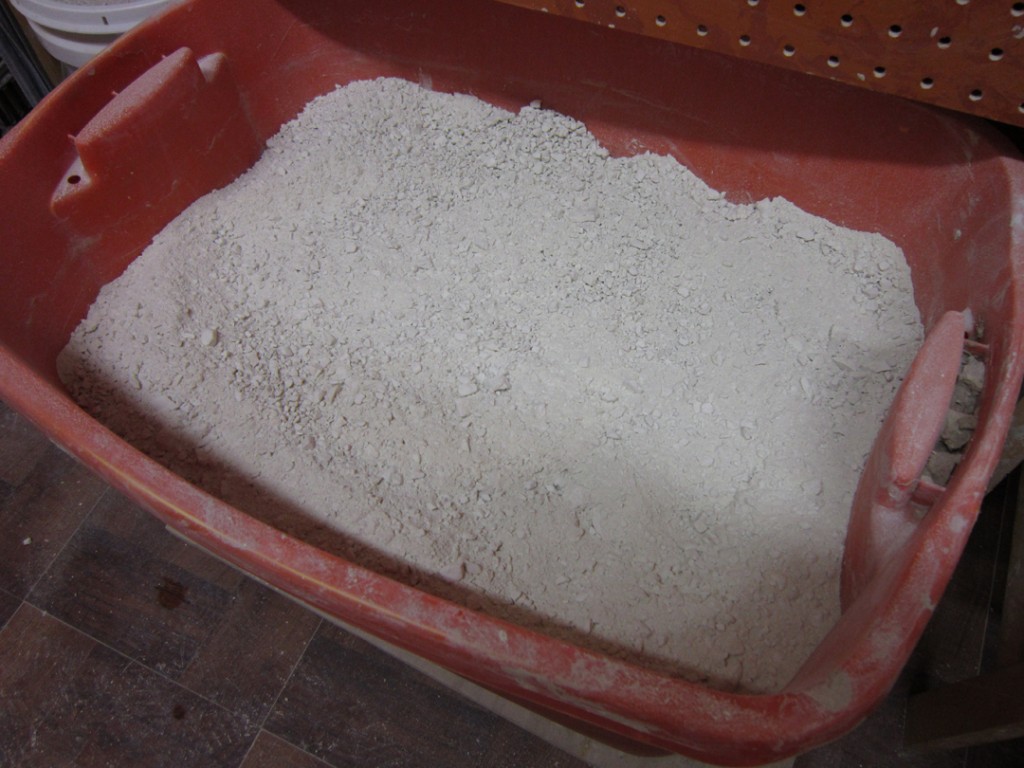
Then it was tine to start the porcelain reclaim. I scrubbed out my orange reclaim bin… and started adding the porcelain scraps into it. A lot of the porcelain scraps are in large chunks, so I did a lot of banging, breaking and “pulverizing” into smaller flakes. The smaller the pieces, the smoother the reclaim.
Add in some water, let the bubbles some up, then add some more water. Once the pile of porcelain flakes are covered with water, the clay will begin to slake down. I’ll stir it up a few times as the water evaporates. And soon enough, I’ll have a huge pile of FREE reclaimed porcelain!!! Thank you Emily!!!
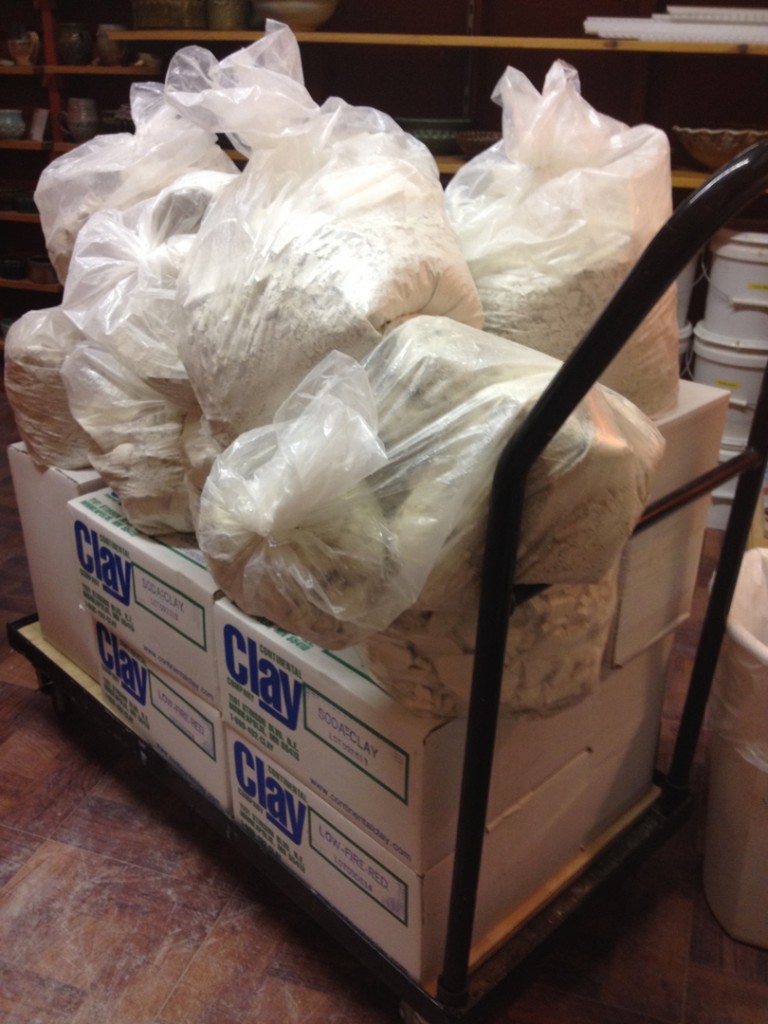
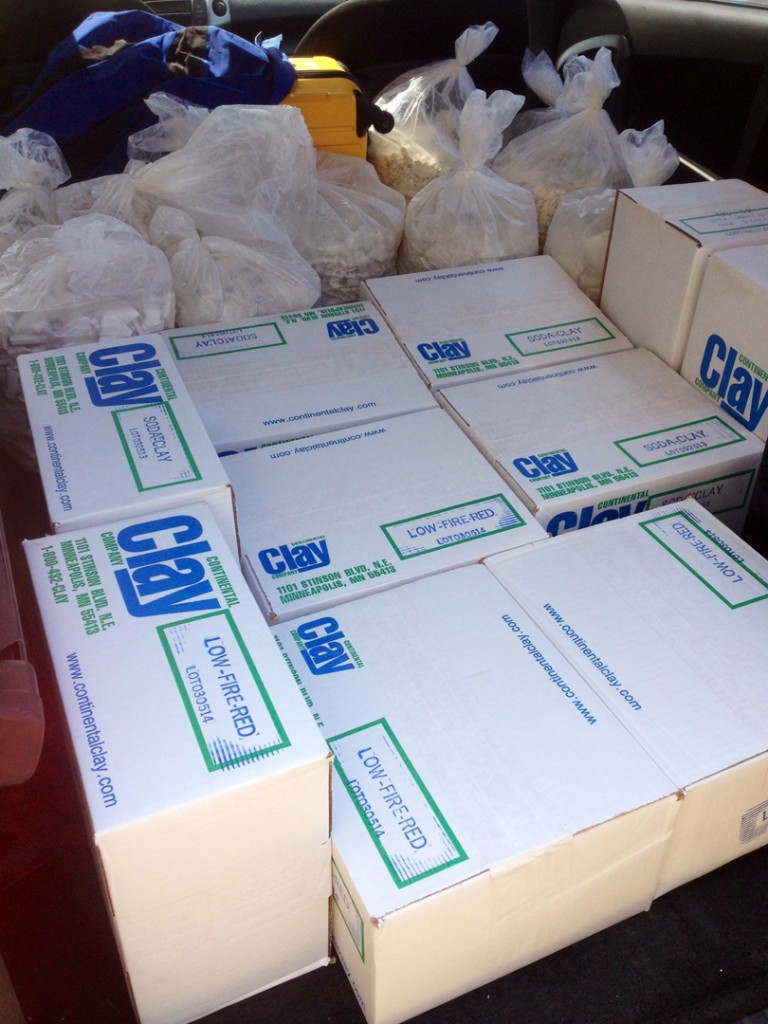
Morning stop at Continental Clay to stock-up on a “few” things.
And now back for Day Two of the St Croix Valley Potters Tour.
Like we didn’t do enough damage yesterday?!!!
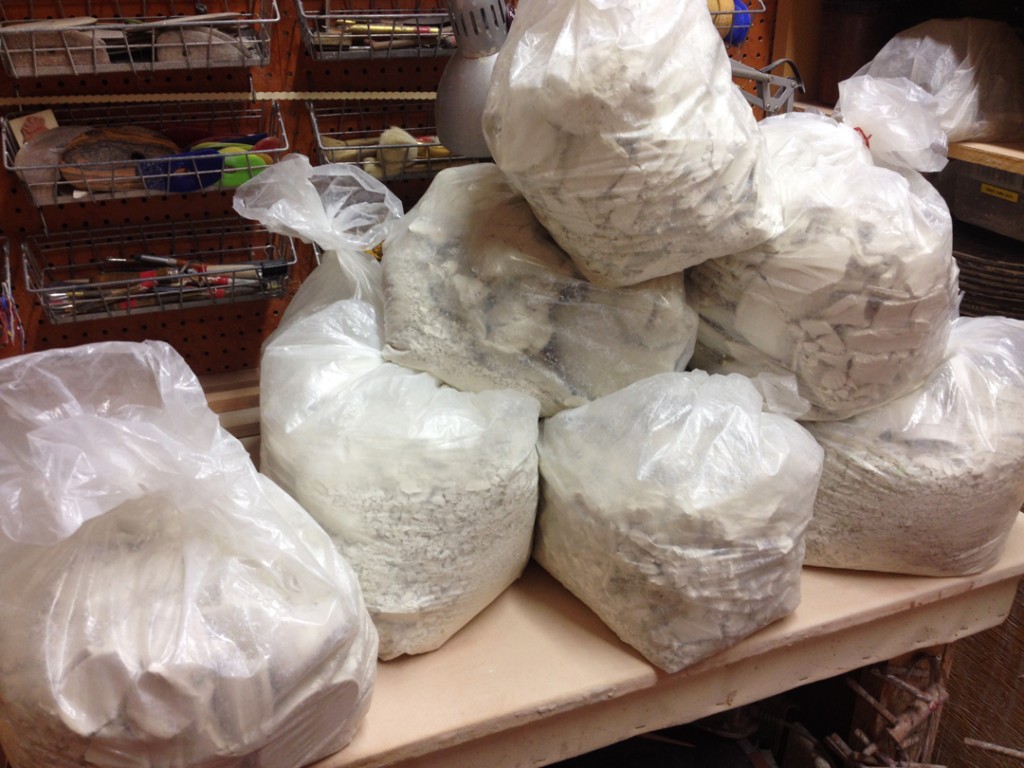
And yes… the bags in the back are bags of dried porcelain trimmings from my friend & potter Emily Murphy. I used to enjoy getting her reclaim scraps when her studio was across the hall from me at Lillstreet. But now that she’s moved up to Minnesota, I thought my reclaim pipeline had dried up. Apparently not… it just now comes in larger batches once a year!!!
So now I’ve got fresh, new clay.
Bags of dried reclaim scraps.
And now we’re off to the Pottery Tour to see more fired clay!!!
