09.14.2025
09.14.2025
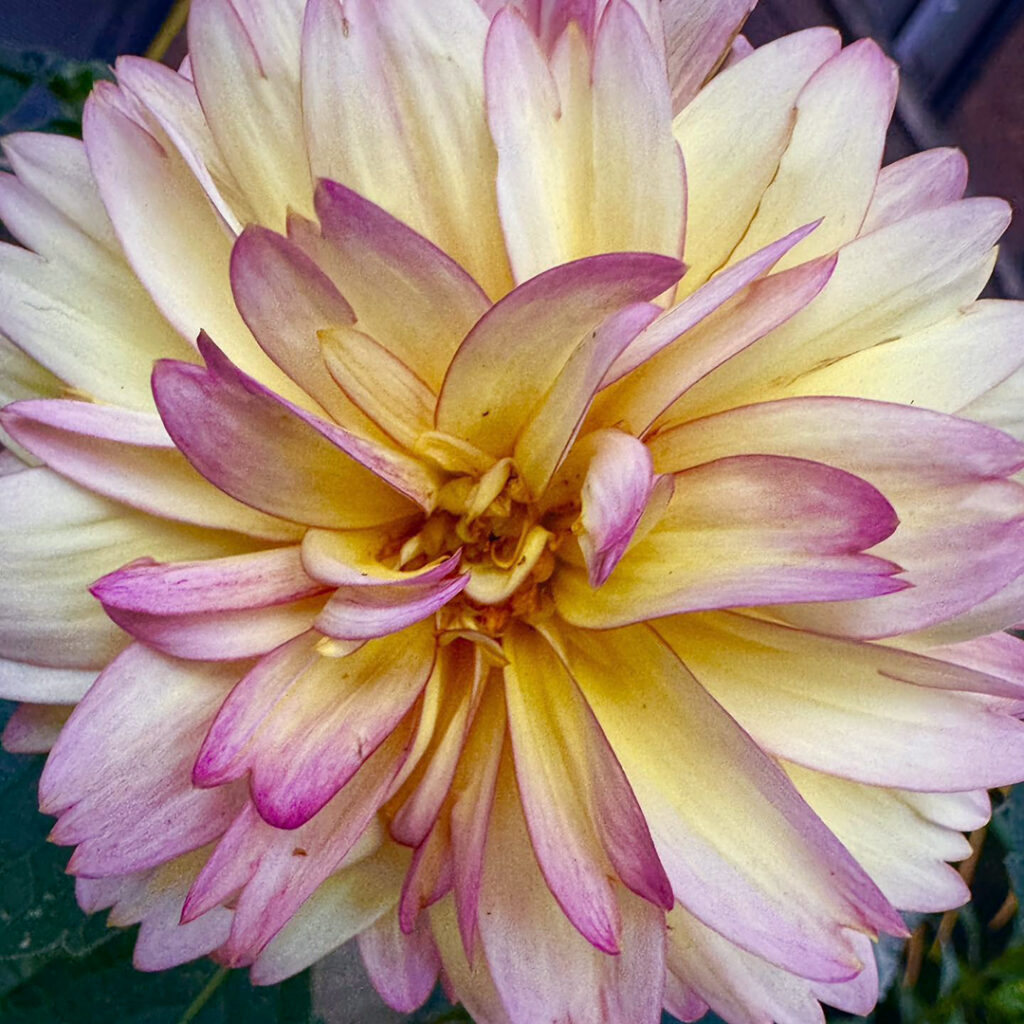
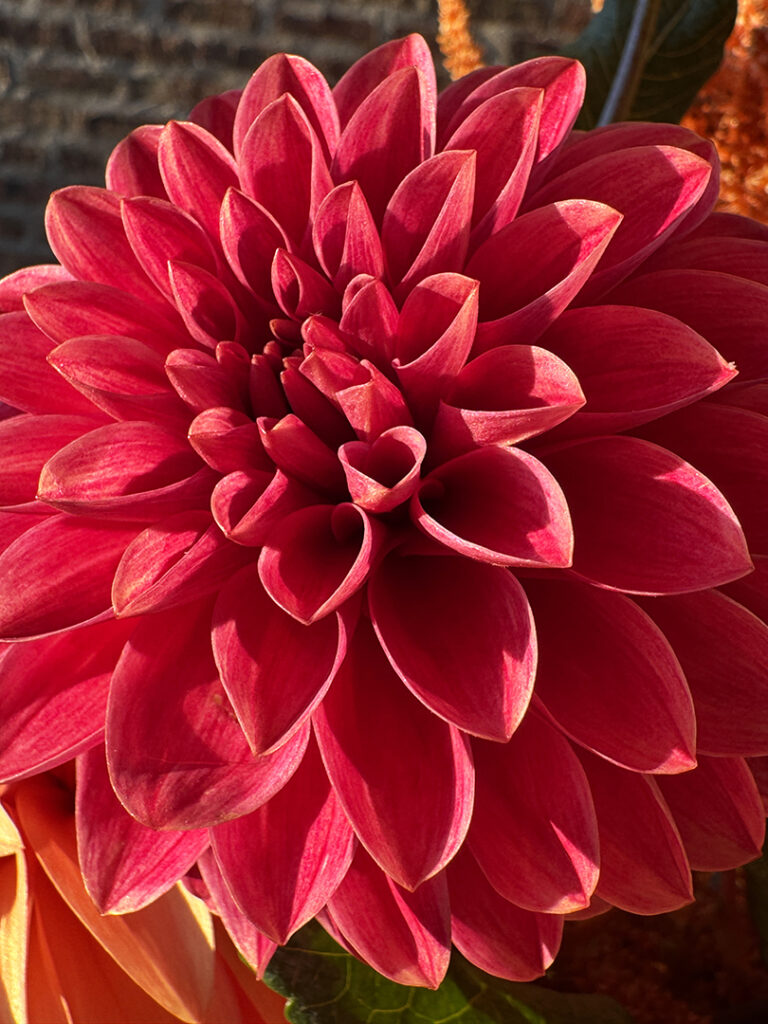
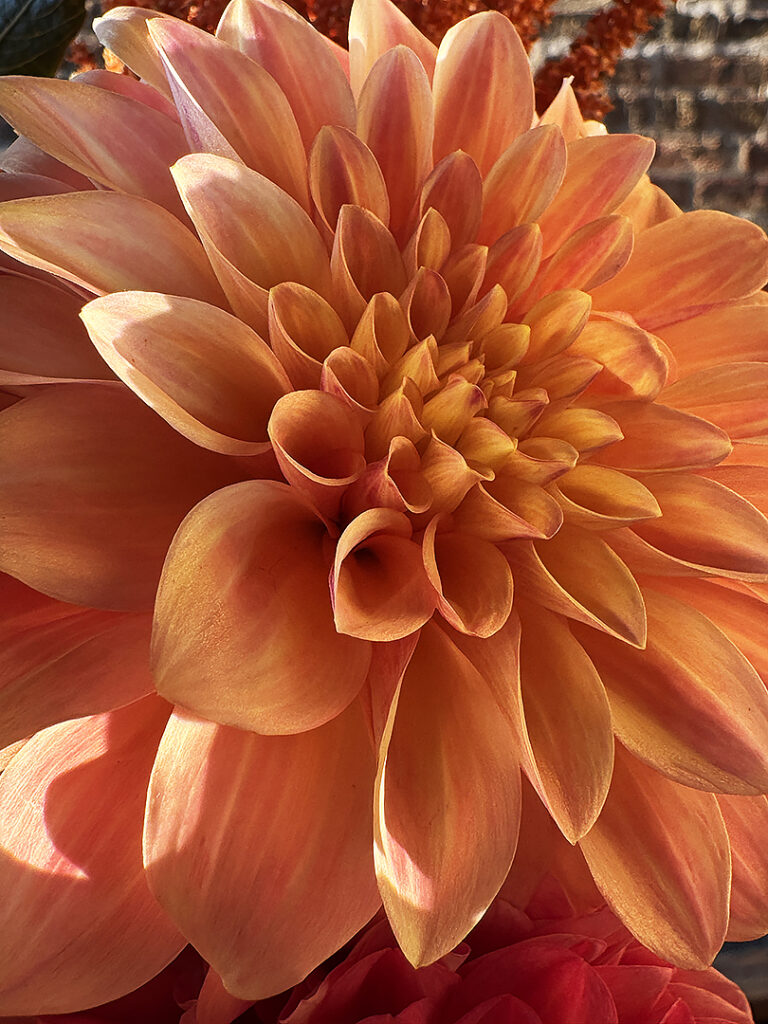
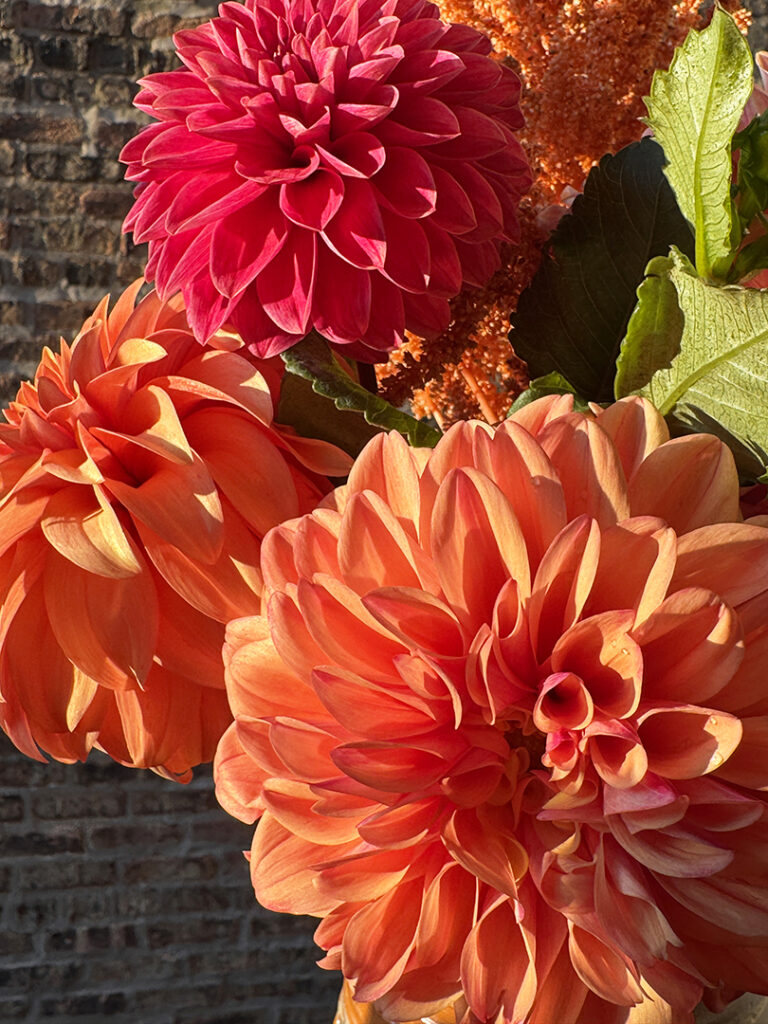
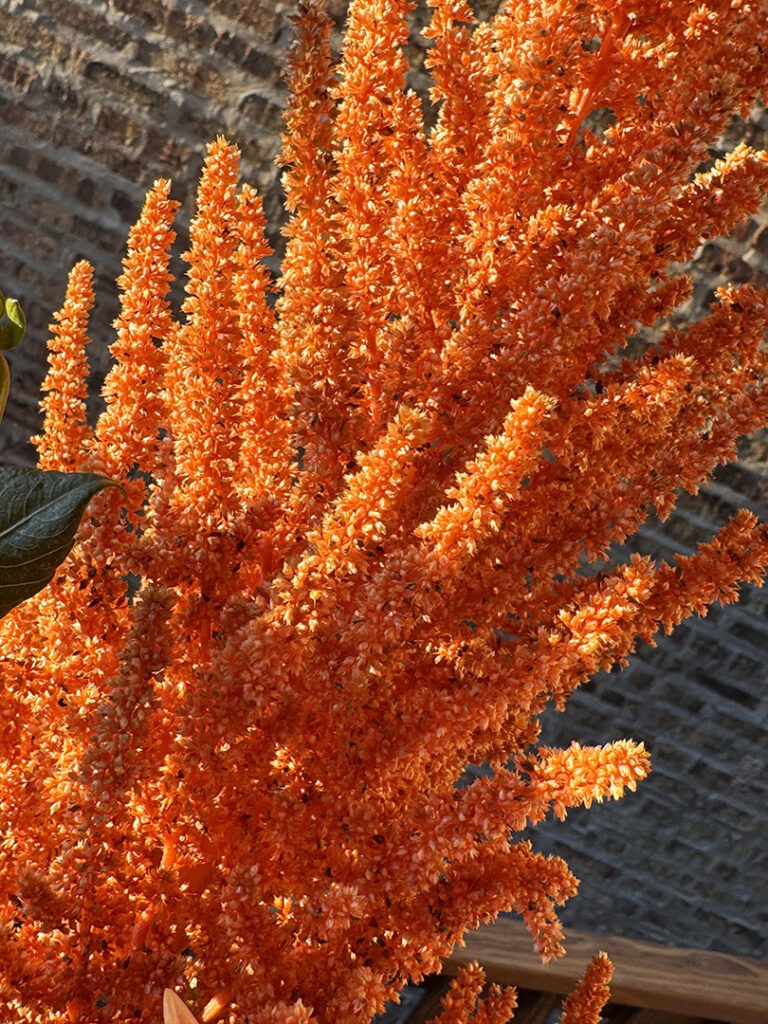
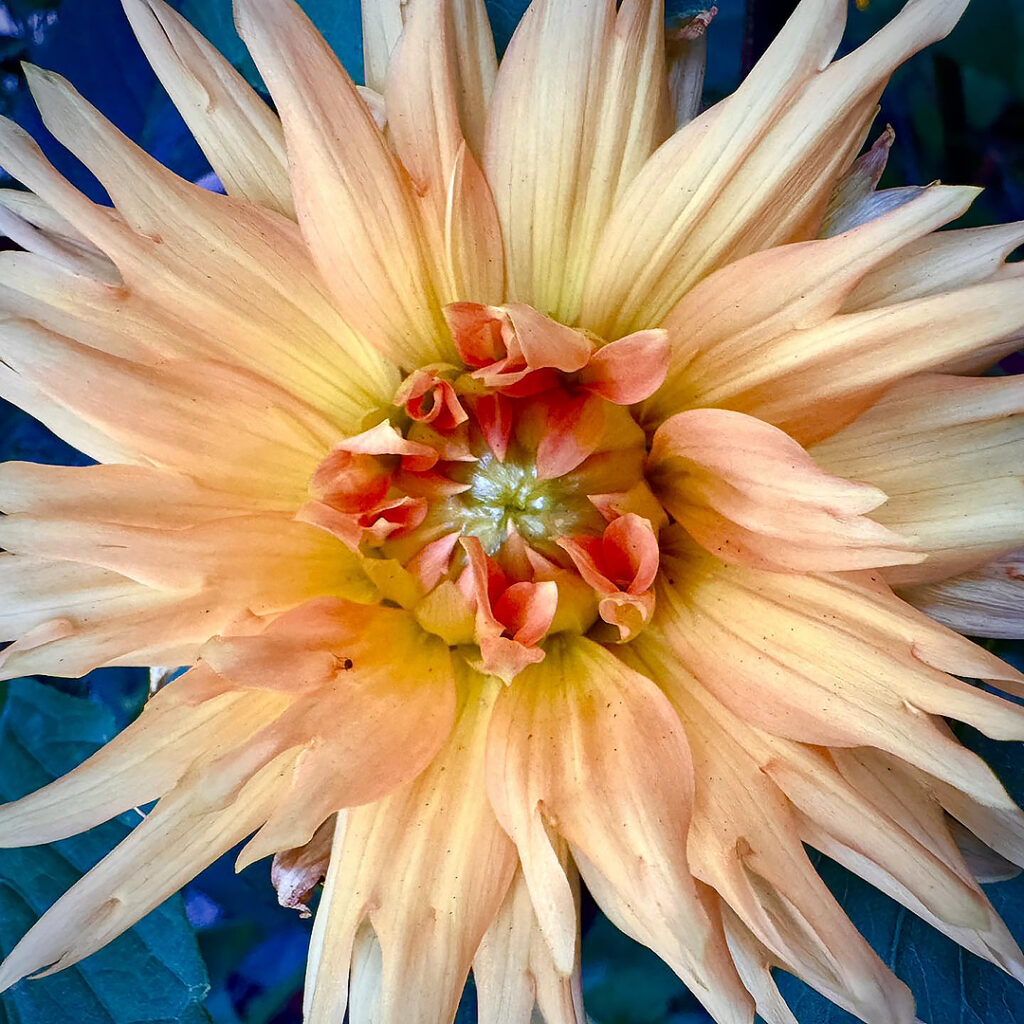
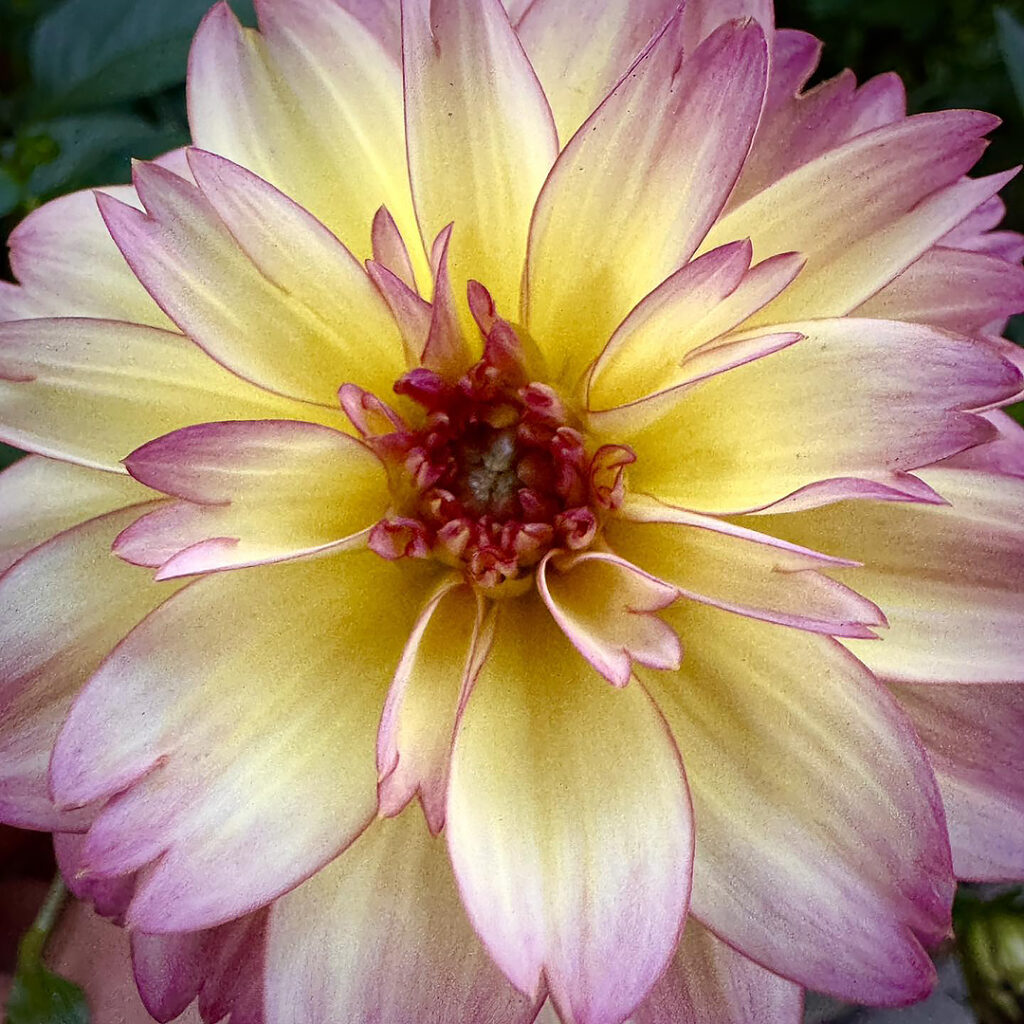
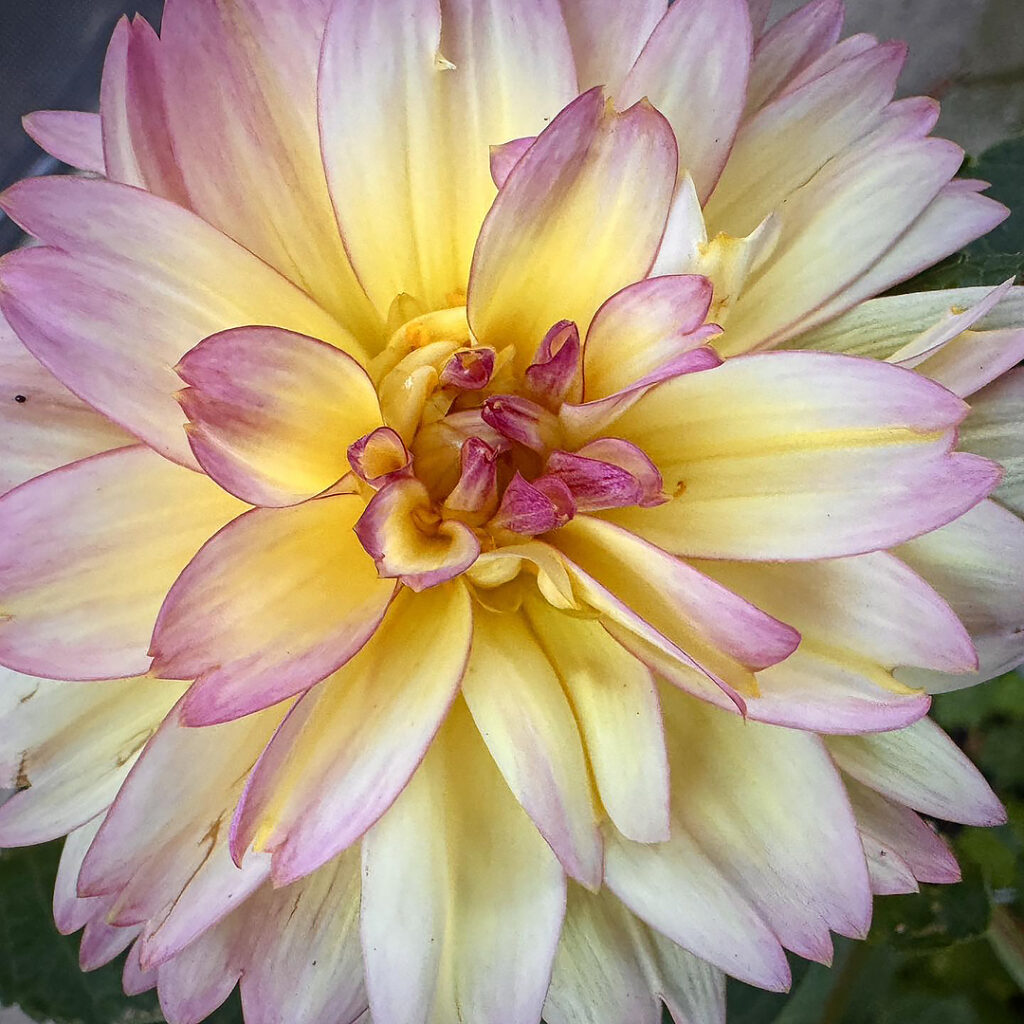
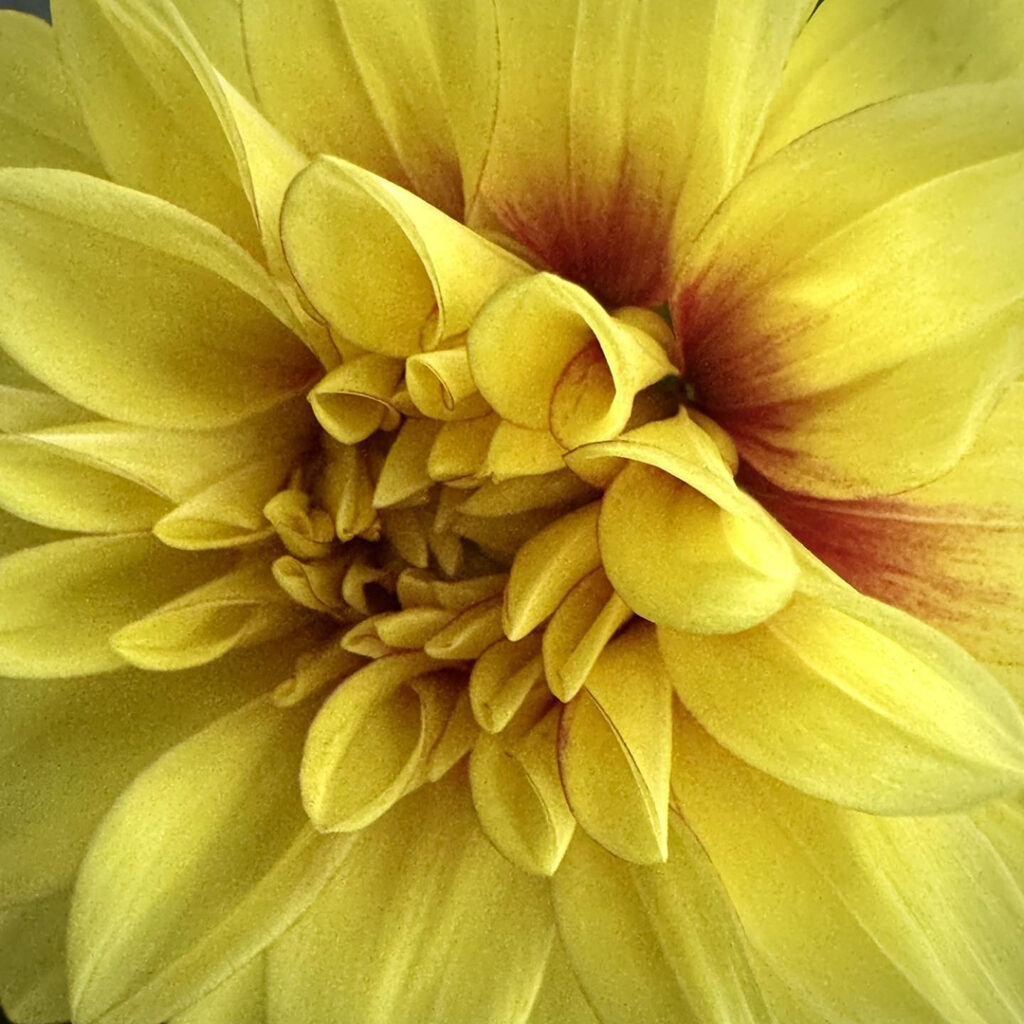
This morning’s dahlias in my garden. So beautiful this late in the summer. And I love how they seem to evolve & change colors day-by-day as they age & open larger! A nice “crop” this summer… hoping I have a couple more months before the big freeze comes to kill ‘em off!!!
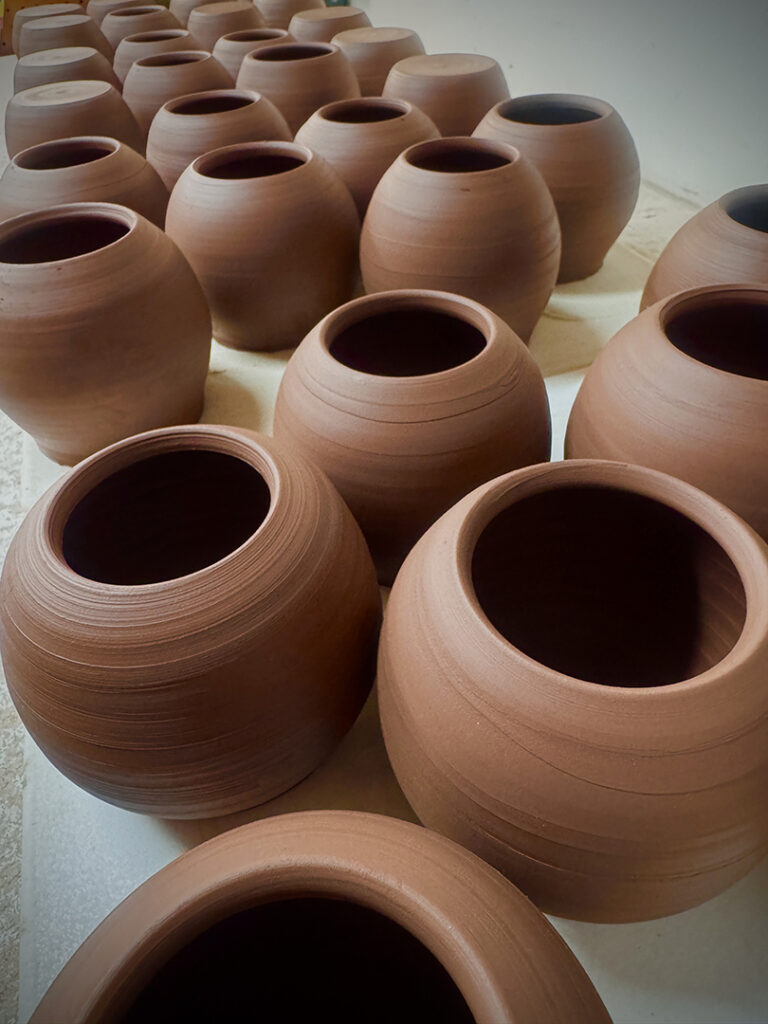
09.14.2025
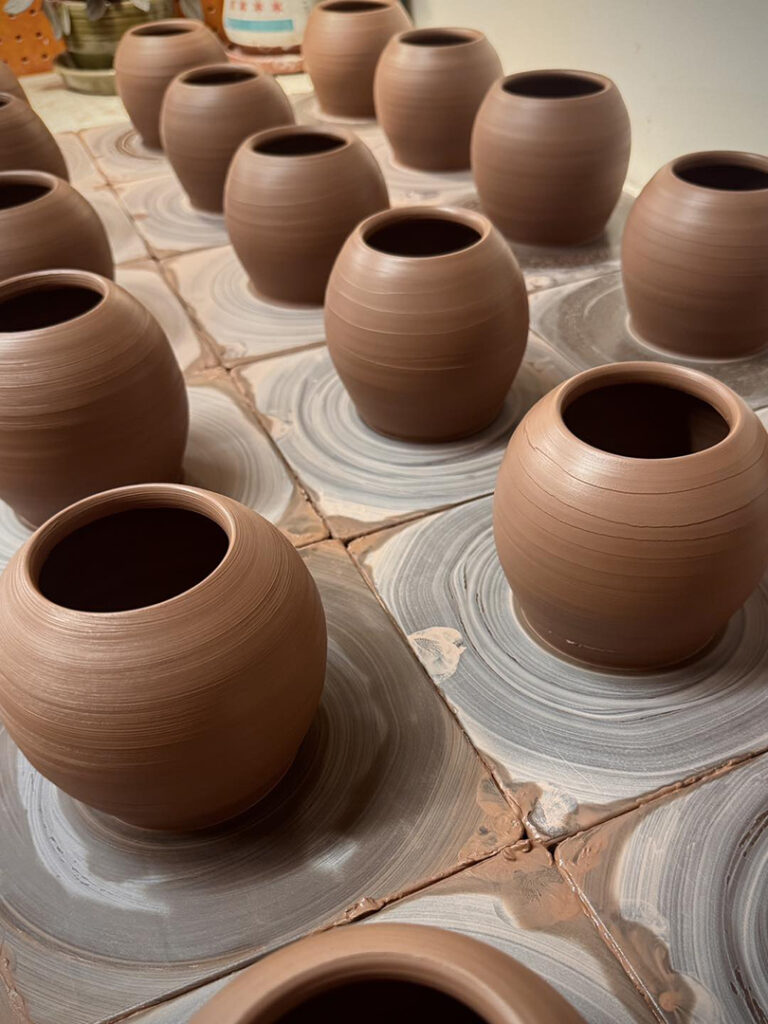
10×10 Challenge: More than ten thrown before 10:00am.
Playing with terra cotta today… I’ve got a plan & a “ghoulish” deadline!!!
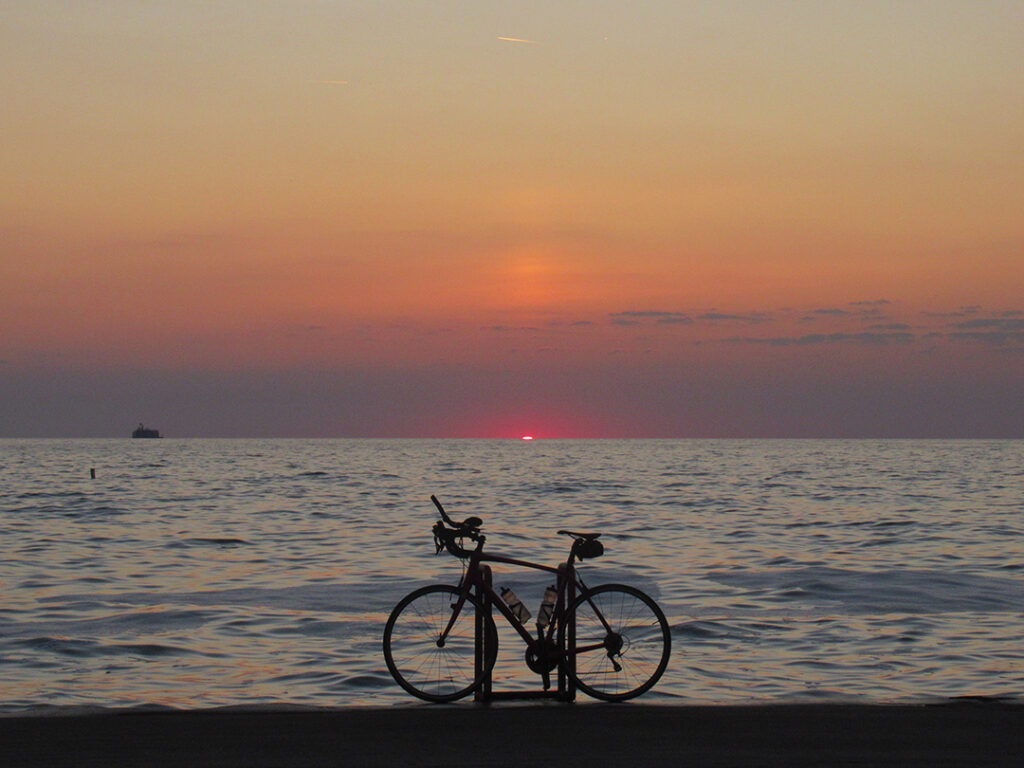
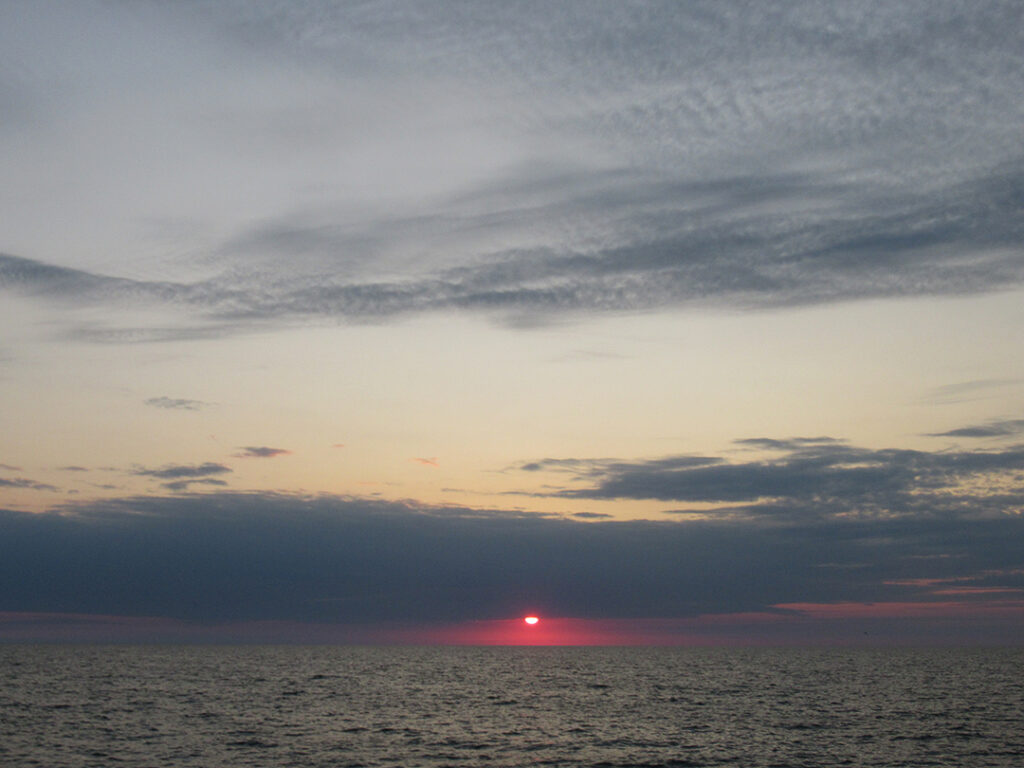
09.14.2025
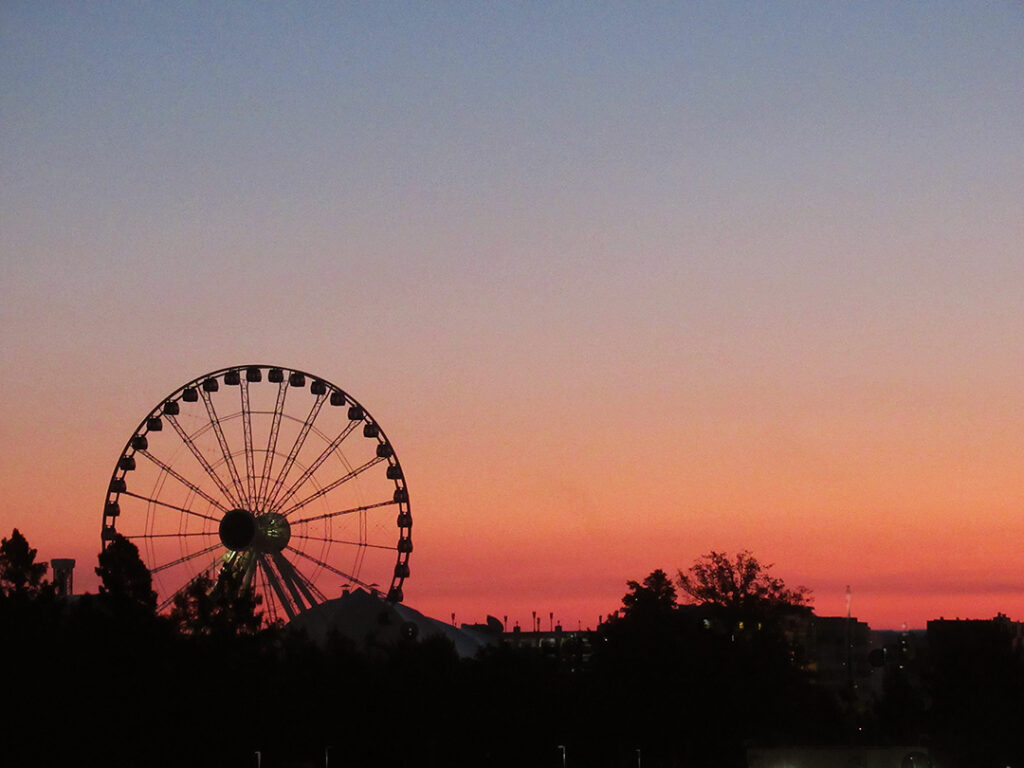
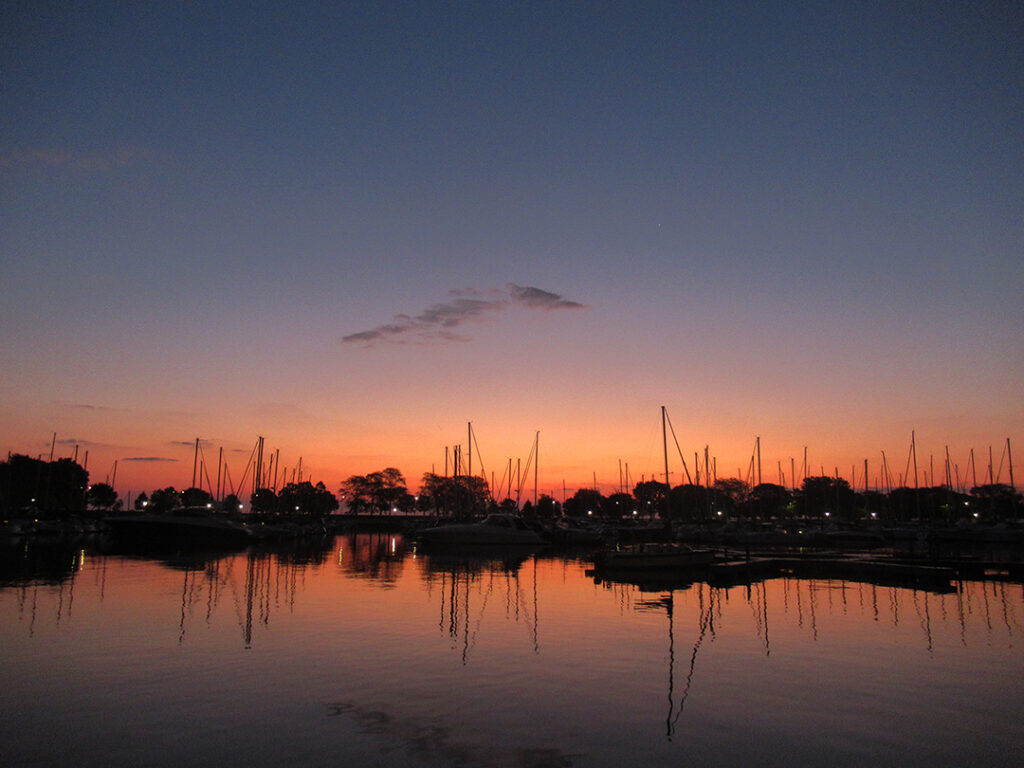
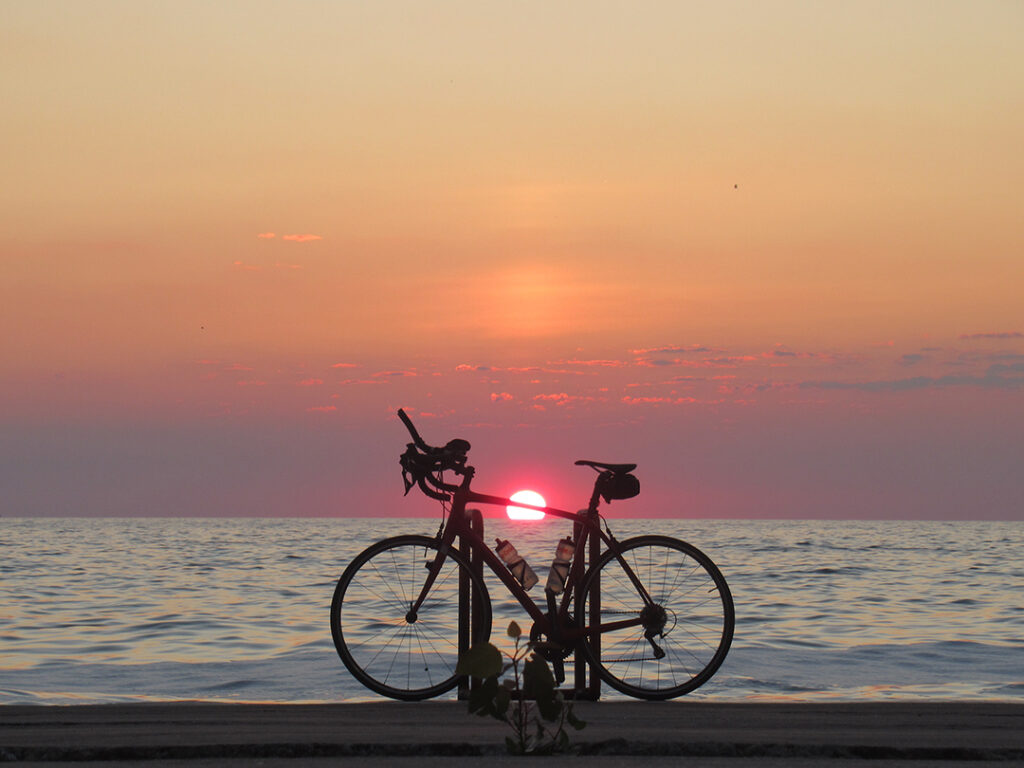
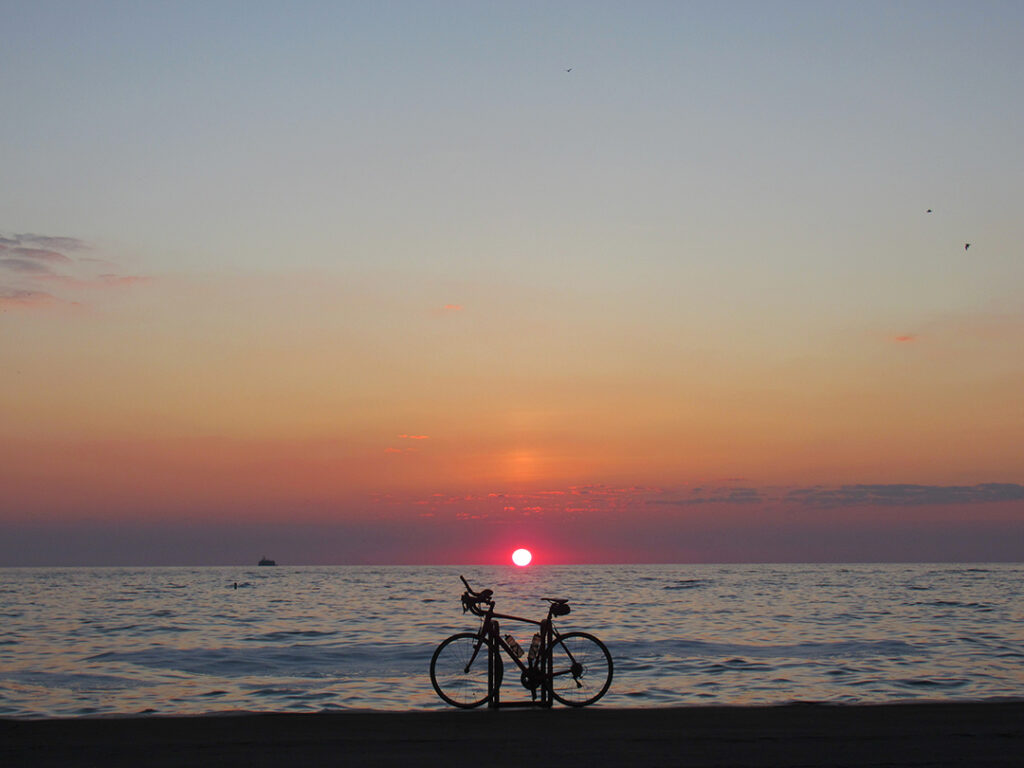
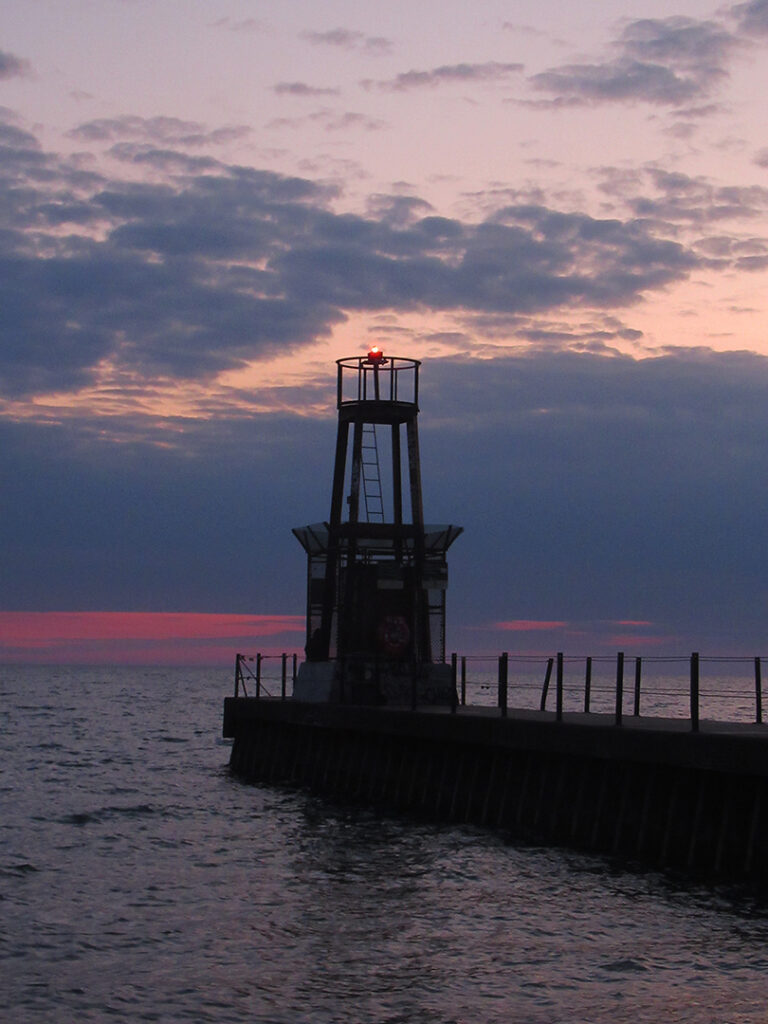
Humid & warm as I headed out the door this morning. Not much in the way of clouds… just a dense layer hanging low on the horizon.


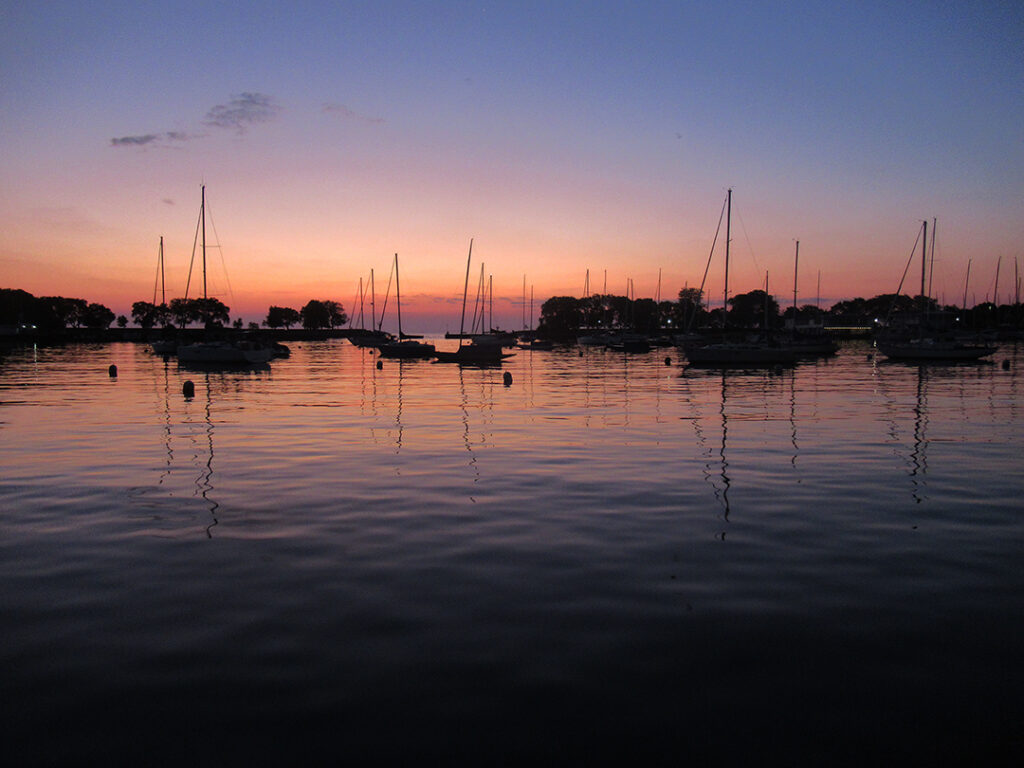
09.12.2025
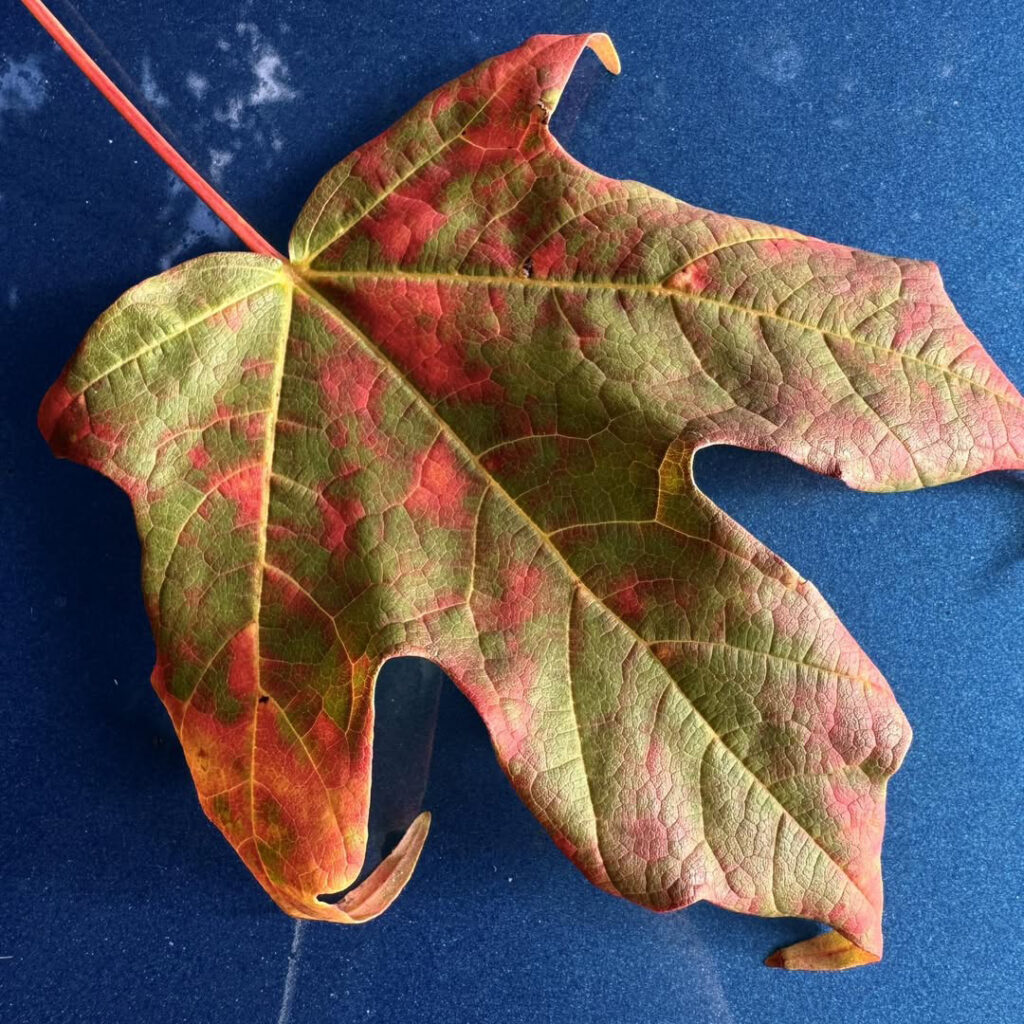
The first of many falling soon… but not too soon I hope!
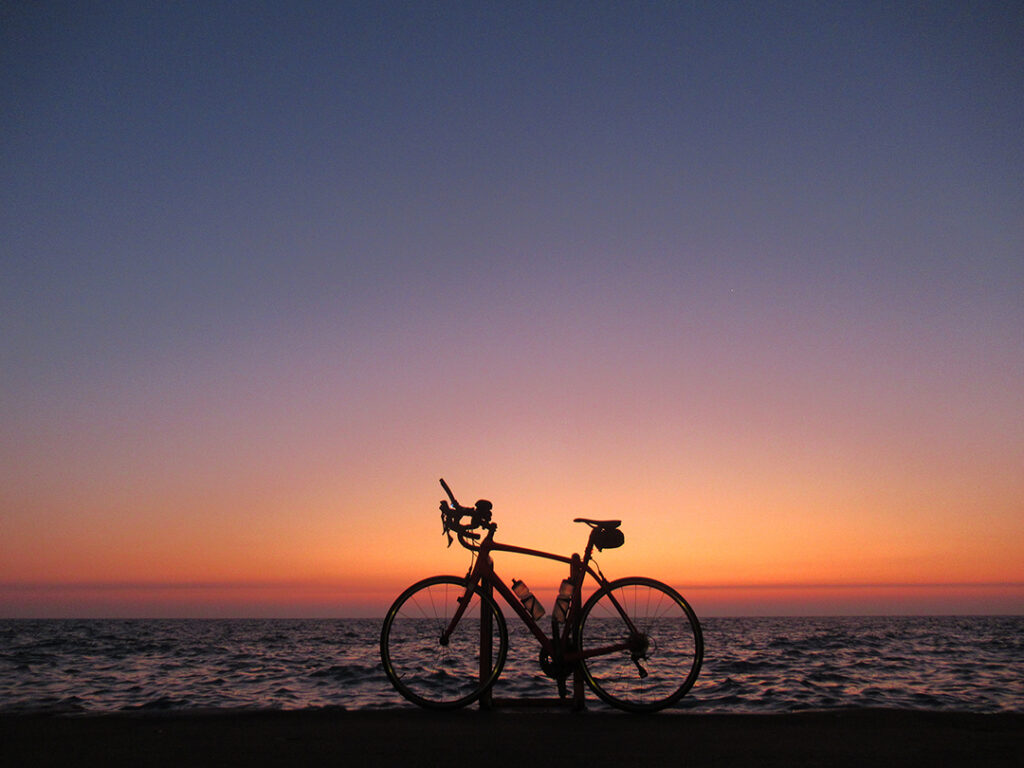
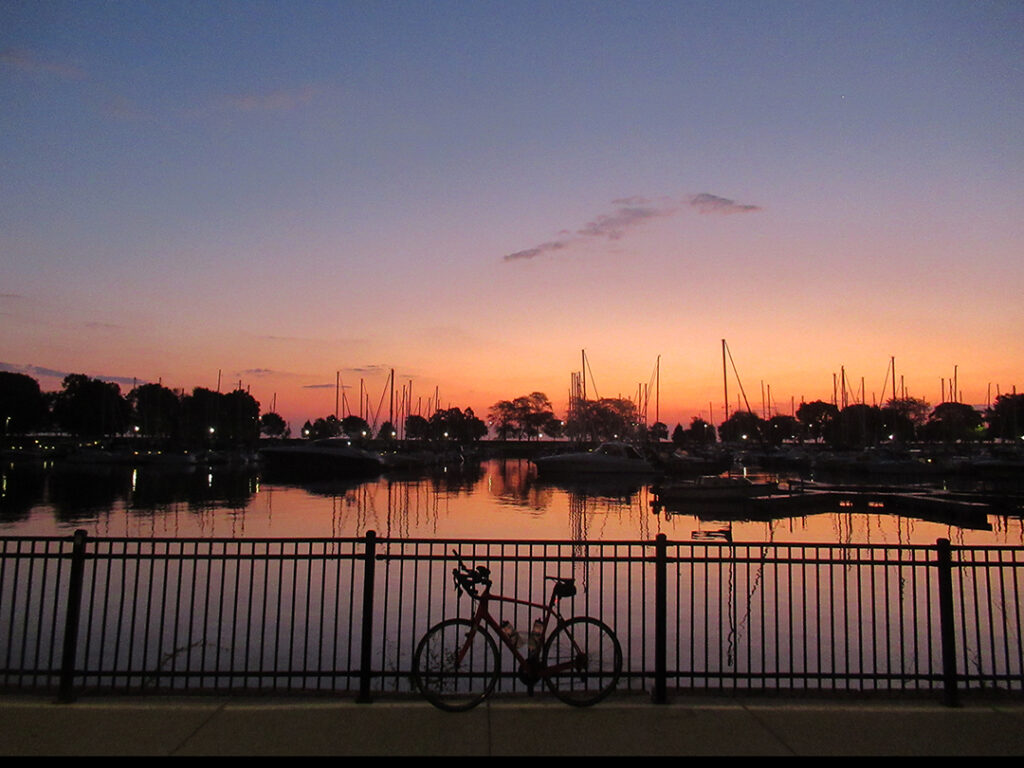
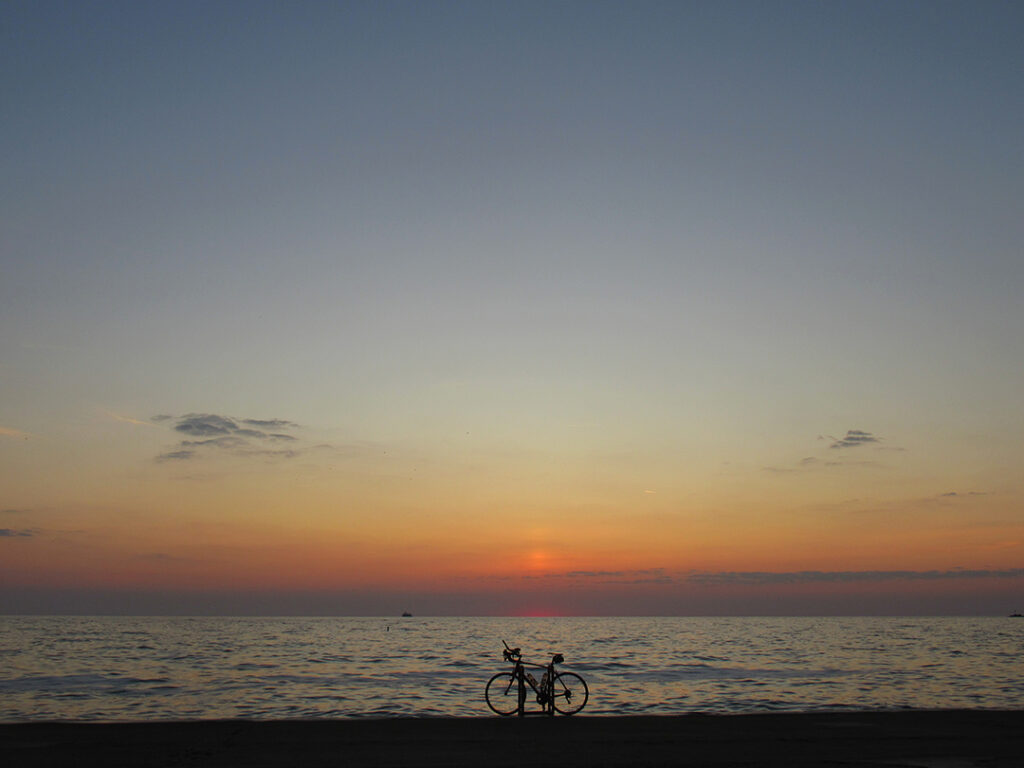
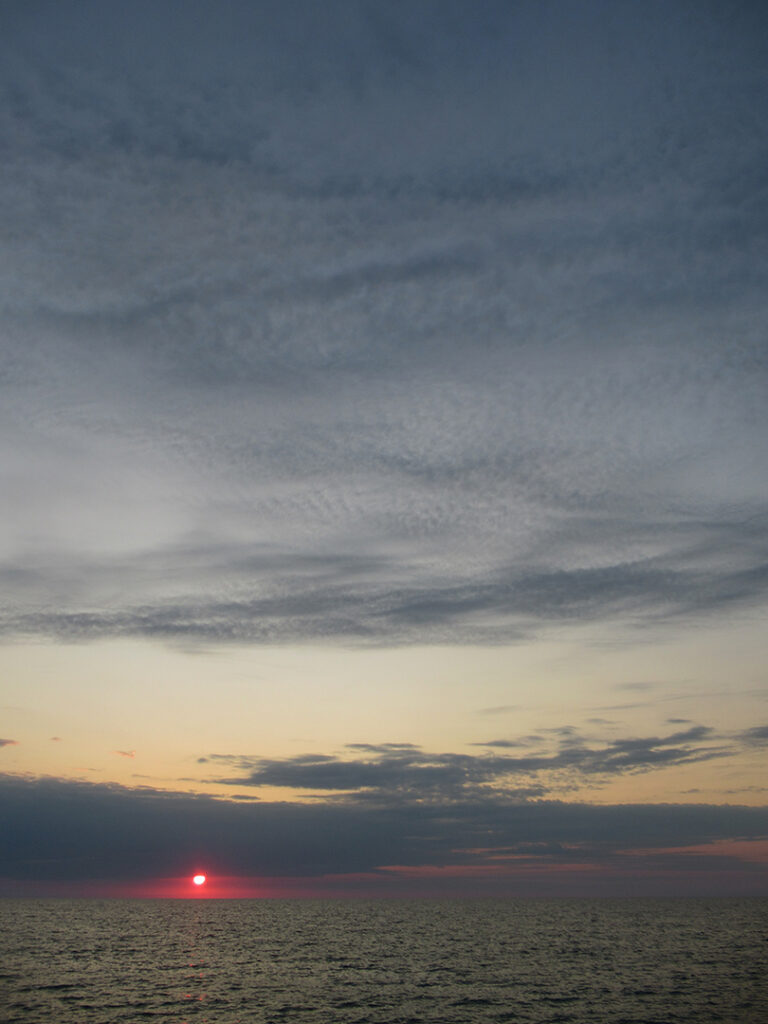
09.12.2025
Categories: sunrise
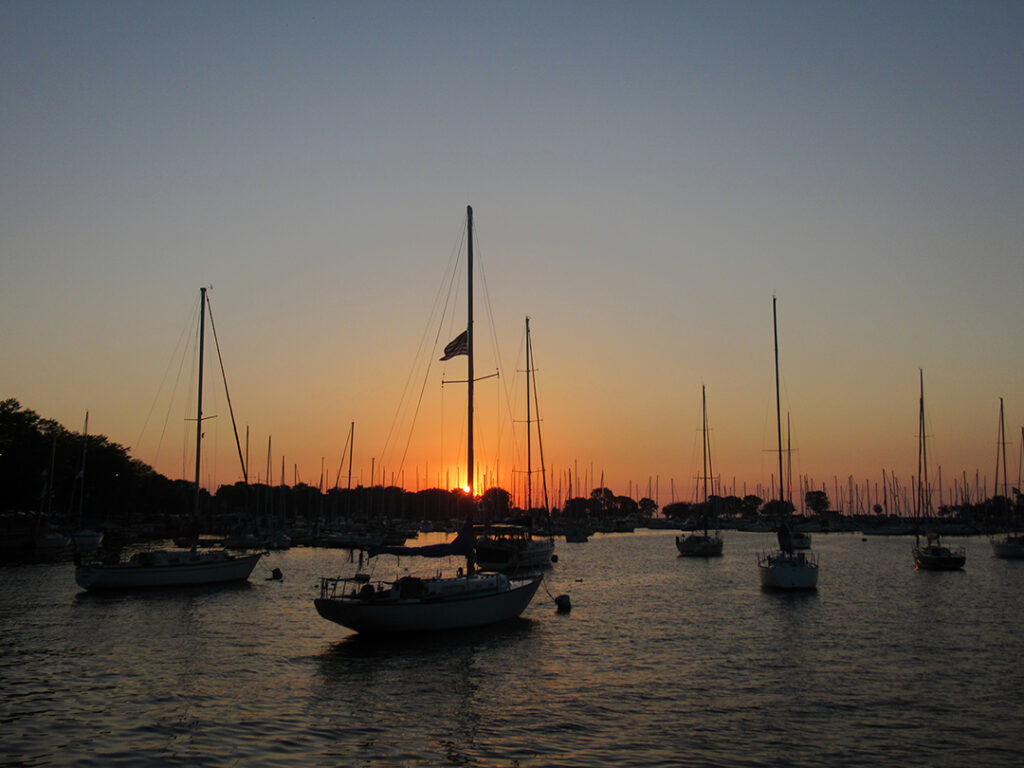
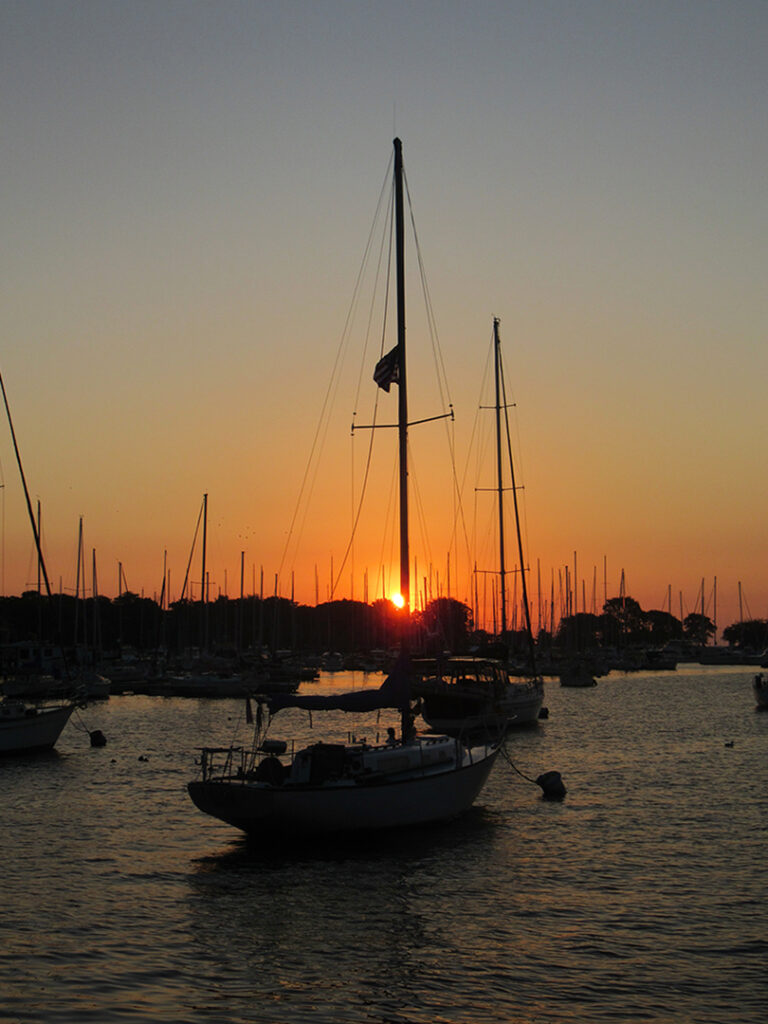
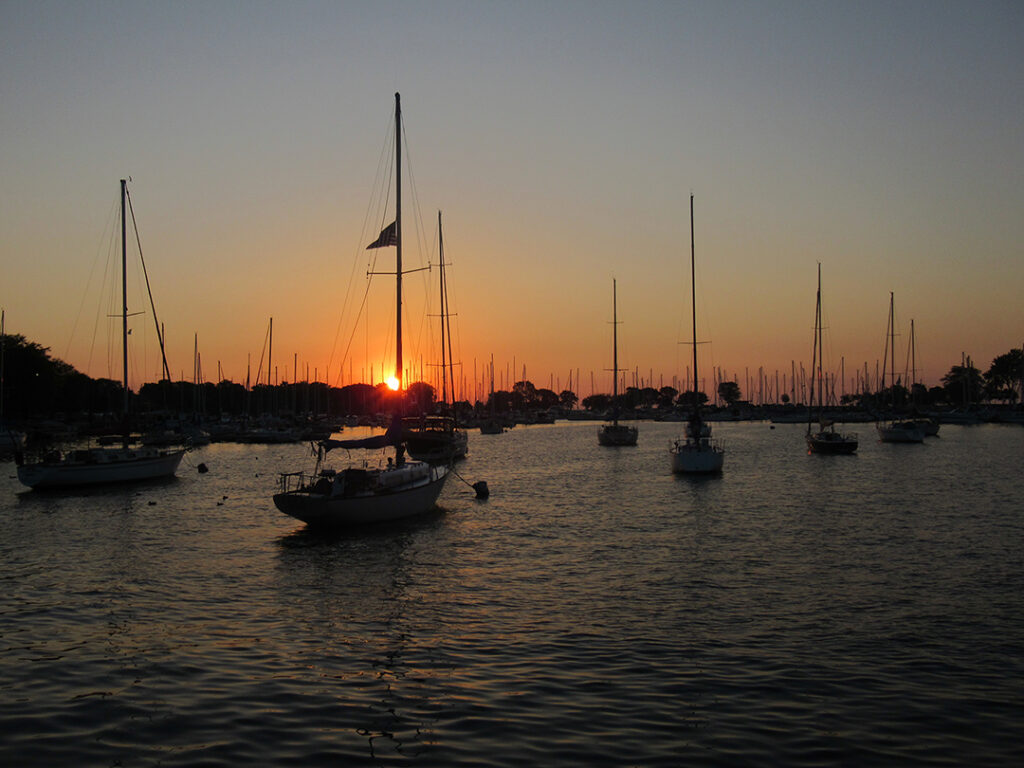
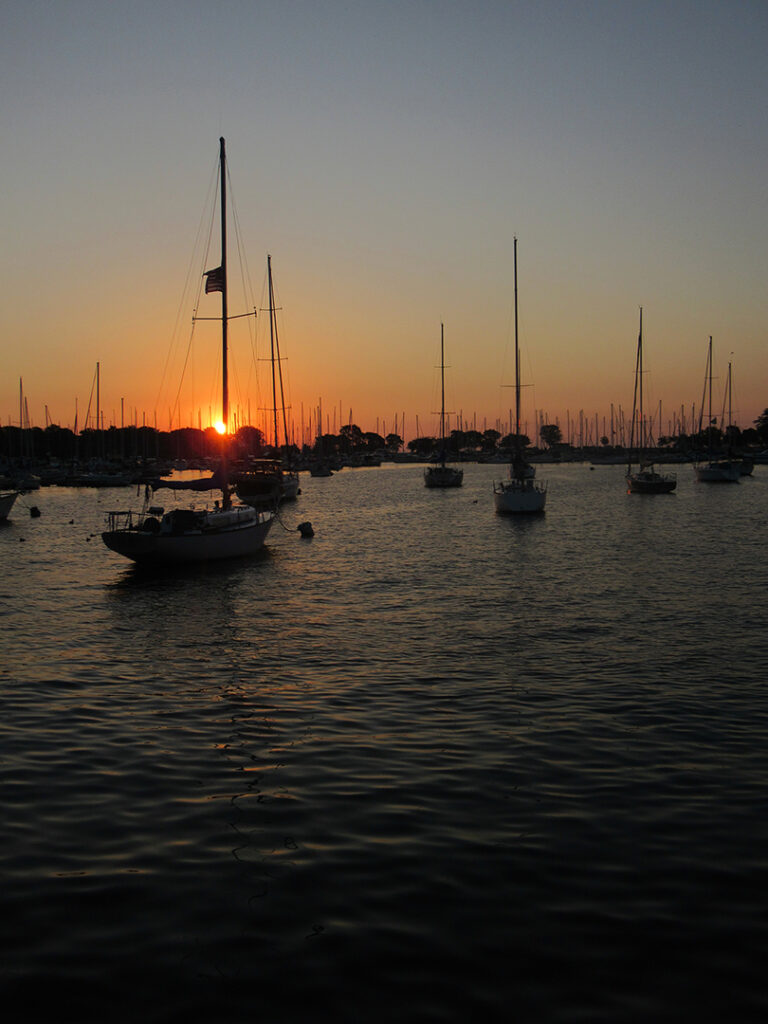
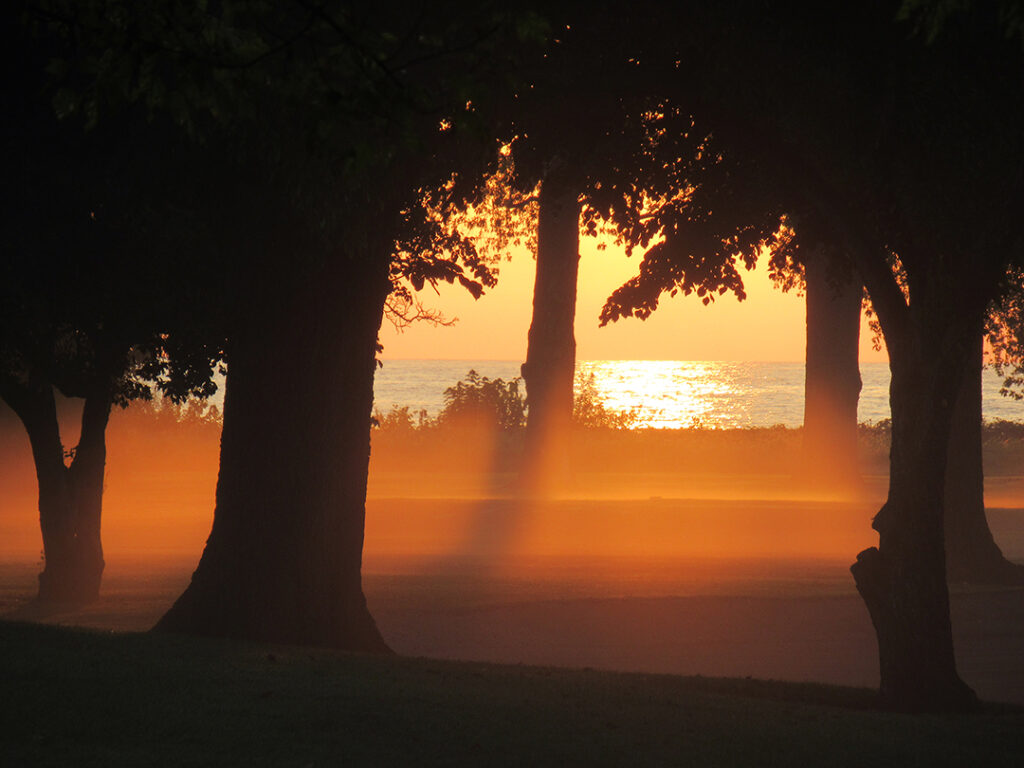
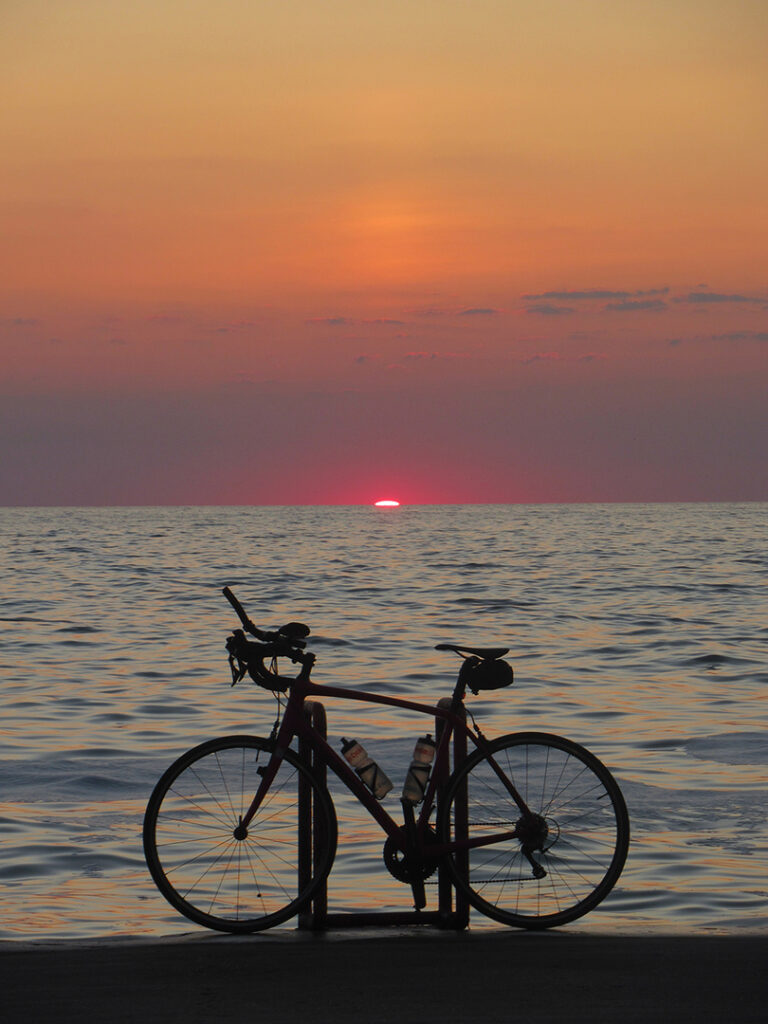
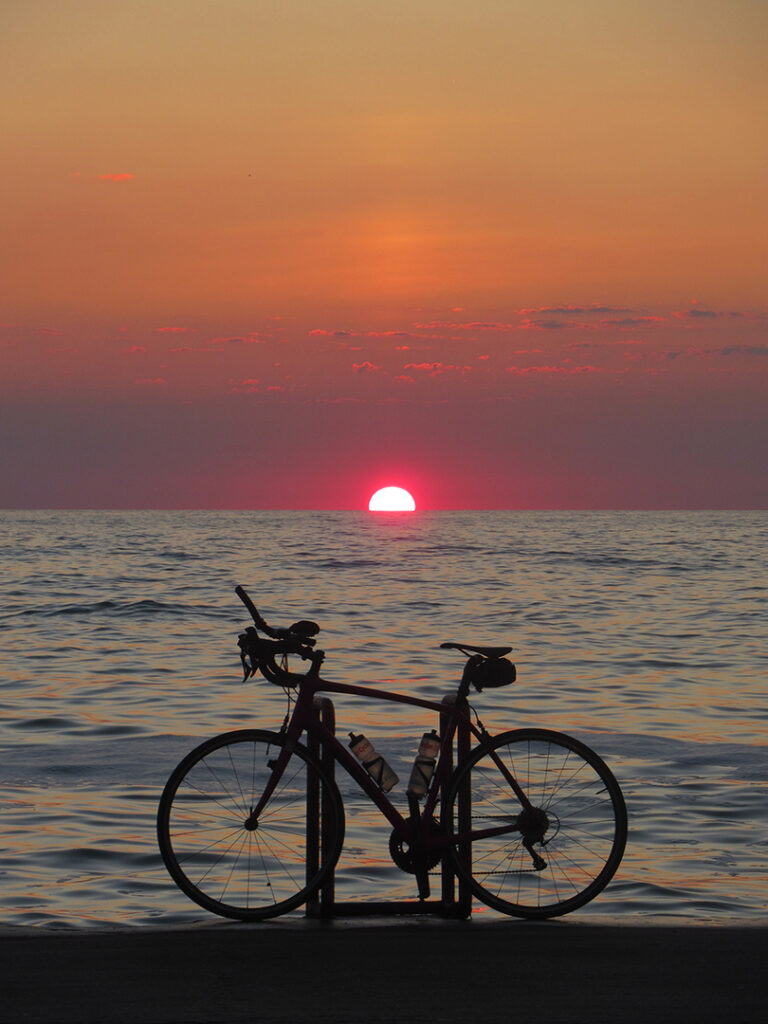
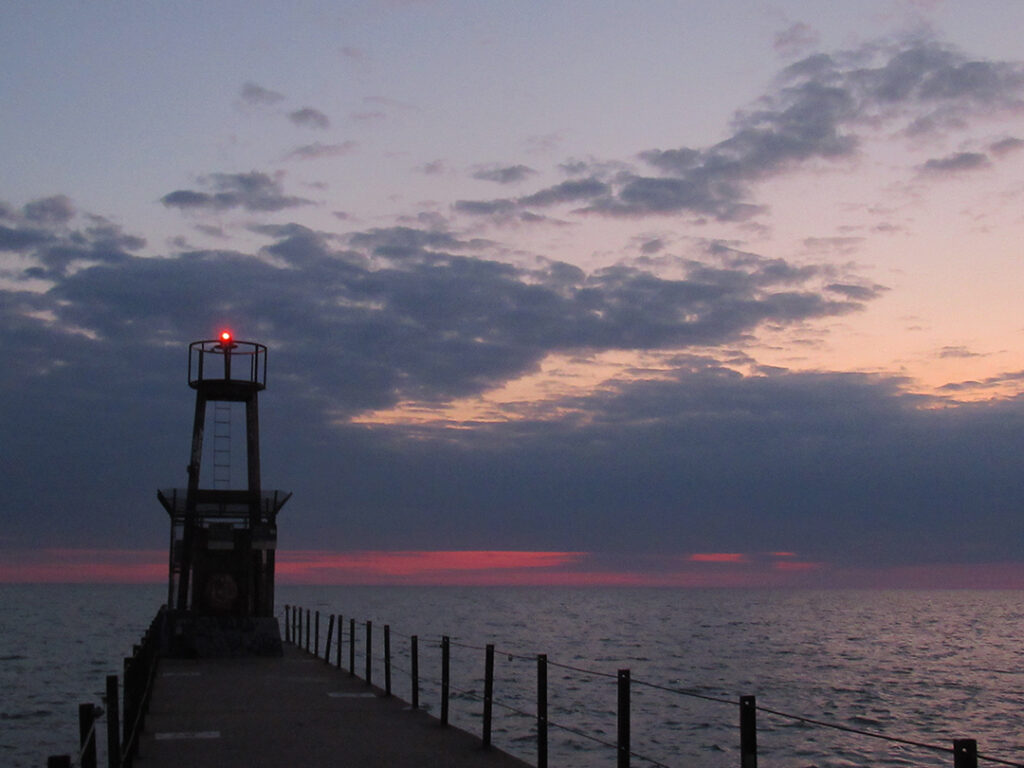
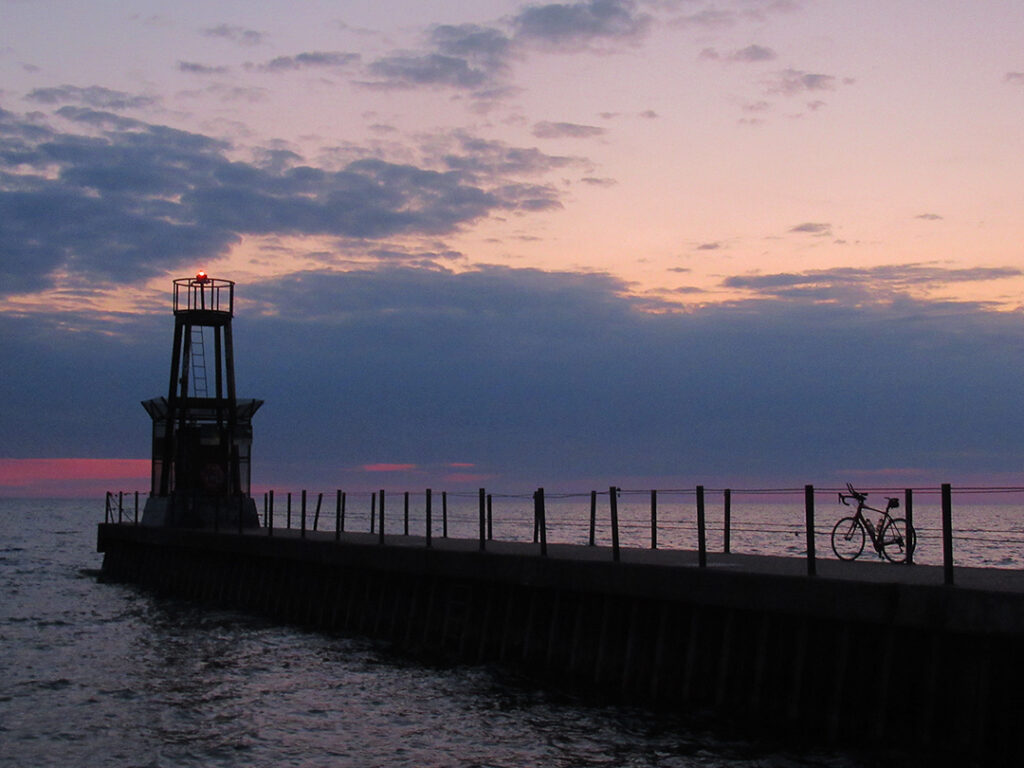
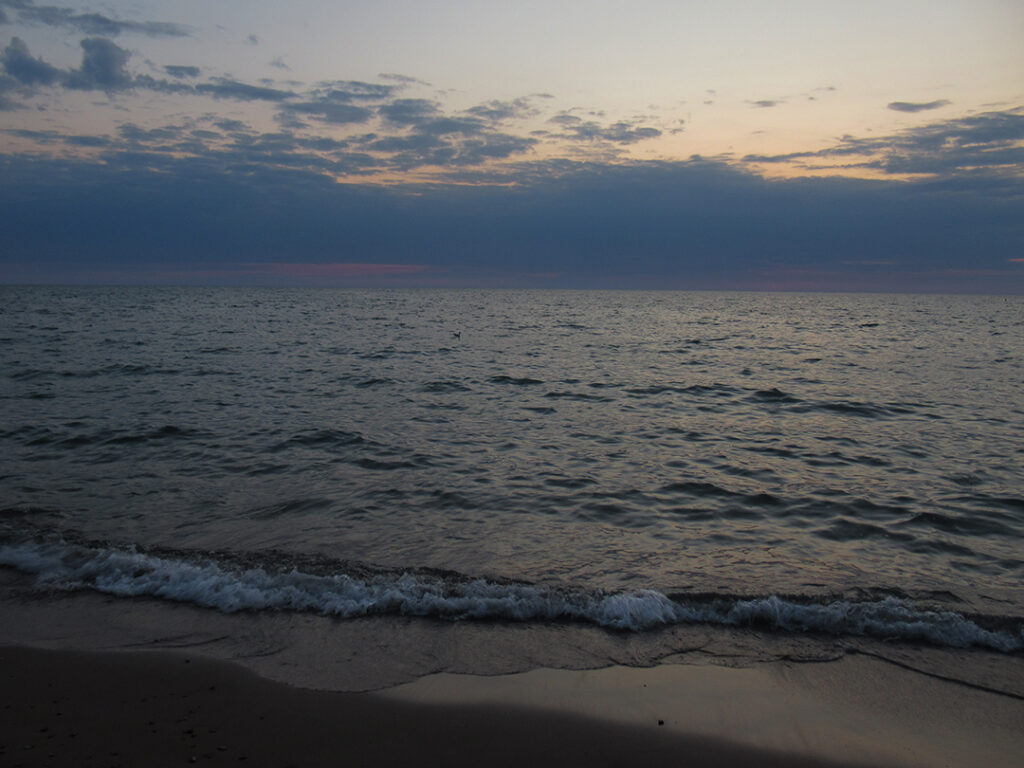
Well, when I turned around & started riding home this morning, I was surprised to see a layer of damp fog hanging low over the golf course. See?… so it wasn’t just me. Here’s the humidity… making another crazy-cool sunrise moment along the lakefront this morning.

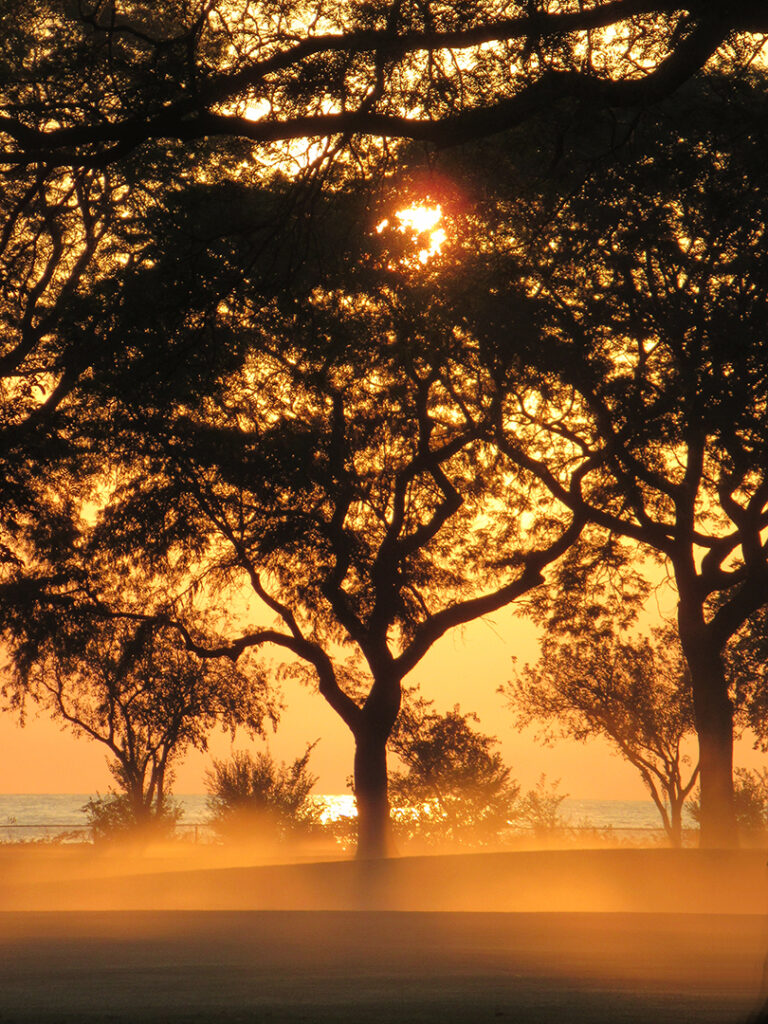
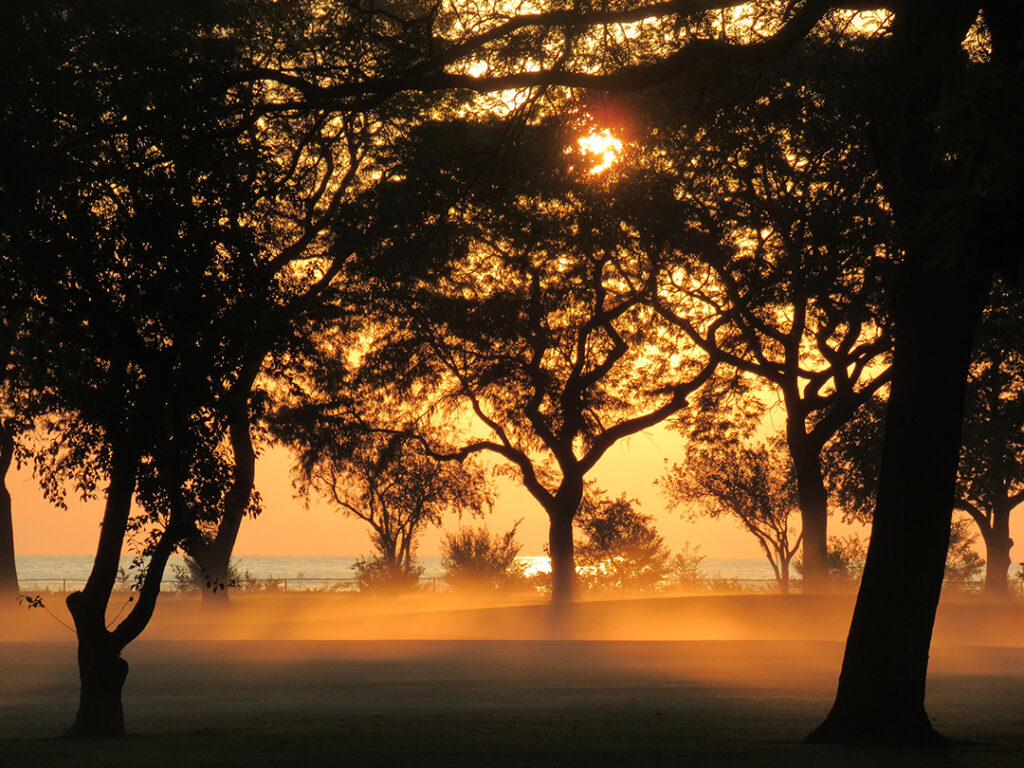
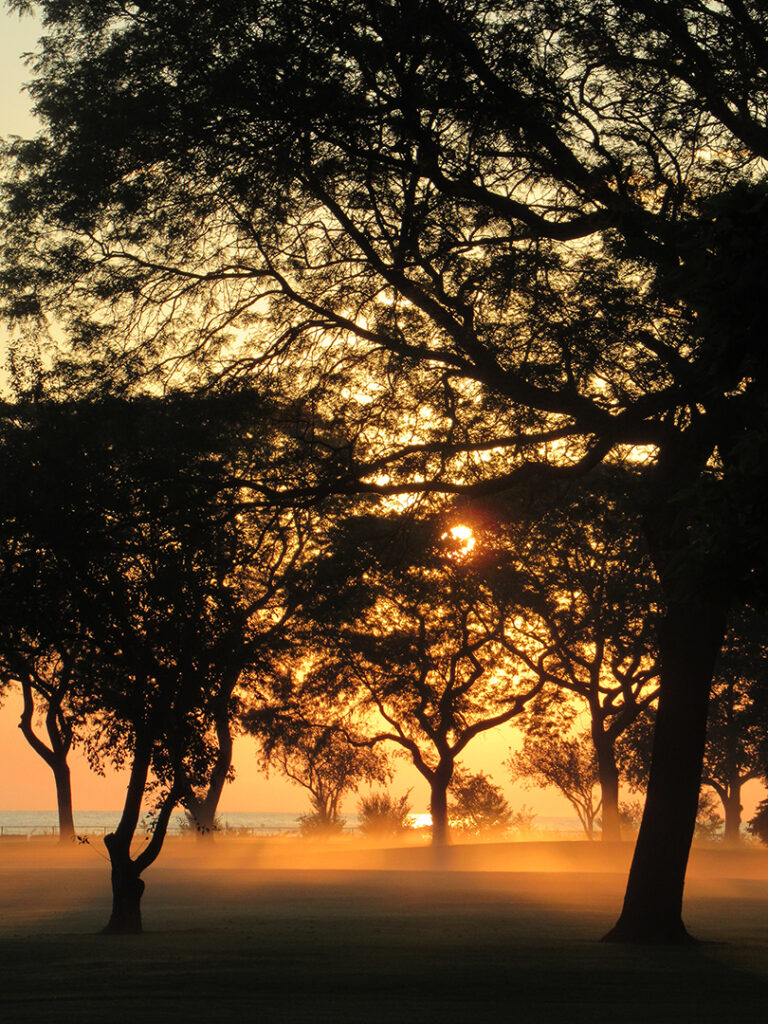
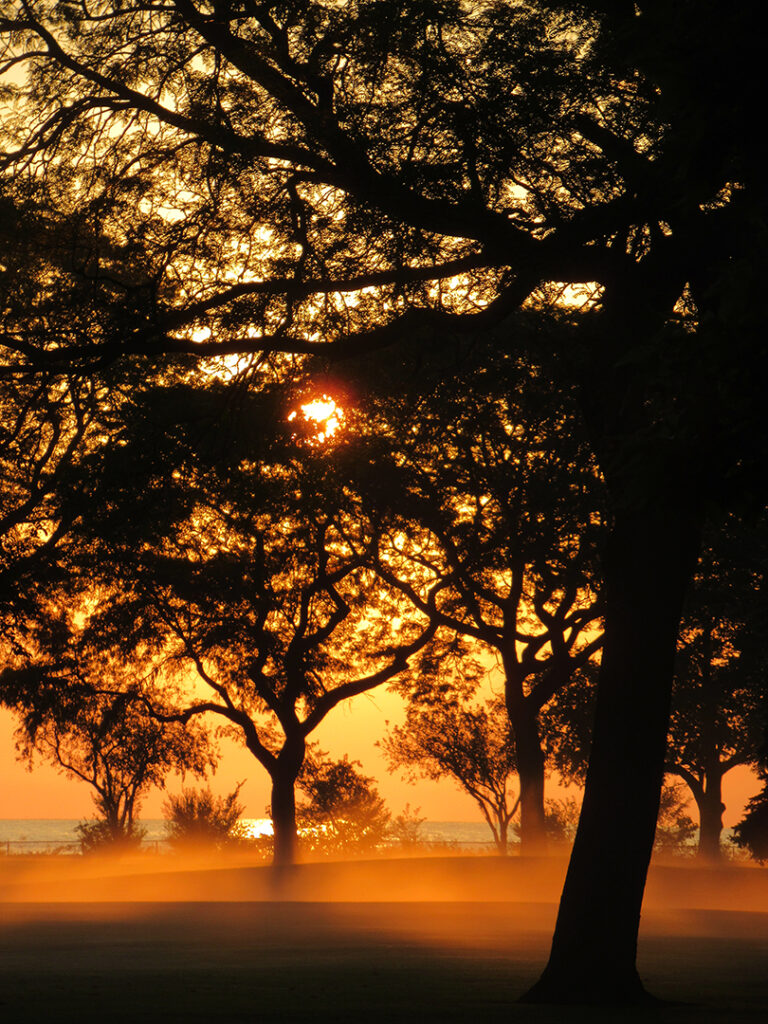
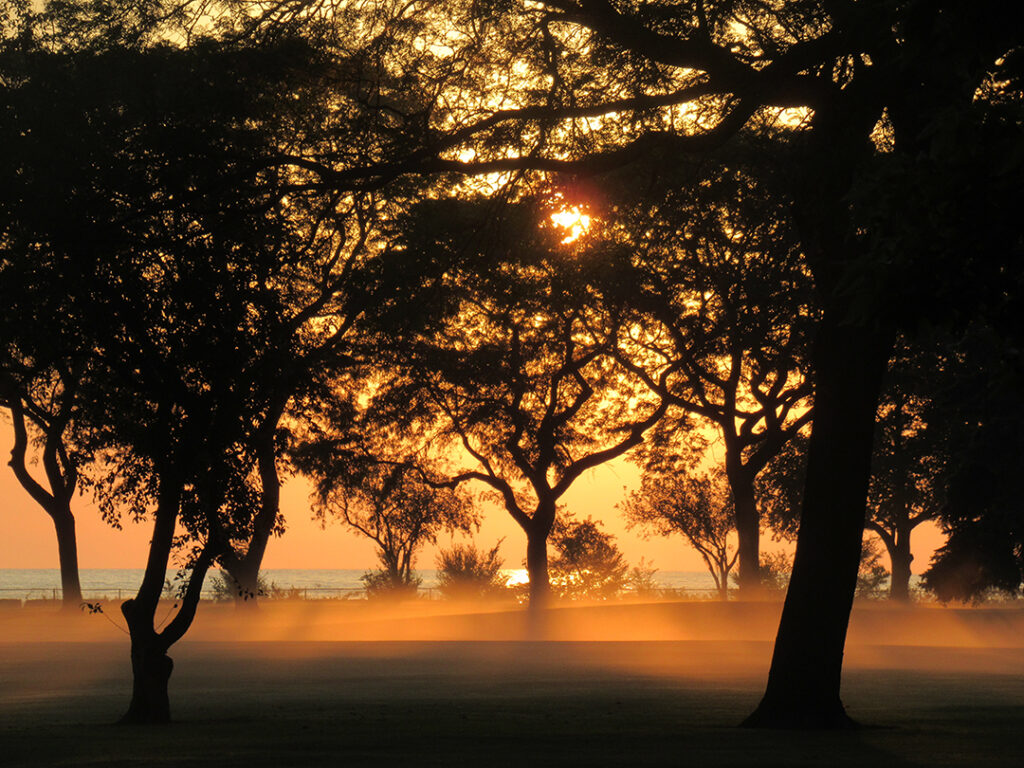
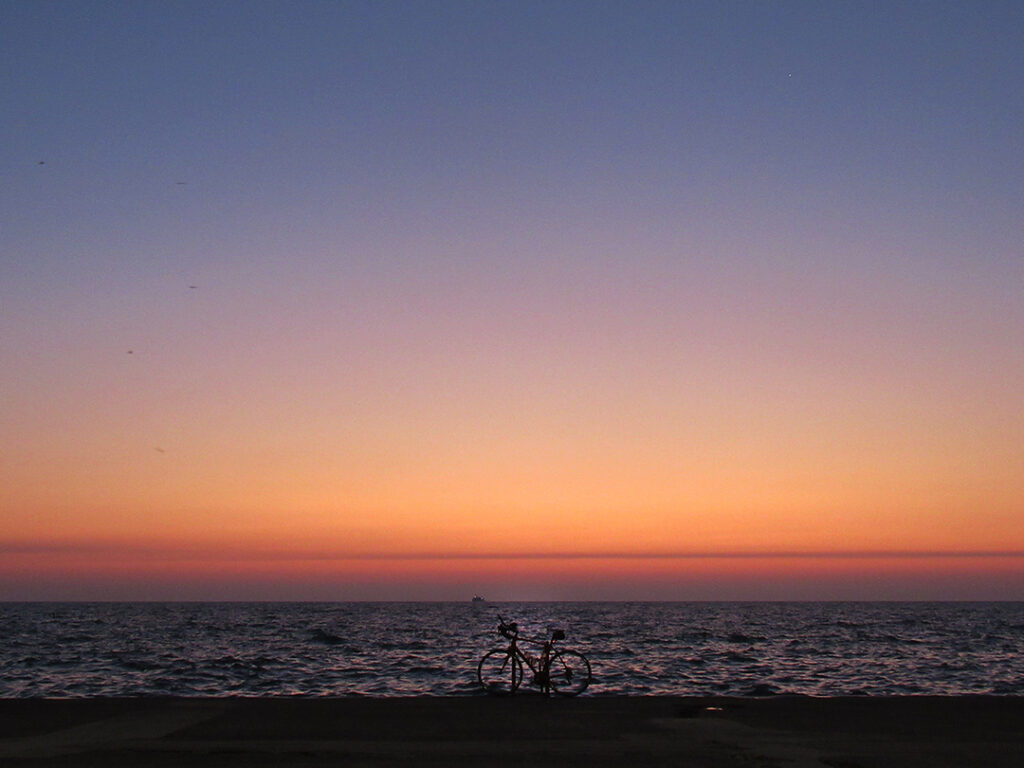
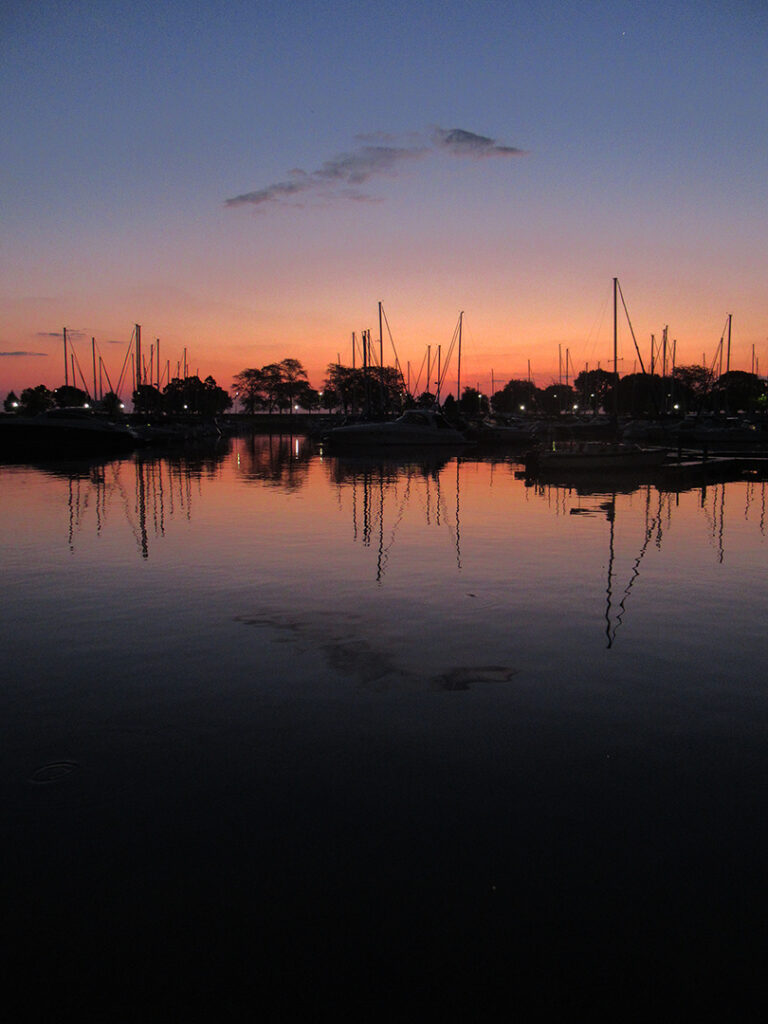
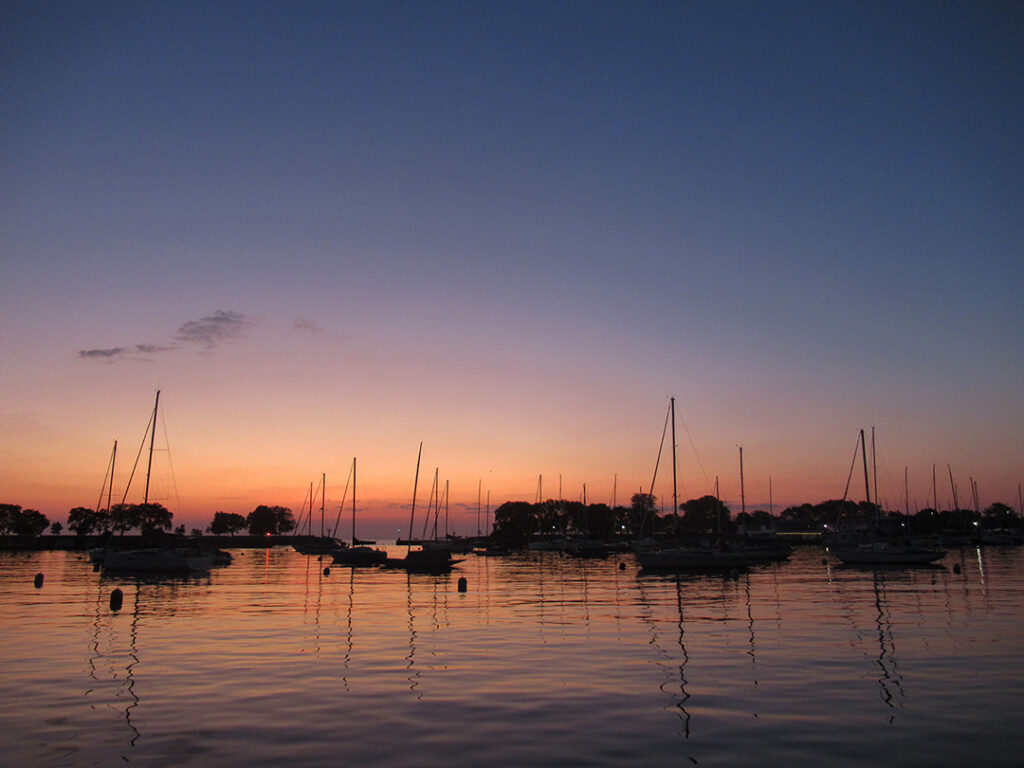
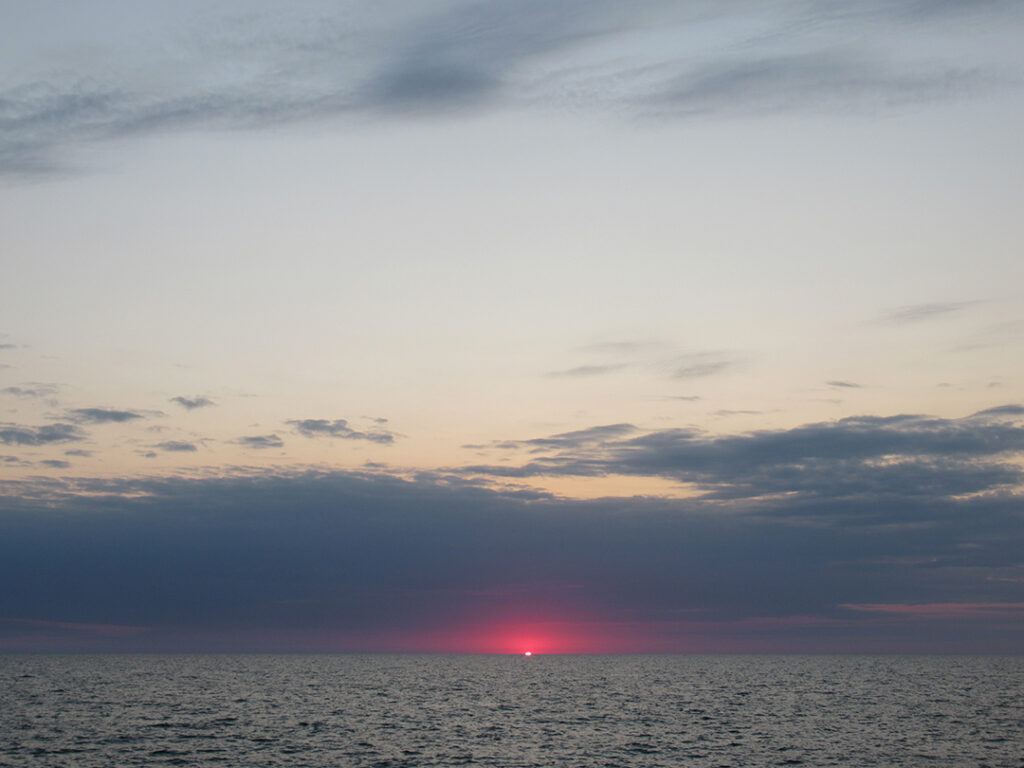
09.12.2025
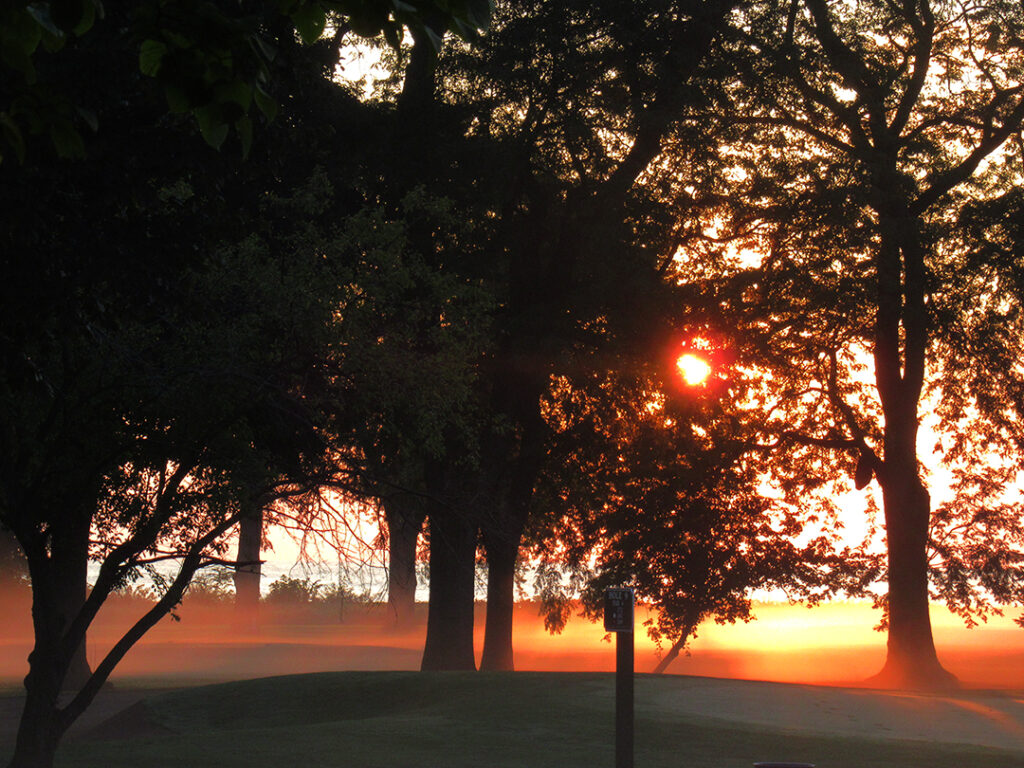
Another beautiful morning along the lakefront, although the humidity seems to have returned. I was kinda surprised when the sweat kicked-in… it’s been awhile since we’ve had such a humid morning?! Don’t care… I’m a great sweat-er!!! Just another part of my morning ritual.


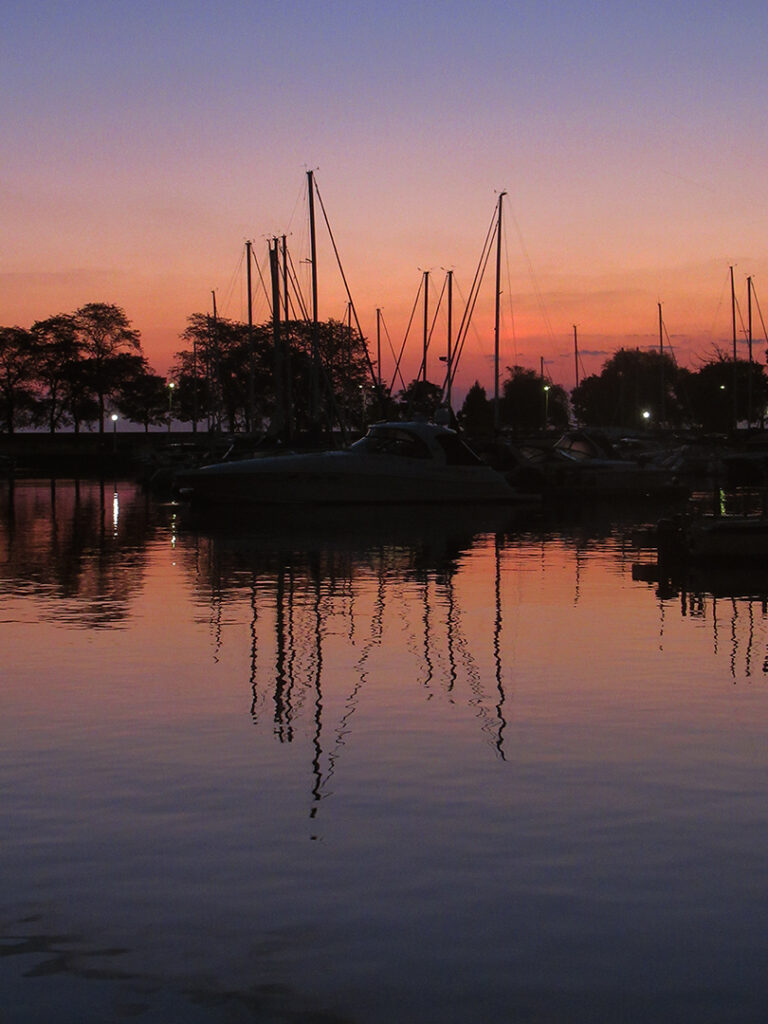


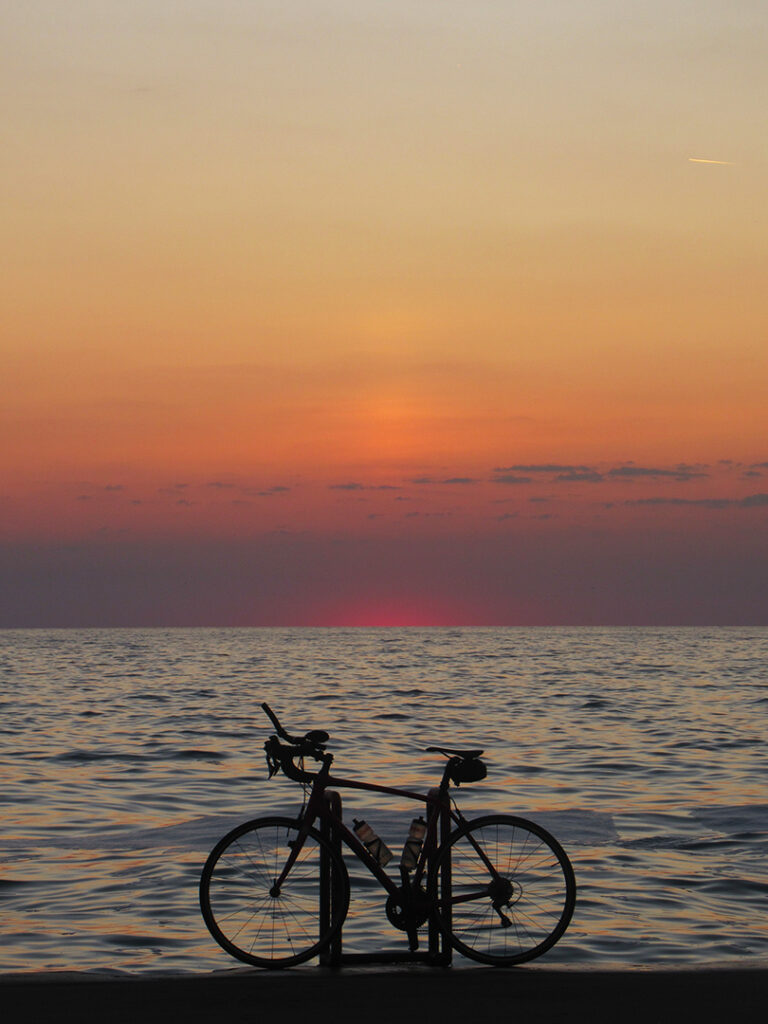


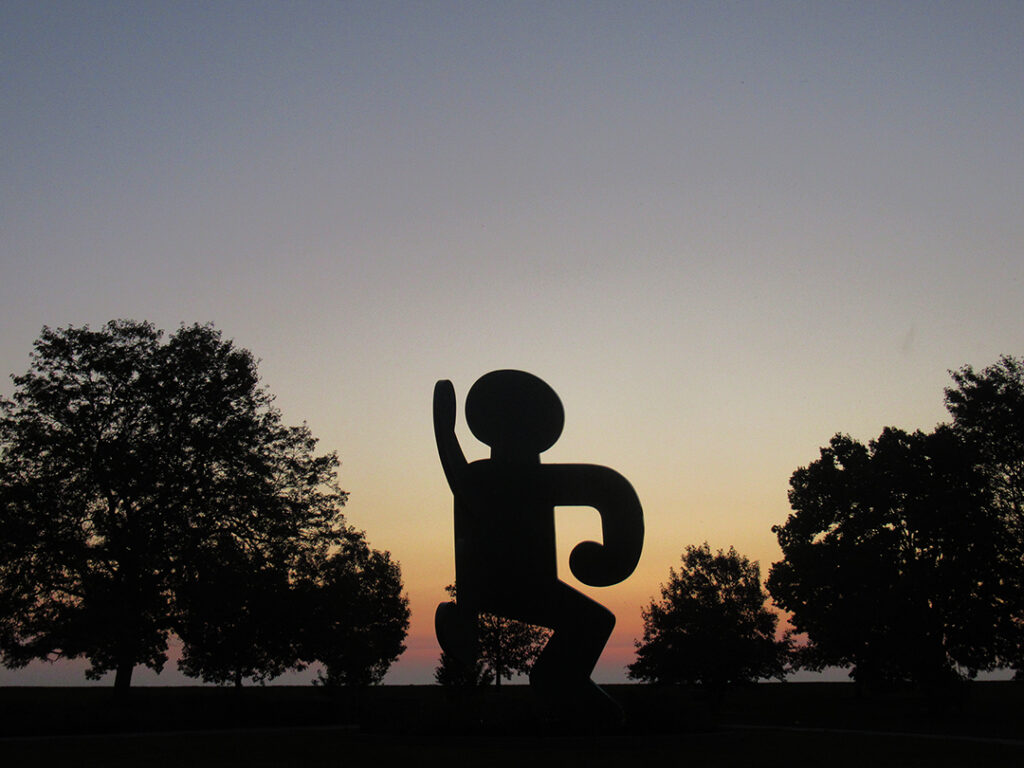
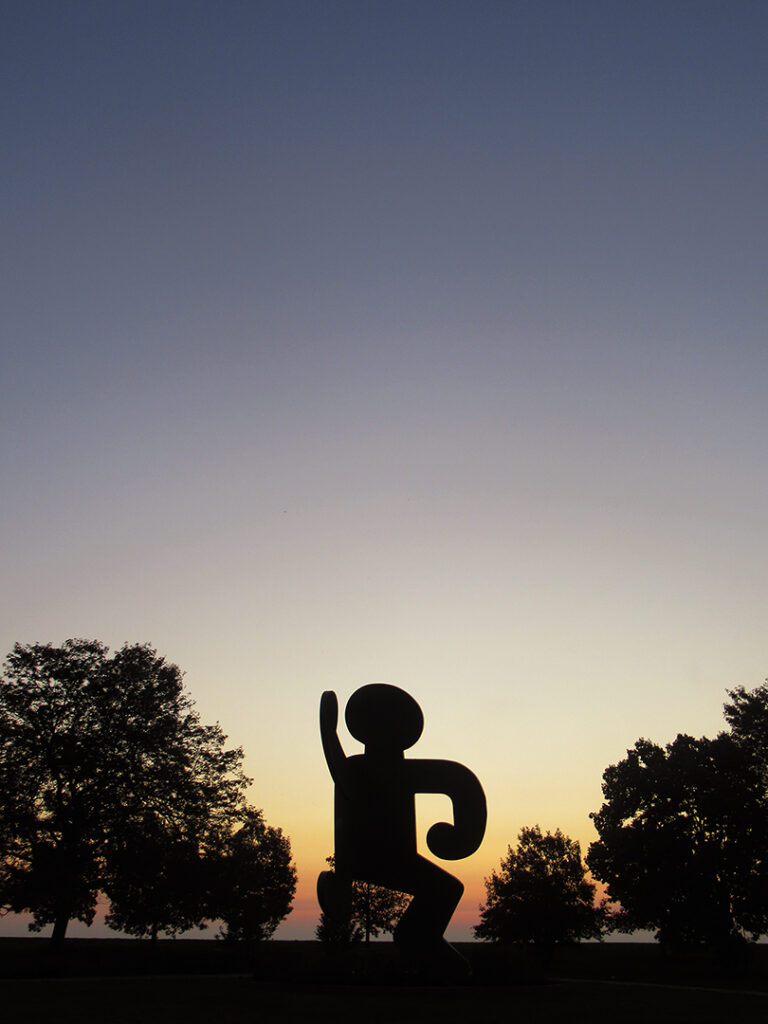
09.11.2025
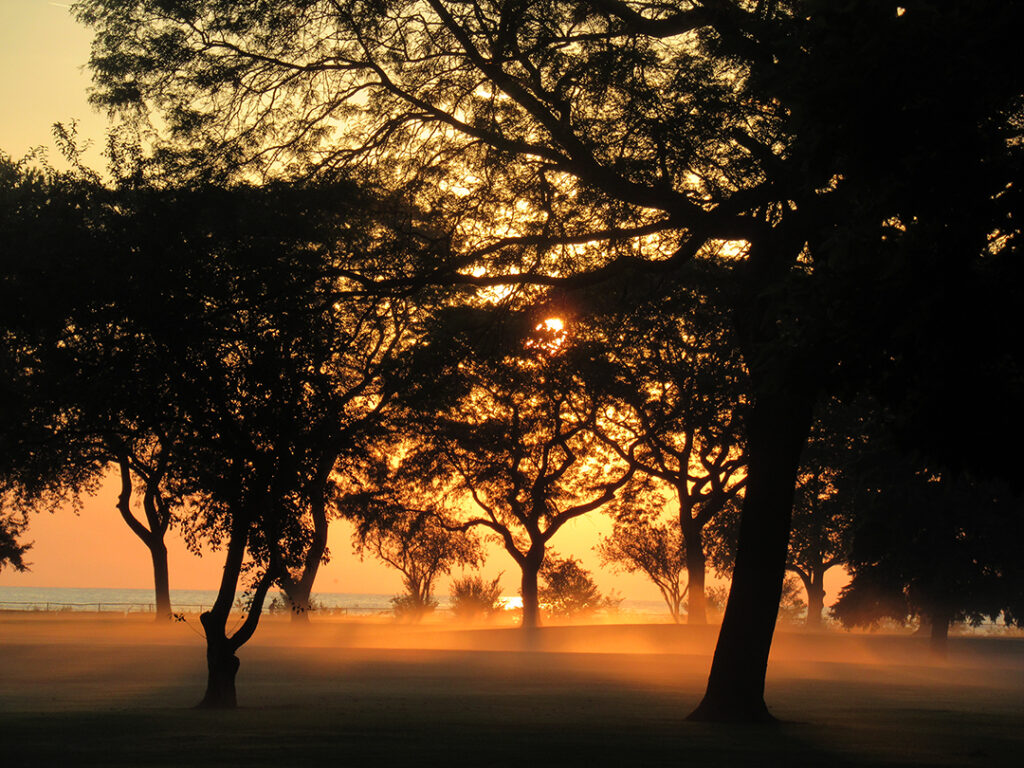
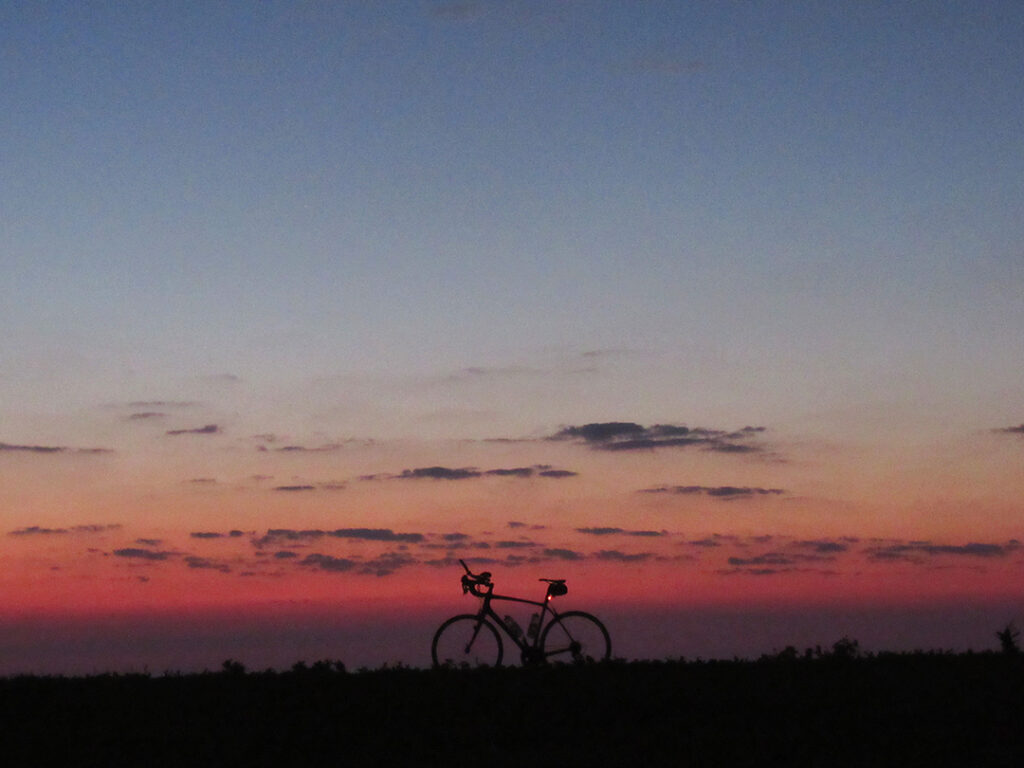
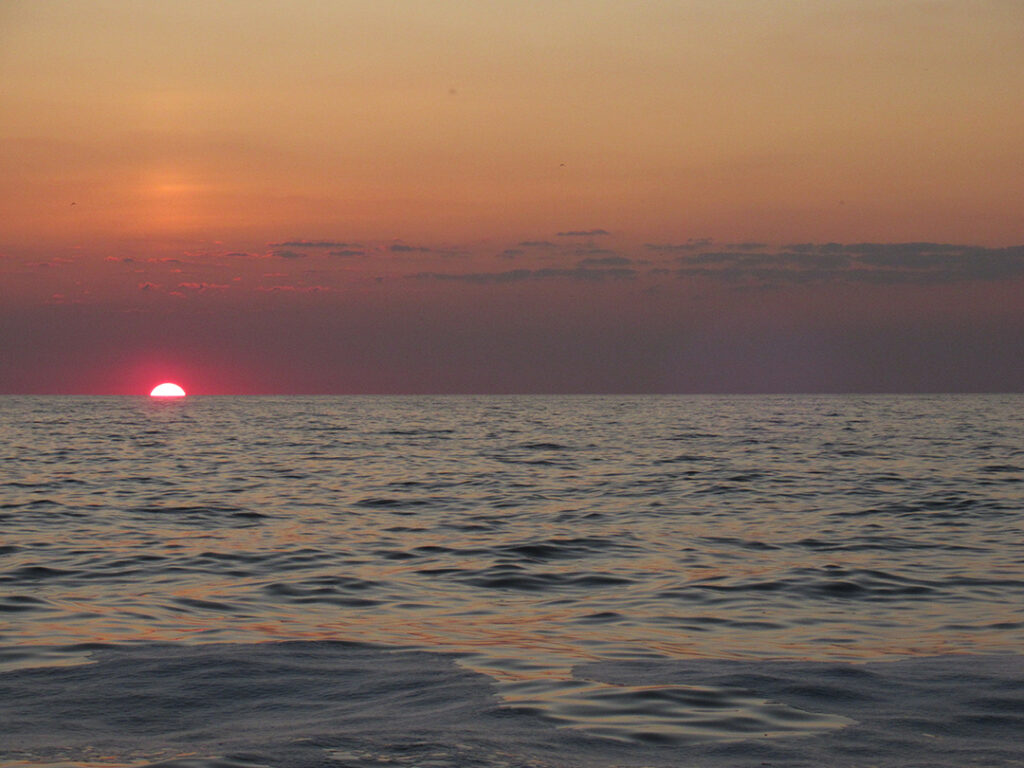
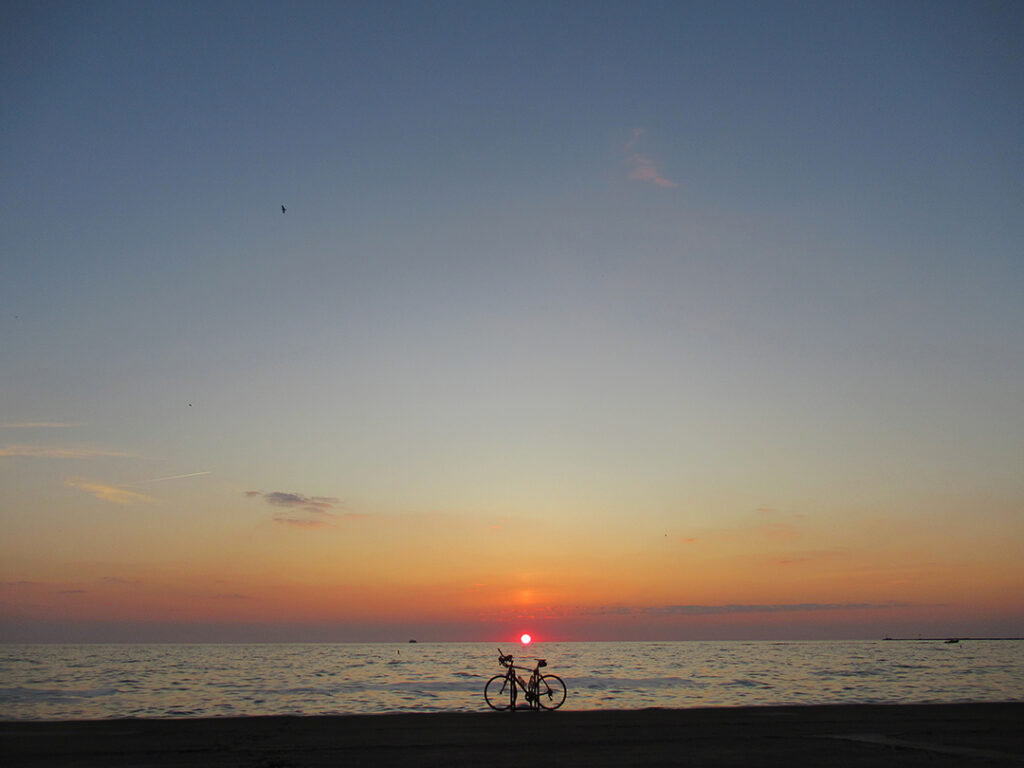
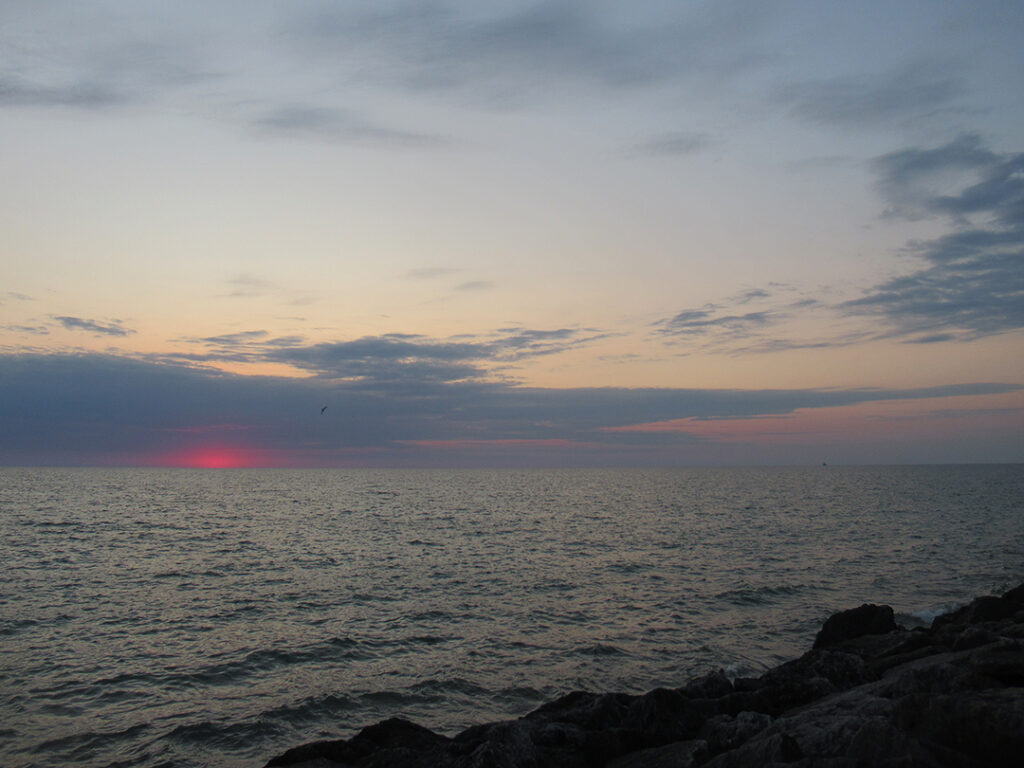
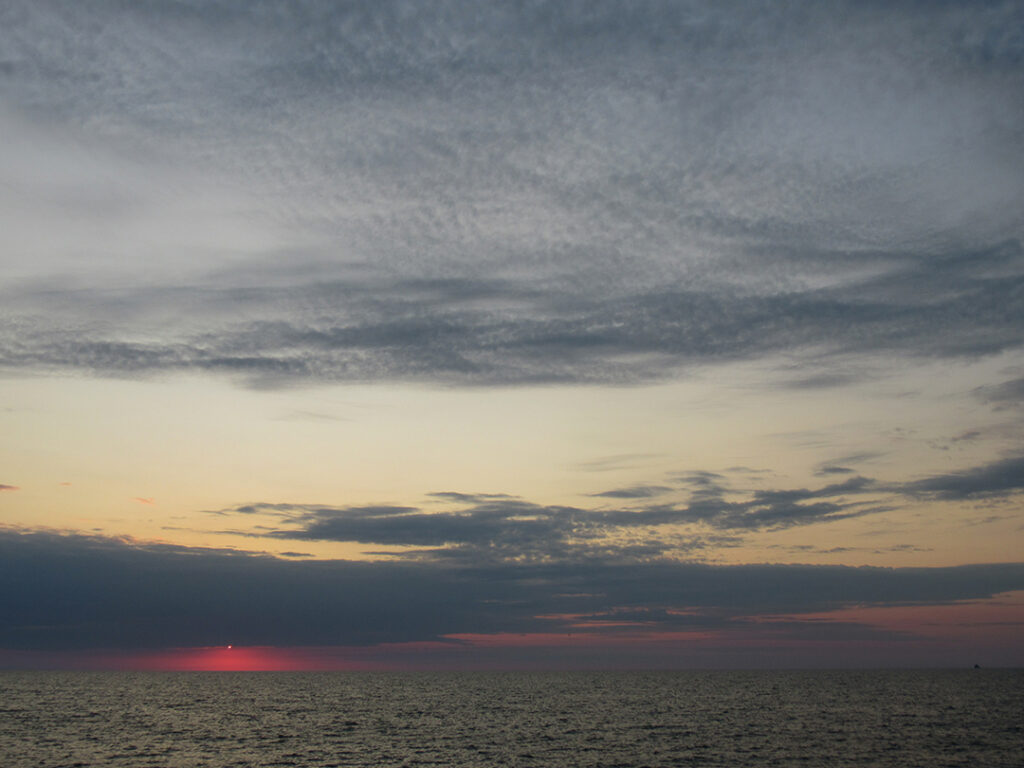
Another morning with a good amount of clouds… but not such a good amount of color? I thought we might get a nice splash of color this morning… but instead, the sun popped out for a brief moment and then hid behind the clouds for the rest of my ride!


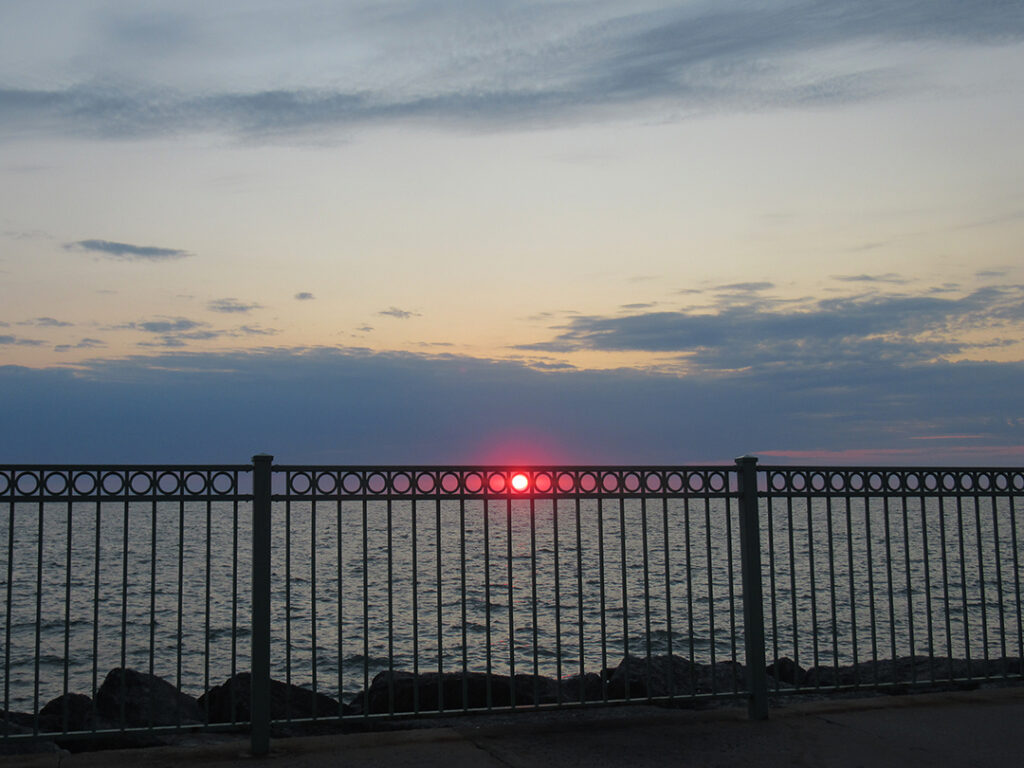


09.11.2025
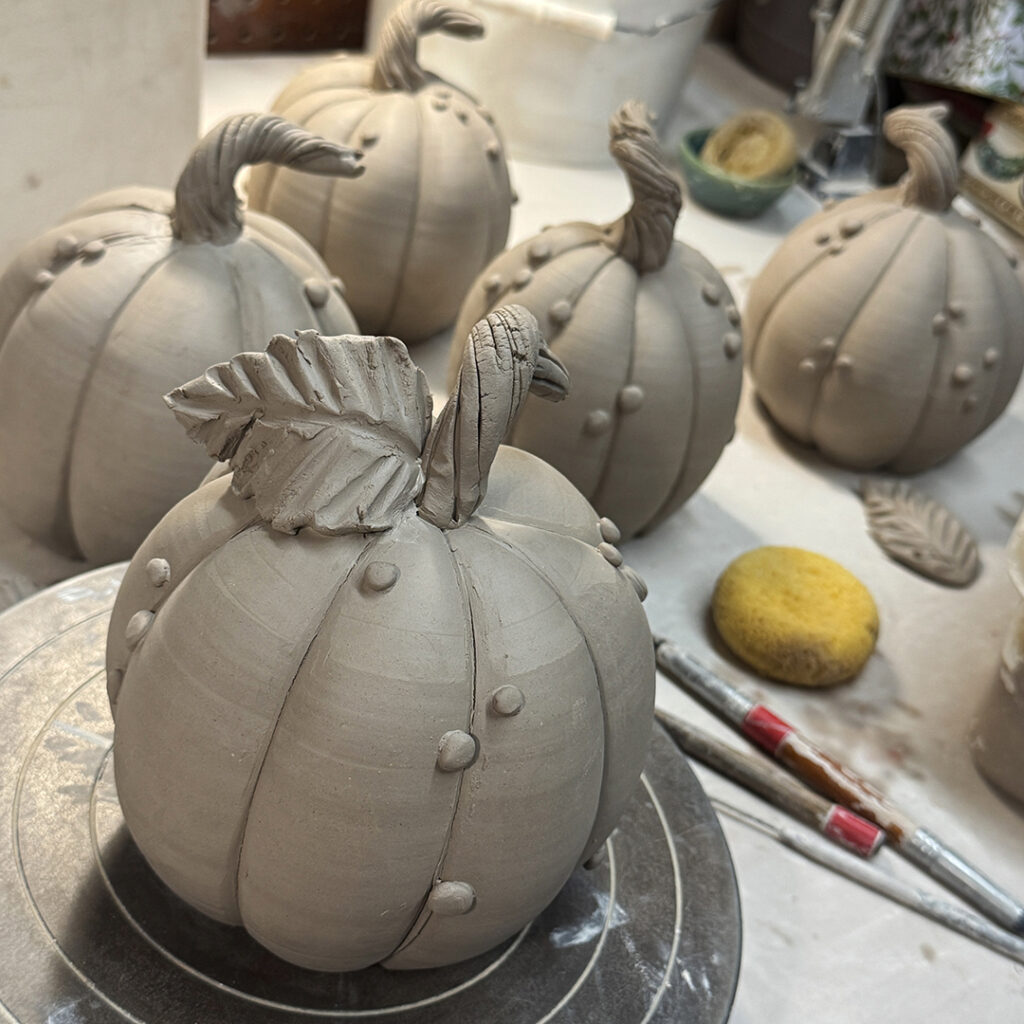
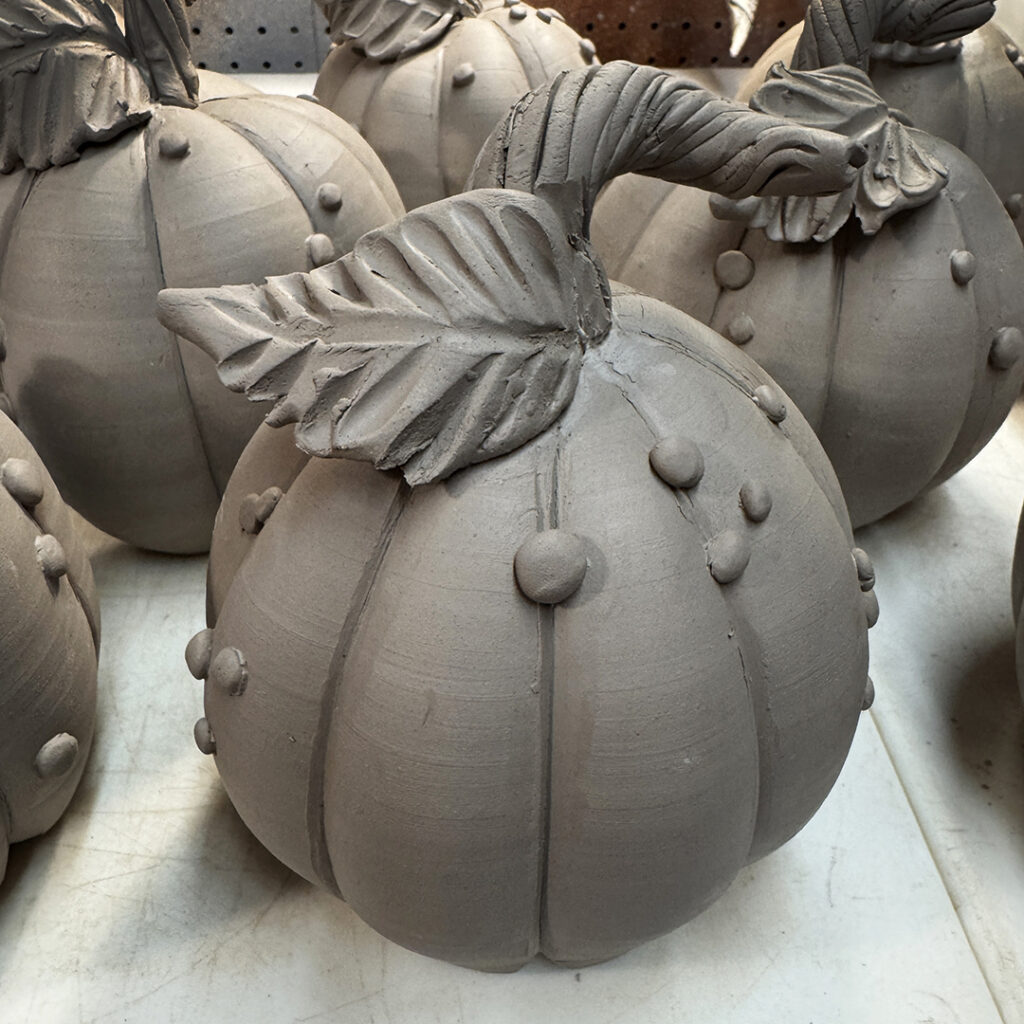
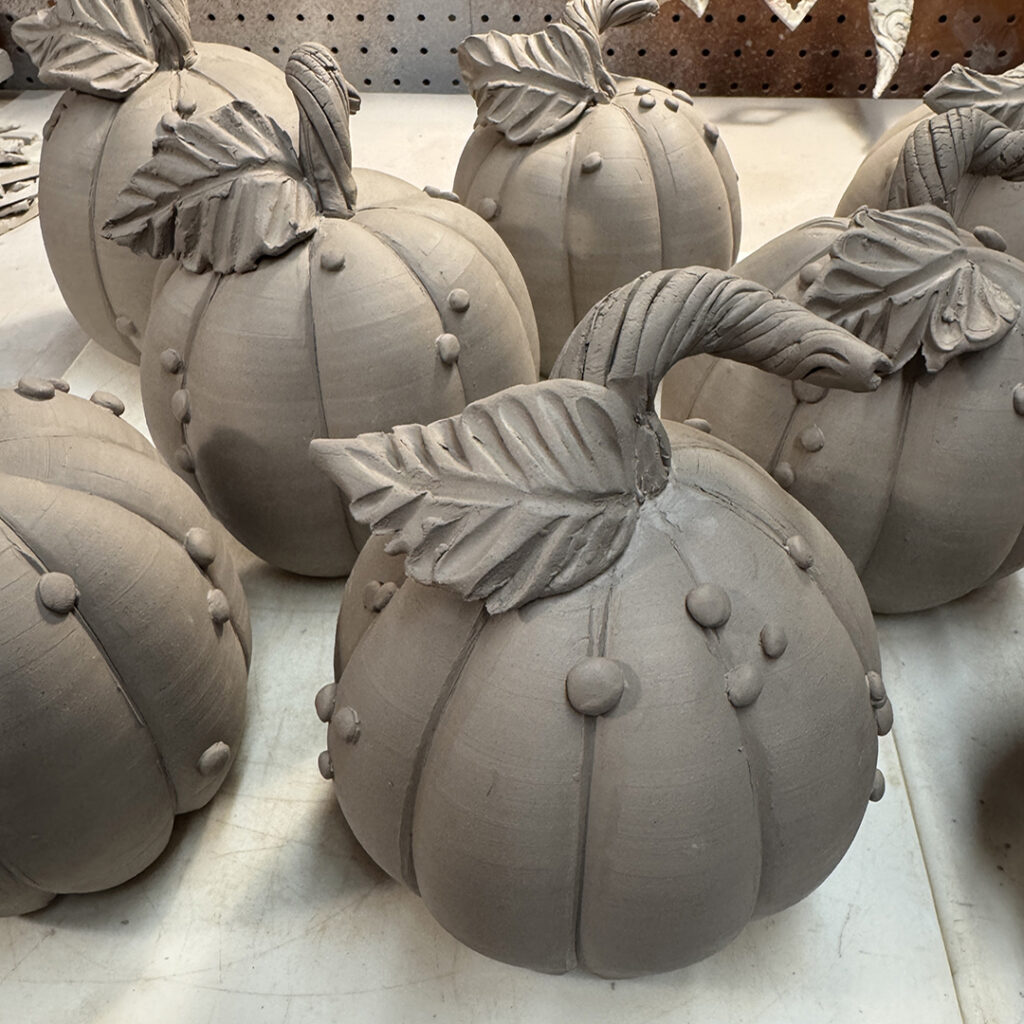
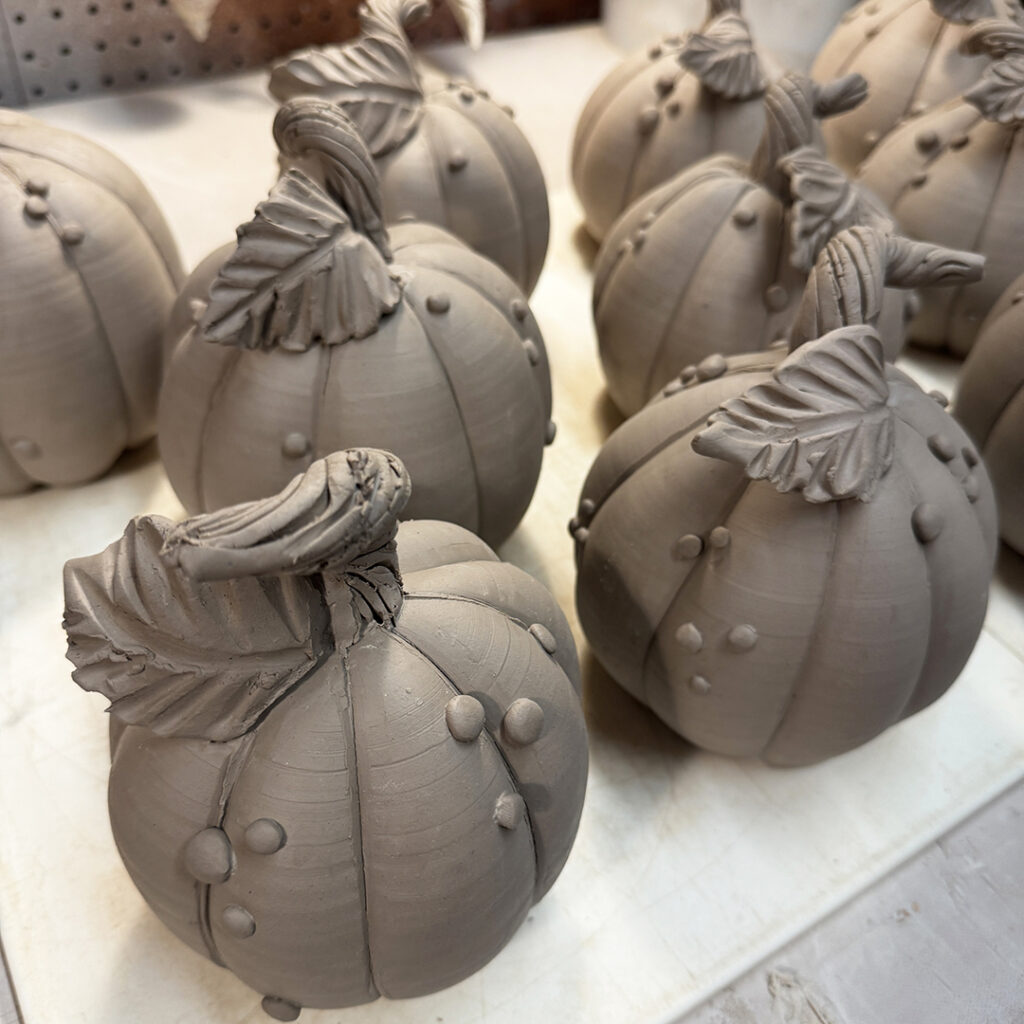
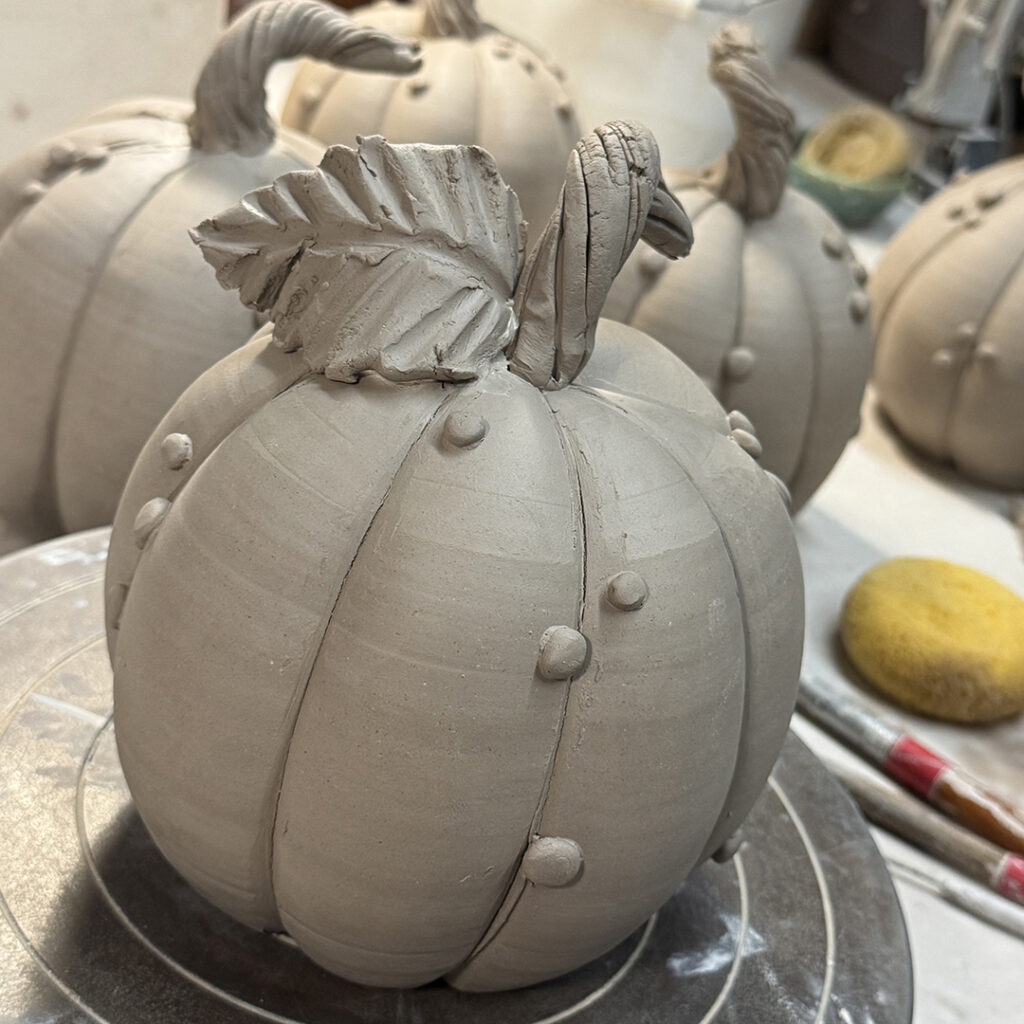
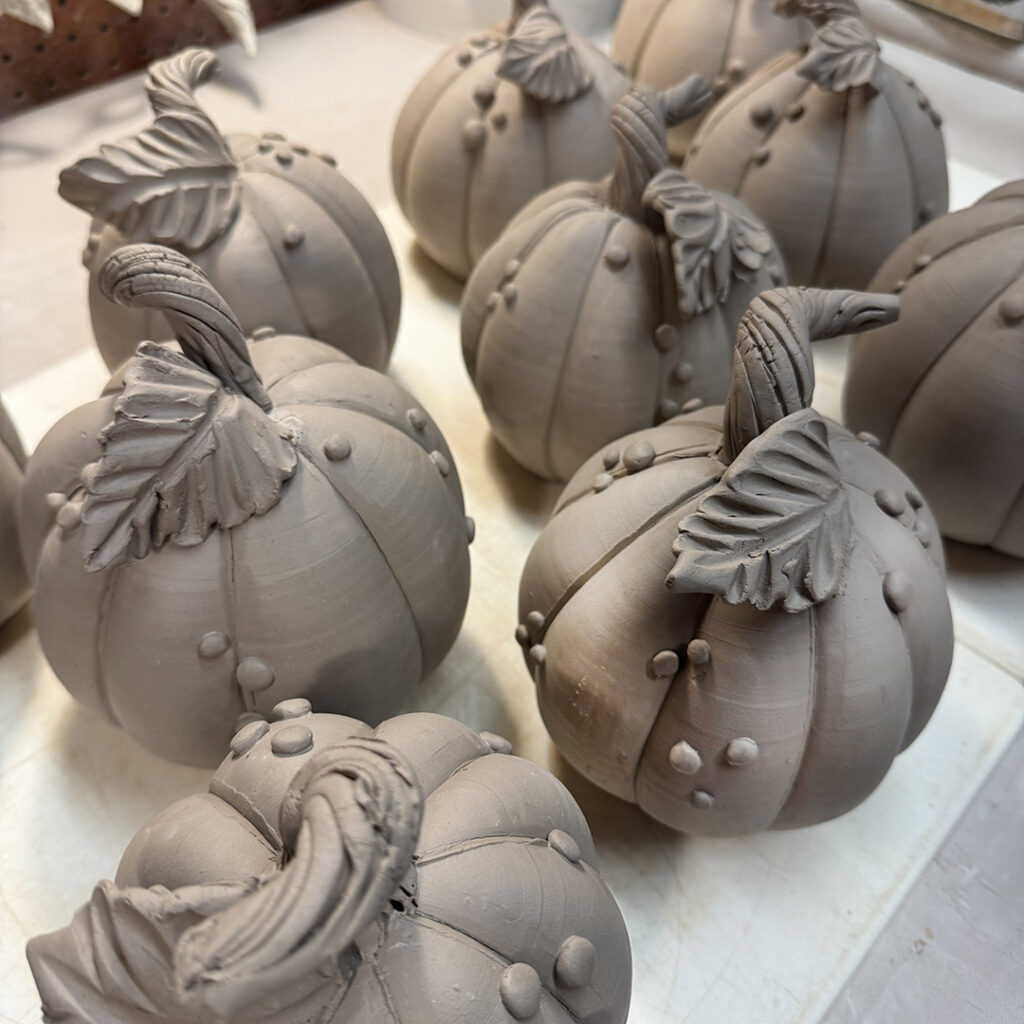
My latest pumpkin patch is coming along nicely… after a couple hours in the studio “pumpkintizing” my smooth spheres. Grooves, warts, stems & leaves! All getting ready for ART IN THE BARN in a couple weeks!!!

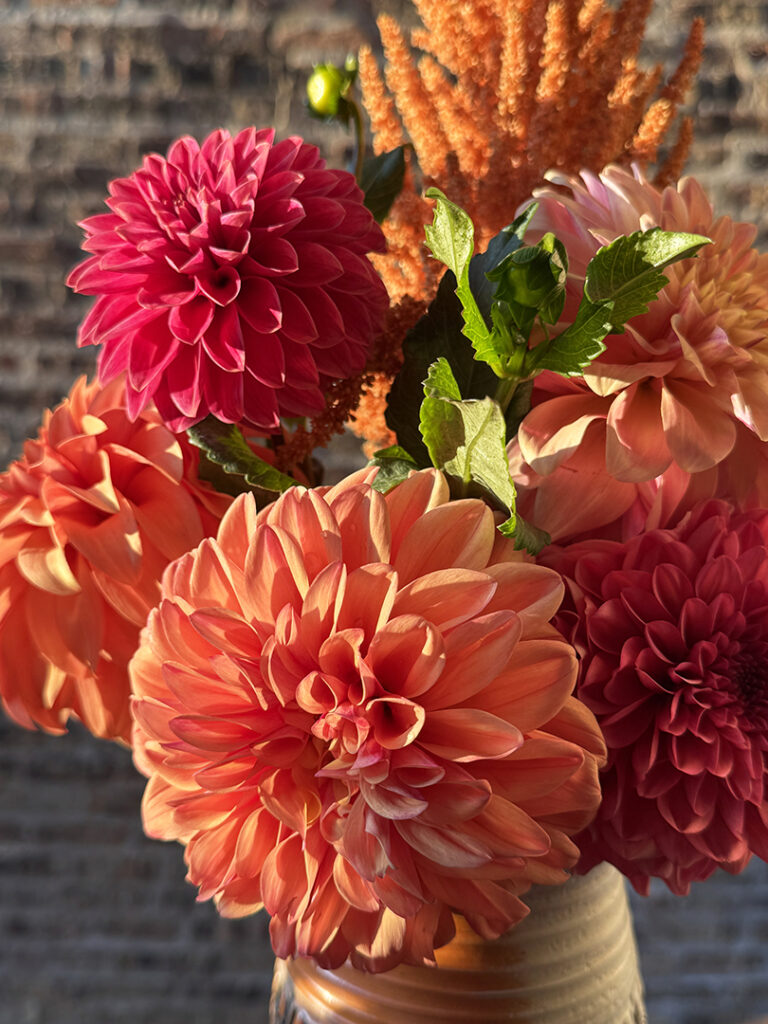
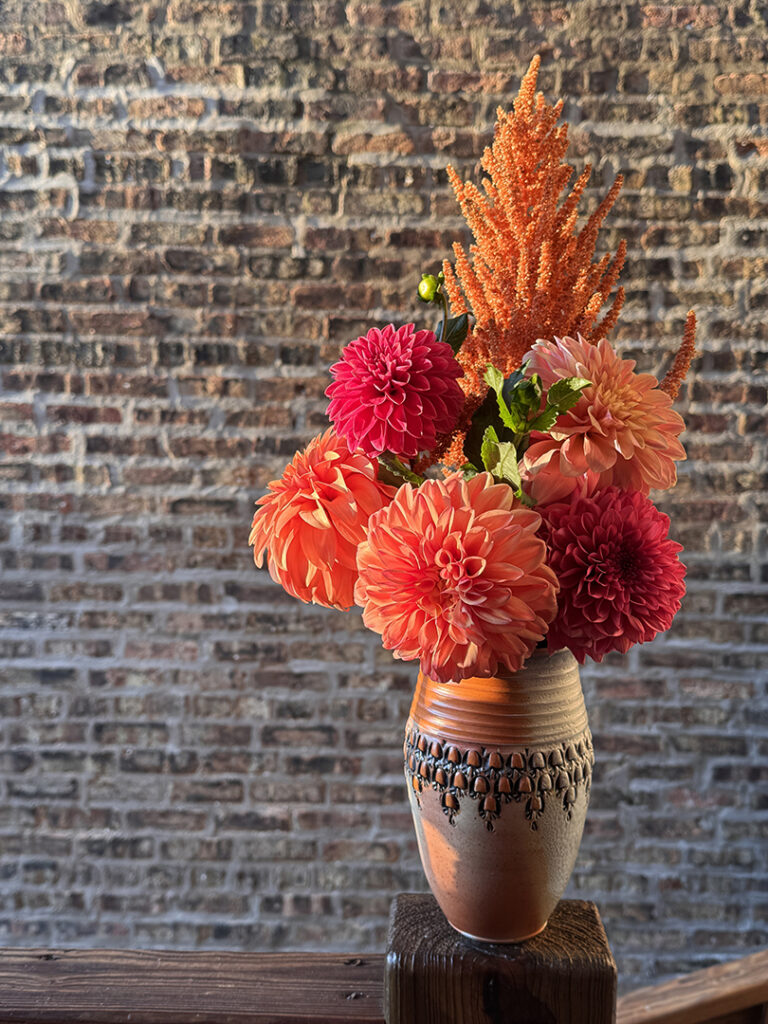
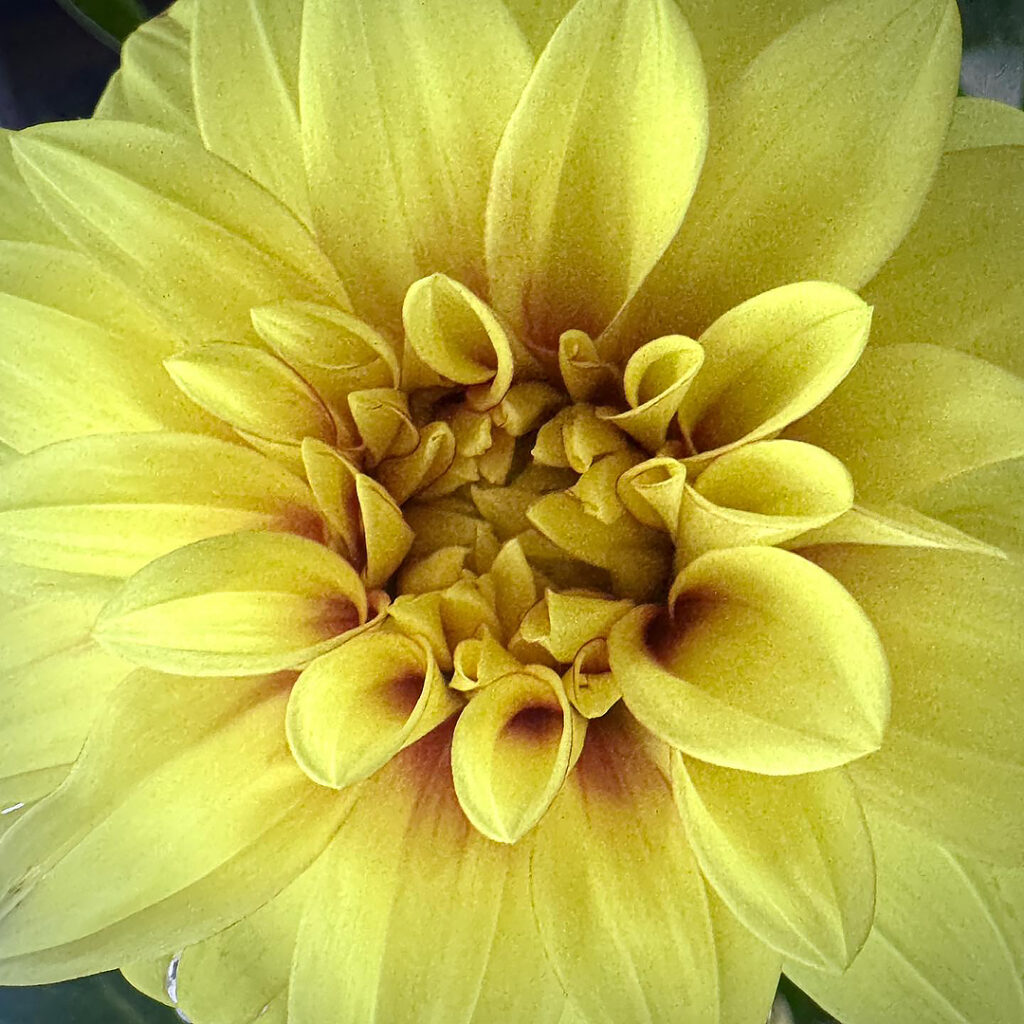
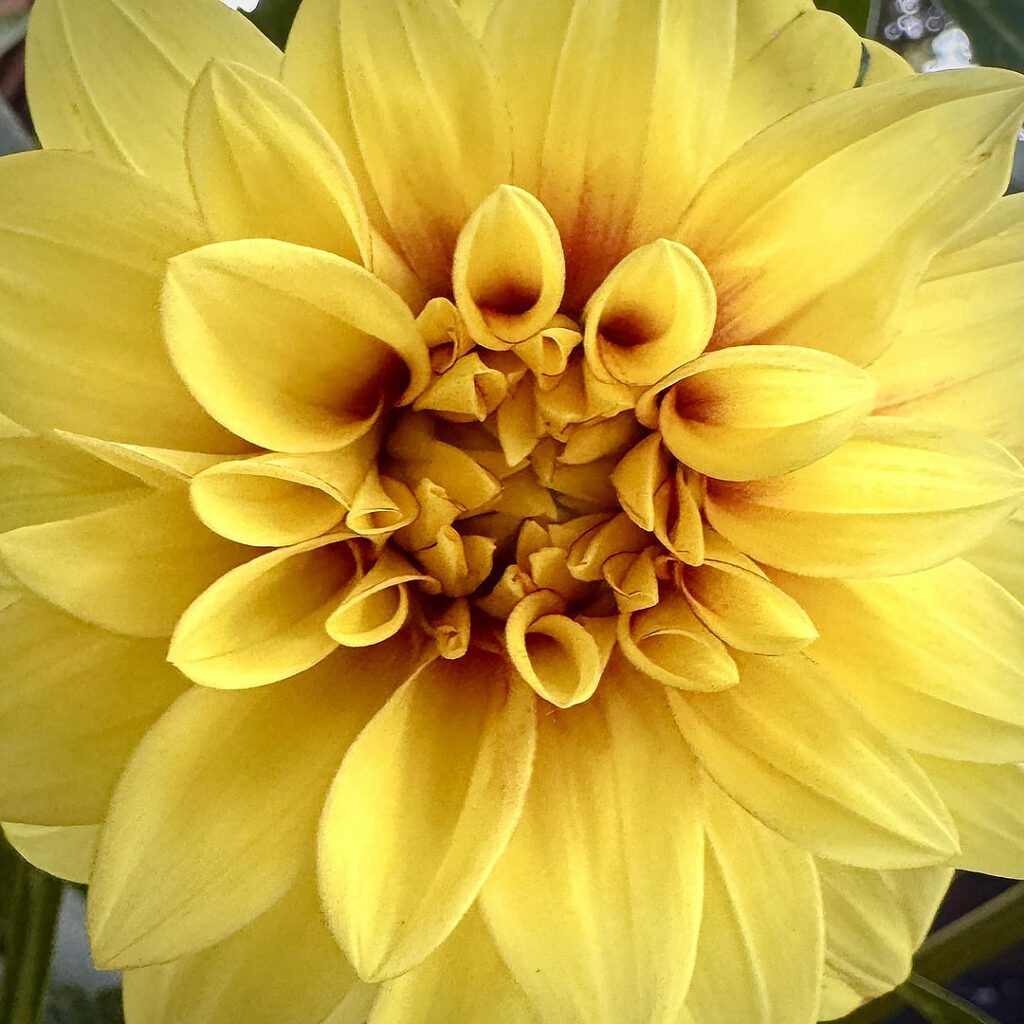
09.11.2025
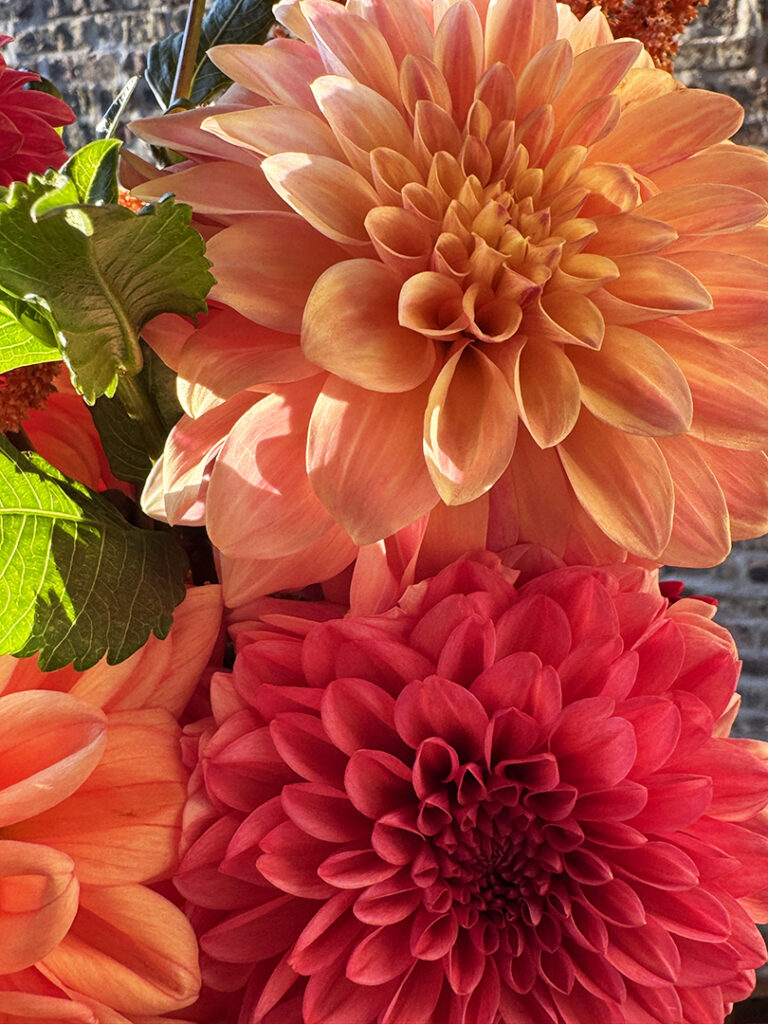
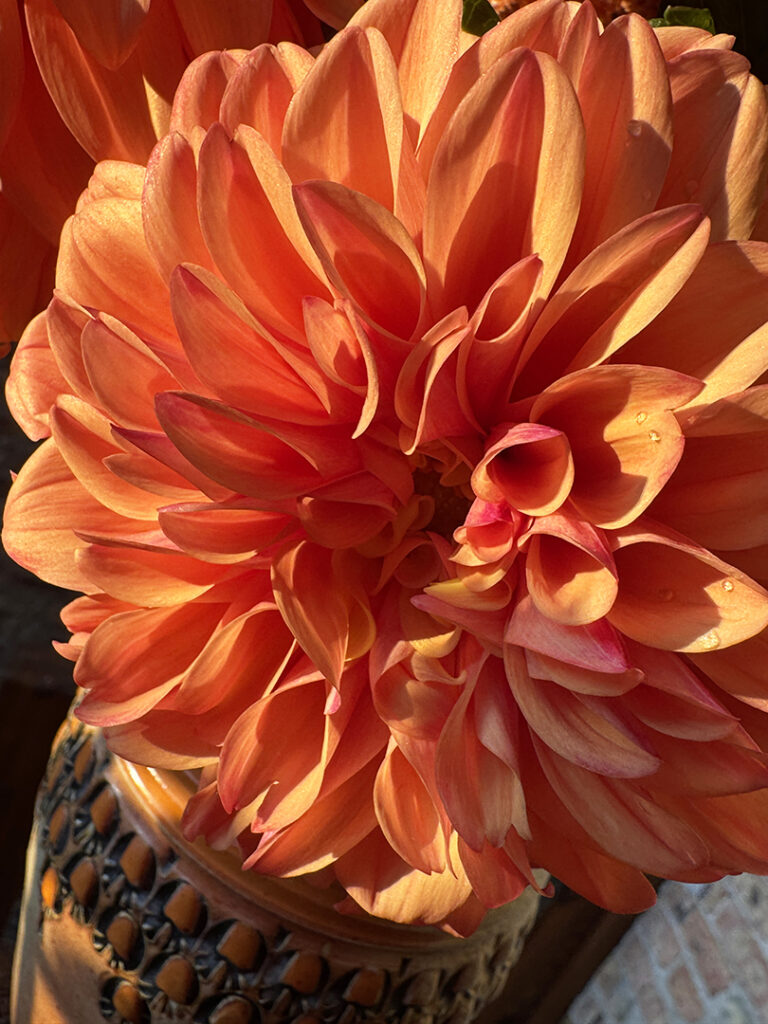
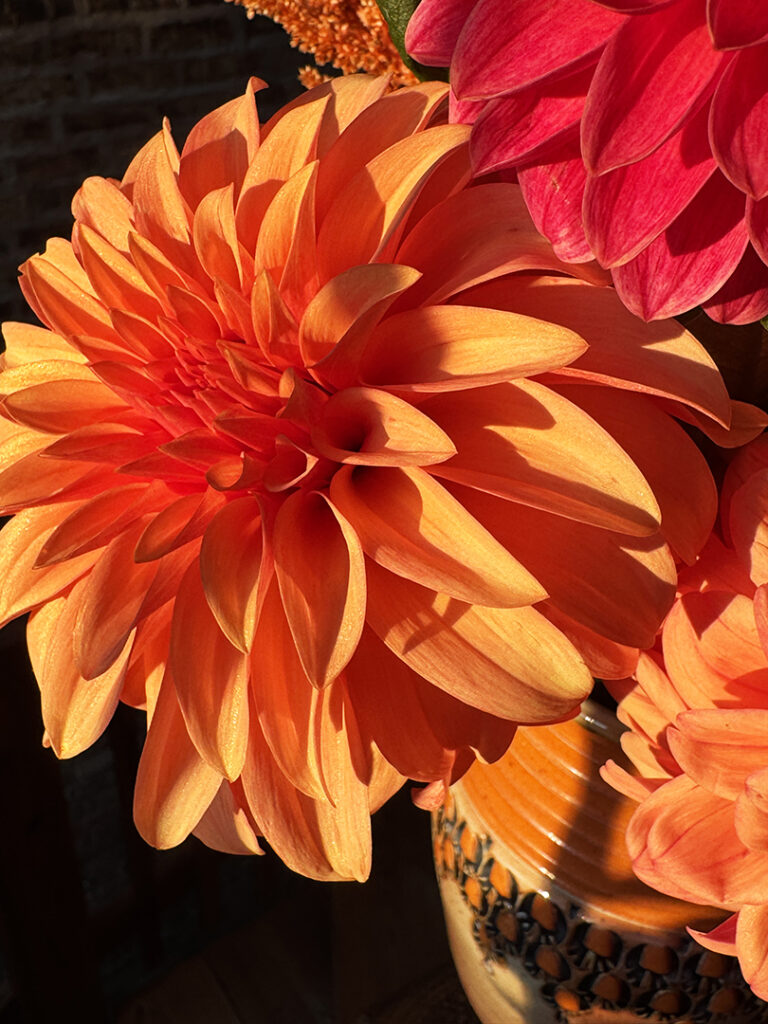
Categories: flowers
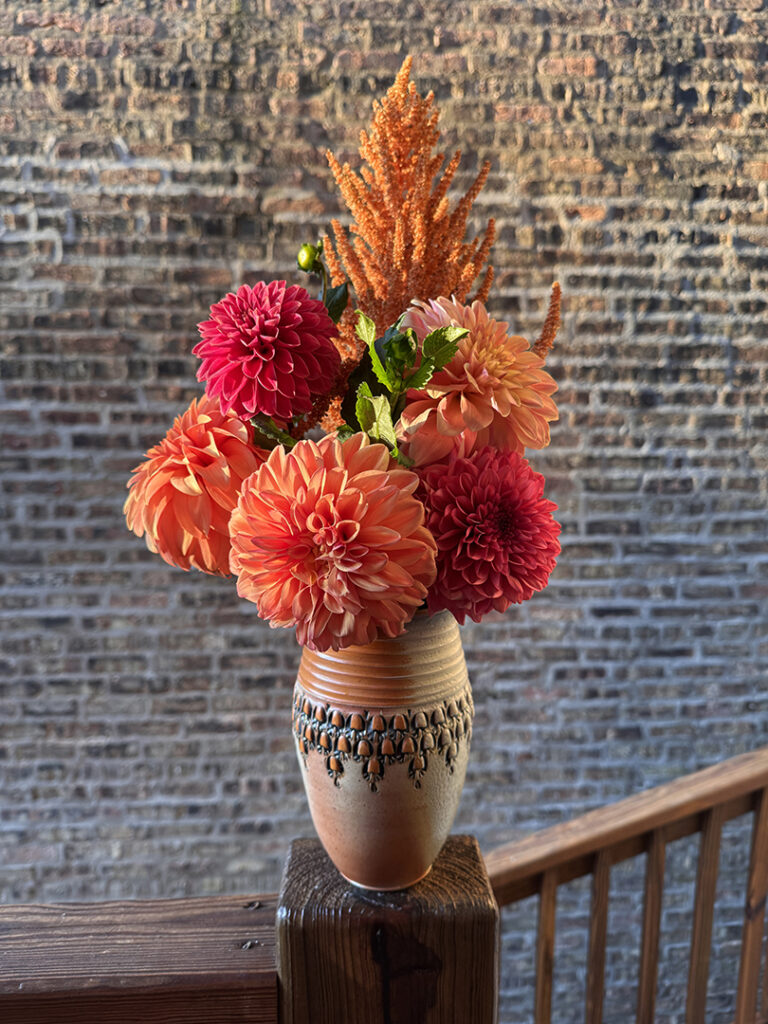
After another fun trip to the Farmer’s Market, I’m so glad I picked up a large bouquet of dahlias from Vangie’s Farm. Their flowers are just AMAZING…with such great colors, textures & dimensions. A fantastic collection of farm-fresh flowers… a custom-made collection of flowers just for me. Good thing I “just happen” to have a few extra vases around the place to put them in!!!