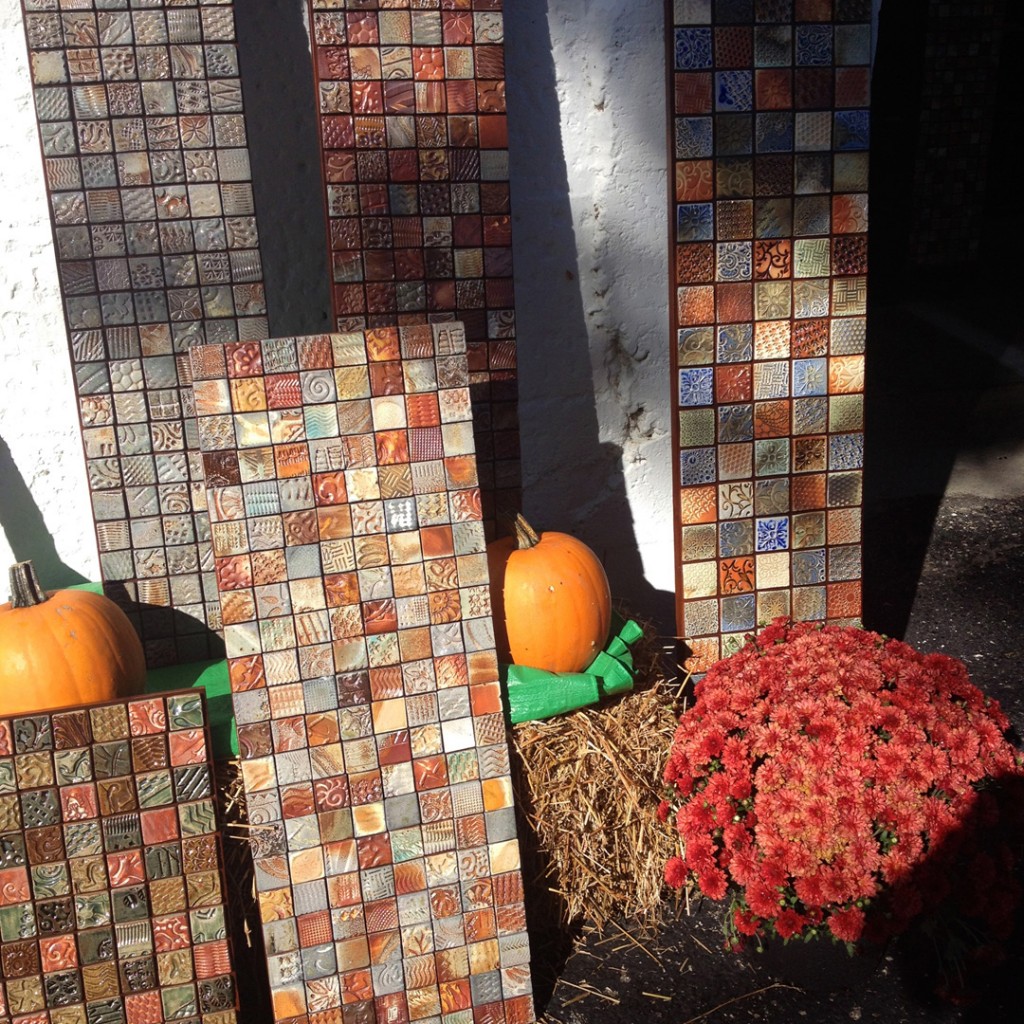
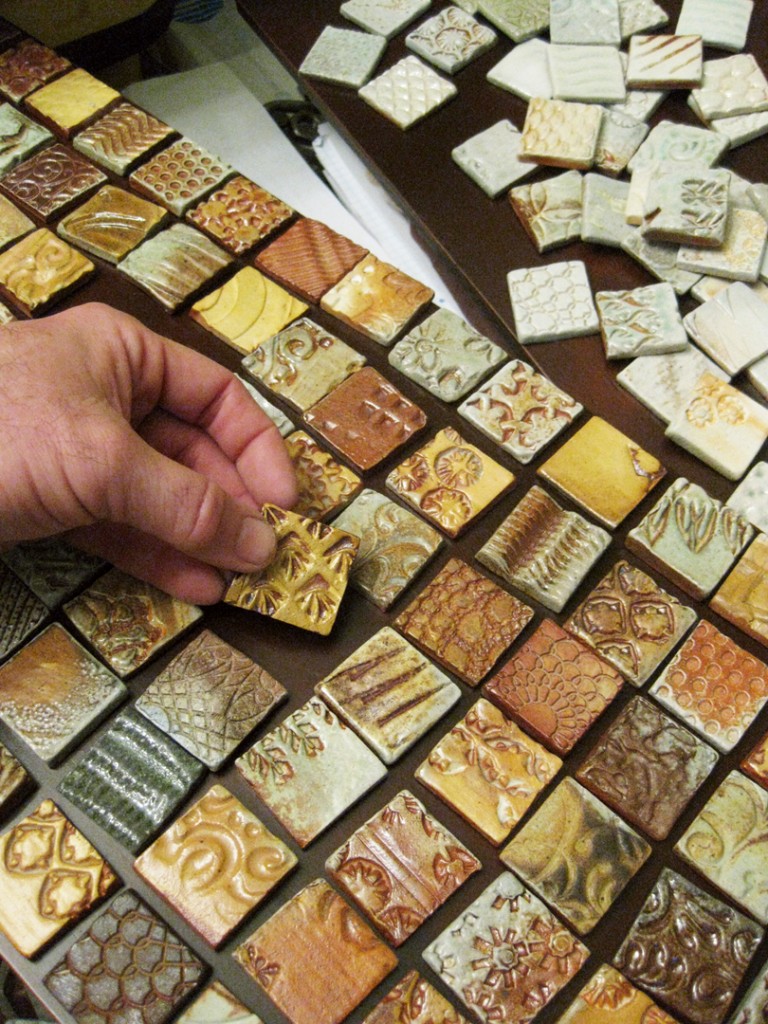
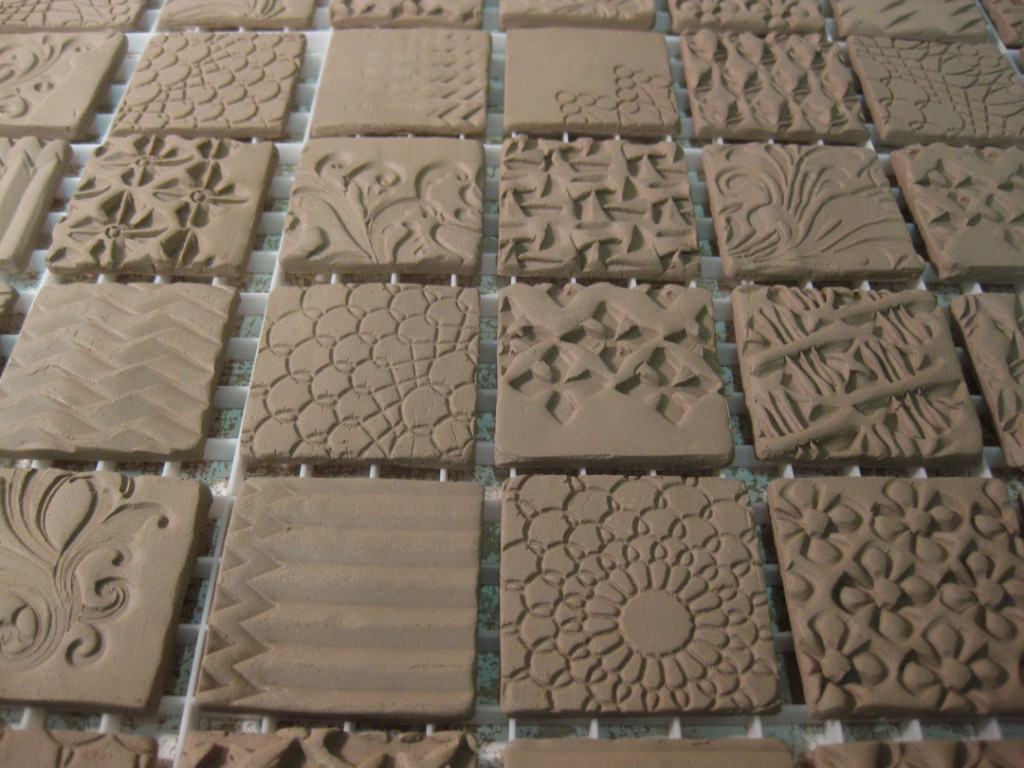
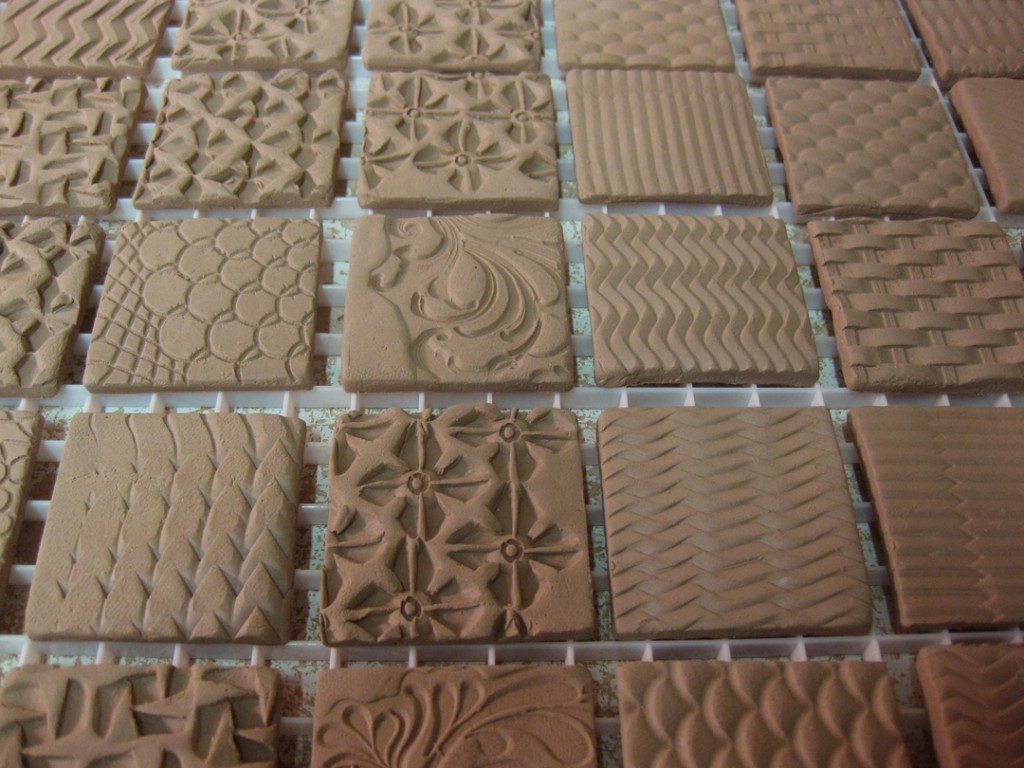
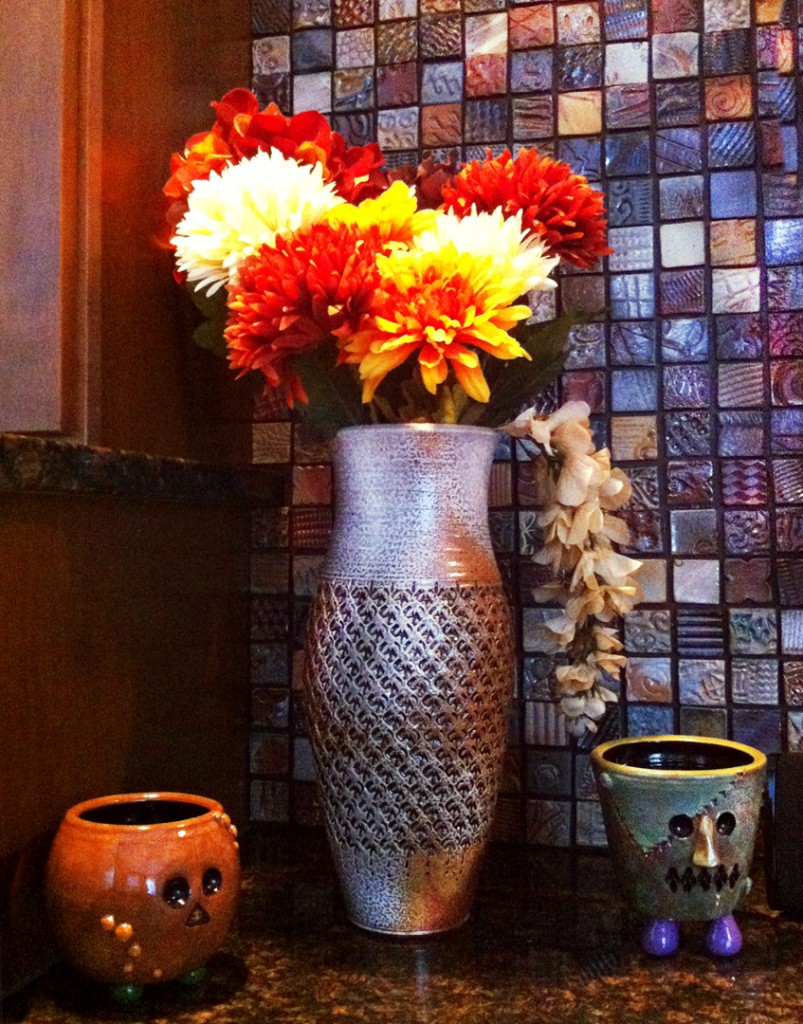
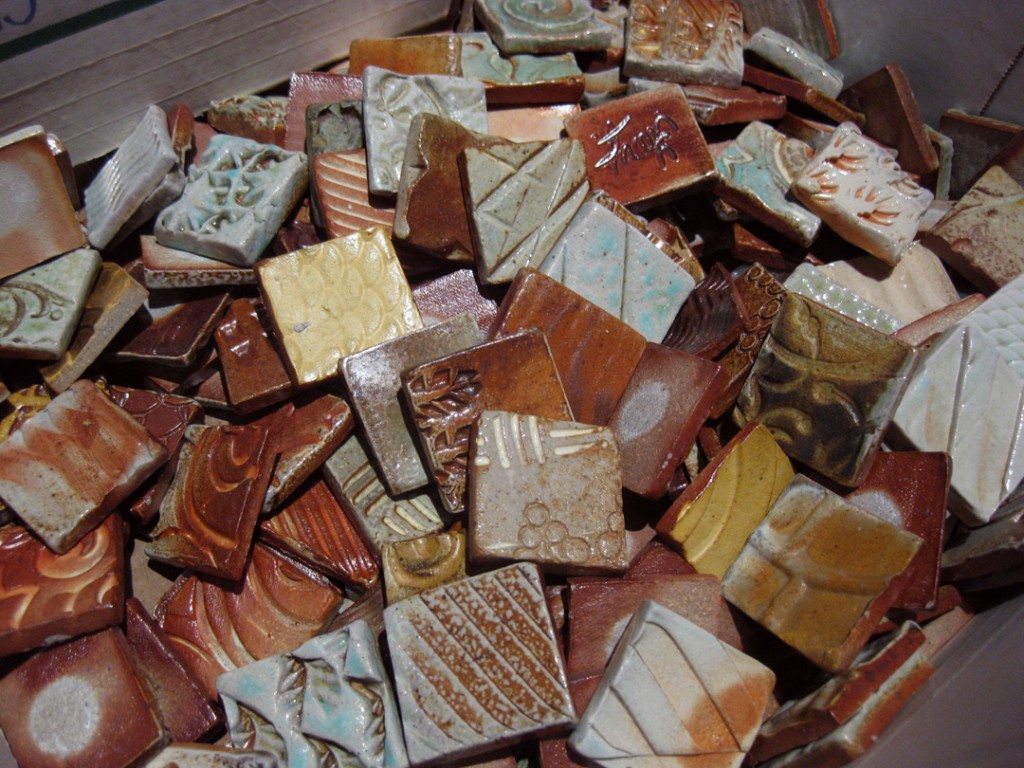
I spent the evening tonight gluing tiles together to make more of my “ClayQuilts.”
May sound easy… but the tiles slip & slide before the dry. So it’s a constant game
of trying to realign them into a nice grid before the adhesive dries! Let alone the design
& placement of the tiles. I work hard to make it look easy. I like to call it “forced random.”
Trying hard to “force the illusion” of random tile placement. Which is by no means random!!!
After spending the morning working in the garden trying to some quick weeding, pruning
and perennial-splitting done… I touched up my basement tile window! Again…
The basement windows of my condo have a metal security grid attached to the exterior.
Rather unsightly. But when you attach a few tiles to the grid… suddenly, it’s a work of art!
Unfortunately, a few of the tiles have a tendency to “disappear.” I guess that’s part of the game
when you do outdoor “public art.” You want to make it for everyone to enjoy, but not everyone
respects it of what it is. Art. So, I’ve attached them to the metal security grid with black,
plastic zip-ties. But somehow, every once in a while, a tile or two… or three… or seven…
show up missing. No broken pieces? No snipped zip-ties pieces? Not sure where they head
off to. But in my mind I’ve “decided” that they are chosen by some of the Catholic school kids
down the street who LOVED it so much that they had to have a piece of it for themselves.
Somehow, that makes me feel better. So that’s my story and I’m sticking to it.
Tonight I’ve been working on “stitching together” some more of my “ClayQuilts.”
Small, soda-fired, textured tiles that are put together as a work of art for your wall.
And what appears to be random, is anything but. I find it interesting every time,
how much effort goes into making it look random while it is all very controlled.
Can’t have too many similar tiles in one area, need to keep colors dispersed evenly,
and I sometimes try to create “thematic” color combinations as I go!
Tomorrow, I’ll look at them again with fresh eyes, make a few alterations,
and start gluing them in place. Again, “forced random” as I like to put it.
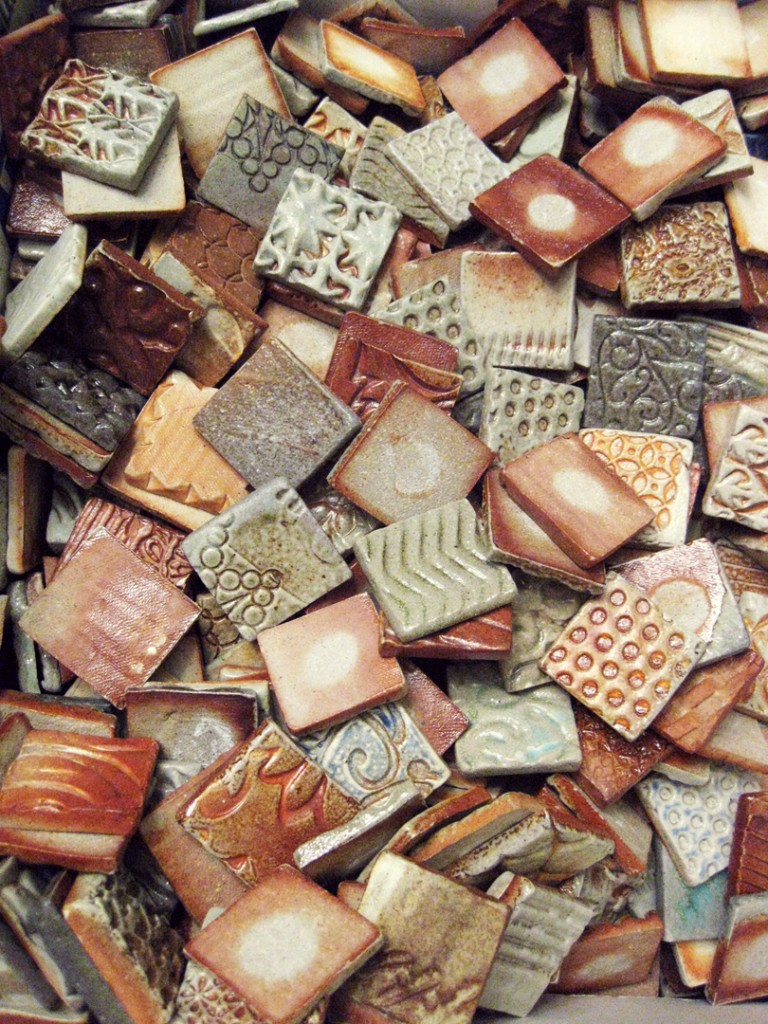
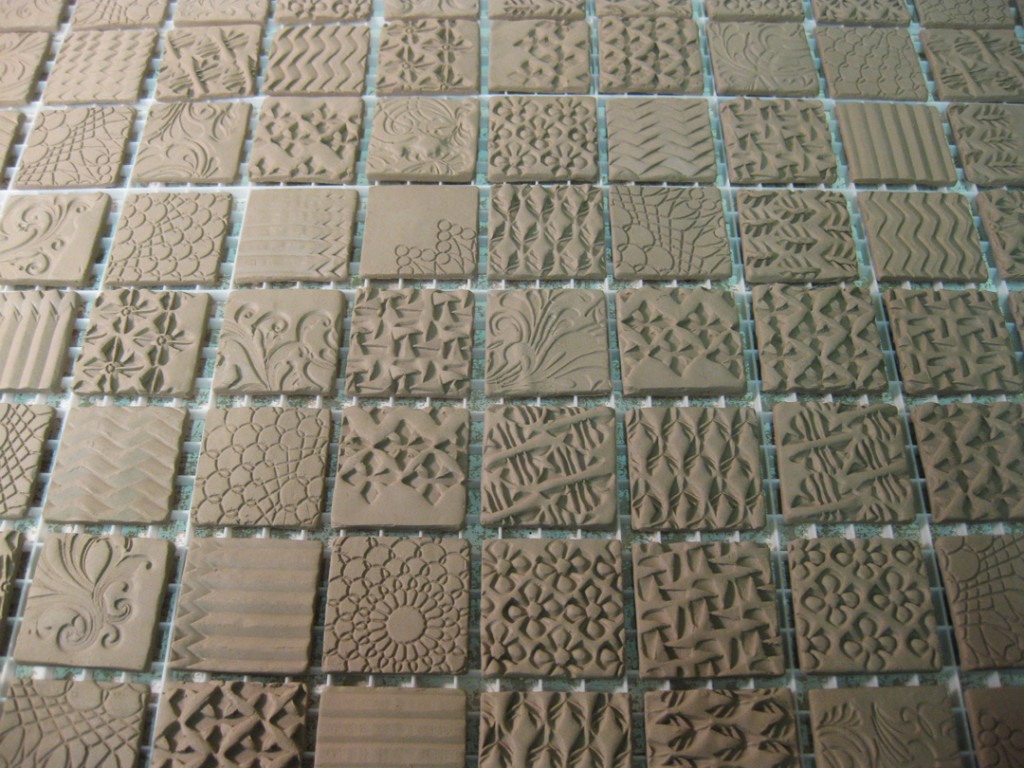
Remember… before the soda firing, they were just a lot of textured clay squares
with a bunch of different colored & flashing slips on them for different effects.
Natural inspiration?
Here’s a little know botanical fact and a good “word for the day”… espalier.
That’s the term for when trees are pruned & “trained” to grow along walls
in groovy geometric shapes like these at the Botanic Garden entrance.
Which kind of reminded me of my tile installation on my back porch?!!!
It’s a simple installation of glazed tiles on what used to be a plain, boarded up & painted black
piece of plywood from days gone by, when we assume there used to be a window there?!
Each tile has a hole at the top corner and then hung on a nail. It’s really fun when you run
your hands along the tiles and they all swing a bit.
Not quite “inspired” today, and I thought I needed more “kiln filler”… so I made tiles.
This batch is drying and will go into my bisque kiln this Thursday night.
After the bisque firing, they will be soda-fired where the different textures
and slip colors will be accentuated by the soda kiln atmosphere. Once fired, the tiles
will be assembled into my “Clay Quilts” just in time for the upcoming art fair season!
This week found me installing a “few” tiles…
arranging… trying to create that “controlled random” placement effect…
glueing… sliding… straightening… sliding… straightening again… and again…
My sister and her husband had “commissioned” me to do another tile wall
installation, much like the one in my place, but this time… in their home!
So I’ve spent the past few months making tiles, and trying to get enough tiles
soda fired for the installation. Complete with some “custom” tiles with their
names, initials, address and other fun things “hidden” in the textures!
We started with a blank slate – a section of the wall painted dark brown.
The cabinets will “frame” the tile installation as the plasma TV will “float” on top.
Soon to be the main focal point of their family room!
I started tiling with high hopes of finishing in just one session. That plan quickly
dissipated as I needed to leave a little early for a concert at Ravinia. So after
Day One, I was about halfway finished – and very excited about how it was looking!
So I came back a couple days later and picked up where I had left off.
I cranked up the caulking gun and started adhering tiles again! For this sort
of tile installation project, I like to use Dab “Seal & Peel” for the glue. It’s kind of like
industrial strength rubber cement. Idea being that if the homeowner ever decides
to move, they can easily peel each tile off the wall, rub the rubber cement off
the tile and the wall, and re-install the wall at their new place! Plus, we leave the
brown wall paint showing instead of trying to grout around all of the textured tiles!
Well into the second “session” of tiling, my niece Taylor decided to take on
the role of “project photographer” and document the momentus tile event.
Surprisingly, she actually did a really nice job with the camera!
So the tile installation process went fairly smoothly. The real kicker is that
every tile starts to slide down the wall before the glue sets up. Damn gravity!!!
I think that is the main downside to the “Seal & Peel” adhesive… it doesn’t dry
fast enough. So as you add more, you always need to go back and straighten
the others. It’s like keeping those darn circus plates spinning up on sticks!!!
So after two sessions of tiling, a lot of straightening, some bad fumes and a little
playtime & biking with my niece Taylor… the wall was finally done. We re-installed
the plasma TV, connected the bottom speaker then sat back to admire the new wall.
And then it was done… finally…Â just a mere 1,145 tiles later!!!
With an incredible bricolage mural already gracing the Bryn Mawr underpass
of Lake Shore Drive here in Chicago… it’s finally time for another one!
Rumor has it that the Alderman wants to do all of the underpasses along
Lake Shore Drive in her Ward. And I’m all for it!!!
So the new one is a work in progress… starting with a rough drawing on the wall
of the “basic” design & structure of the wall. Both sides of the street are being done
with different designs. One of the key properties of these bricolage projects
is the random assortment of tiles, shards and mirrors all creating the big design!
As well as special tile pieces made to commemorate different aspects & events
of the neighborhood. It will be fun to watch the bricolage project continue over
the next few weeks – ending with the final grouting to finish it all off.
So I’m spending this evening cleaning out old e-mails…
and I ran across this picture which I received quite awhile ago!
But it’s still nice to see that one of my tiled wall pieces has found a home!
My friend Sarah Chapman bought it for her mom as her Mother’s Day gift.
Her mom had seen it the day before during a visit to my studio. Then Sarah
“picked up the hints” and bought it for her mom. Who immediately hung it
up in her kitchen as she “had the perfect spot for it.” And it looks great!