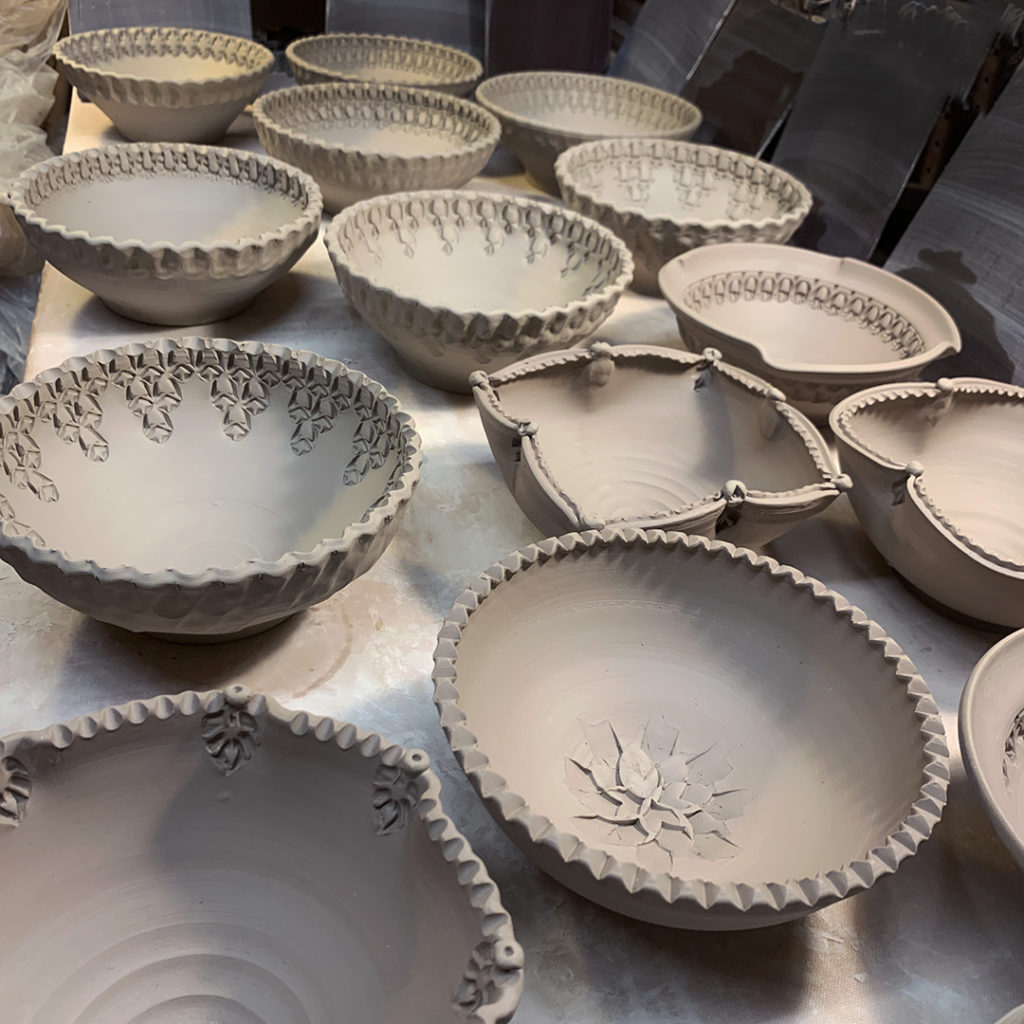
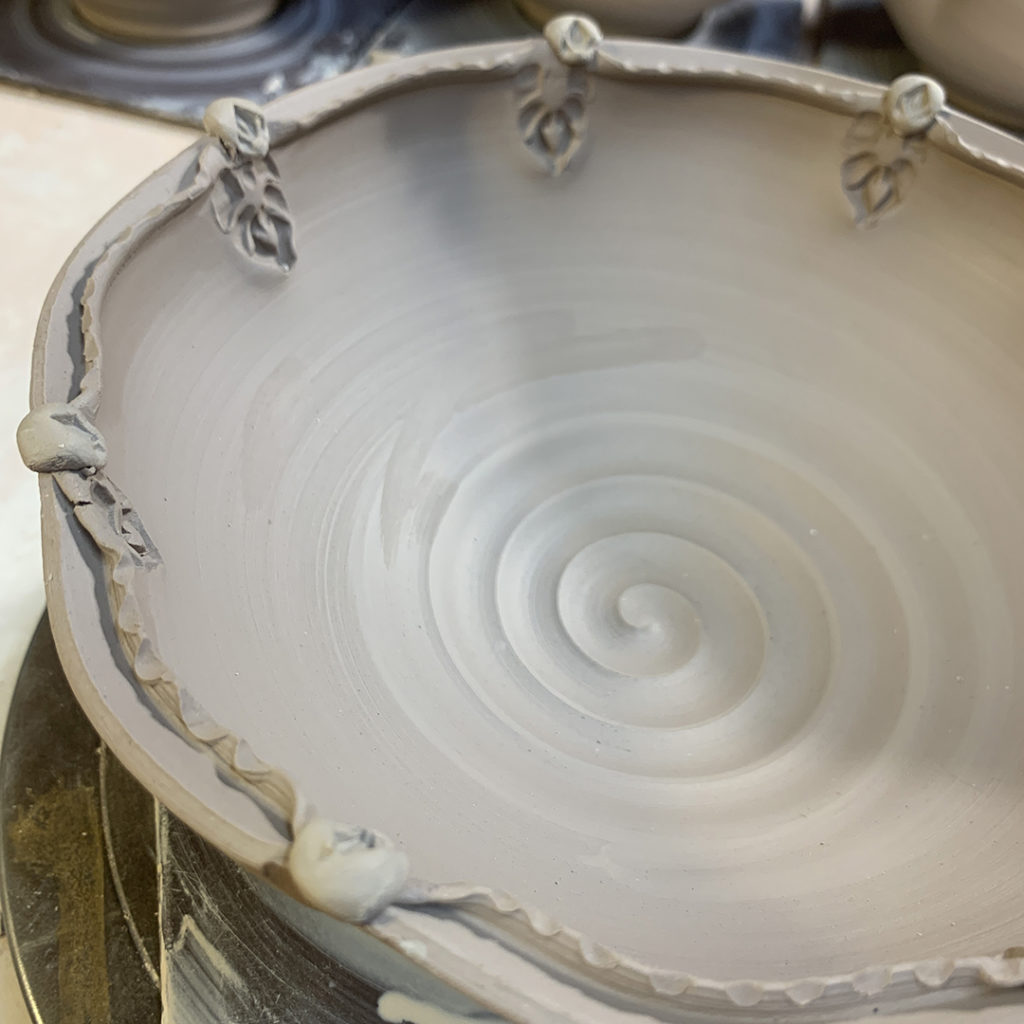
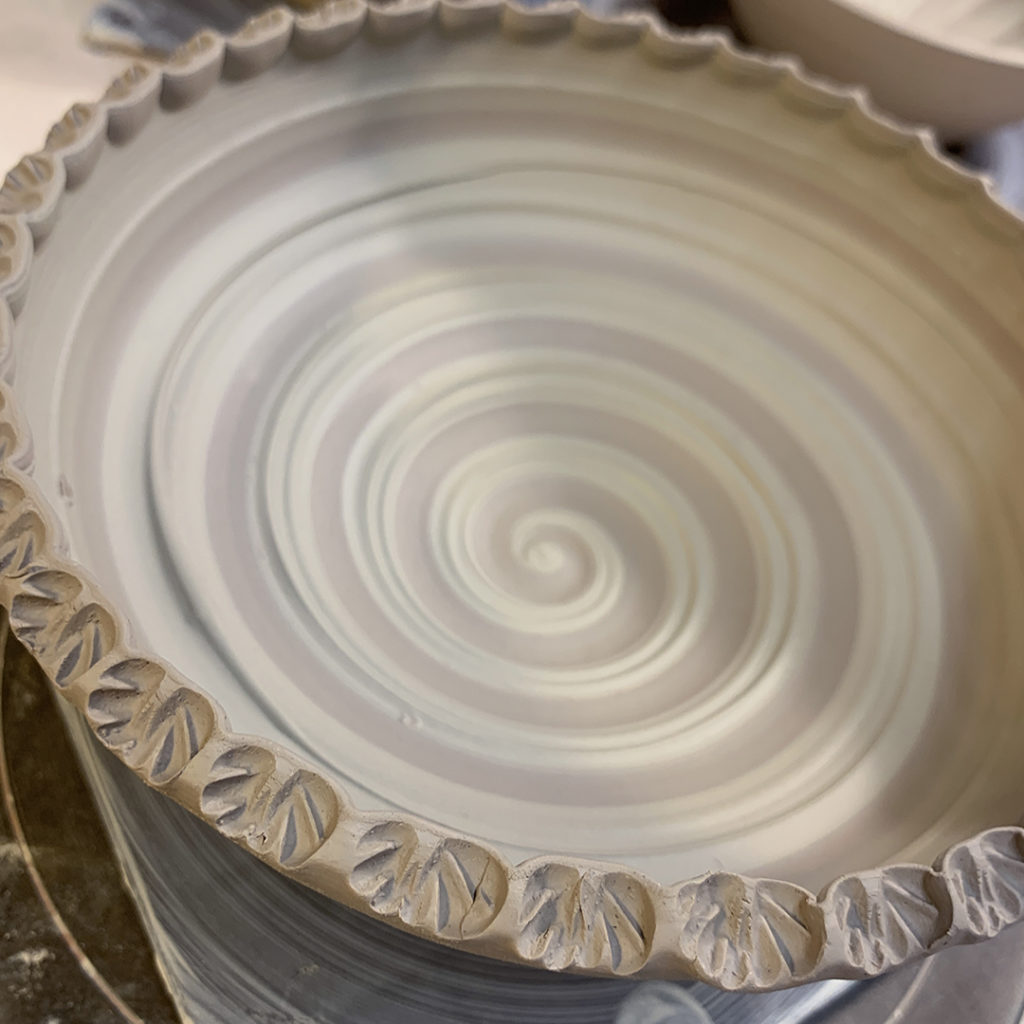
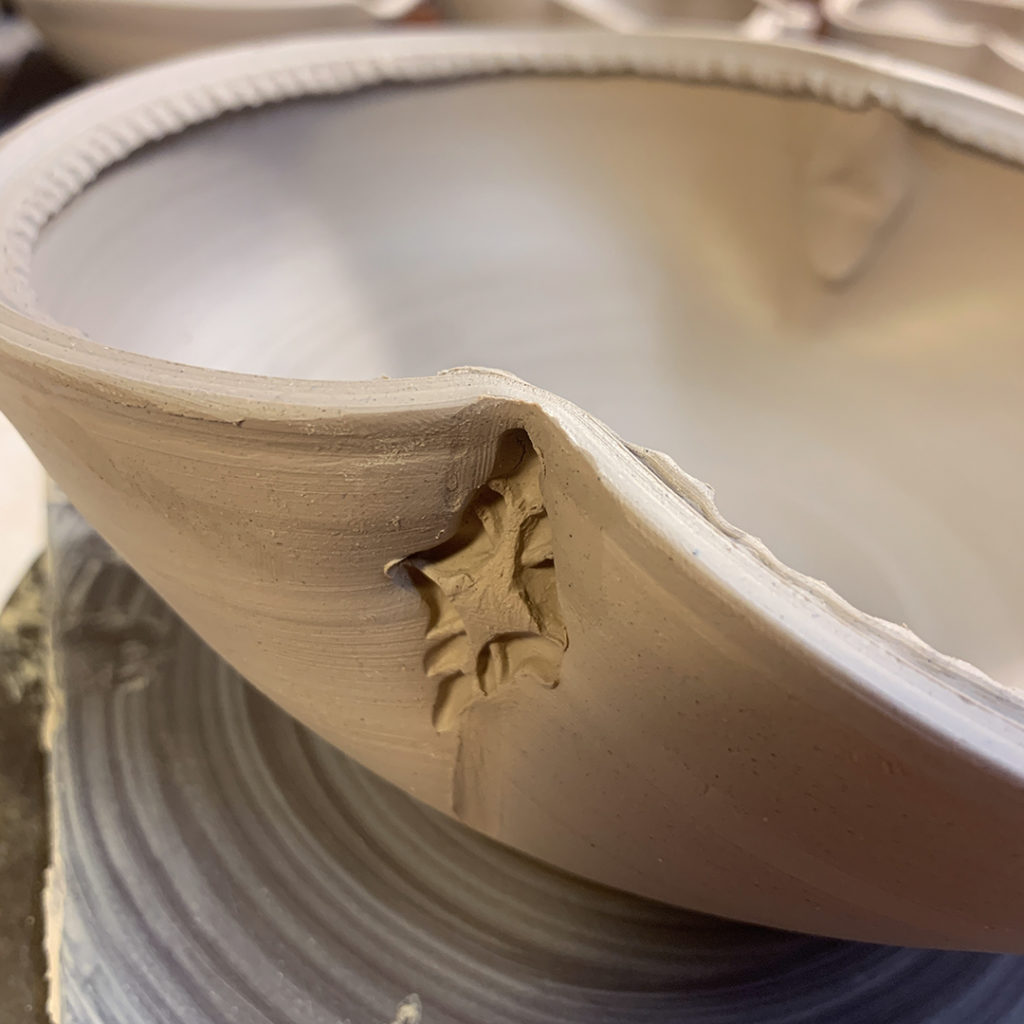
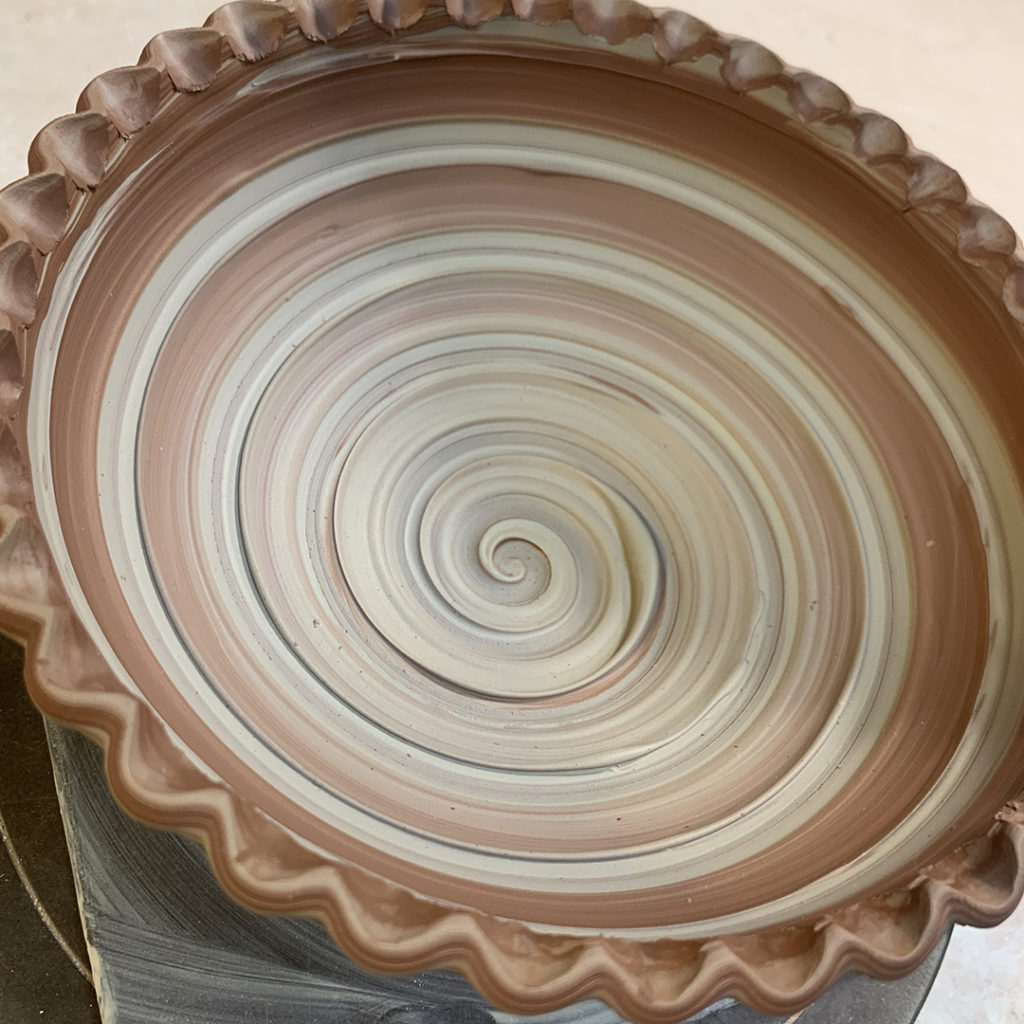
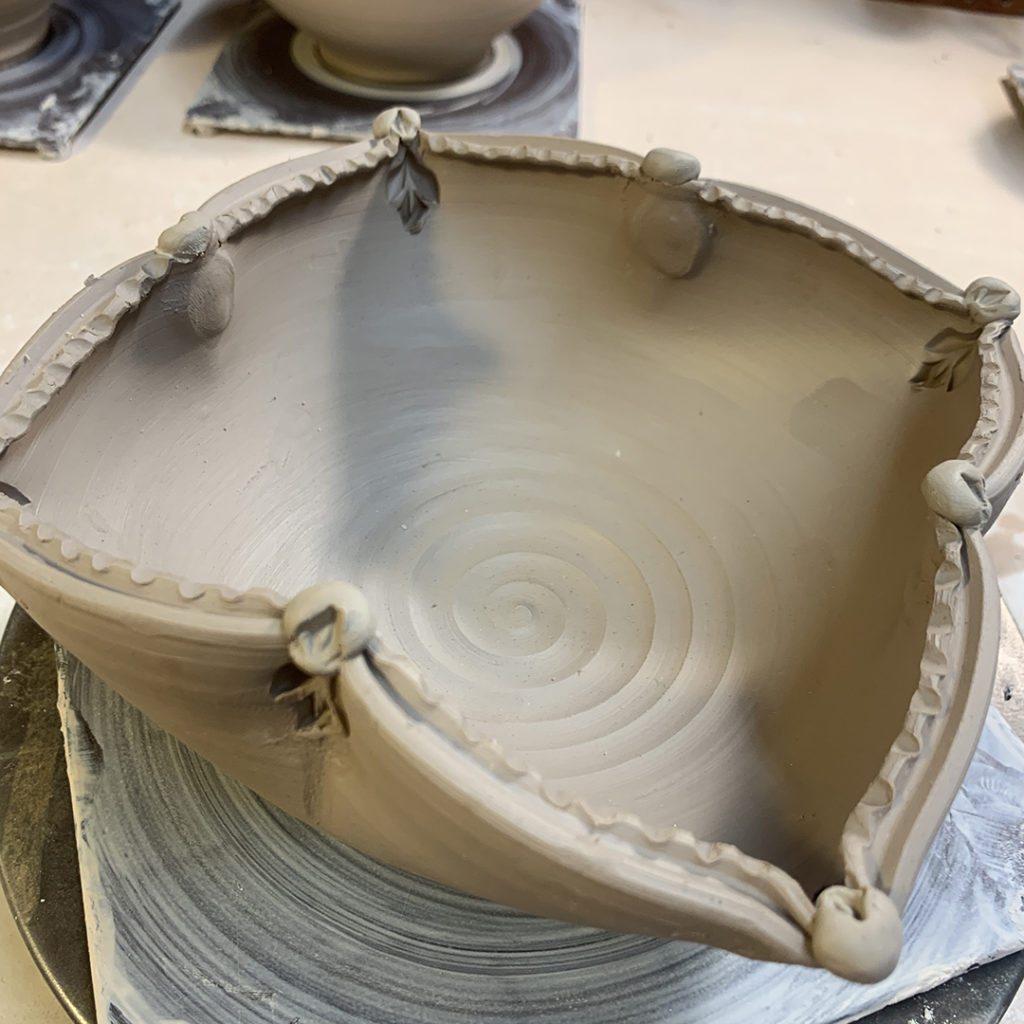
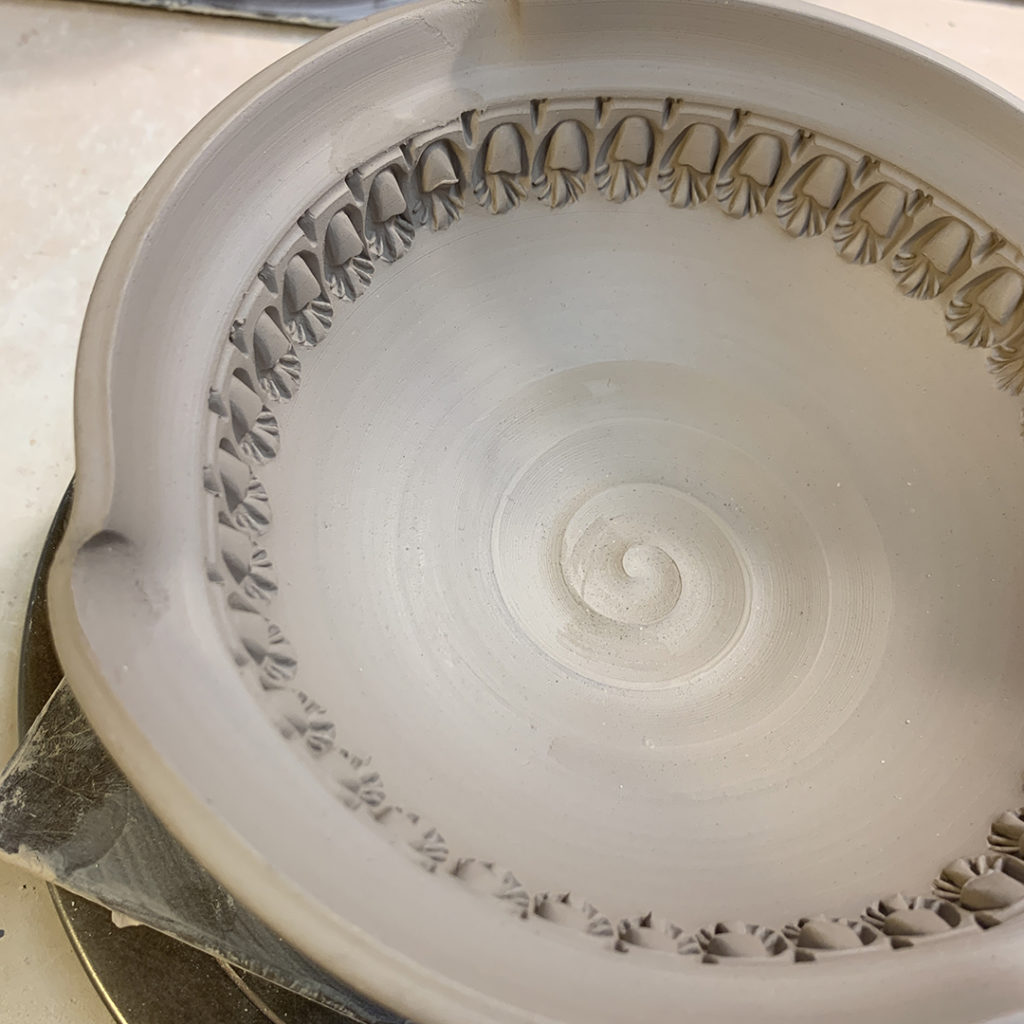
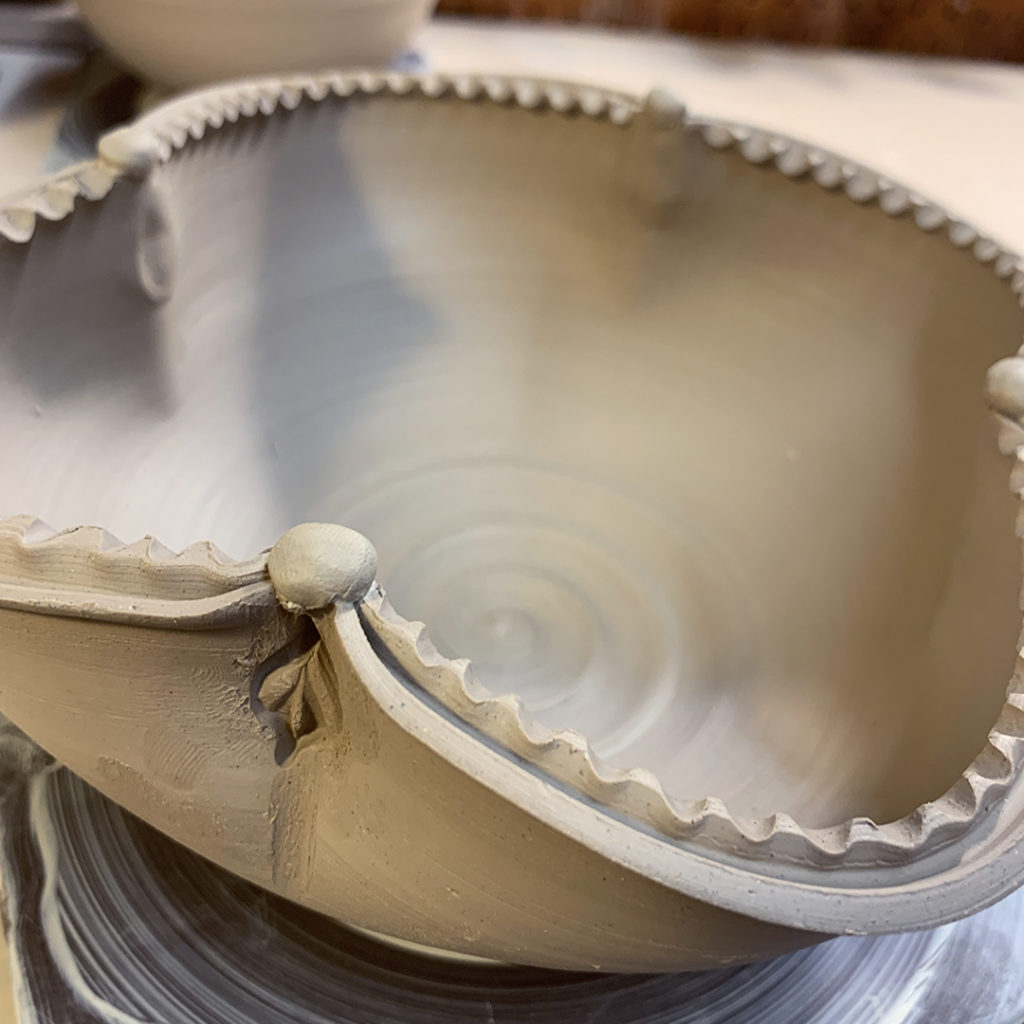
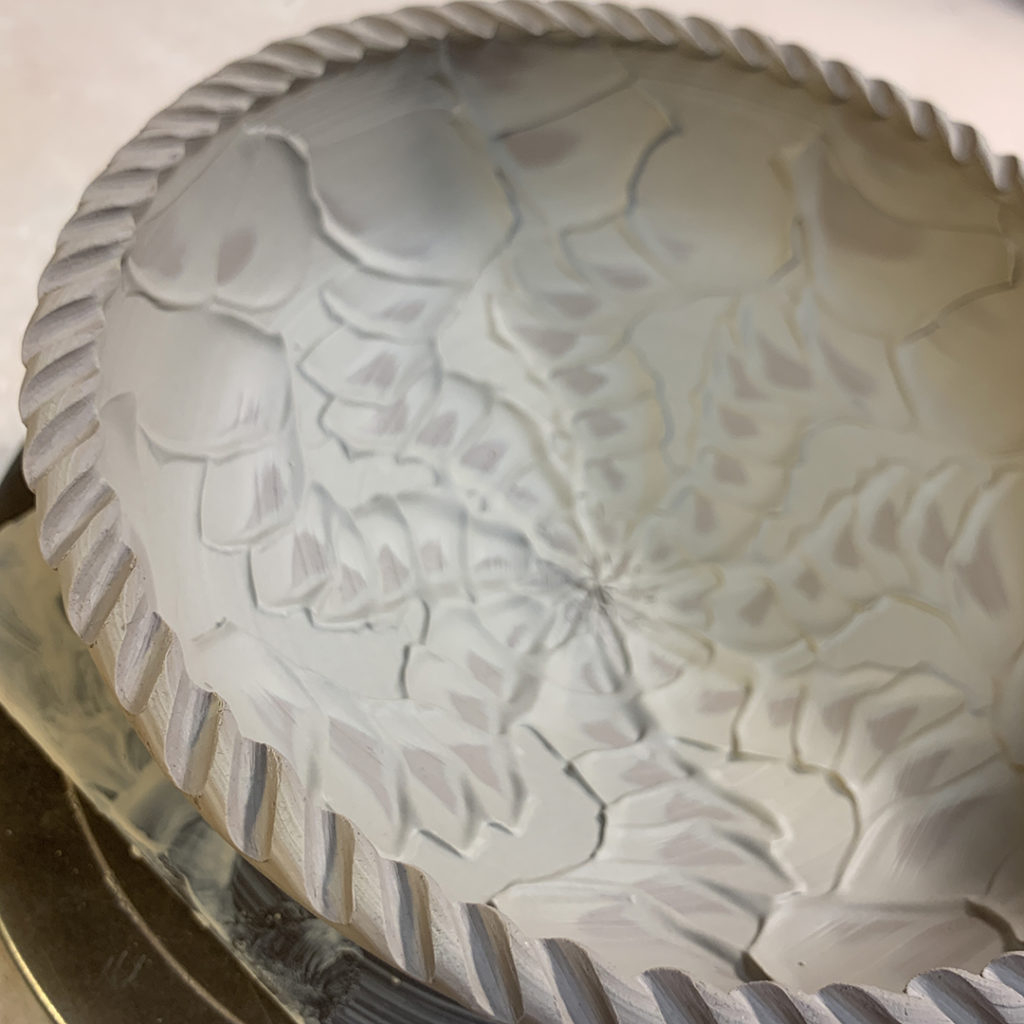
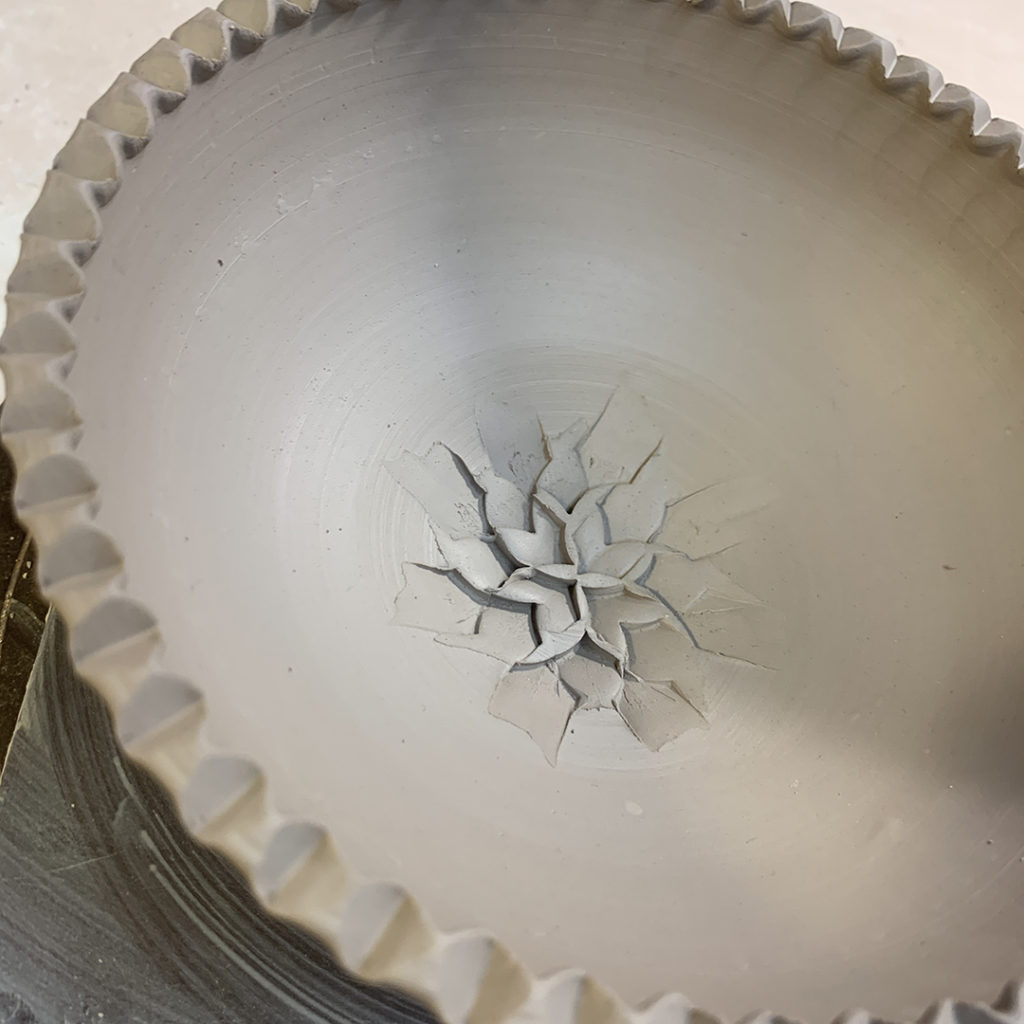
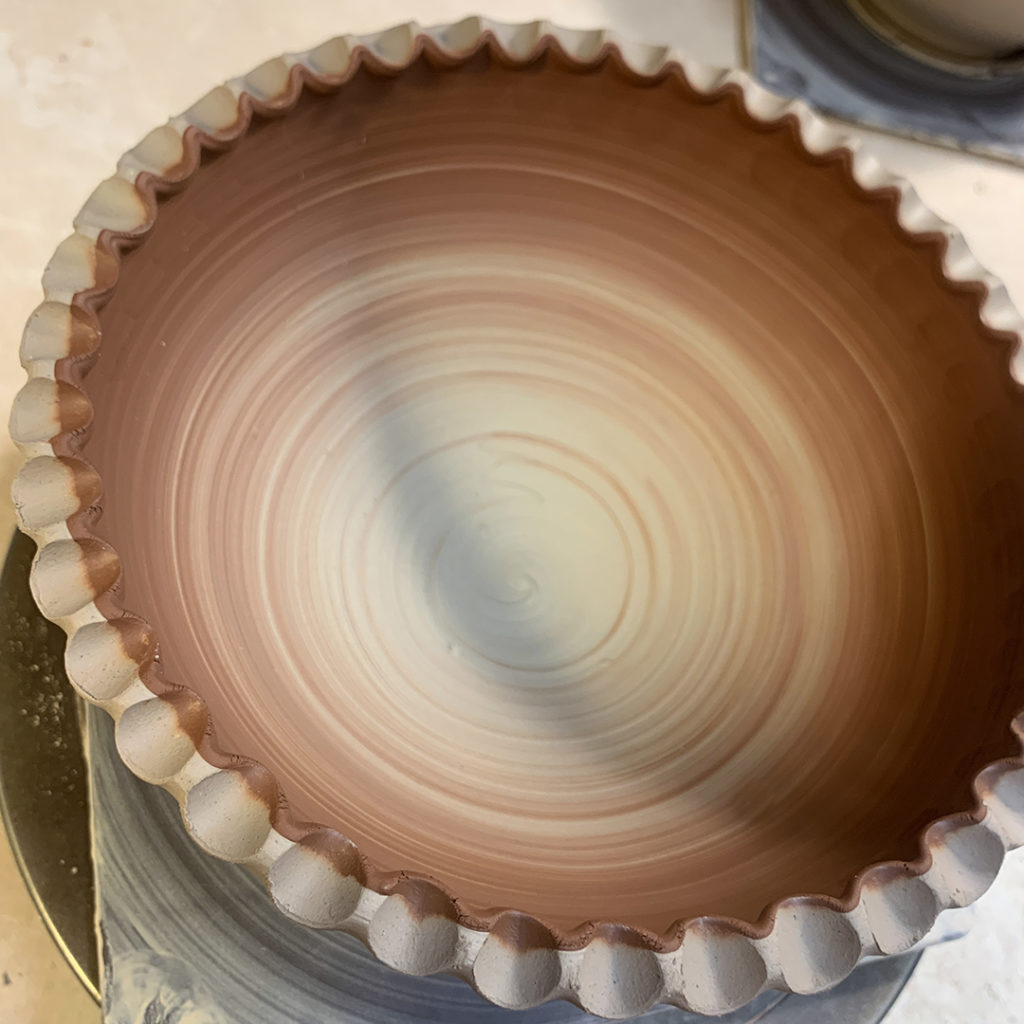
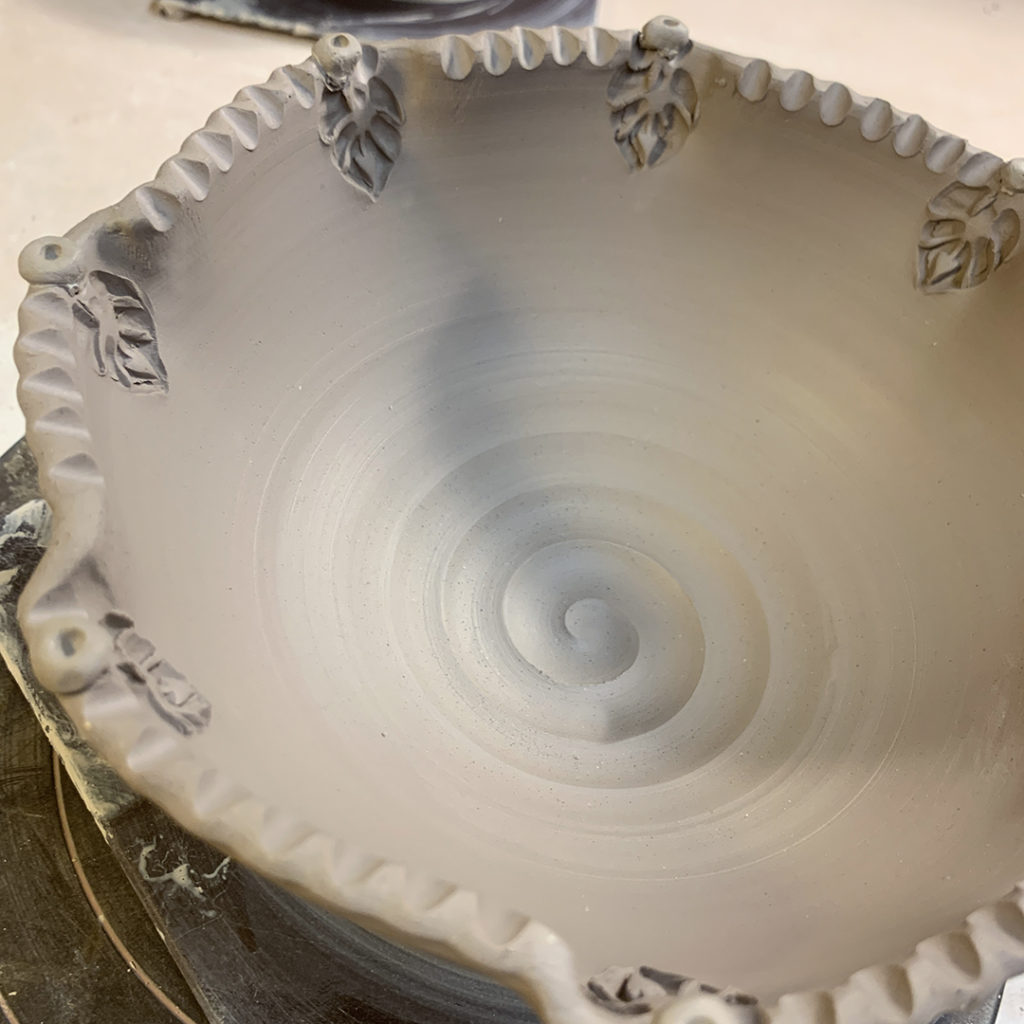
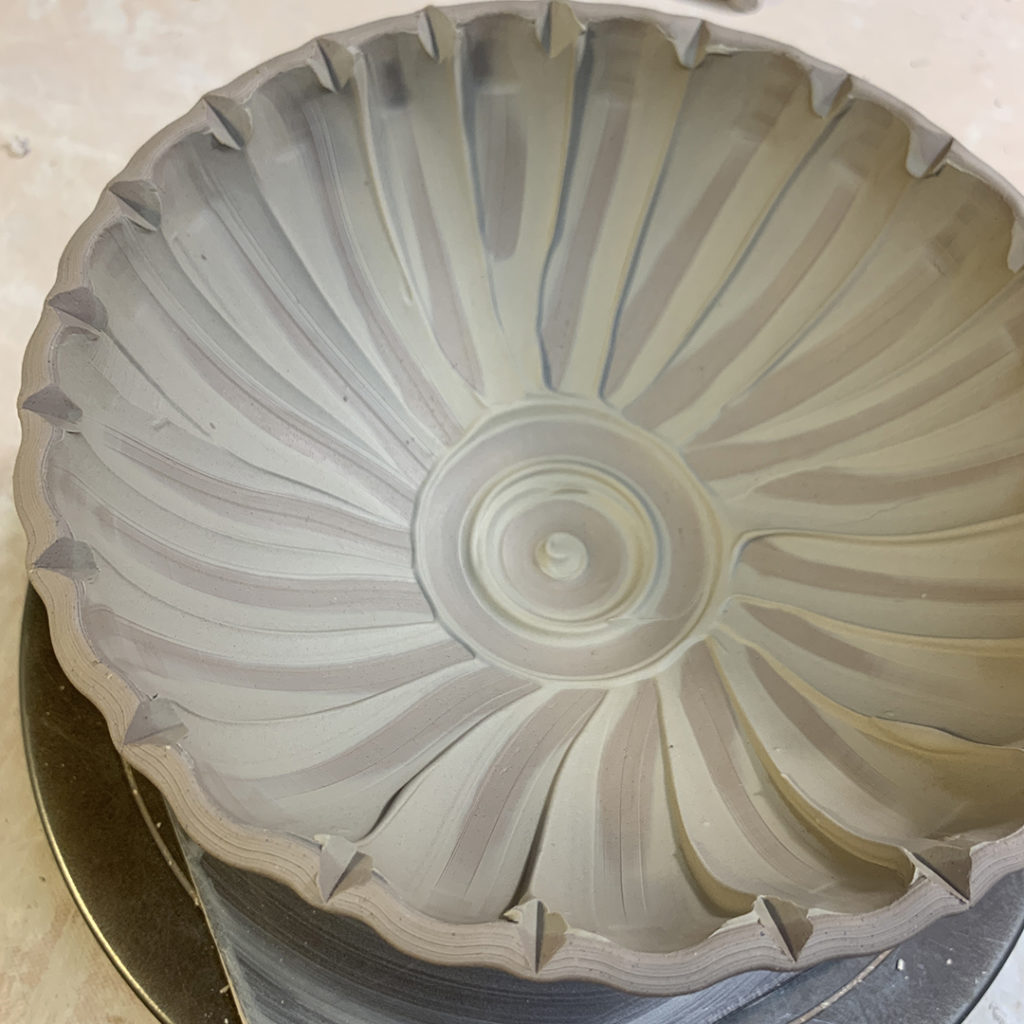
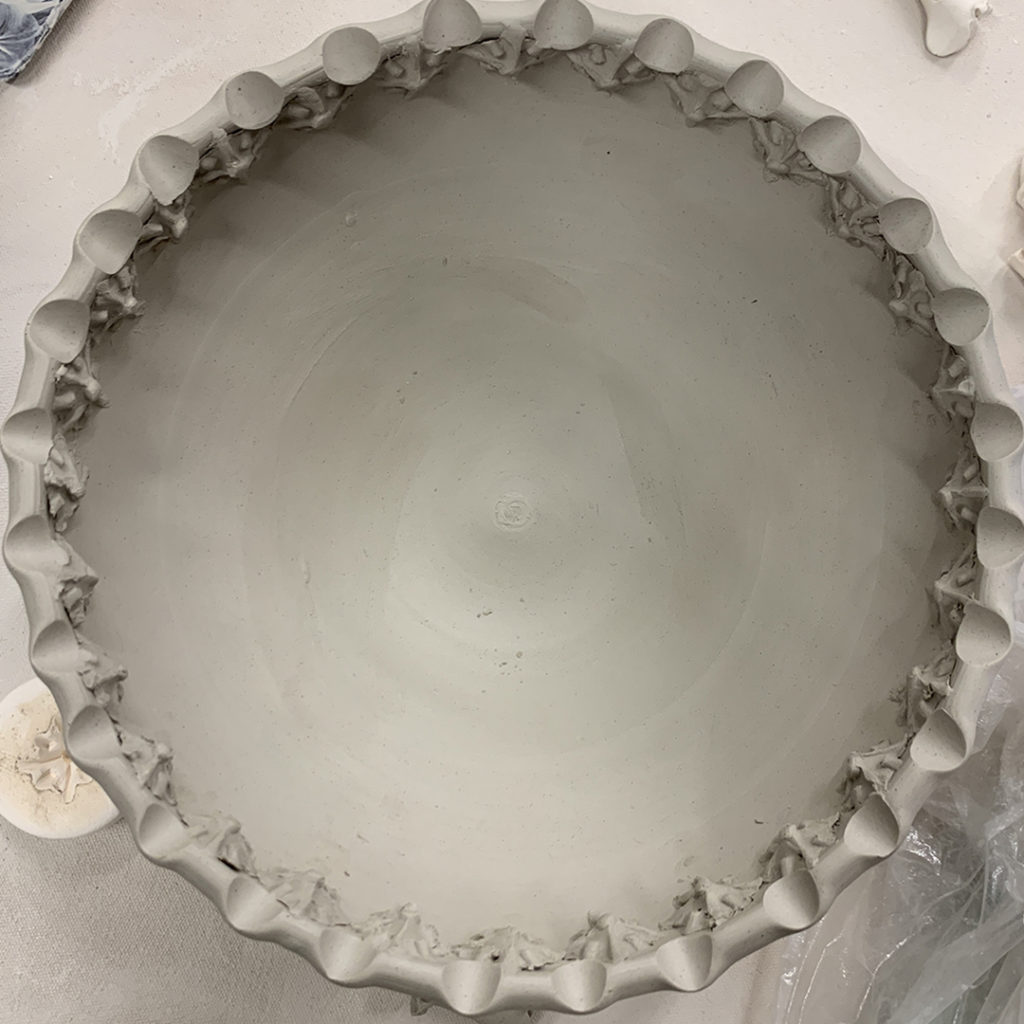
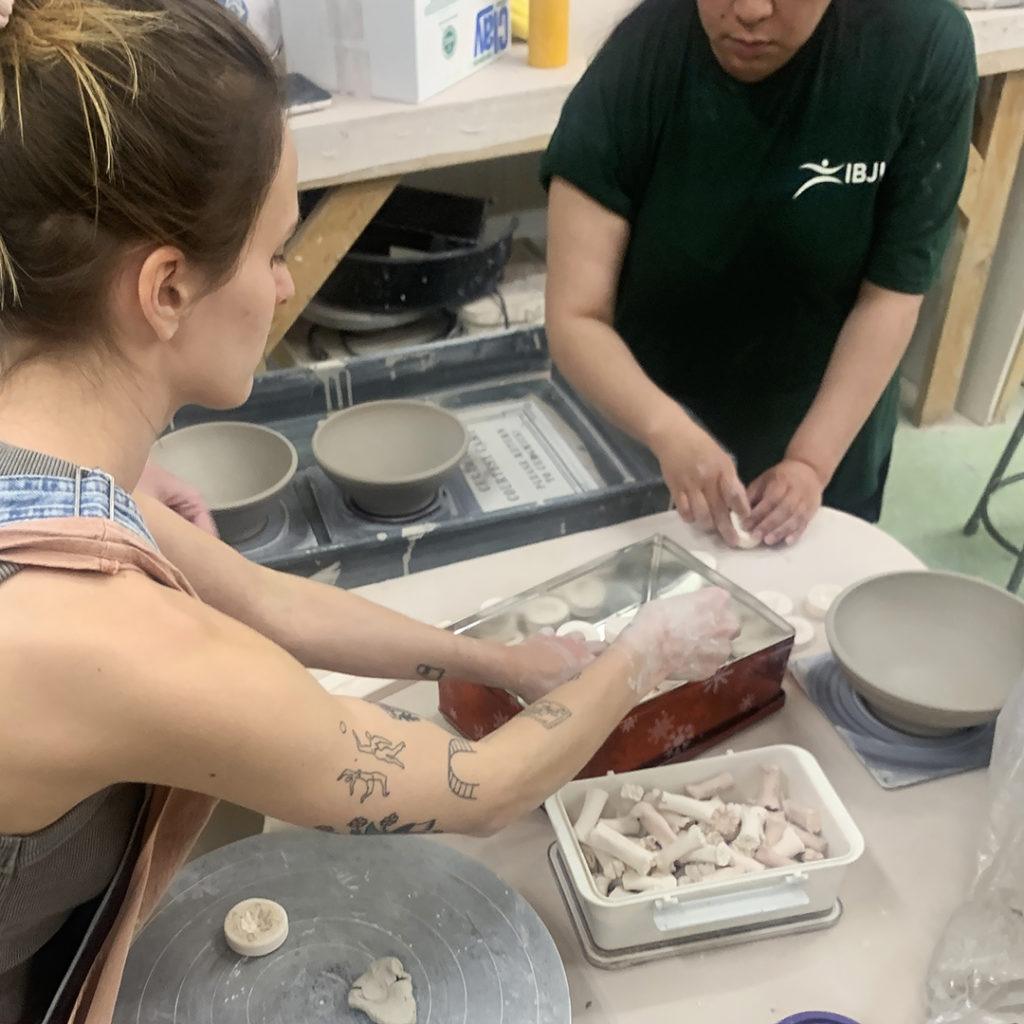
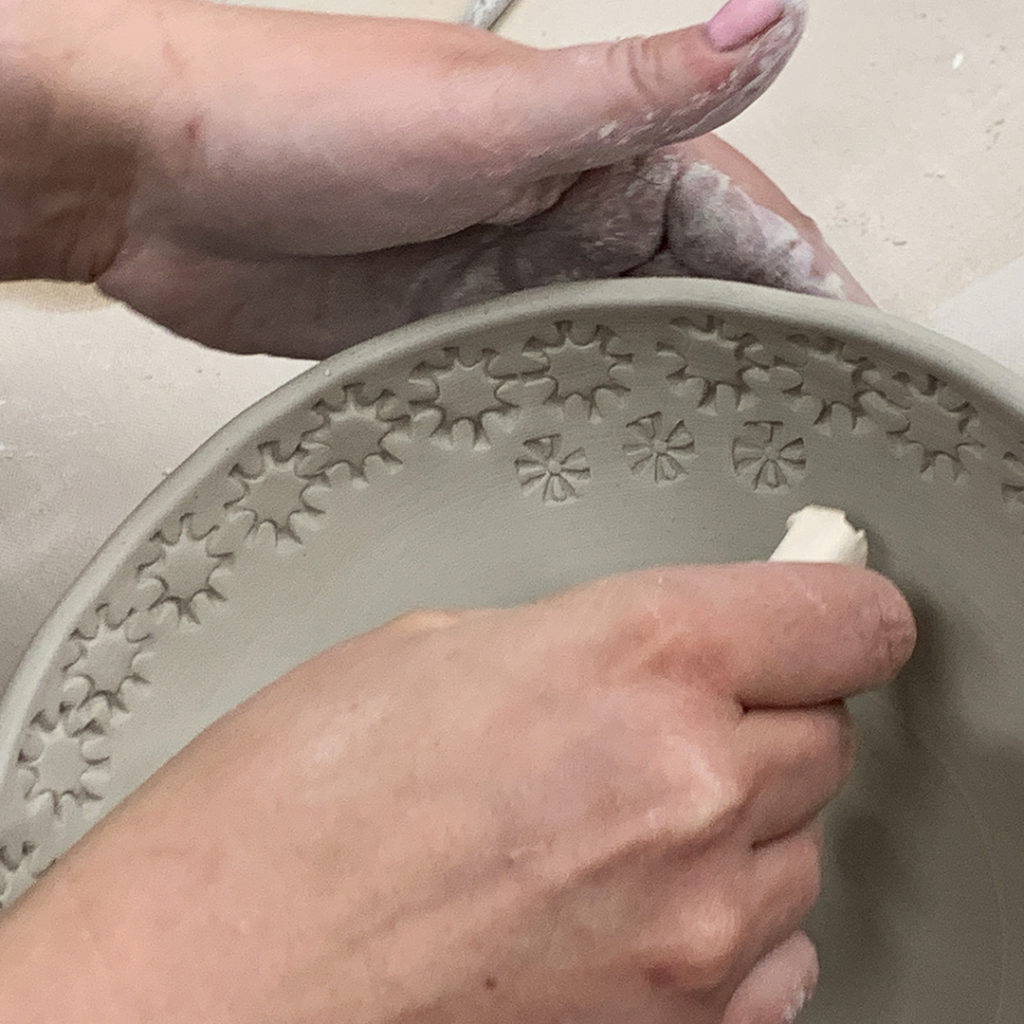
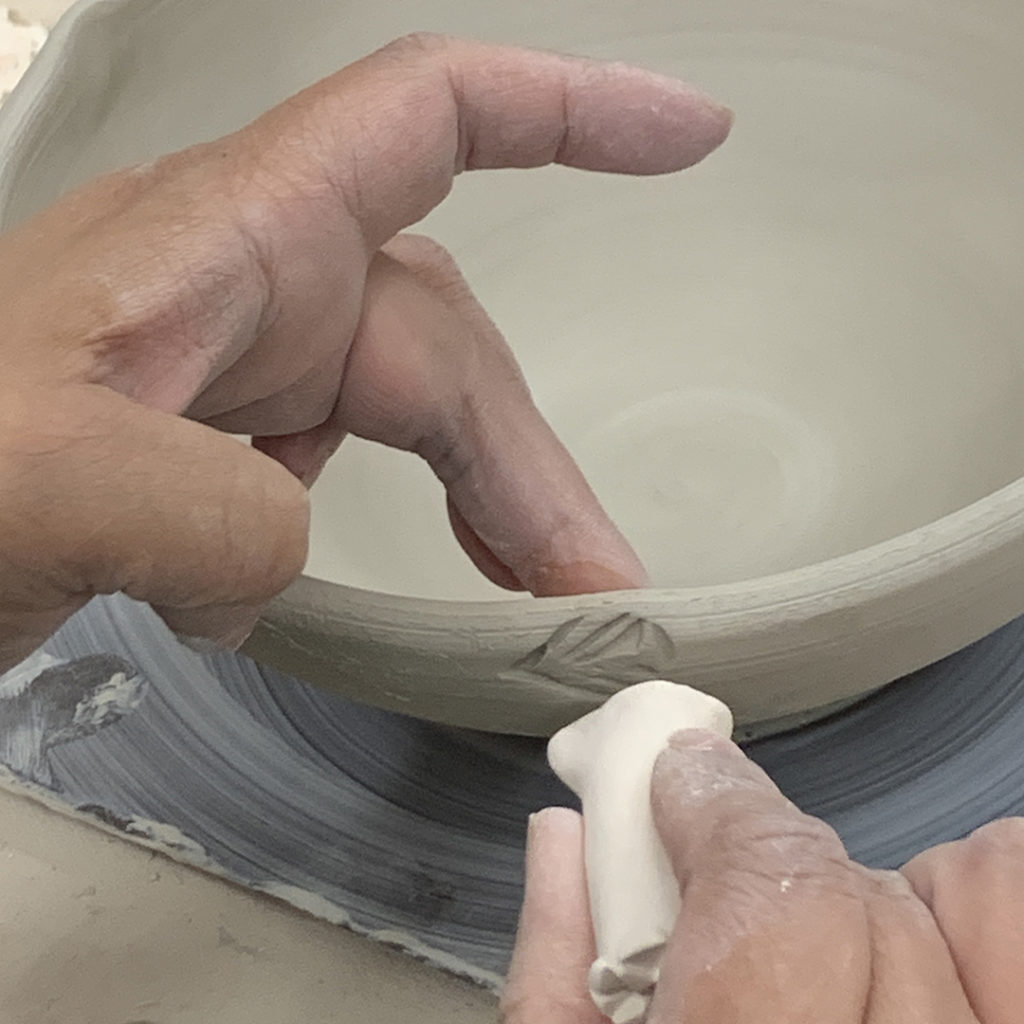
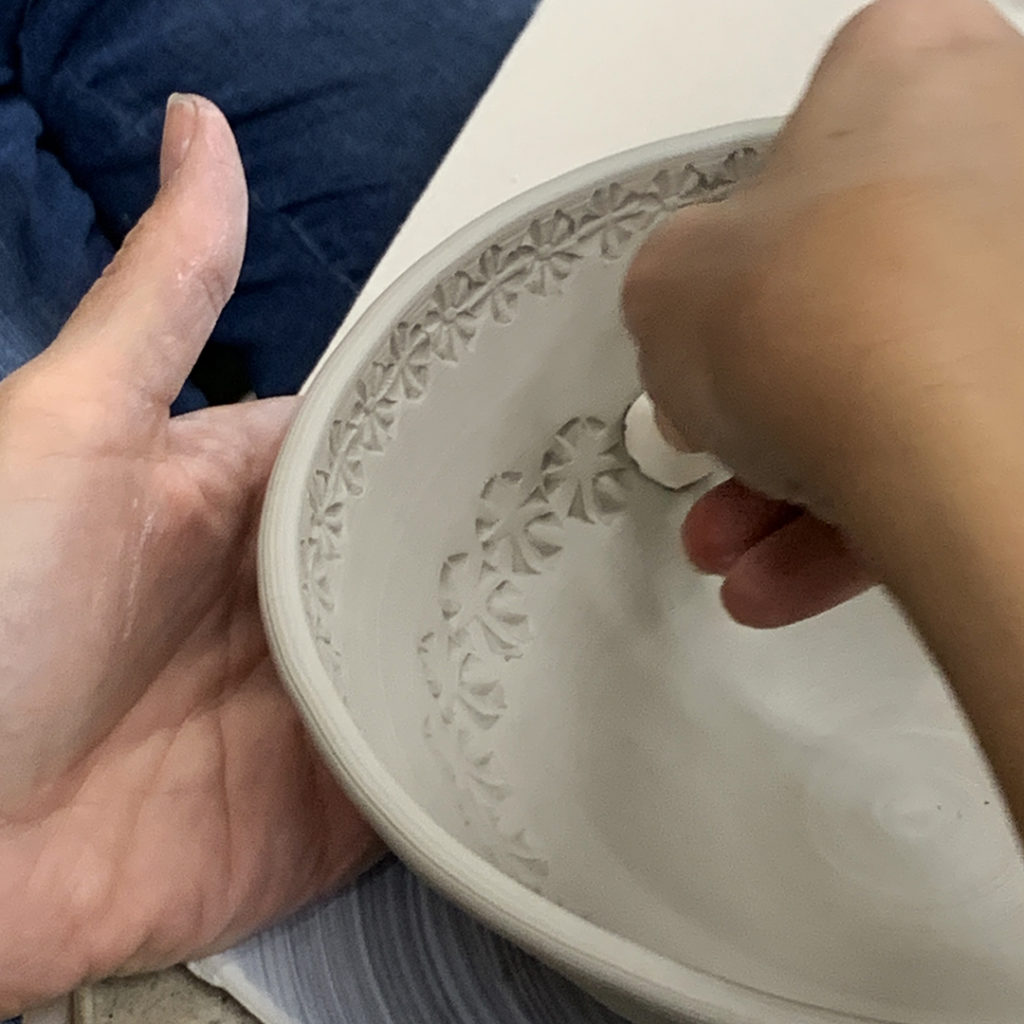
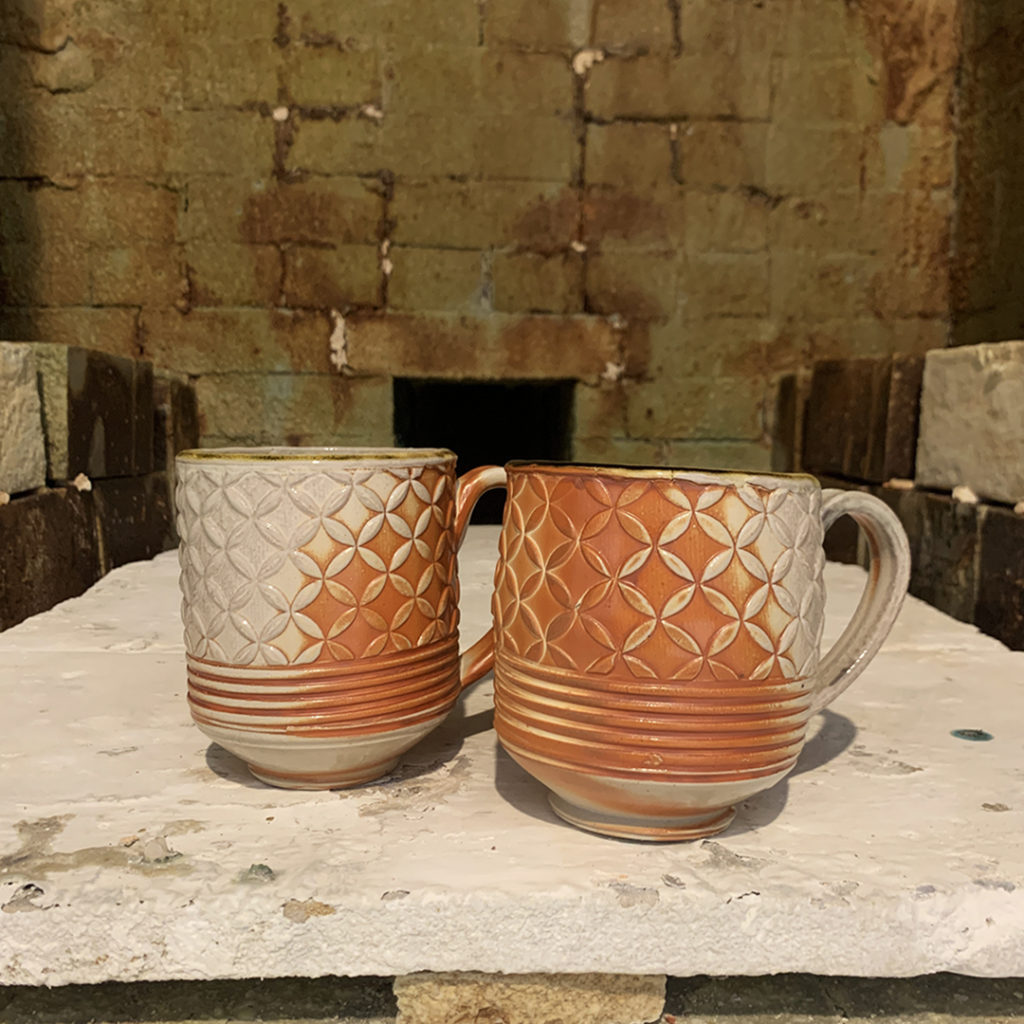
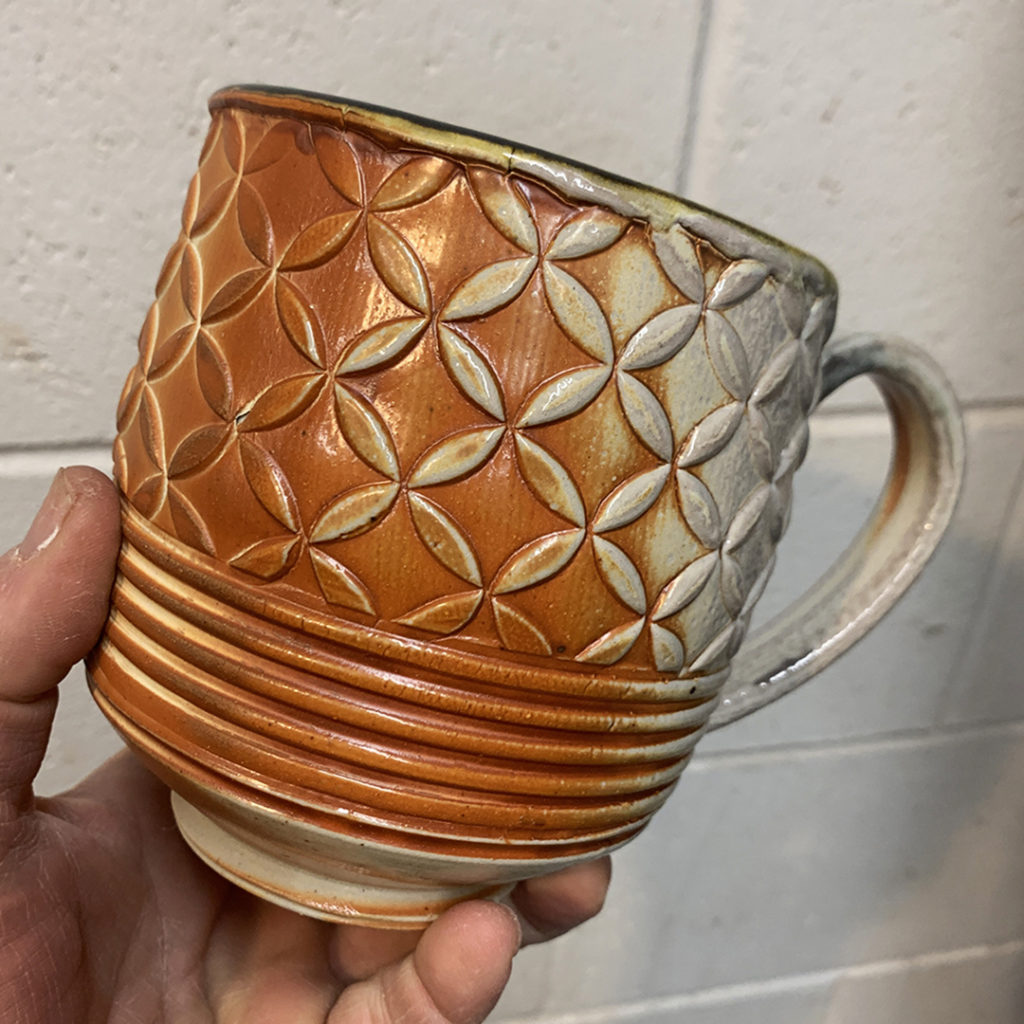
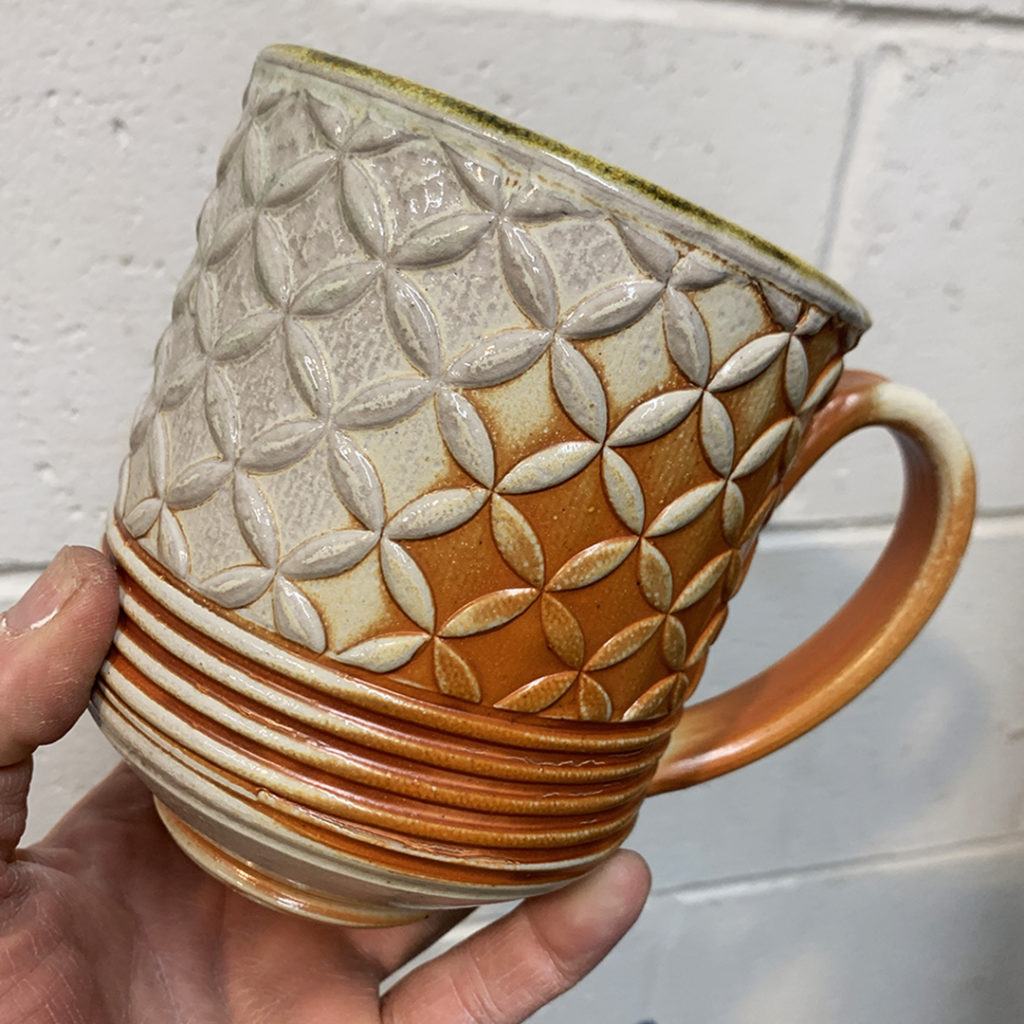
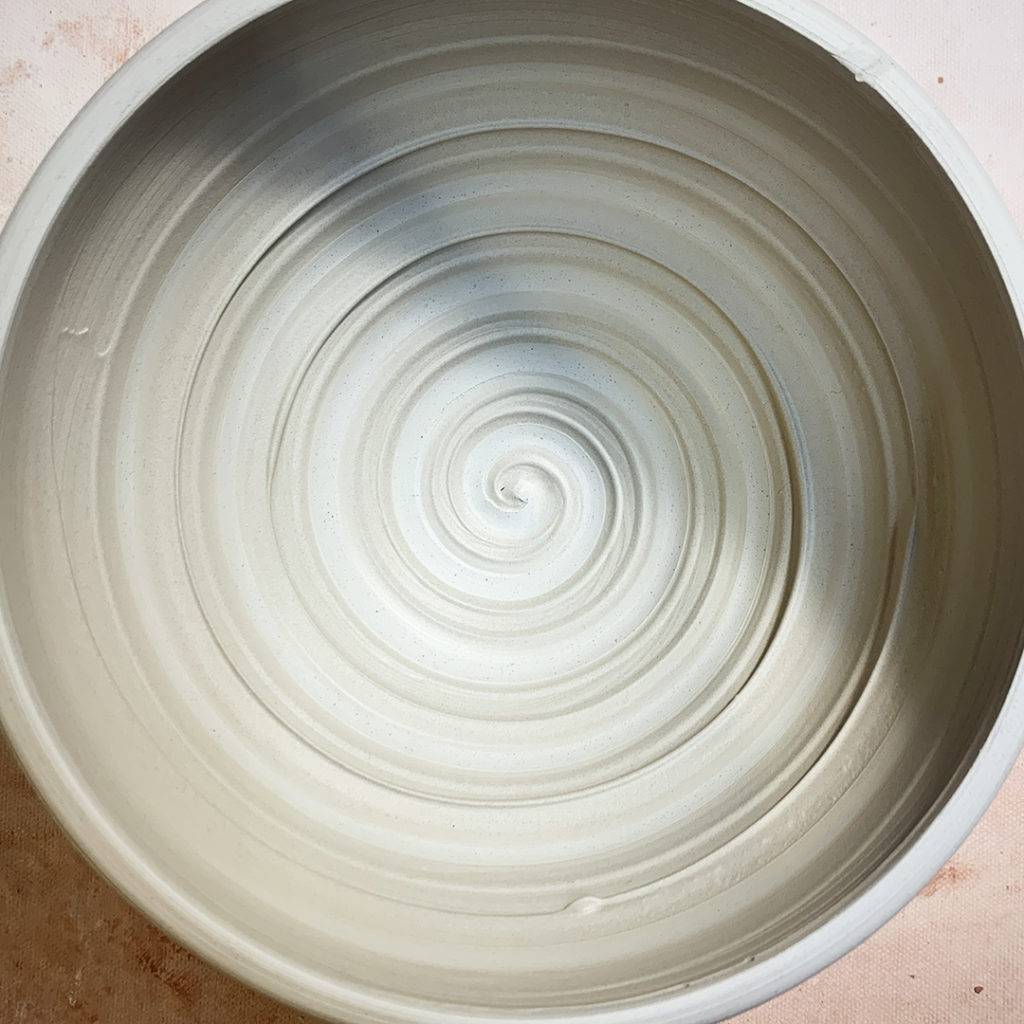
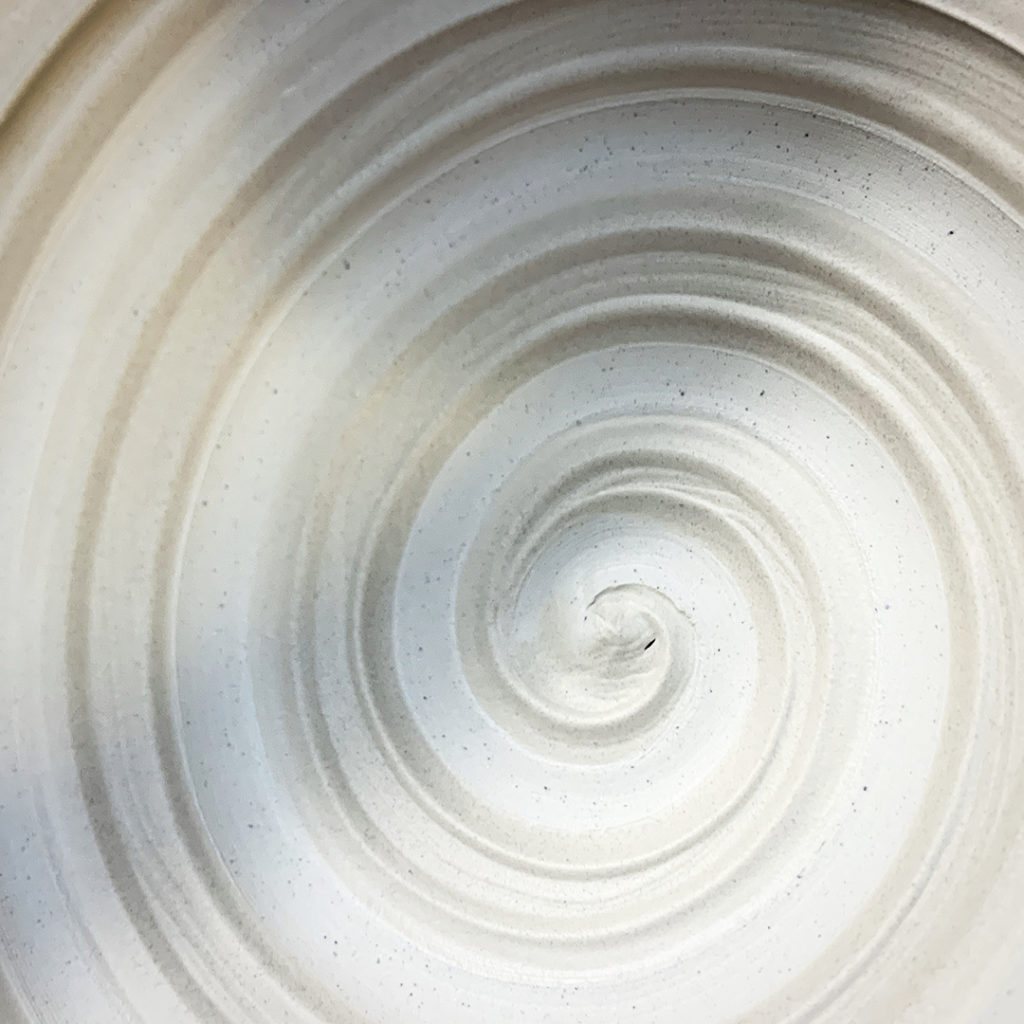
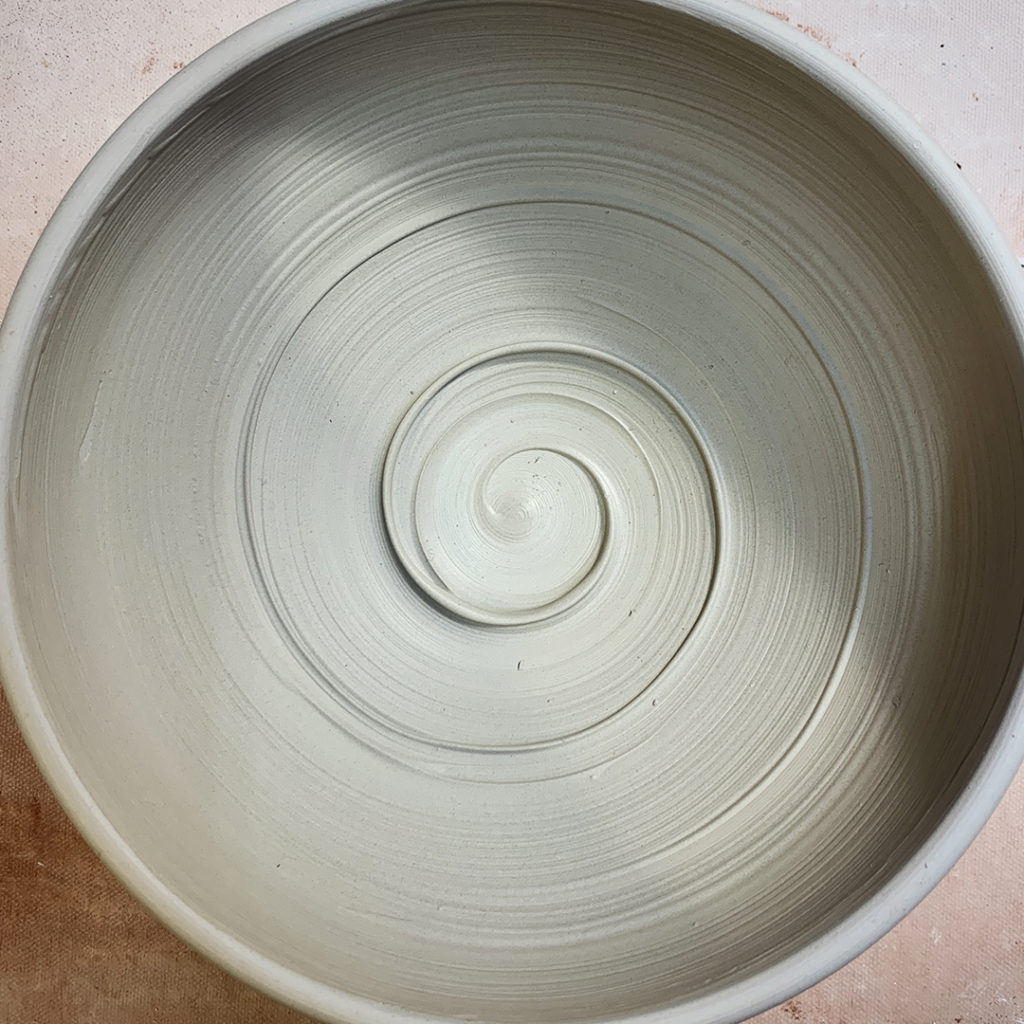
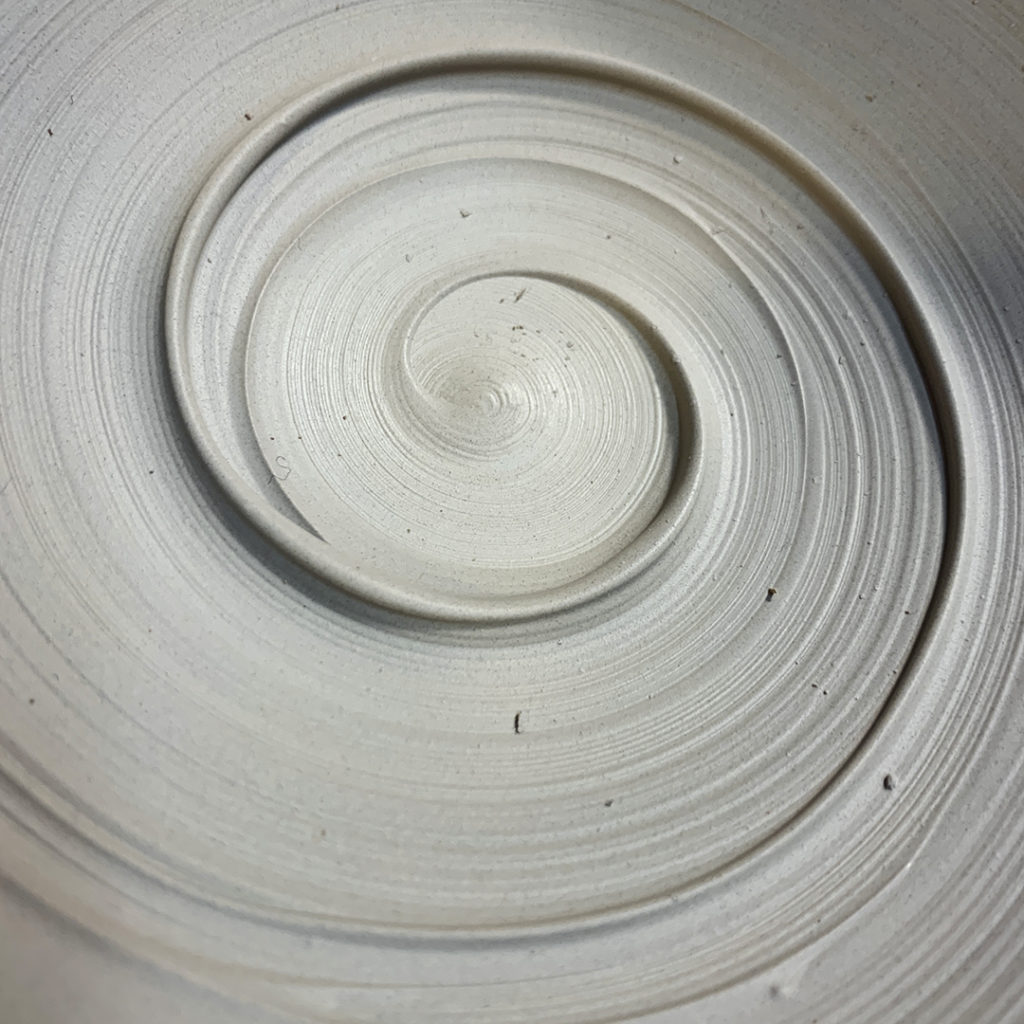
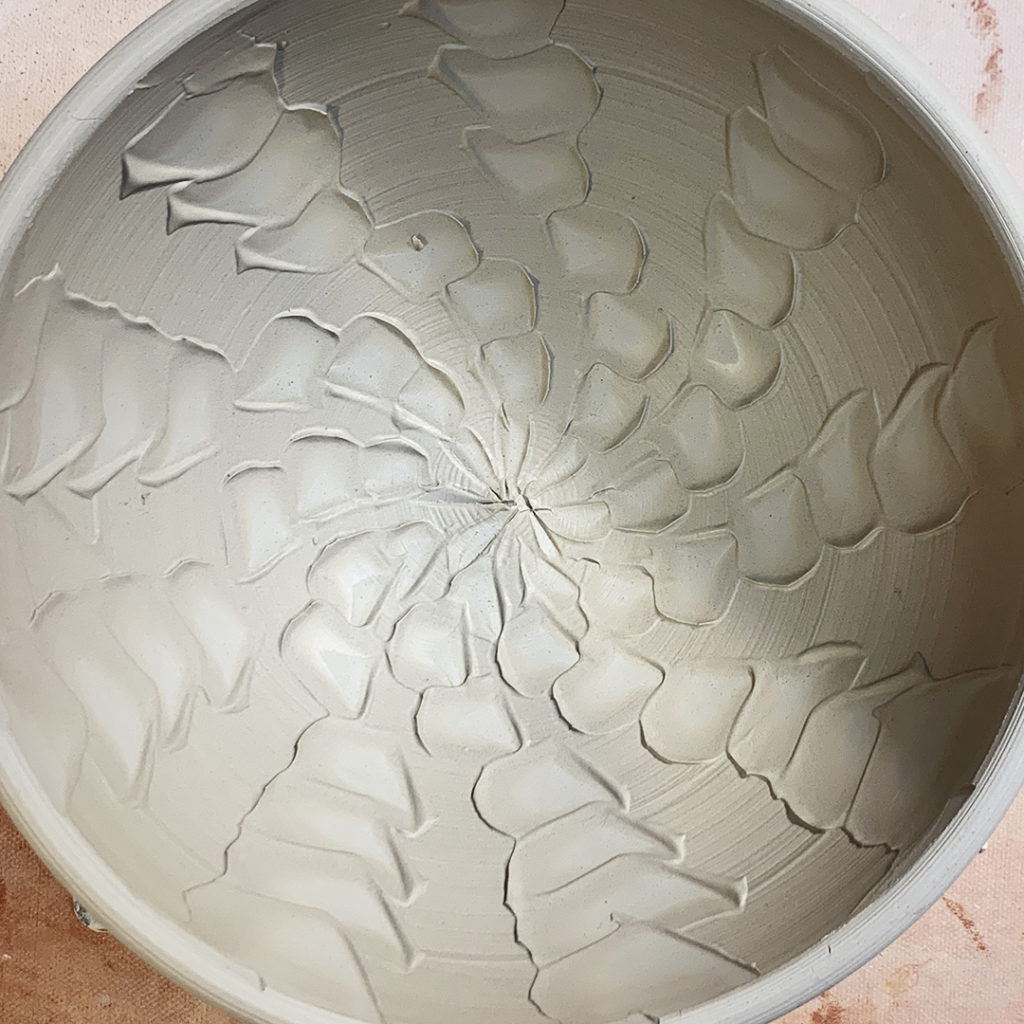
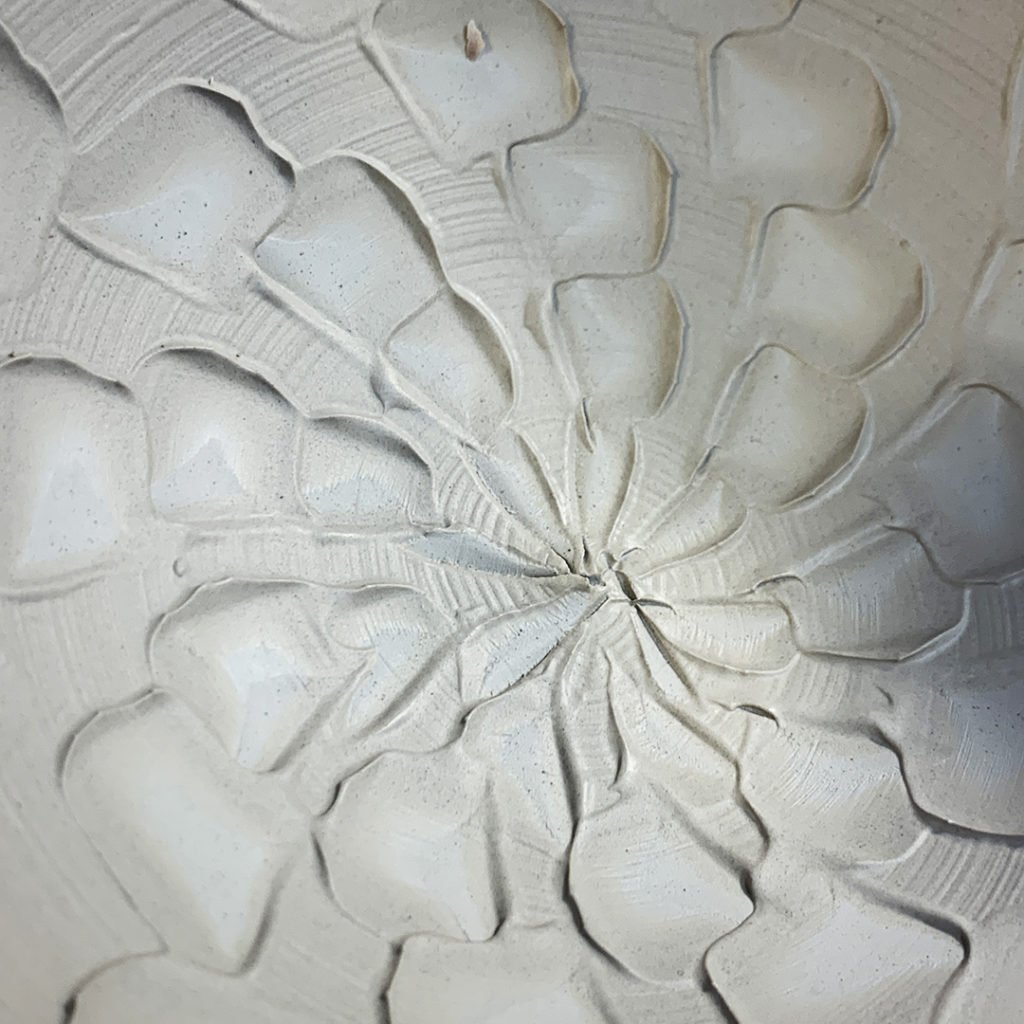
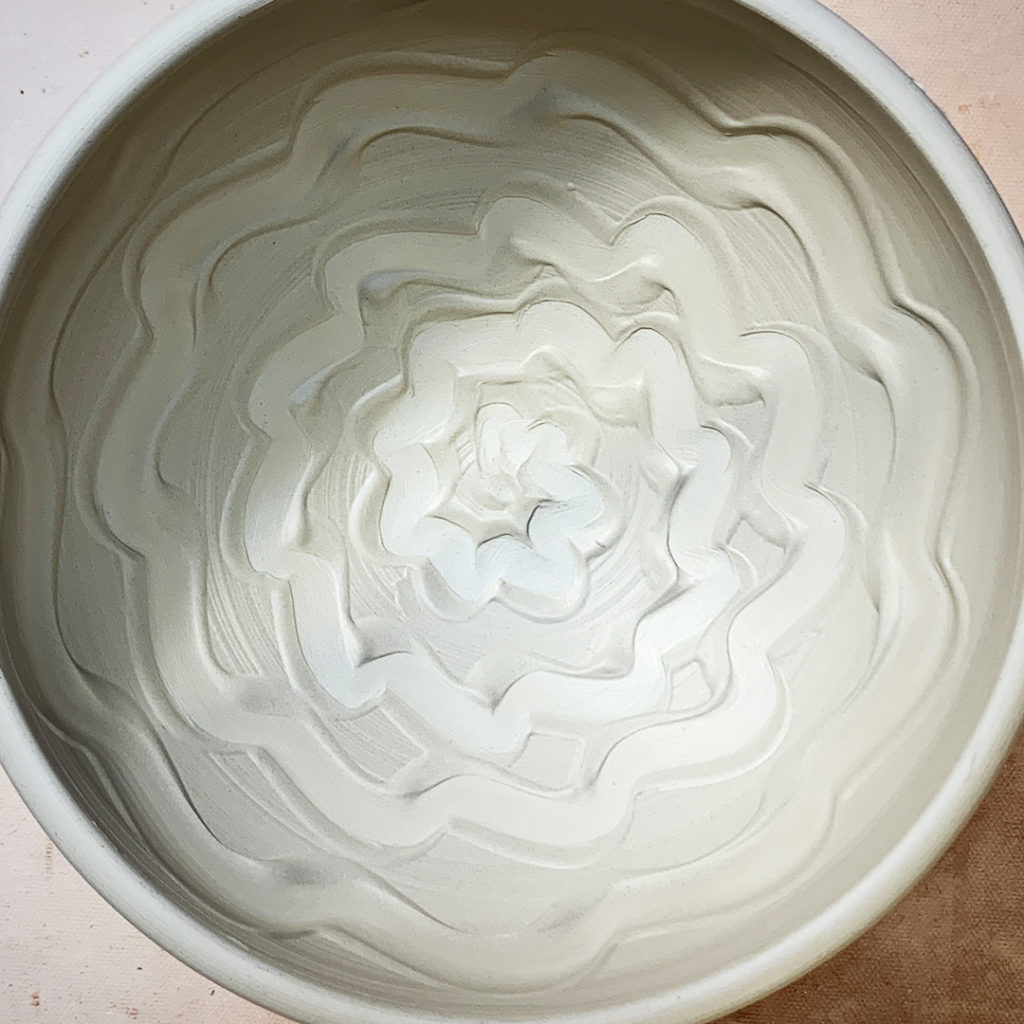
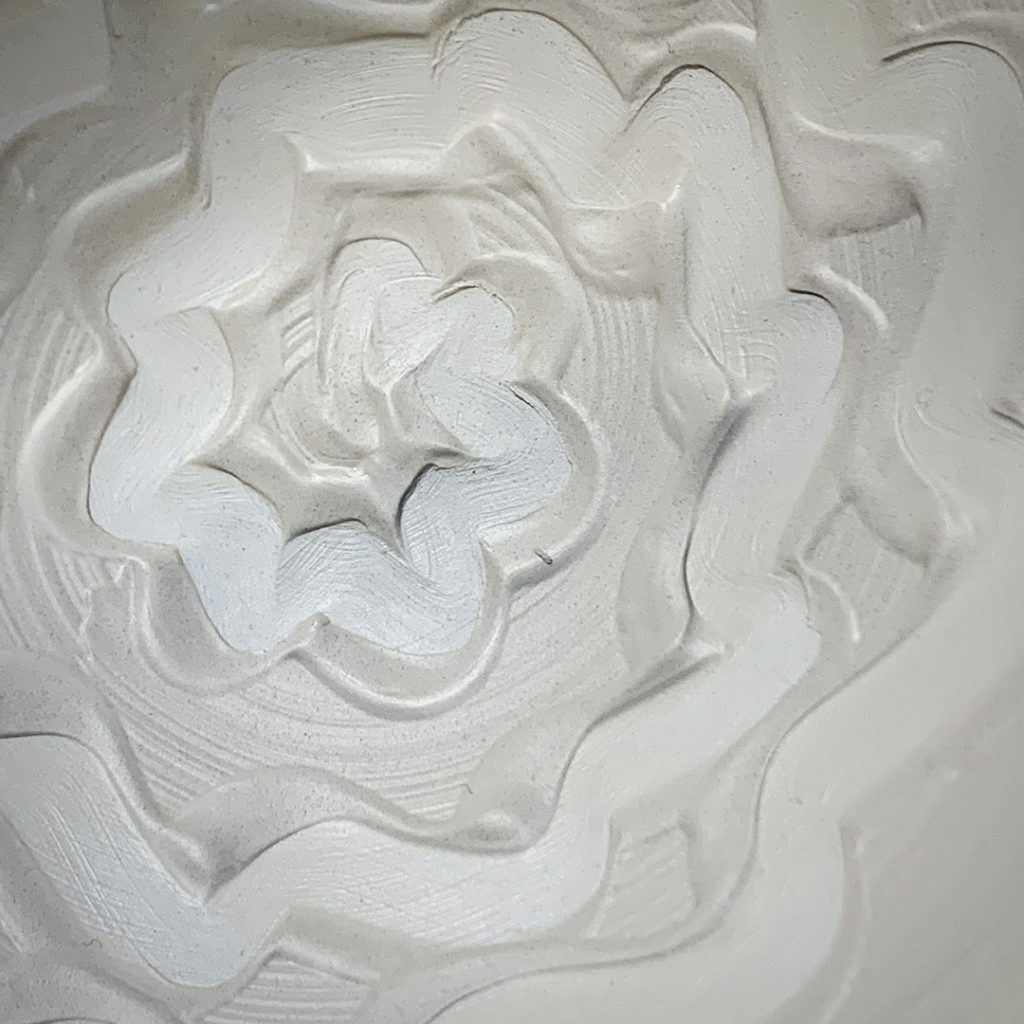
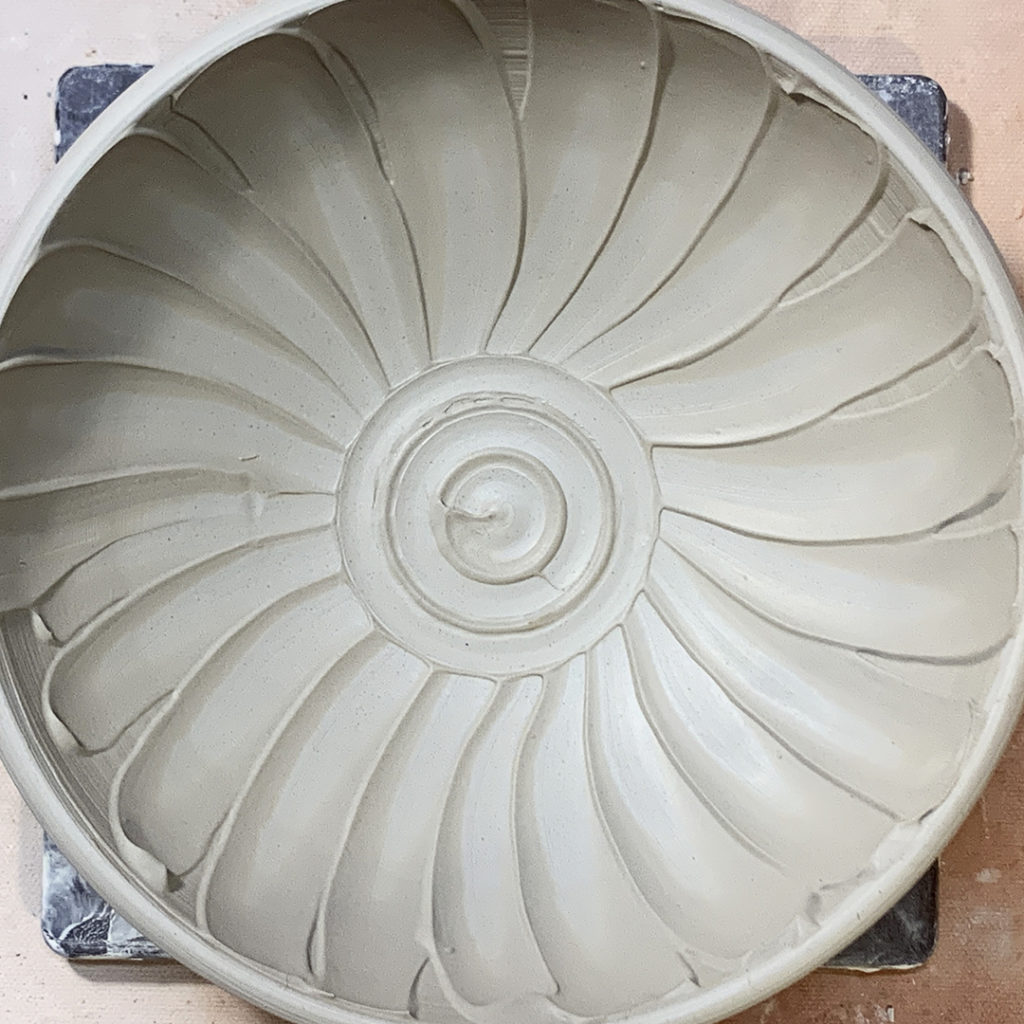
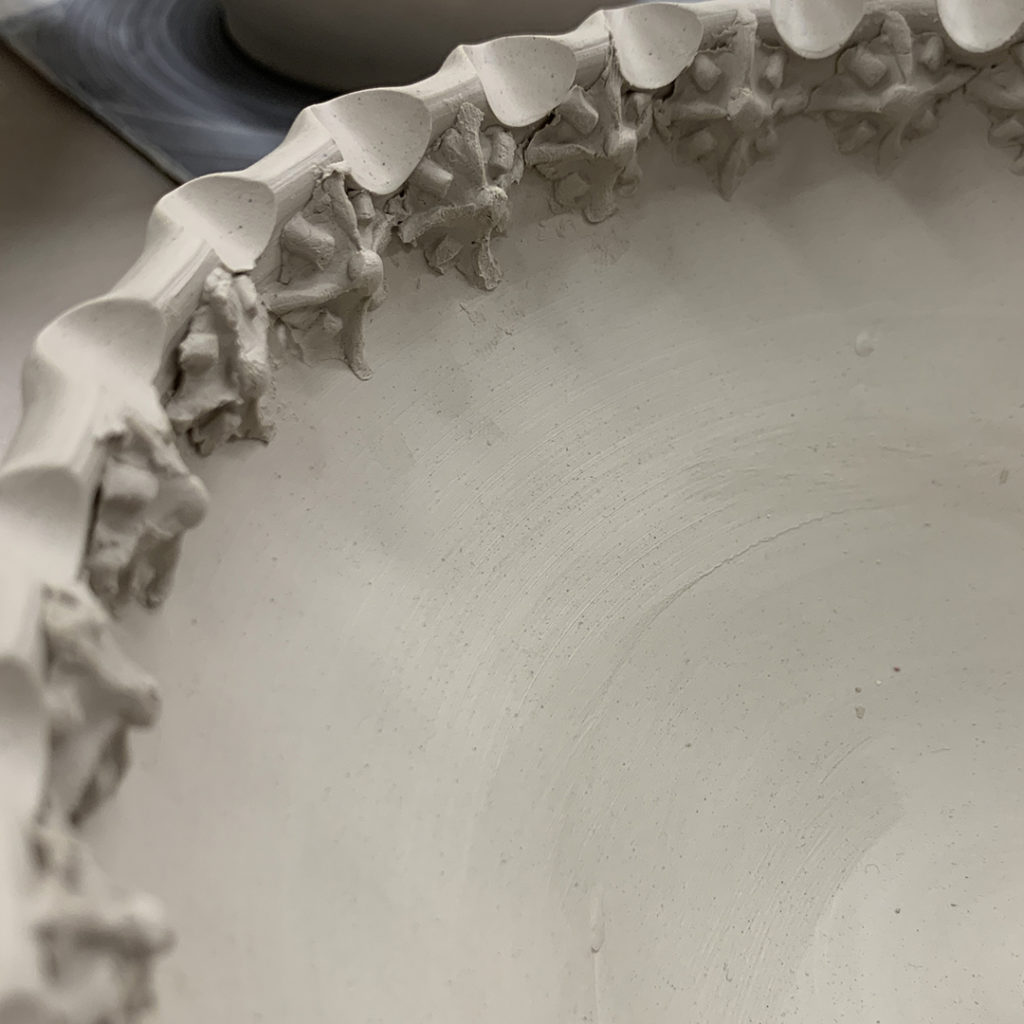
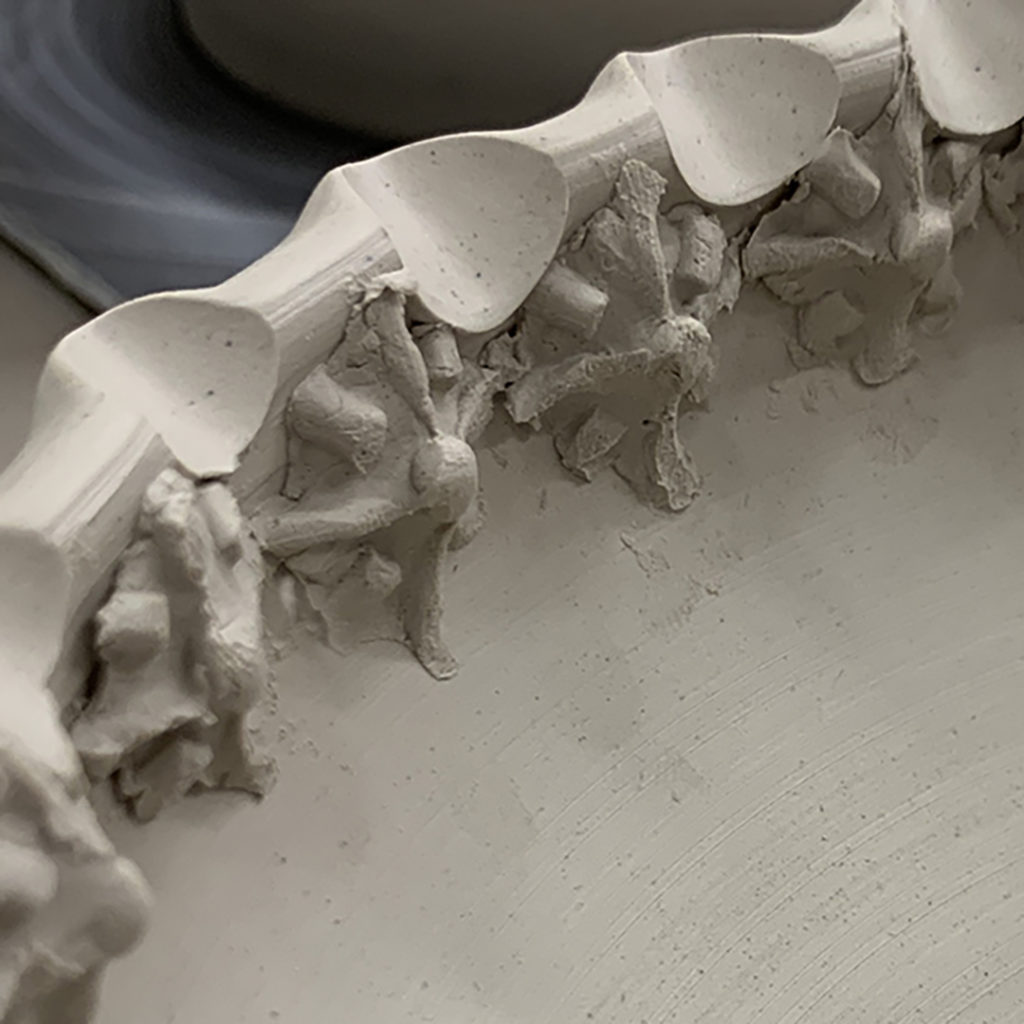
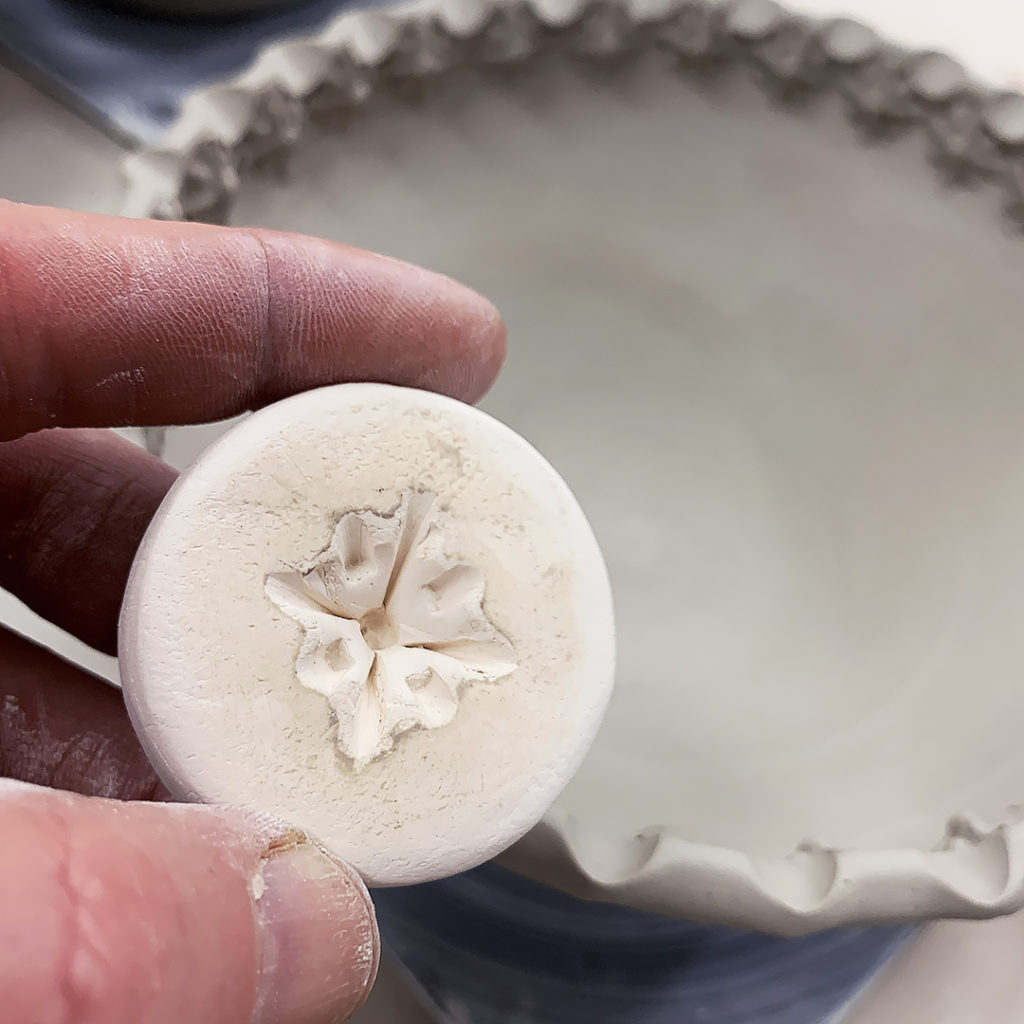
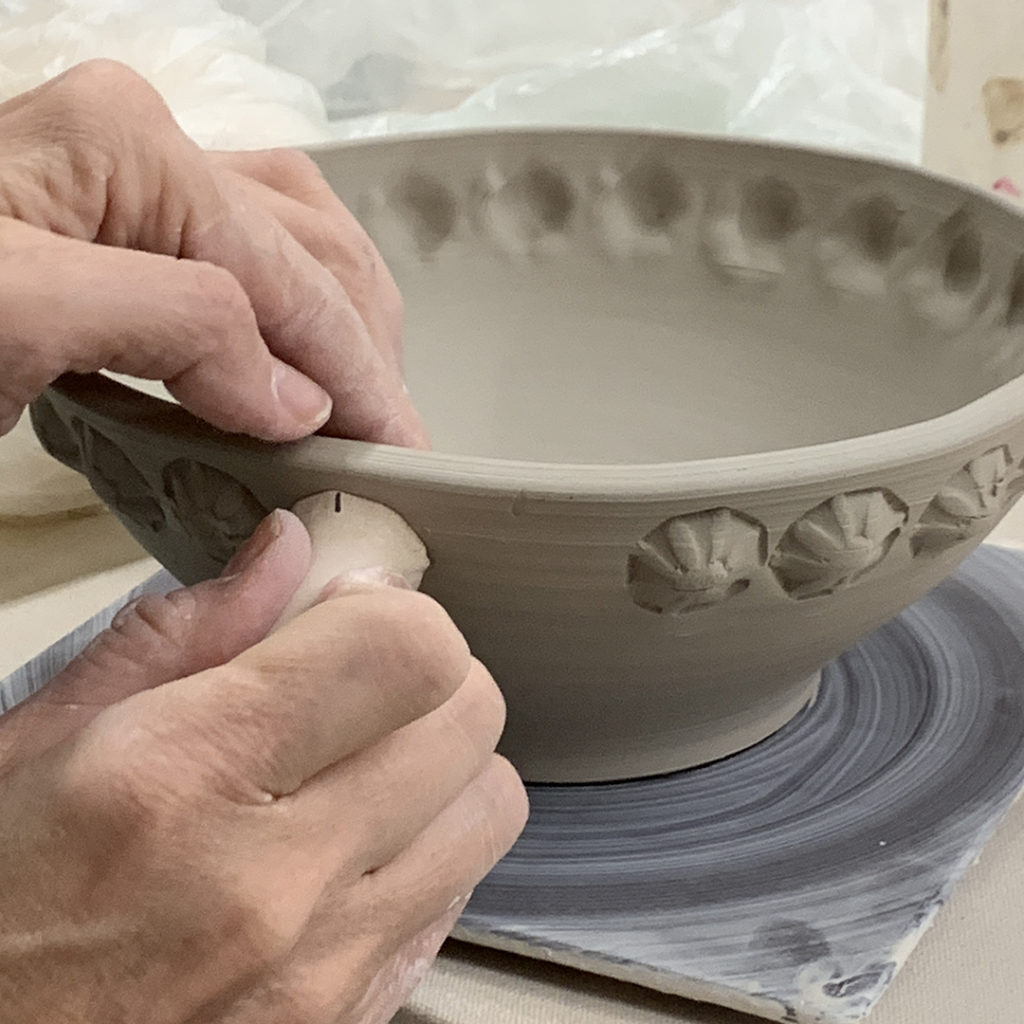
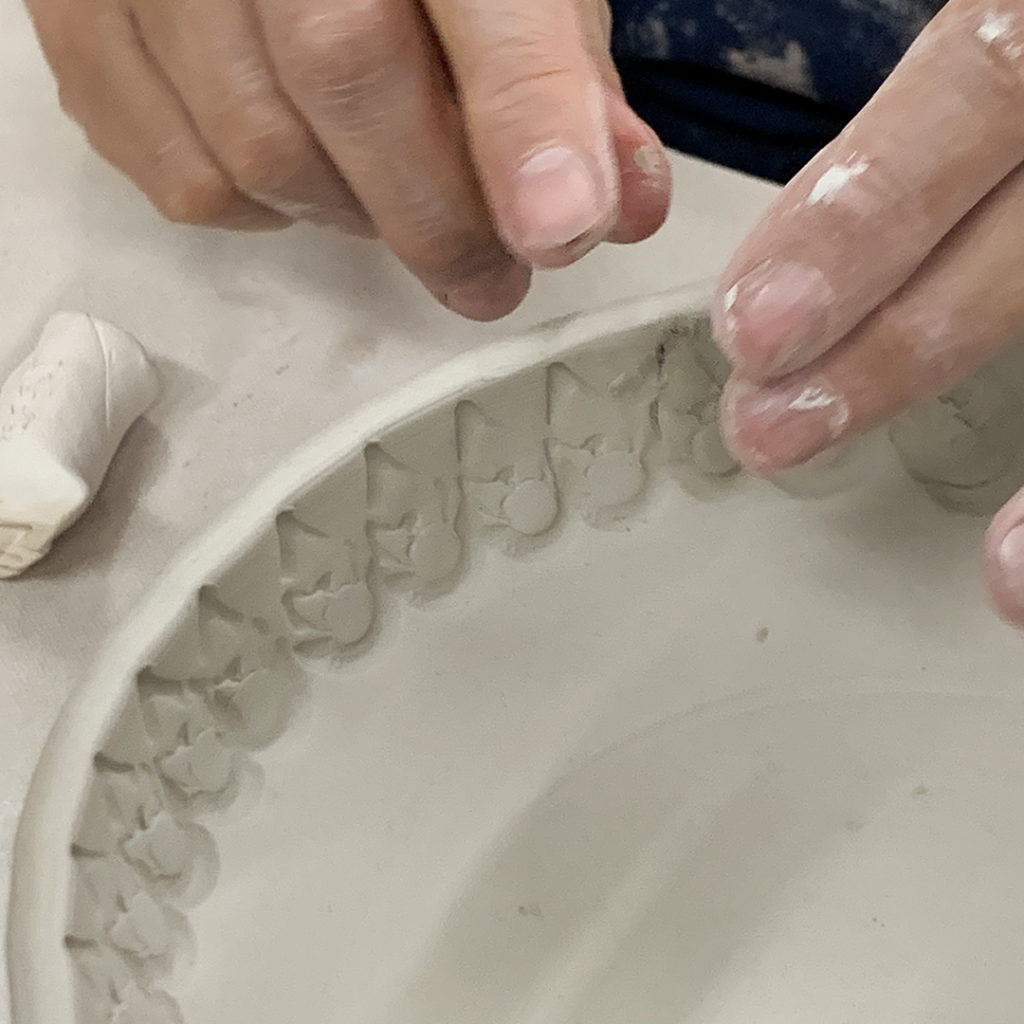
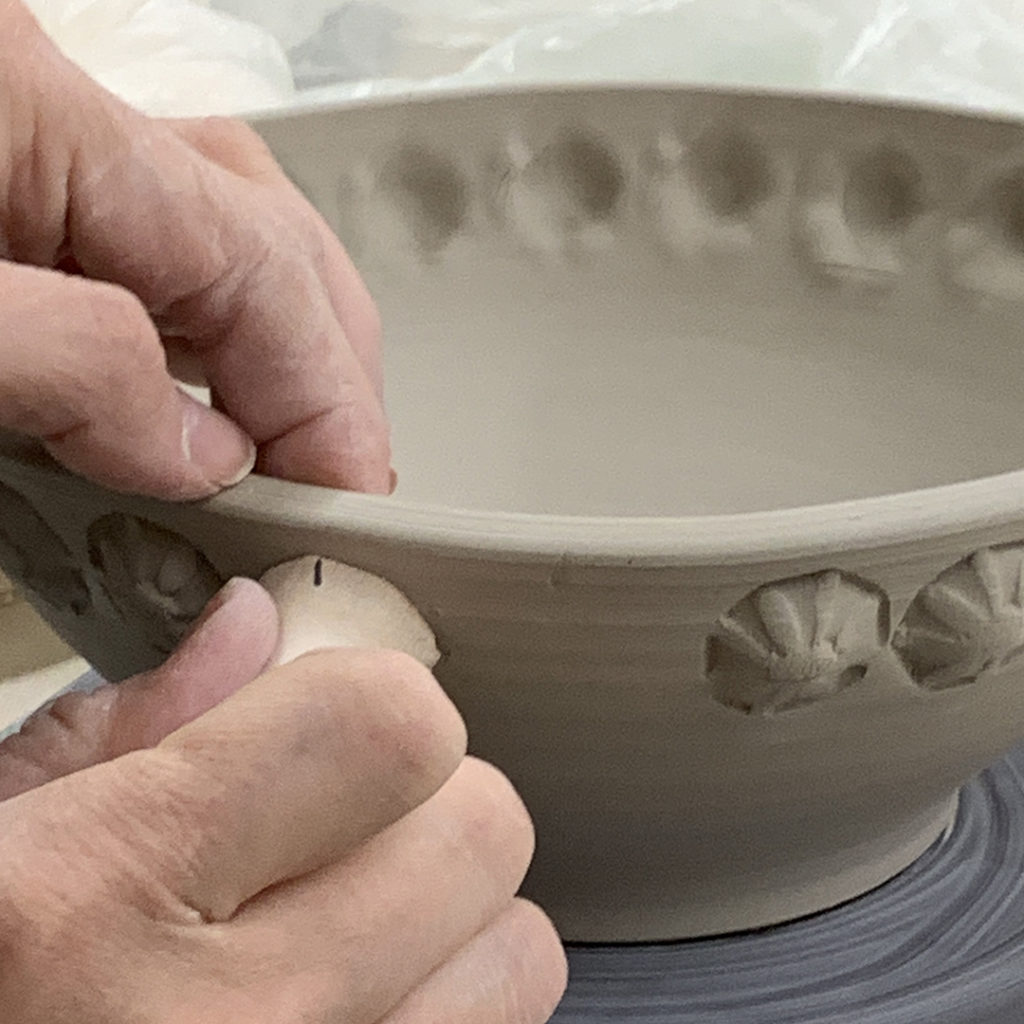
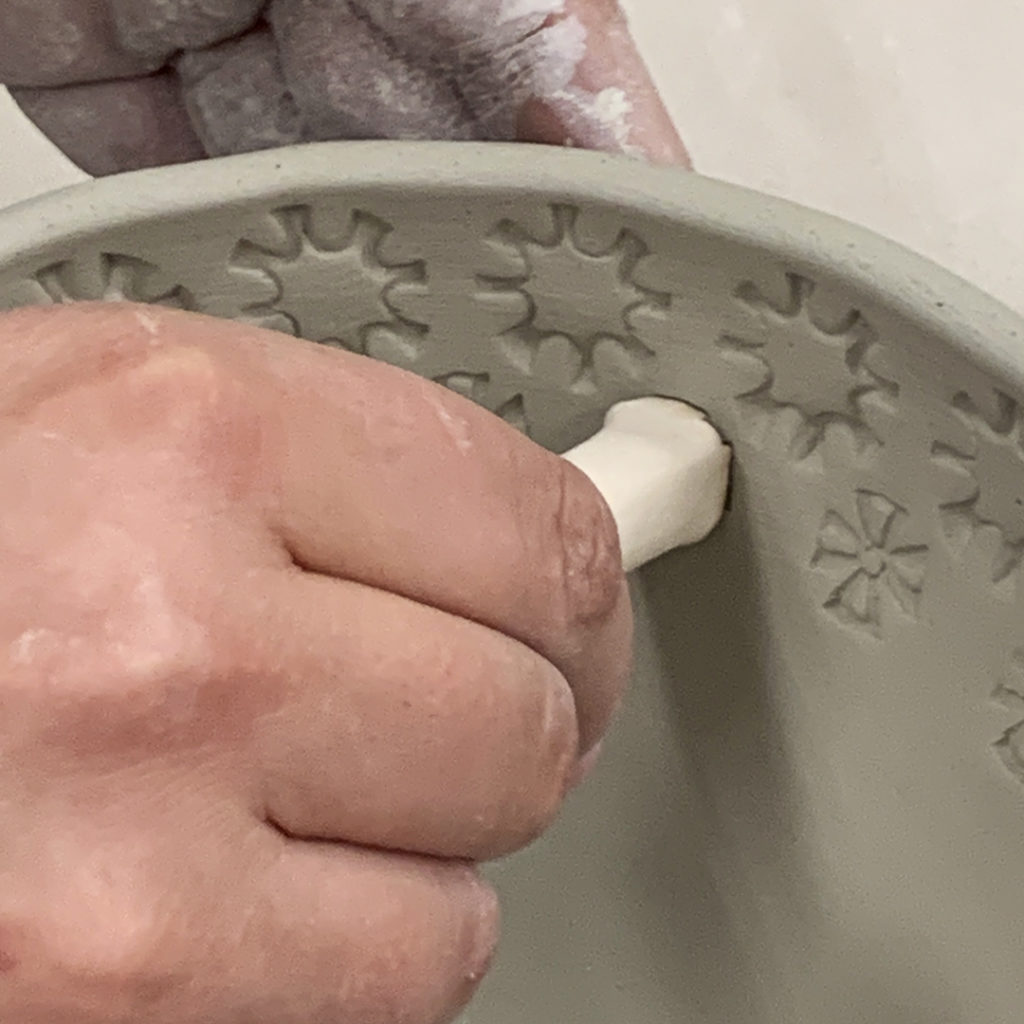
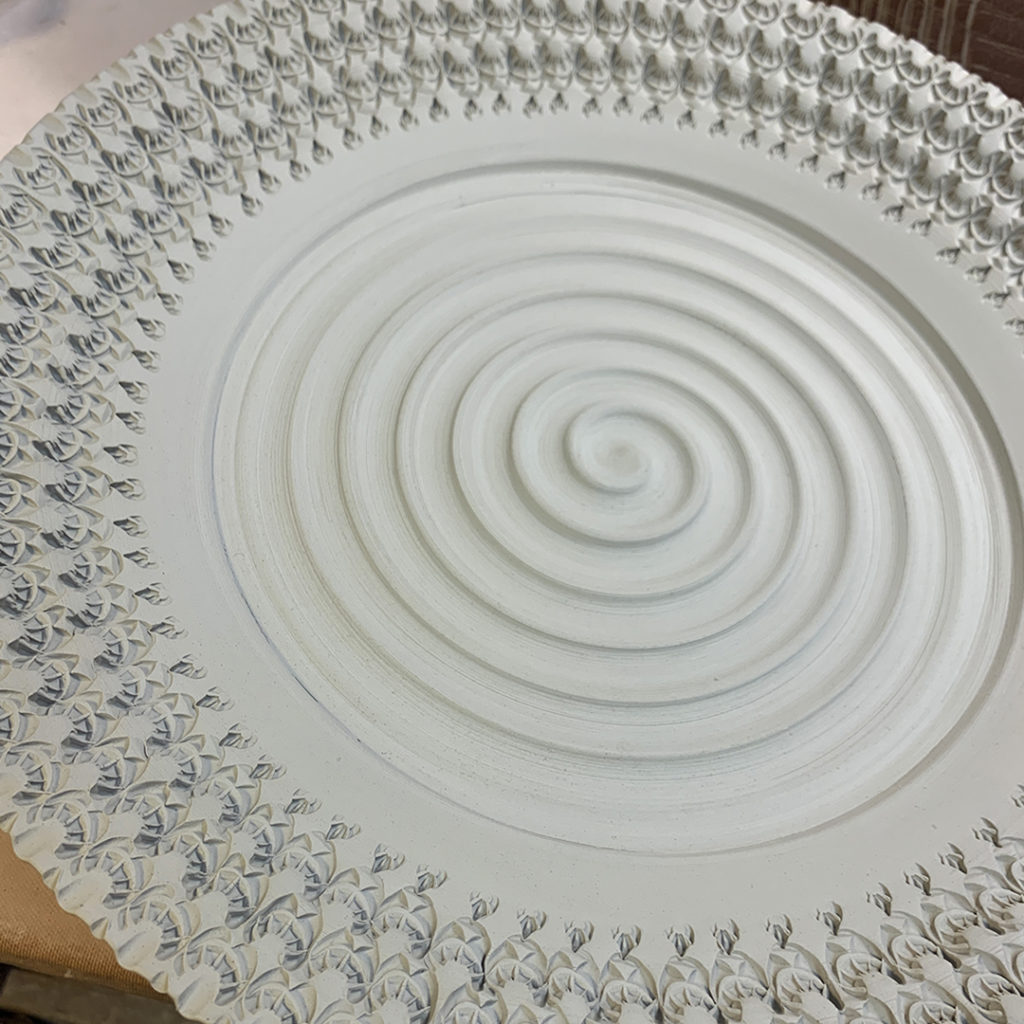
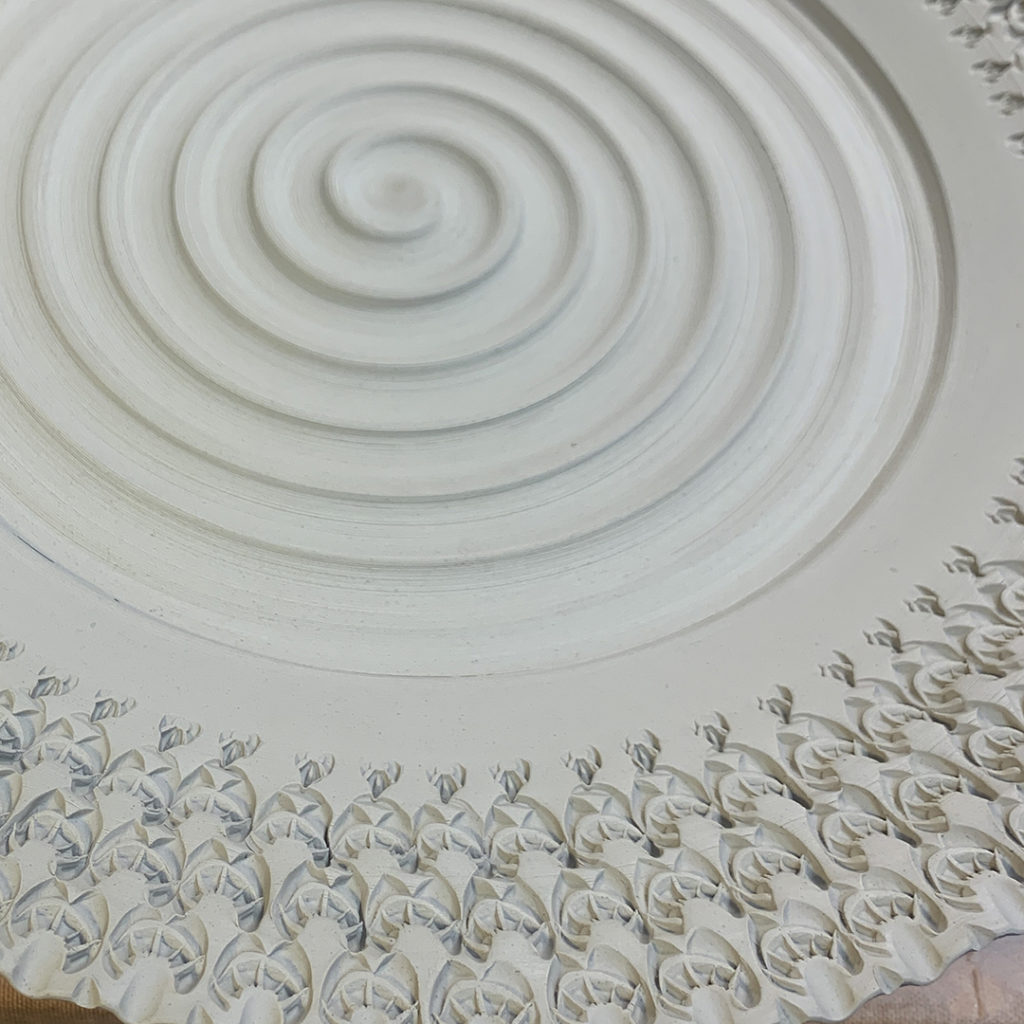
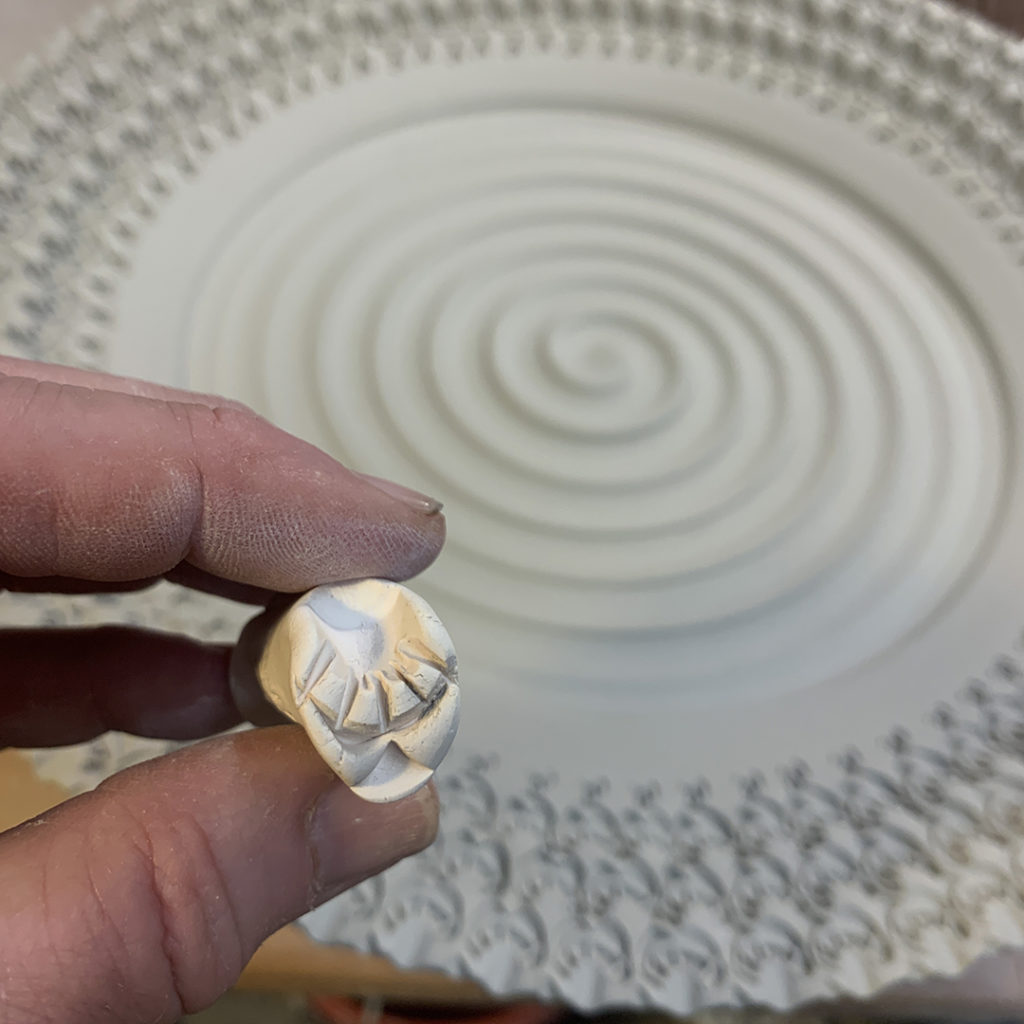
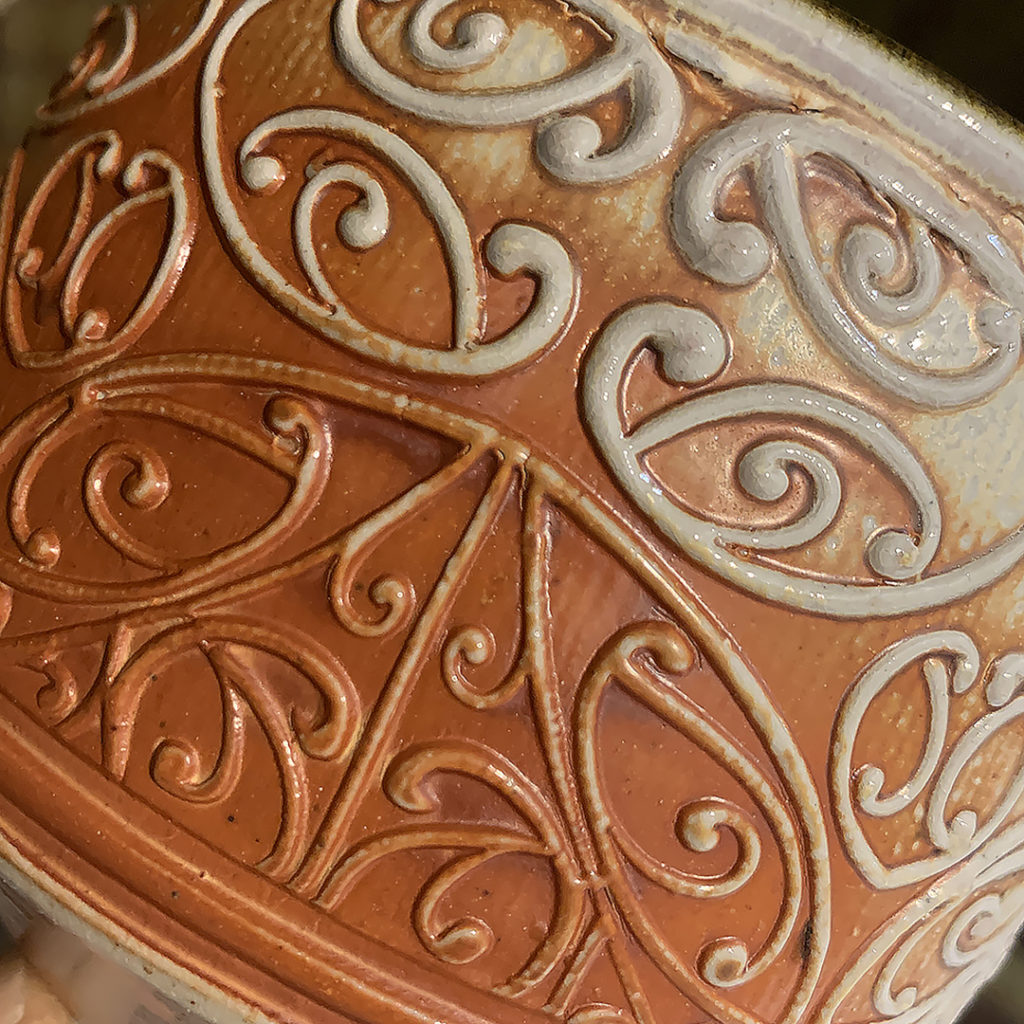
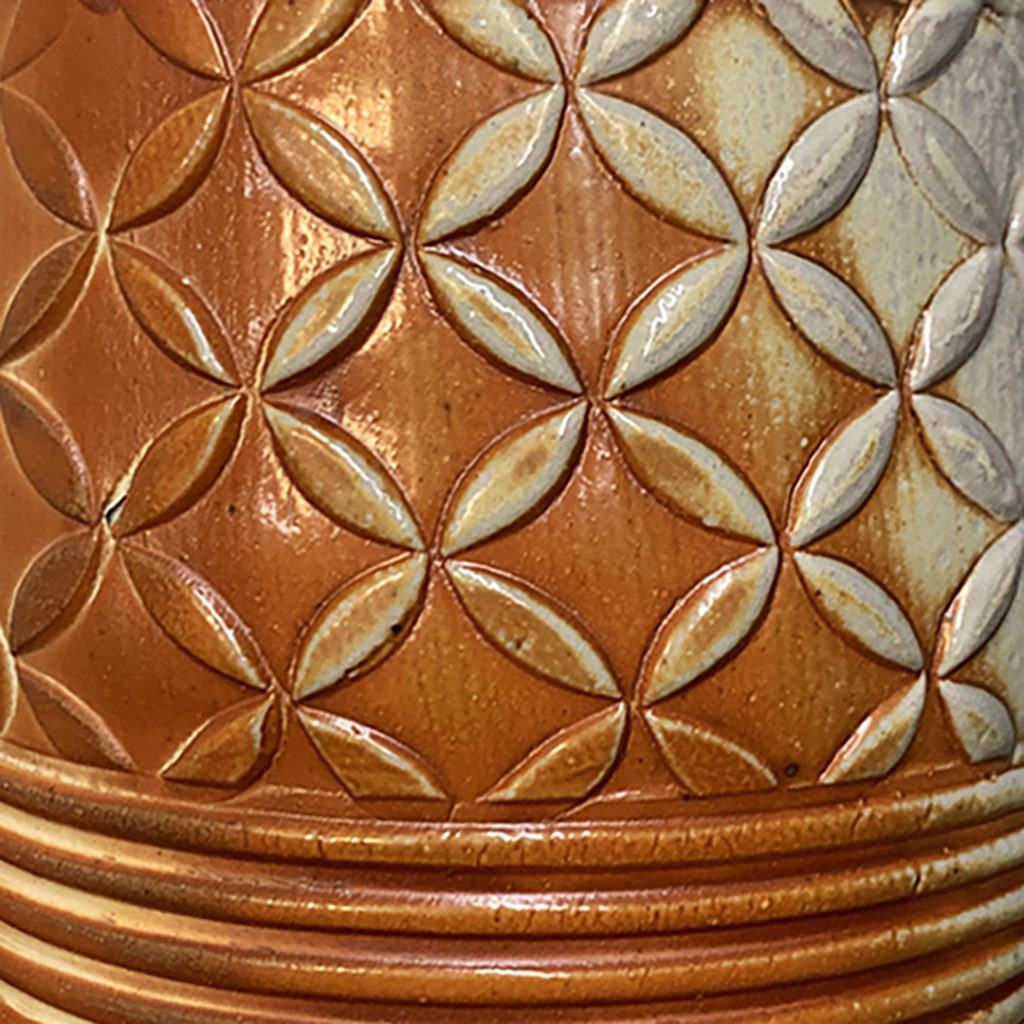
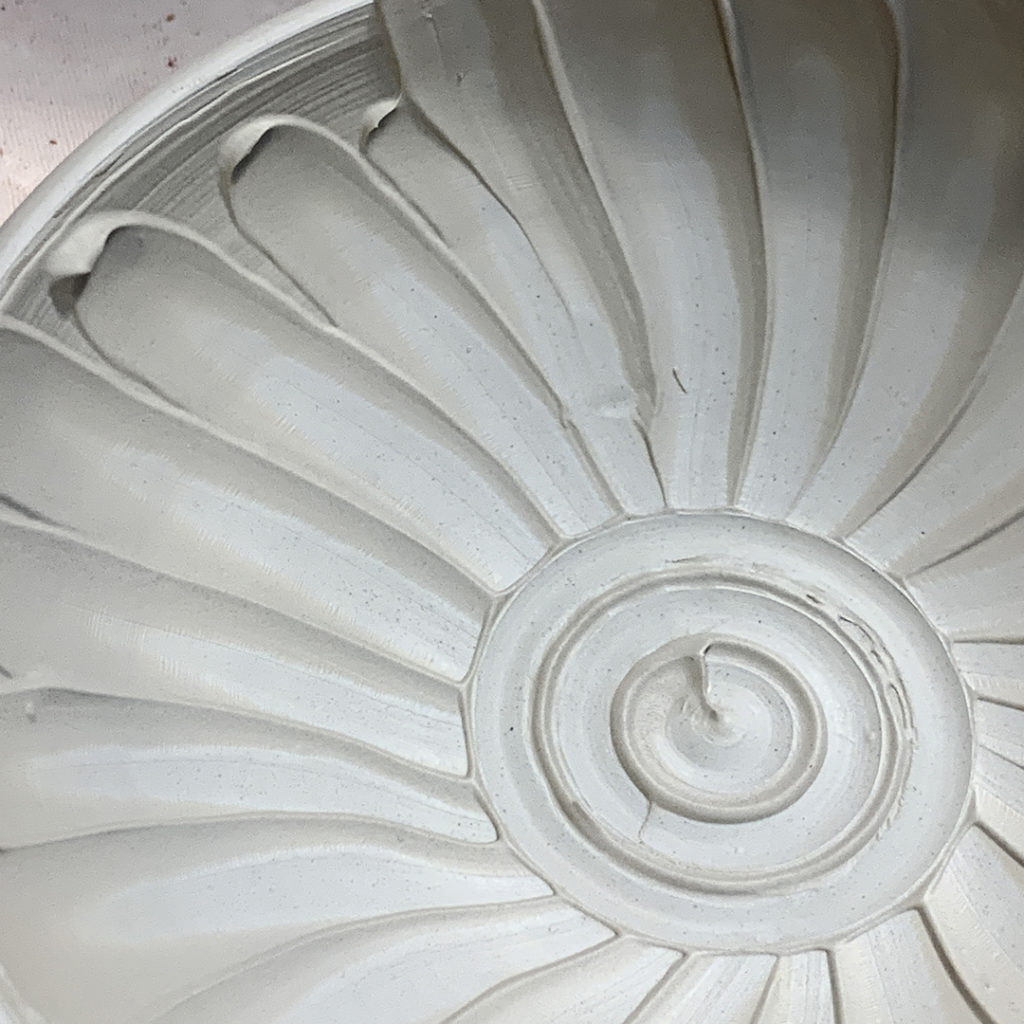
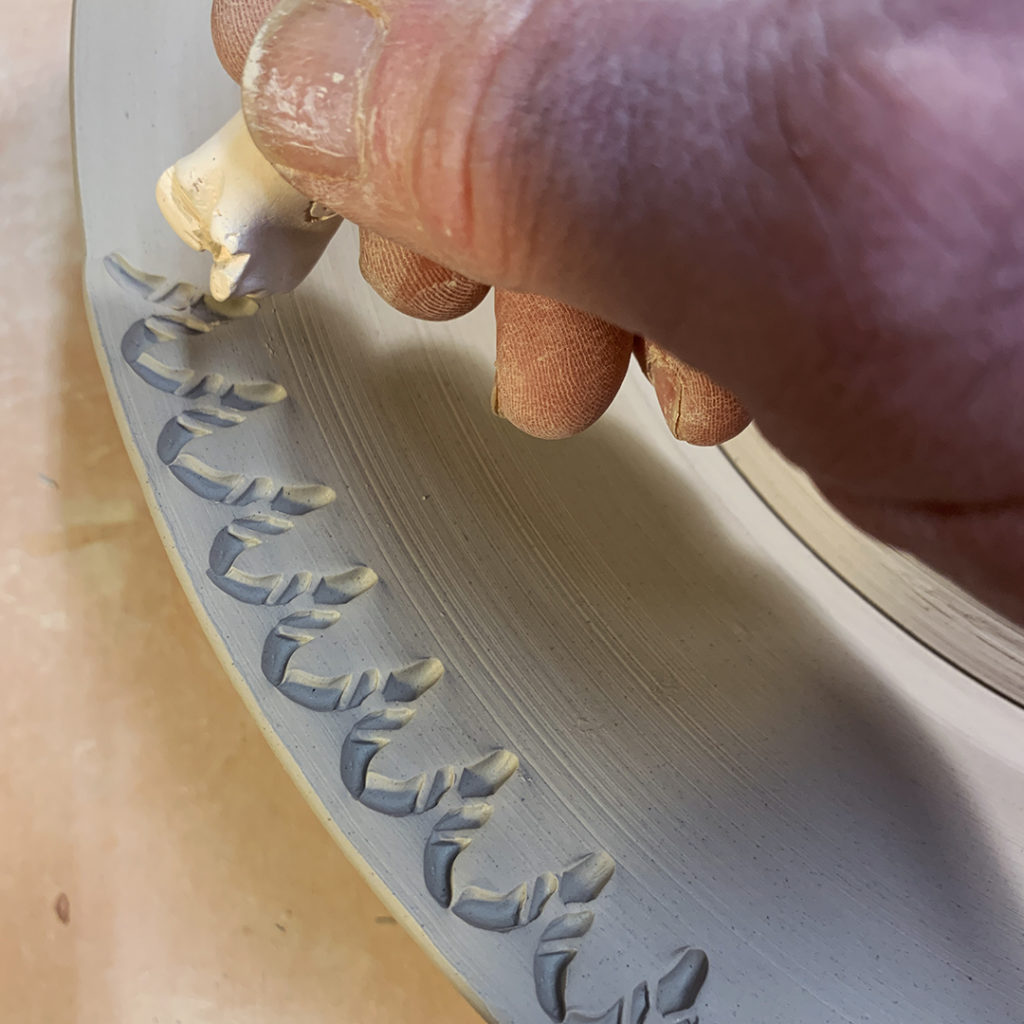
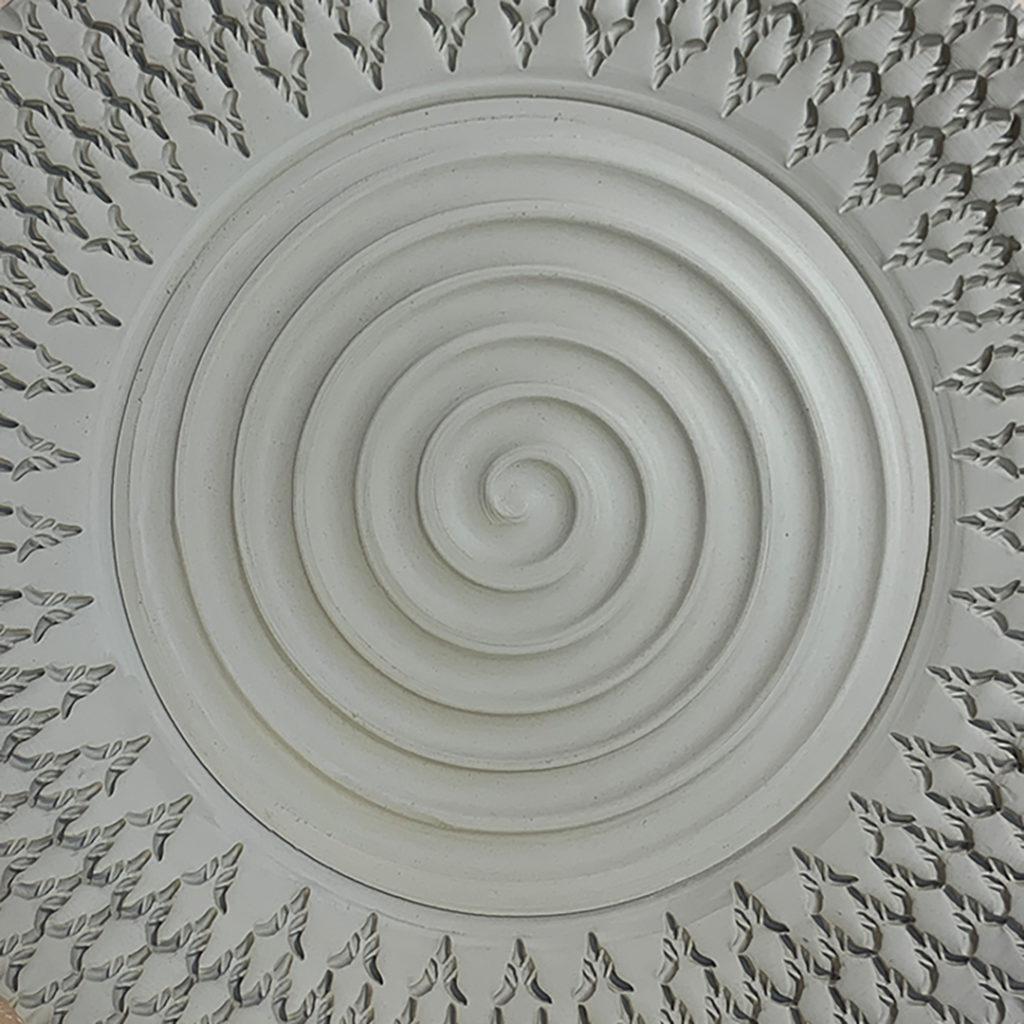
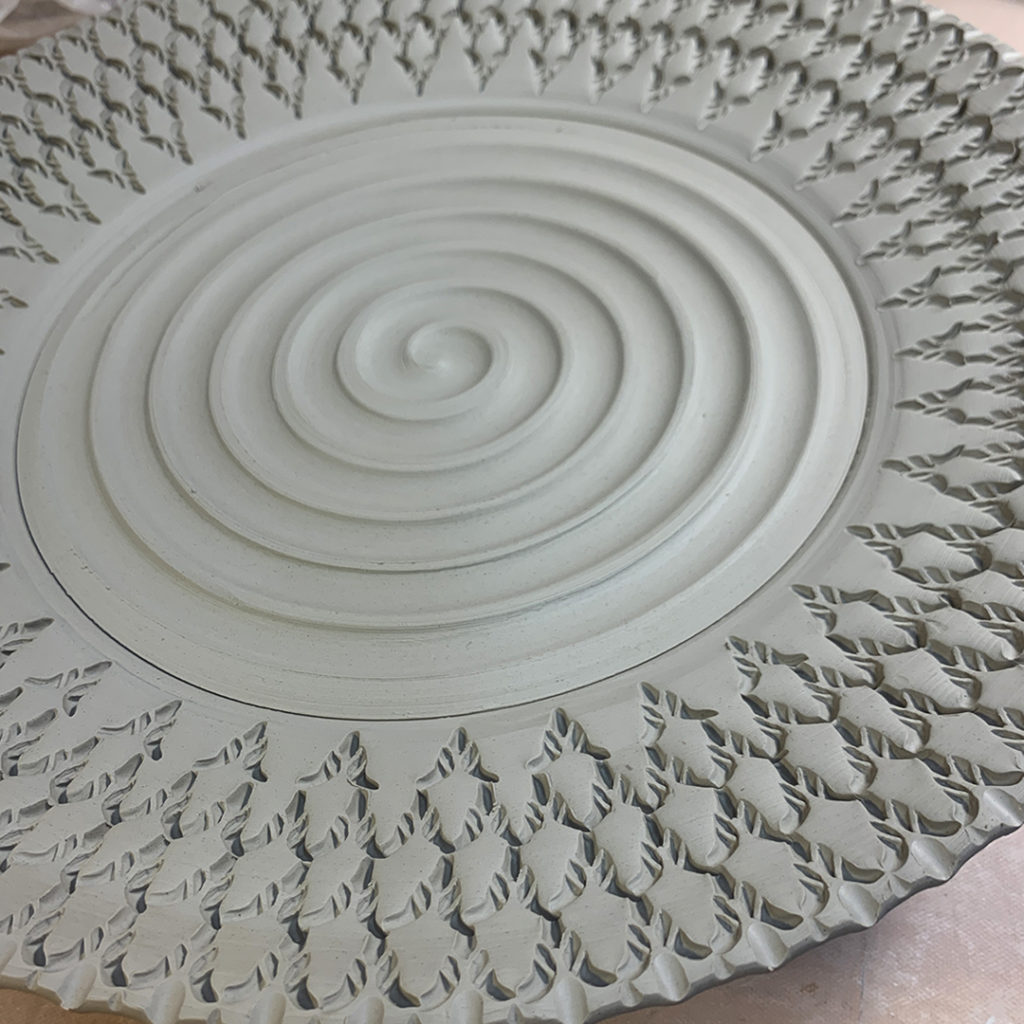
A yummy breakfast looks even yummier on handmade pottery! Looks like Rosene’s day is off to a great start… crispy, creamy & cheesy. What’s not to like?!
Start your “tour” at the Sandwich stop for the NORTHERN ILLINOIS POTTERY TOUR… just one month away!!! We’ll have plenty of pottery & fun for everyone… including a wide range of textures & patterns!!! Which we’re celebrating today for another TEXTURE TUESDAY!!!
Saturday, June 11th & Sunday, June 12th
This week in my SURFACE DECORATIONS class, we tackled a couple different techniques for a fun tie-dyed effect… you all know I’m a kinda big fan of tie-dye!!!
So we started with a “squiggly” version… where I took a large plat platter, painted a layer of thick slip on top, and then dribbled some blobs of colored underglazes on top of it. Not really sure how this will work… but I’m always ready to try something new… it’s just clay, right?!
And then I took a plastic rib with a scalloped edge… a cake decorating tool… and started to squiggle through the layers of slip & underglazes to blend, blur & texture the plate. In hindsight, I kinda wish the plastic rib were either softer or thinner… as it was a bit tough to get some good squiggle up by the curve of the rim.
So here it is so far… I’m going to let it dry slowly and trim the bottom when it gets leatherhard. Still contemplating if it might “need” a bit of stamped texture somewhere?! And if so… where???
After bisque firing, I’m assumiong I’ll probably just sue some clear glaze to make the colors “pop” and give it all some shine. The downside might be… that I’m not fully confident that the colors of the underglazes will actually “survive” the high-fire cone 10 temperatures. But we’ll find out soon enough…
Not quite traditional “tie-dye”…. but pretty fun & groovy nonetheless!
This week in my SURFACE DECORATIONS class, we did a bit of carving for texture & pattern! I started with two bowls with slightly thicker walls, trimmed at leatherhard, and then we sat down to carve. Using my sharp DiamondCore Tools gives me nice crisp lines, grooves & incisions… and I’m always willing to let my students give them a try too… a mix of carving tools & trimming tools for an assortment of lines!!!
After Tuesday’s “bowls-on-purpose” class demo, I kinda felt they still needed a little somethin’-somethin’!!! So today I did a bit of stamping, detailing & trimming! Making these bowls even more “not-so-basic”!!!
More thick slip textures created by rhythmic chattering with a rubber rib… gently tapping up & down with the rib through a layer of thick slip from the center outwards while the wheel is spinning. Kinda zen. Kinda groovy. Always fun!
Last week in one of my pottery classes, we tackled some surface decoration using thick white slip for textures & patterns. Sure, I could have used colored slip… but I’m more intrigued by how the glazes might play well with these cool textures & grooves!
An empty kiln… always filled with so much potential. Loving the soda-fired patina on the bricks from repetitive firings. Glazing the kiln just as it will “glaze my pots” tomorrow when I fire them in this kiln!
Celebrating another TEXTURE TUESDAY with some more stamping in the studio. Handmade clay stamps pressed into the clay over & over & over again to create a fun texture on some new vases!
Just finished adding handles to my new batch of “hybrid mugs”… just in time to teach class tonight. Going to try to get these to dry & pack ’em into a bisque kiln quick… gotta get my glaze game going before I load for this weekend’s soda kiln firing.
But I also gotta get my taxes done… when?… not so sure… ugh!