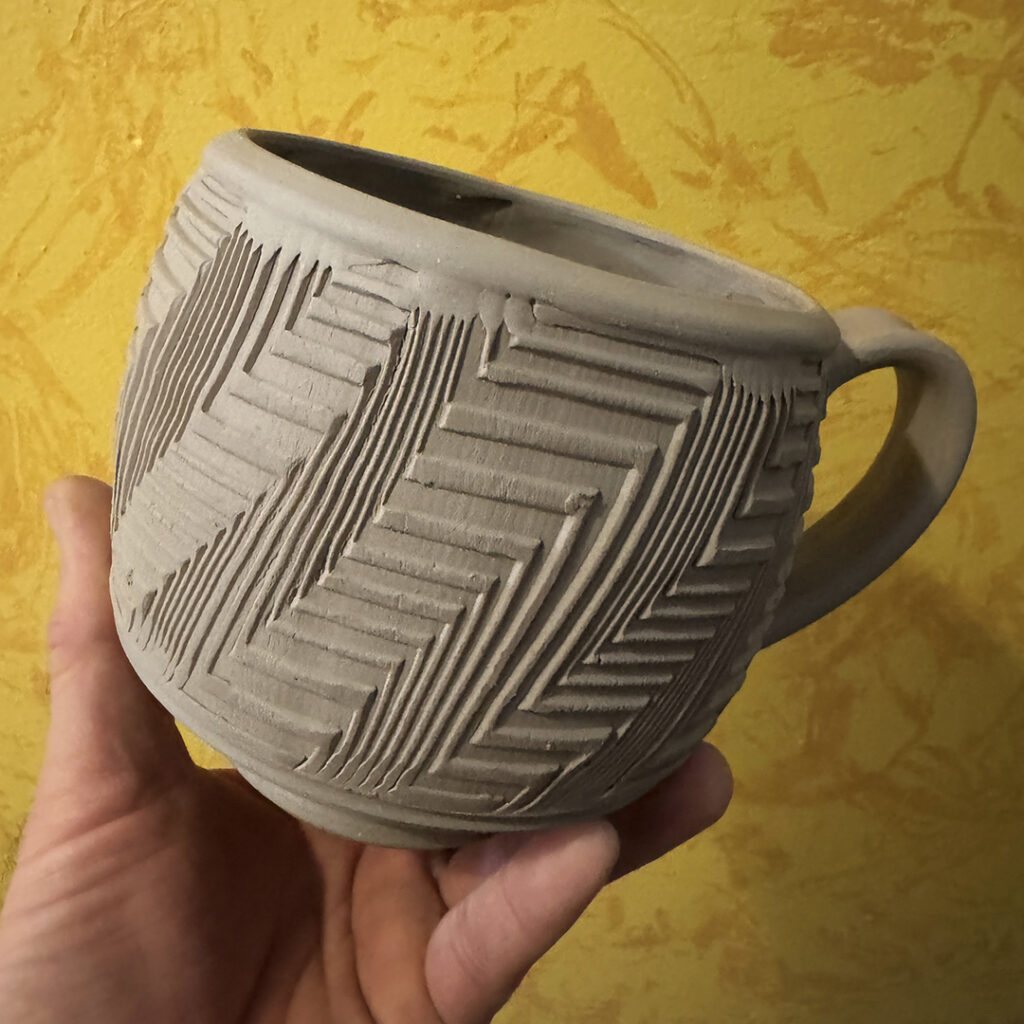
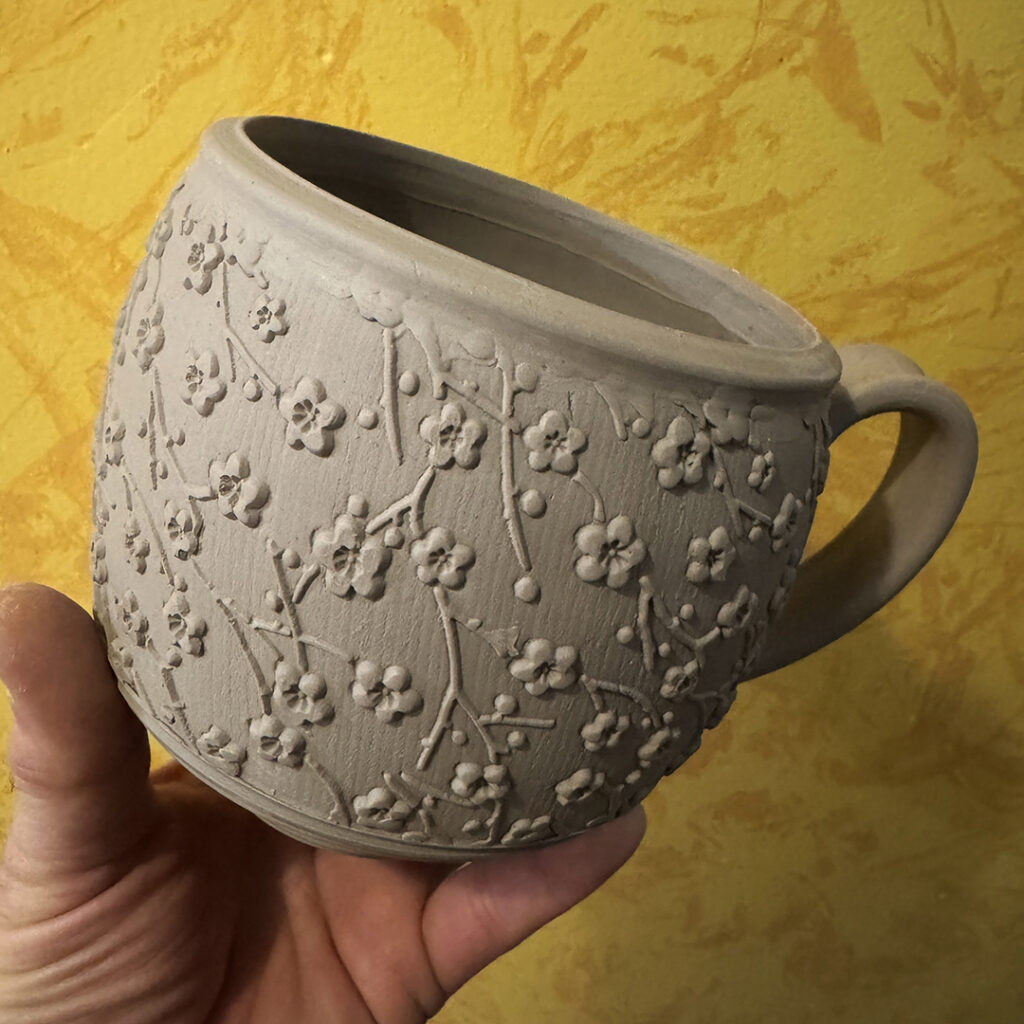
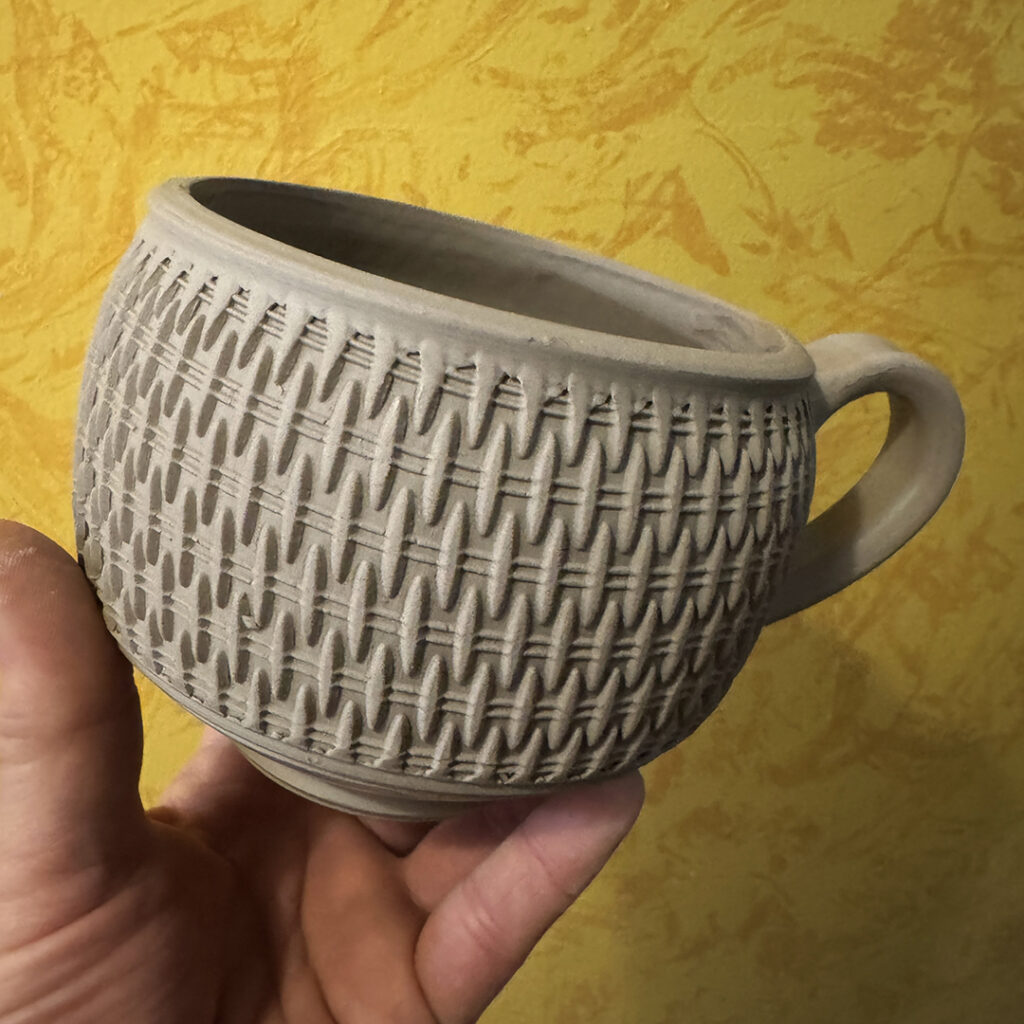
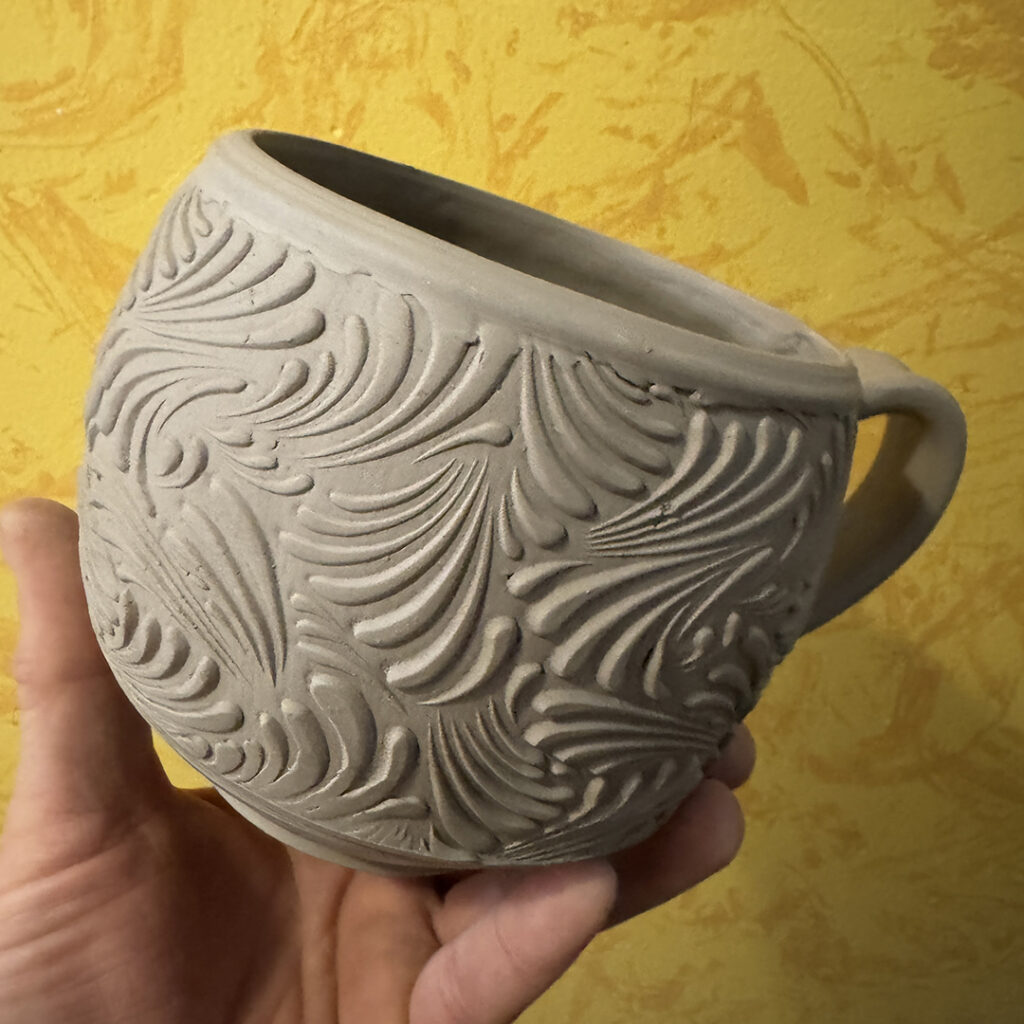
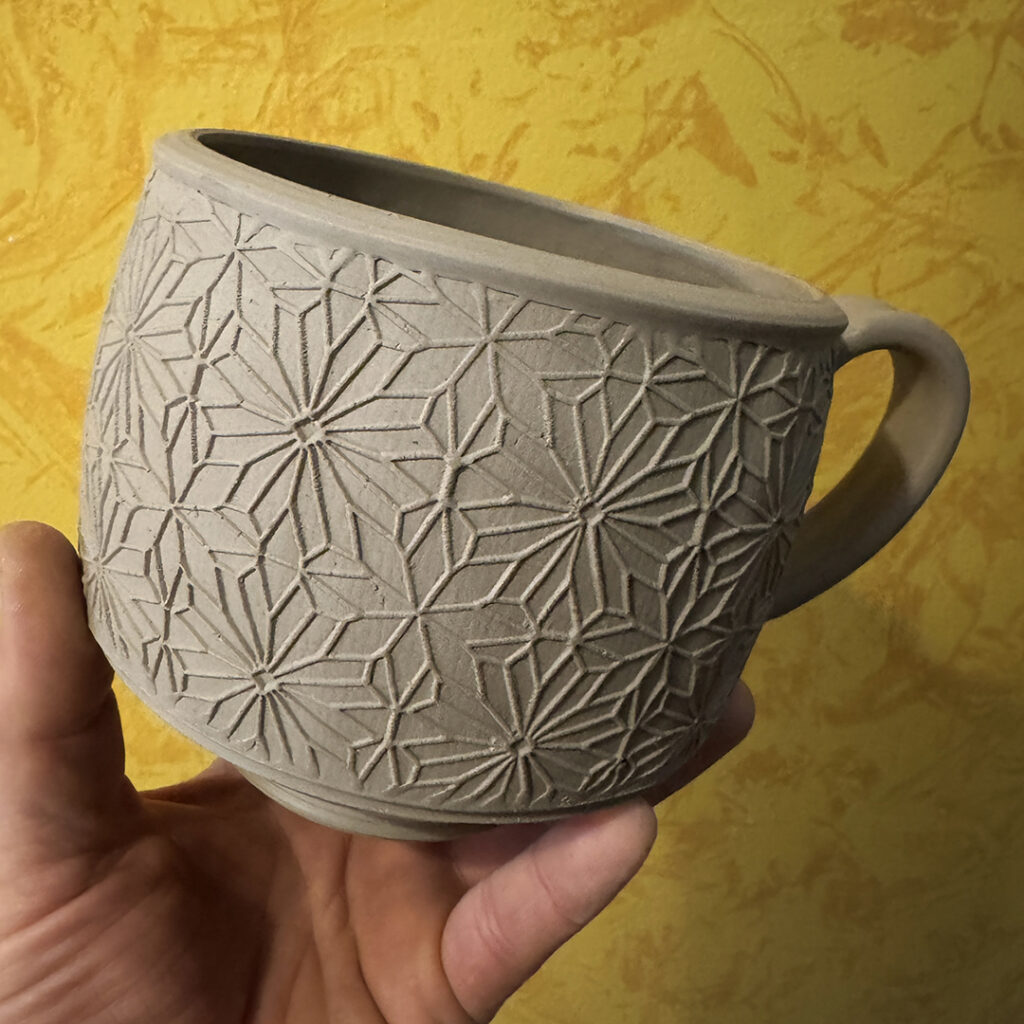
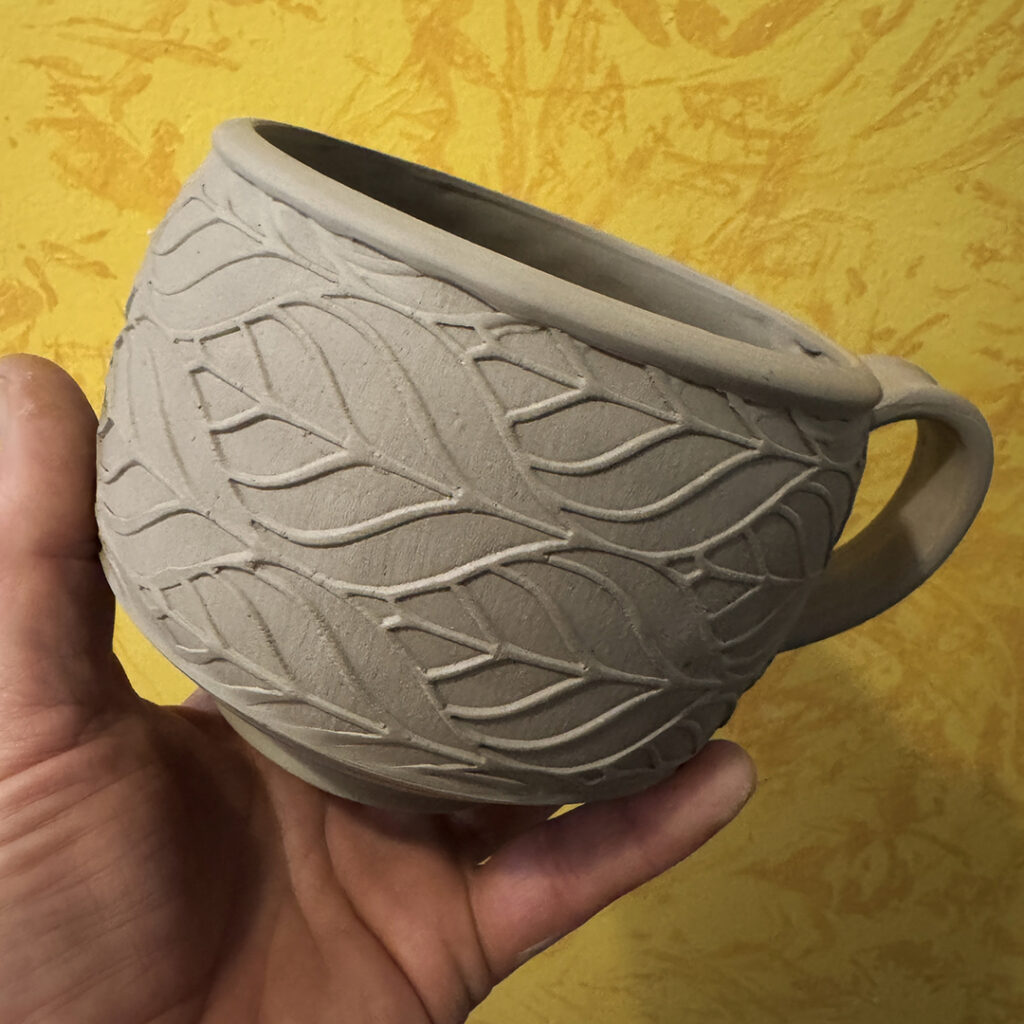
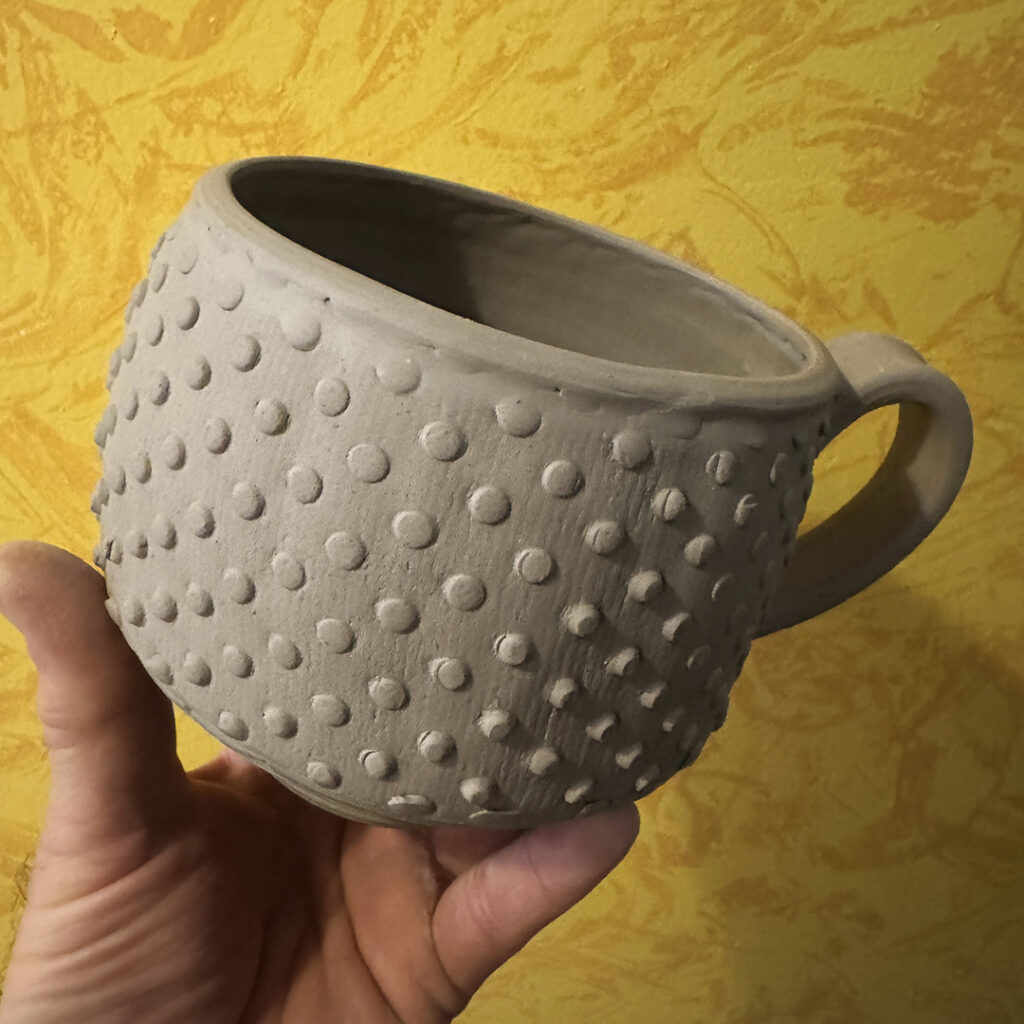
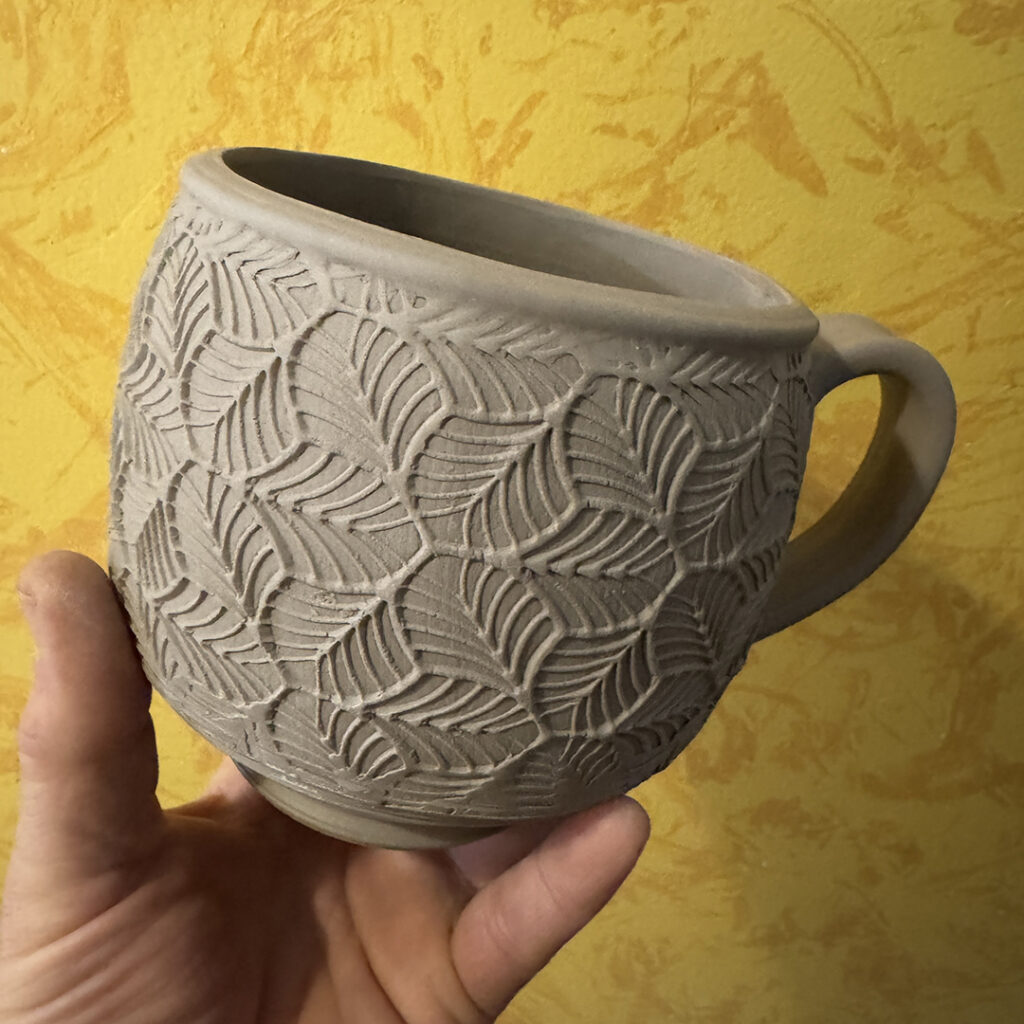
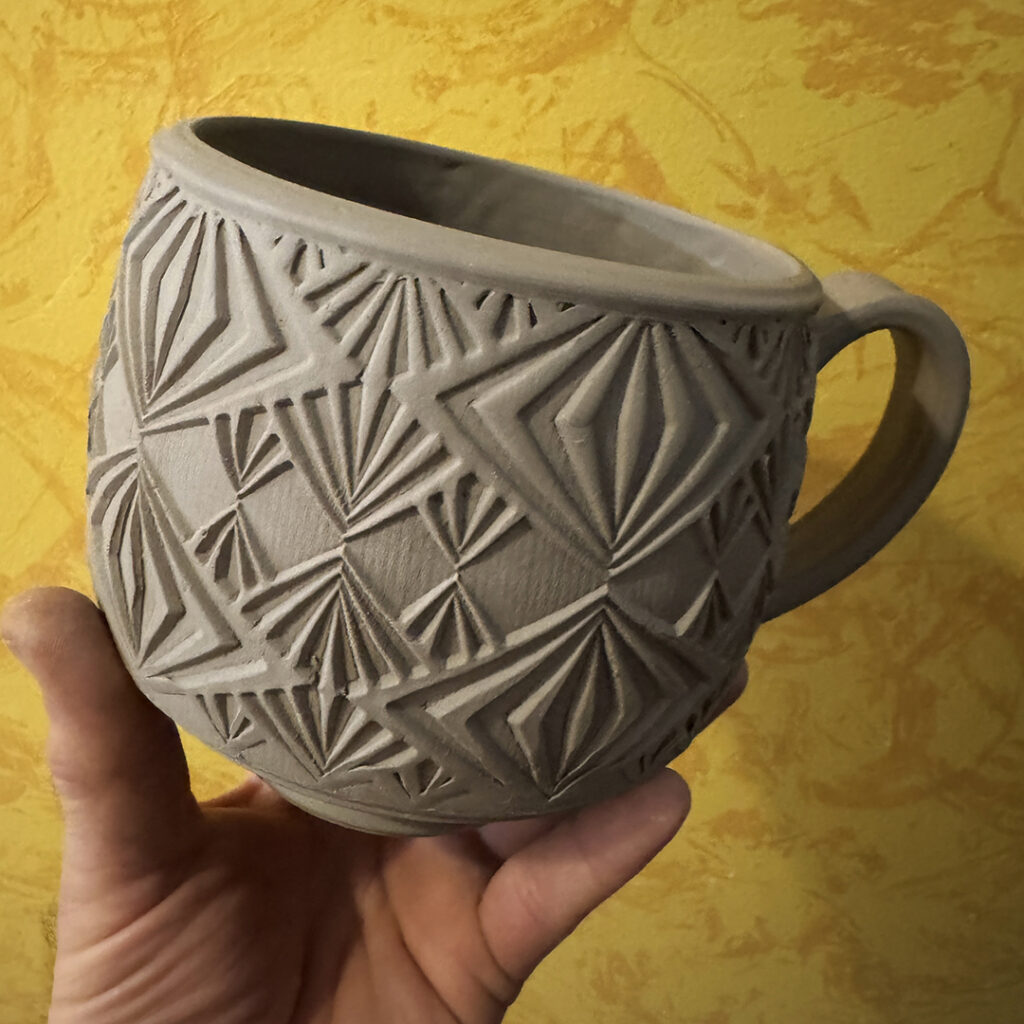
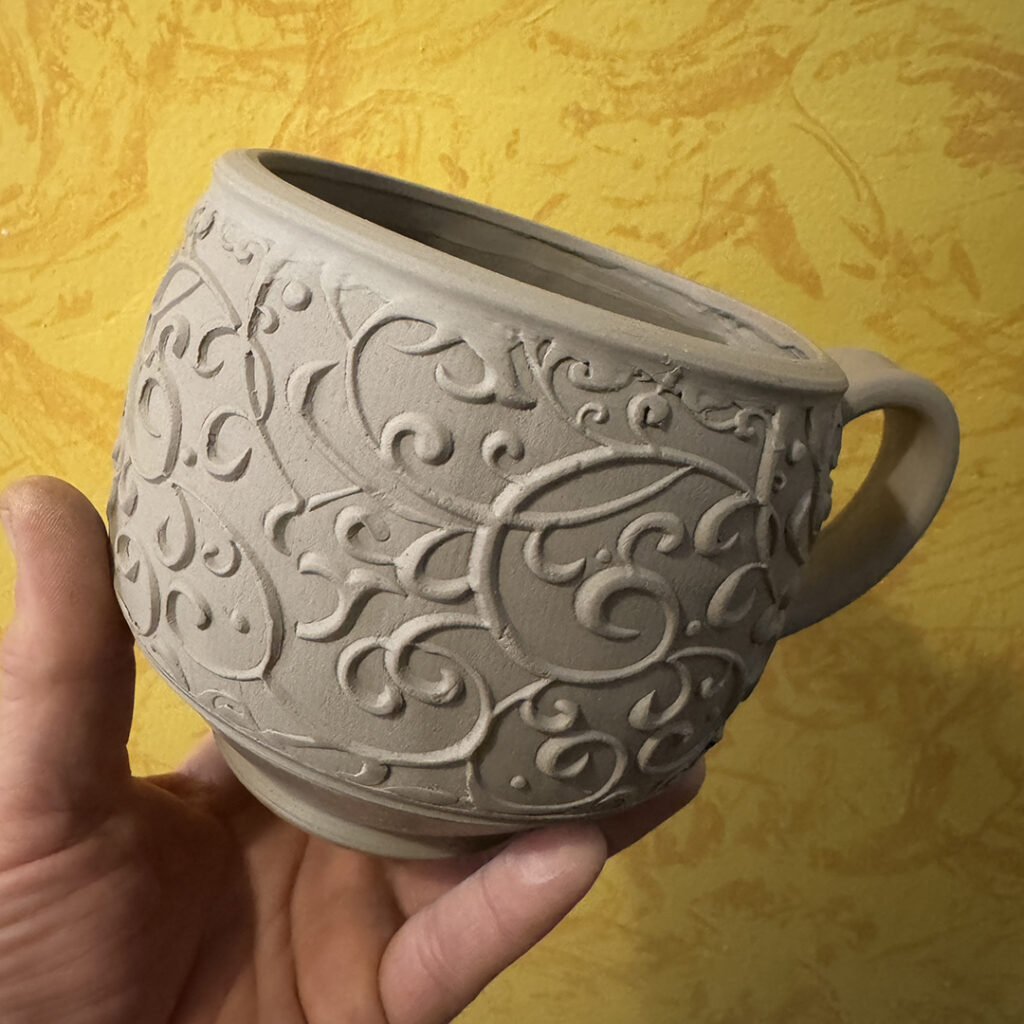
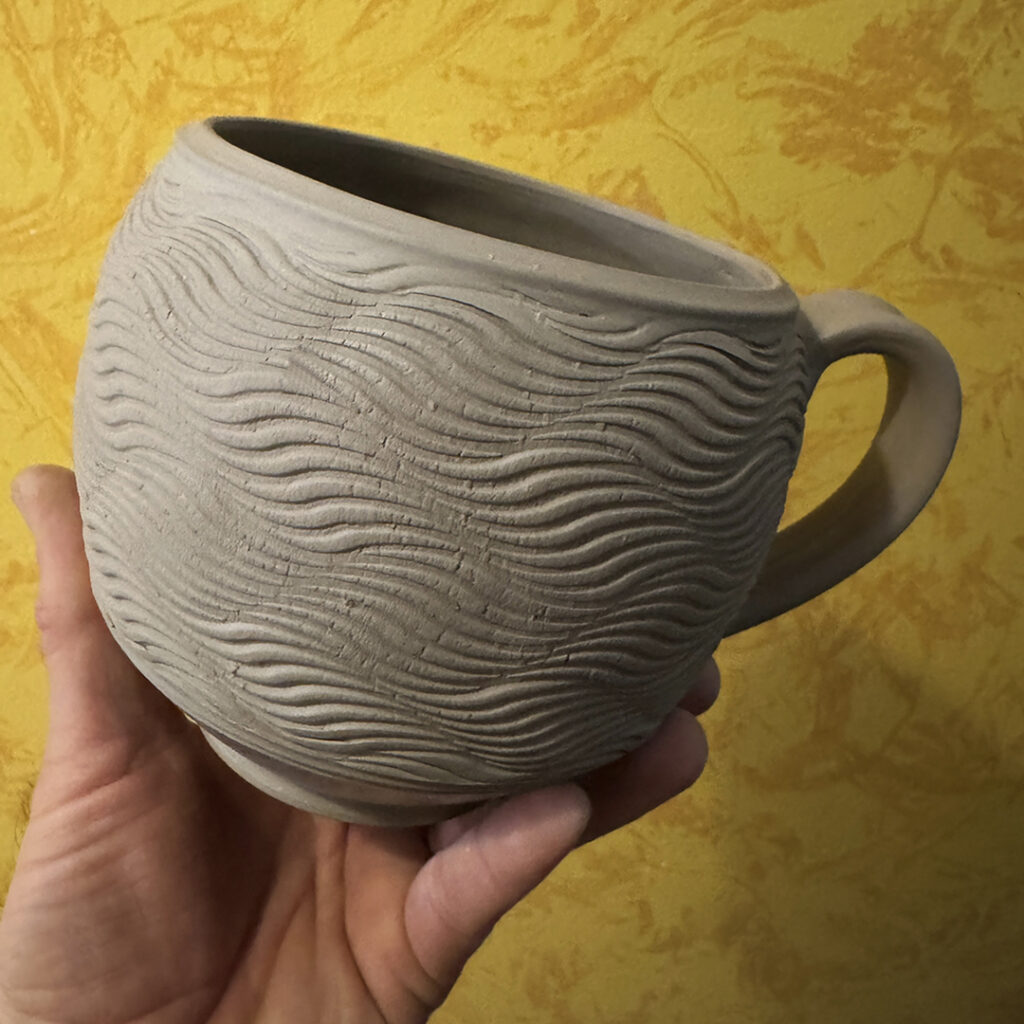
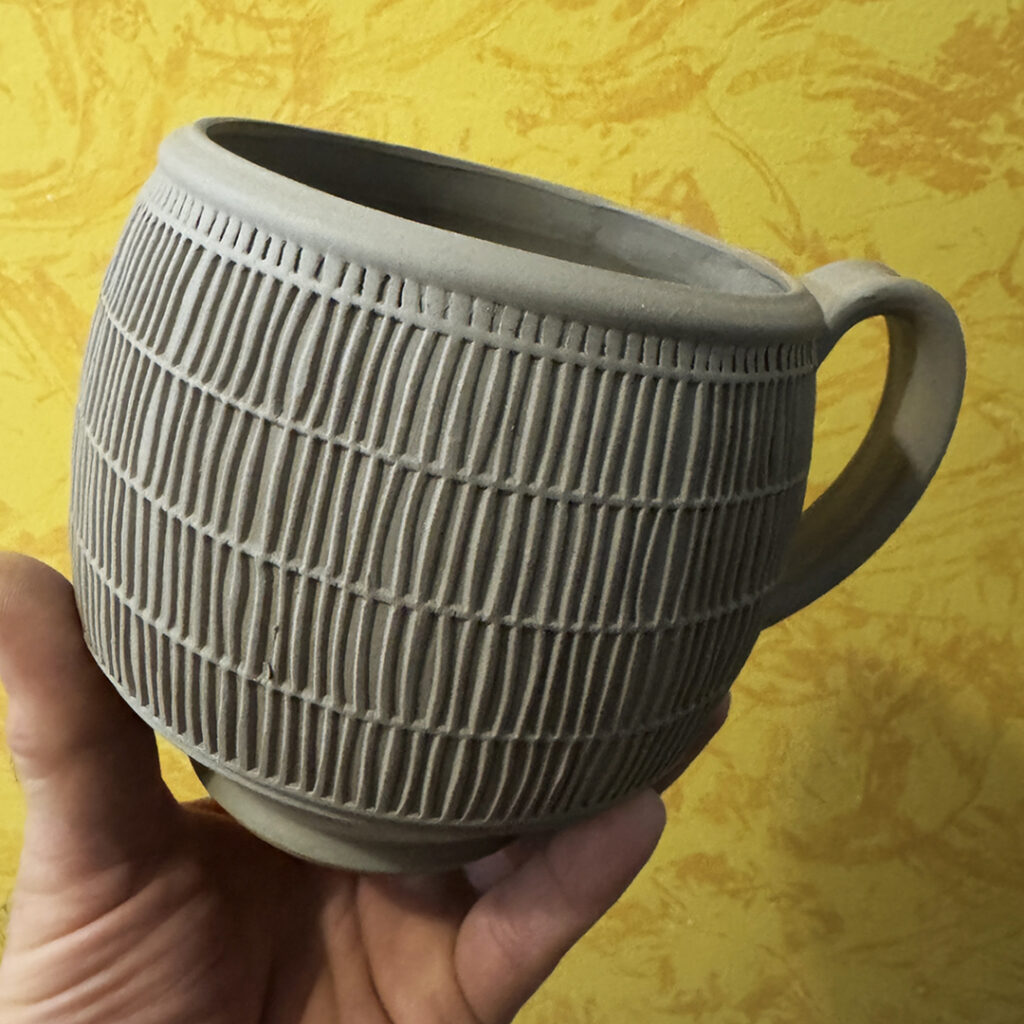
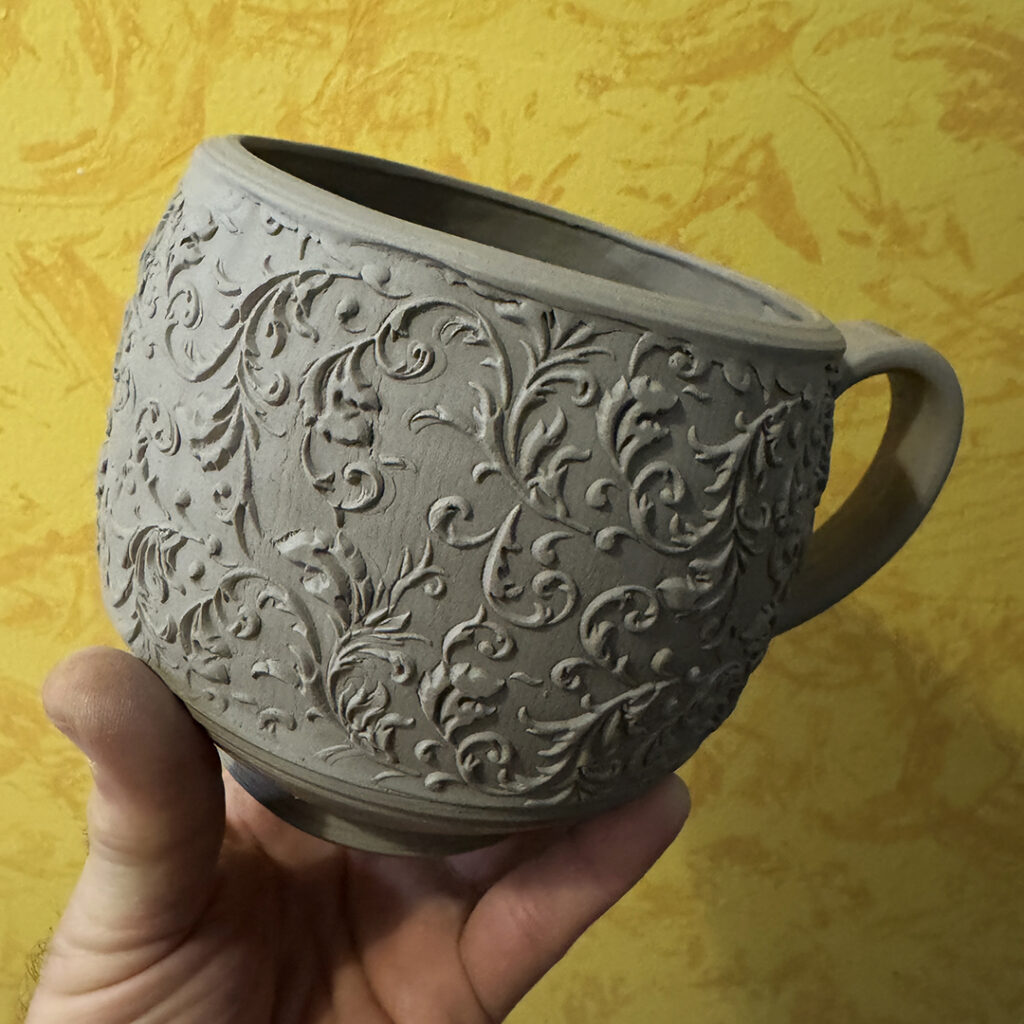
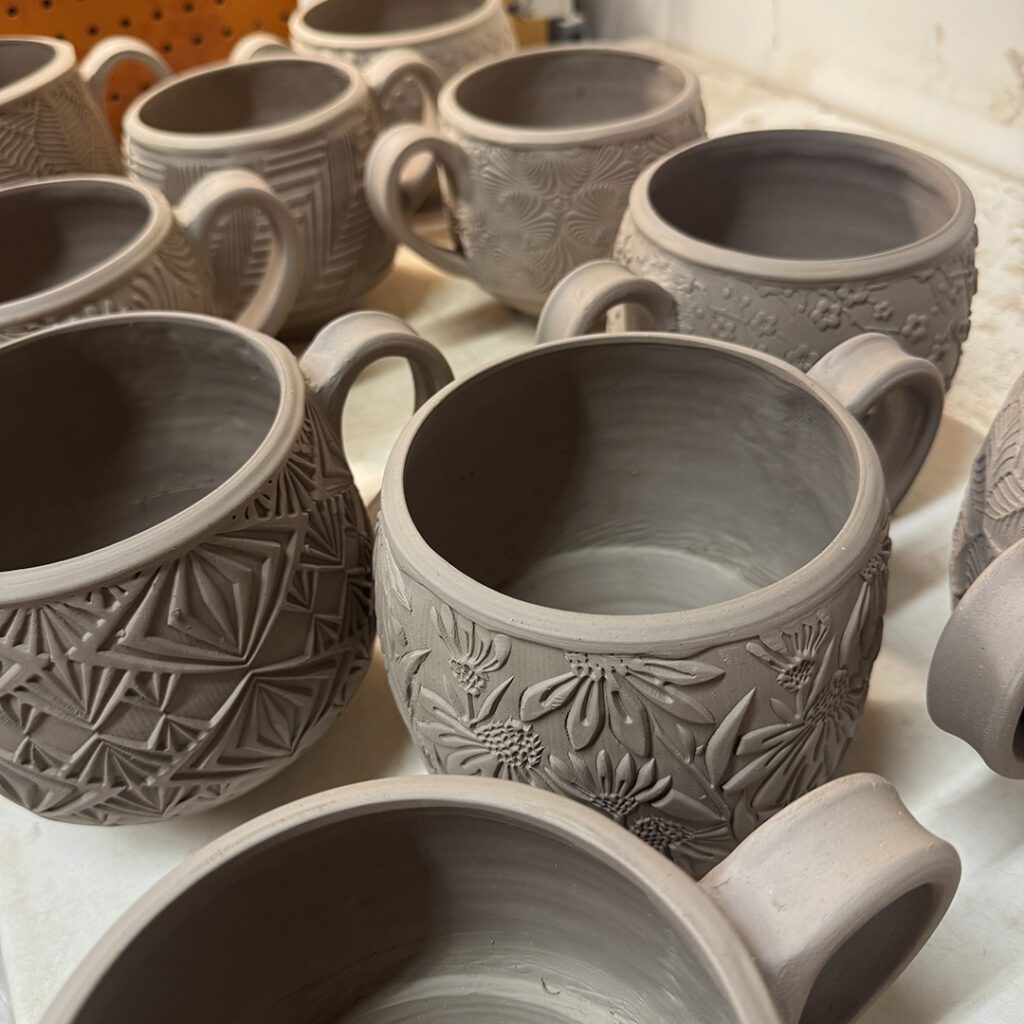
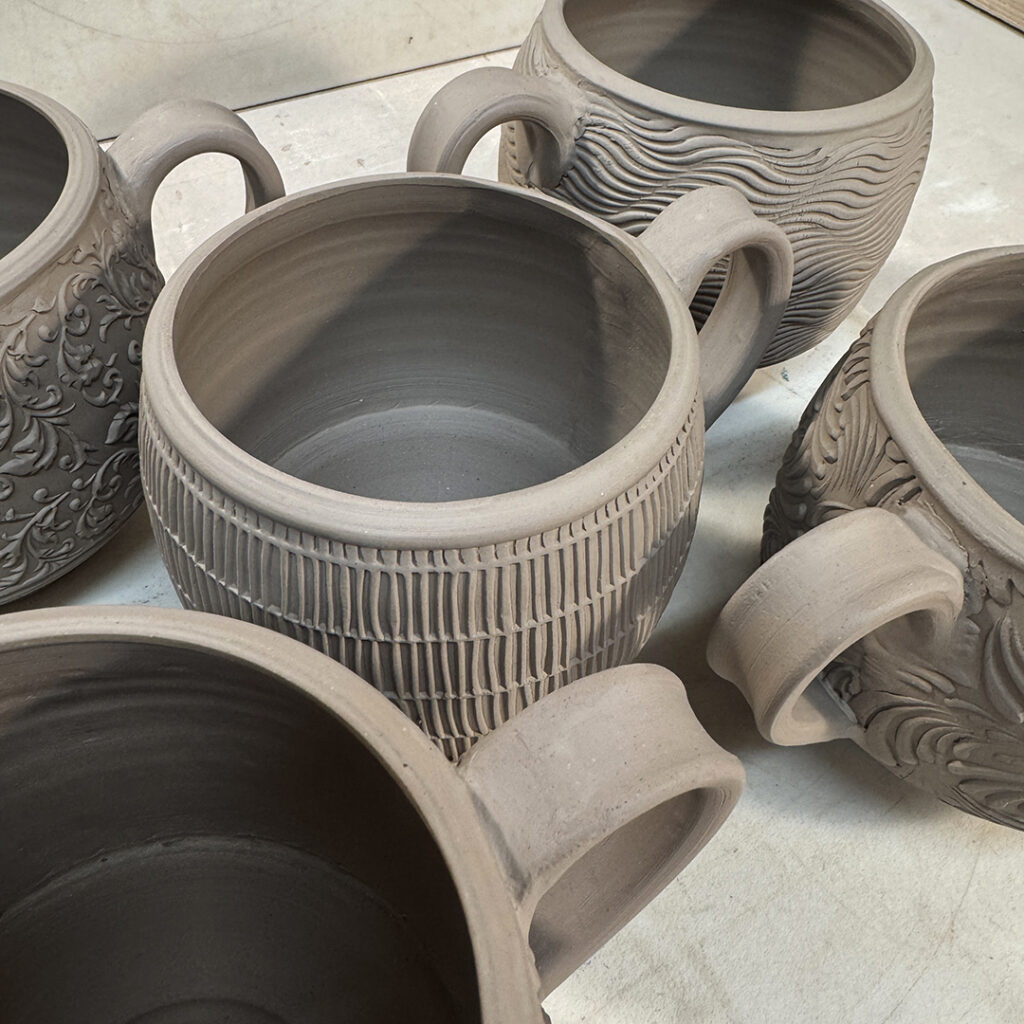
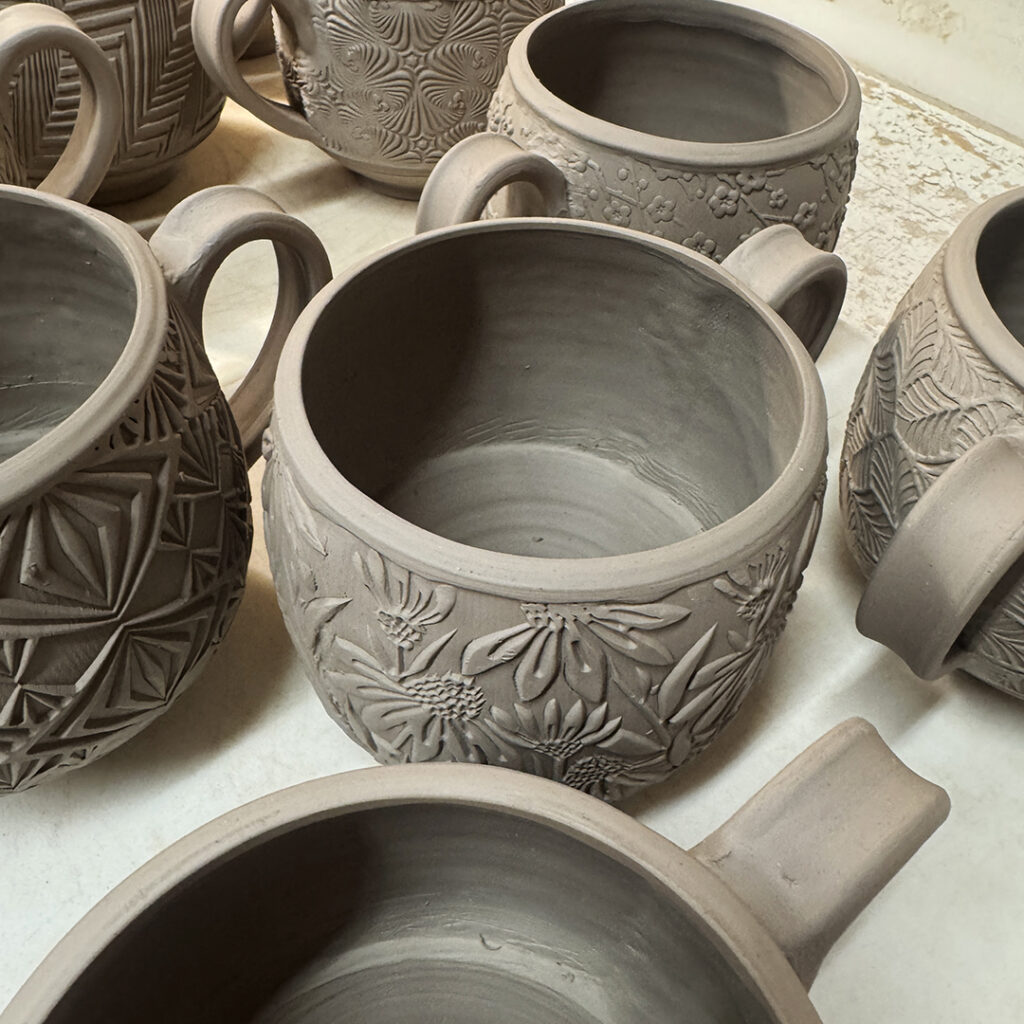
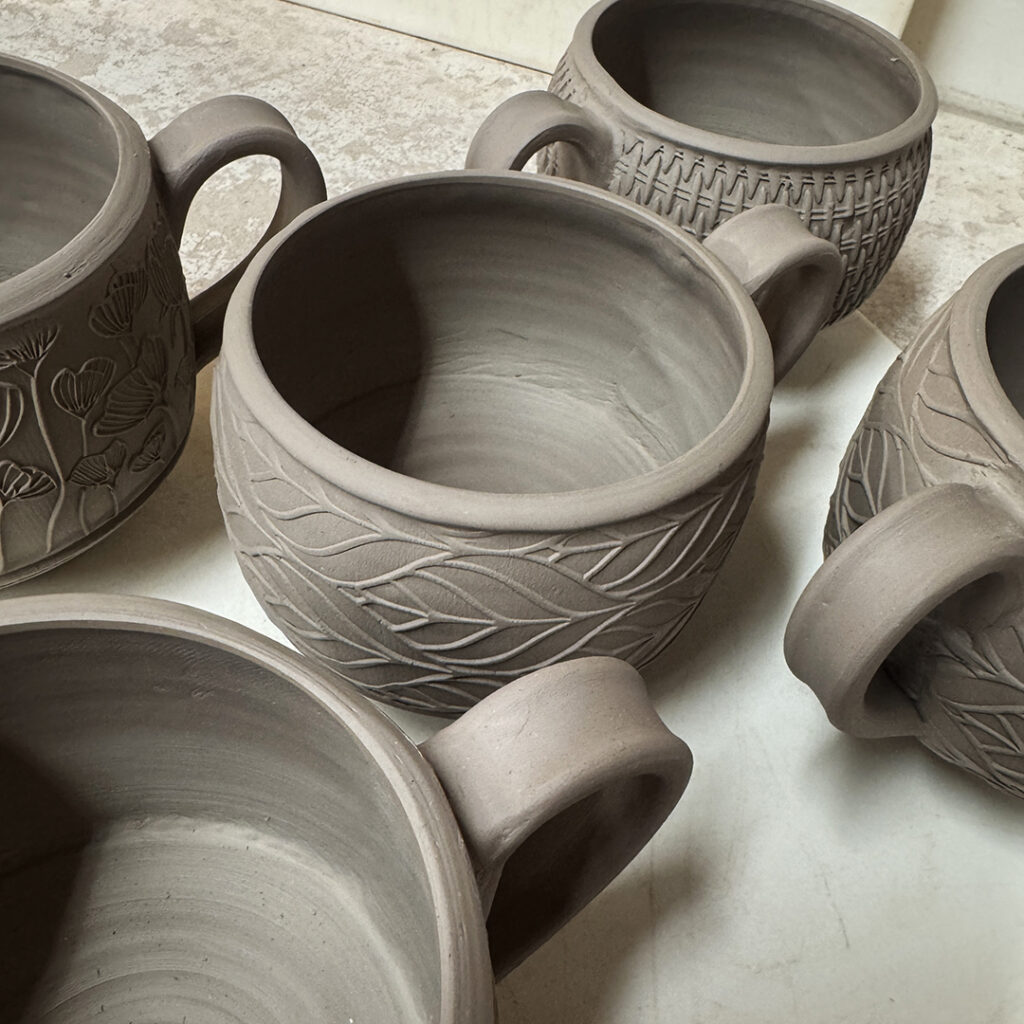
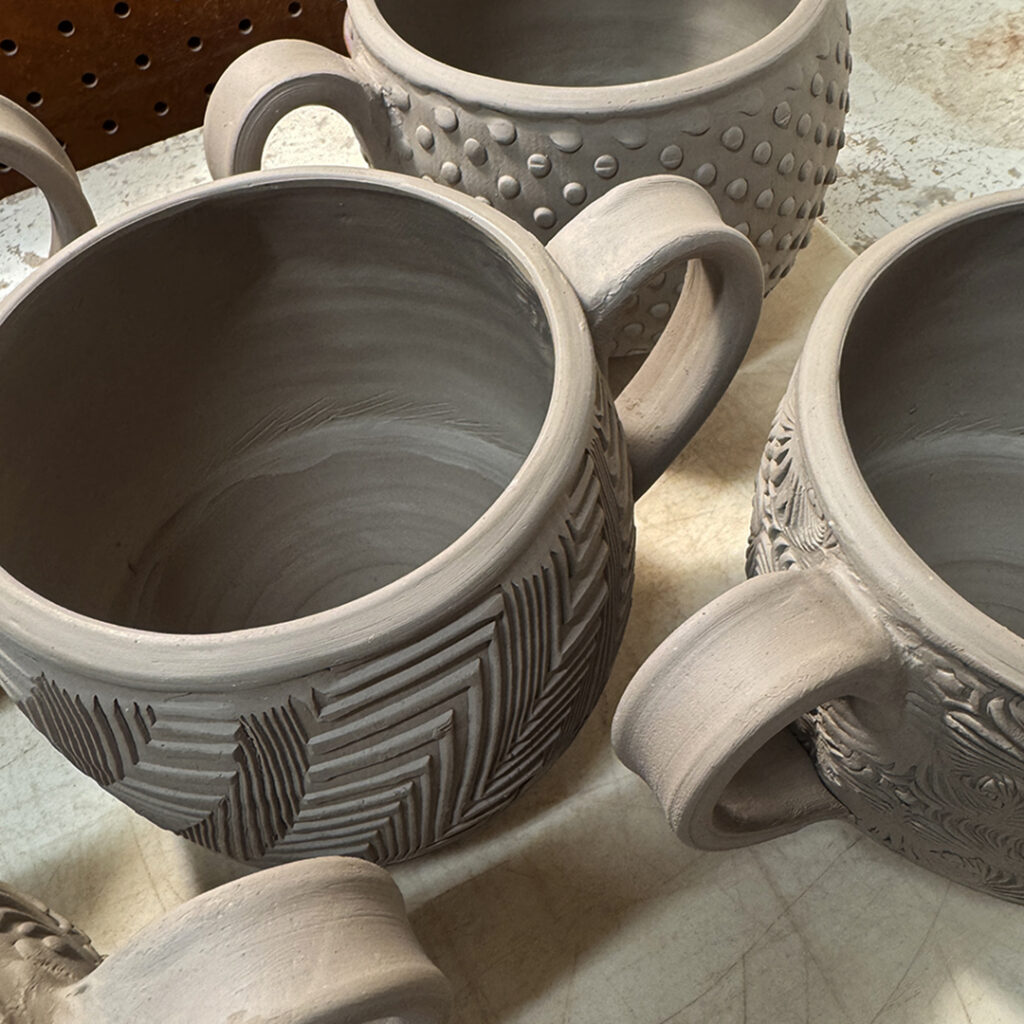
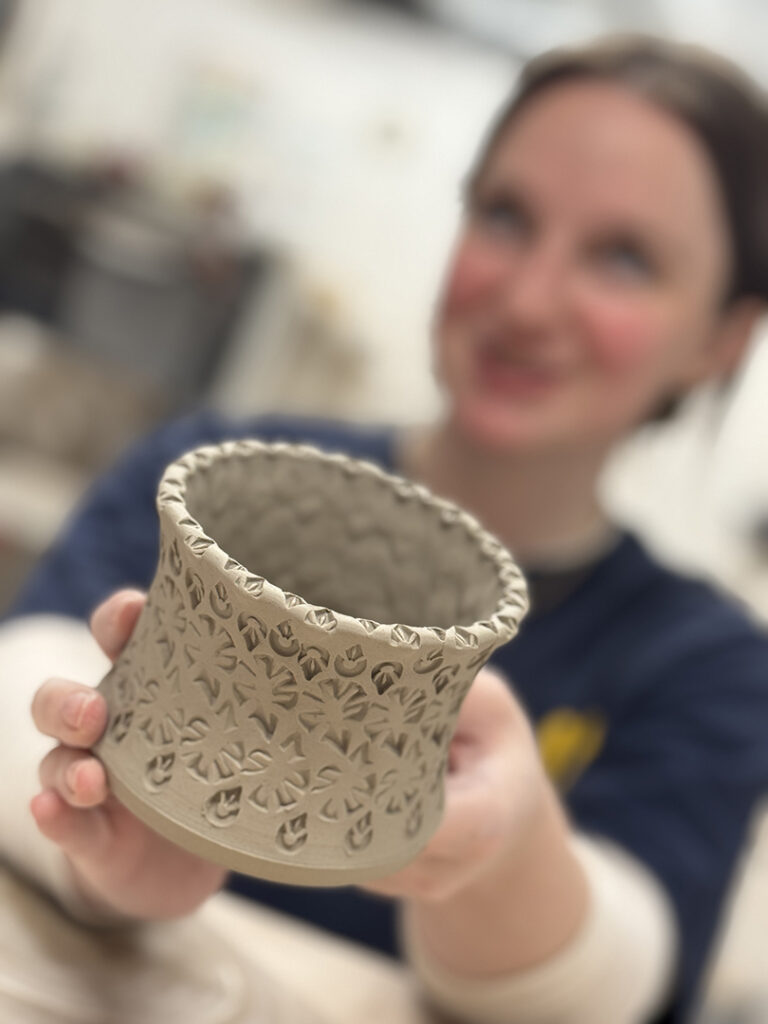
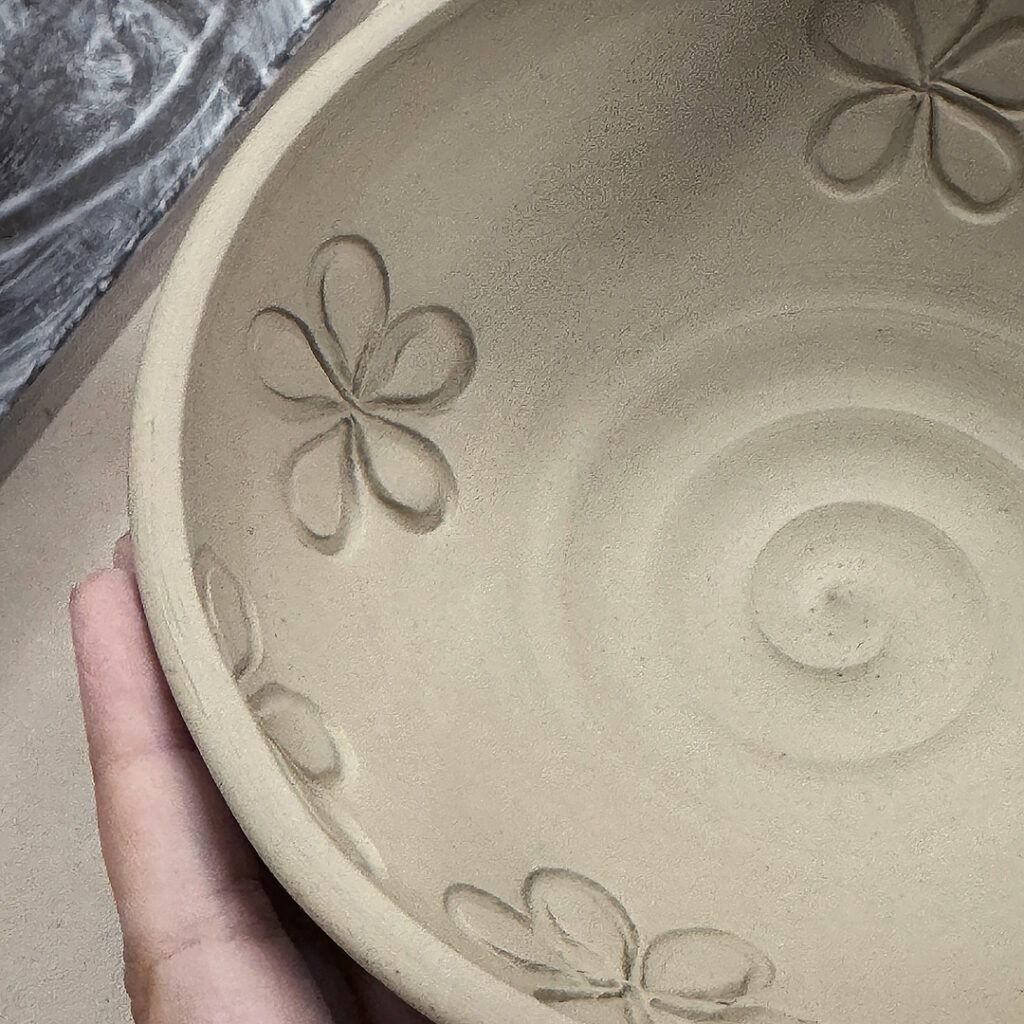
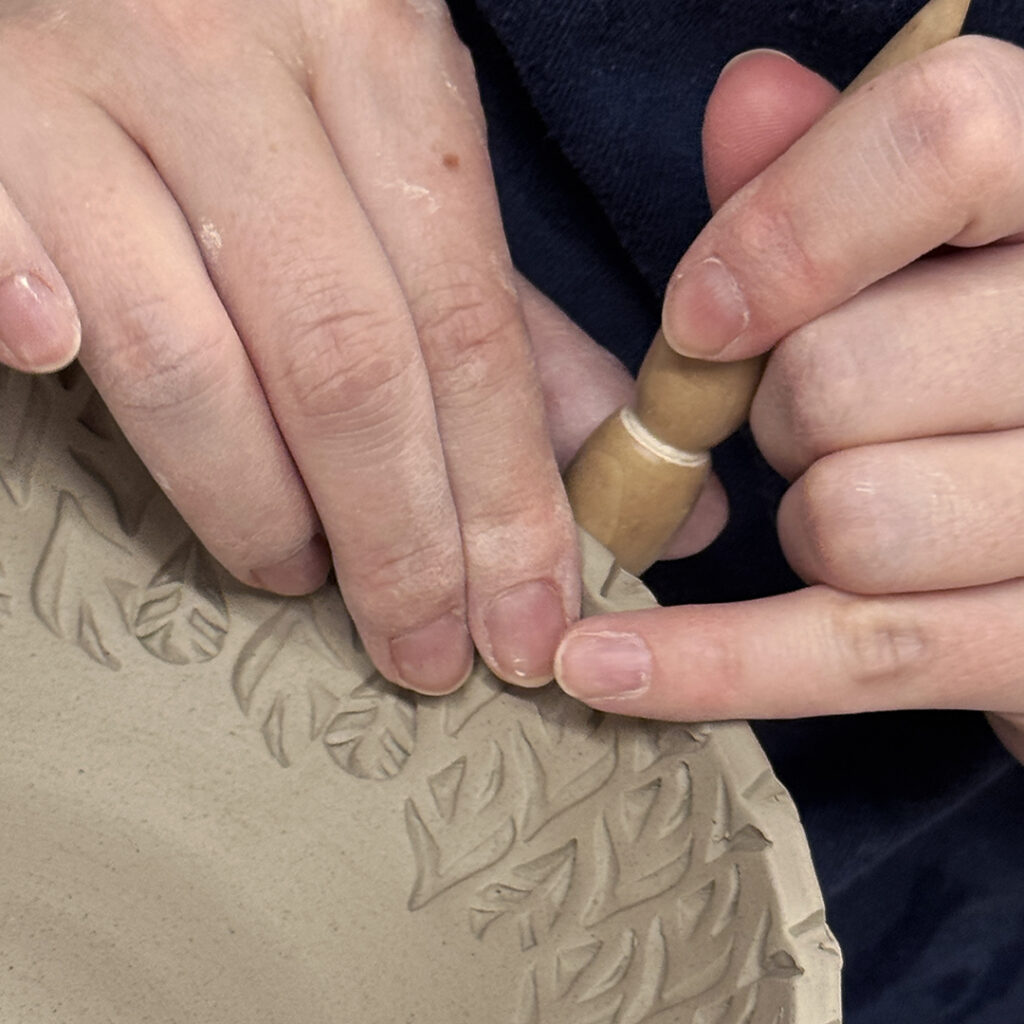
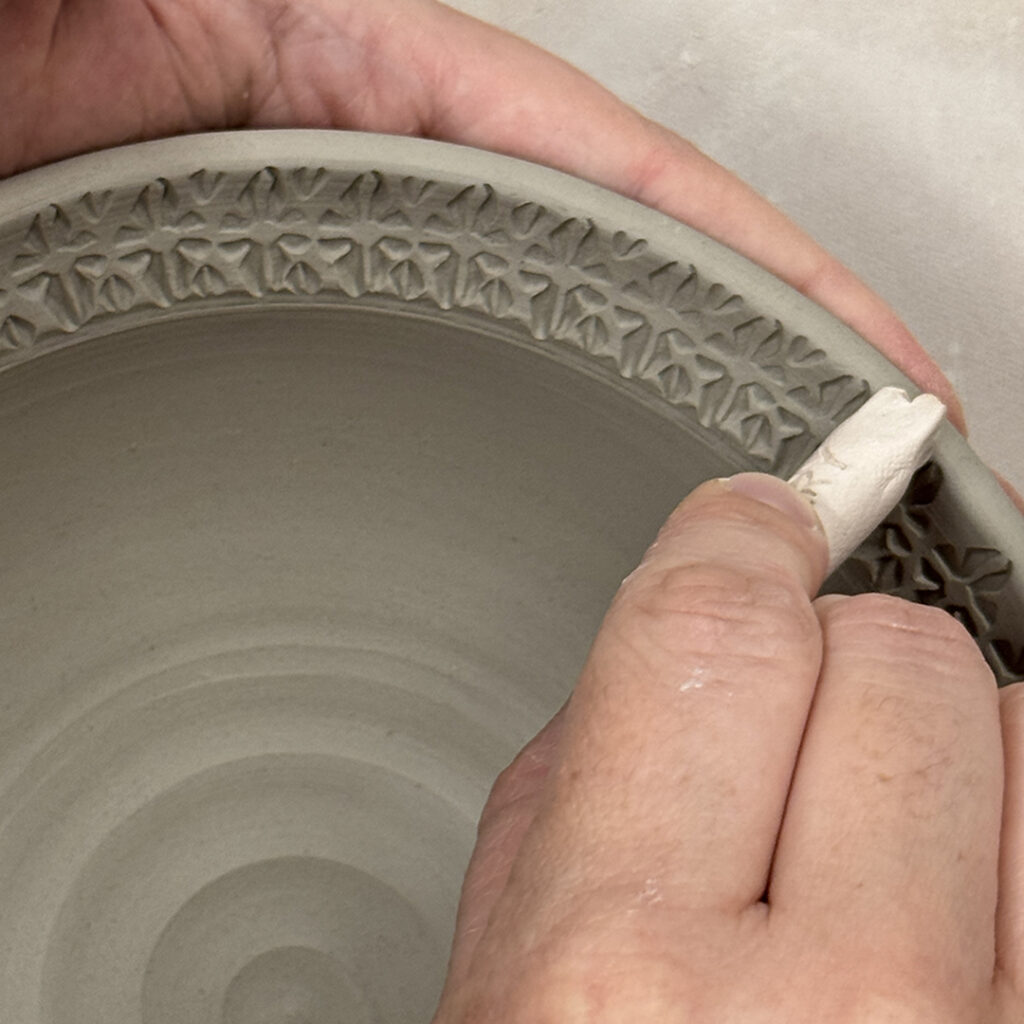
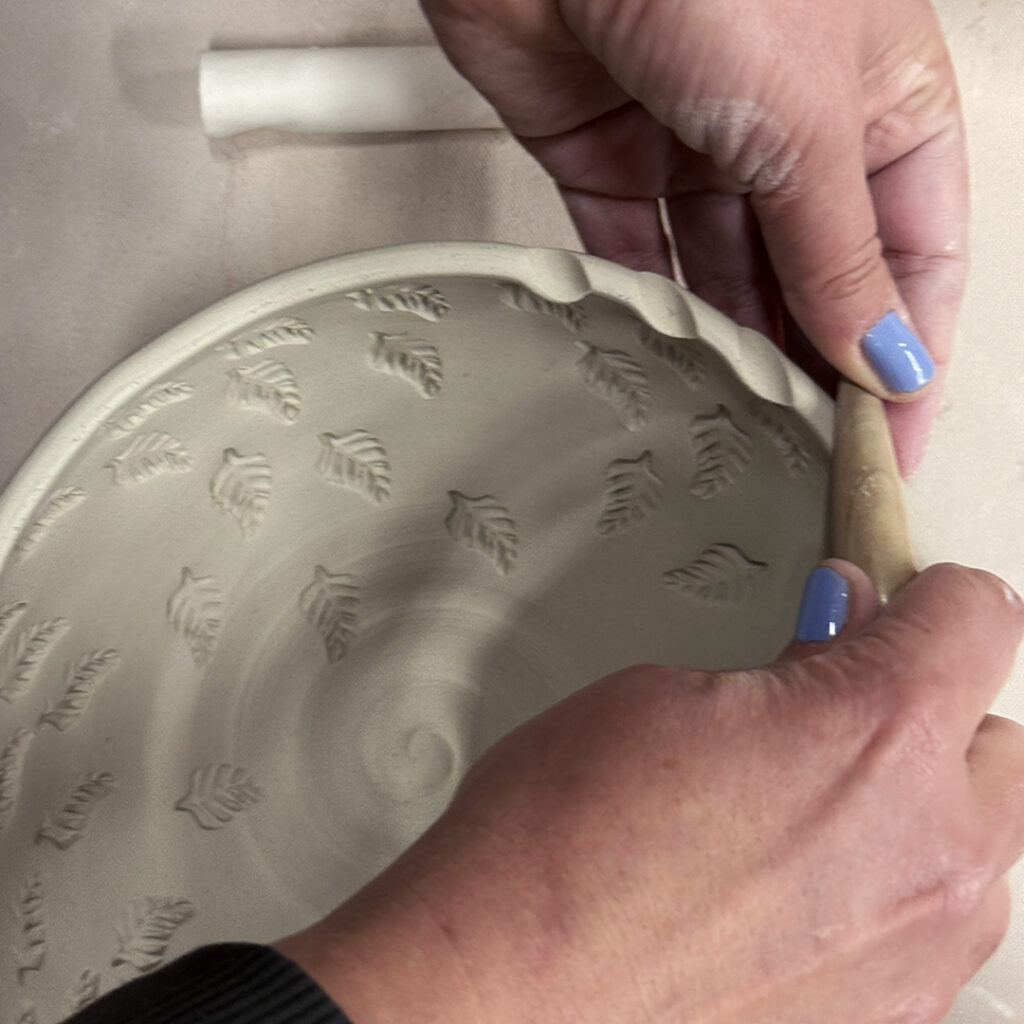
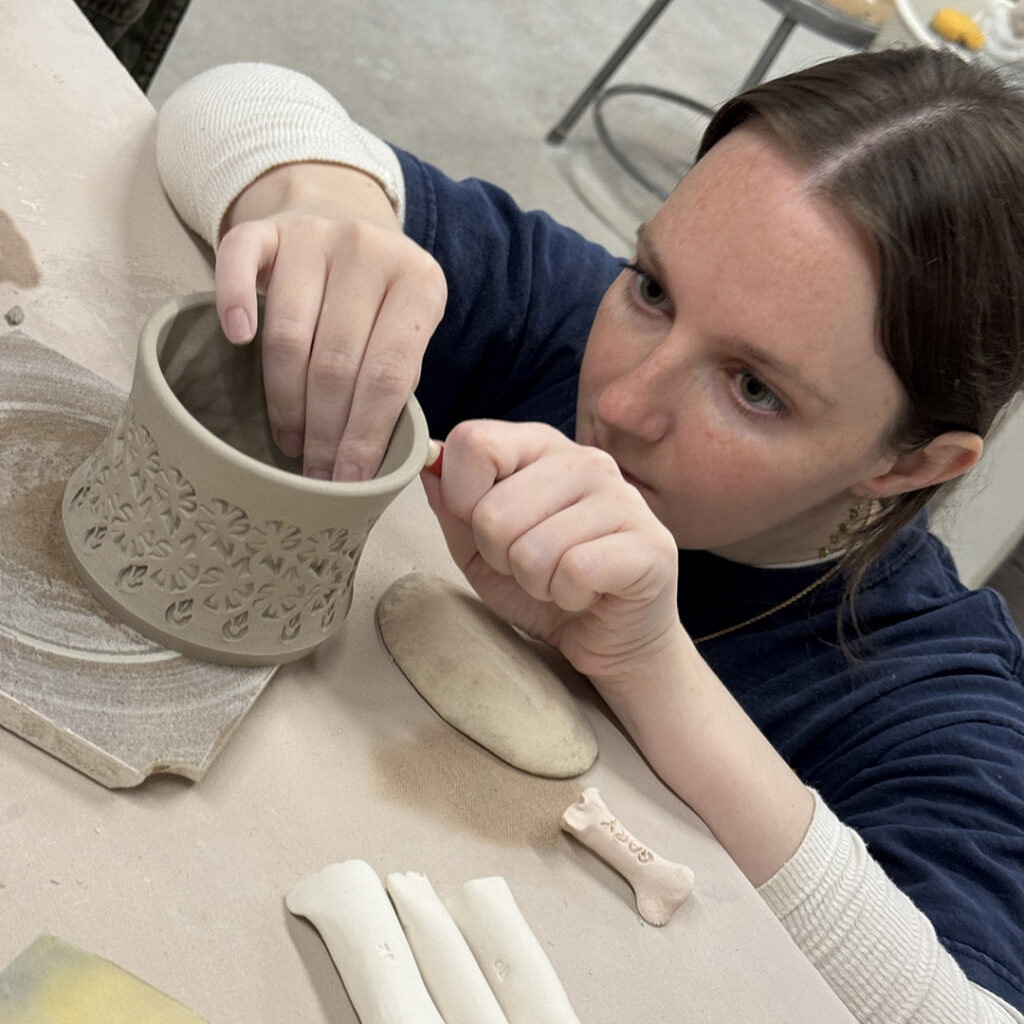
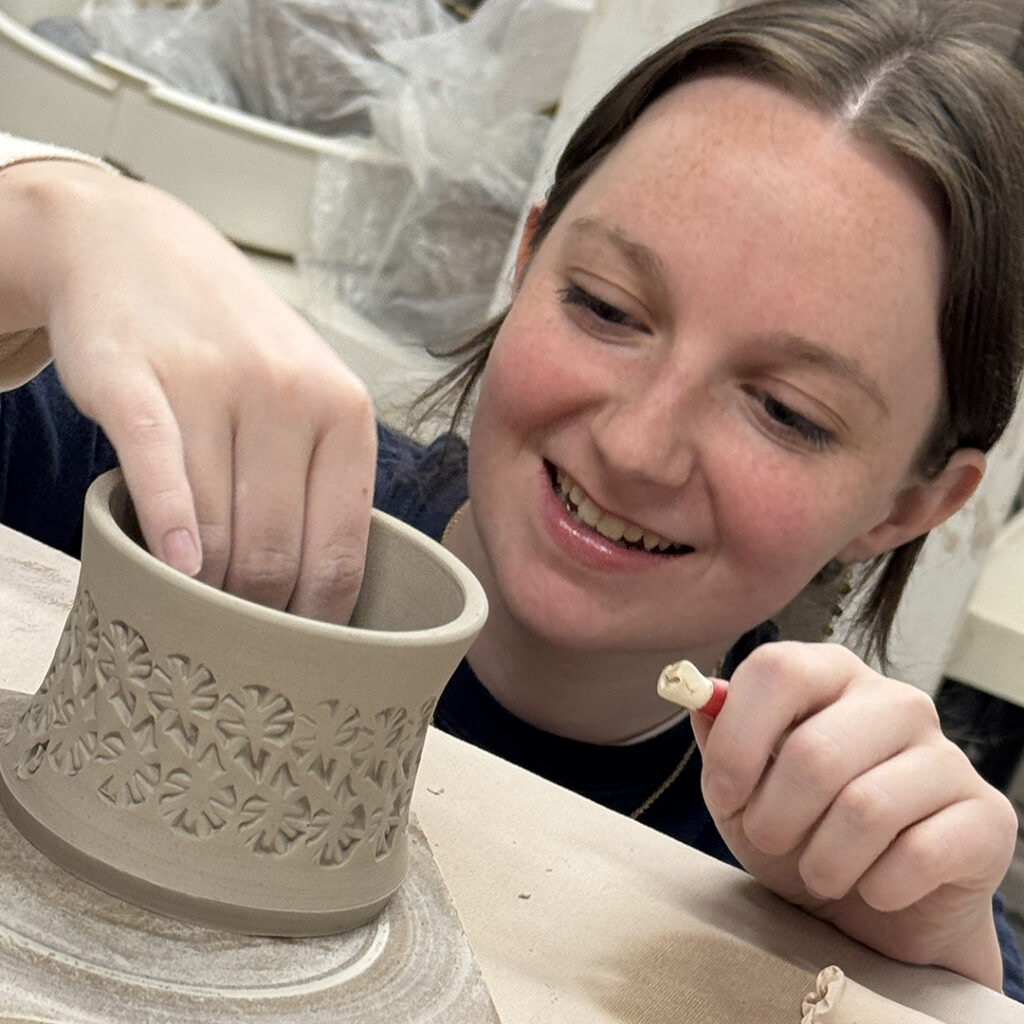
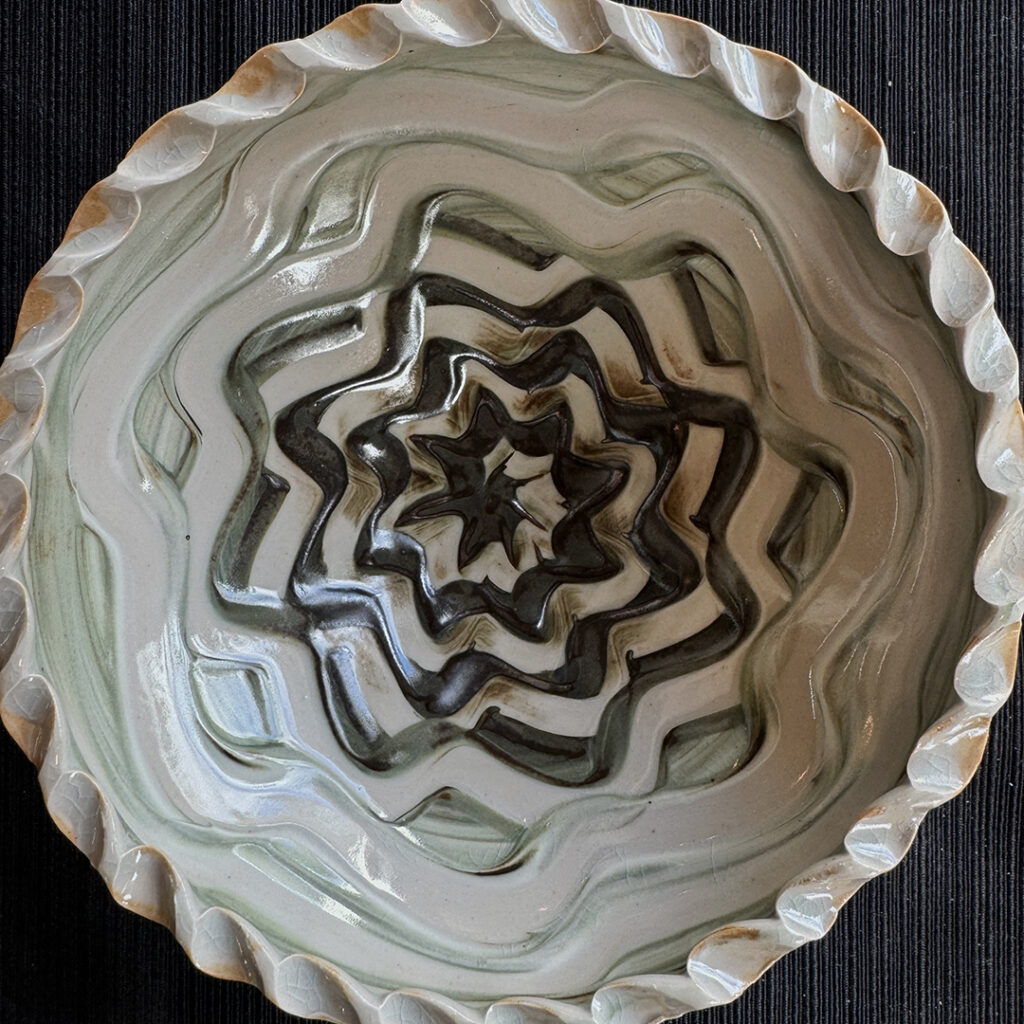
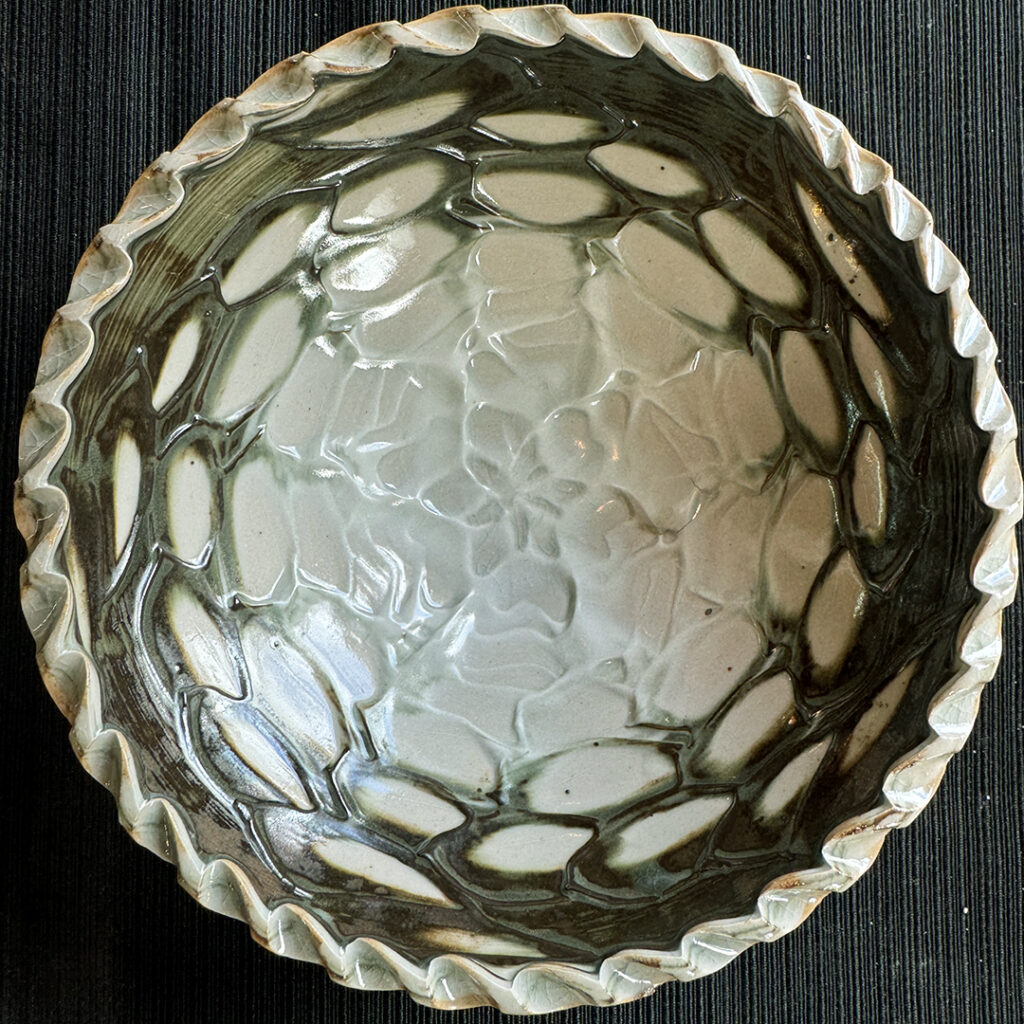
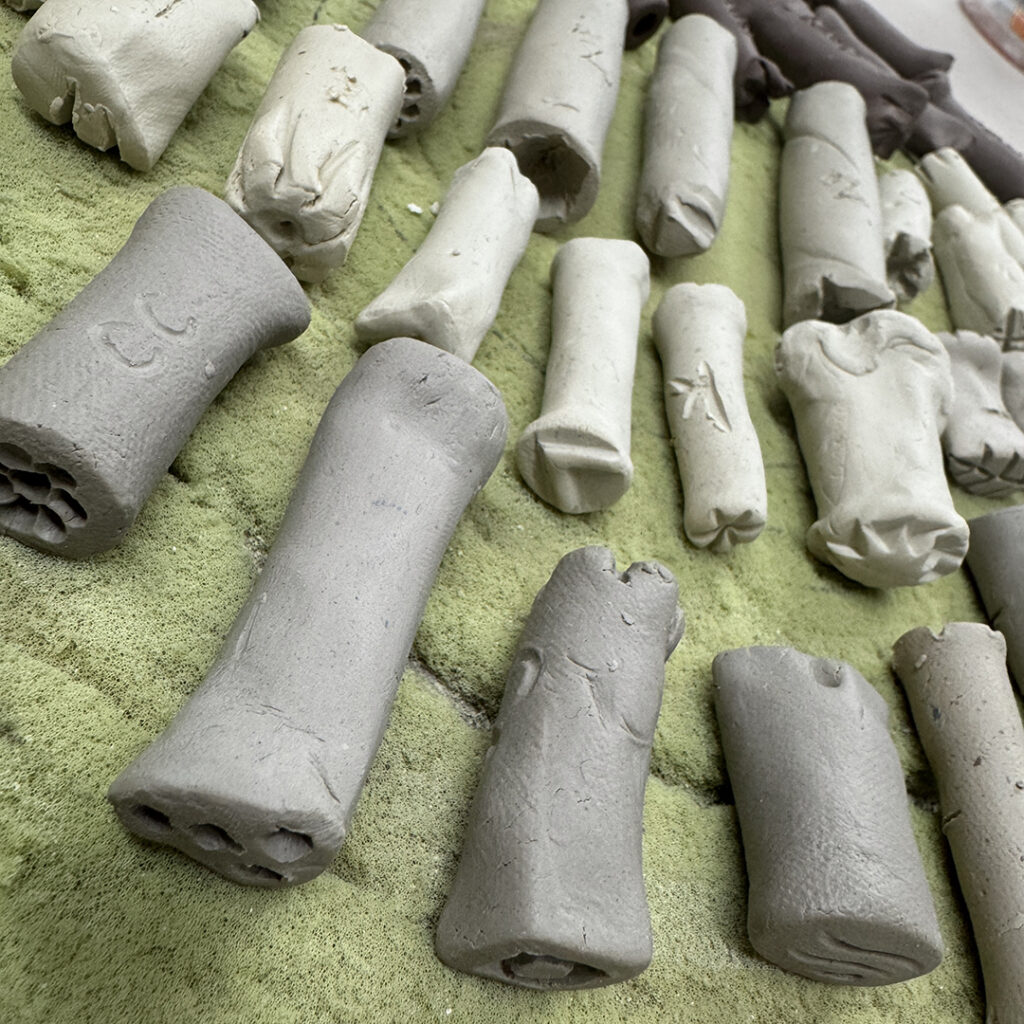
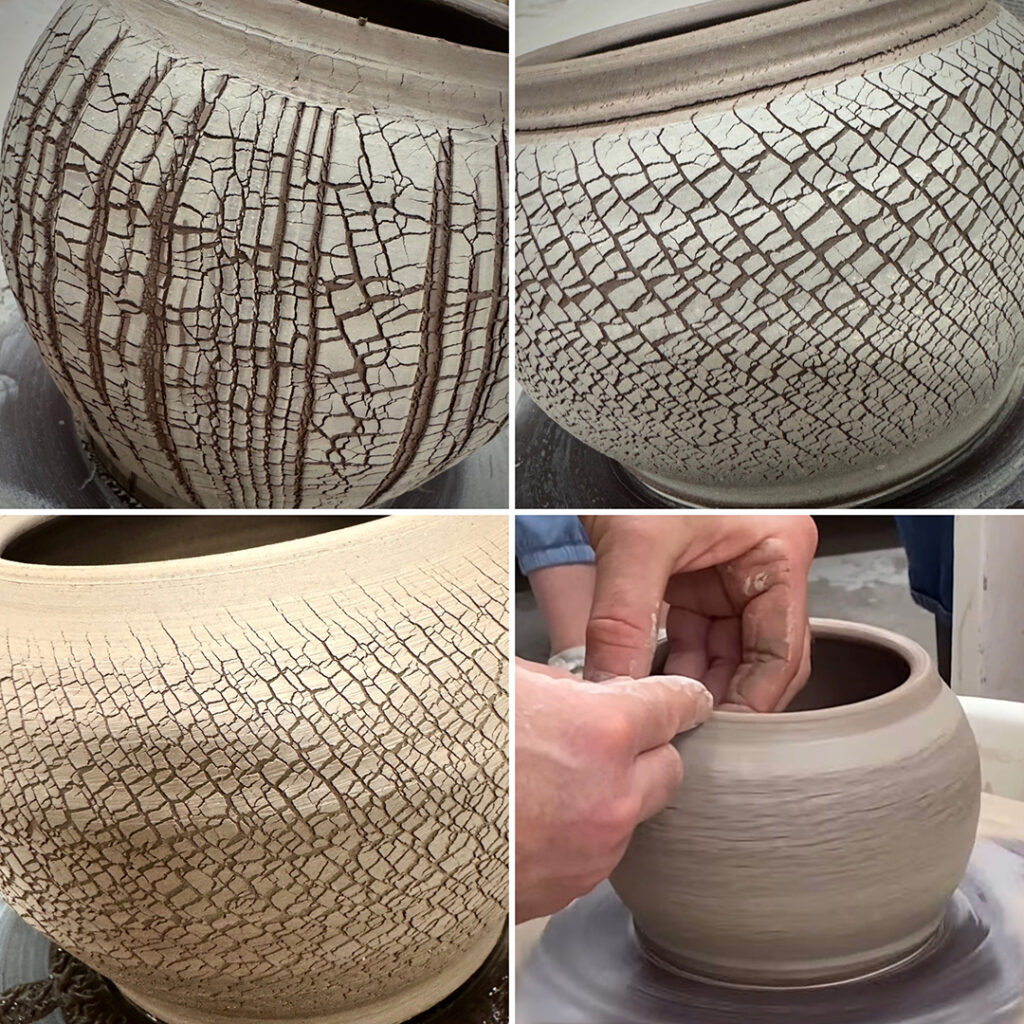
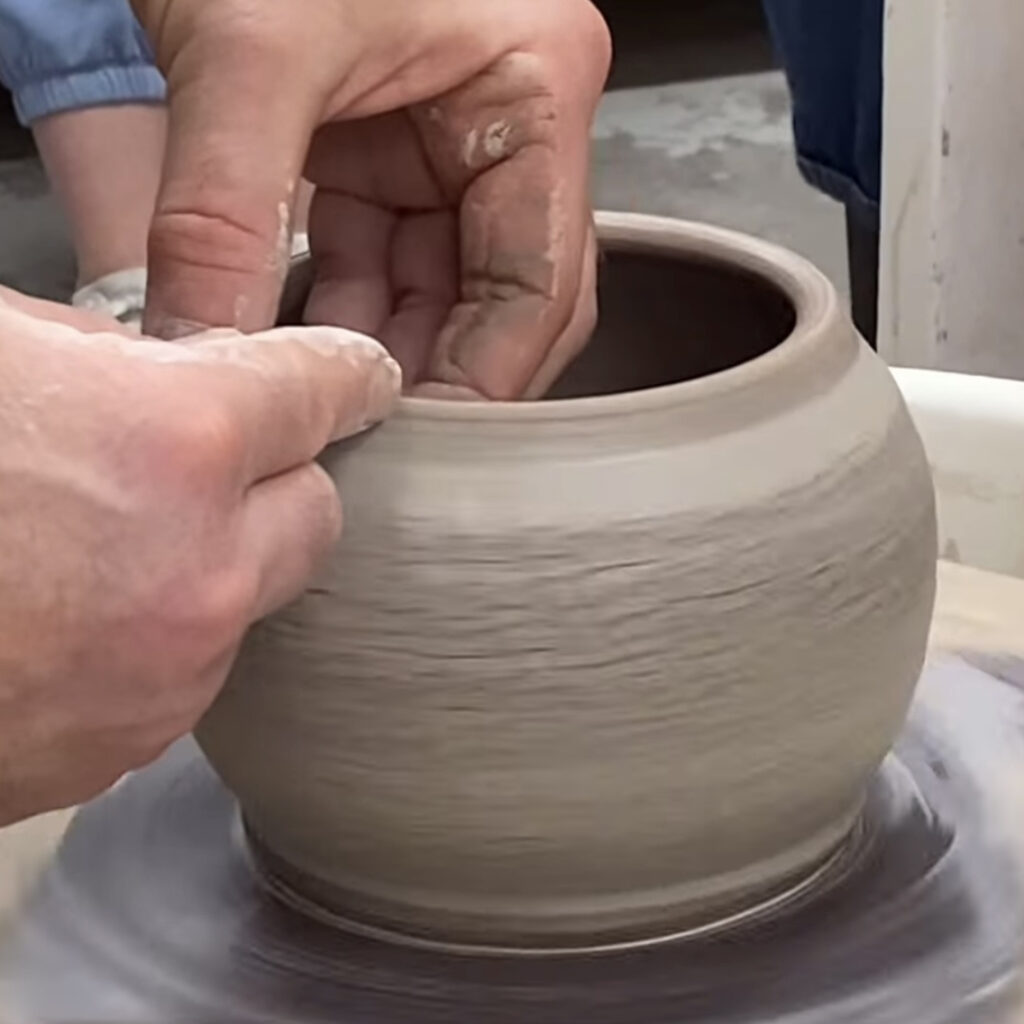
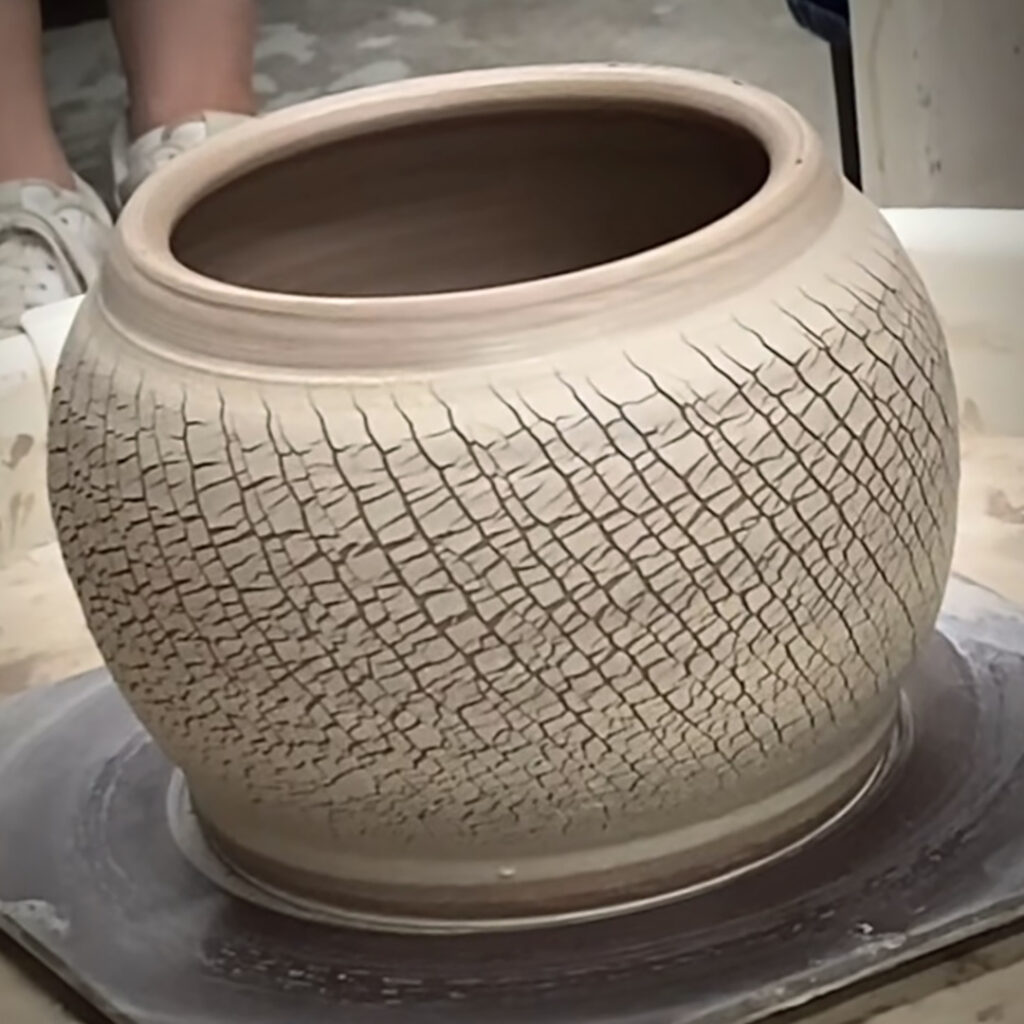
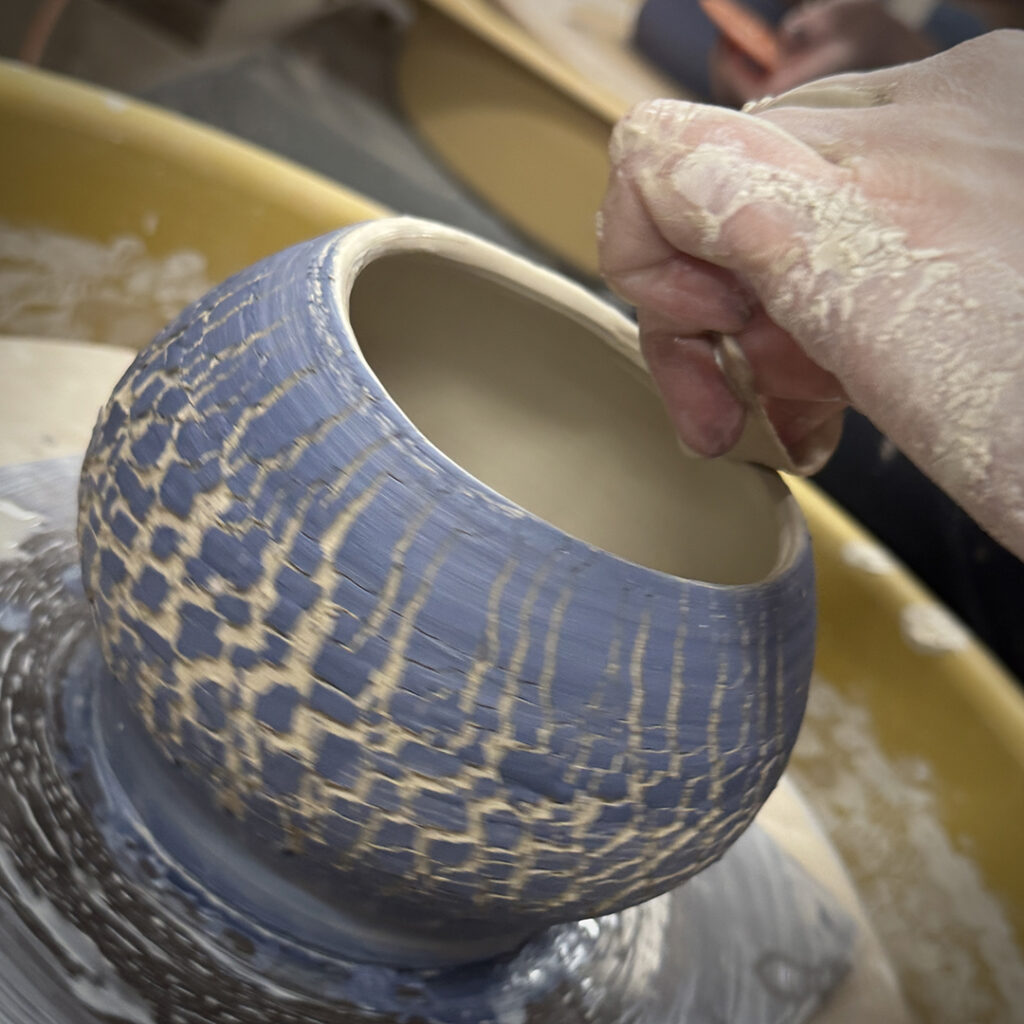
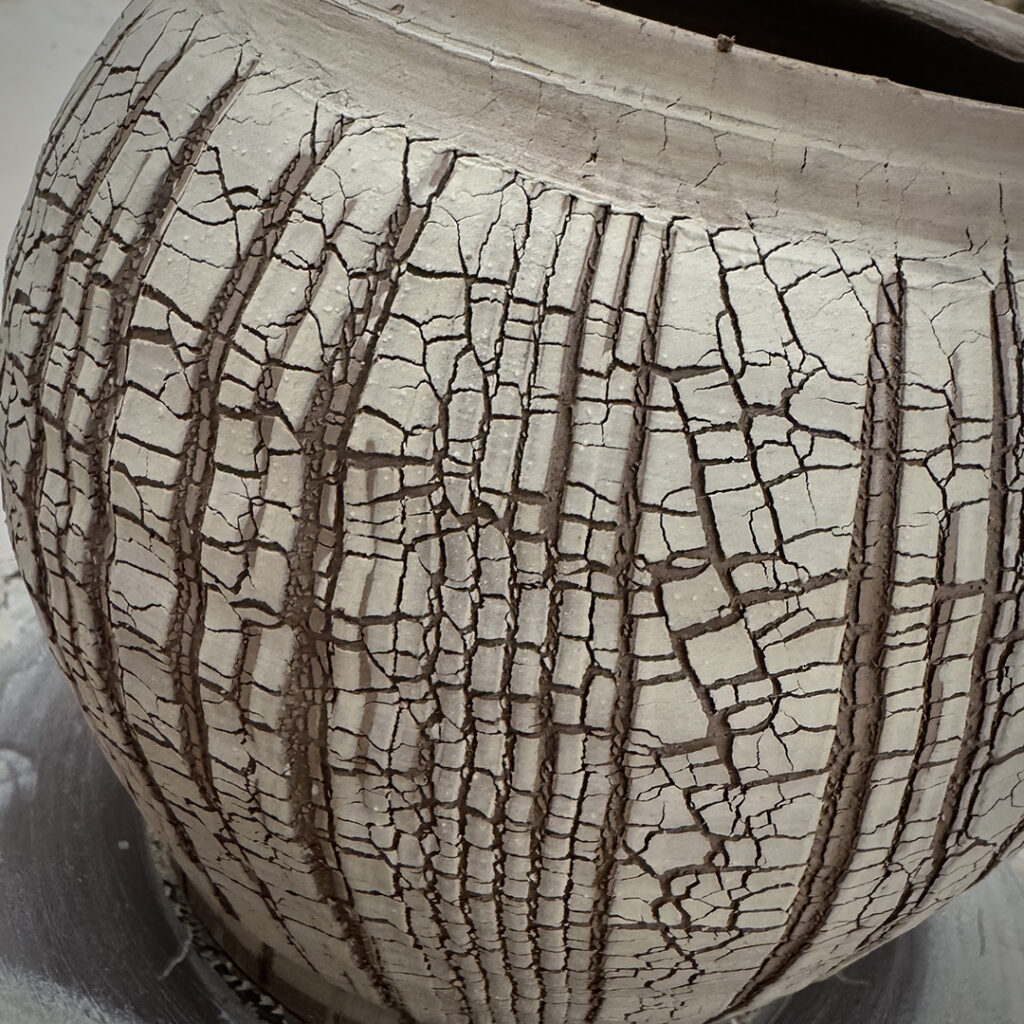
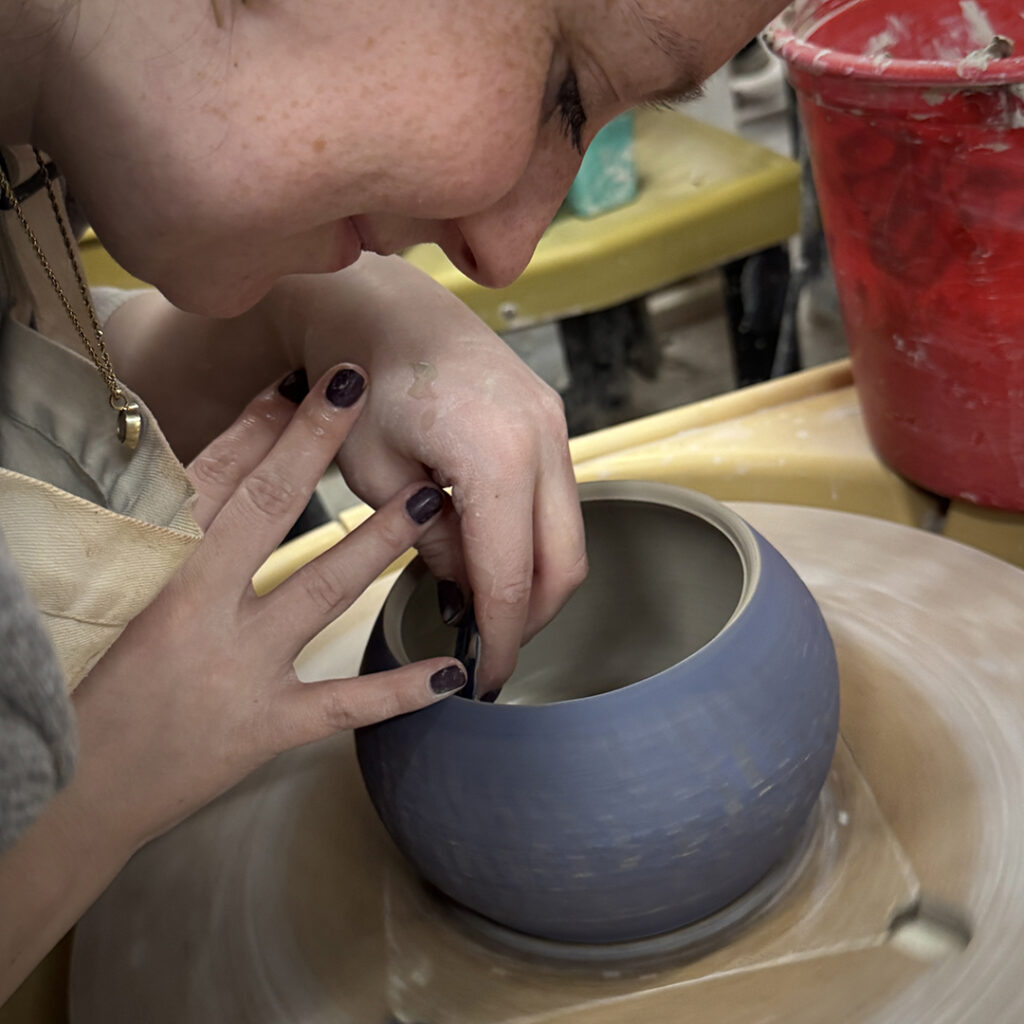
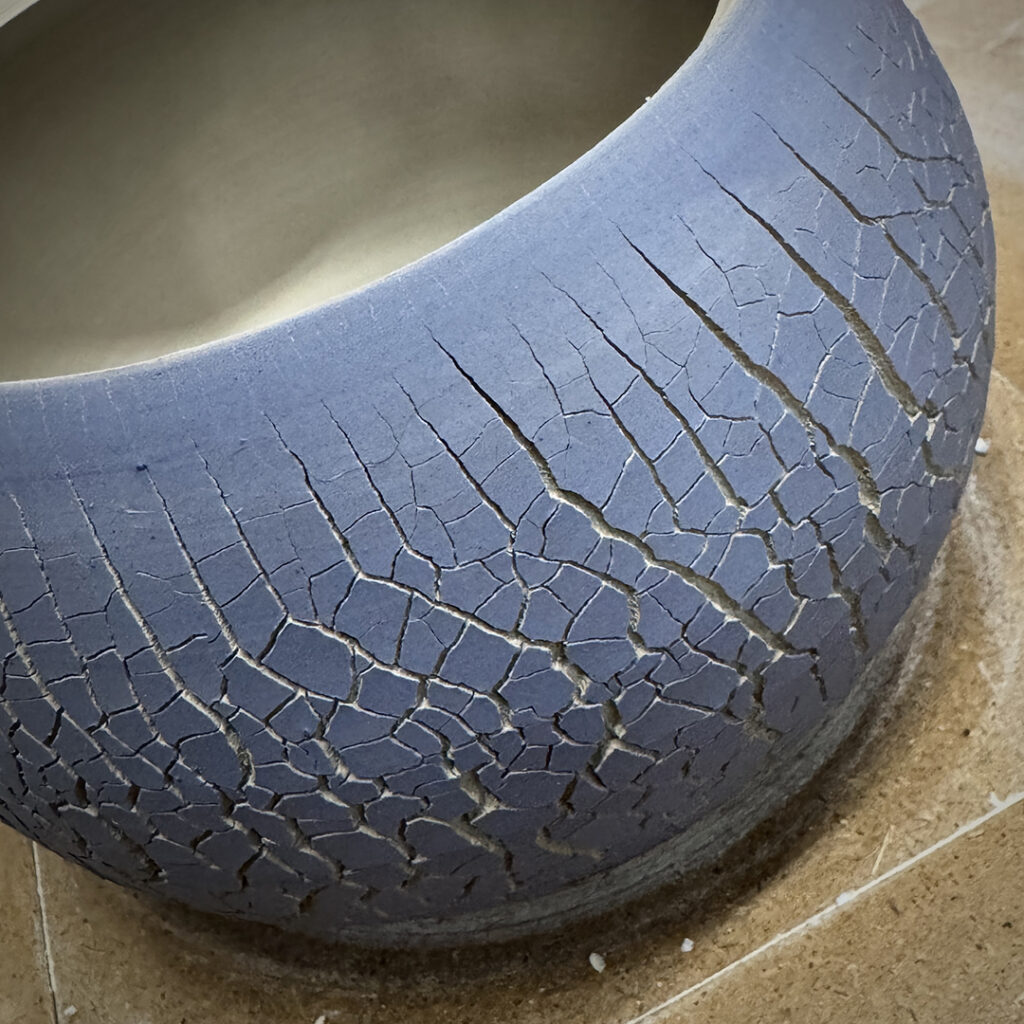
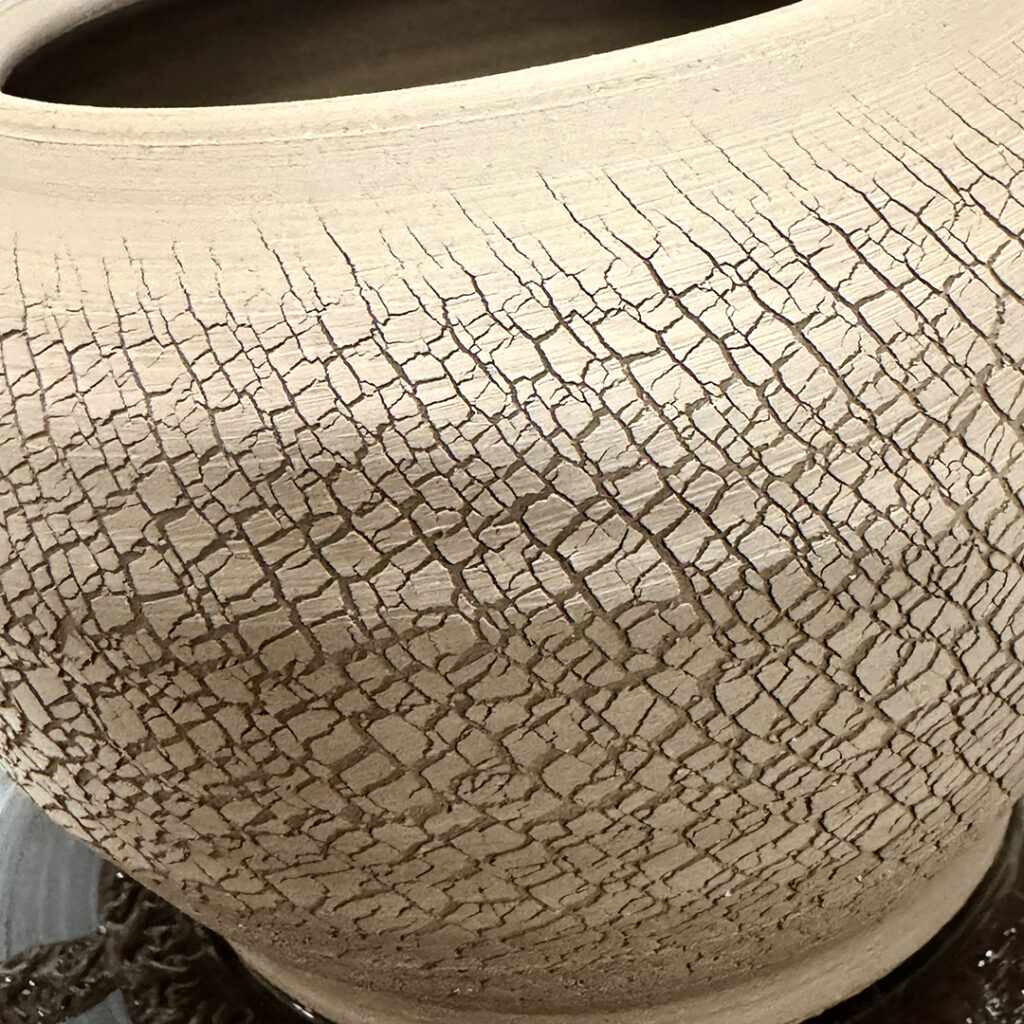
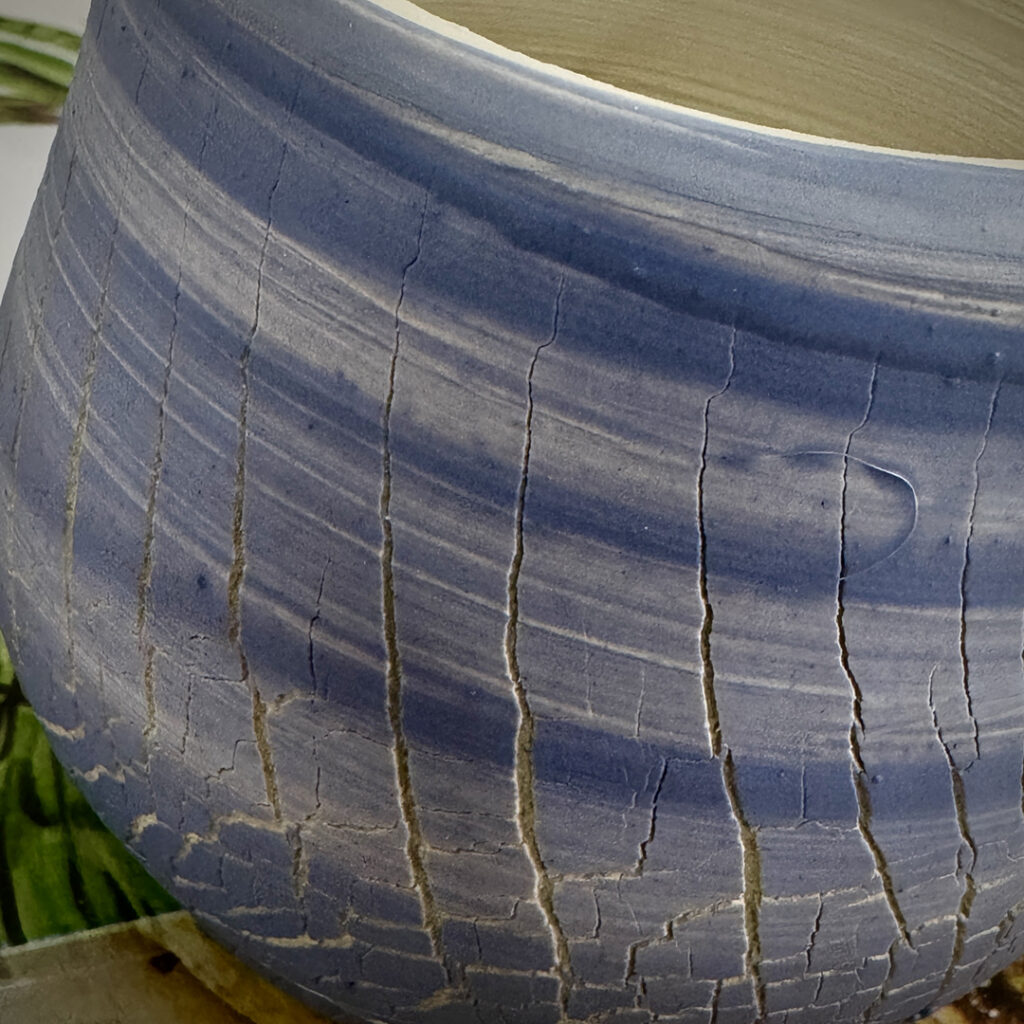
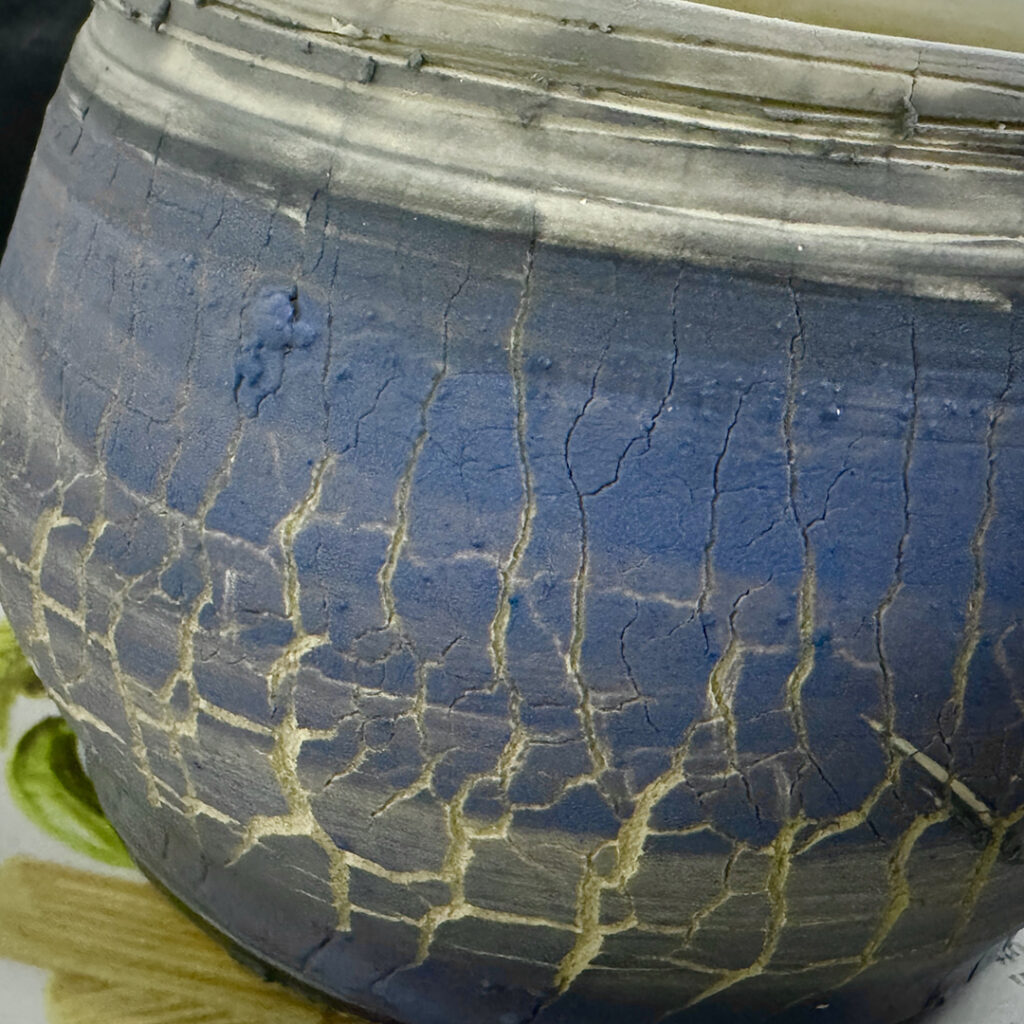
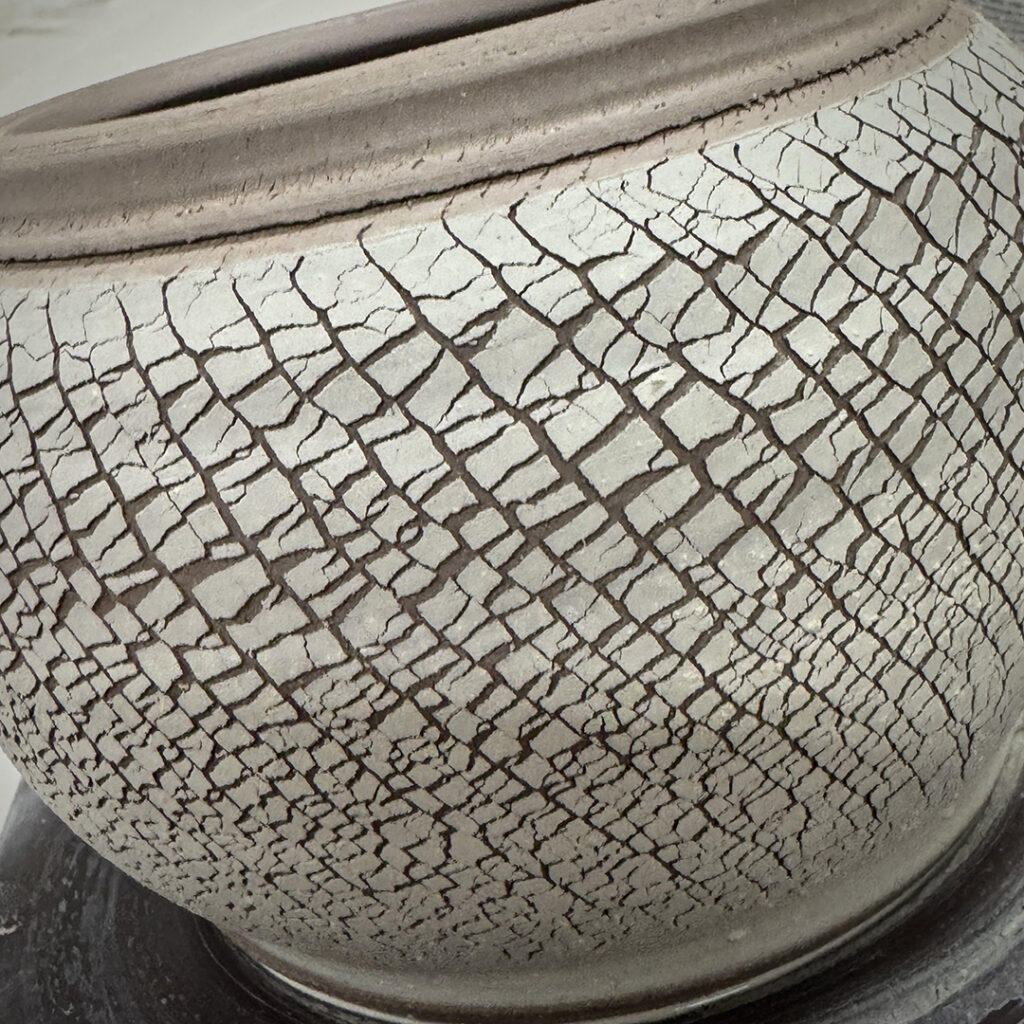
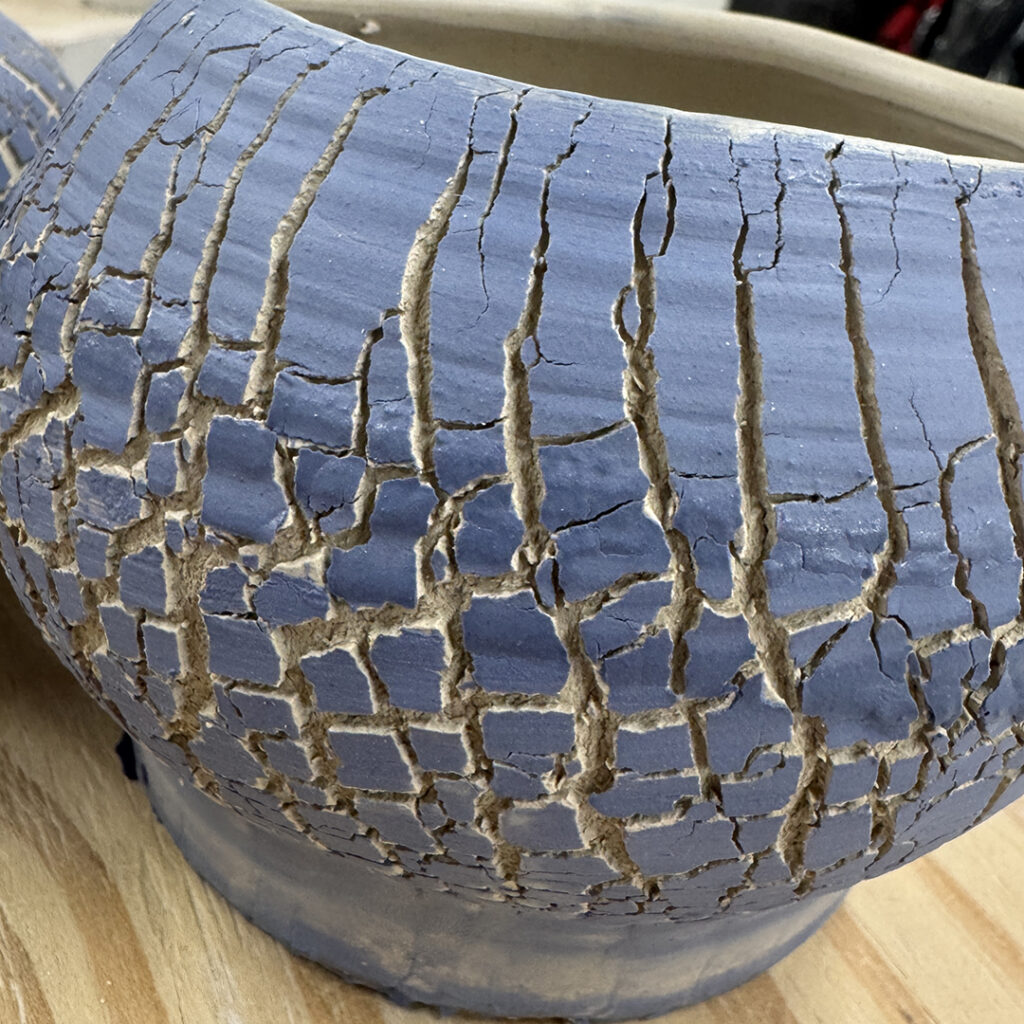
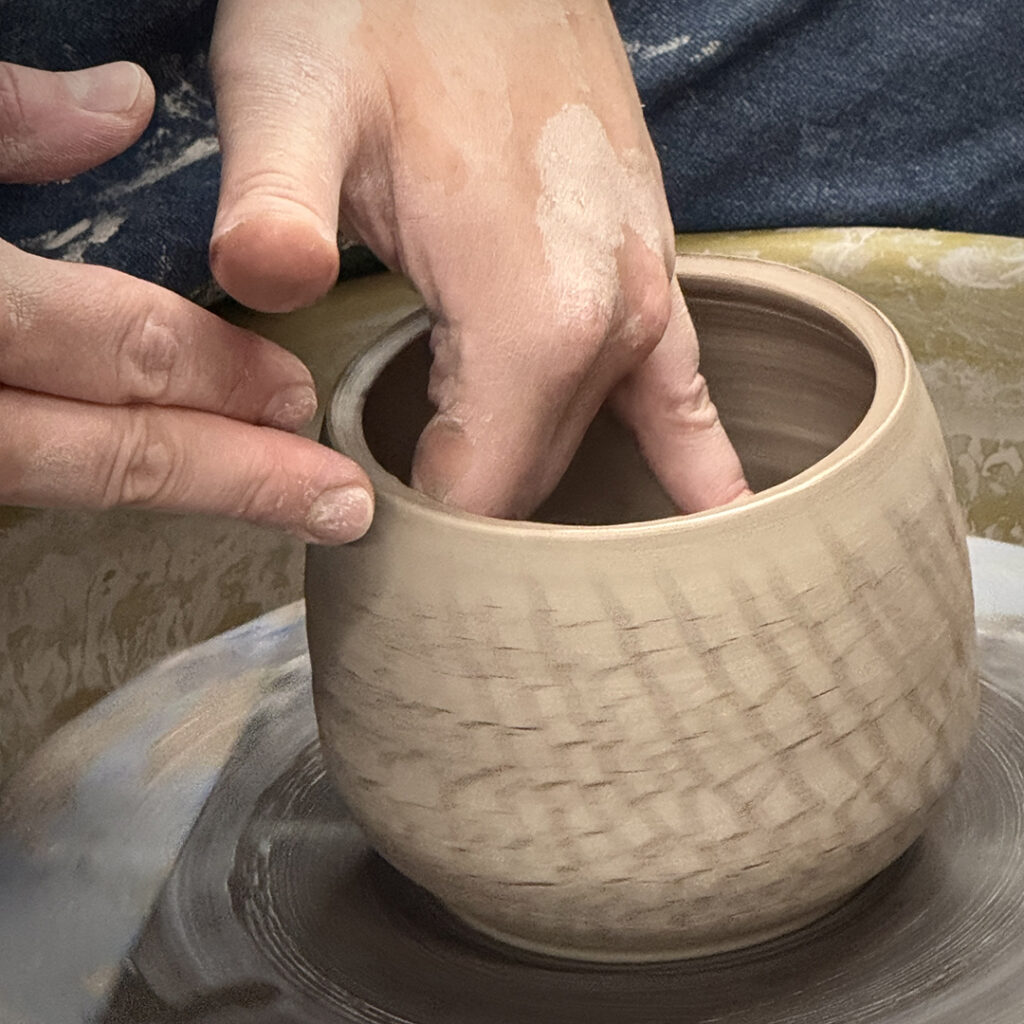
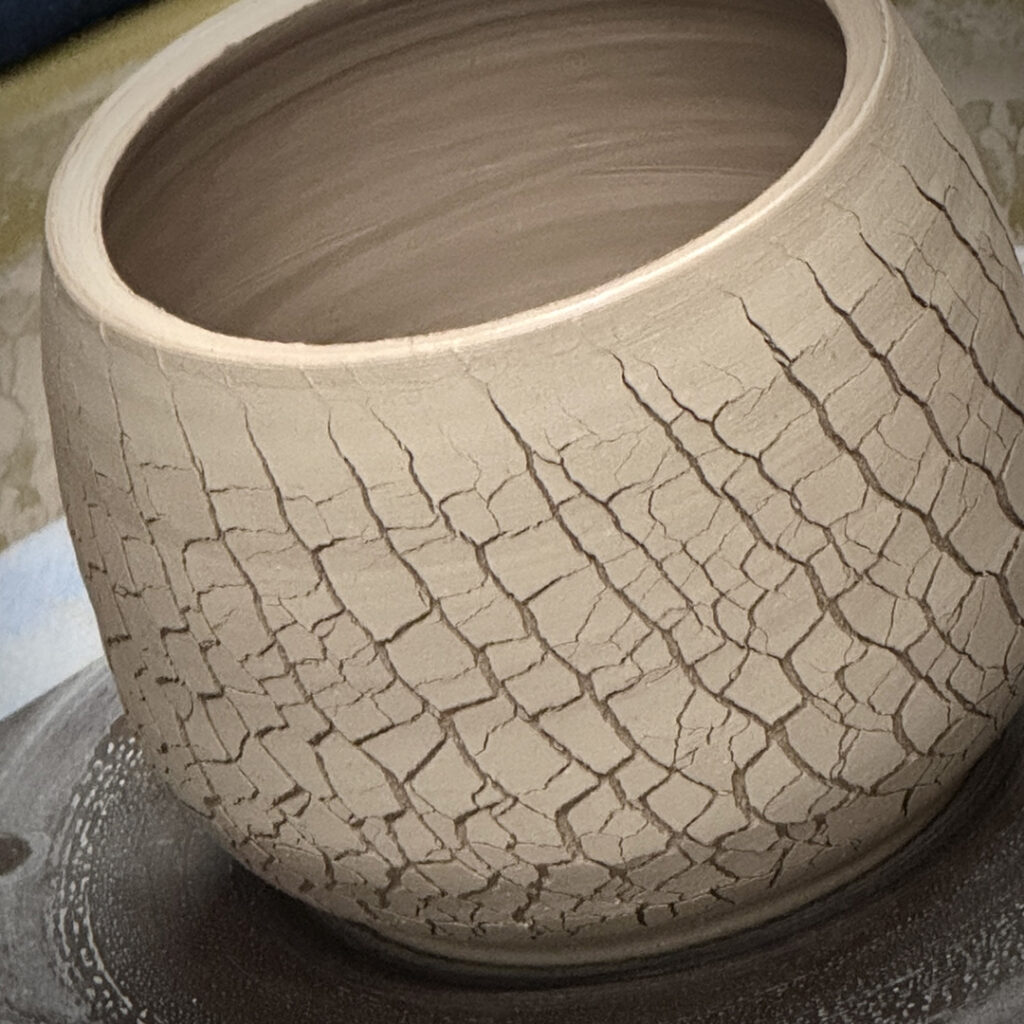
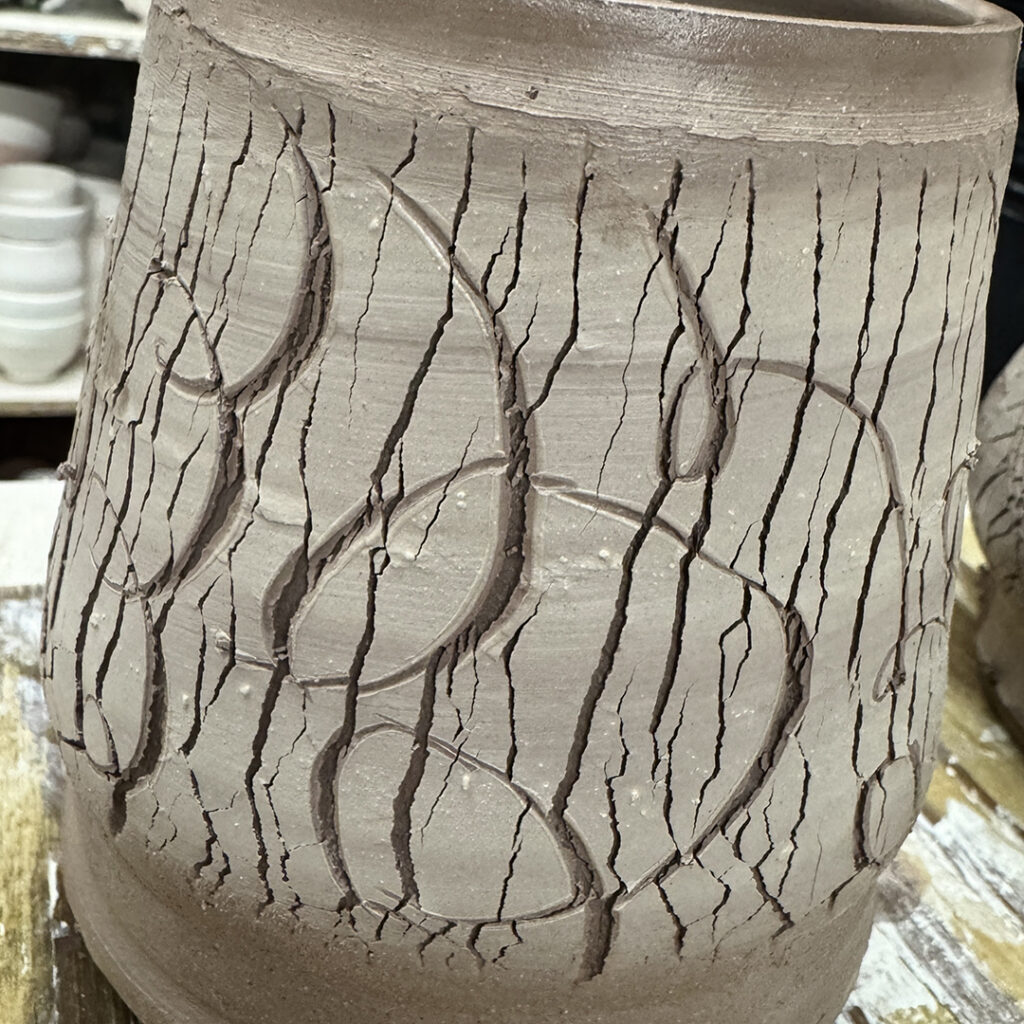
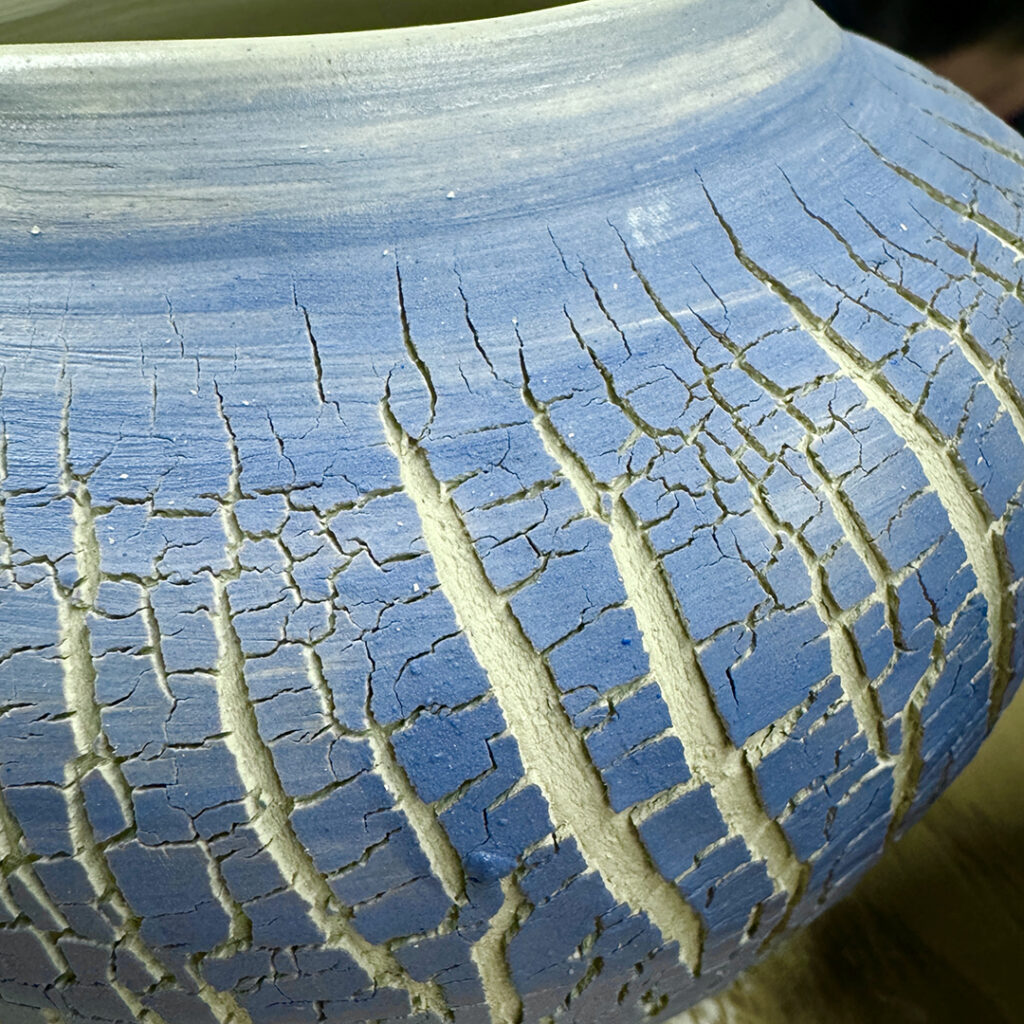
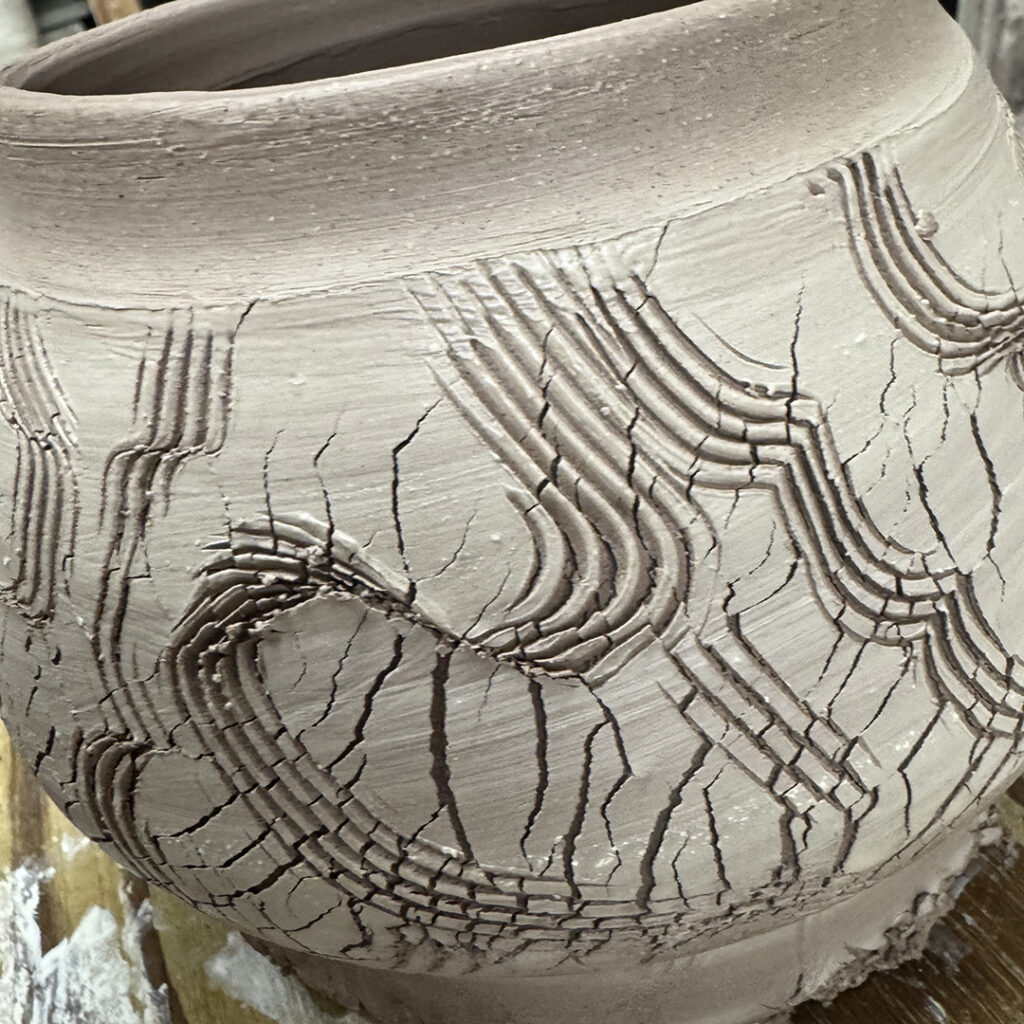
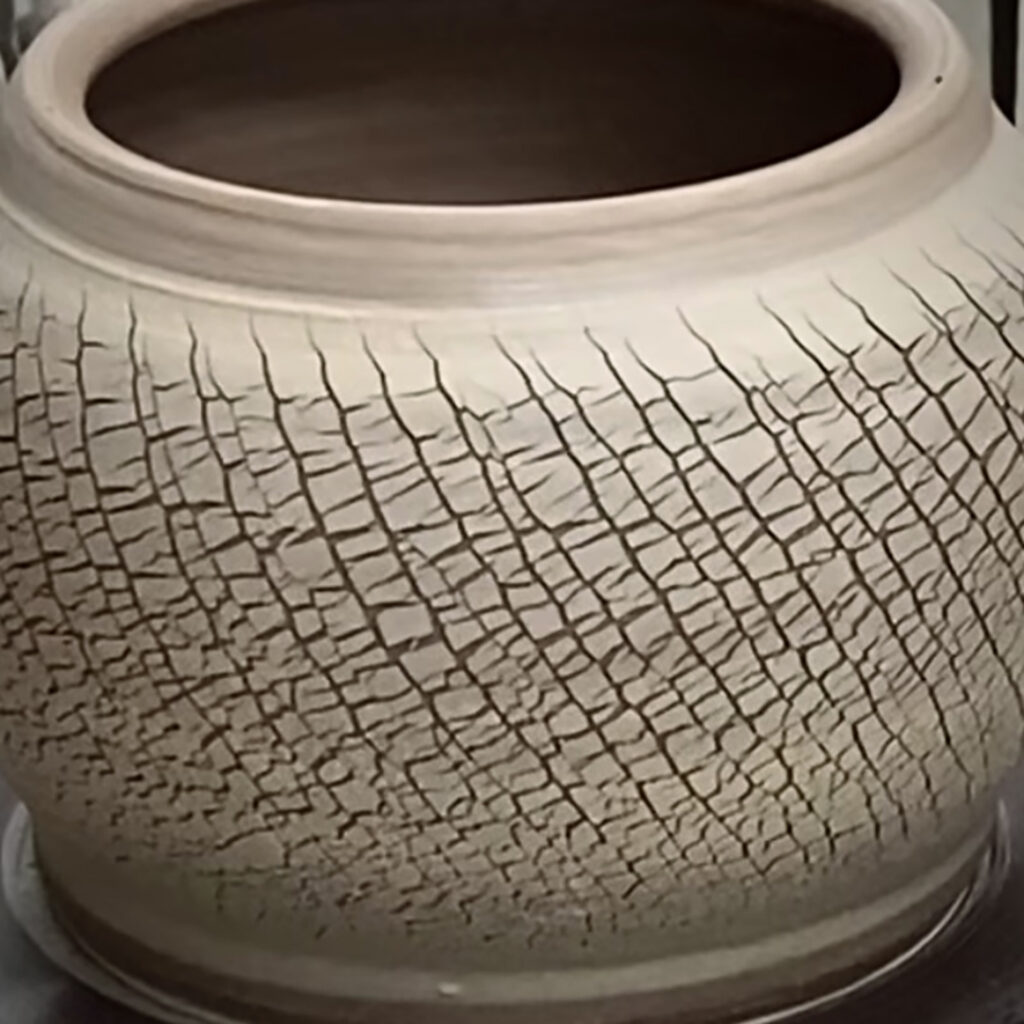
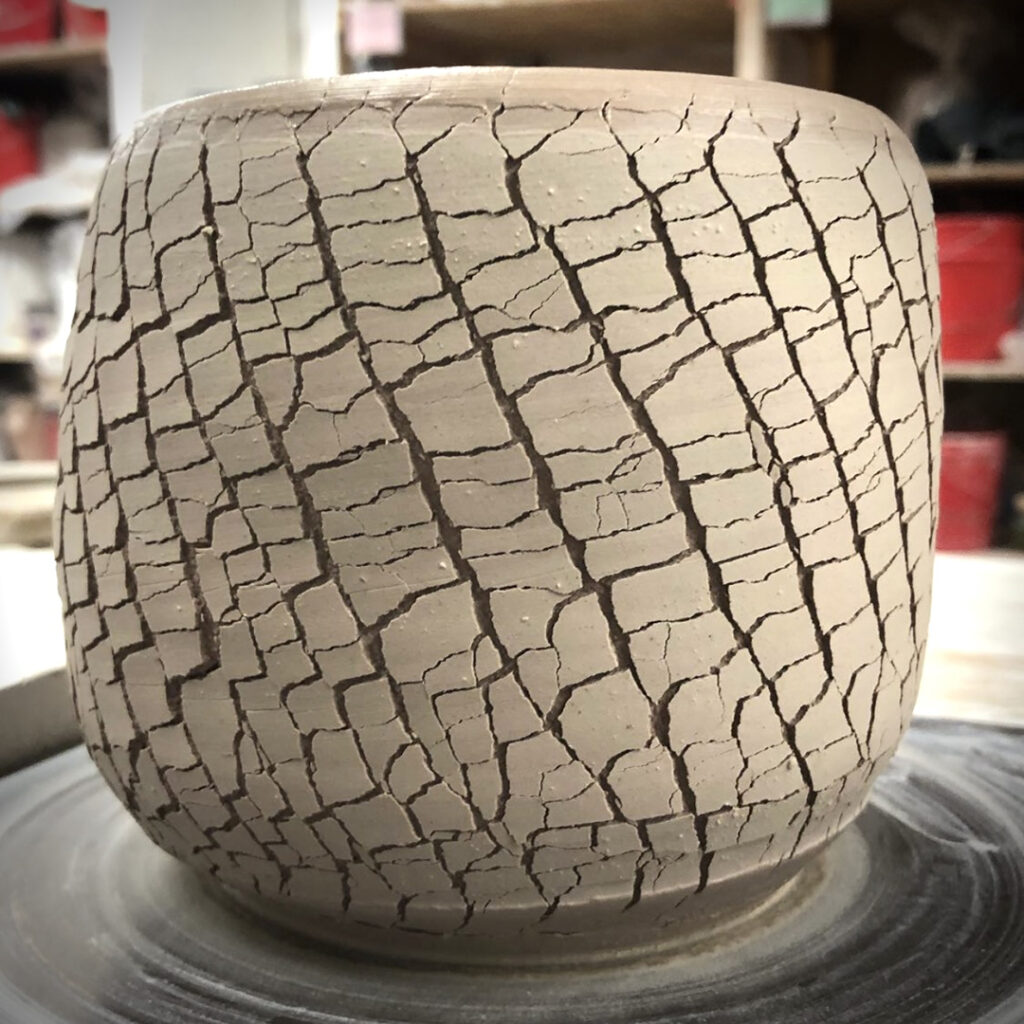
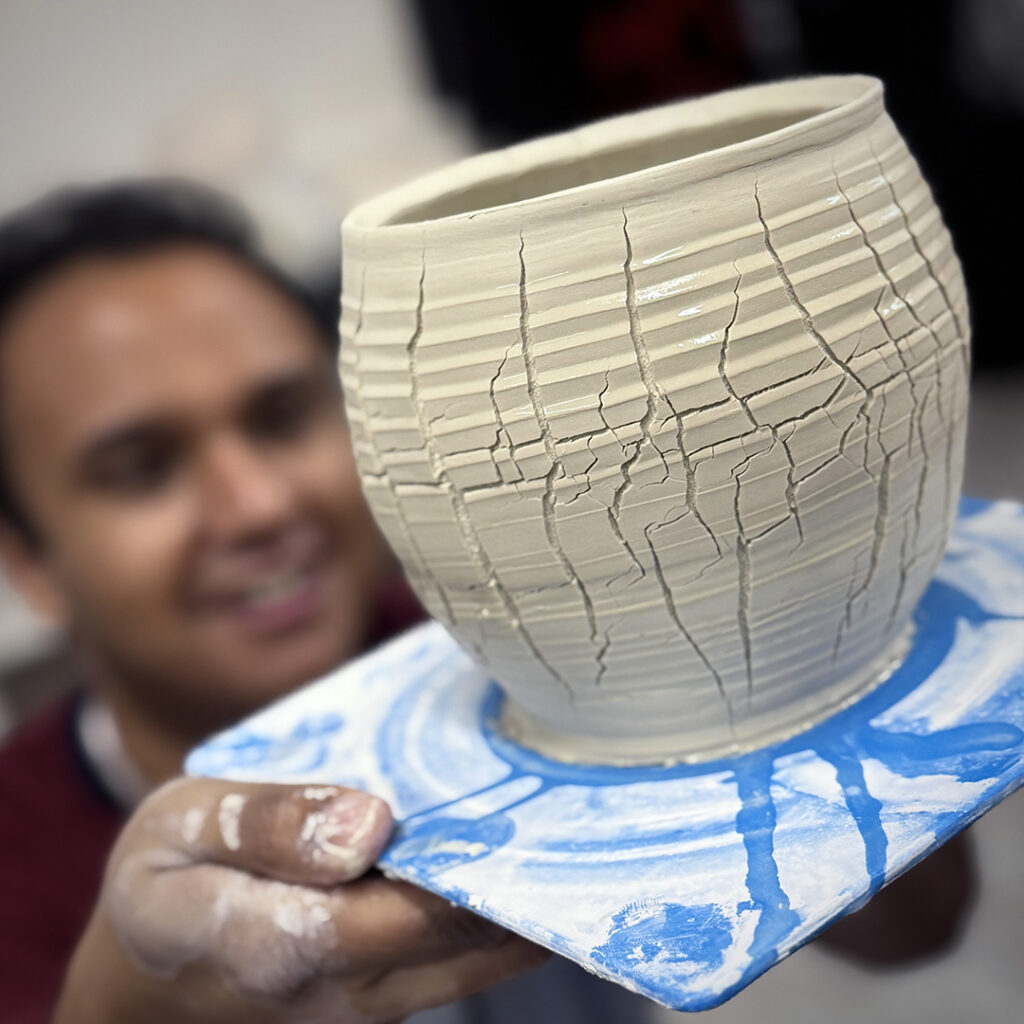
Time for some more stamping… using one stamp pattern for each pot. Just making each one a little different… all the while hoping the stamps line-up & don’t overlap in some crazy way when I get back around to where I started!!! Fingers crossed…


Gary Jackson: Fire When Ready Pottery
A Chicago potter’s somewhat slanted view of clay & play |
Time for some more stamping… using one stamp pattern for each pot. Just making each one a little different… all the while hoping the stamps line-up & don’t overlap in some crazy way when I get back around to where I started!!! Fingers crossed…
After painting the underglaze, my SURFACE DECORATION class wiped off the top surface of their waxed pots. It’s always exciting to see your pattern be “revealed” as you gently wash away the excess. Hopefully, after a good bit of wiping, the surface will be clean with underglaze only filling the carved lines & patterns. When finished, these cups can now dry & be bisque-fired. The wax will burn away, the underglaze will be firmly in place & it’s time to glaze like normal. Fine line drawings with inlaid underglaze… voila’… MISHIMA.
The next step of our “mishima” class was to paint the entire exterior with underglaze when the carving of patterns was done. Idea being that the underglaze will fill all of the carved lines… but just sit on top of the wax resist in areas where there is no carving.
Last week in my SURFACE DECORATION class, I provided some simple leatherhard cylinders so they could all practice our “mishima” technique for the night. They started by painting the exterior with wax resist. Once it dried, they then started to etch their designs into the cup. The idea is to carve through the wax & slightly into the clay. Then we will inlay some underglaze into the fine line carvings. More to come…
And since we had a lot of “extra” ribbons of colored slabs… a few of my SURFACE DECORATION students continued on in different directions… yes please… by all means PLAY WITH YOUR CLAY!!!
Last night in my SURFACE DECORATION class, we tackled some colorful handbuilding projects using textured & colorized slabs. Everyone set out to hand-throw their slabs & add colored slips. Then we all got to use everyone’s slabs to “randomize” our quilt-like projects!
Carving another bowl with my favorite DiamondCore Tools! I started with an ombre’ blend of colored slips from blue to white… and then when it was a drier leatherhard, it was time to start carving a pattern through it! Pretty pleased with it so far… and I’m thinking I need to start making MORE of these!!!
As part of my demo last night, I also wiped away my large platter piece. It’s just clay… no colored slip. The color difference is because the unwaxed unprotected areas stay light, whereas the wet etching areas get dark. I was getting some good texture difference in areas… but didn’t quite finish. So I’ll be coming back to it after this weekend’s art fair. The more I wipe away, the greater the difference between layers will be… so as usual… MORE IS MORE!
After the wax layer had cured & hardened, we wiped away the background with a wet sponge. If there was colored slip there, that got wiped away… anything that was “protected“ by the wax stayed in place. As they continued to wipe away with cold water, their images & patterns began to reveal themselves. And if you keep wiping more & more, you start to create two surface layers… the top one being your original layer, and the second layer a smidge lower. It’s that tactile contrast in depths that is really cool. We even used some Q-tips to get into it to create nice crisp edges. When finished, they will bisque & glaze as normal for a cool bowl either a groovy pattern… all done with Water Etching!
In class last night, my SURFACE DECORATION class was focused on Water Etching as their technique of the week. I provided them with bone dry bowls to play with… some covered with colored slip. They started by painting their designs onto their bowls with wax resist. The areas that are not “protected” by the wax will be “etched” or wiped away later… after the wax has had time to cure.
Gary Jackson: Fire When Ready Pottery
Lillstreet Studios ∙ 4401 North Ravenswood, Chicago, Illinois 60640 ∙ 773-307-8664 gary@firewhenreadypottery.com |