Day Two of my pottery workshop with the Fairbanks Potters Guild.
My fear was that when we returned to the studio all of their pots would be bone dry… or still soaking wet. I was hoping that they would be on the softer-side of leatherhard for good stamping… and they were!! YAY!!! We did a little heat-gunning to dry the stamps more before the potters arrived.
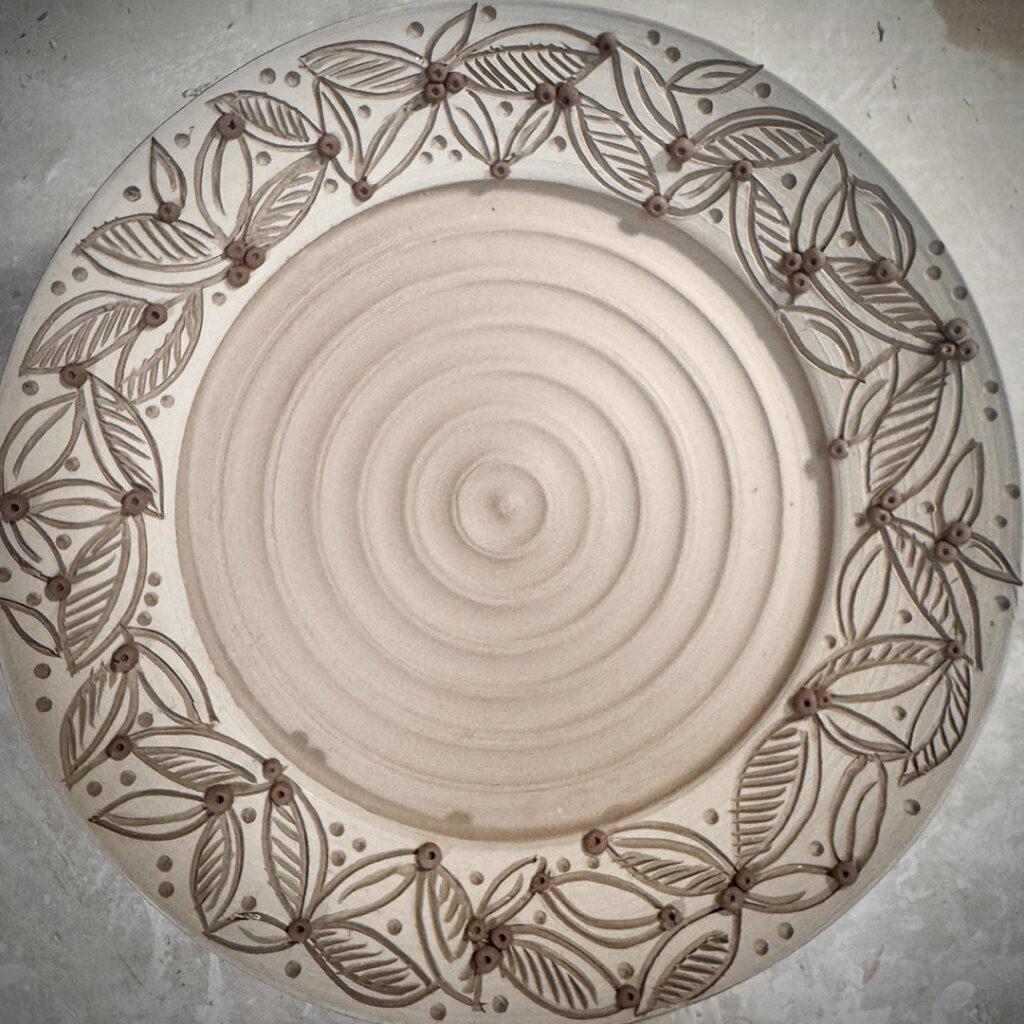
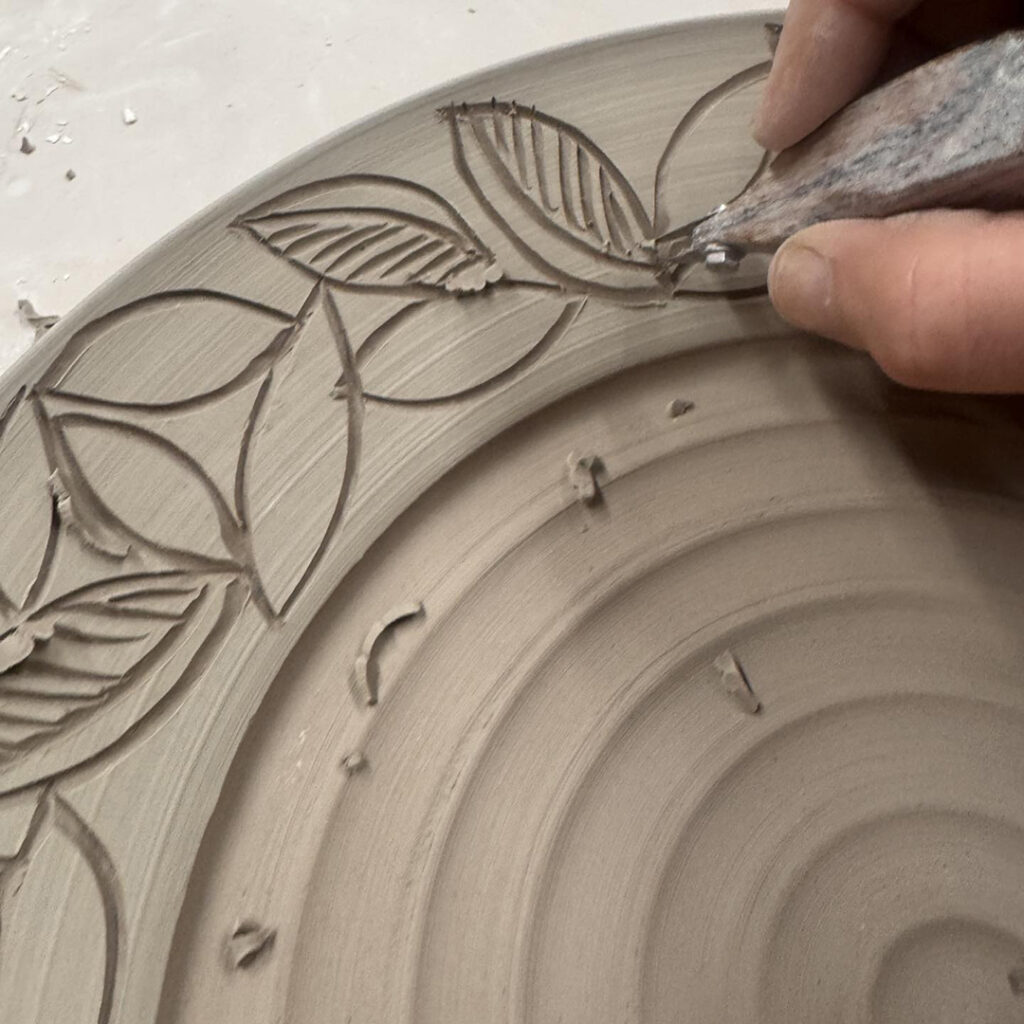
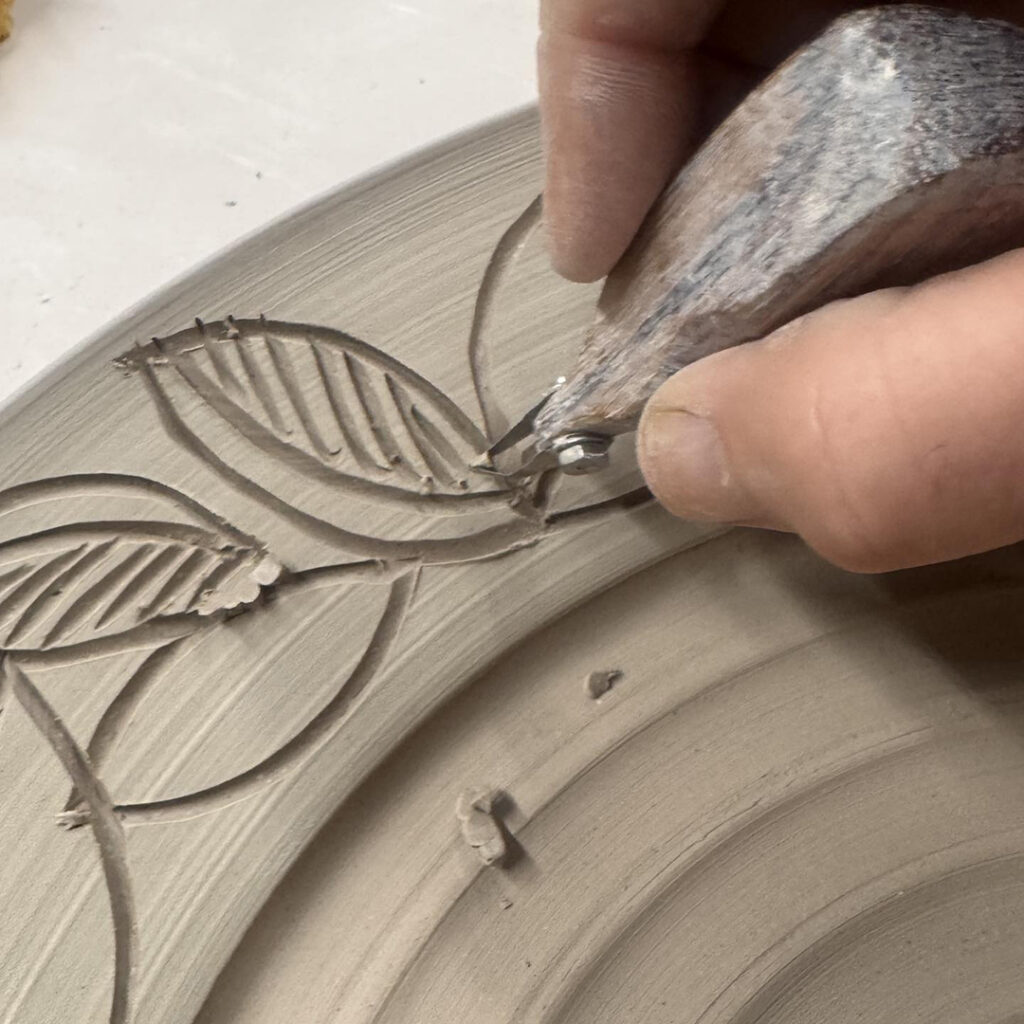
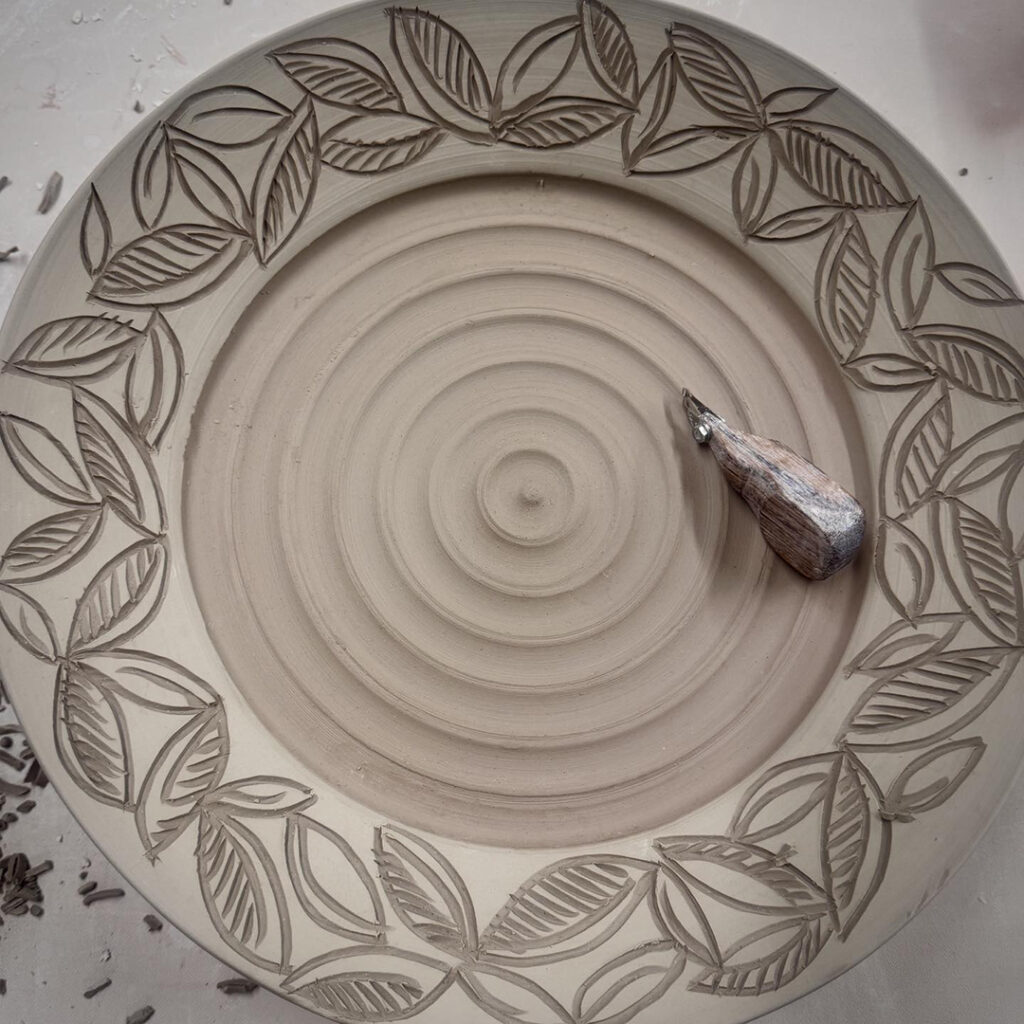
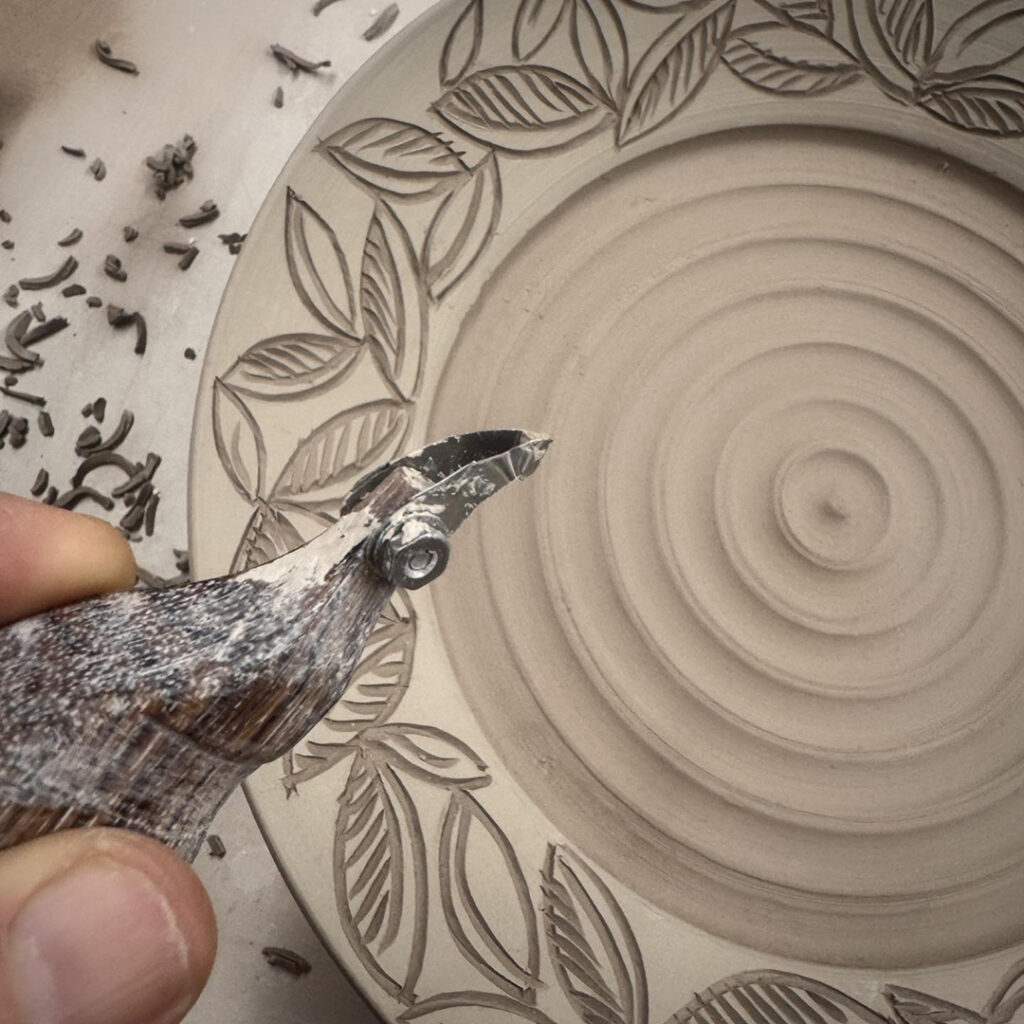
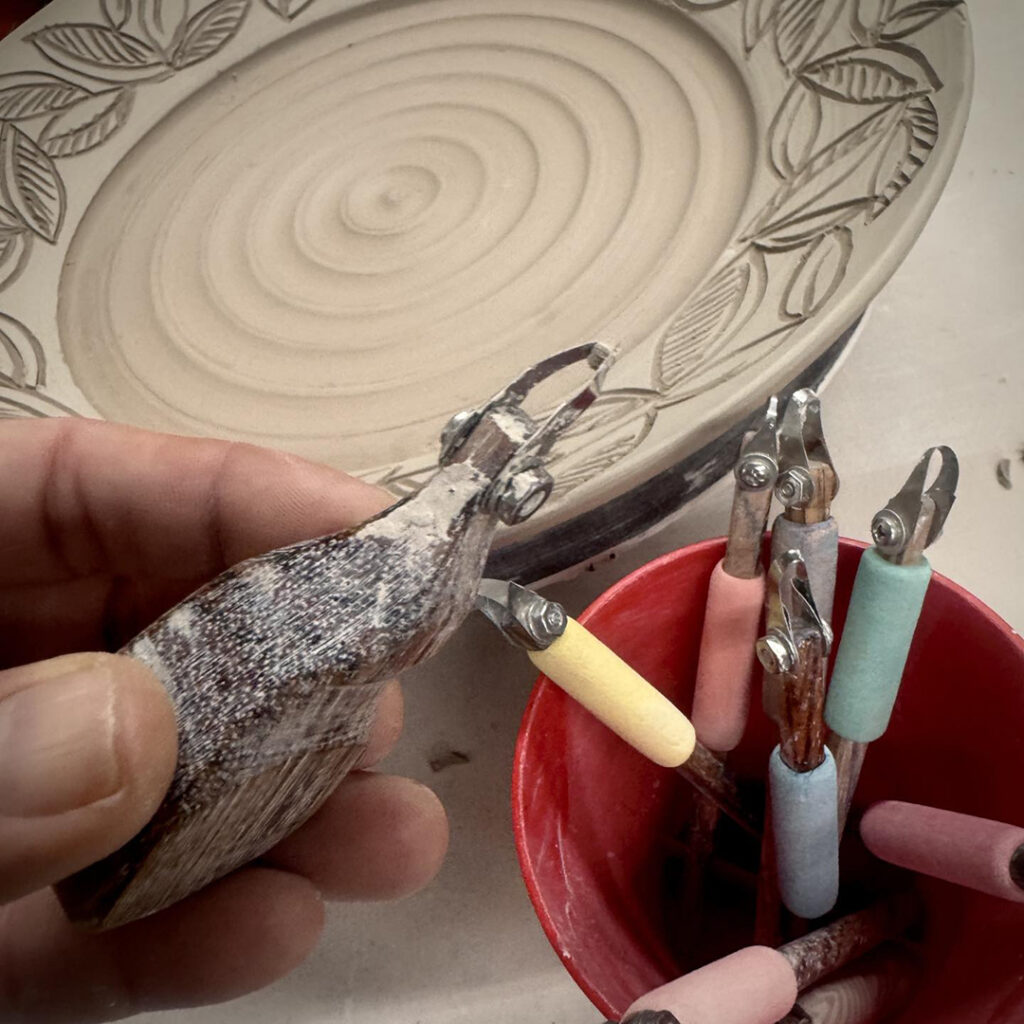
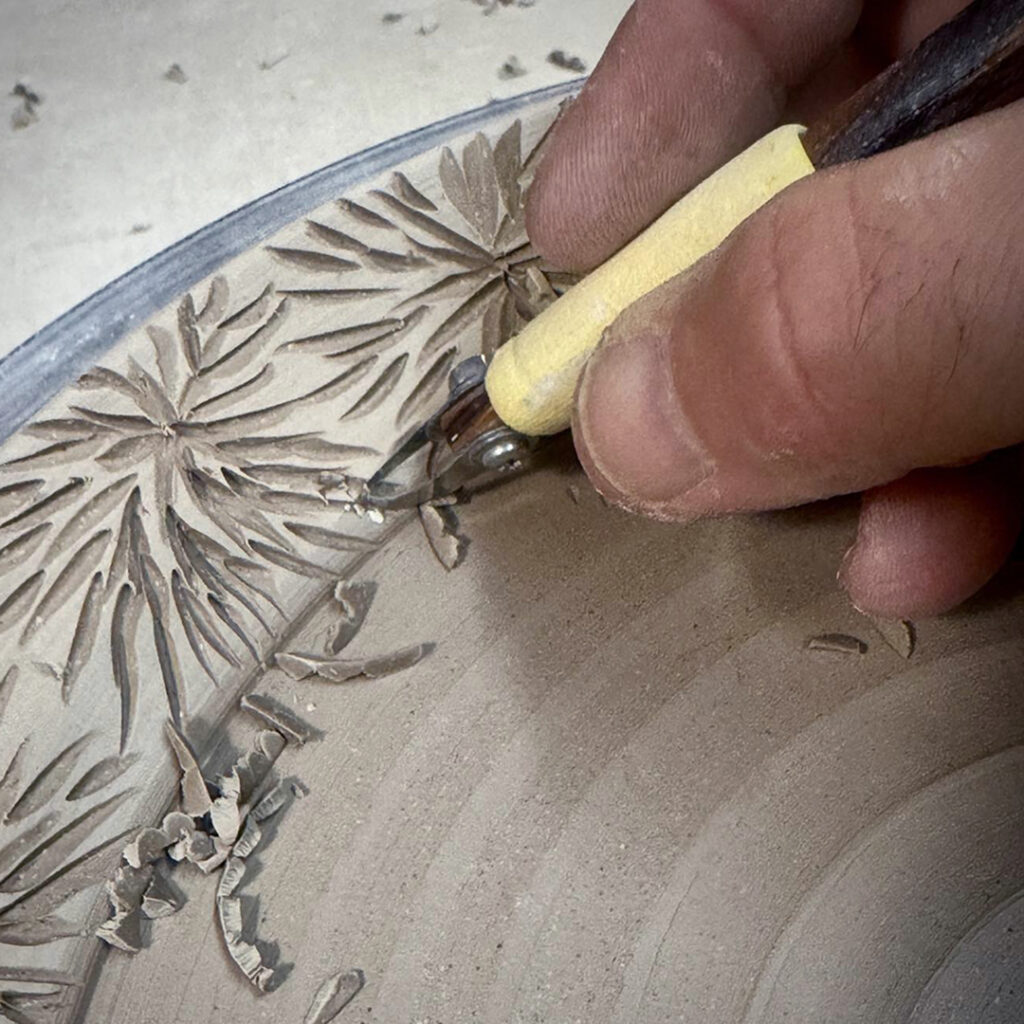
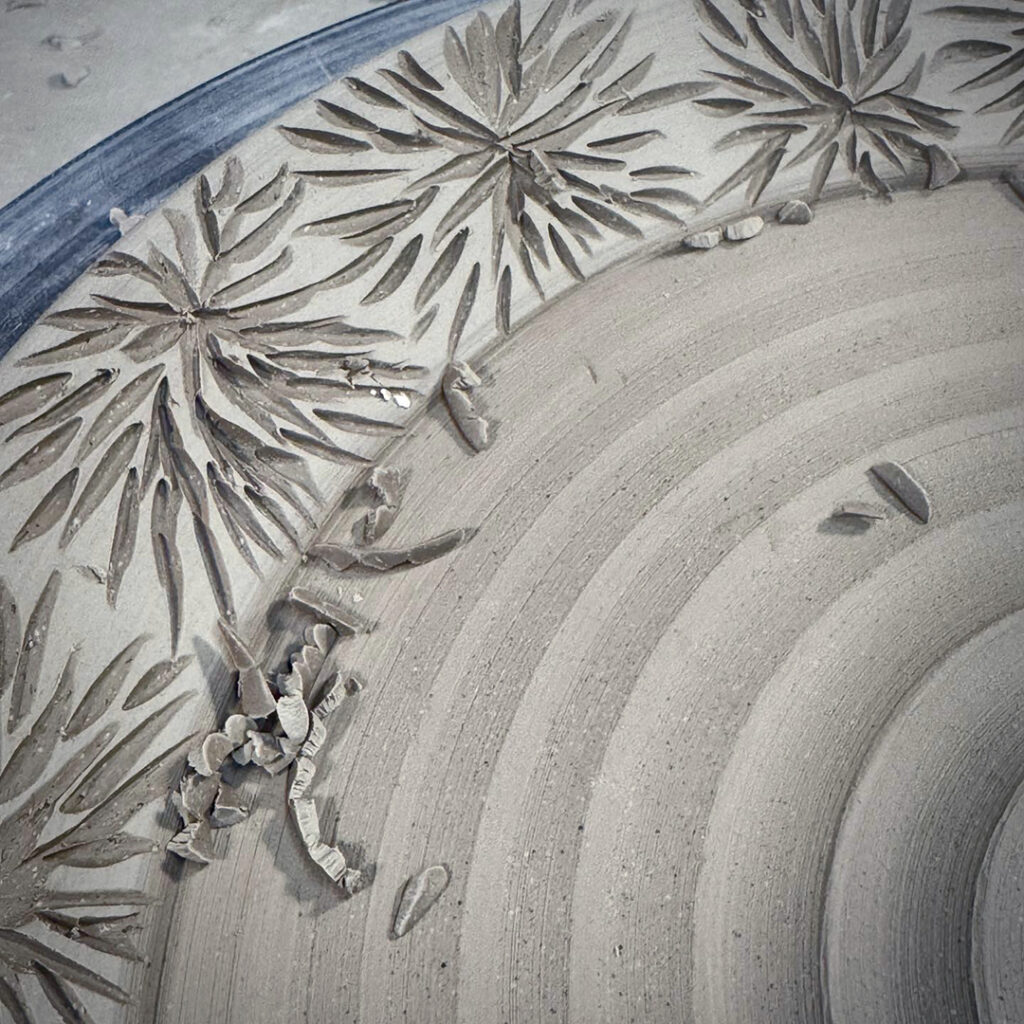
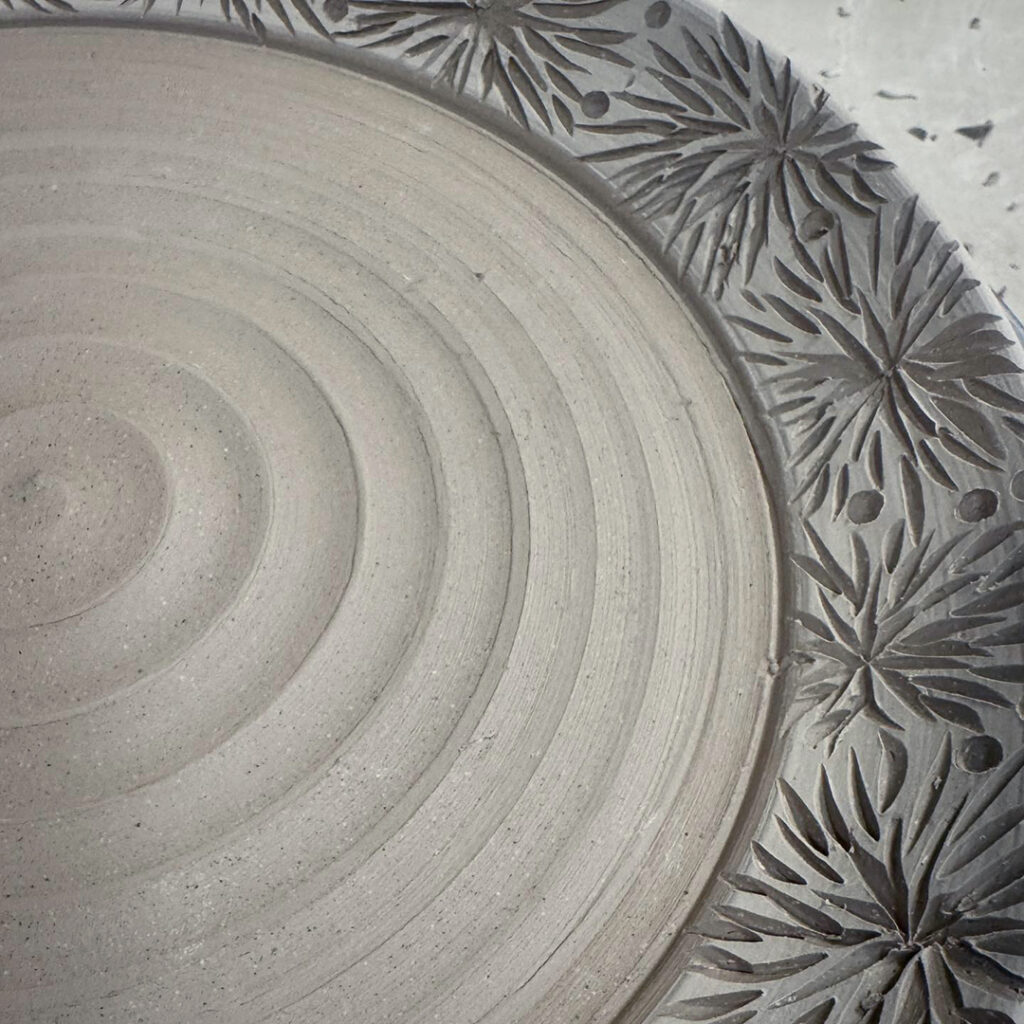
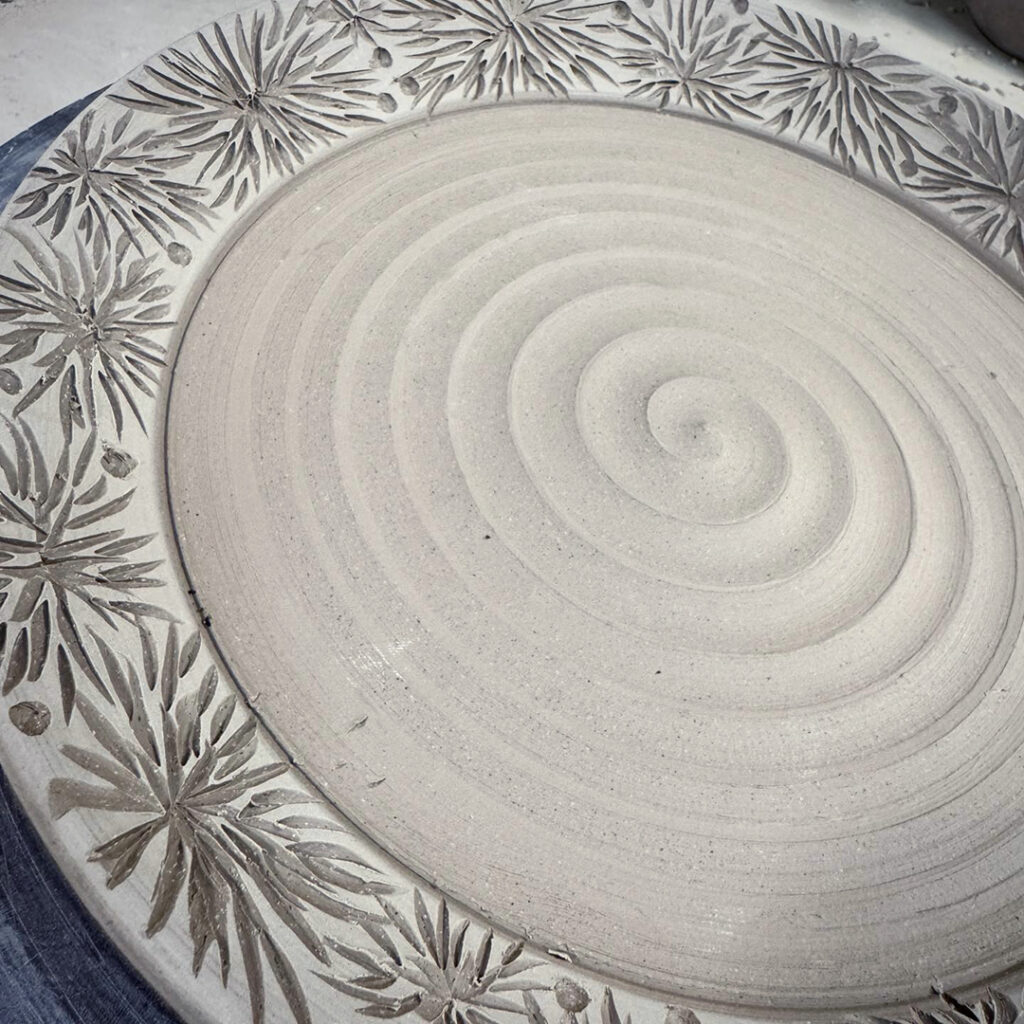
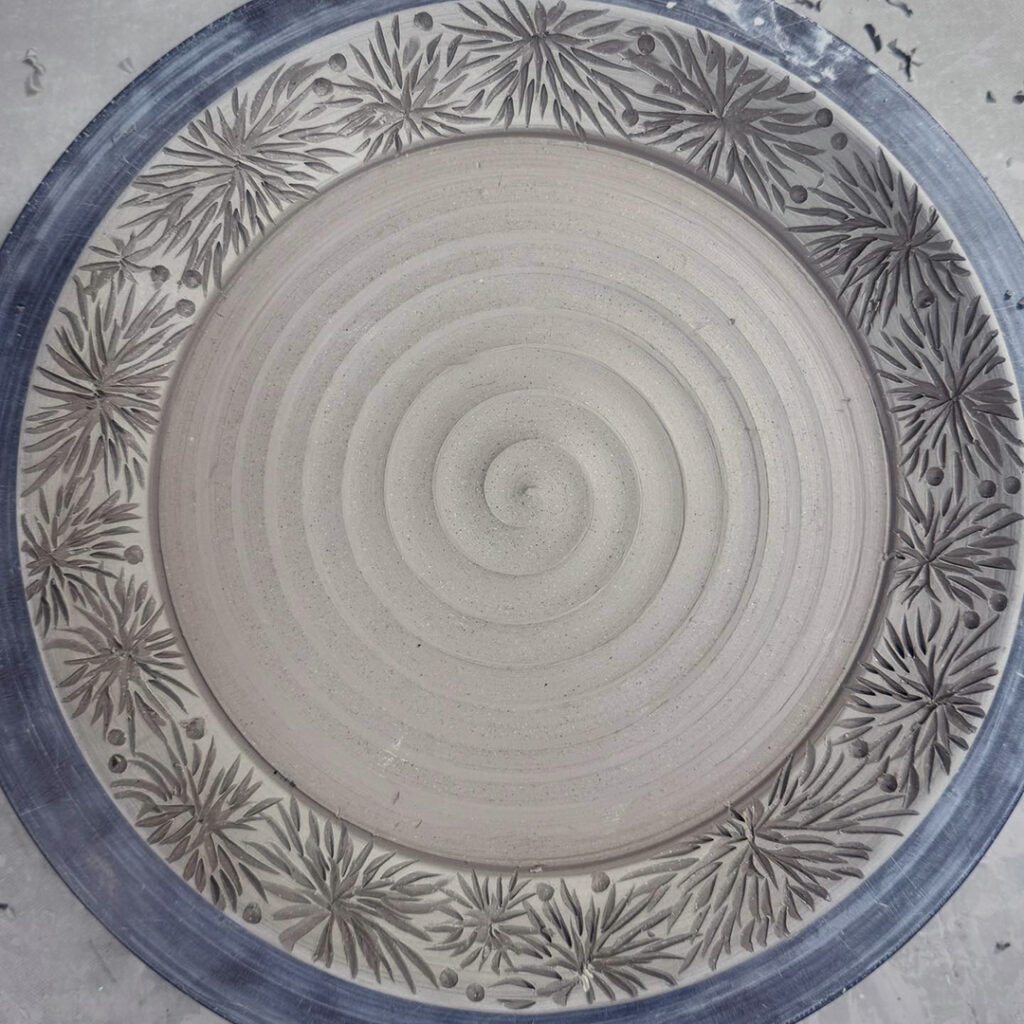
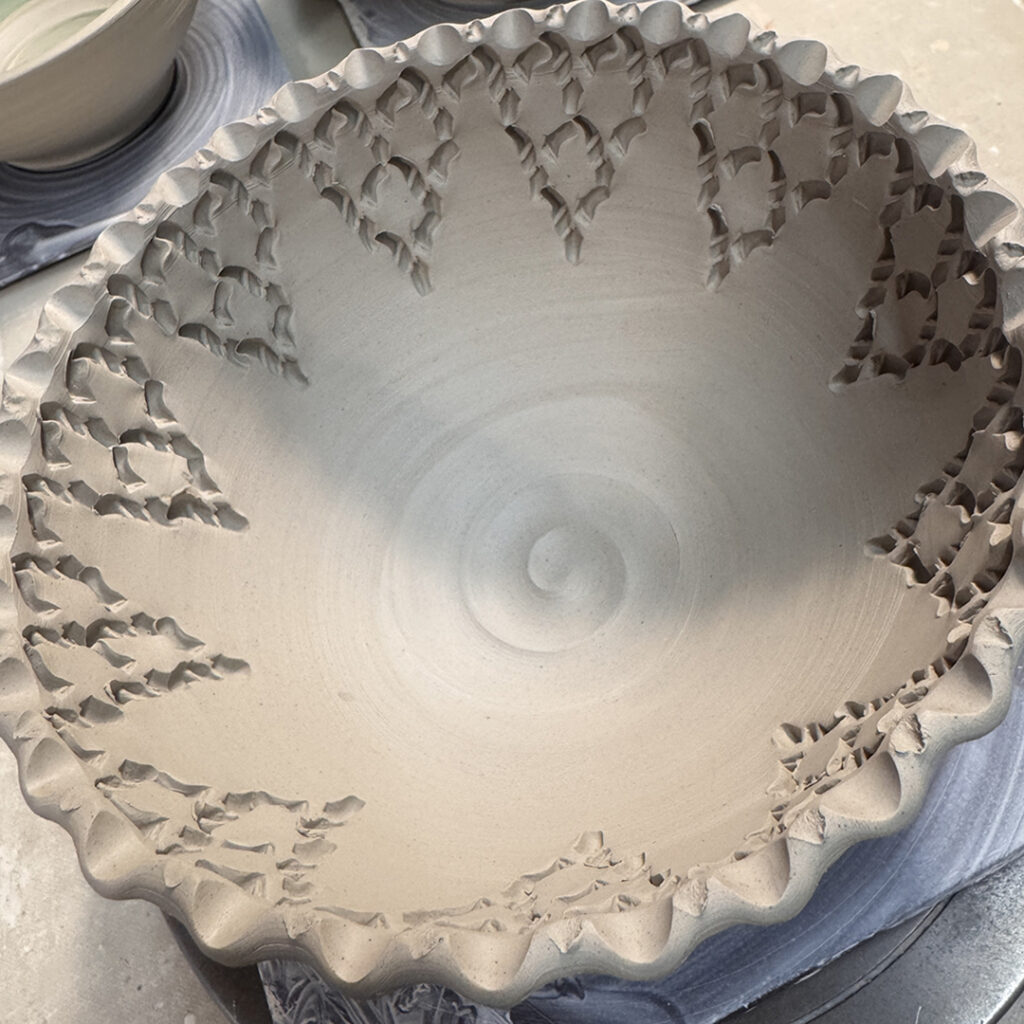
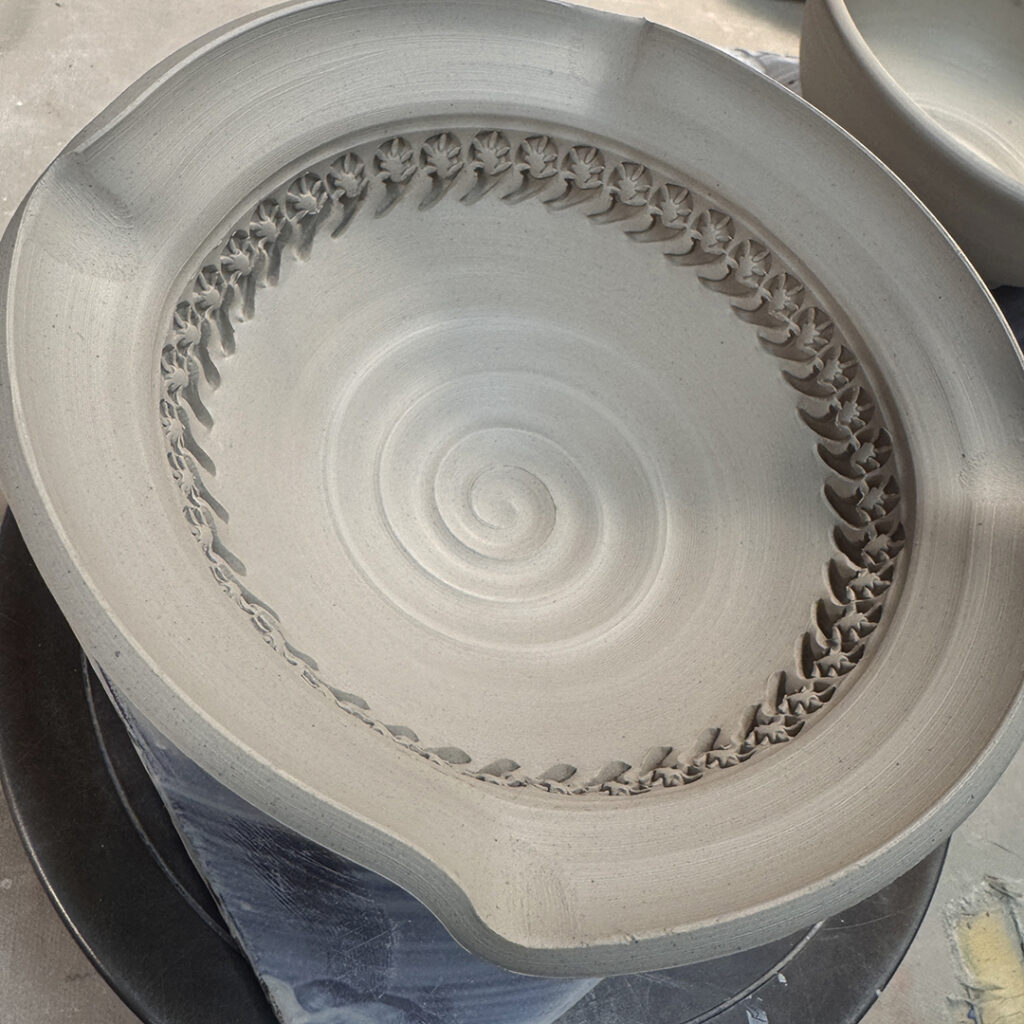
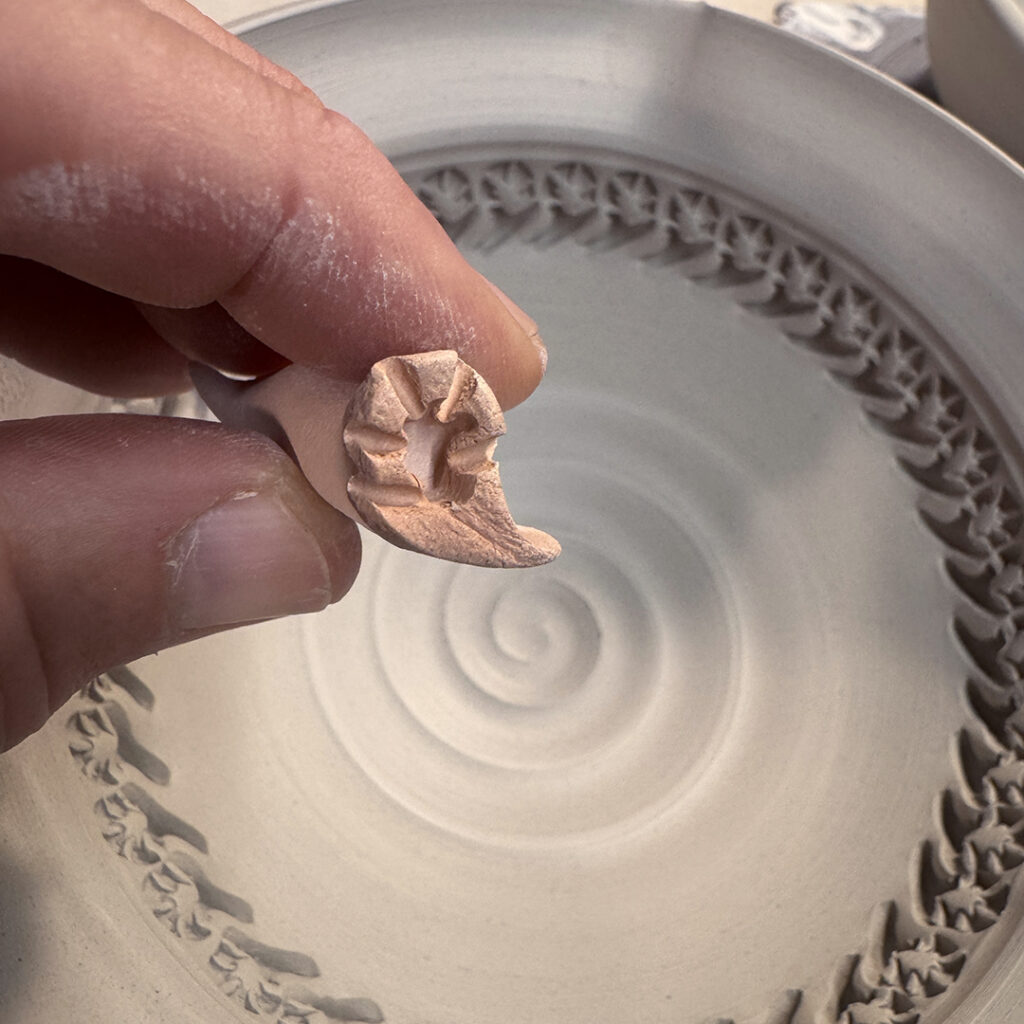
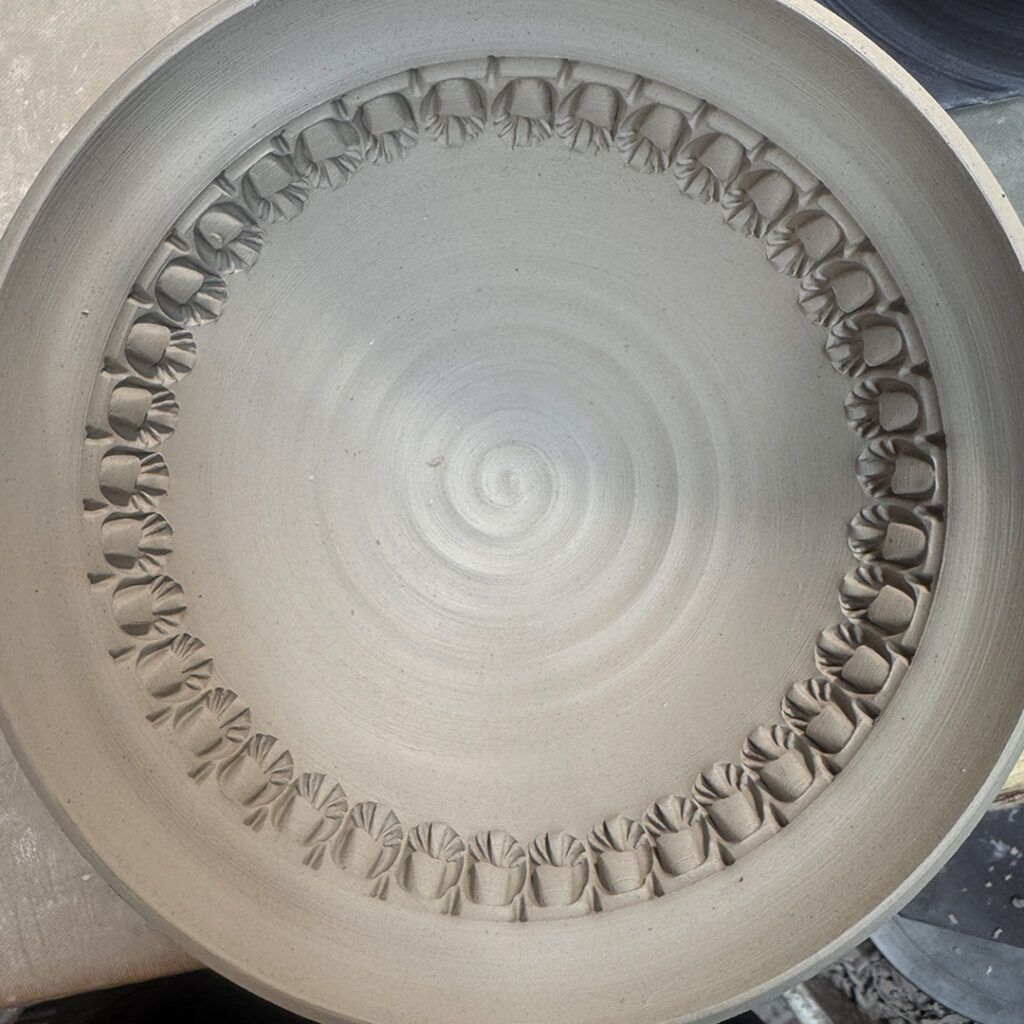
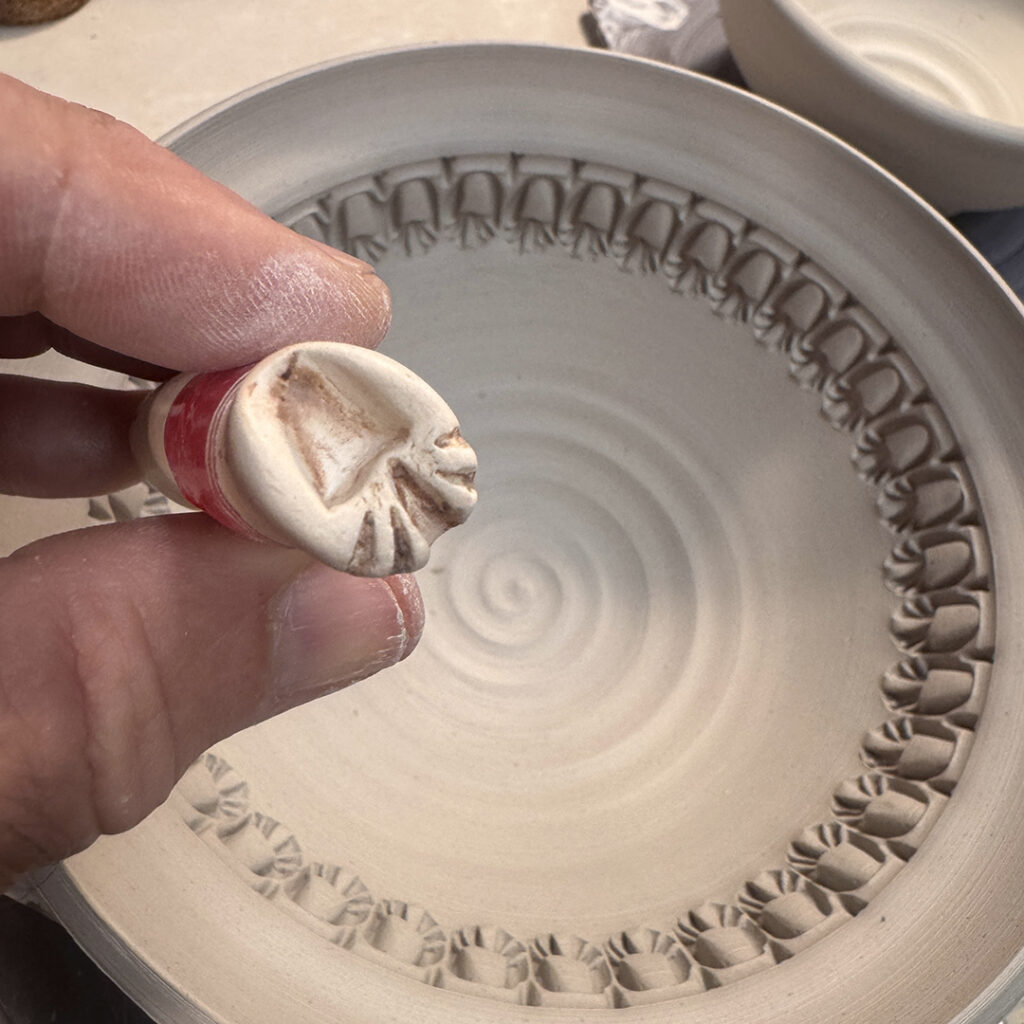
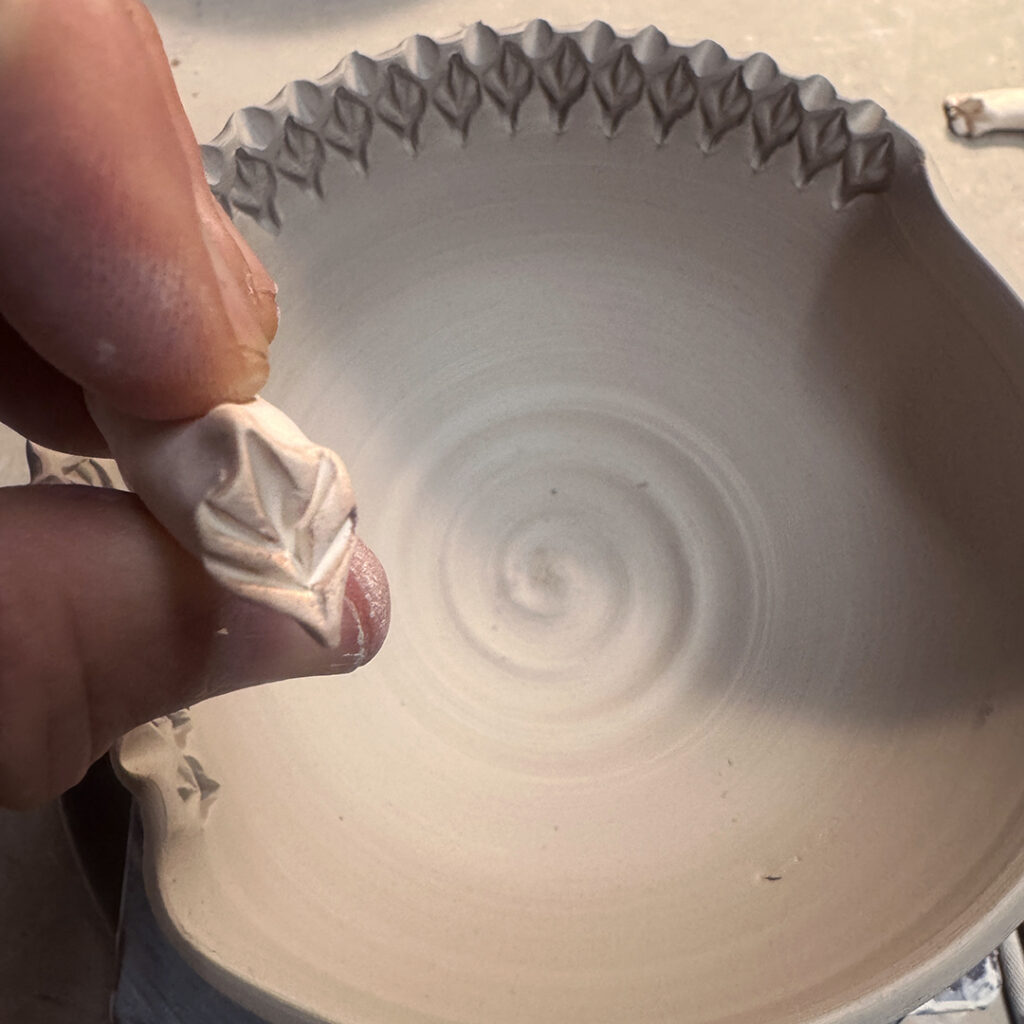
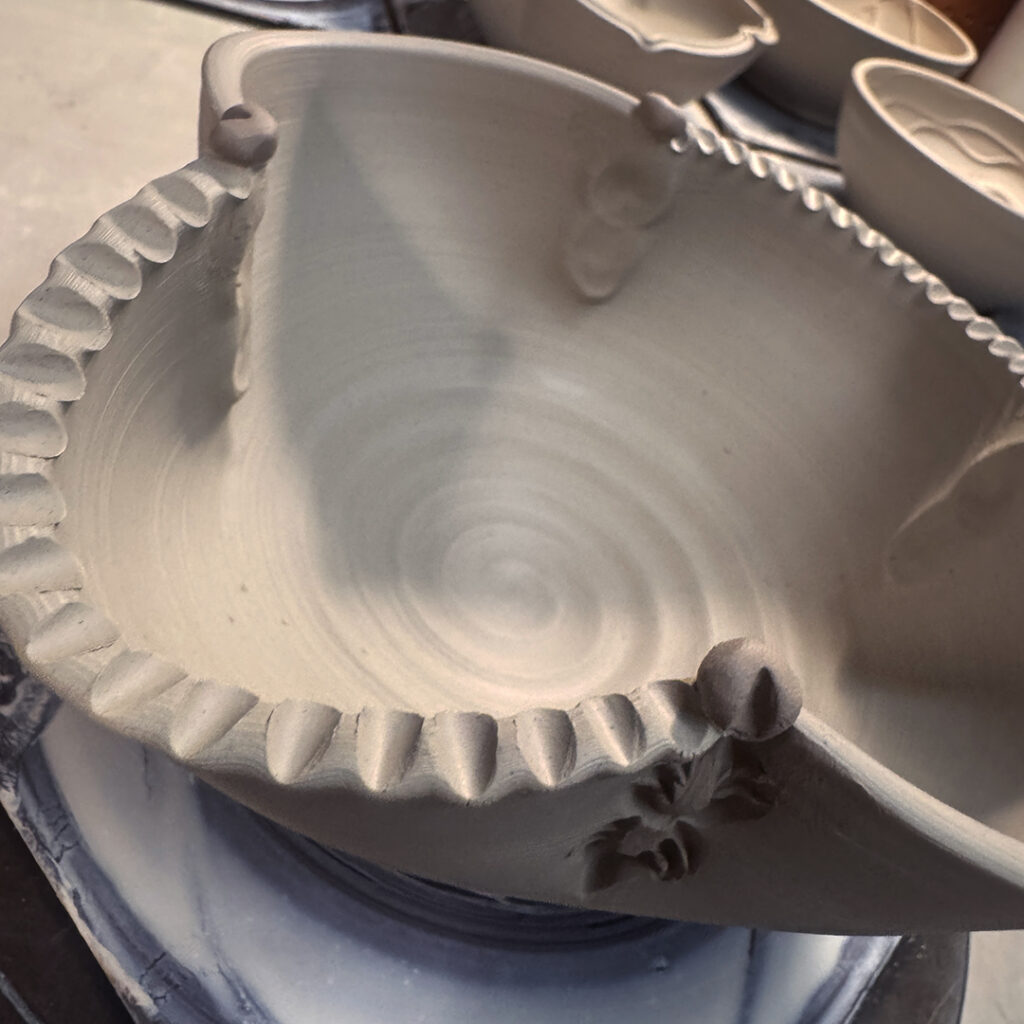
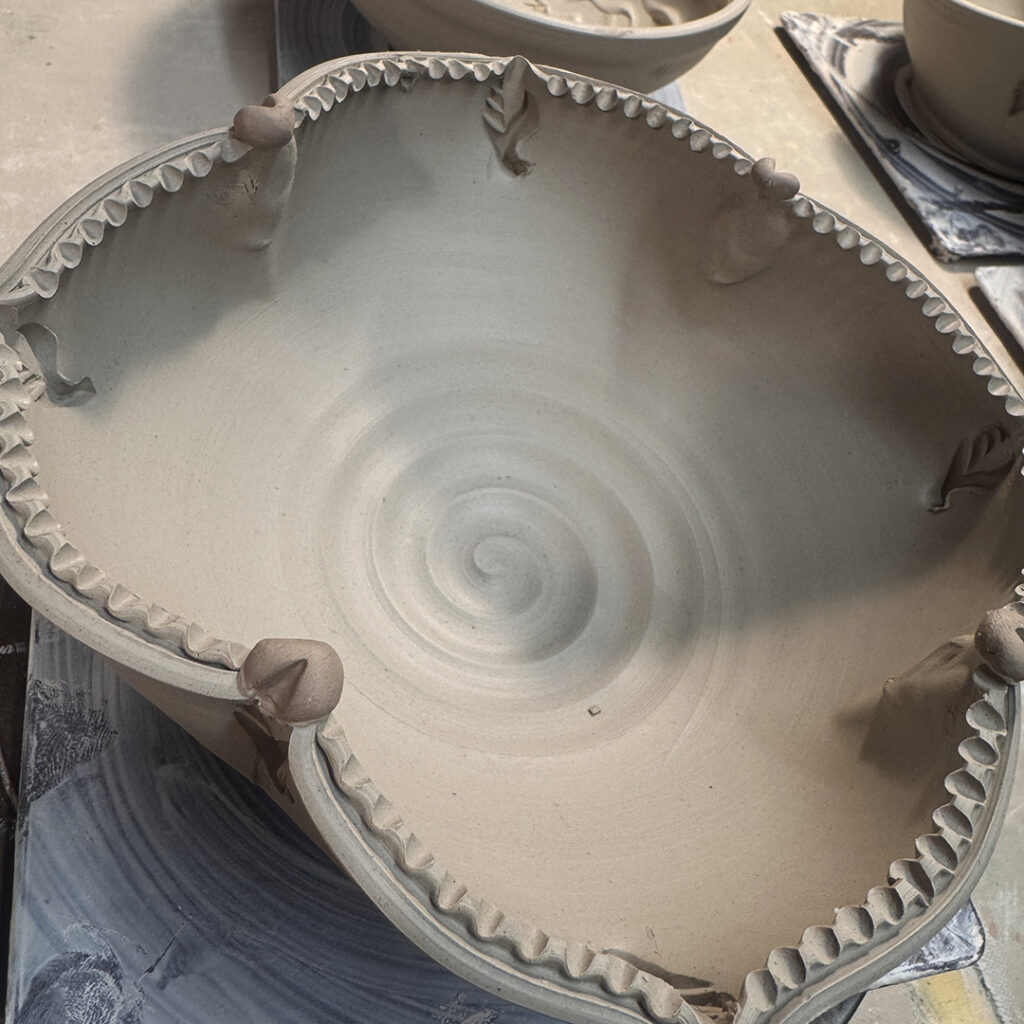
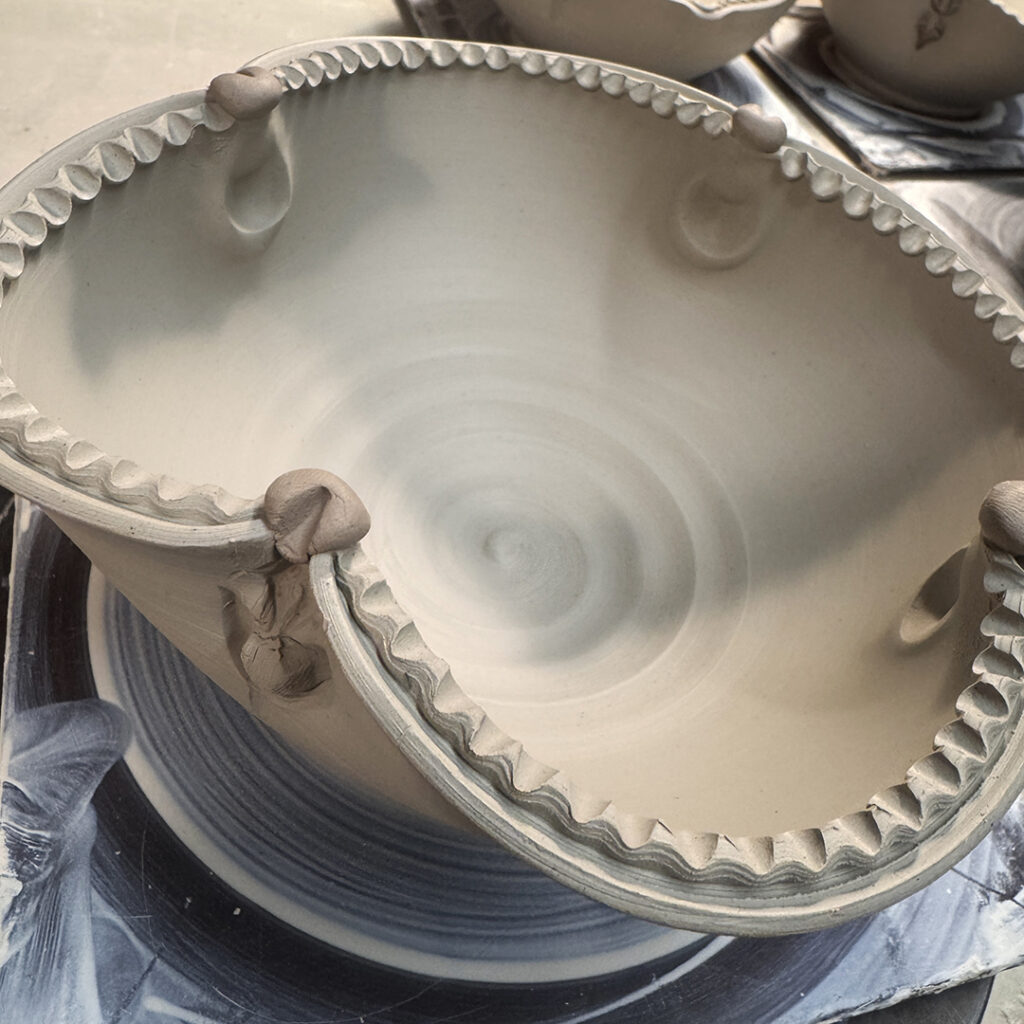
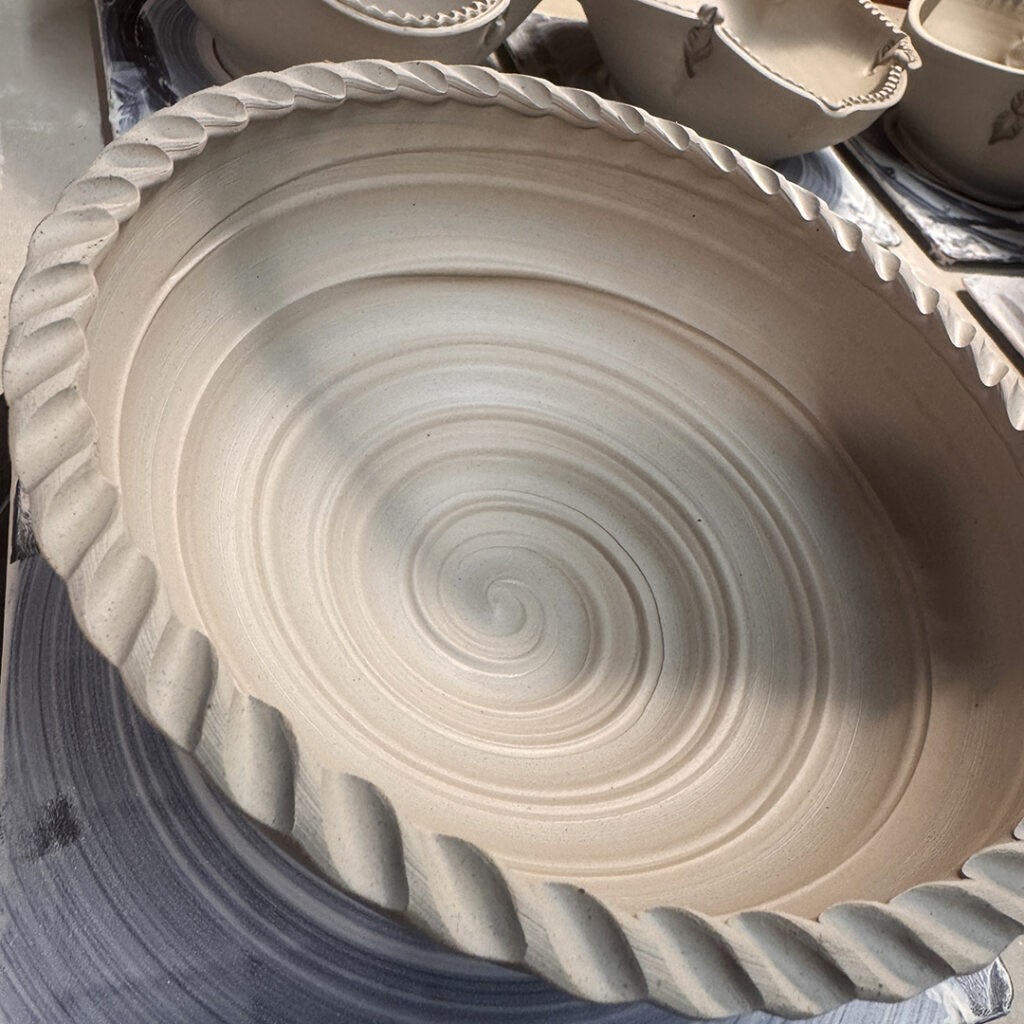
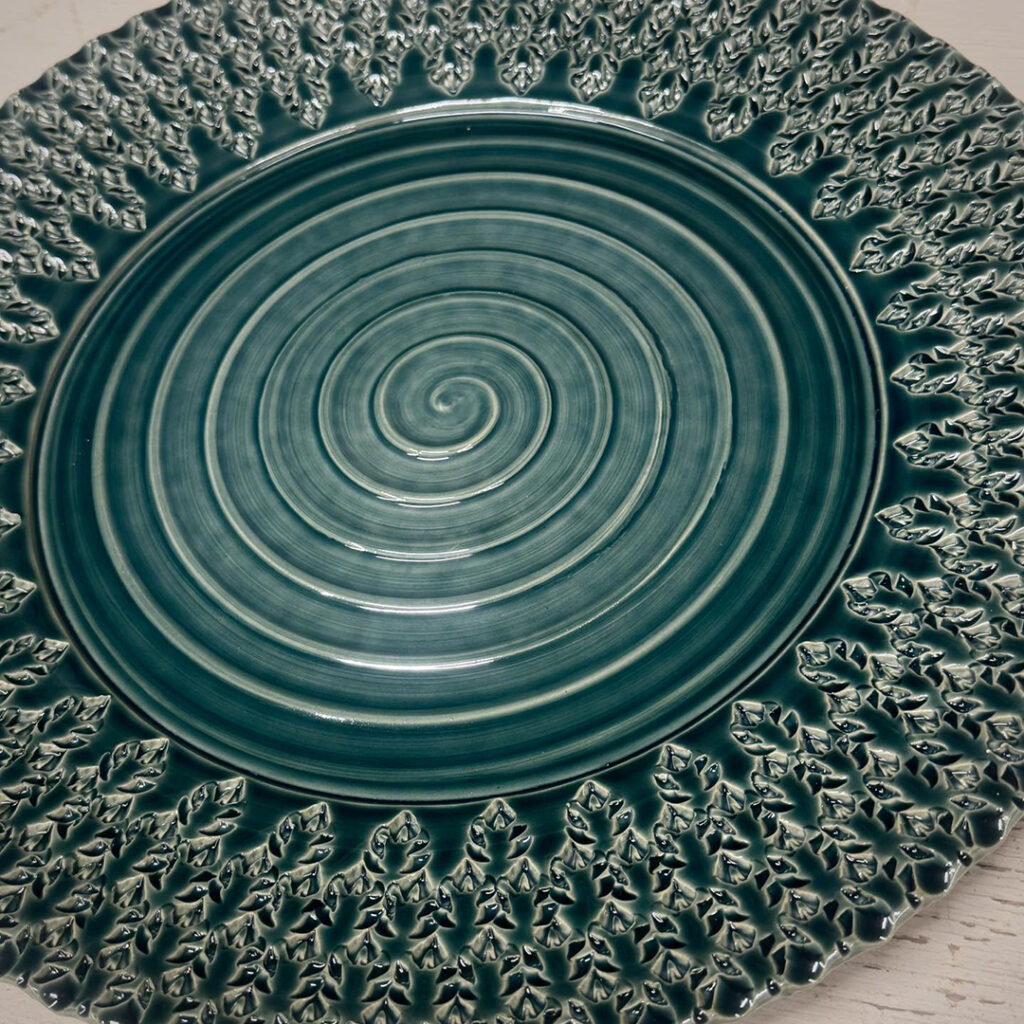
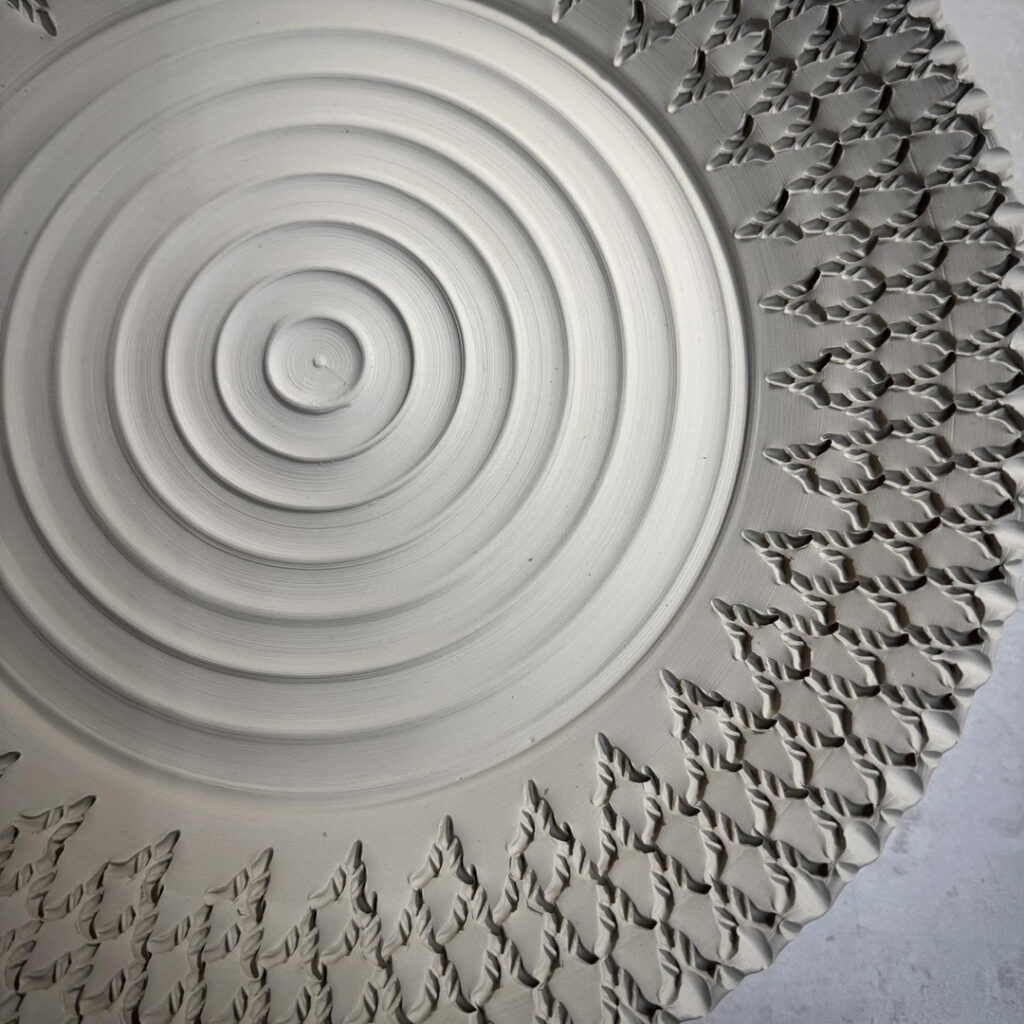
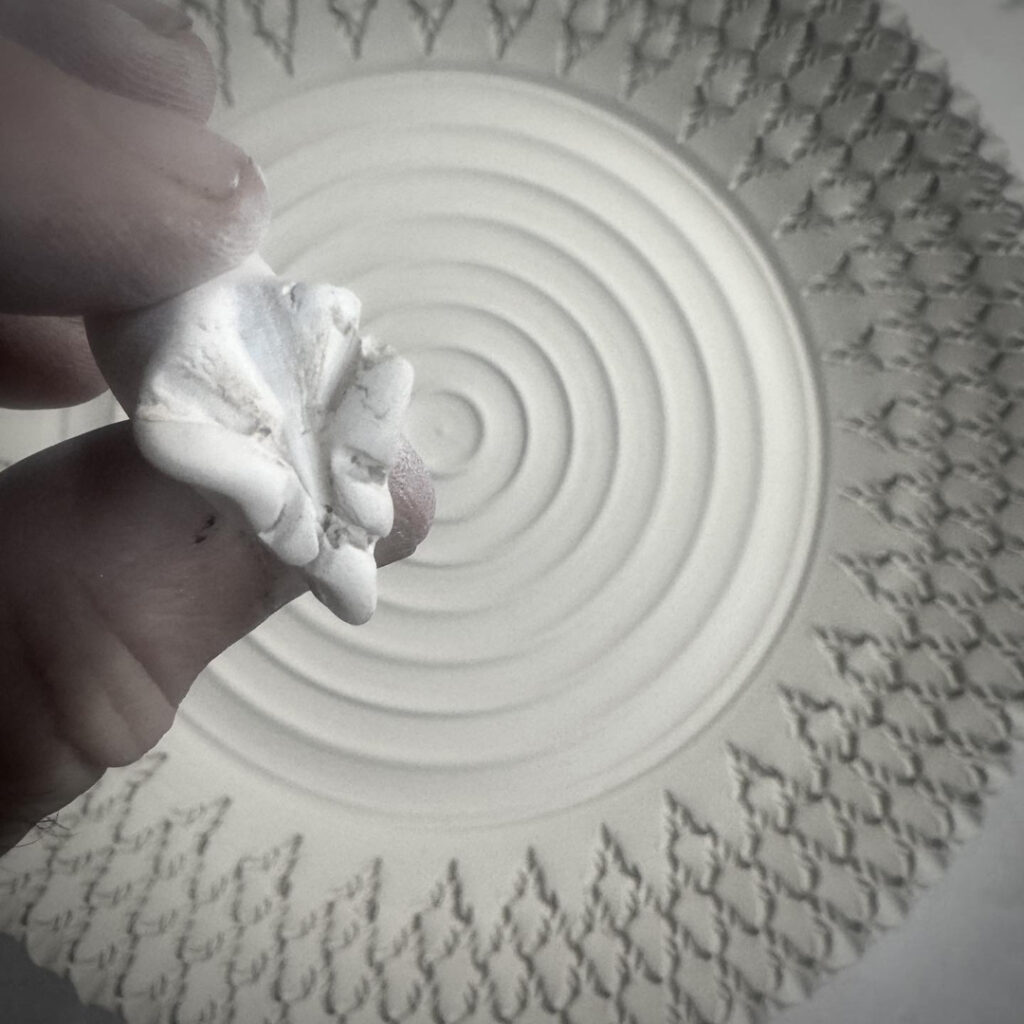
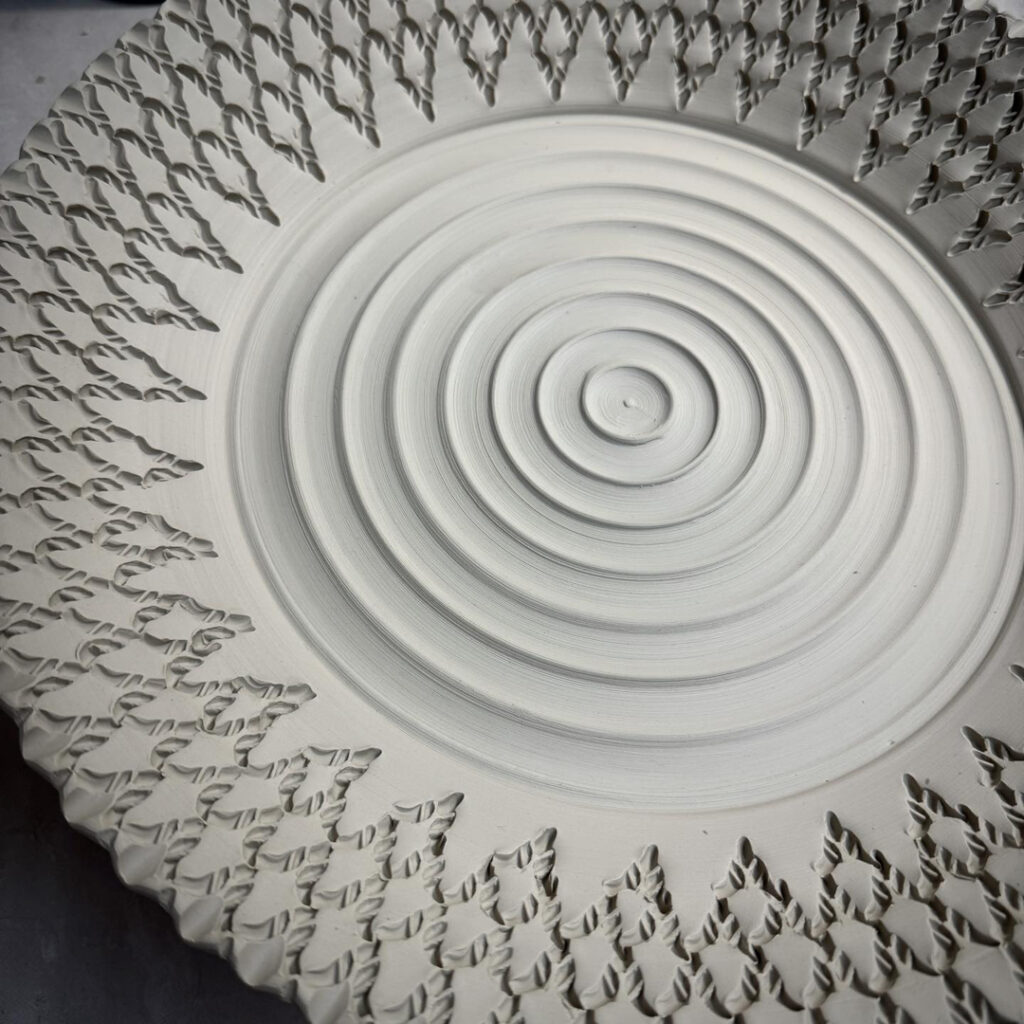
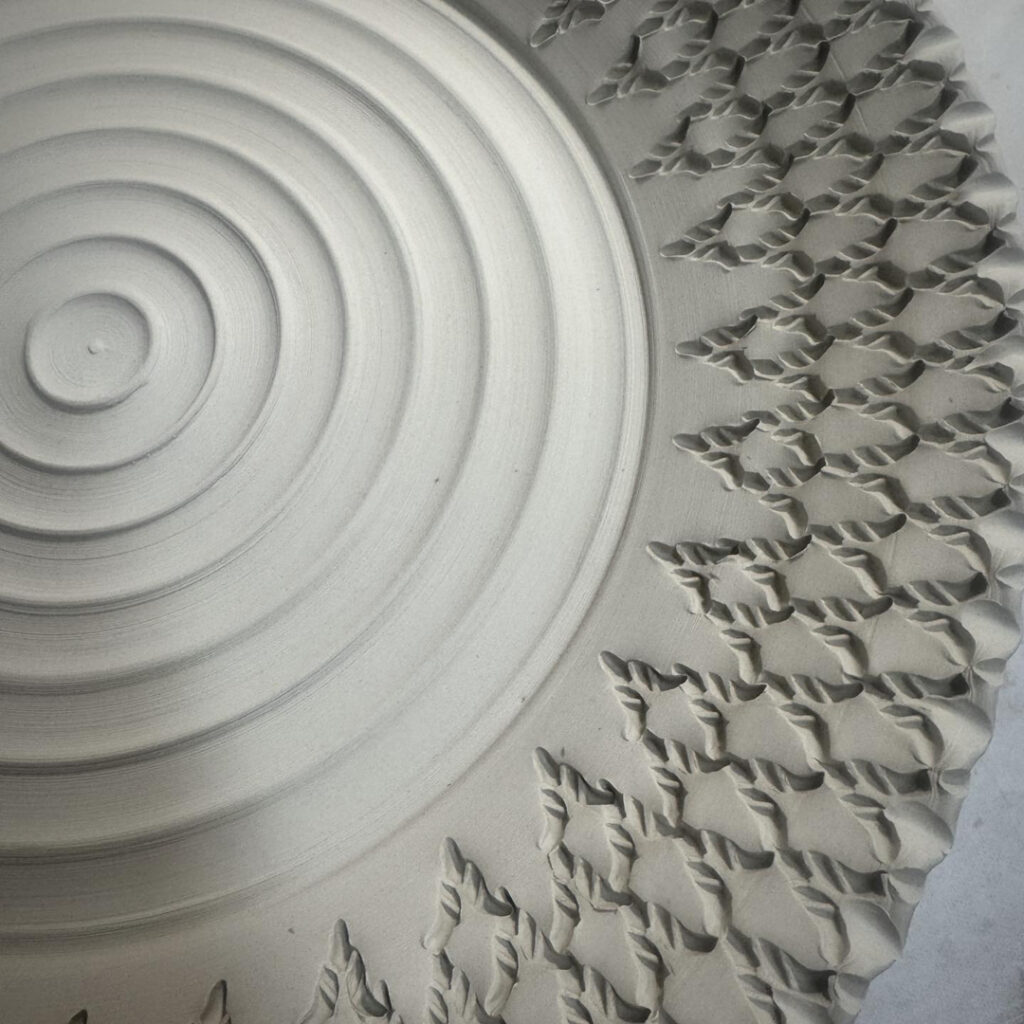
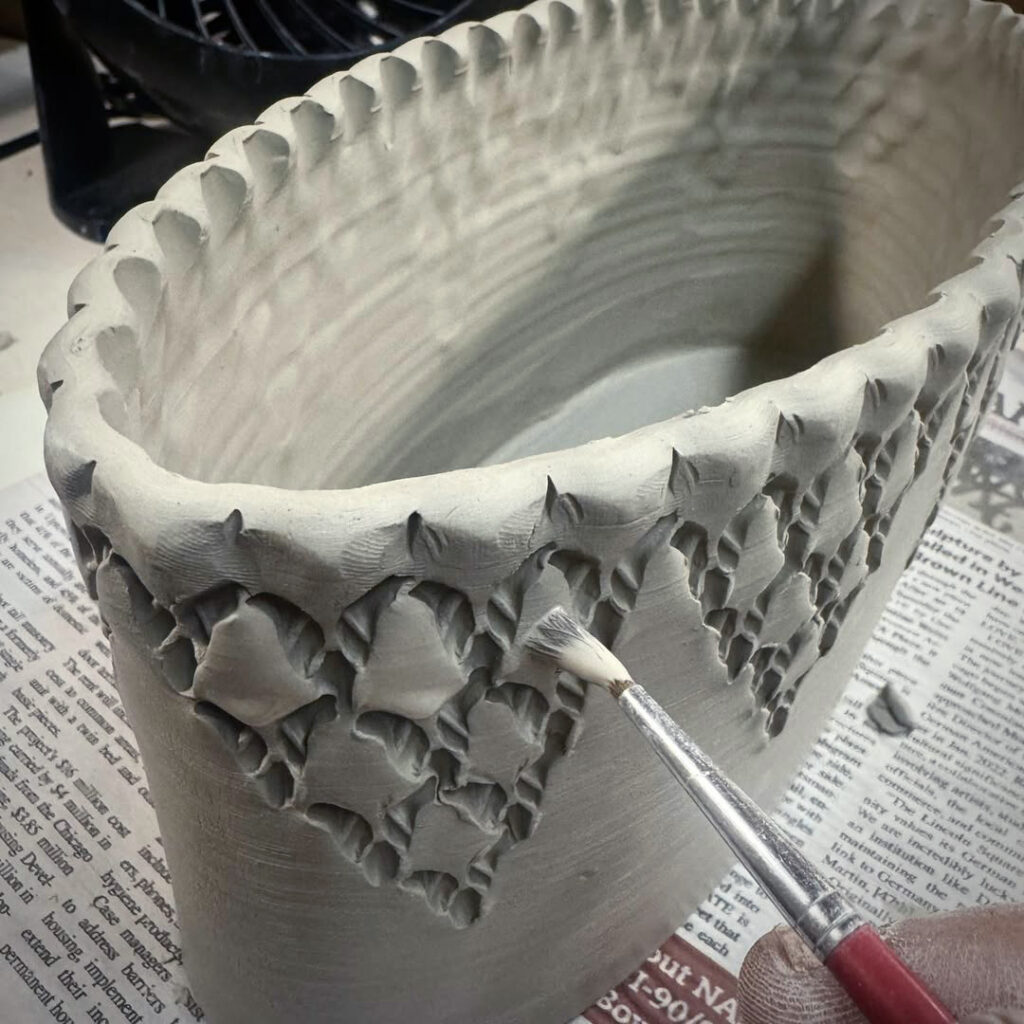
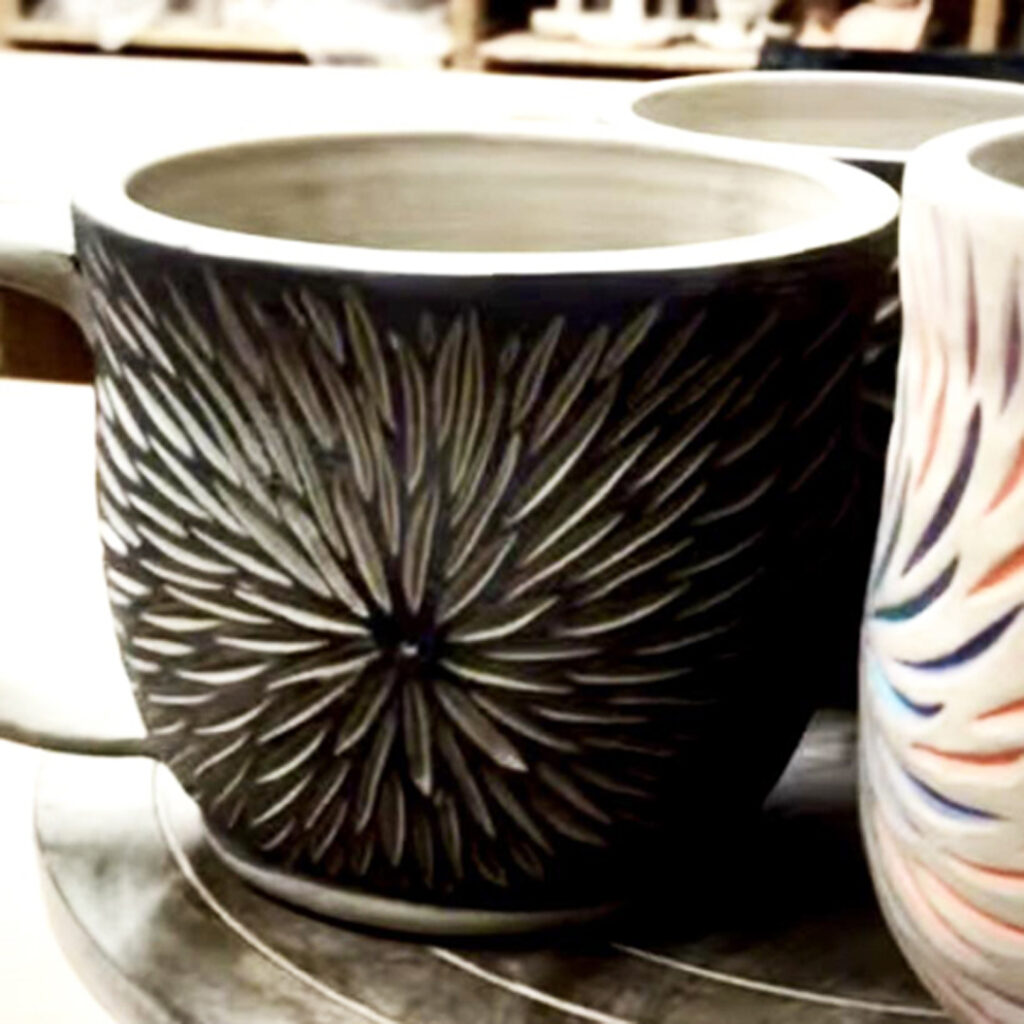
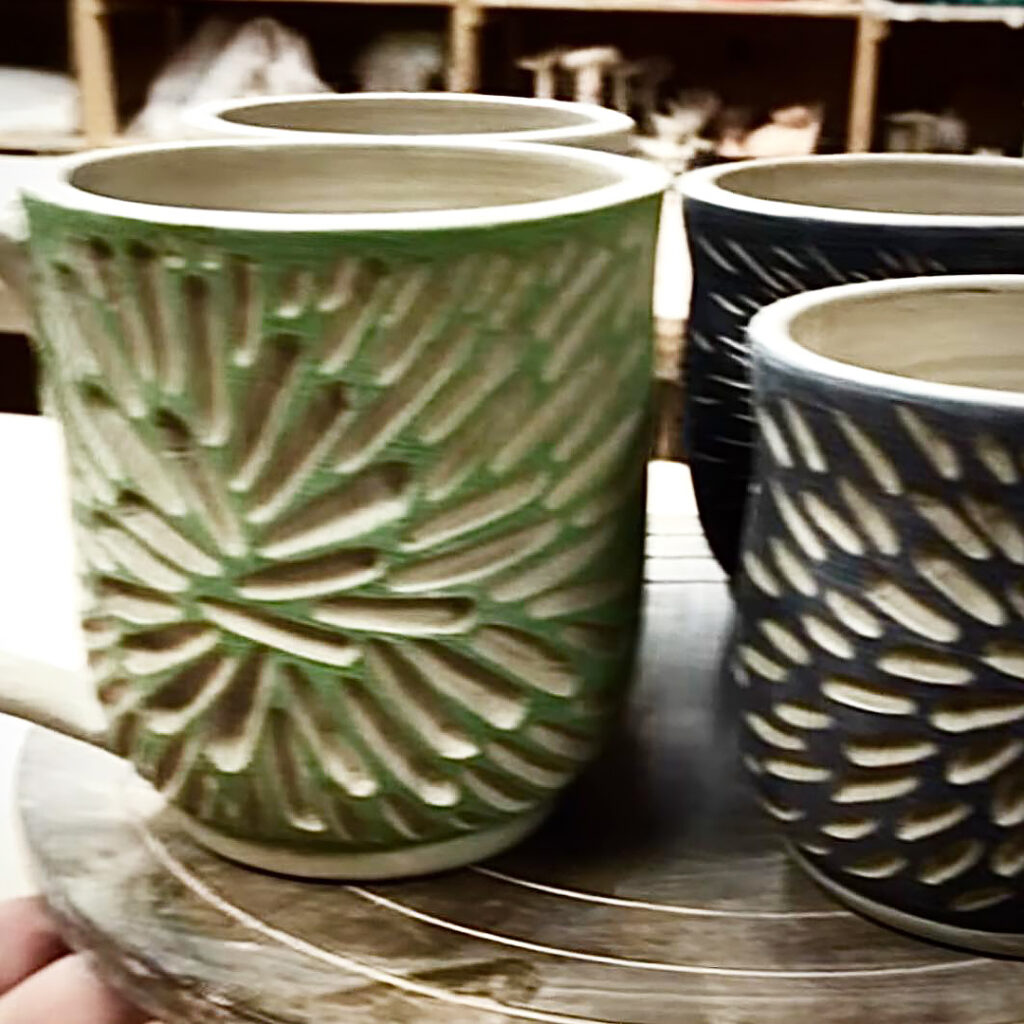
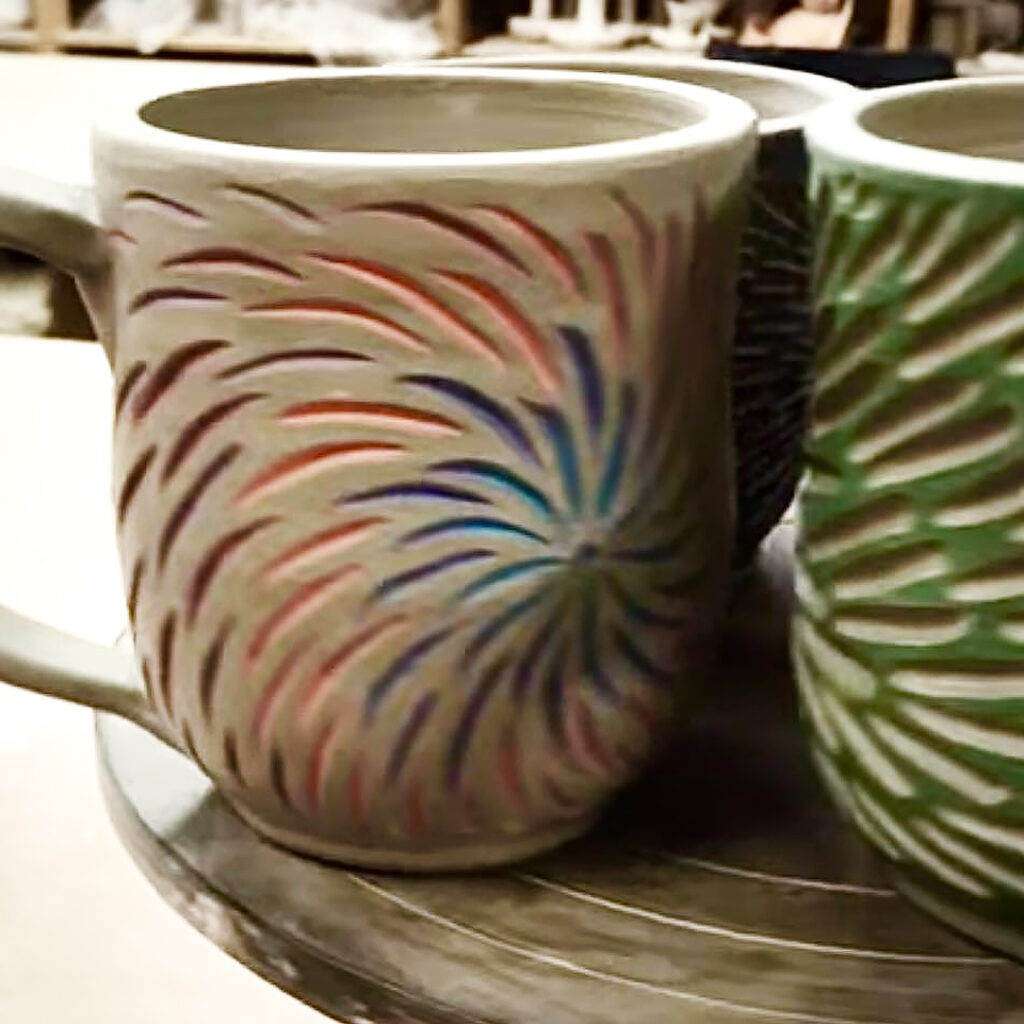
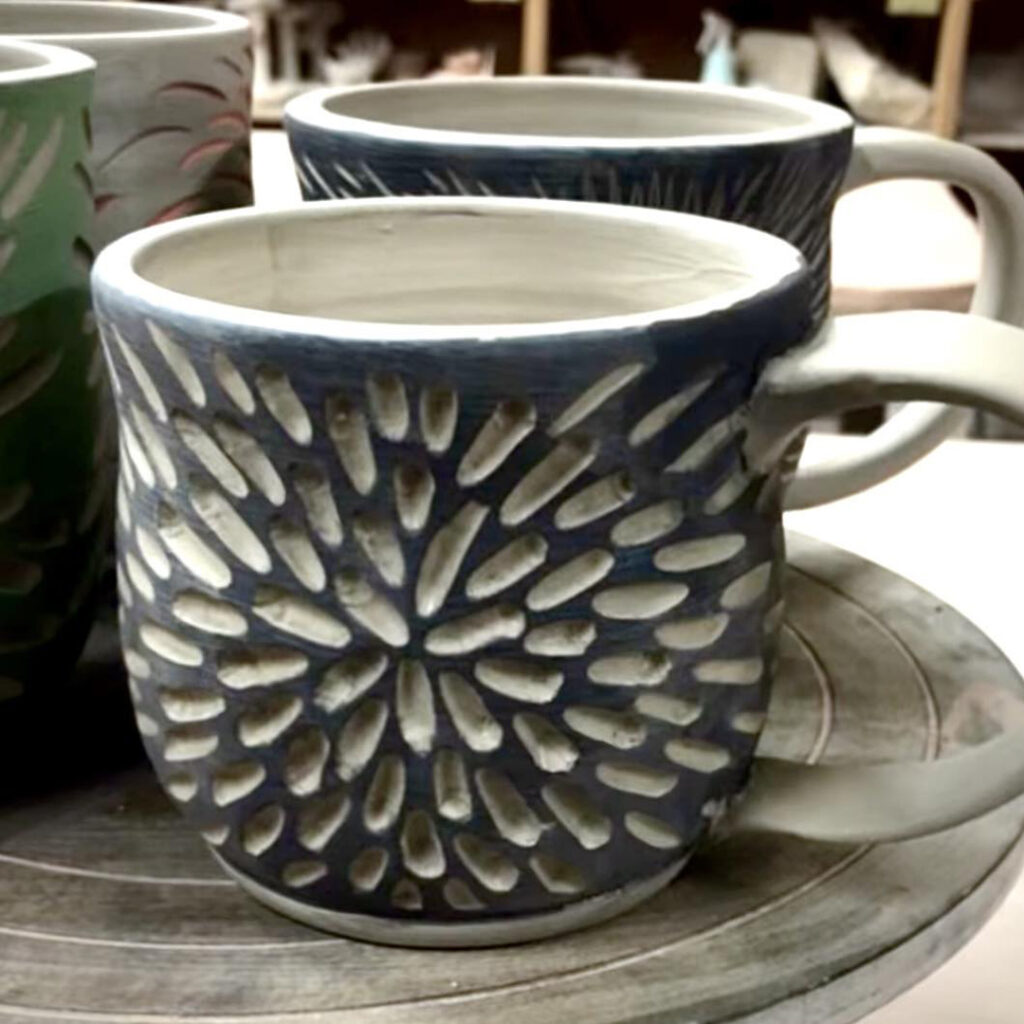
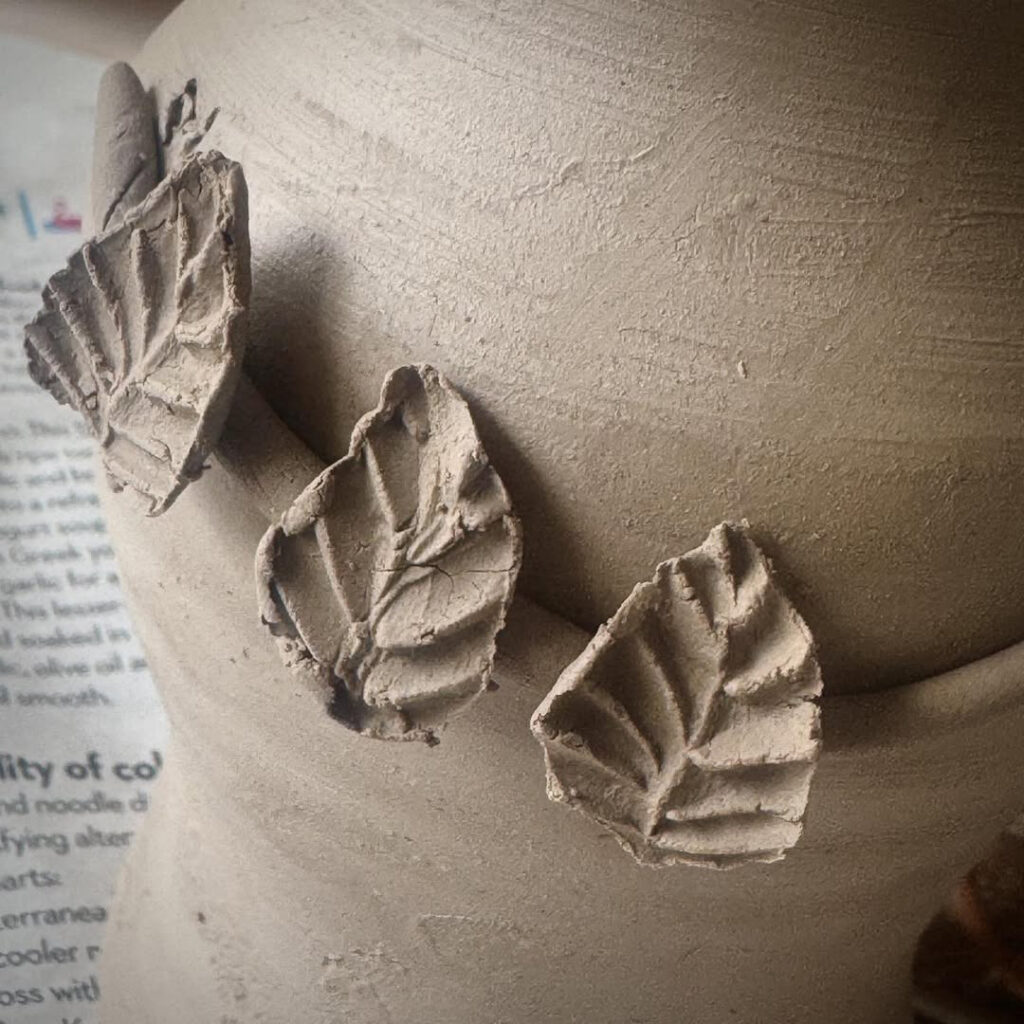
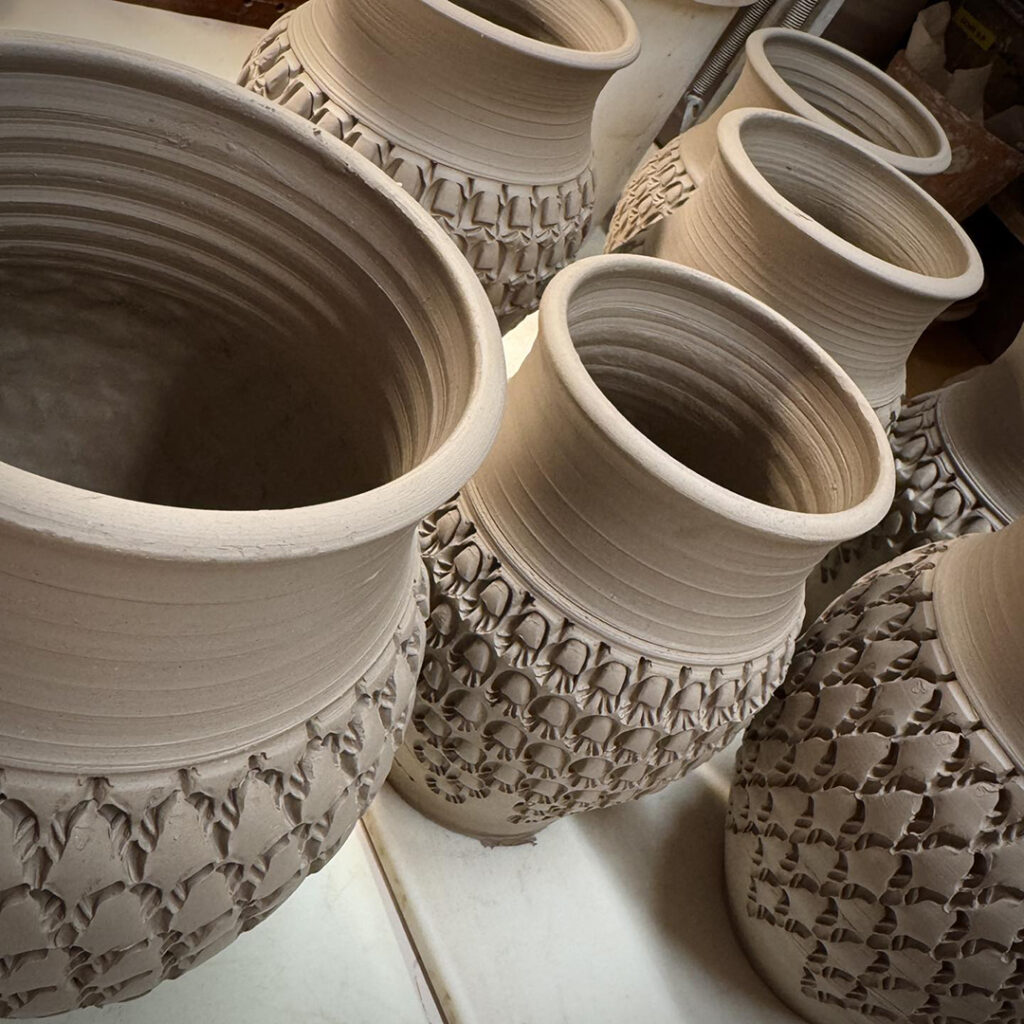
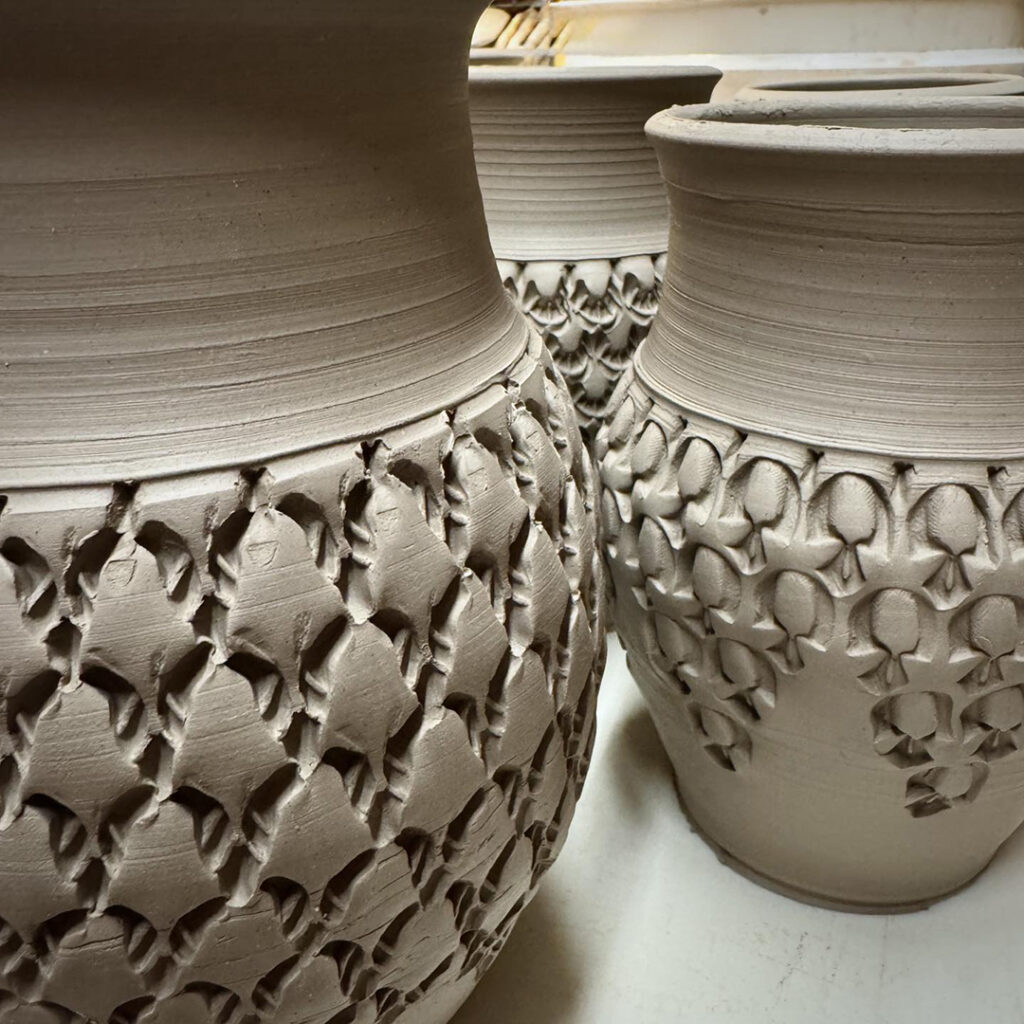
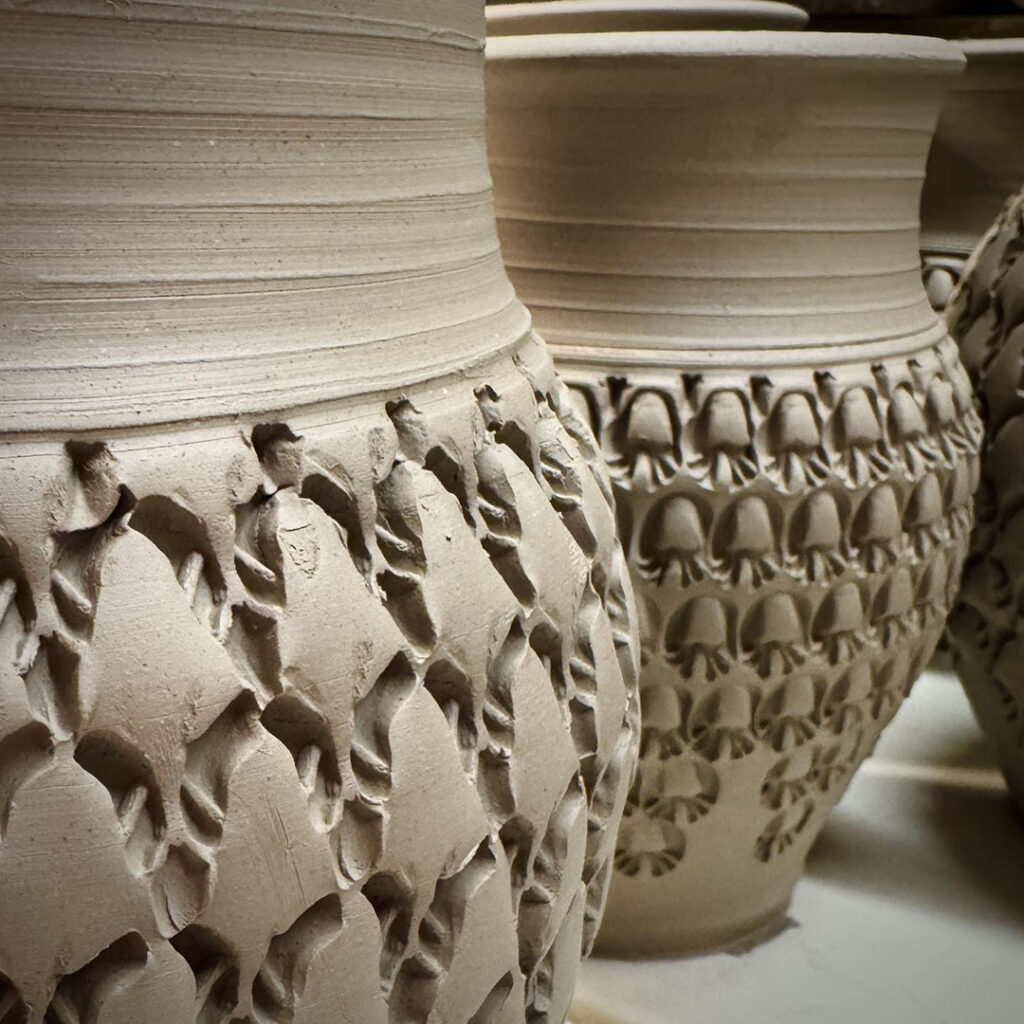
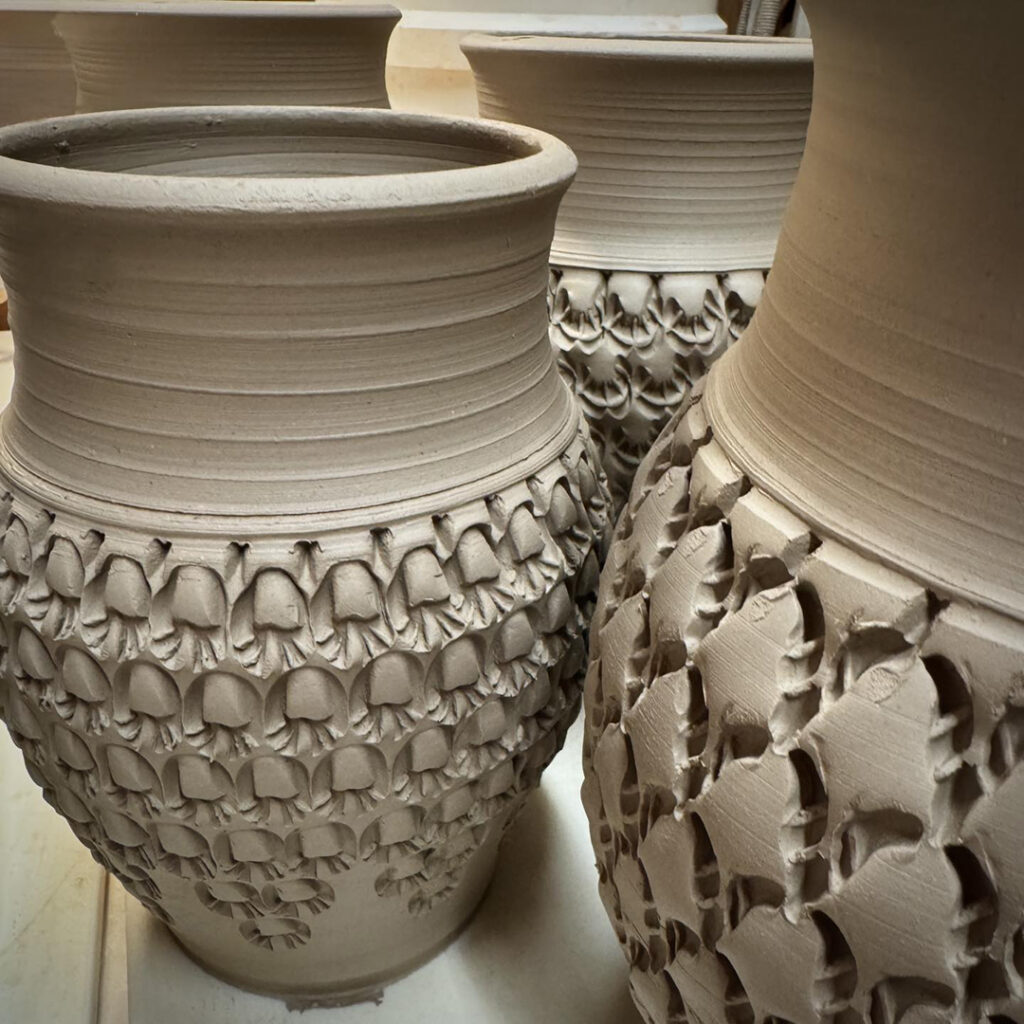
To get us started, I did a couple stamping demos using some bisqued stamps I brought with me. We also discussed how to use your texture tools to complement the design & shape of a pot… and maybe thinking the other way while throwing. Setting yourself up with a well-designed pot with good “canvas areas” for stamping later. So the stamps & textures are the focus, not an after-thought.
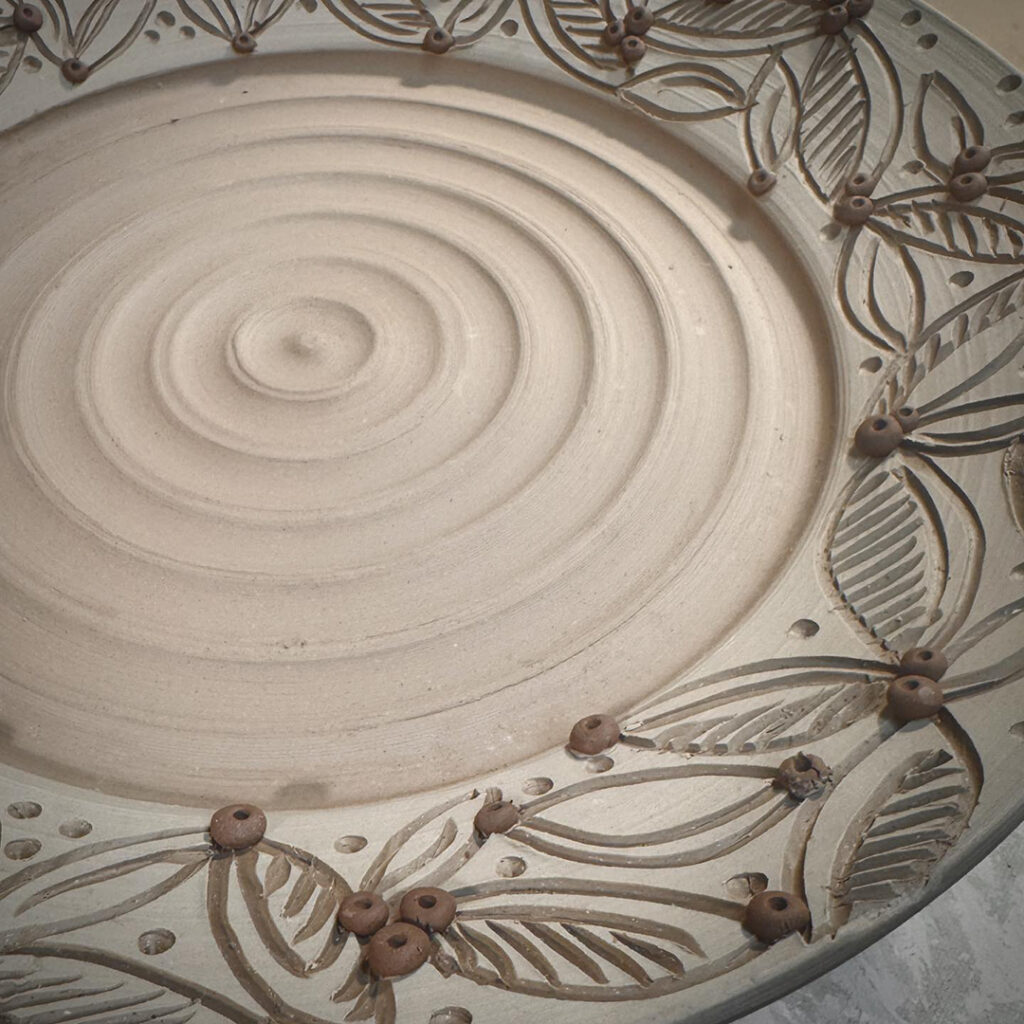
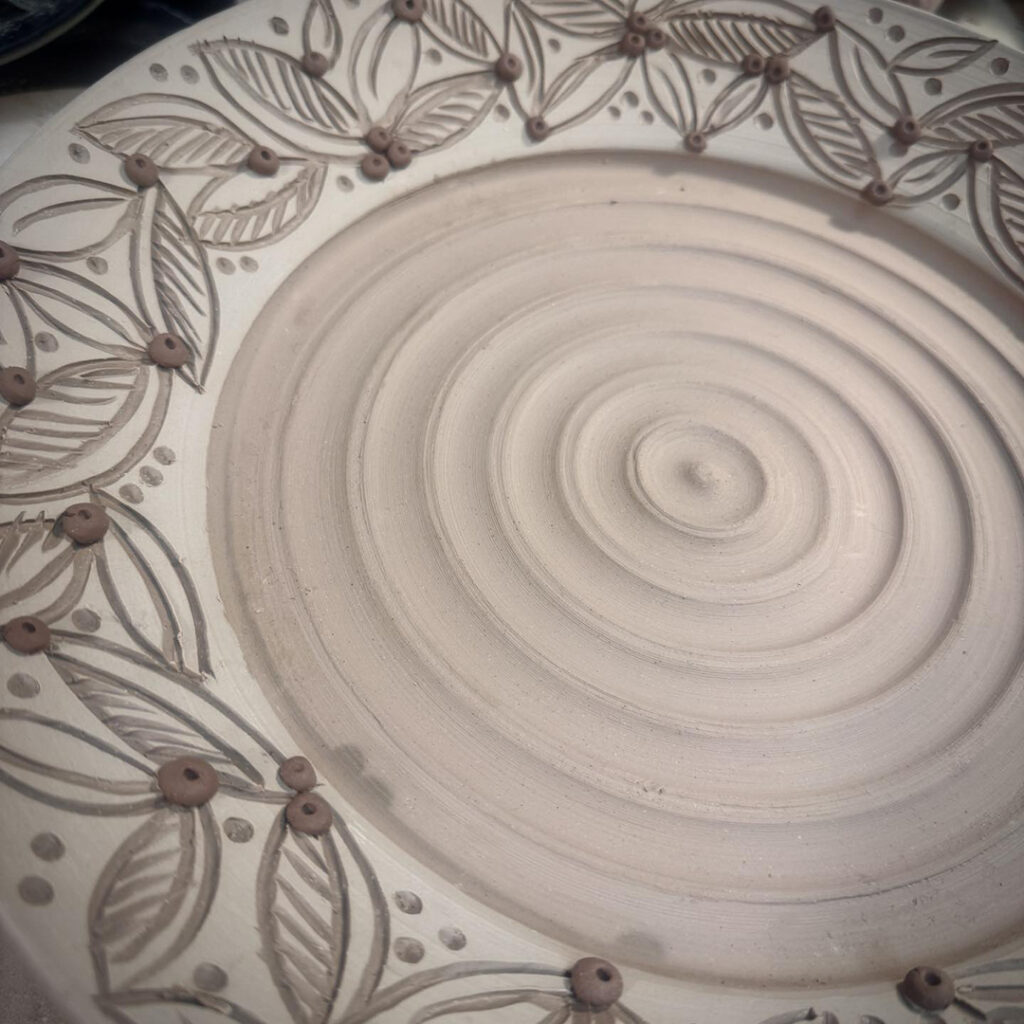
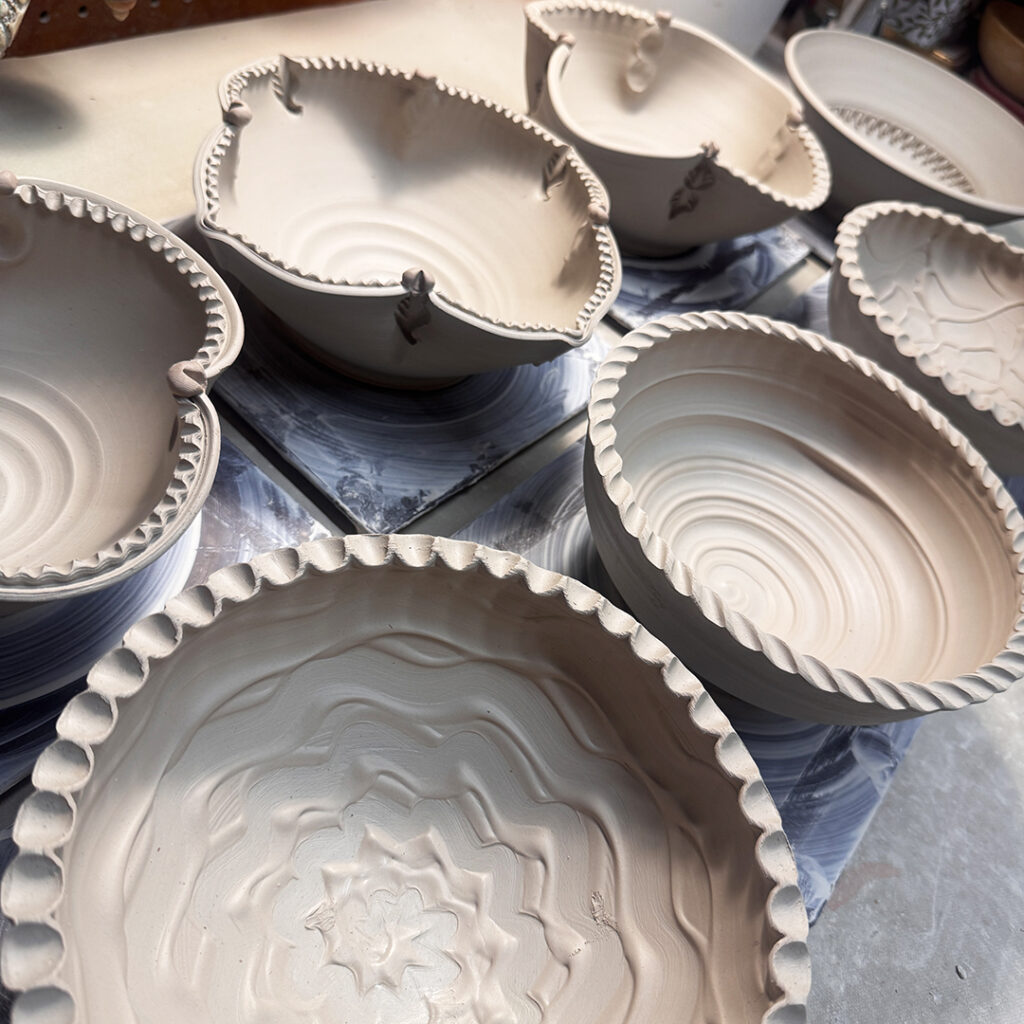
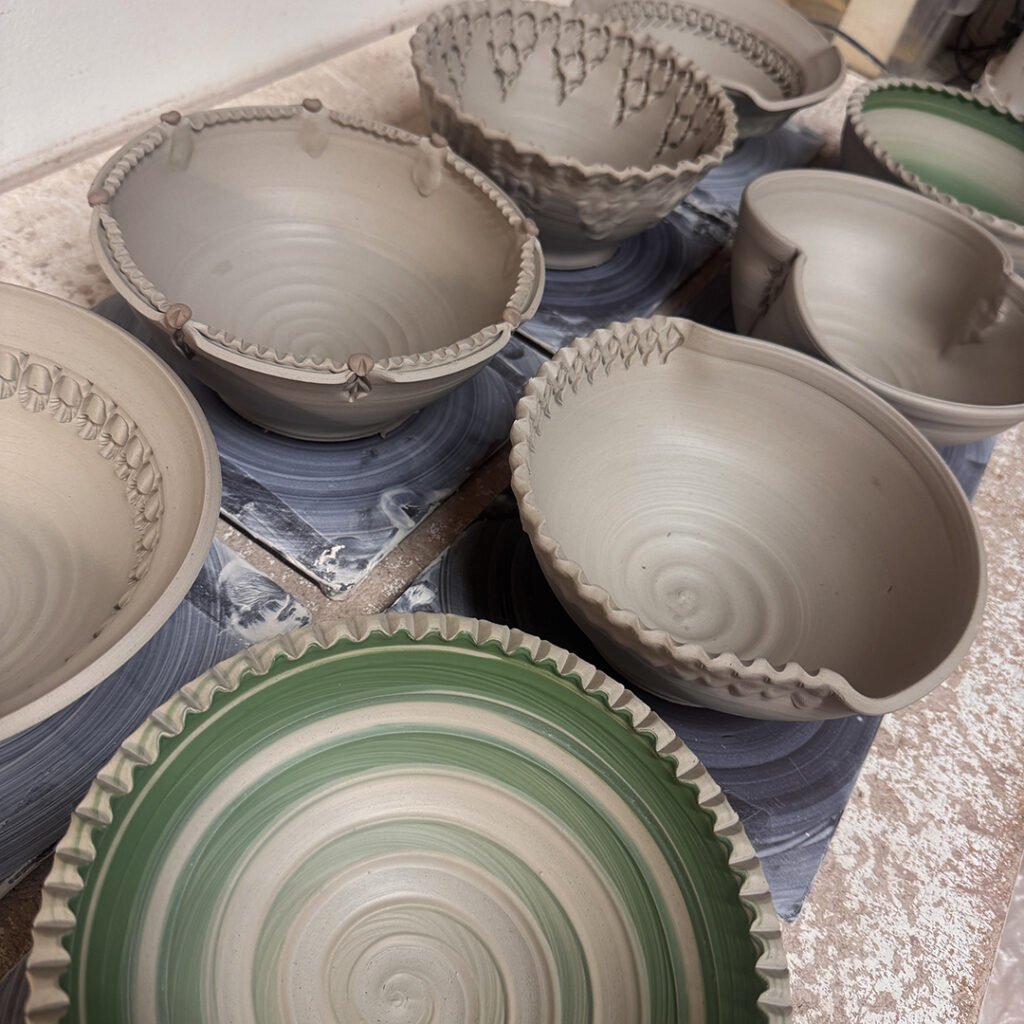
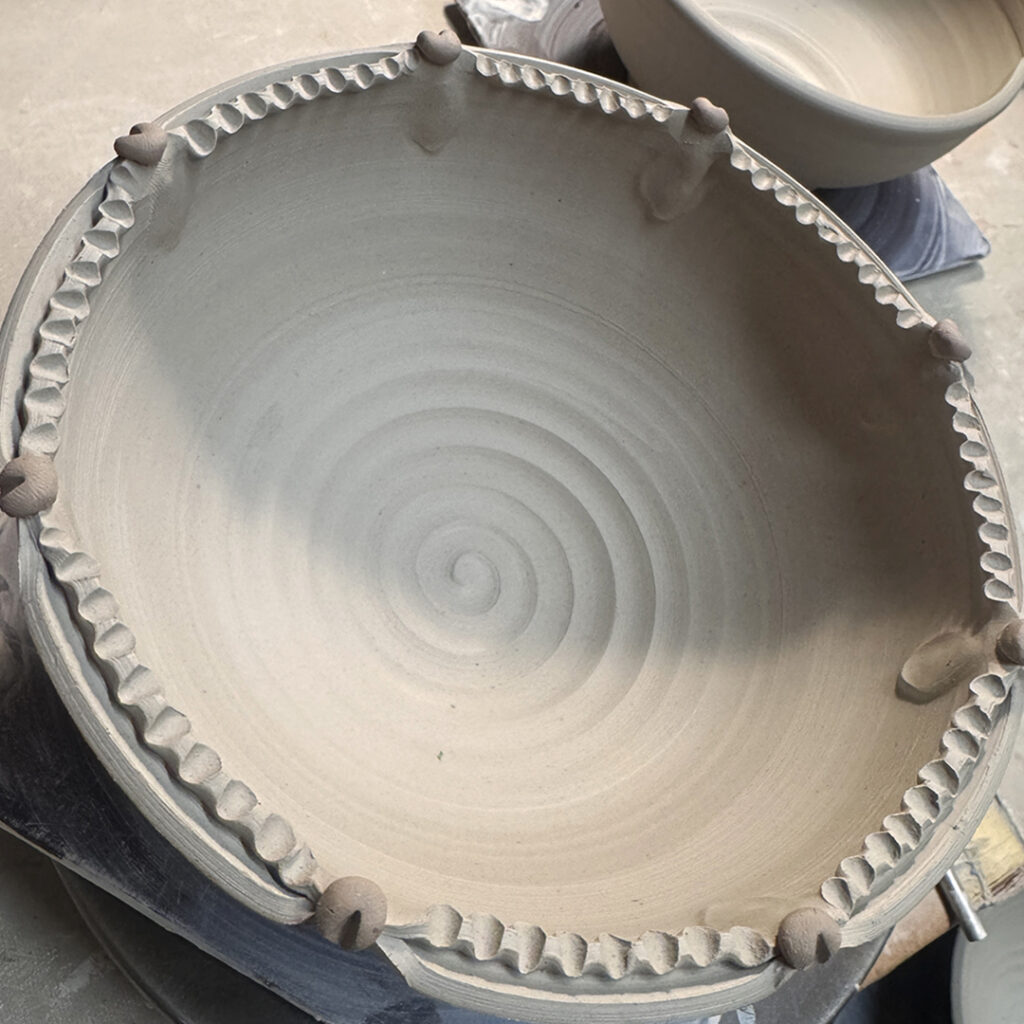
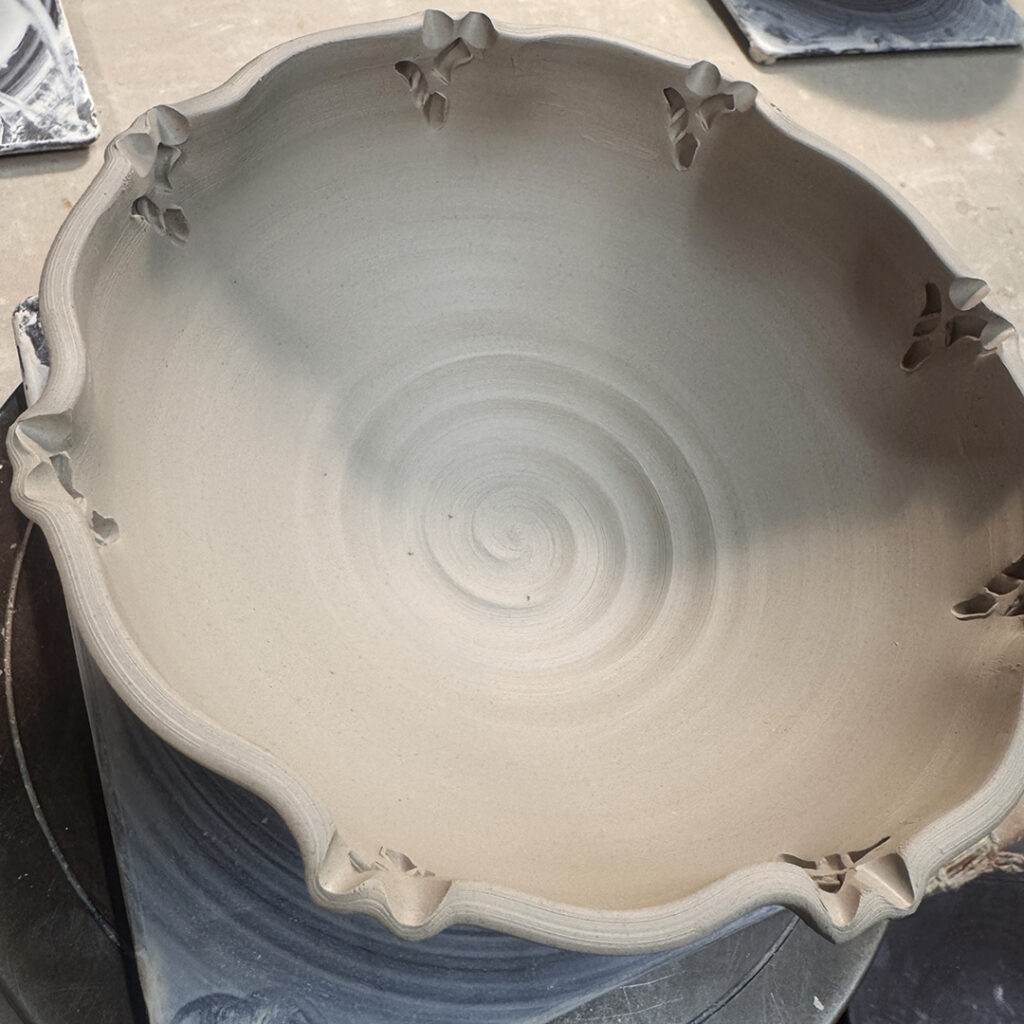
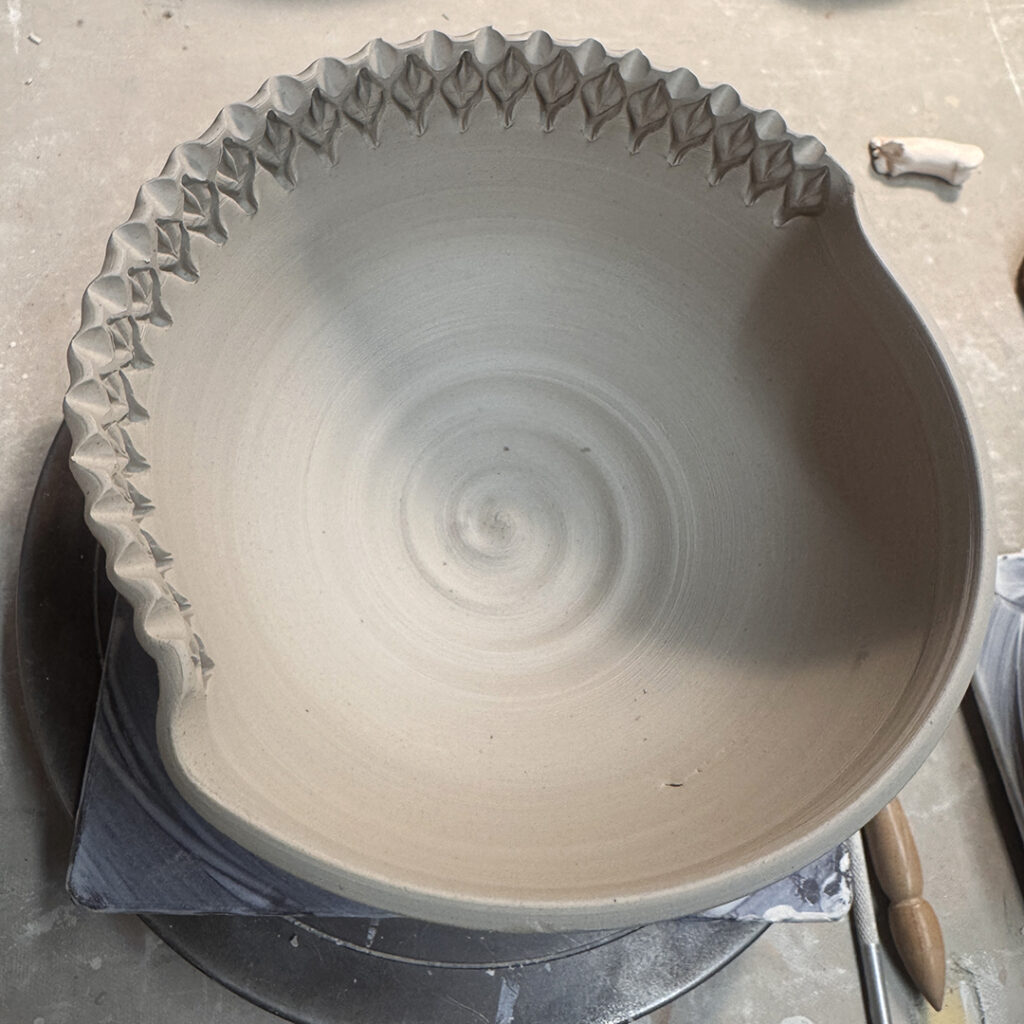
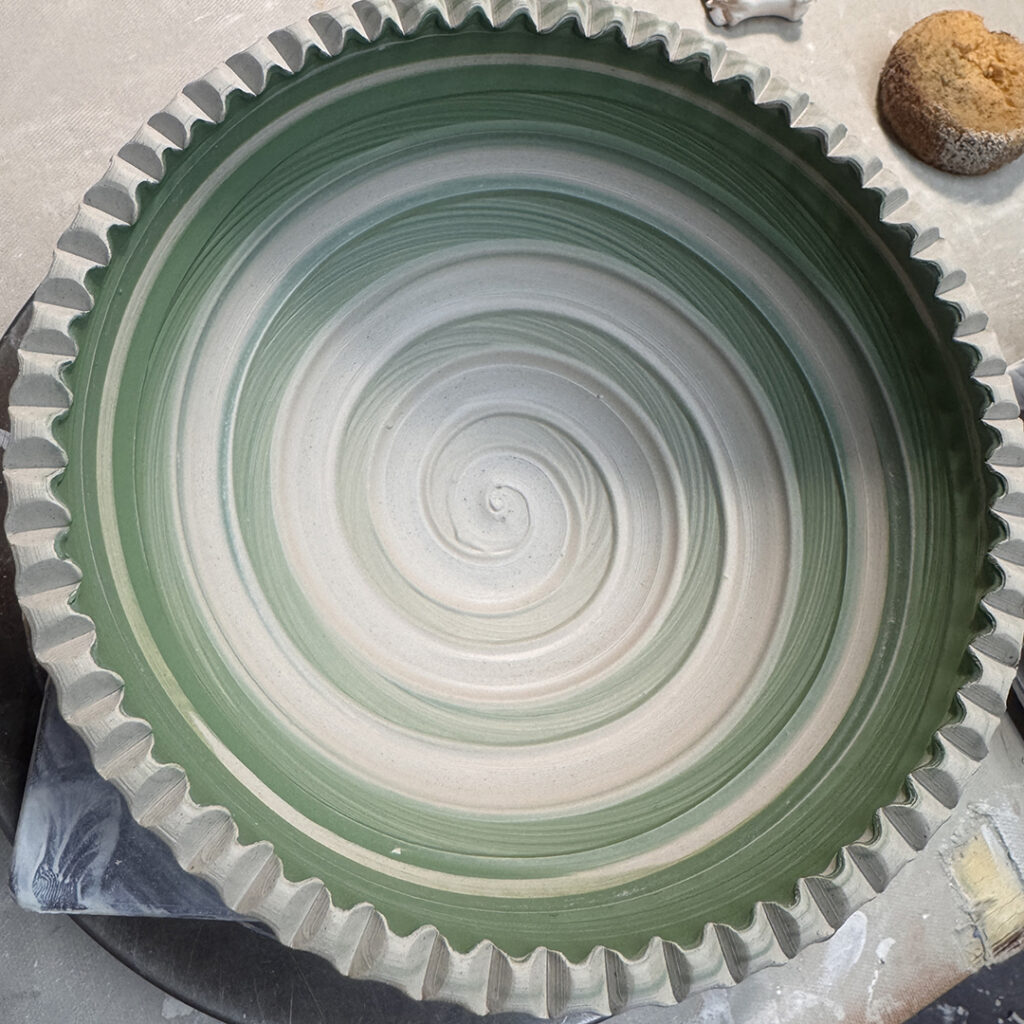
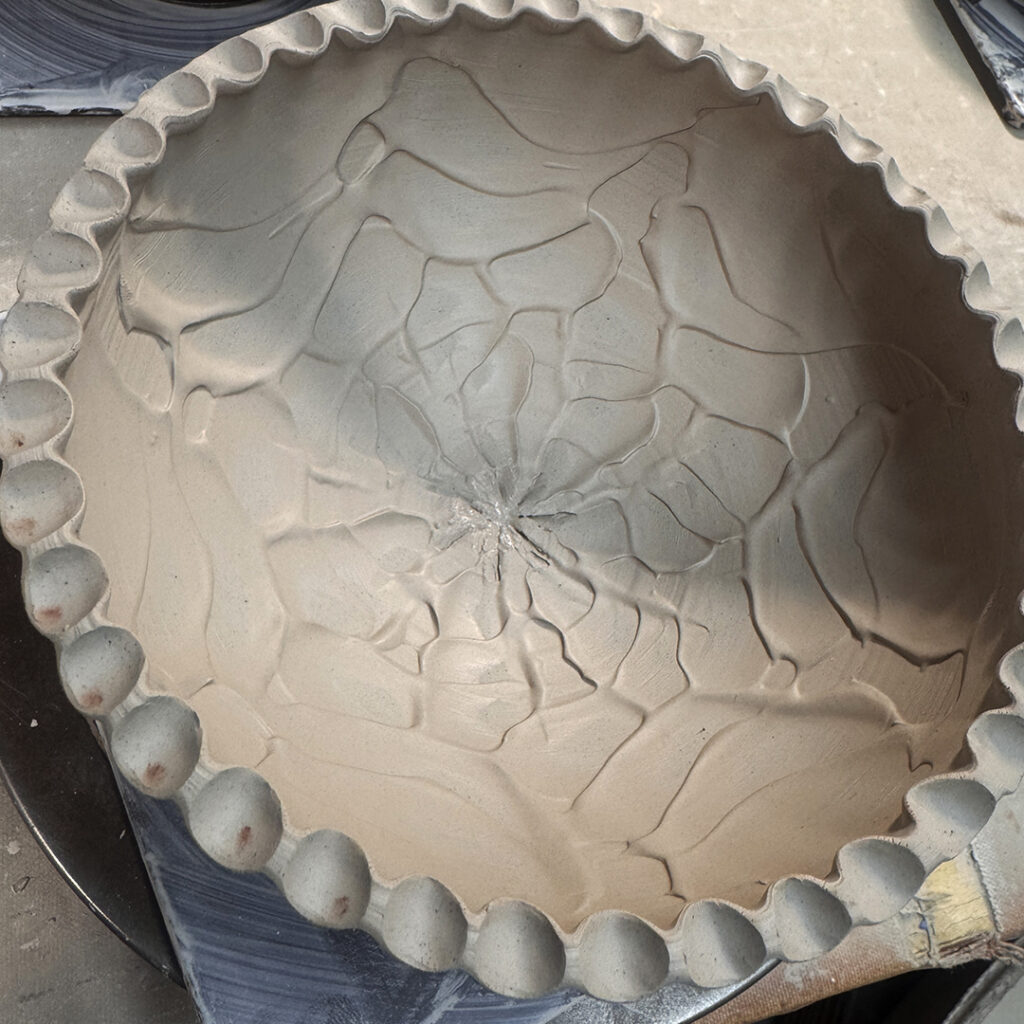
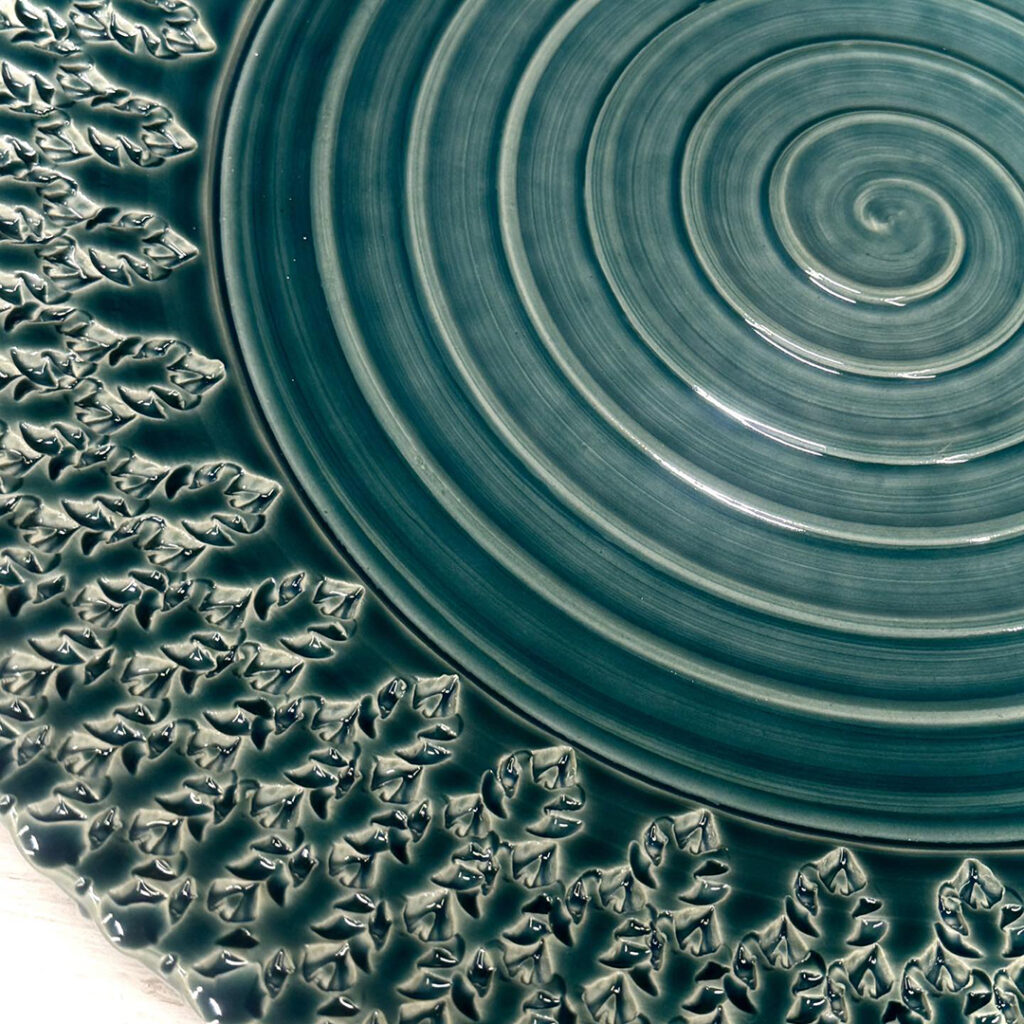
Throughout the day we stamped & textured everything. We also added some thick slip decorations to a few of the bowls… I love chattered slip!!! We trimmed our pots even though they were wetter than I would like. We even did a demo-on-demand for pulling handles… which I love! We also did some trimming & finishing of their hybrid mugs before adding handles. Again, we had a LOT of pots to work our way through… luckily we had all day!
This workshop was so much fun!!! They were a great group of people… so open, invested, encouraging & interactive. Everyone participated and I think had a great time making some newly-inspired pots. I was kind of wondering what I could offer a group of established potters… turns out there is always lot to share. I shared with them, and they shared with me! It will be interesting to see how they incorporate some of these new techniques into their pottery moving forward.
Huge thanks to all of the Fairbanks Potters Guild… you guys were the BEST!!! Thanks to my favorite Ida who was seemingly the all-knowing matriarch of the group… so much wisdom, so helpful, so nice!!! And thanks to Tammy for opening her studio & hosting the two-day event. Special thanks to Theresa for making this all happen. A simple email got me interested, and then Theresa worked out all of the details to make this workshop happen!!! Thanks to everyone for making this workshop a success & so much fun!!!
I love teaching. And I loved this workshop.
So if anyone else out there needs me to visit for a fun group workshop in your neck of the woods… just let me know! The more exotic the location the better!!! HA!!! I mean, it can’t hurt, right?!