Gary Jackson: Fire When Ready Pottery
A Chicago potter’s somewhat slanted view of clay & play
Categories: mugs, process, production, stamped, stamps, surface decoration

So I’ve been doing a little stamping today… making more mugs with a bunch more stamping!!! So I thought it might be fun to show-off the before & after… and the stamps that did most of the work!

MUG #1 –

MUG #2 –

MUG #3 –

MUG #4 –

MUG #5 –

MUG #6 –

MUG #7 –

MUG #8 –

MUG #9 –

MUG #10 –

MUG #11 –

MUG #12 –

MUG #13 –

MUG #14 –

So for now, they’re wrapped up under plastic… waiting to be trimmed & handled on another day!

Categories: classes, process, surface decoration

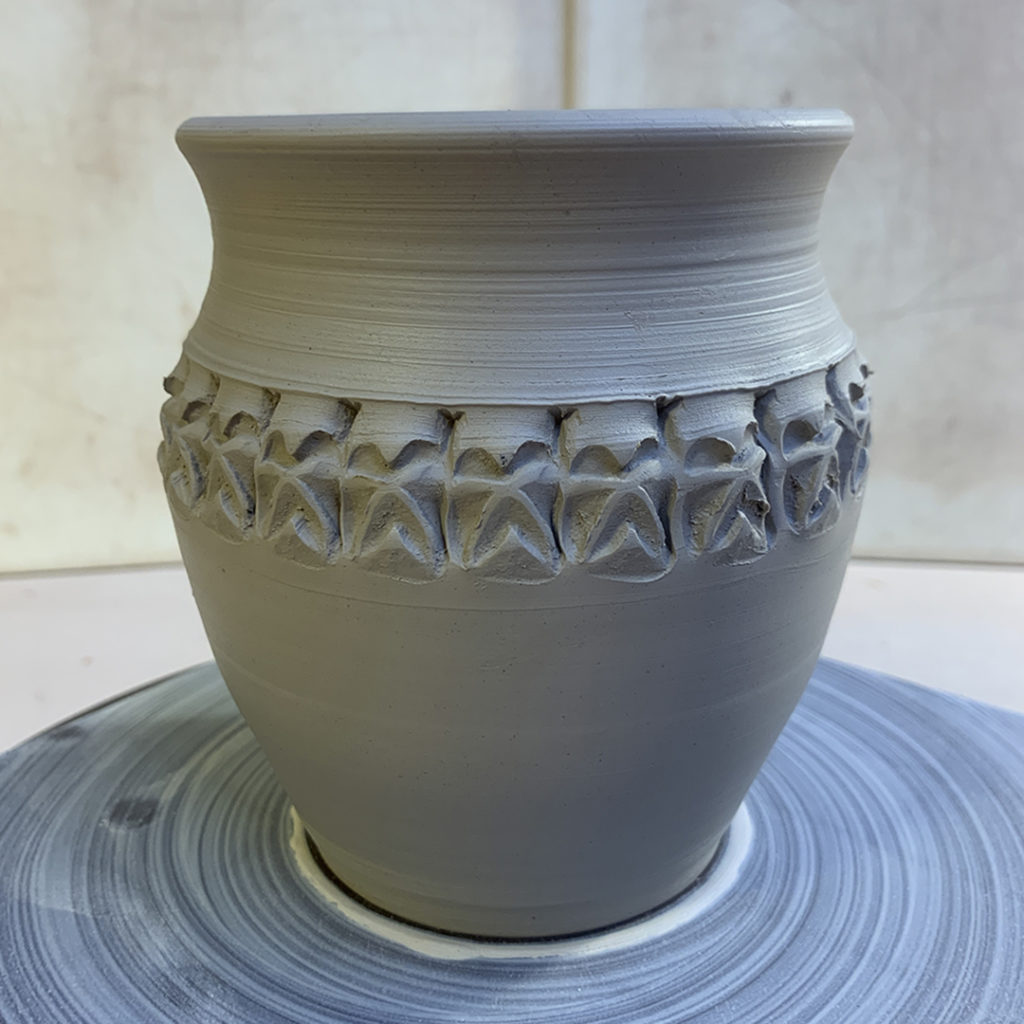
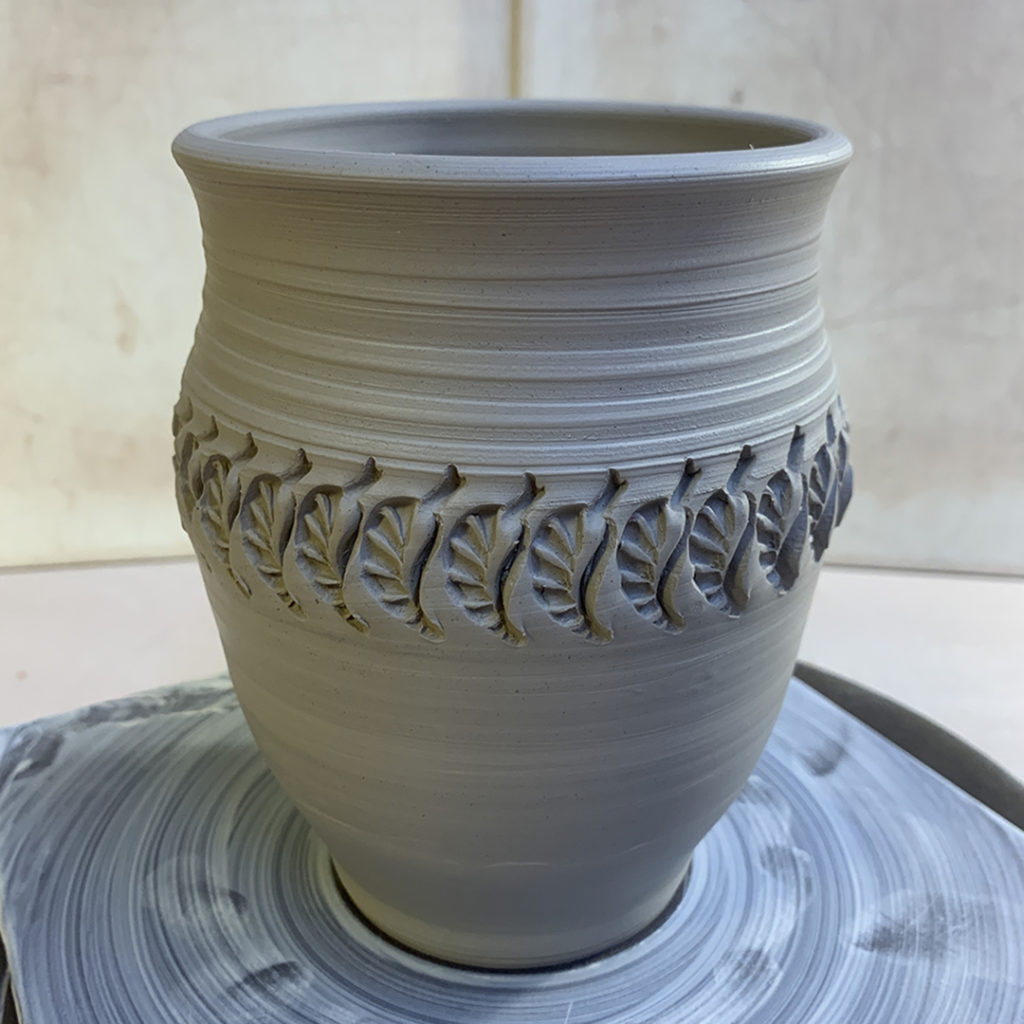
In my SURFACE DECORATION class last session, we focused on a different technique each week. One of the projects was MISHIMA… a great technique for “illustrating” on your clay. Leaving fine-line illustrations or geometric lines on your pots.

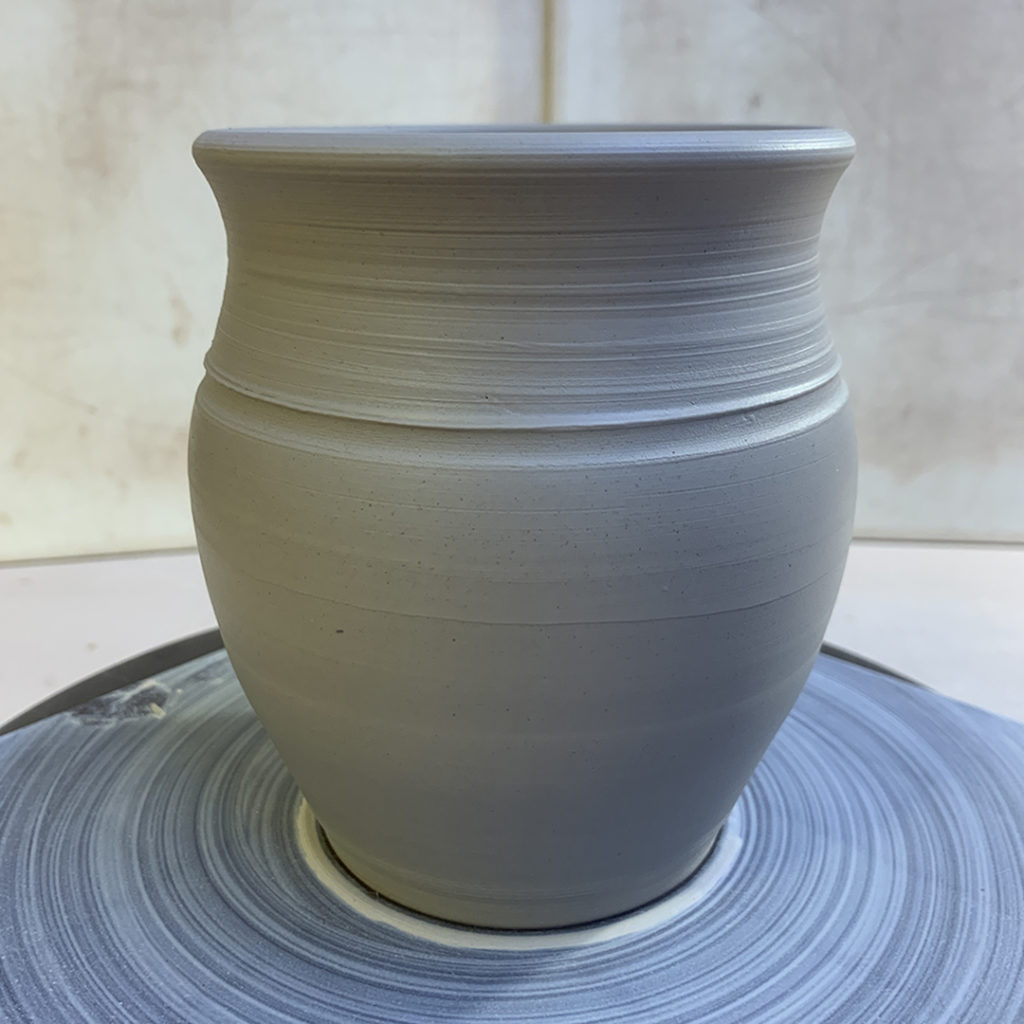
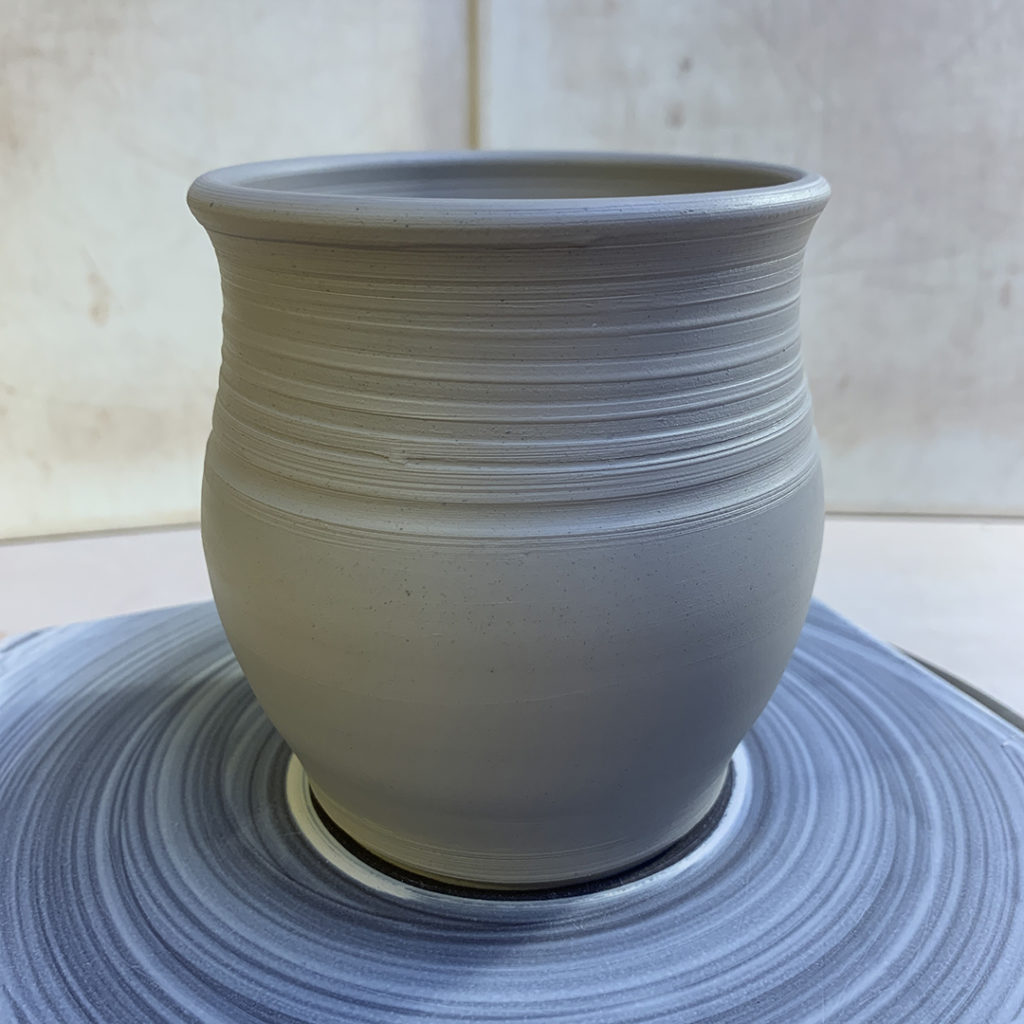
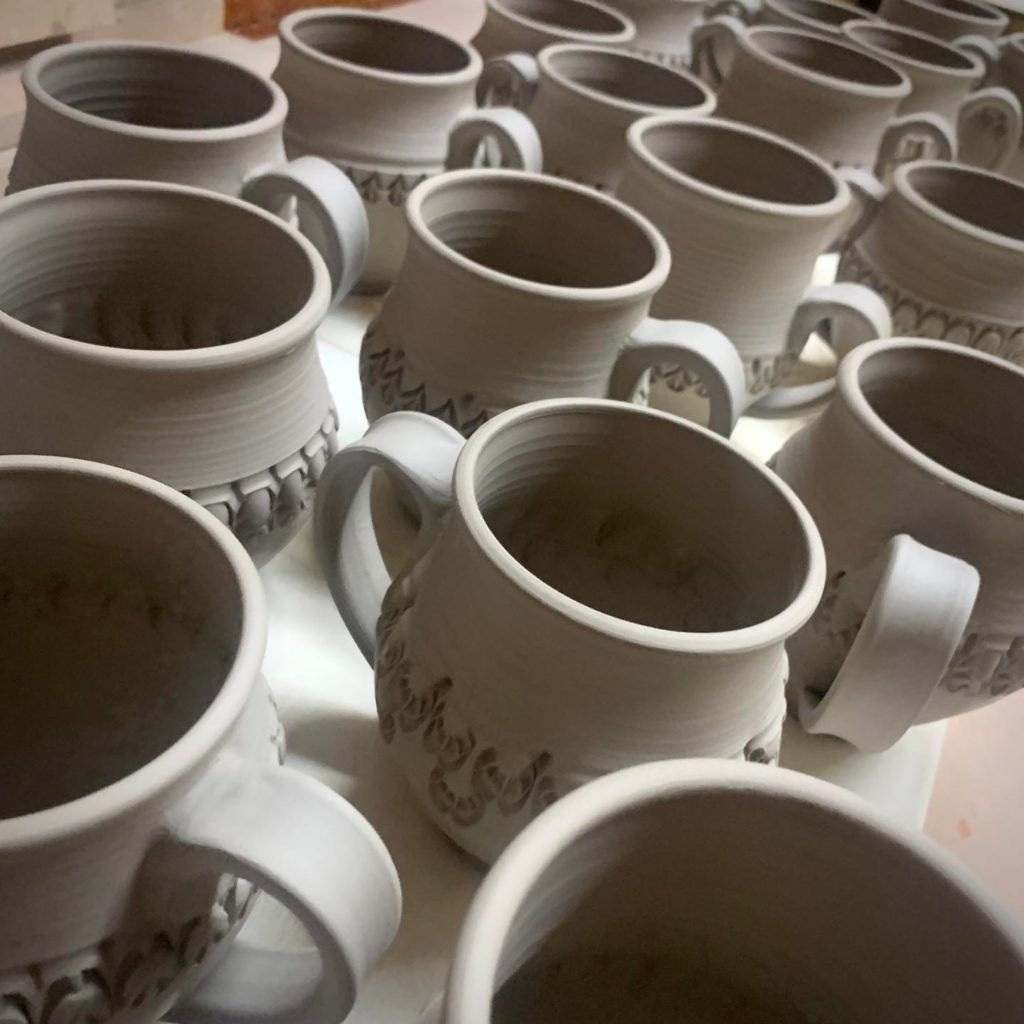
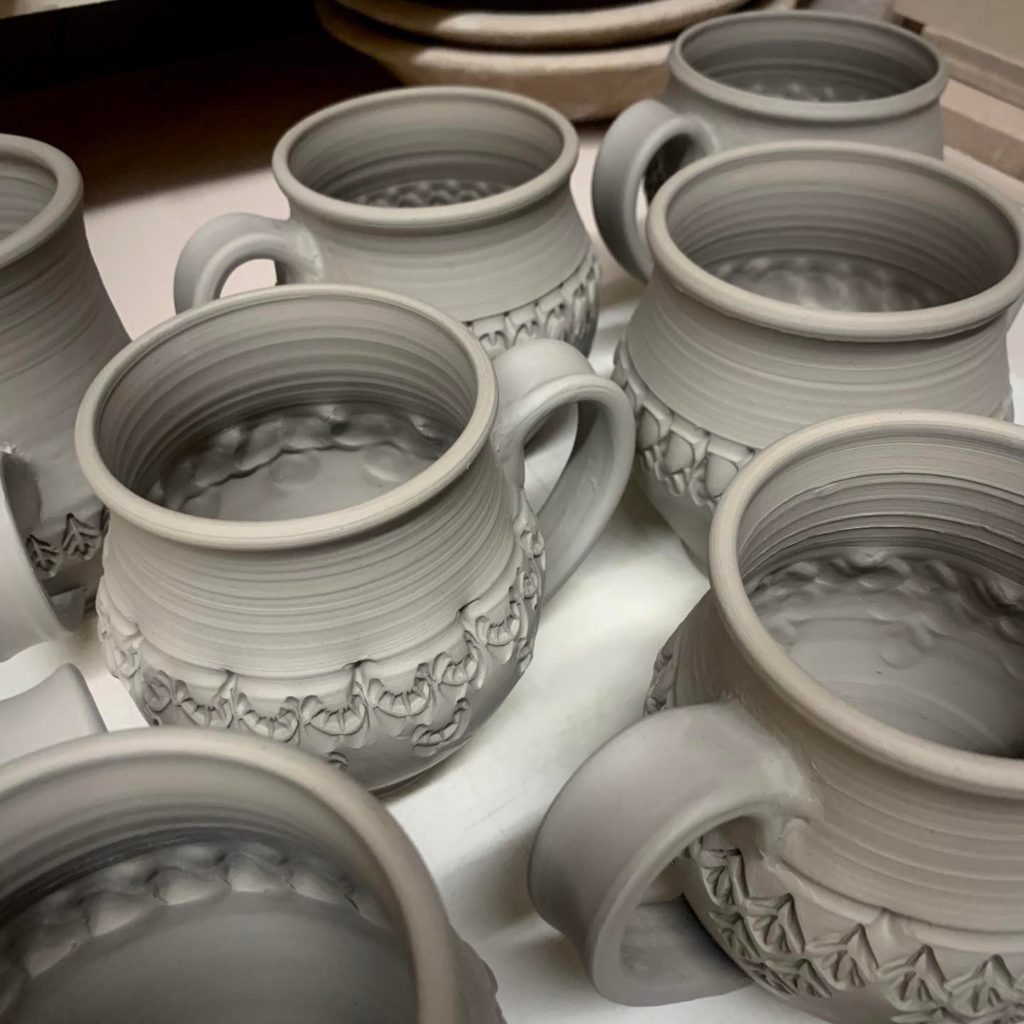
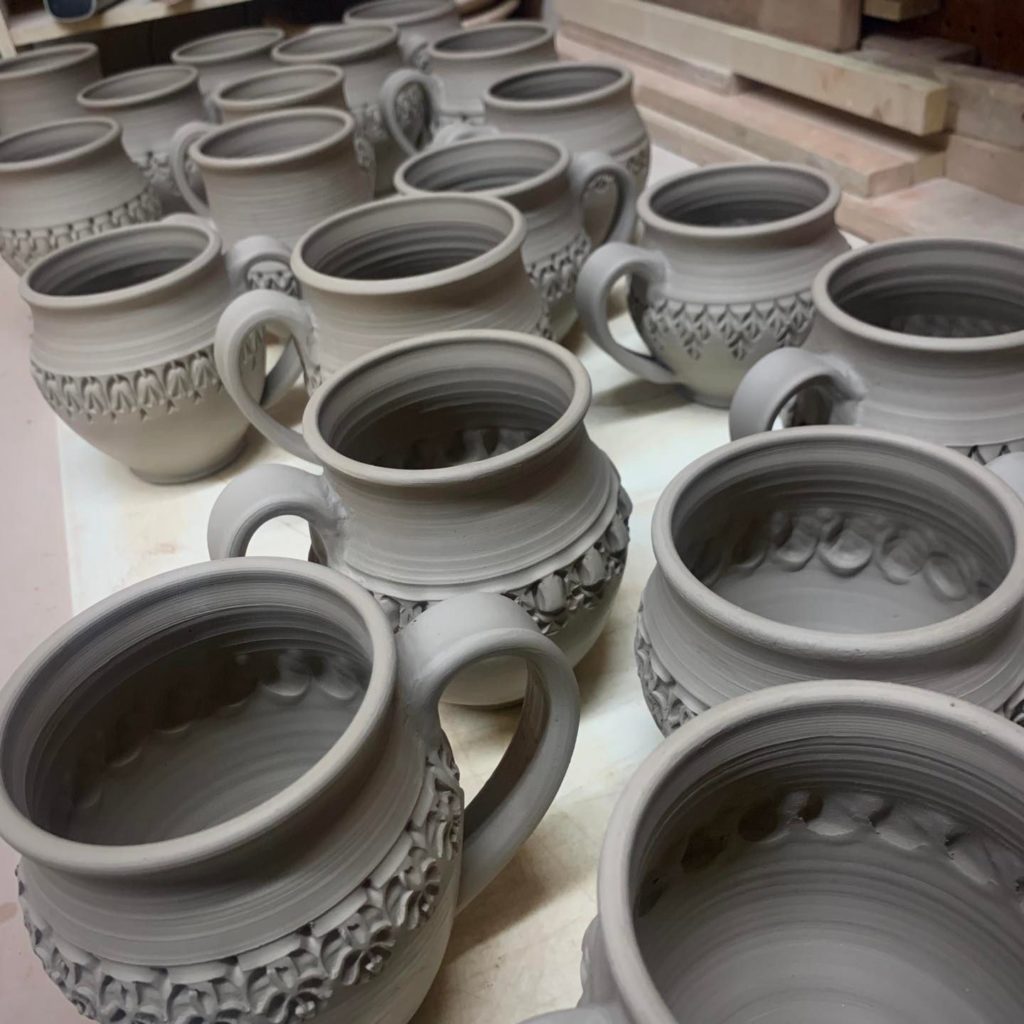
Of course it helped a bit that I had made a batch of cylinders, trimmed them, and dried them to leather heard just for the demo. You know my students LOVE when I come to class with pre-made class demo pieces for them to work on!!!

After making a plan, my students started by painting a layer of wax resist over the entire outer surface. Once that was layer of wax was hard & no longer sticky, they started to carve through the wax, deep enough to carve into the clay was well. The idea being that the carved lines will be filled with a dark underglaze later… filling in the lines, but the wax will keep it off of the other areas. Some people just worked on a blank cylinder, while others painted an underglaze image first, and then painted the wax over the top of that.

Once they finished carving, they painted the top surface with an underglaze. Most people used black, by Christy decided to get a little “crazy” and went for yellow under glaze to “pop” off of her black painted cylinder.

After filling in all of the carved groove lines, we carefully washed off the top surface… revealing the picture as the underglaze remains in the carved crevasses.

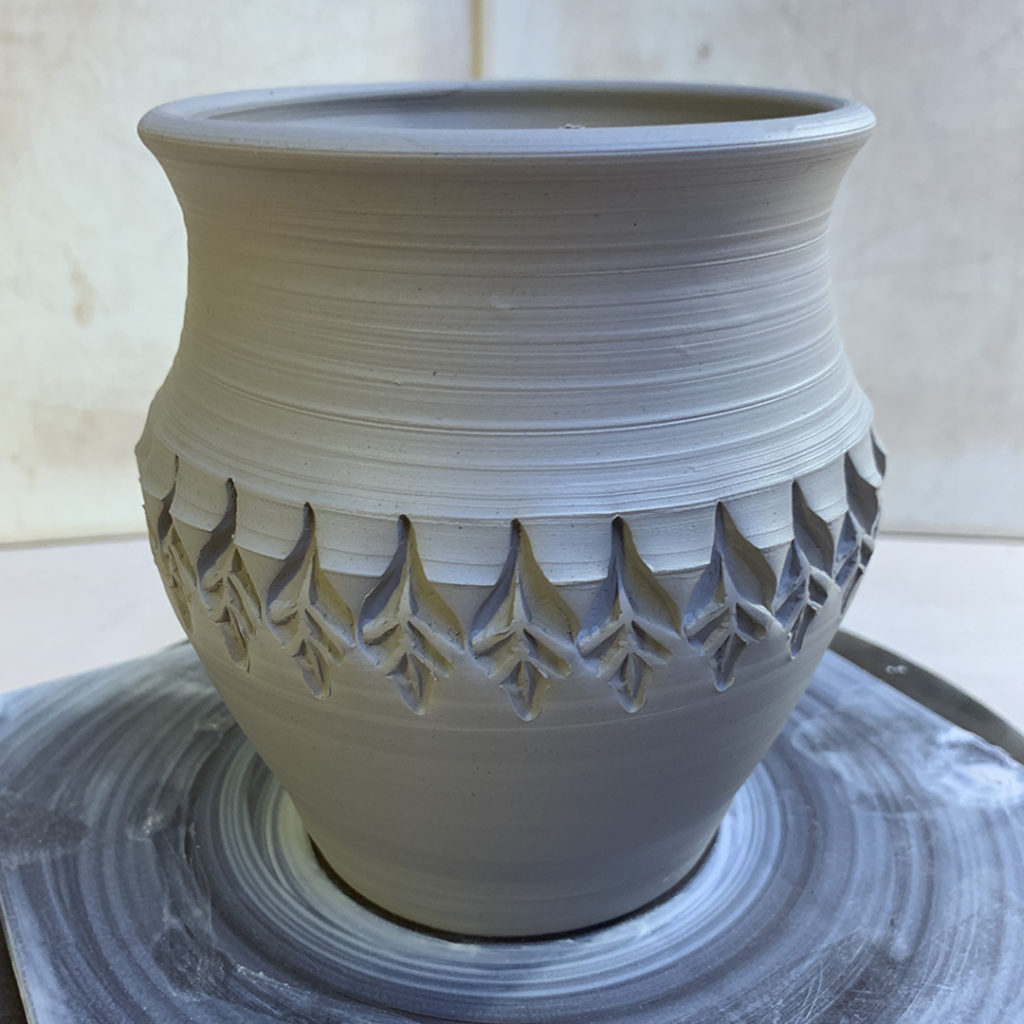
We had some pretty amazing illustrations come out during this process. I love how the designs kinda “disappear” while carving, but then the underglaze filling the patterns makes them “pop”… and kinda looks like a carved wood print.

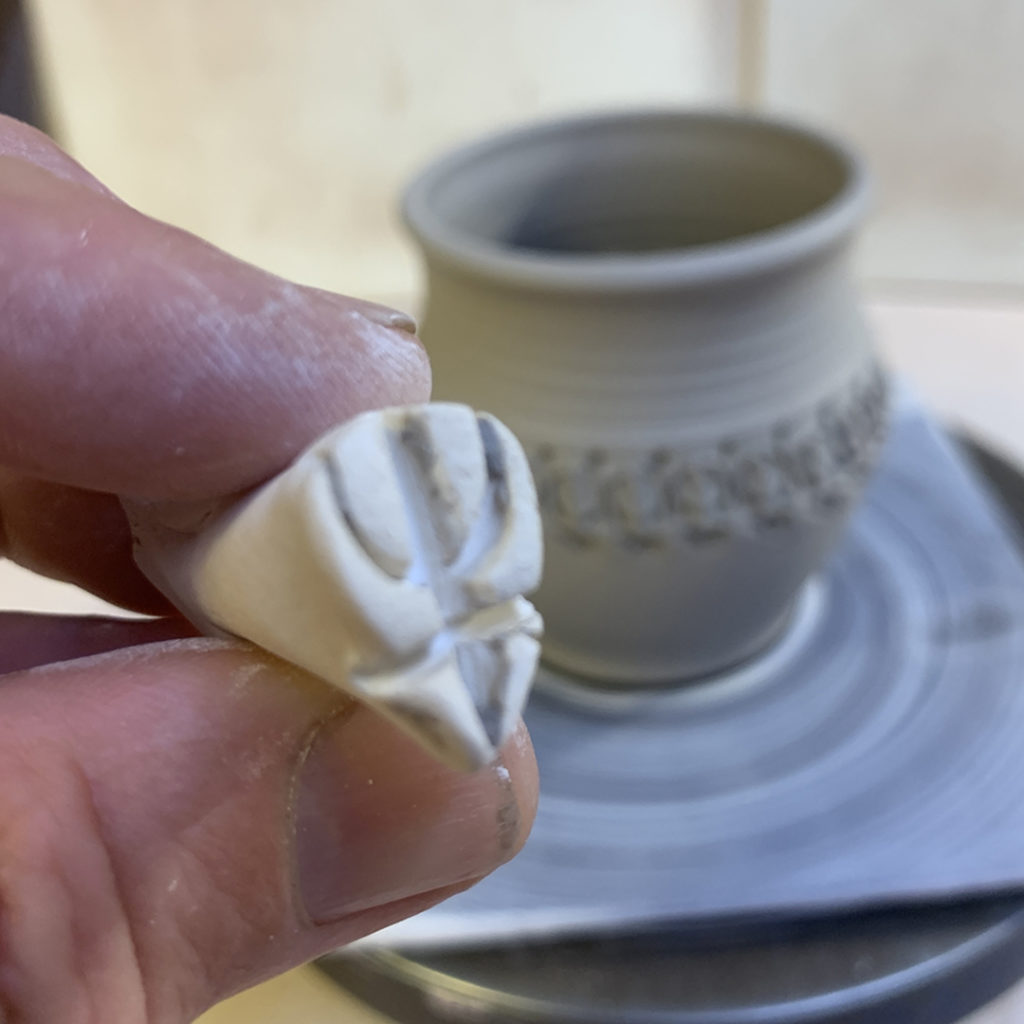
And who would have thought… that Christine’s carved mishima pattern would pretty much end up being a splittin’ image for my mask?!!!

Categories: glaze, kiln firing, mugs, process, production

All glazed & kiln loaded… with some soon-to-be colorful mugs on the bottom layer! Now to get home to start prepping & packing for this weekend’s HINSDALE FINE ARTS FESTIVAL. It should be a beautiful weekend in Burlington Park in downtown Hinsdale… c’mon by!

Categories: mugs, process, tools

Just spending a little time cleaning up some crusty bottoms… glaze drips & wadding remains that needed to go!!! Getting ready for this weekend’s HINSDALE FINE ARTS FESTIVAL. Huge thanks to my pals at DiamondCore Tools for their Diamond Grinding Disc. Wet it, spin it, grind it… and that crusty bottom is taken care of in no time!!!

Click here for more information on DiamondCore Tools Grinding Discs!

Categories: mugs, process, production

And while I “should” be home prepping, pricing & packing for this weekend’s art fair… I thought it best to hedge my bets and start making another batch of mugs as replenishment for the next two art fairs!!! I can pack later tonight… or tomorrow, right?!

Categories: classes, process, production

Thrown on Tuesday night, and trimmed tonight… just minutes before my SURFACE DECORATION class. I can’t wait to see what my students do with these “blank” cylinders… as tonight’s technique is mishima!!! More photos to come…

Categories: classes, lidded jars, process, production, stamped

Last night in class, we finished off Part Two of last week’s lidded jars demo. Tackling the knobs on the lids… with two knobs created while trimming (closest to the jars) and the other two with cute little finials wheelthrown onto the lids from an attached nugget of clay. Always good to have options!

Categories: classes, flower pots, process, production, stamped

Spent a little time in the studio this afternoon “finishing up” some of my recent class demo pieces. This was a request from my Intermediate Class to make a large two-part stacked piece. Kelly requested a planter… but I kinda think this landed somewhere “between” planter & vase?! I stuck with planter… and added drainage holes and threw a water trip tray today to go with it.

Categories: classes, process, surface decoration, textures

Last week in my SURFACE DECORATIONS class, I showed my students how to use sprigs to decorate their bowls. Basically, a sprig is the “opposite” of a stamp… where you press clay into these handmade “molds”… pop them out… and then score & slip them onto the bowls. So sprigs “stick out”… whereas my usual stamping in more “pressed in.” Kinda fun… we’ll see how this looks after some glaze plays with the new textured surface!

Categories: flower pots, process, production, terra cotta

Did some late-night studio work this evening… adding some underglaze accents to this latest batch of terra cotta flower pots. Just gotta wipe off the surface… leaving the underglaze only in the stamps, and then a bit of clear liner glaze! Hoping to get these all done & ready for next weekend’s PLANTS & POTTERY POP-UP!!!