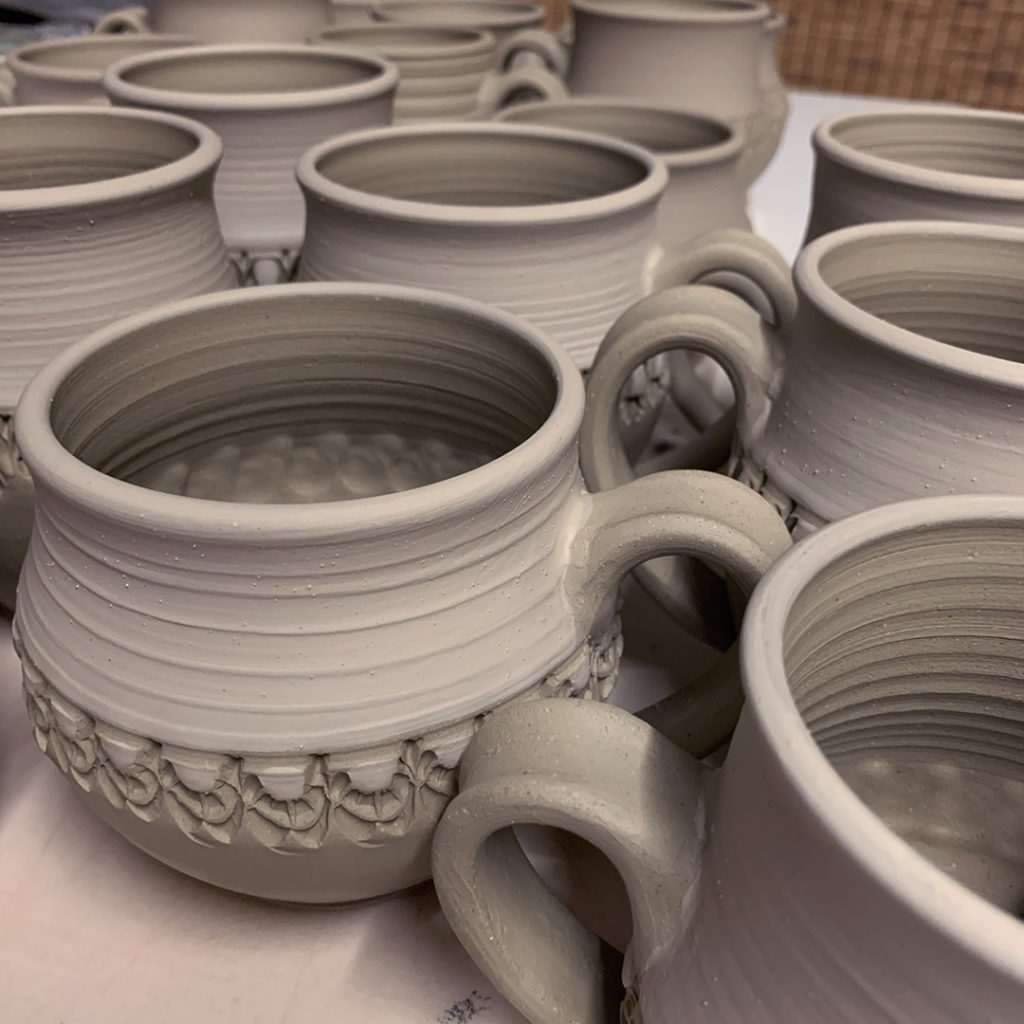
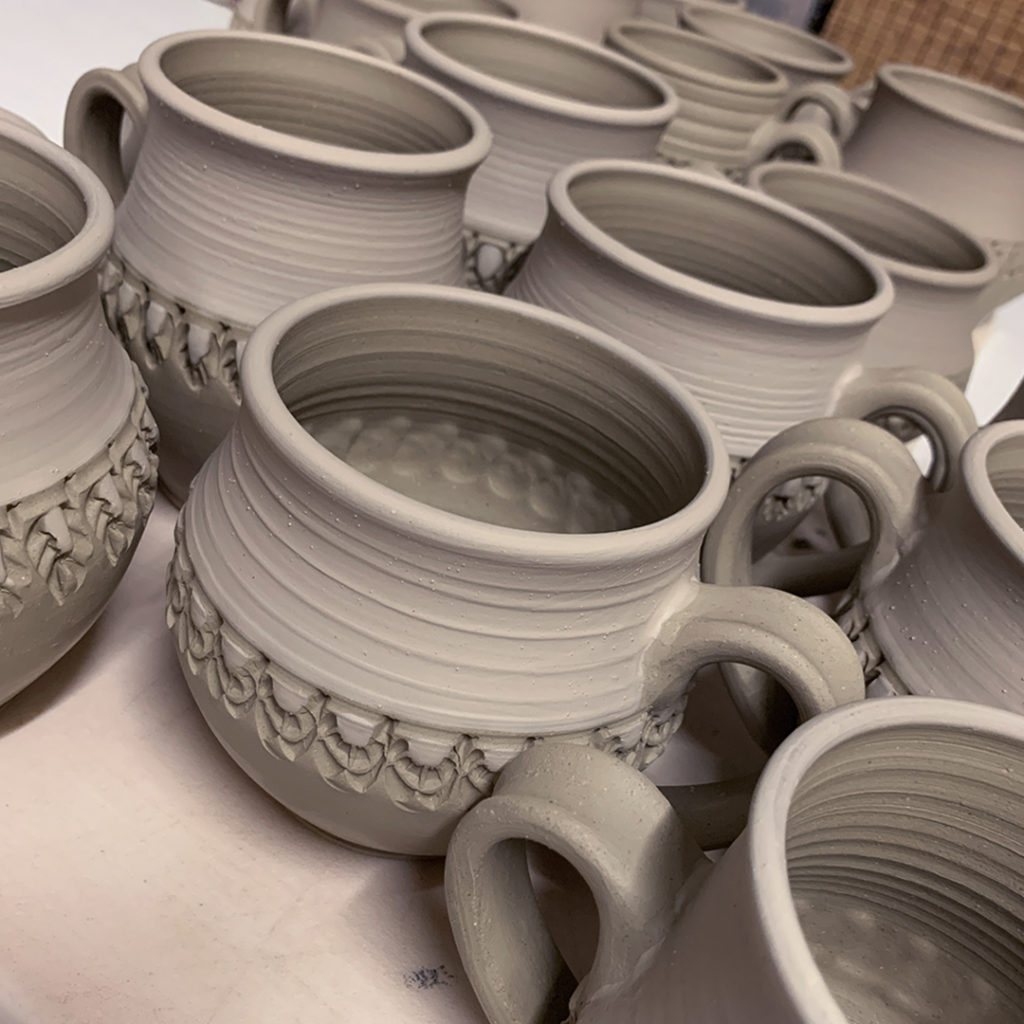
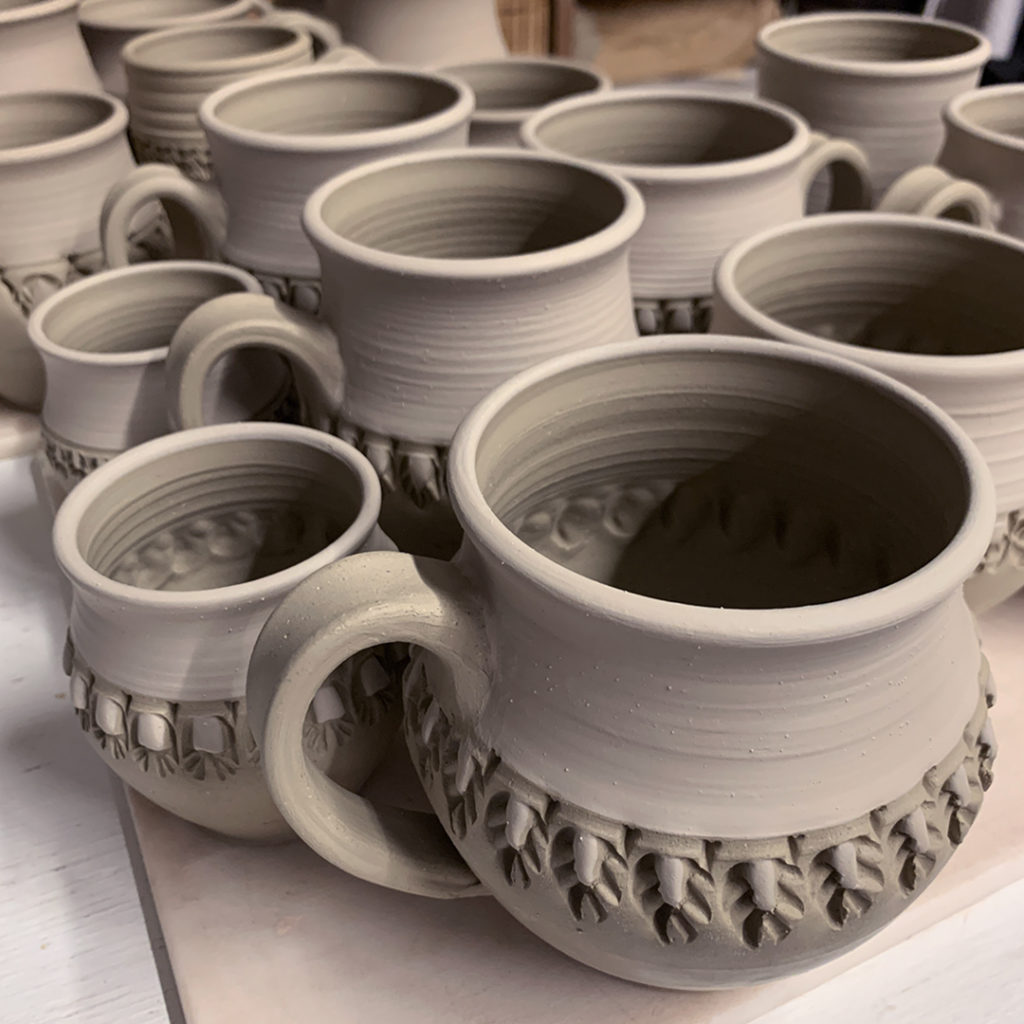
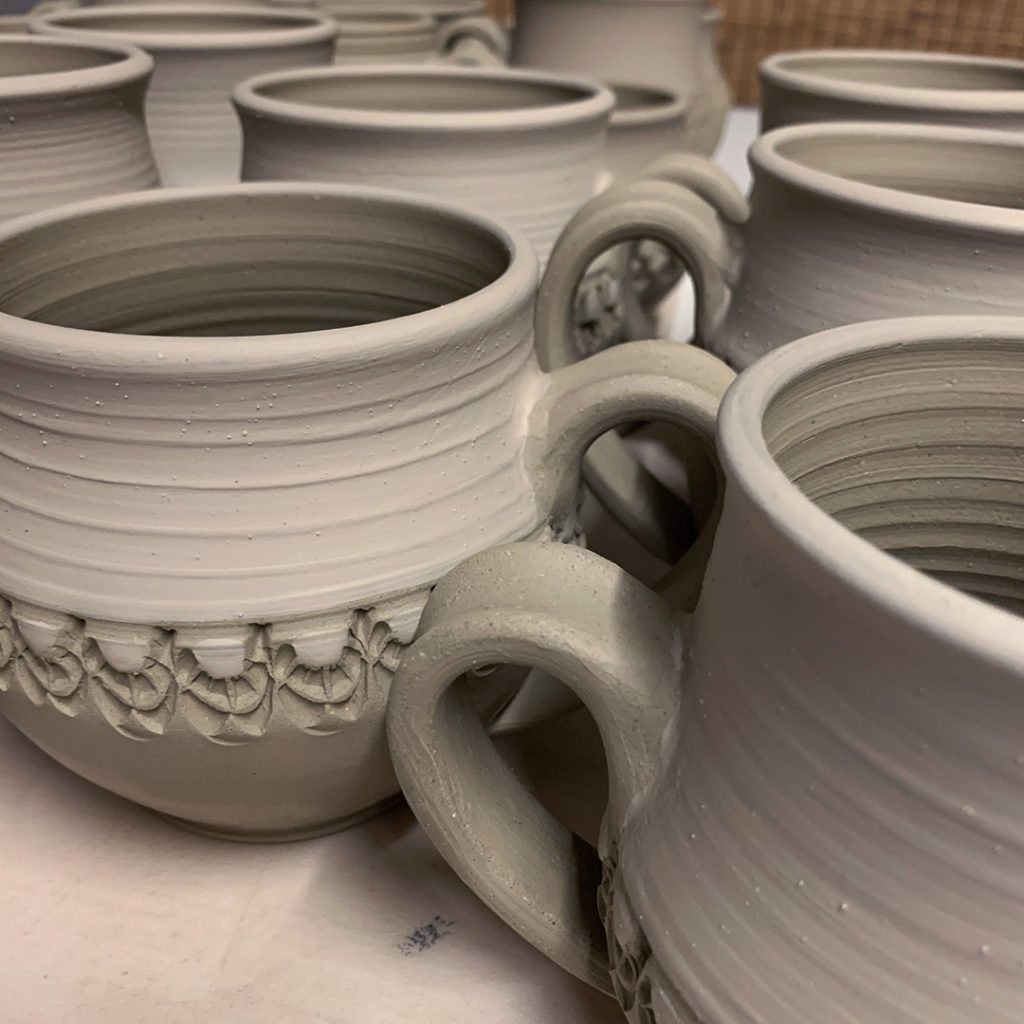
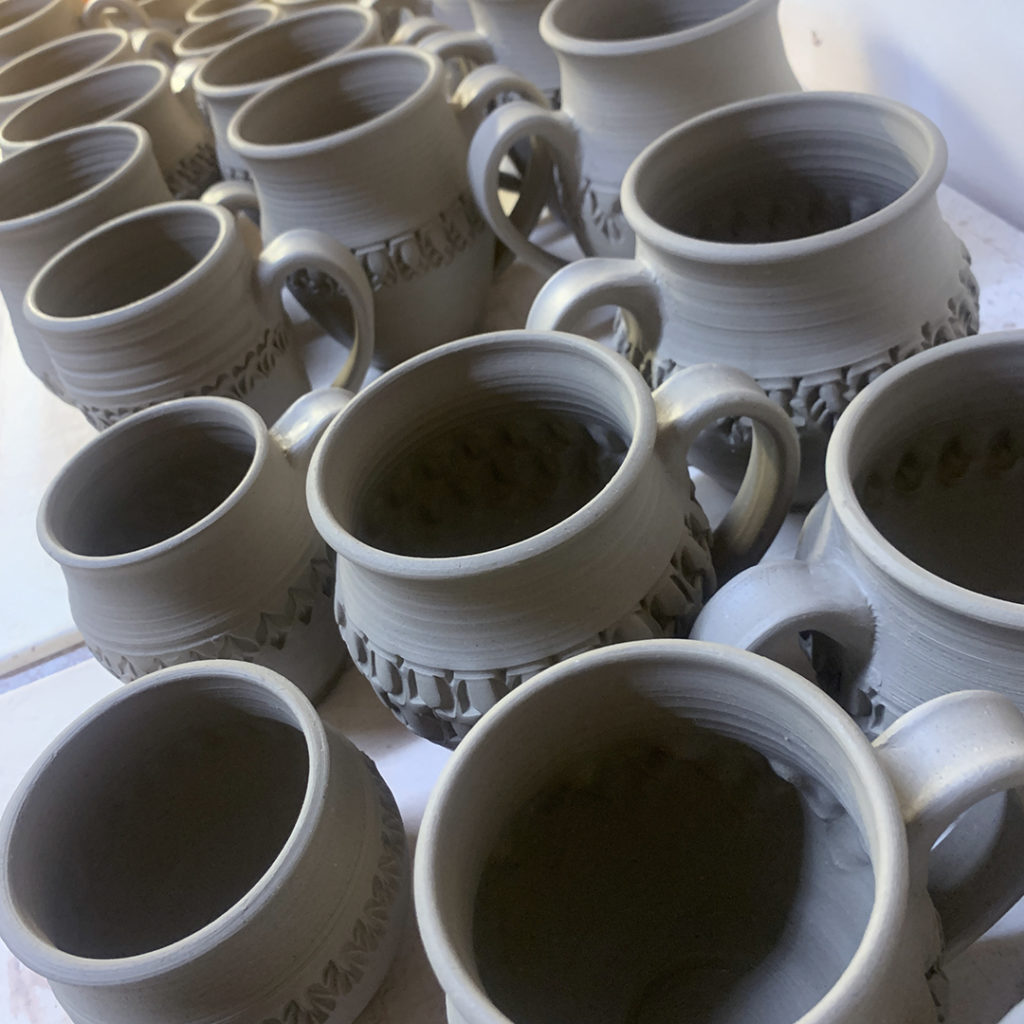
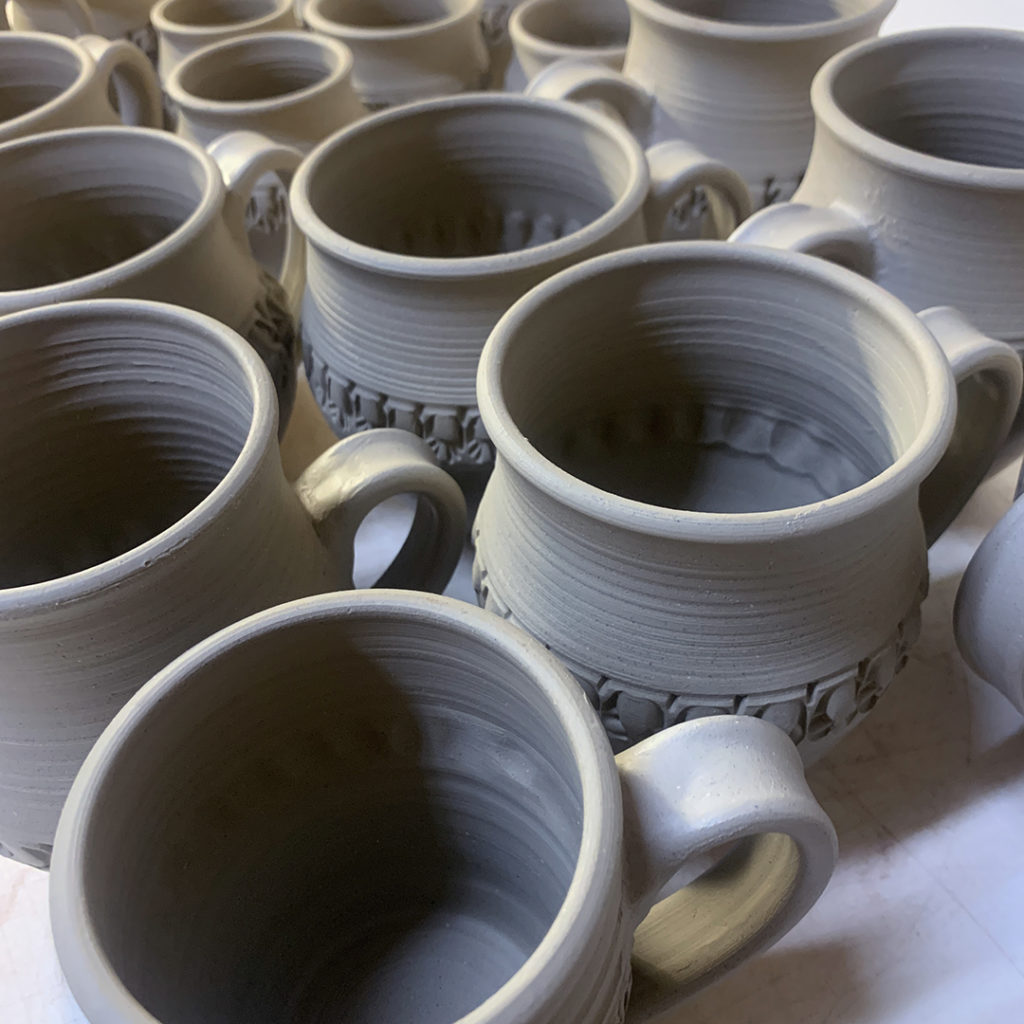
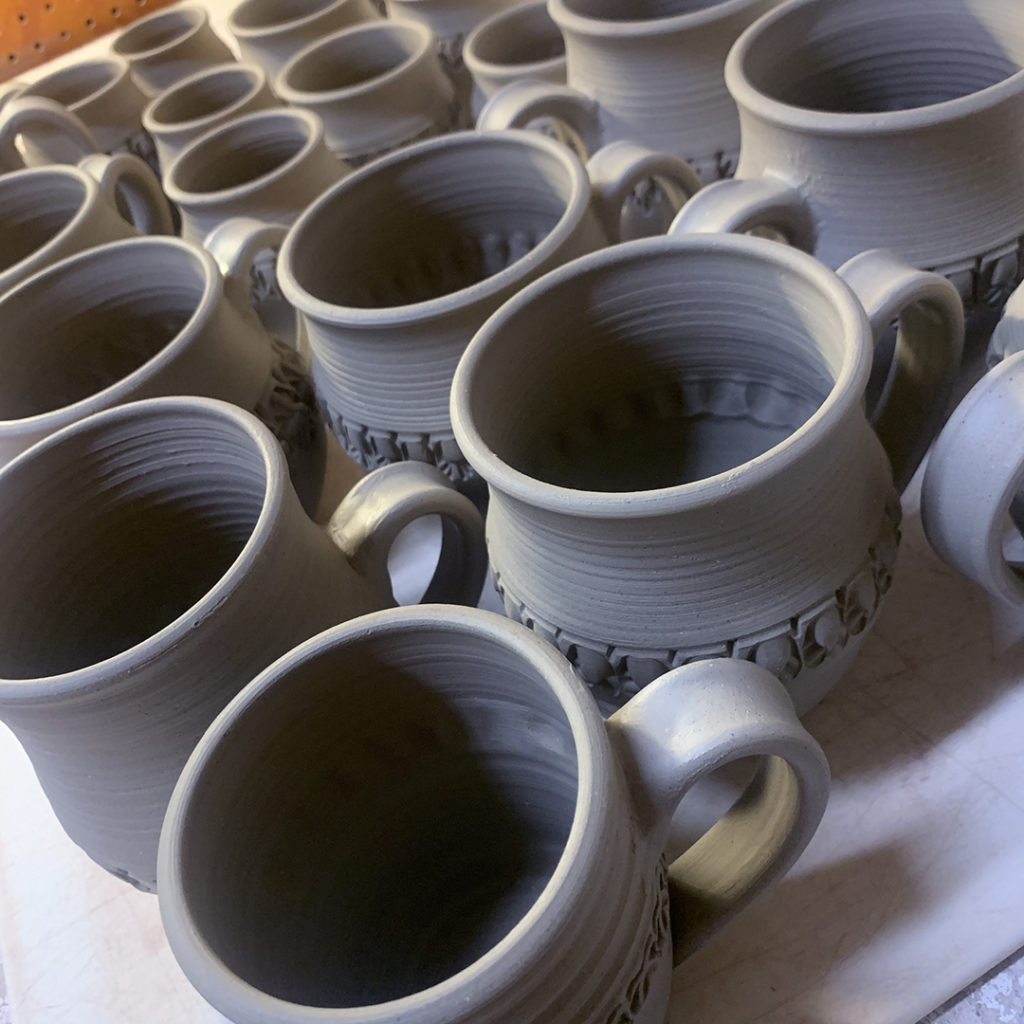
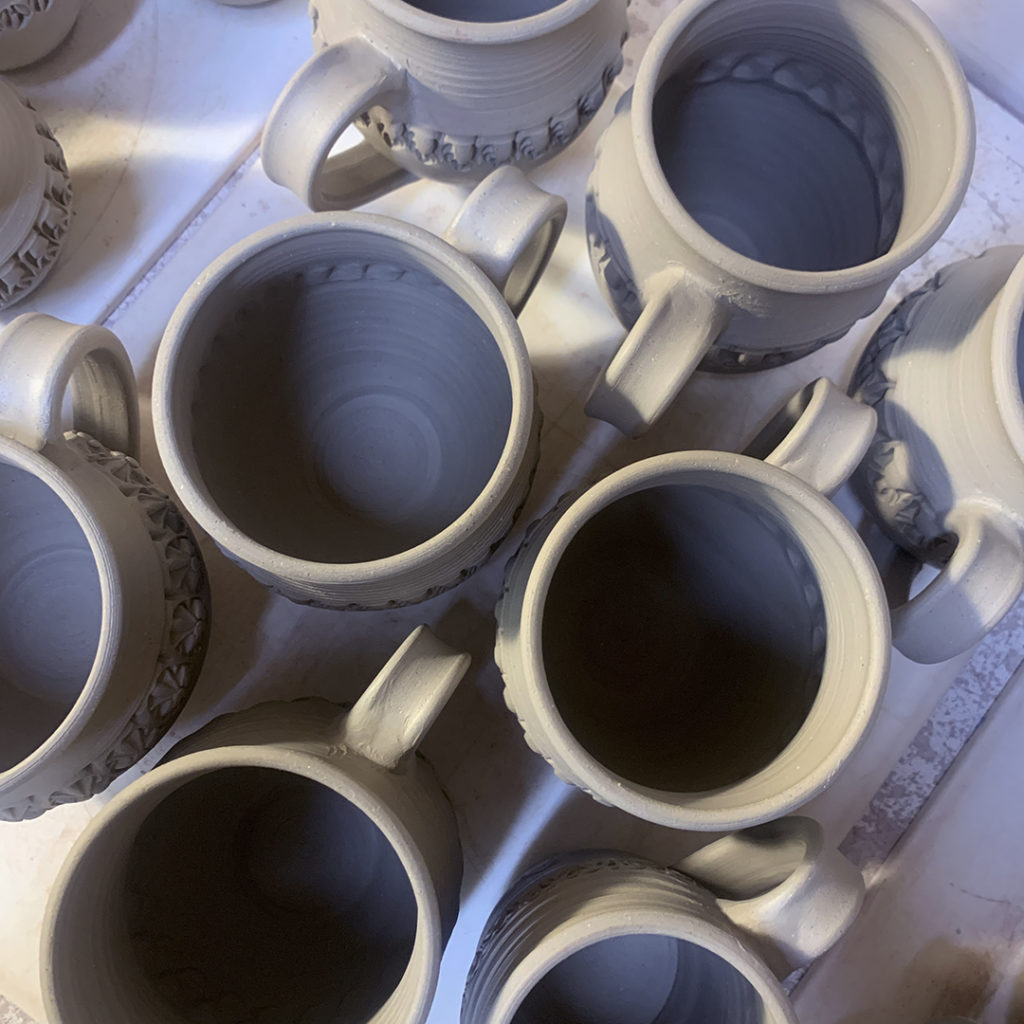
All handles attached & a full batch of mugs finished before class tonight!!! It was a bit of a marathon… with a short sprint at the end. Lots of mugs finished though. I’ll keep the mugs under plastic overnight so the moisture levels can even out a bit more, and then I’ll let them start drying tomorrow!
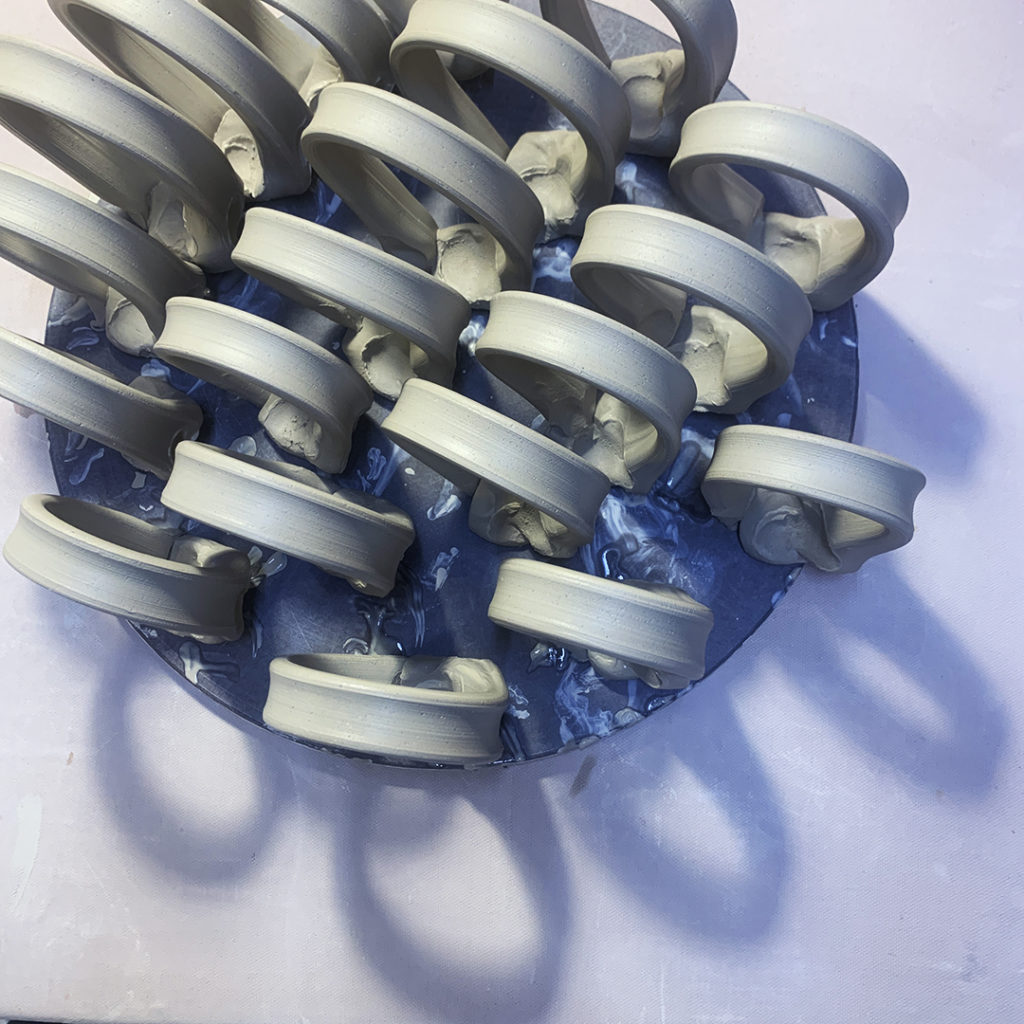
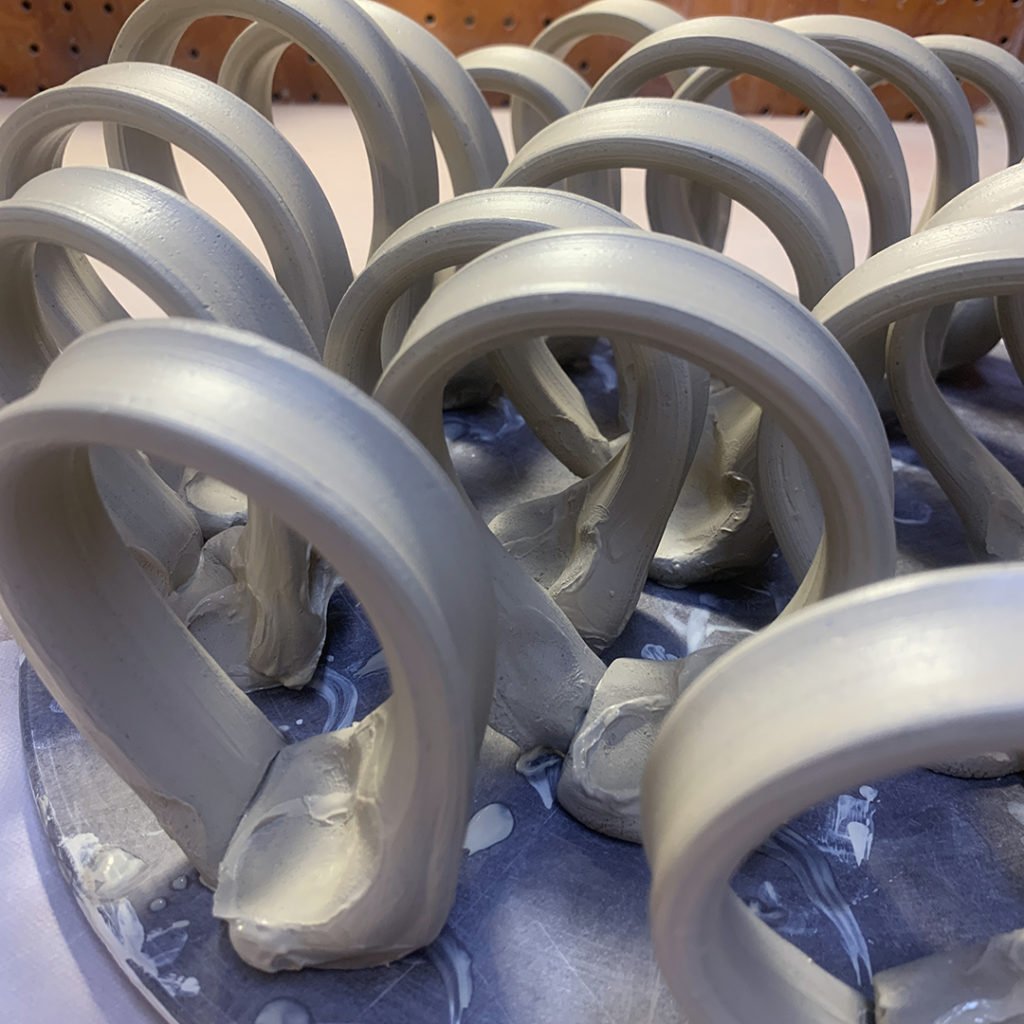
Handles pulled & looped over. I always pull my handles by hand, and loop them over to stand them up like this. They will set-up like this a bit before I start attaching them to the mug cylinders. This way, they are already 90% set to their eventual curve… so I won’t need to bend them too much after they stiffen up more.
Here we go… gonna try to squeeze out some quick handles on my mugs… after summer camp & before I teach my intermediate wheel adults tonight. It’s gonna be close…
Spinning fast… trimming bottoms… loving my DiamondCore Tools for smooth trimming! A perfect combination when used with my Giffin Grip to help center & hold the mug down for easier trimming!
I’ve been working on another batch of mugs after the Glenview art fair… thrown, stamped & leatherhard… and getting ready to trim the bottoms this afternoon. Ready to use my trimming tools from DiamondCore Tools for clean & smooth trimmings!
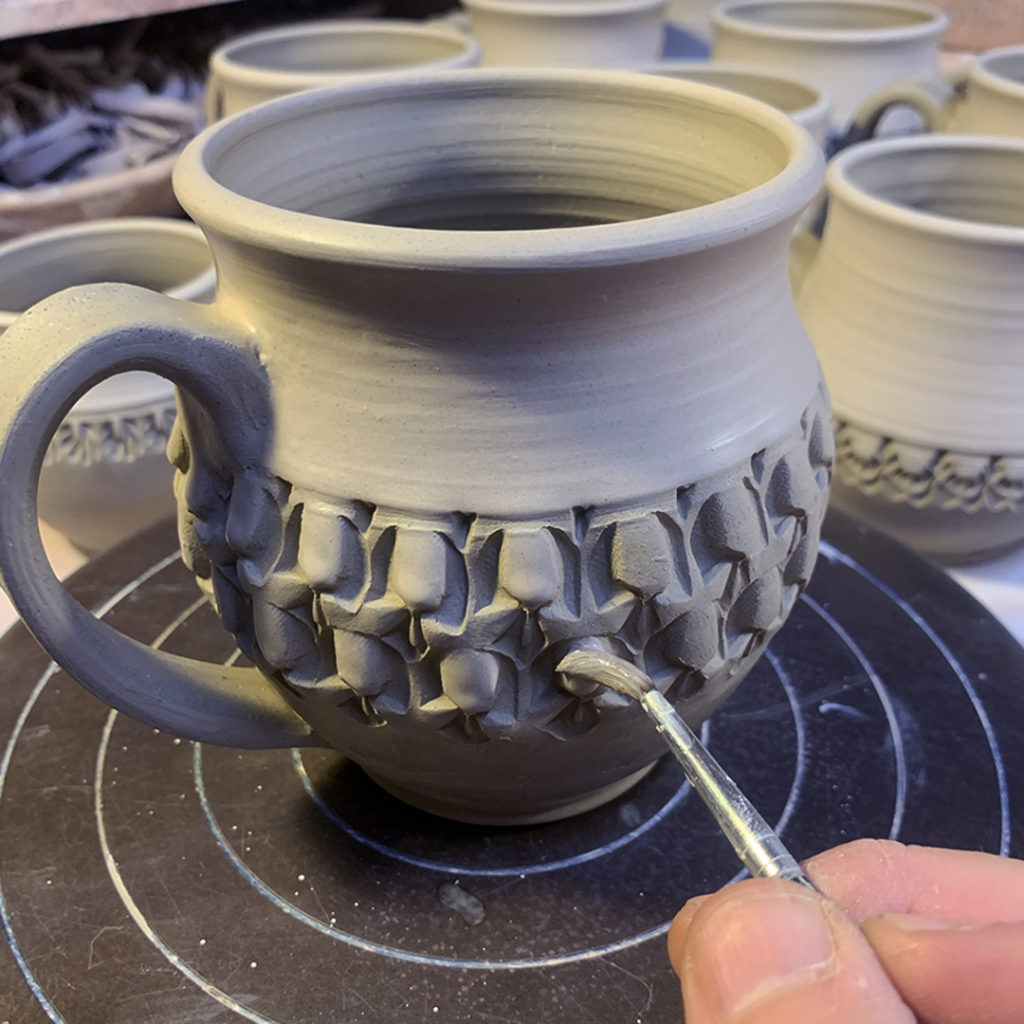
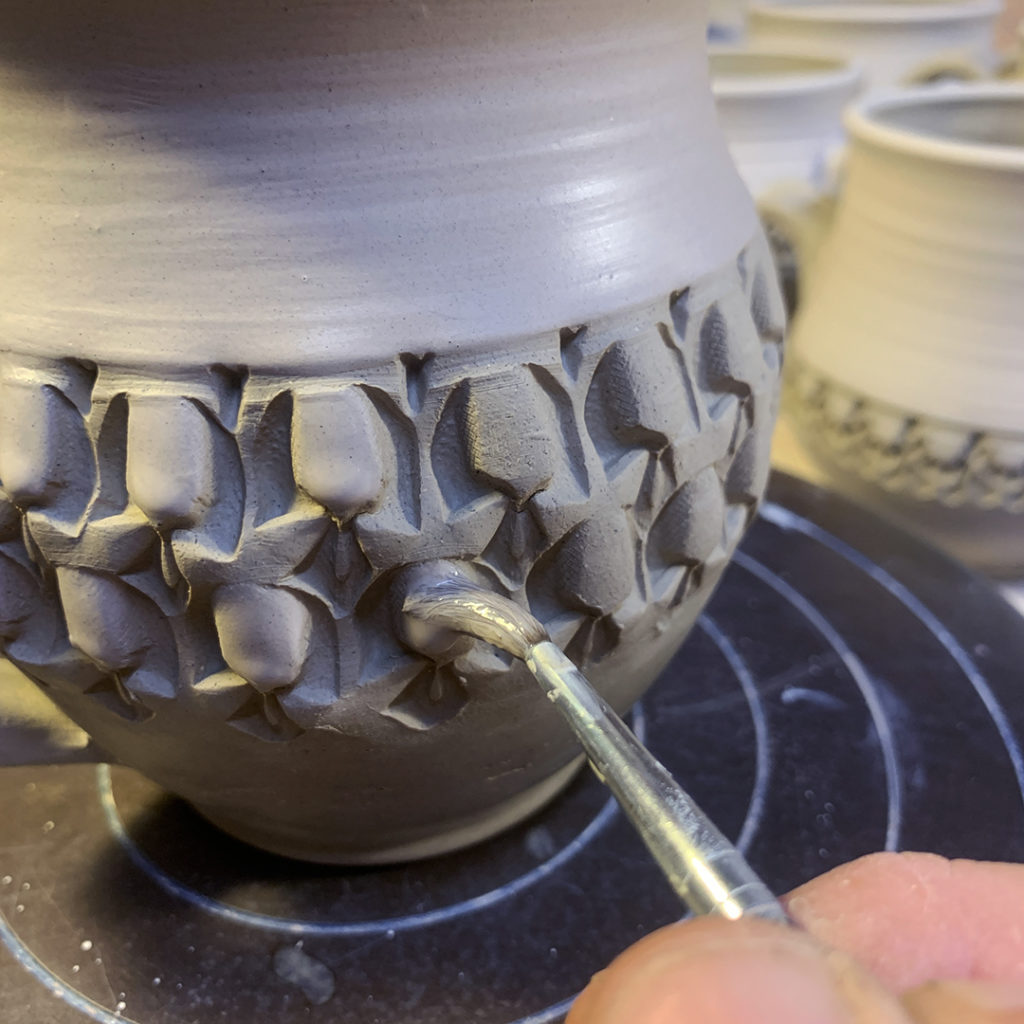
Making grooves… pressing stamps… making frames… playing with textures on another Texture Tuesday!
Celebrating another MUGSHOT MONDAY while getting ready for my next art fair… prepping , pricing & packing some new pots for next weekend’s Glenview Summer Art Fair… Saturday, July 30th & Sunday, July 31st.
When dealing with drip runs & chunky bottoms with errant kiln wash… nothing works better than the DiamondCore Grinding Disc. Just wet the disc, wet your pot, and press the mug bottom to the disc while it spins fast on your wheel. Before you know it, the excess comes right off the bottom. And if your turn & shift your pot just right, you can get a pretty “perfect” footring on a pot that might have been “ruined” by a bad bottom!
A quiet Sunday night in the studio… just me and a few more mugs in the making! Whenever I can’t decide on what to make… MUGS seem to be my “go-to” default… every time!
After pulling my reclaim out of my orange reclaim bin, it was time to re-fill it with some more clay scraps. I’ve had these bags sitting in the corner of my studio for two months now… ever since my trip to Minnesota for the St. Croix River Valley Pottery Tour. And today was the day to get rid of them!
One of my pottery friends lives up in Minneapolis and for some reason chooses not to reclaim her own clay. Instead she bags it up… and luckily for me, it’s waiting for me to take each year when I’m up there for the pottery tour. Sure, it’s a lot of work… but I think it’s well worth it… FREE PORCELAIN?… I’m in!!!
So I dumped out the clay one bag at a time. And went after it with a rolling pin to break it all down to small pieces which will “dissolve” faster and create a smoother reclaim slurry.
But then I found a few bags that much larger chunks in them… so I had to pull out the big guns… and actually break it up with a hammer… before I could rolling pin it!!!
The finer the clay is pulverized, the smoother my reclaim will be… which kinda equates to less wedging later. So it behooves me to do the work upfront before it goes into the reclaim bin.
So now all of the porcelain scraps have been broken down and put into my bin… covered with water, and stirred up. It will sit in there for two weeks or so until I’m ready to pull out the reconstituted clay to put back on the plaster bat to dry it out. Sure, it’s a good amount of work… but FREE CLAY is FREE CLAY… and FREE PORCELAIN is even better!!
After weeks of slaking down, it was finally a good day to pull out my latest batch of reclaim clay. Lots of scraps, trimmings & dried clay bits all soaked down in my big orange bin… and now setting out on a large plaster bat. The clay will sit on the bat for a few days as it slowly absorbs the water and helps to dry out the clay. When the clay gets stiffer, there’s a LOT of wedging in my future! But I’m in… FREE CLAY is the best clay!!!