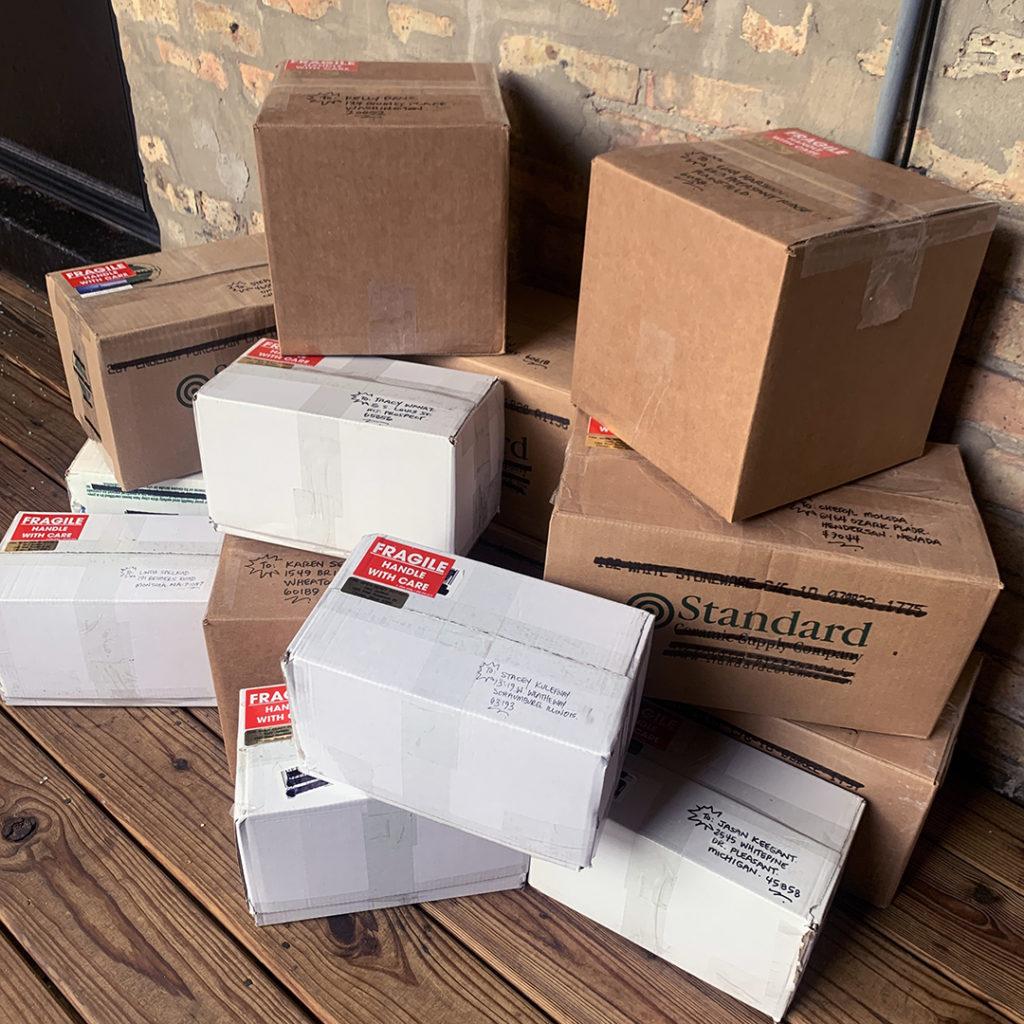
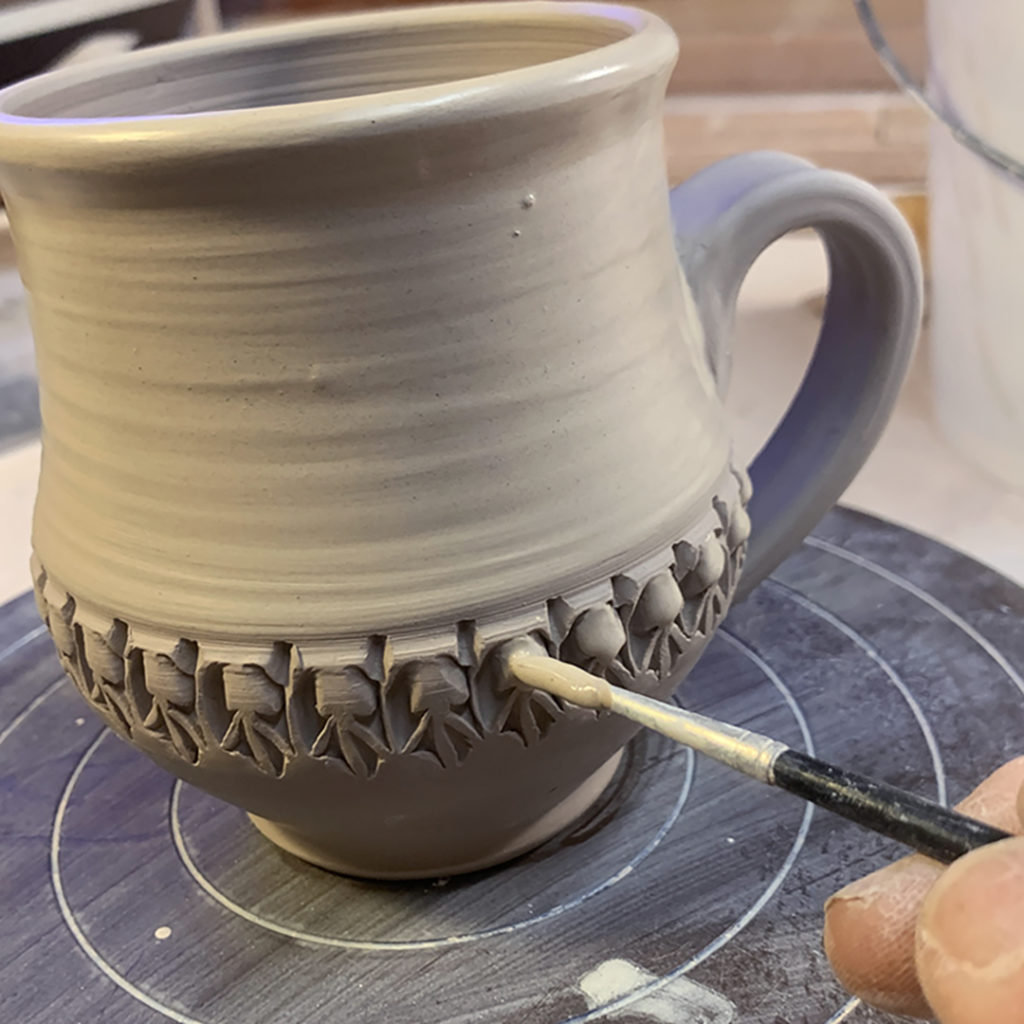
Gary Jackson: Fire When Ready Pottery
A Chicago potter’s somewhat slanted view of clay & play
Categories: process, production, soda-fired

Backing it up just a little… someone asked what “wadding” is when they say all of the mugs I was glazing and said that I still “needed to add the wadding.” So here’s a quick shot of the bottom of the mugs… similar to every piece put in a soda kiln. The little balls of “wadding” are made of a special clay mixture with alumina hydrate mixed in which makes the clay resistant to the soda atmosphere. The goal is to keep the pots elevated off the kiln shelves so they don’t fuse during the firing while the soda atmosphere in the kiln is “glazing” all of the pots. After firing, these little balls of clay will fall right off.

Categories: glaze, mugs, process, production

So now the stamps have their inlaid glazed… and a liner glaze too! The outside stays basically unglazed as the soda-firing process will finish & “glaze” the outsides for me! Now to start wadding all of them…

Categories: glaze, mugs, process, production

Filling all of my stamped impressions with a dark tenmoku glaze. And then wiping away the top surface leaving glaze only in the indentations. Sure, it’s a lot of work, but he darker inlaid glaze always seems to make my stamped patterns “pop” more!

Categories: glaze, mugs, process, production, stamped

Lots of mugs… looks like I’ve got a LOT of glazing to get done tonight!!! ugh… definitely not my favorite part of the process!

Categories: mugs, process, production

Colored flashing slip applied… mugs are done for the night!
Just in time to teach class downstairs tonight. So now they can start drying before they go into my bisque kiln… hurry up, dry… dry… dry!!!

Categories: mugs, process, production, stamped

So now that we’ve got a bunch of mugs, it’s time to add some colored flashing slip accents. If all goes as planned, these slips should change to brighter colors in the soda kiln. I know it doesn’t look like orange right now, but this mug should when it comes out of the kiln! Fingers crossed…

Categories: mugs, process, production

Whew… handles attached so now we have MUGS!!! Just in time for another MUGSHOT MONDAY!!! A lot of scoring & slipping… over & over again… one mug at a time. Making sure each handle is attached firmly and blended in smoothly.

Categories: mugs, process, production

Handles pulled… and loving the shadows!!! After I pull the handles, I like to loop them over so they can “set-up” in close to the right shape. Then when they are no longer sticky, I can start attaching them to the stamped & trimmed cylinders!

Categories: mugs, process, production

Here we go… time to make some handles!
I’ve got a bunch of stamped & trimmed mug cylinders just waiting to be come MUGS!!!

Because we all know that a mug without a handle is NOT a mug!!!

Categories: mugs, process, production, stamped, stamps

Stamping mugs again… using my own handmade clay stamps to make the impressions. I press them in when the clay is a soft-leatherhard. Still a little malleable, but not at all sticky. If the pots dry out too much, the stamp won’t go in deep enough to make a good impression.

MUG 1 –

MUG 2 –

MUG 3 –

MUG 4 –

MUG 5 –

MUG 6 –

MUG 7 –

MUG 8 –

MUG 9 –

Next up we need to do some trimming… carving out a footring on the bottom! Then a few handles… and voila’... soon we’ll have more mugs!!!