And oh, but wait there’s more… SO MUCH MORE!!!
Or would that be MORE-eo?!!!
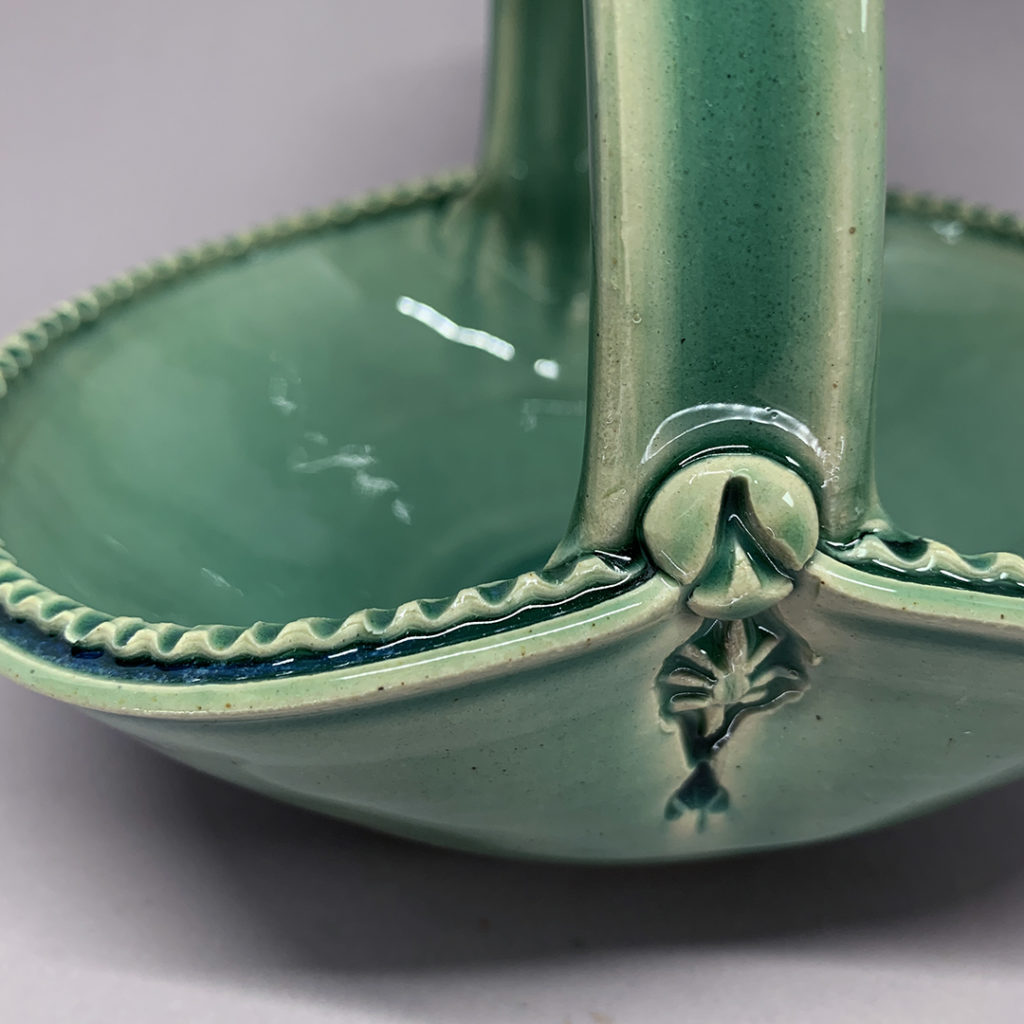
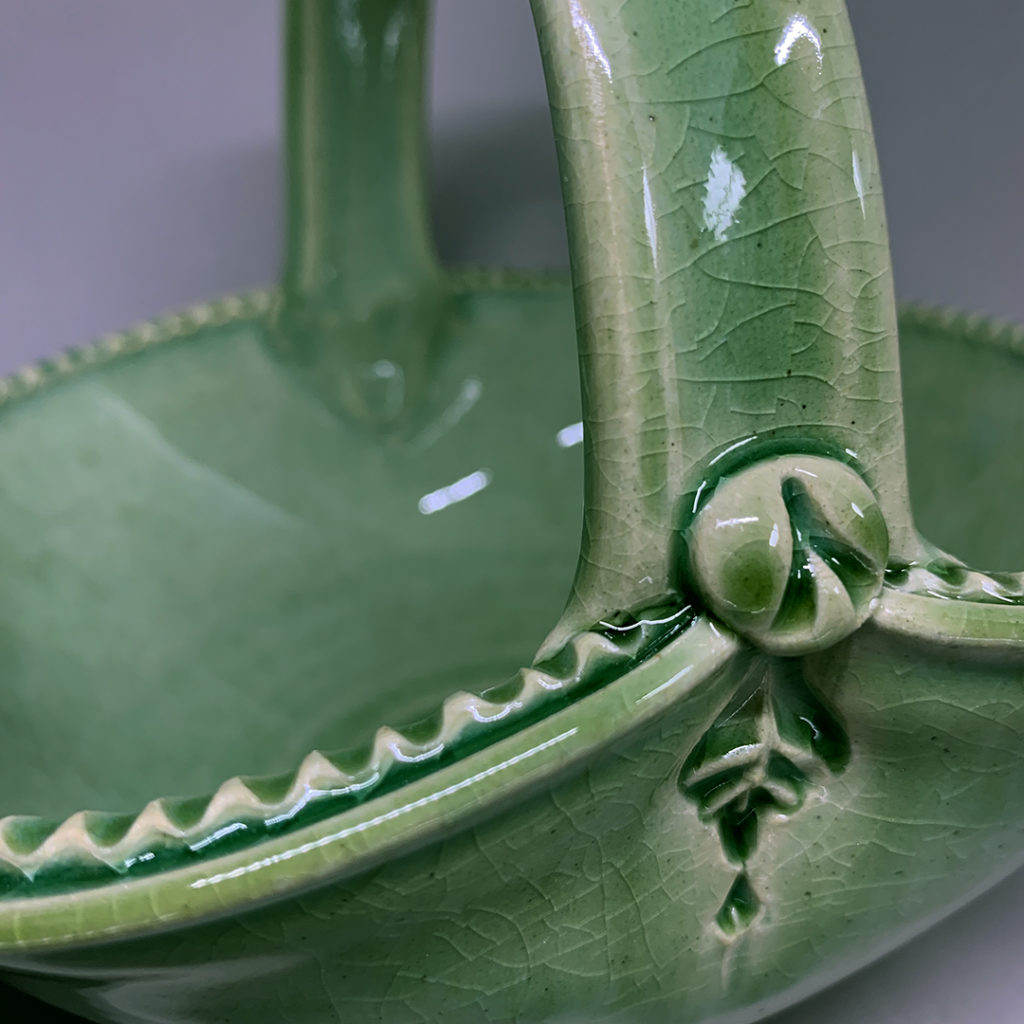
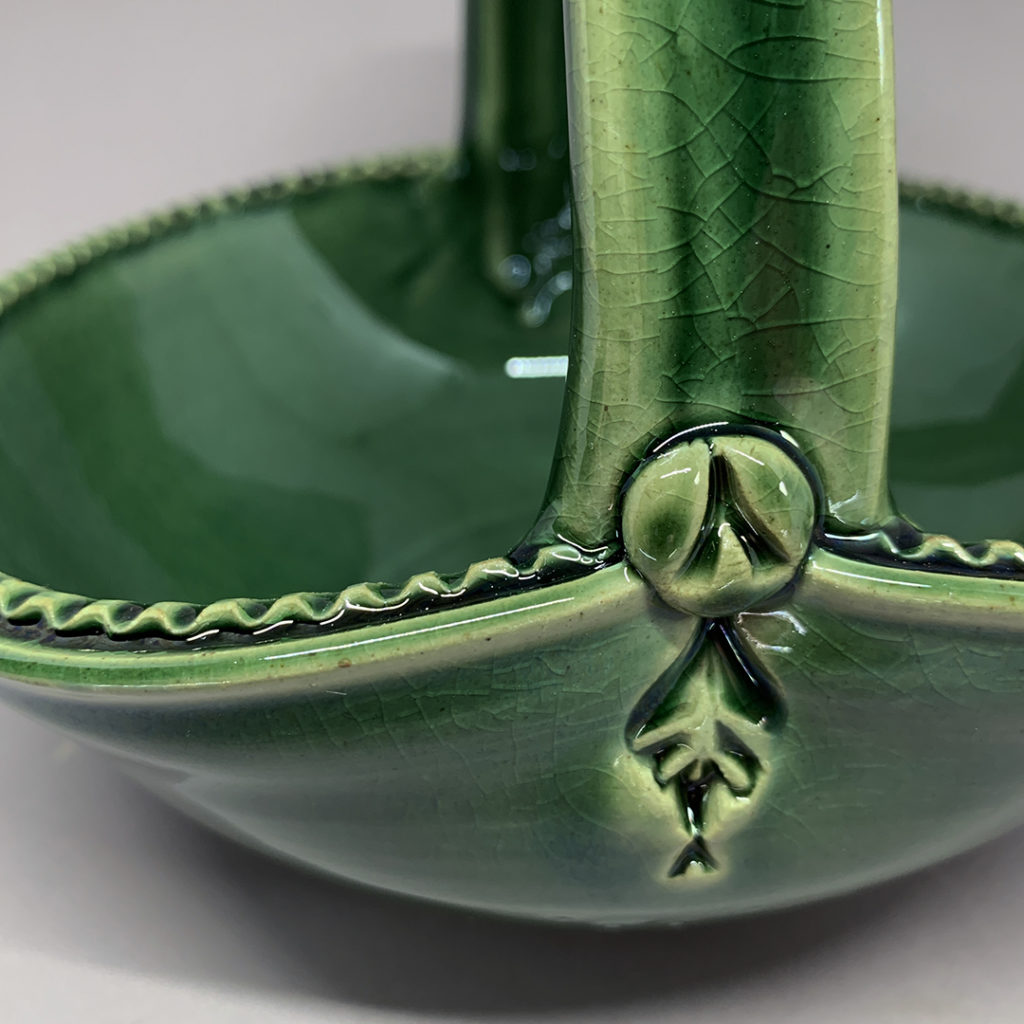
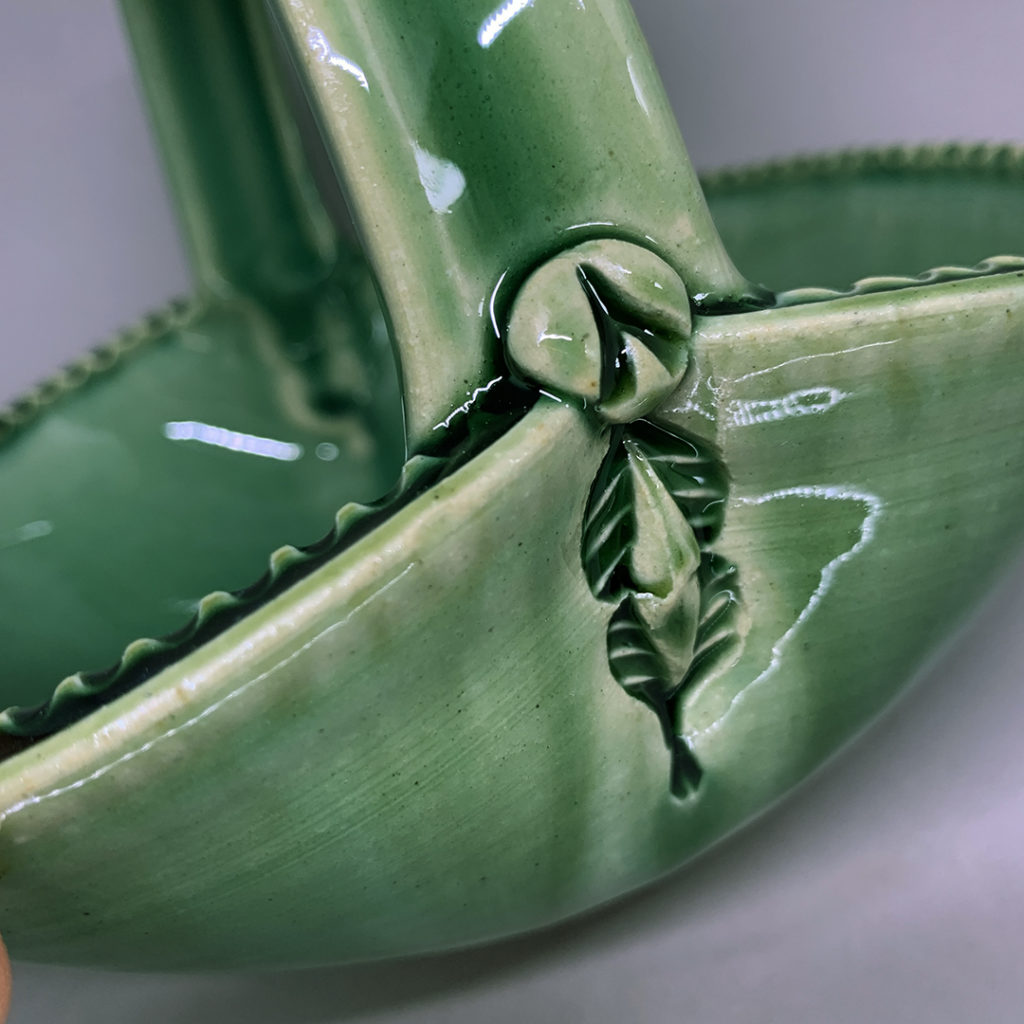
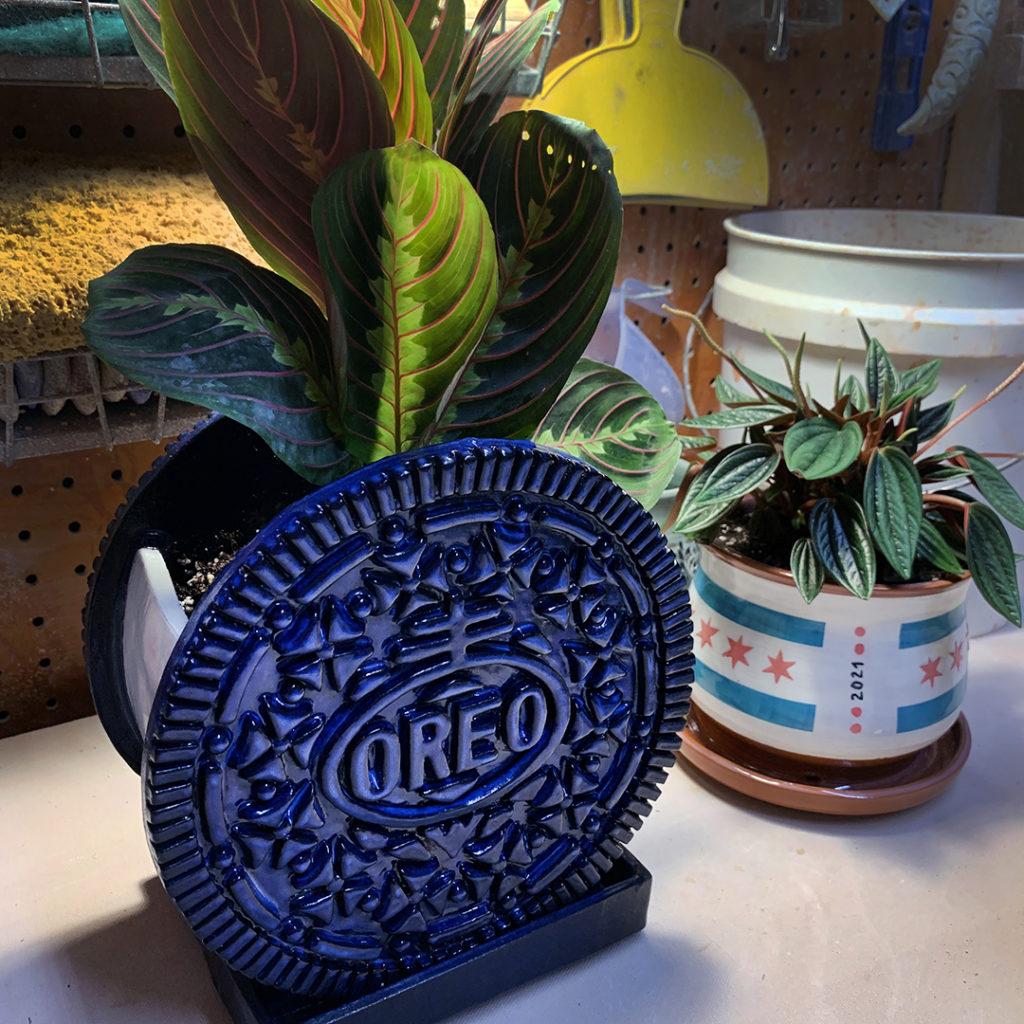
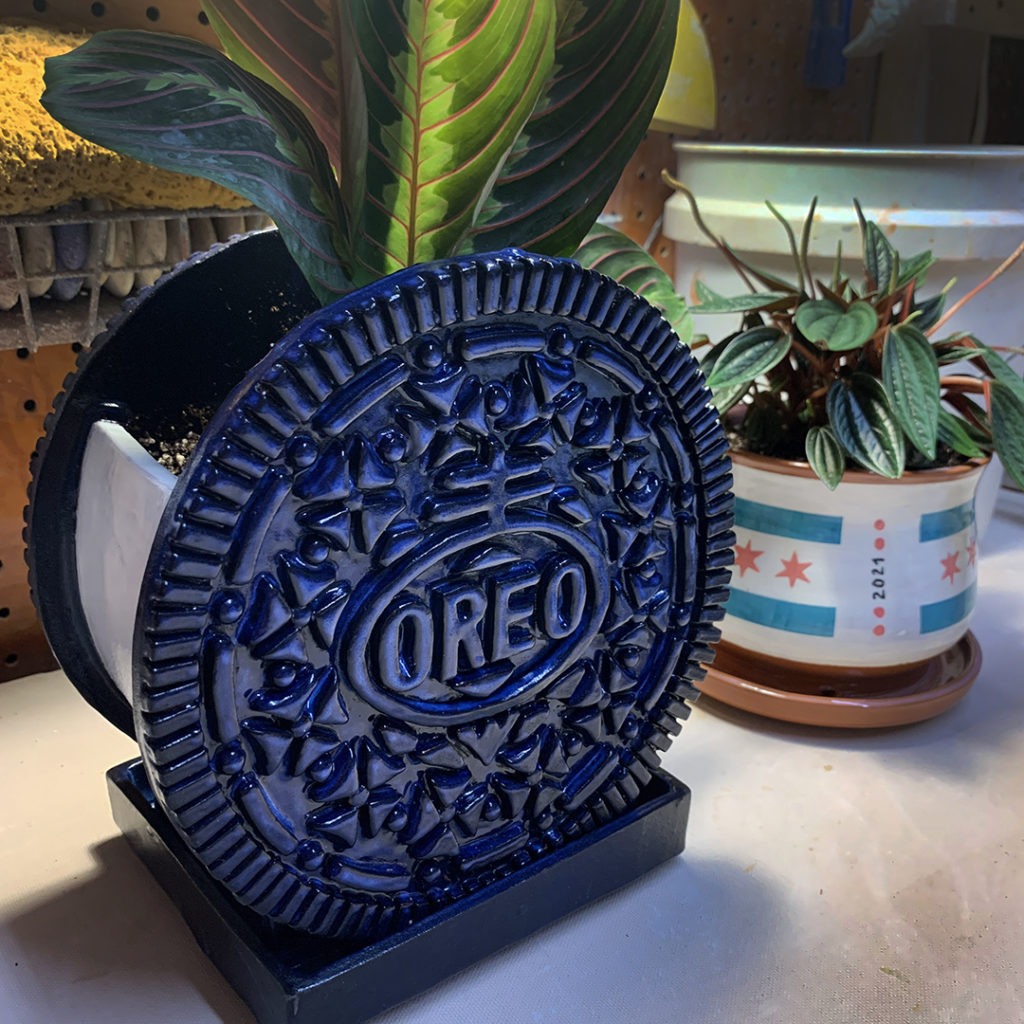
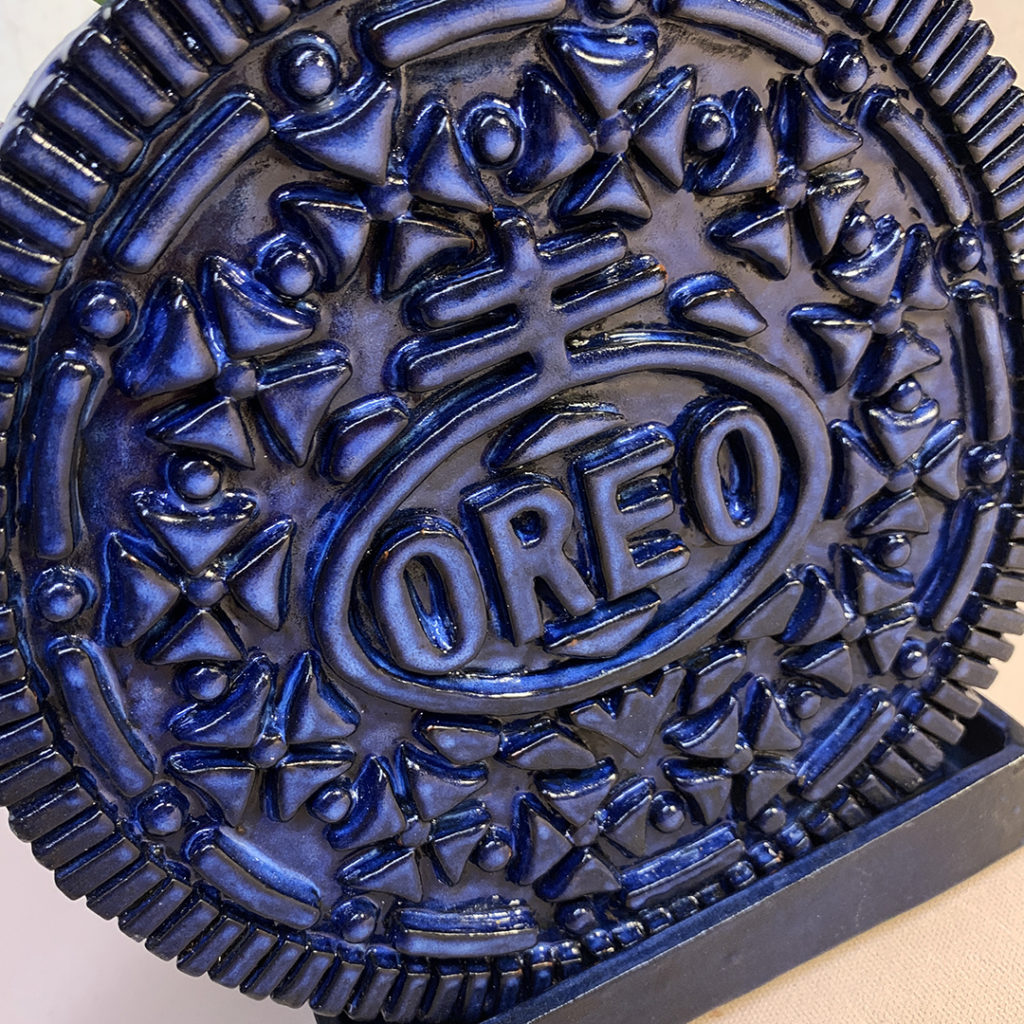
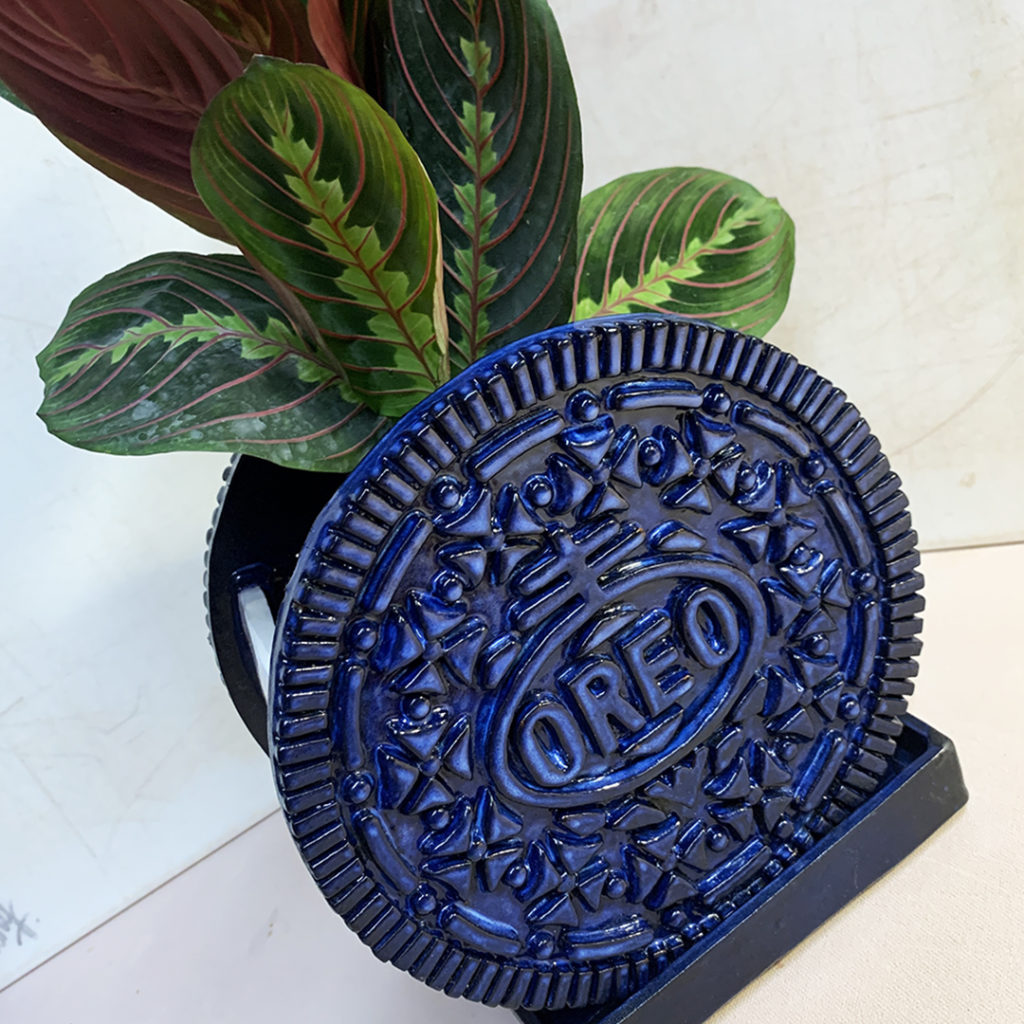
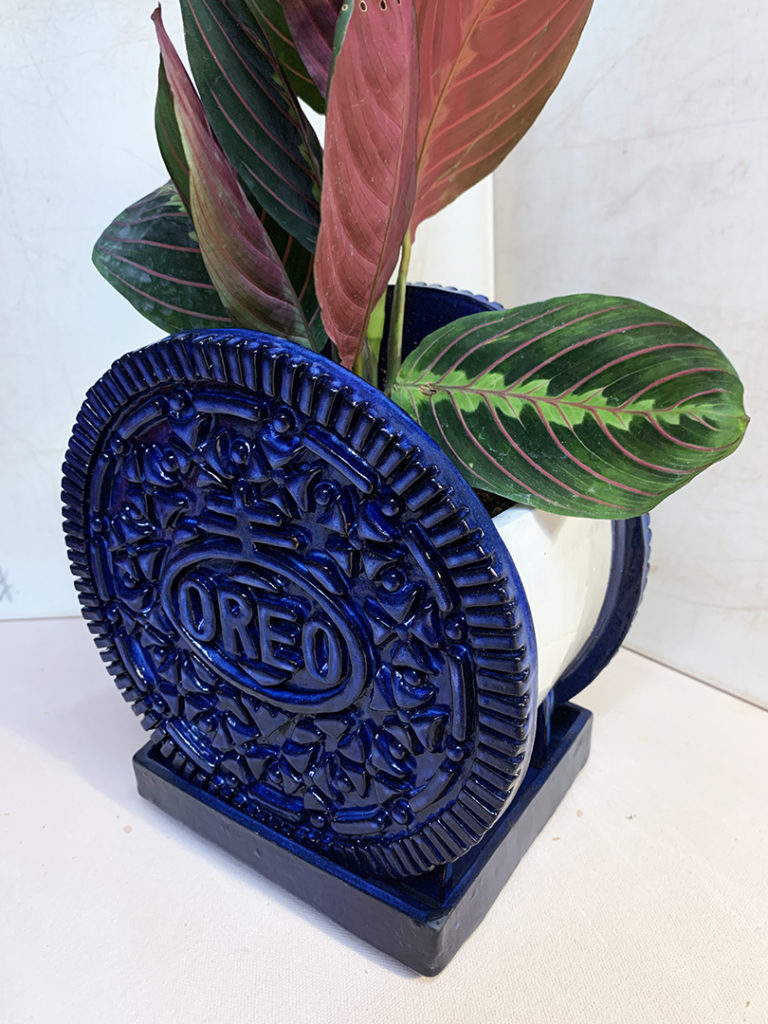
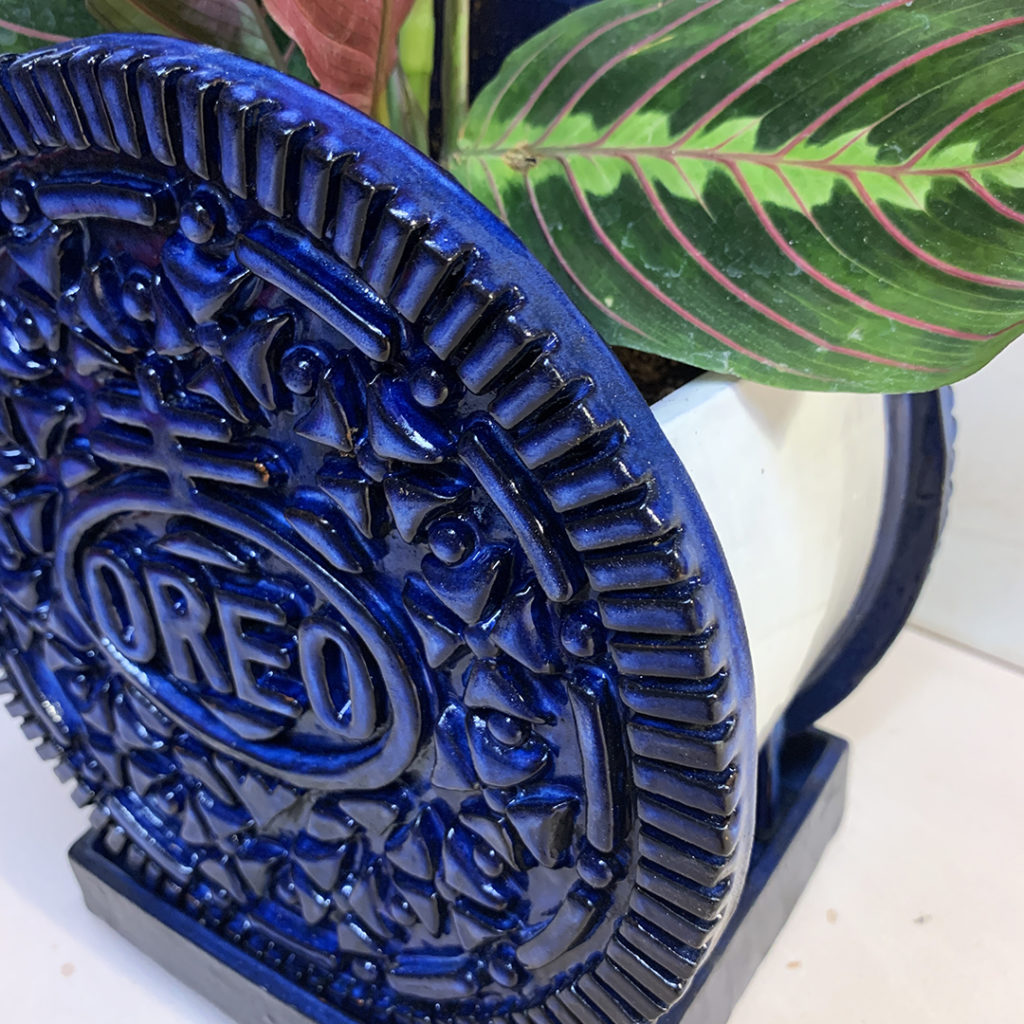
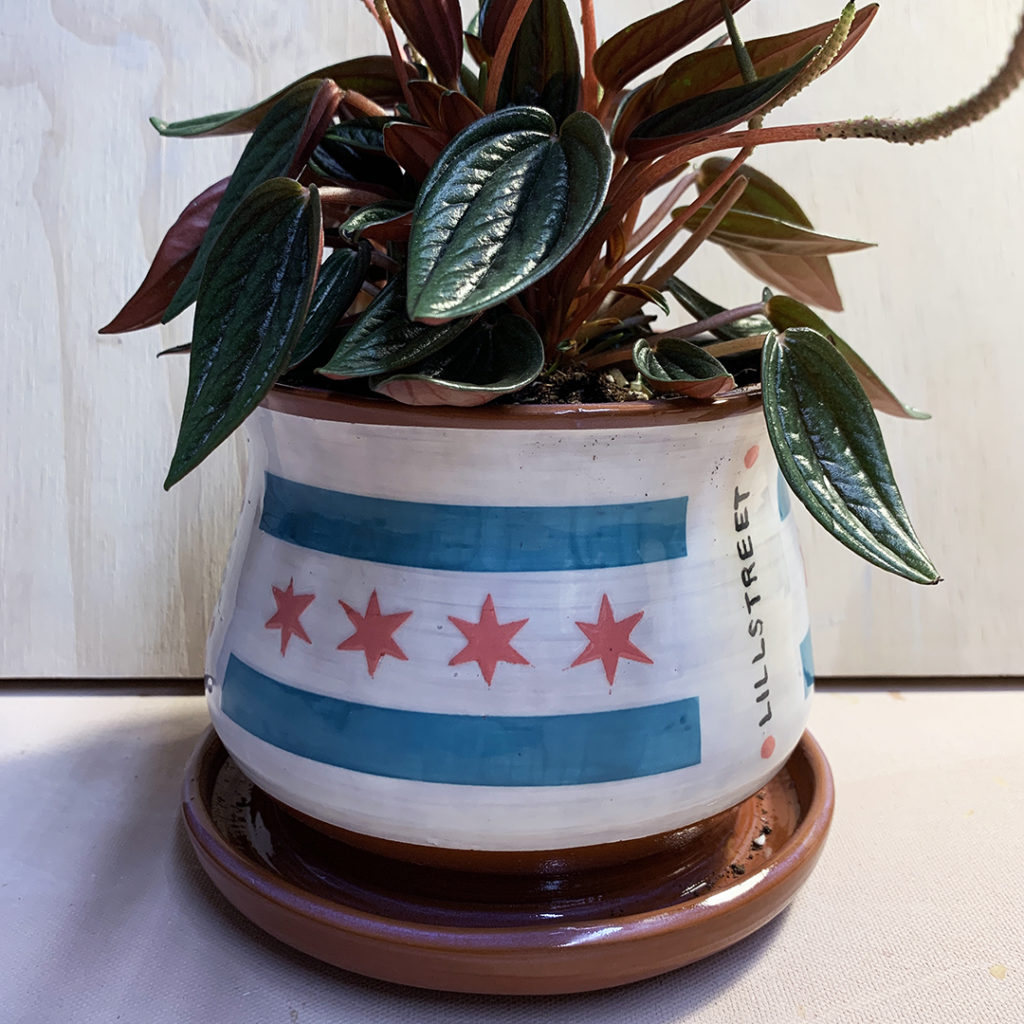
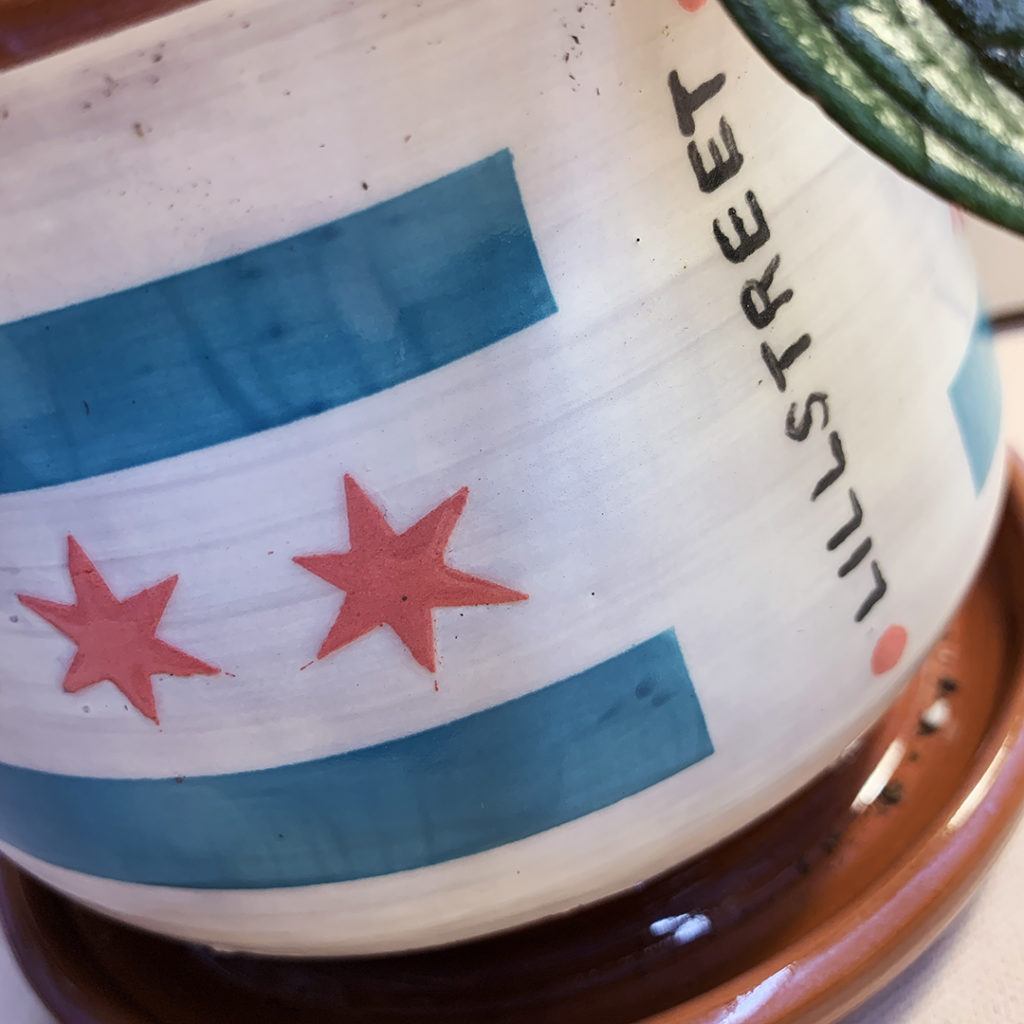
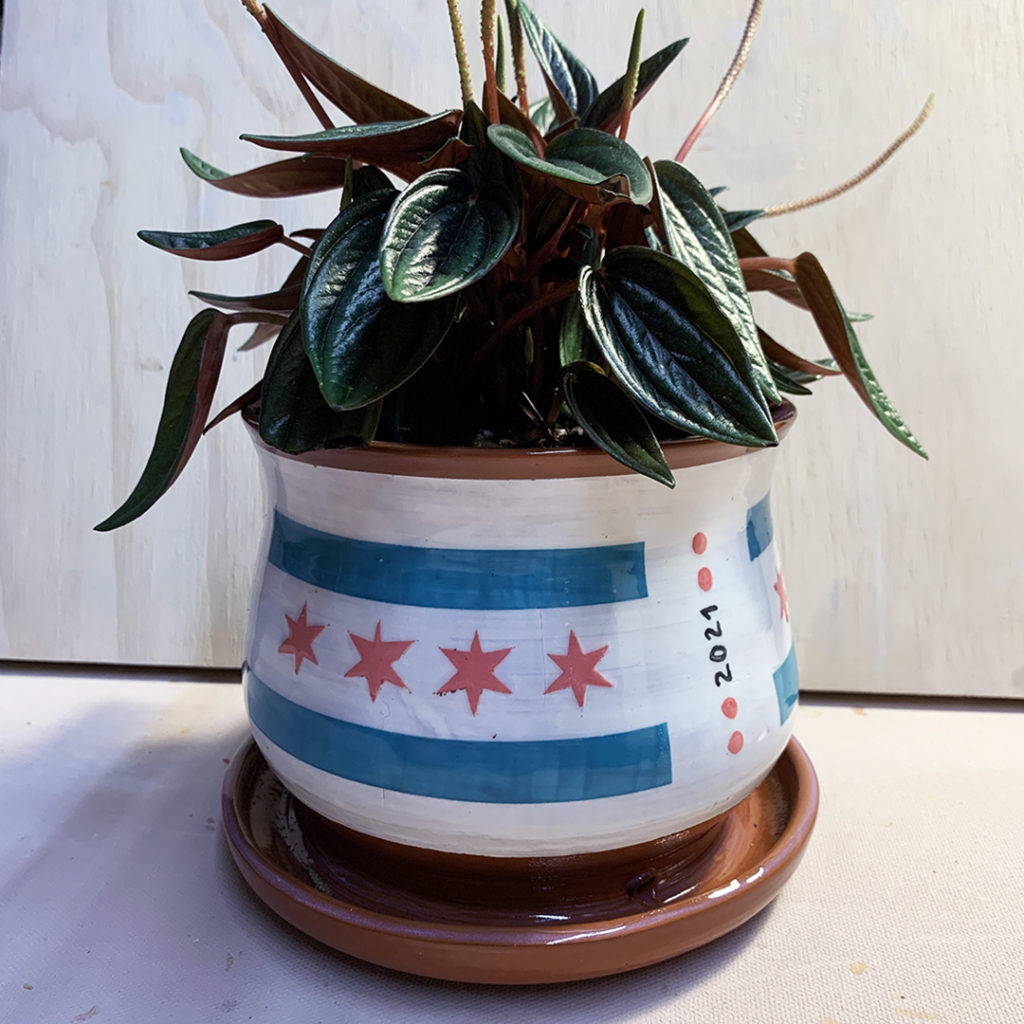
Not only did I get Christine’s Chicago flag flowerpot as part of our trading game… l ALSO got this amazing piece that she made as a surprise gift for me!!! Christine has been taken several of my classes and knows my penchant for OREOs firsthand. So she knew that this would be the PERFECT gift for me. And apparently, there was an all-on covert operation going on behind-the-scenes at Lillstreet to get it through all of the firings without me seeing it (thank you Dave – her cohort in crime!) Such an AMAZING way to end our session… with this AMAZING OREO PLANTER.
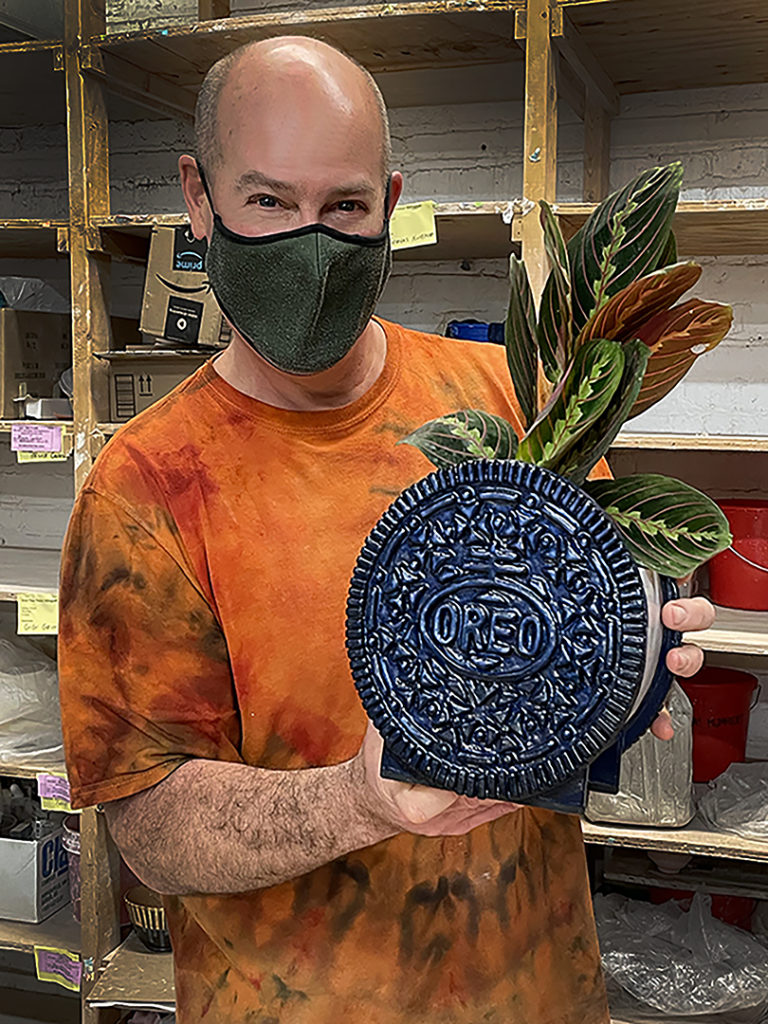
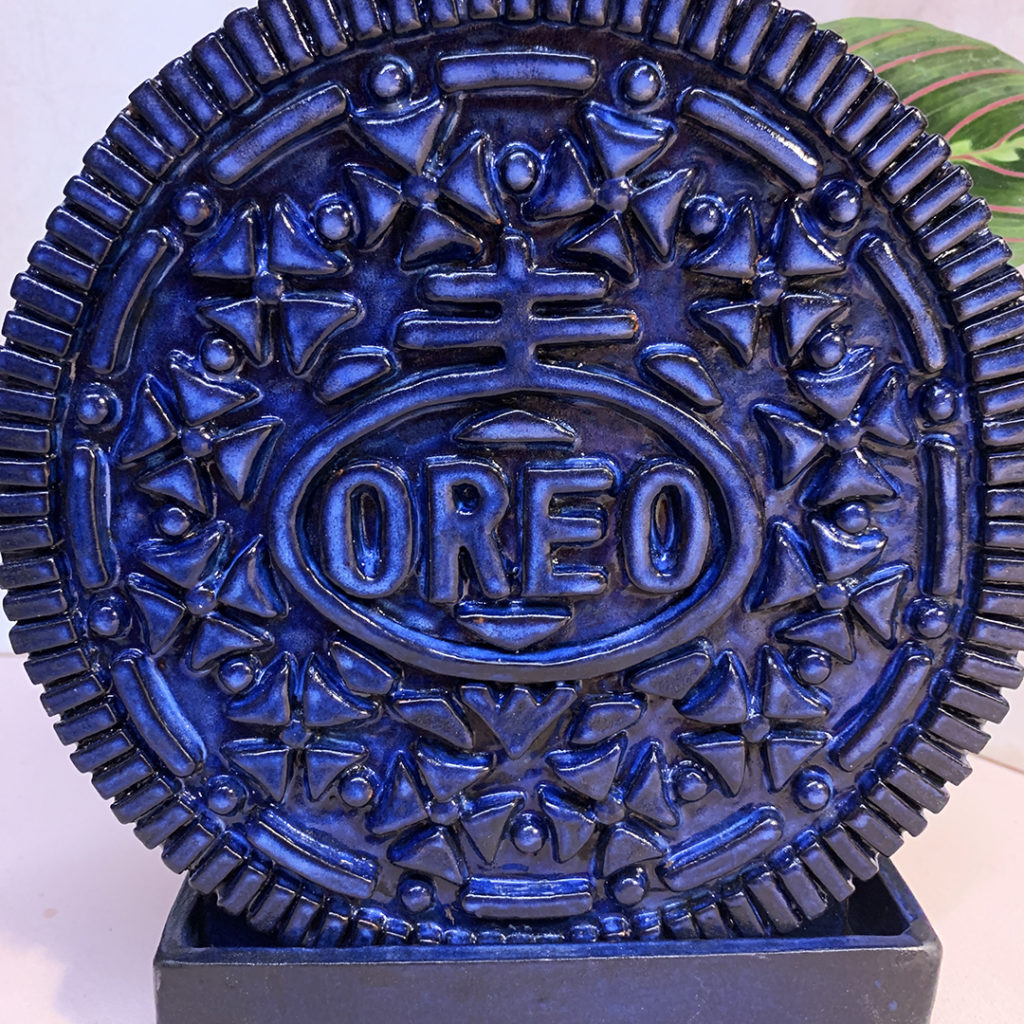
And don’t hate… but this is only Christine’s second handbuilding project ever!.. yes, she’s one of “those” people!!! I will do a post soon that show’s her step-by-step process in building this masterpiece!!!