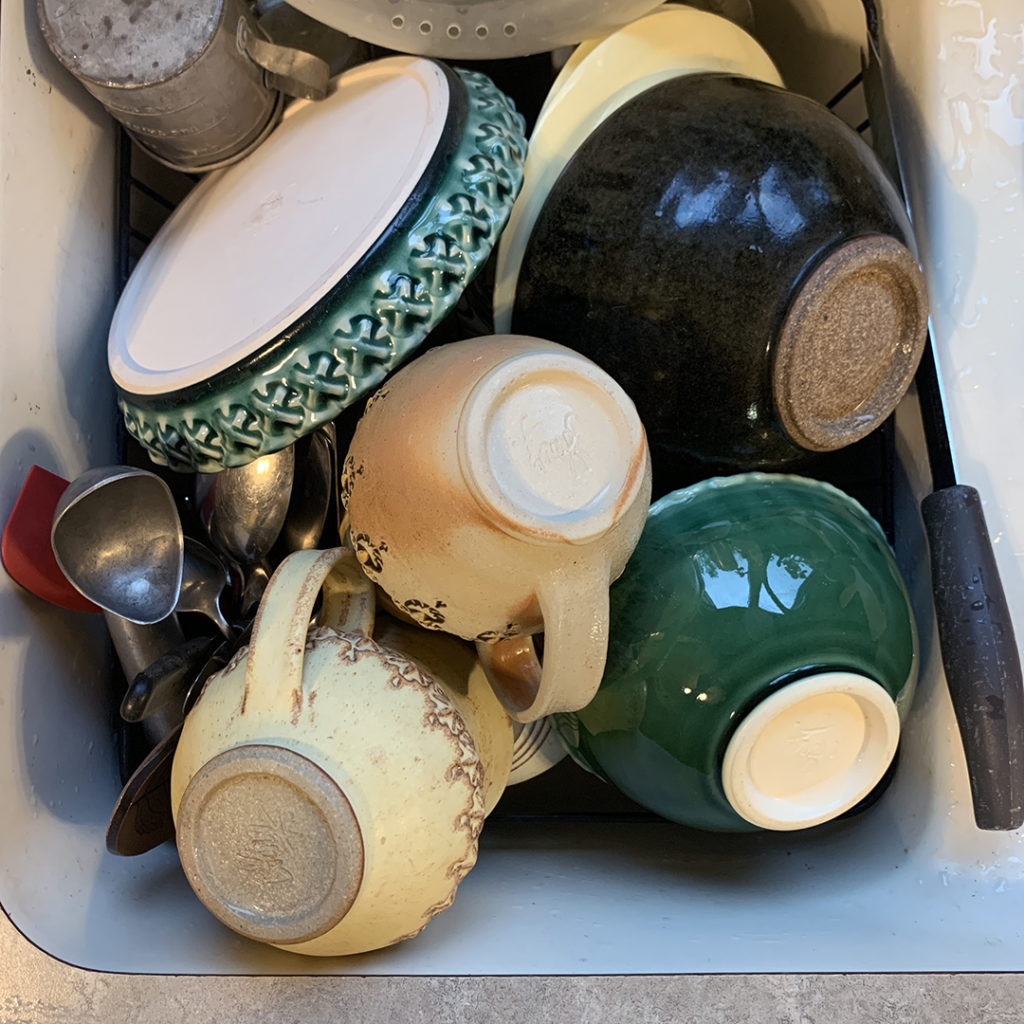
Gotta love some well-used pottery.
A dish drainer full of handmade functional pottery…
some new, some vintage, all loved.
Thanks for sharing Rosene & Gerry!
Gary Jackson: Fire When Ready Pottery
A Chicago potter’s somewhat slanted view of clay & play |
Gotta love some well-used pottery.
A dish drainer full of handmade functional pottery…
some new, some vintage, all loved.
Thanks for sharing Rosene & Gerry!

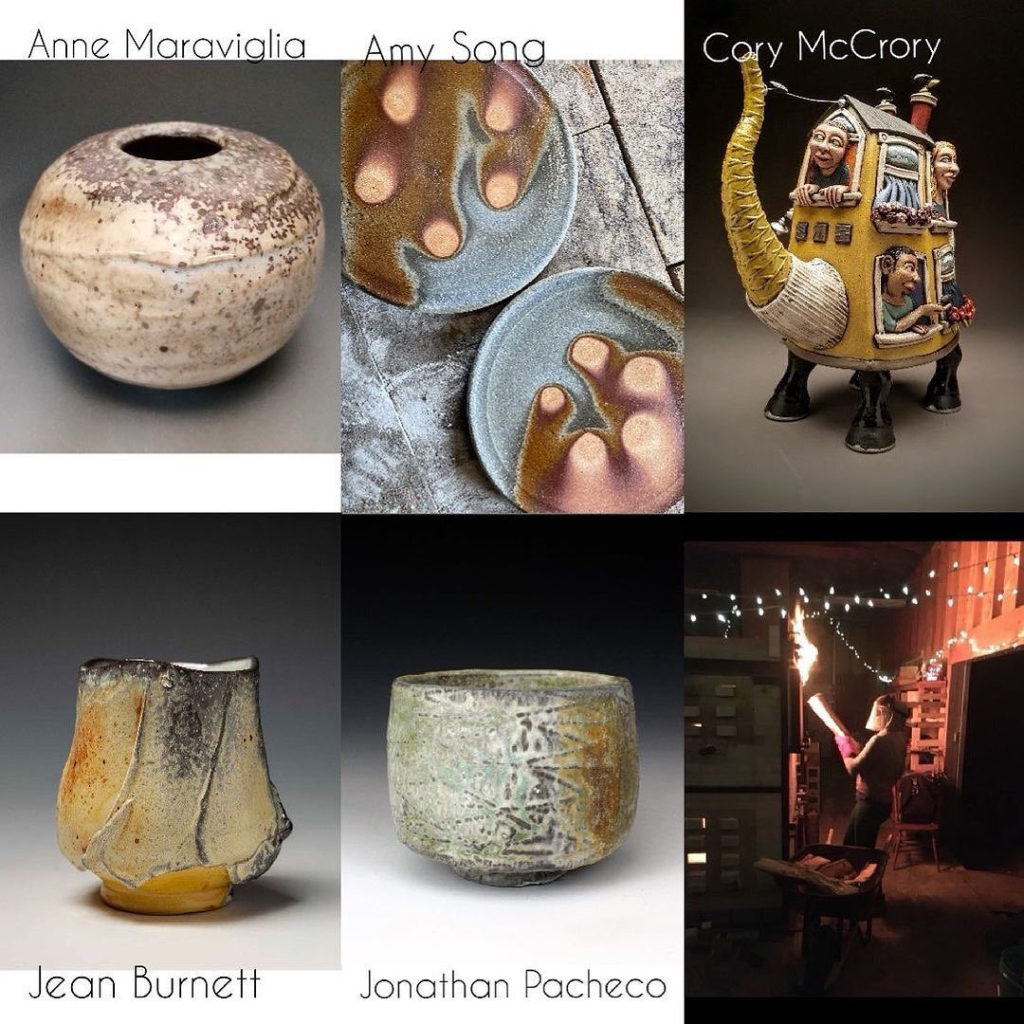
Well lookie here… there’s a lot of great potters getting together to put on a brand new NORTHERN ILLINOIS POTTERY TOUR! Many of them I already know as “My Talented Friends”… the others I can’t wait to add to that list! So many potters, so many pots, so much talent all in one Pottery Tour. Going virtual this year June 18-20th… but looking forward to a full on-location Pottery Tour in 2022. More details to come… and check us out at www.northernilpotterytour.com


Happy to announce that I have been invited to be part of the NORTHERN ILLINOIS POTTERY TOUR this year – June 18th, 19th & 20th! It’s a brand new tour… going virtual this year… and then in-person next year & onward. I will be one of the Invited Guest Artists with my friend Cory McCrory in Sandwich, Illinois. It’s exciting to be part of this tour from the very beginning… and I’m sure there will be a lot of fun information & pottery coming your way soon!!!
Be sure to check it out… @northernilpotterytour on Instagram
or www.northernilpotterytour.com for more info!
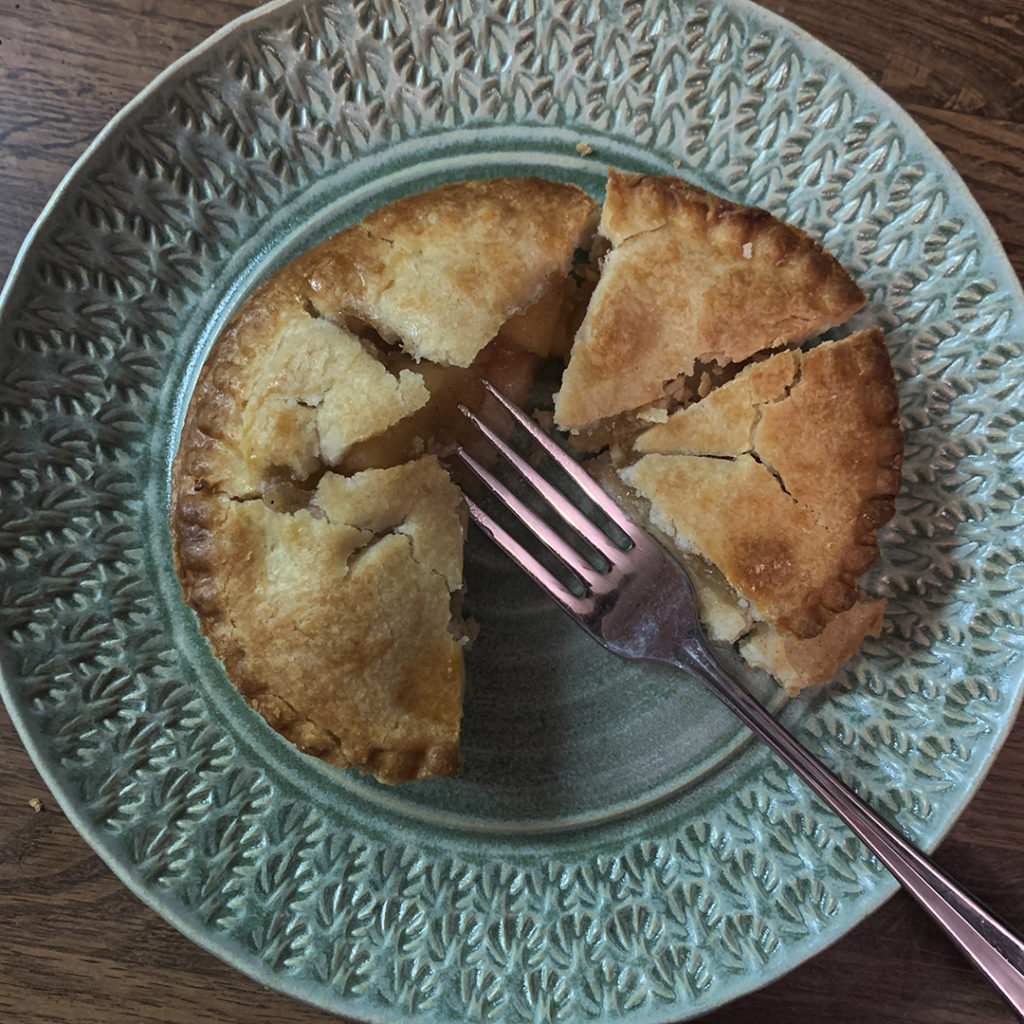
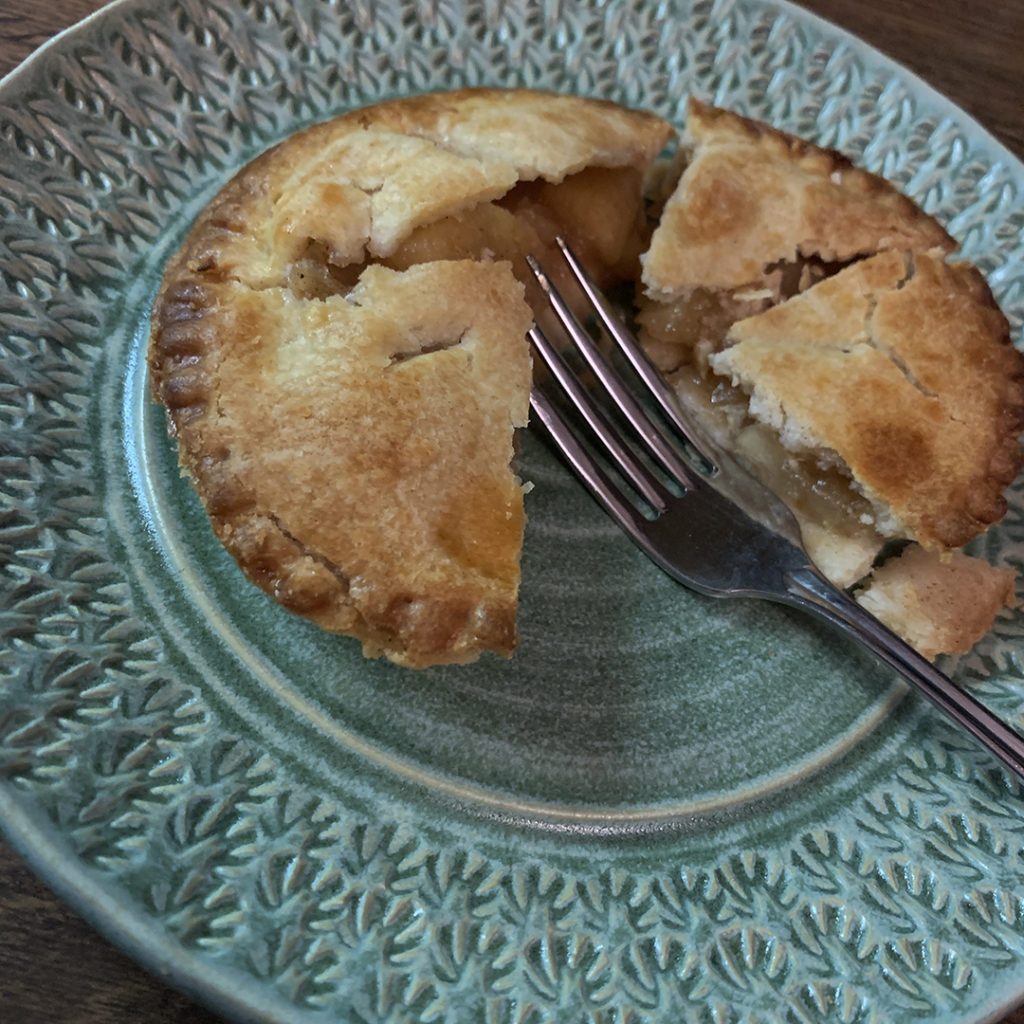
You know how I love to celebrate a good holiday… especially when it’s NATIONAL APPLE PIE DAY! I mean, it would be “rude” to not participate, right? Even if it’s just with a mini-pie?… although I kinda wish I had three of these?!
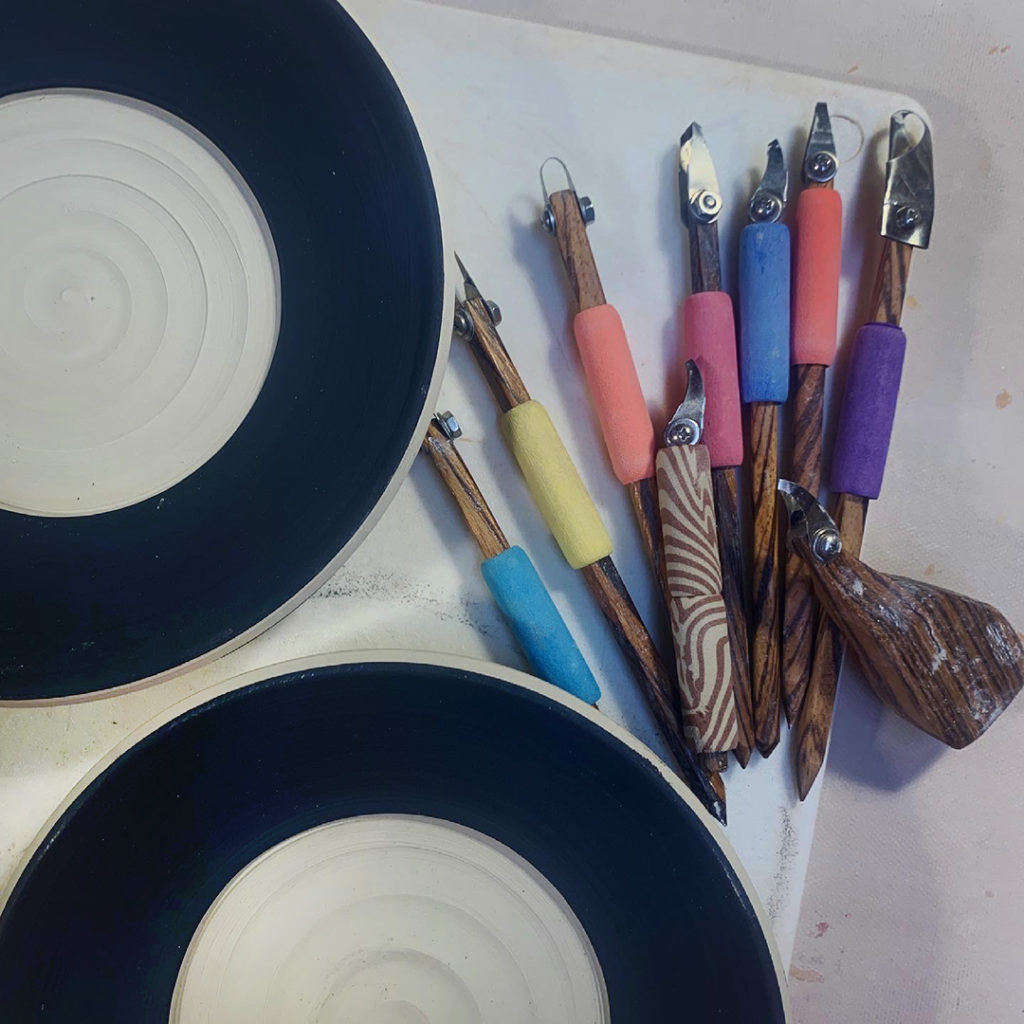
Tonight in my SURFACE DECORATION pottery class, we’re tackling a little sgraffito!!! I’ve got a couple surprises ready for them… and sharing my collection of DiamondCore Carving Tools for them to play with!!!

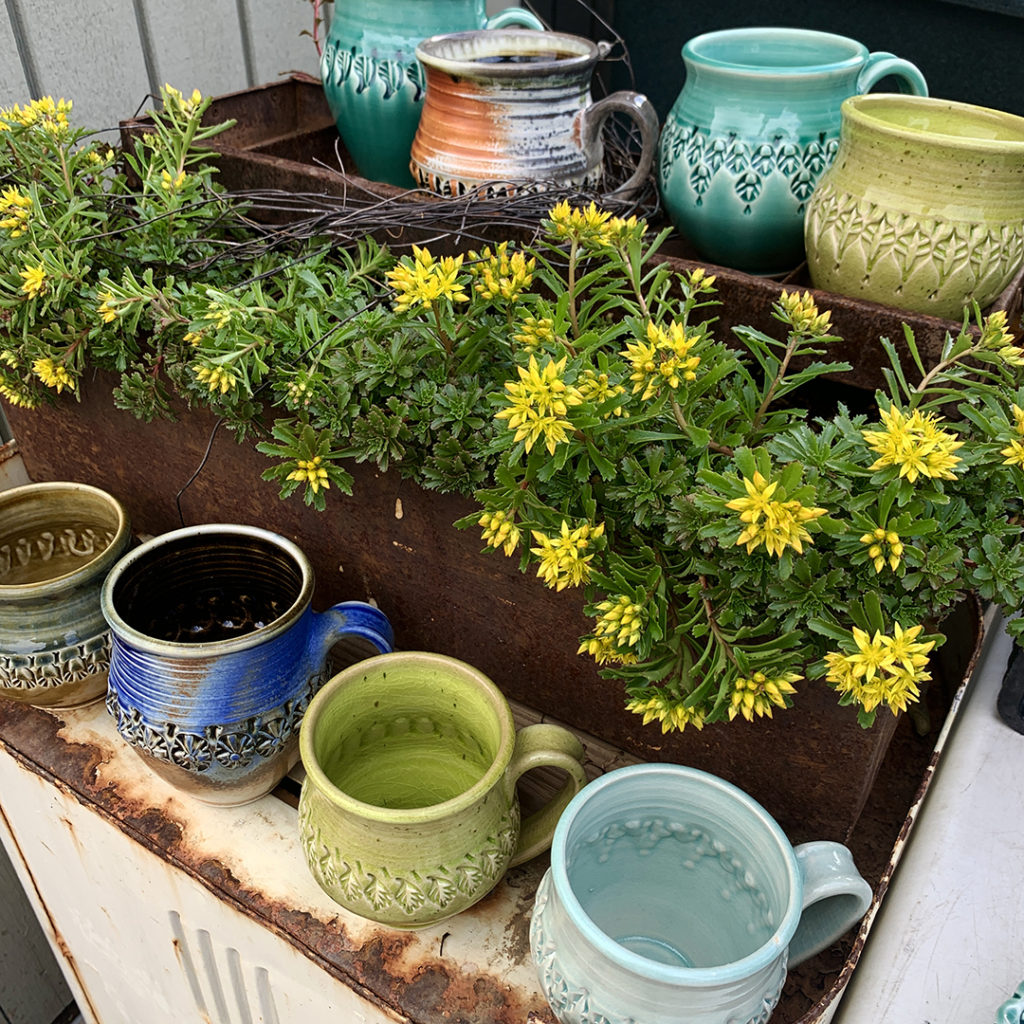
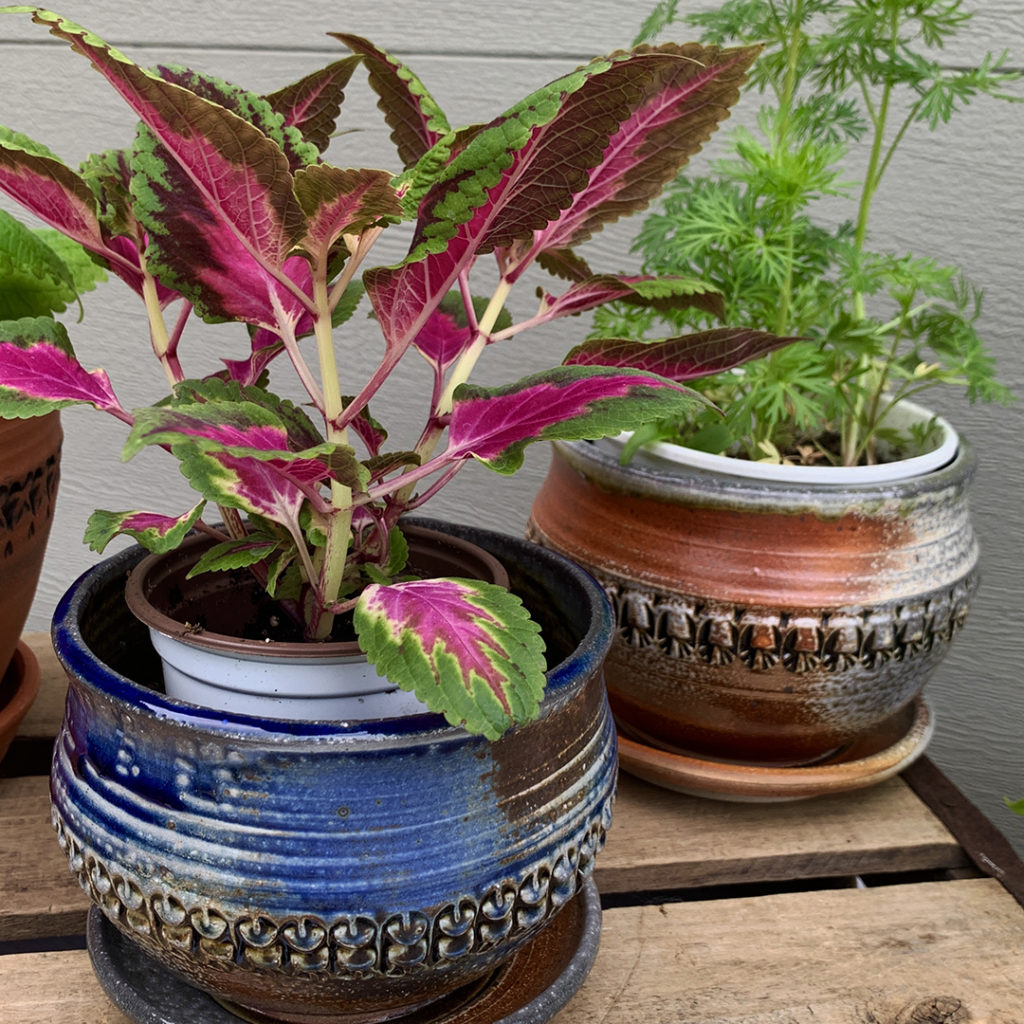
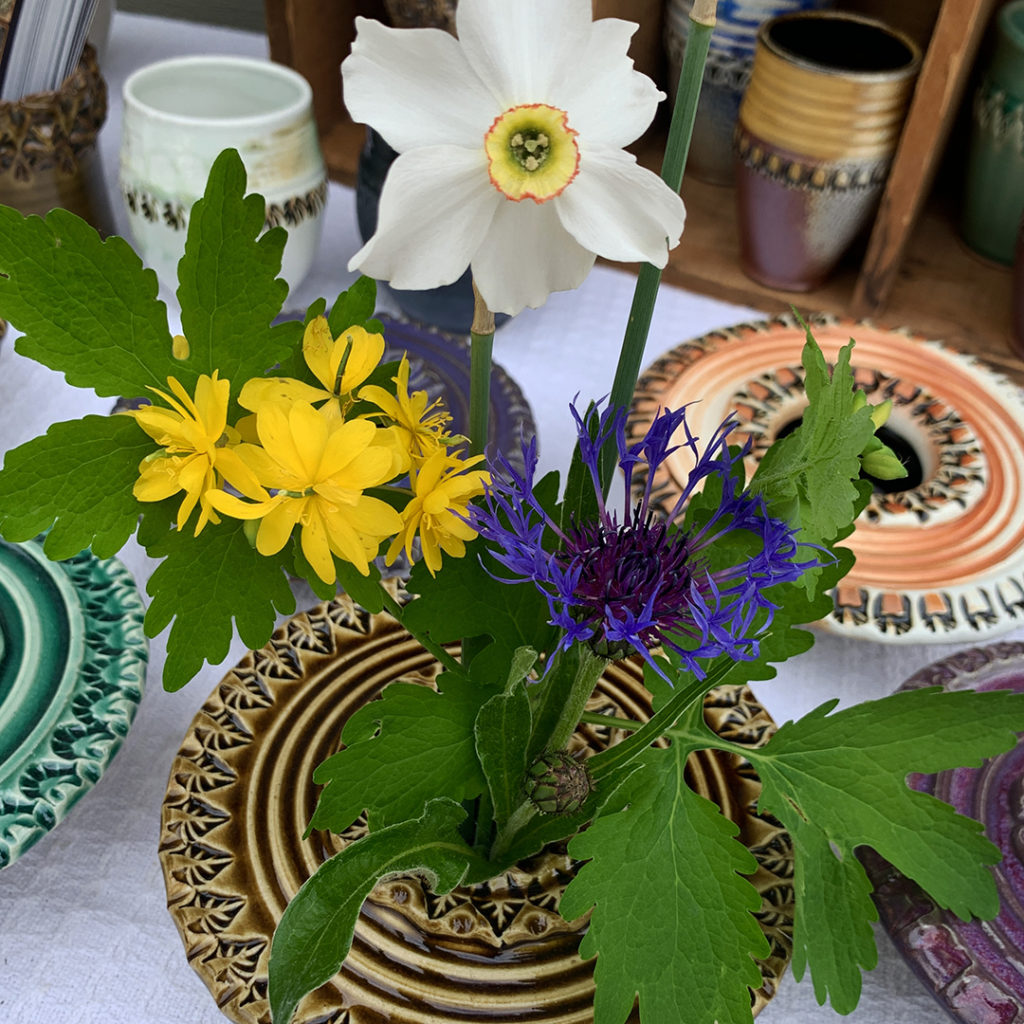
Huge thanks to everyone who stopped-by this weekend’s PLANT & POTTERY SALE down in Peoria! My pals Rosene & Gerry have an amazing garden & grew hundreds of coleus plants for the sale… and I just popped-in with a collection of pottery to add to the festivities! It was so much fun seeing everyone come out for our little sale… excited about plants & pottery! Thanks again for playing with us!

Last night I had the pleasure of doing a little ZOOM studio tour & demonstration for the Glenview Art League. They all “stopped by” for some chatting & banter…. then a few demos of throwing on the wheel, followed by some stamping & surface decoration… and more discussion. Hopefully they all had fun… I know I did. After all, it was all about ME!!!… ha!
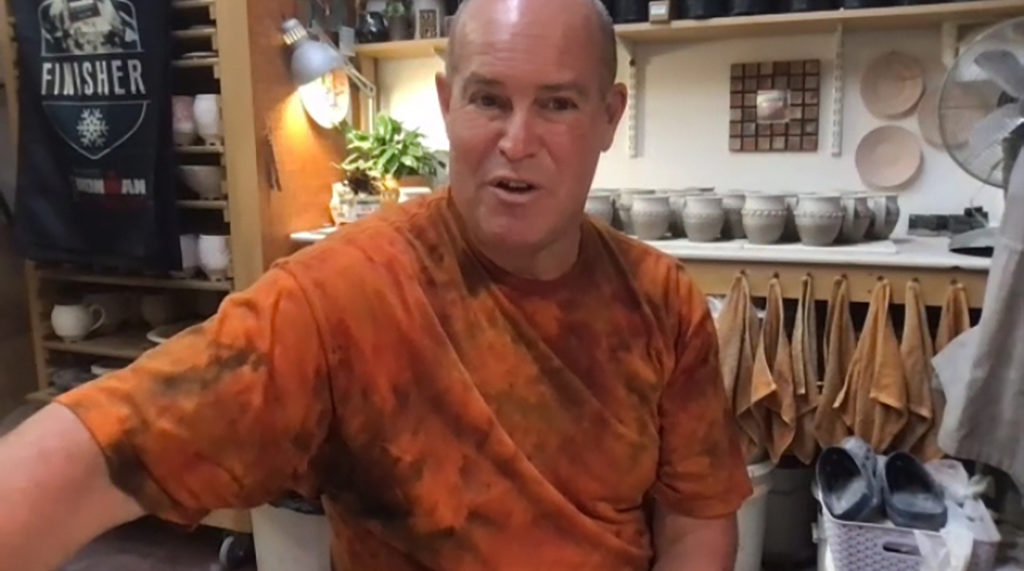
Such weird times when we’re still showing our studios, artwork & process through a small, non-tactile computer screen. I so look forward to getting back to in-person face-to-face fun! Keep getting those vaccines so we can get some herd immunity and get back to more normal days!
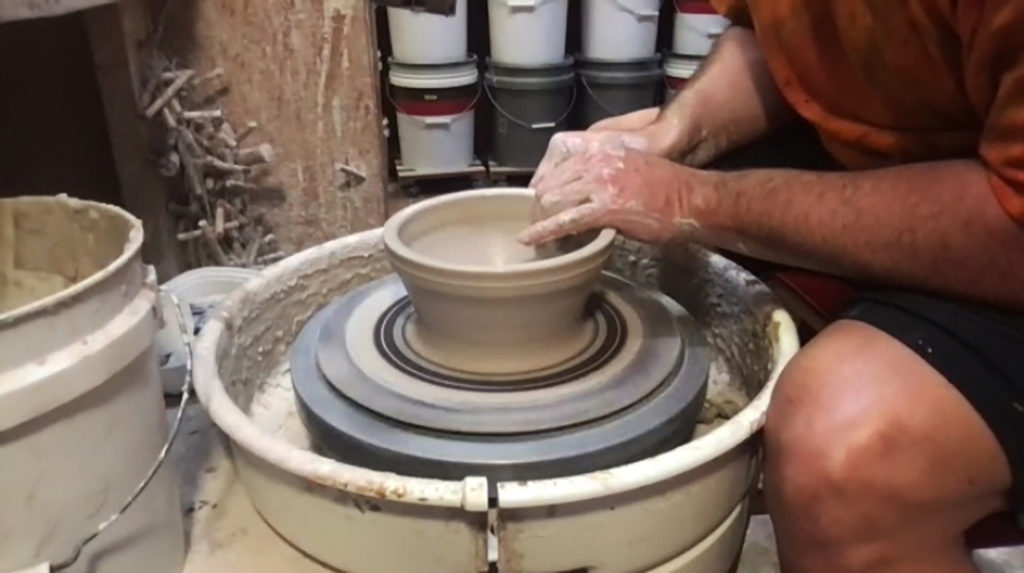


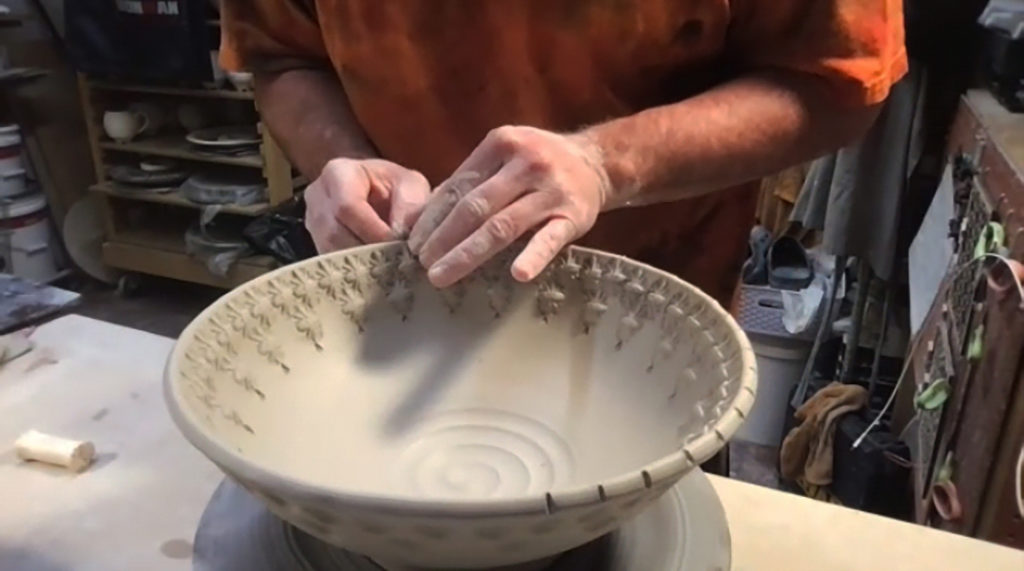


Spring is here & things are popping up all over! If any of my Central Illinois fans are around this weekend, I’ll be “popping-up” in Peoria this Friday & Saturday. Beautiful homegrown plants, colorful coleus & more for your yard, containers & windowboxes! Plus an assortment of my pottery… mugs, vases, flower pots & more! You’ll also get to see one of my totem poles in the garden… and meet me very first art fair friends from “several” years ago!
Friday, May 7th & Saturday, May 8th – 9:00am-4:00pm
2314 Skyway Road, Bartonville, IL 61607


Look what showed up in the mail today! The poster for THE ST. CROIX VALLEY POTTERY TOUR! I’ve been going to this pottery tour for over a decade – always one of my favorite road trips.

Until now… last year & again this year they will be going “virtual” with online sales instead of an in-person event. So much more fun to touch, love & actually feel the pottery… as well as chat with the artists in-person. But I get it… staying safe during these crazy times. Guess we’ll have to play online instead… with fingers crossed for the in-person tour to return next year!!! Now if I could just wrangle an invite to be one of the potters included THAT would truly make my day!!!


So excited to see another season of THE GREAT POTTERY THROW DOWN!!! We’ve been waiting for so long here in the States. Having to watch little snippets leak out on social media as the show was airing in the UK. I didn’t want to know anything about the cast, challenges or winners… so I actually “unfollowed” a few sites so I didn’t see anything in my News Feed.
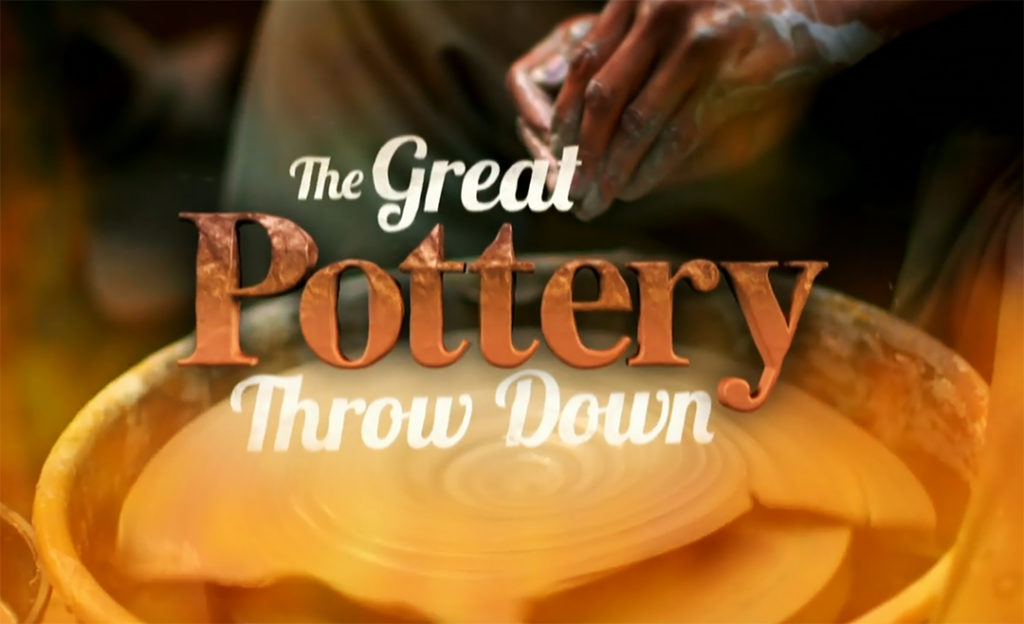
There are ten episodes in the new season now showing on HBO Max. Once I started, I just couldn’t stop!!! I binged through the entire series… and quite honestly, kinda excited to go back and watch all of the previous seasons again too!!!
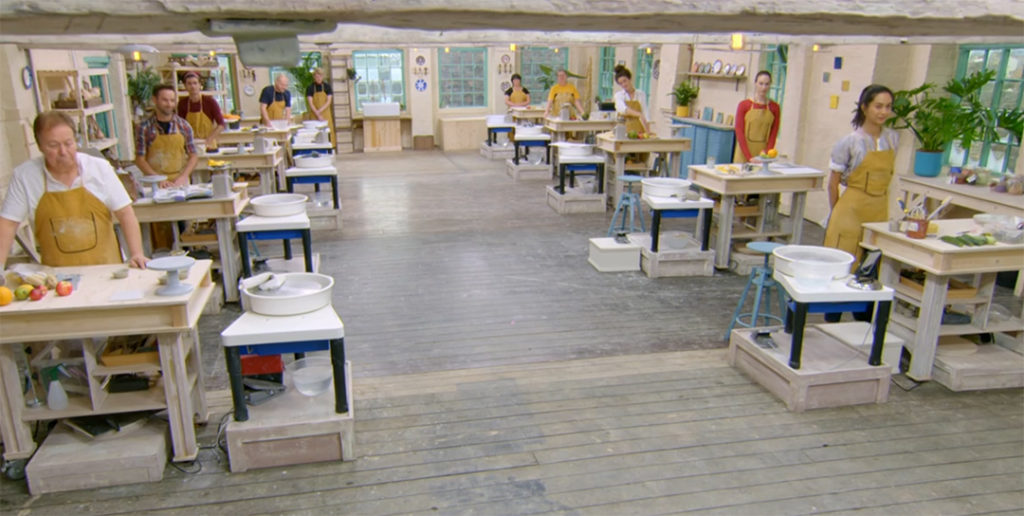
The show has the same basic premise as all of the previous seasons. The fact that it was filmed during the pandemic doesn’t play into it very much. They were obviously all in a “quarantine bubble” together… yet it was still a bit odd to see them all so physically close to each other. We’ve all been “re-trained” to keep our social-distance… so it was a bit weird to see them touching & hugging each other?!
It was also fun to watch all of the different challenges.
NO SPOILERS HERE… but I will say that it was cool to see them doing a few techniques that I have shared with my classes as well. From decorative split rims & blindfolded throwing… to chattering slip & bubble glazing! Fun techniques my students have embraced… and fun to see that they’re doing similar things “across the pond.”
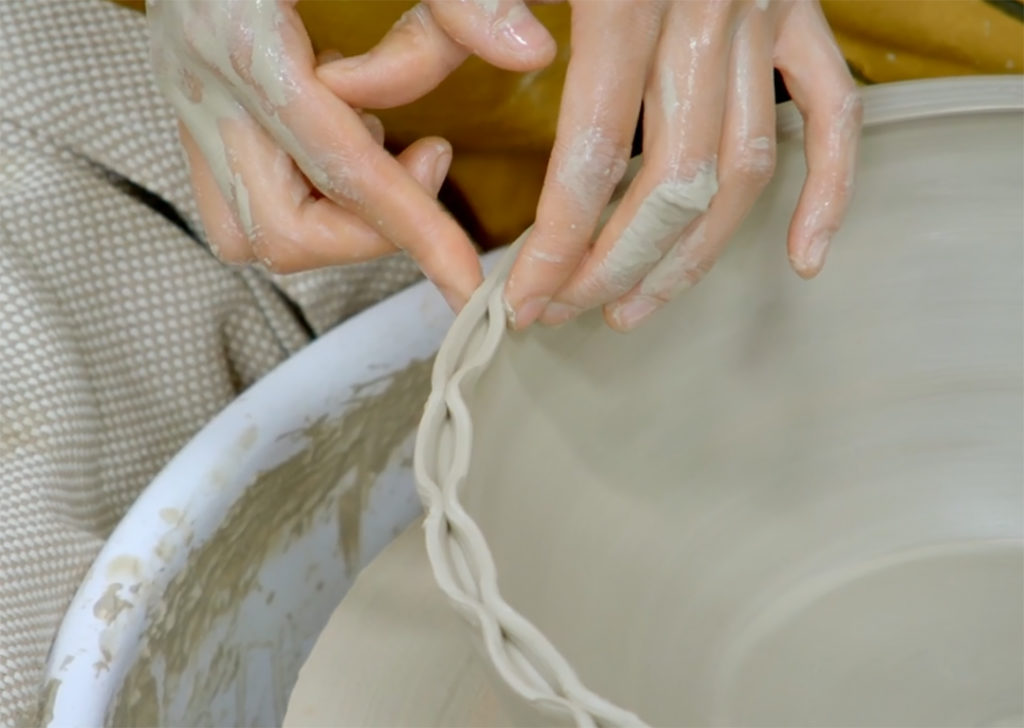
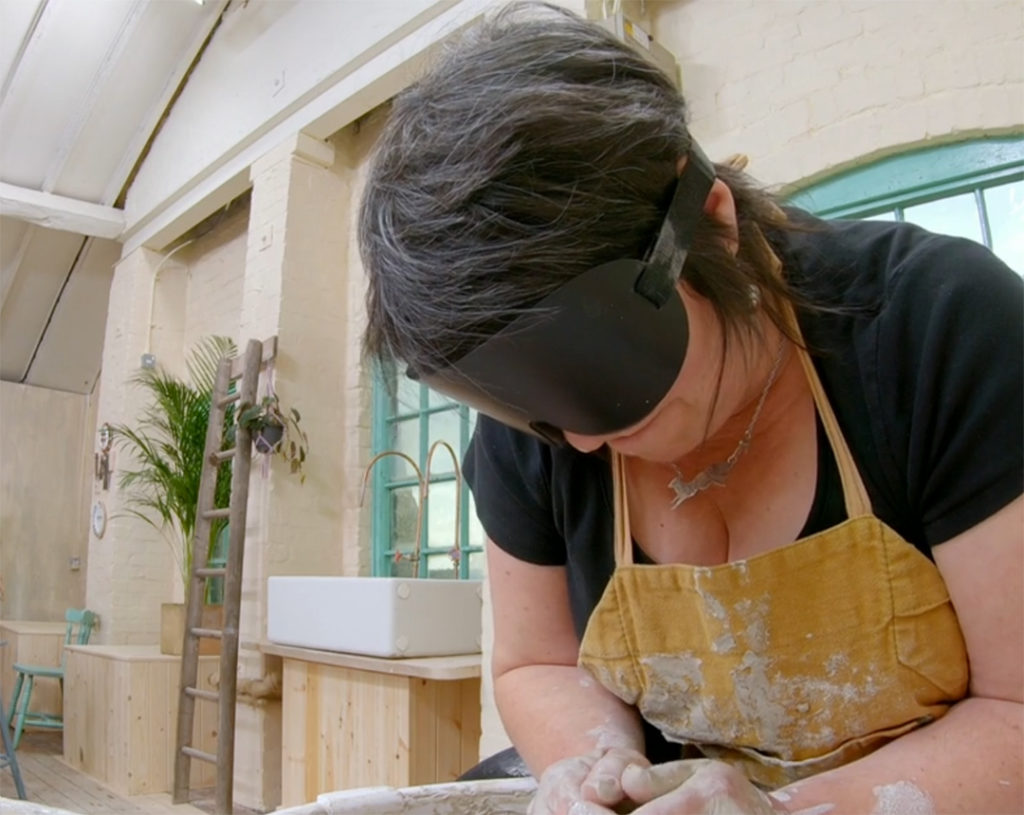
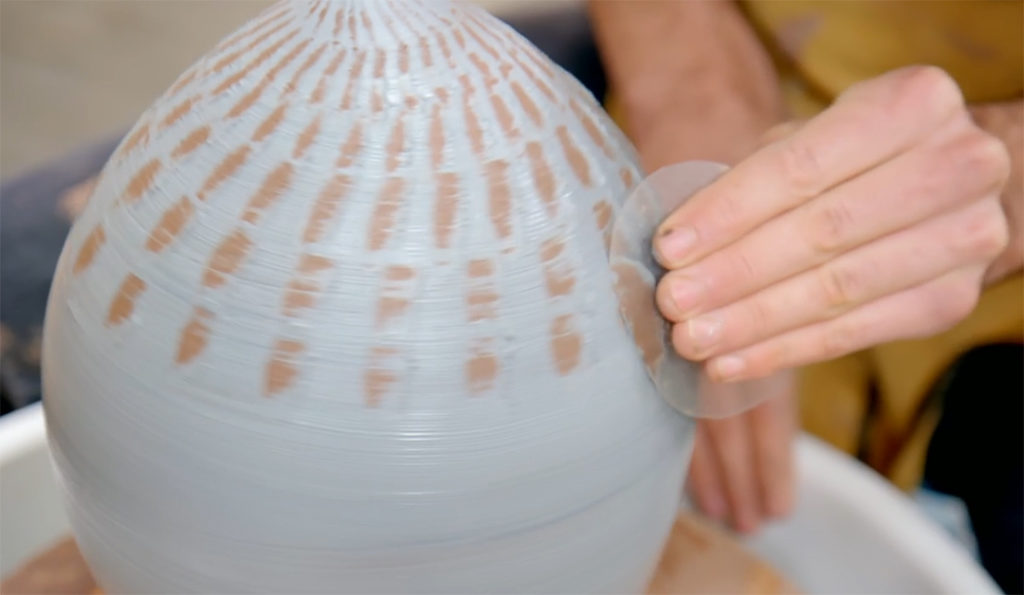
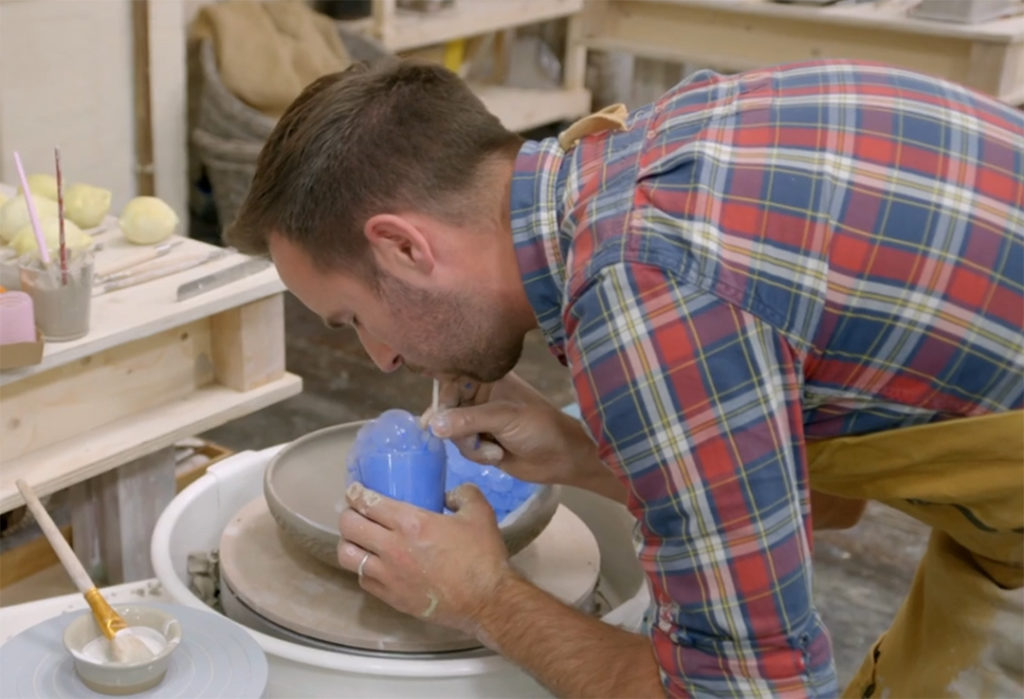
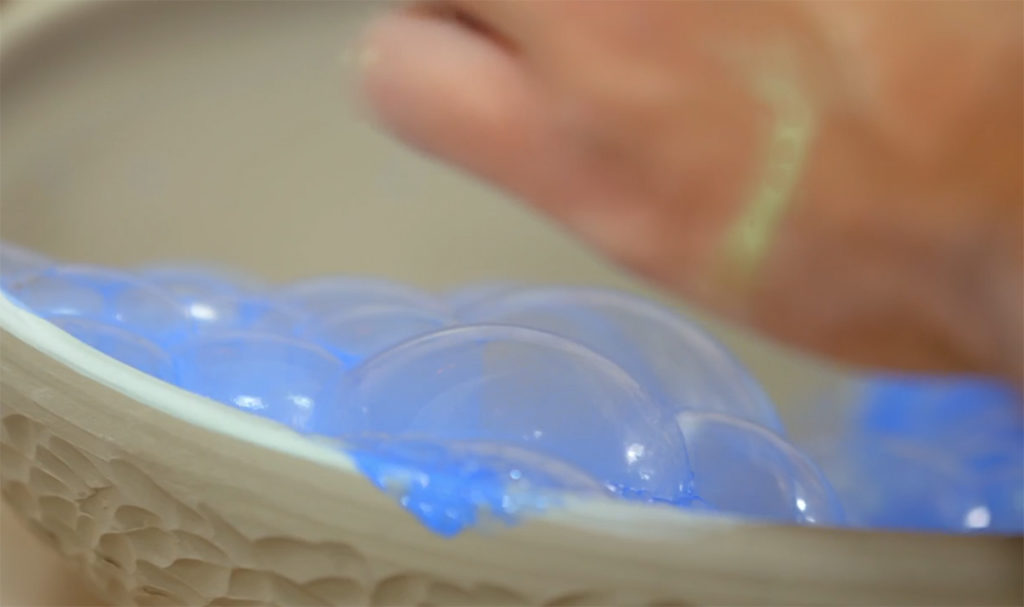
The show has the same premise as usual. Non-professional potters doing challenges & projects of all kinds to push them beyond their comfort levels. Some of them are wheelthrowers, some of them are handbuilders, some of them are sculptors, some of them are not. So it’s fun to see some of them struggle on different projects based on their own skill sets. Of course, the timed deadline projects just up-the-ante a bit with stress & panic! Which is always fun to watch!!!
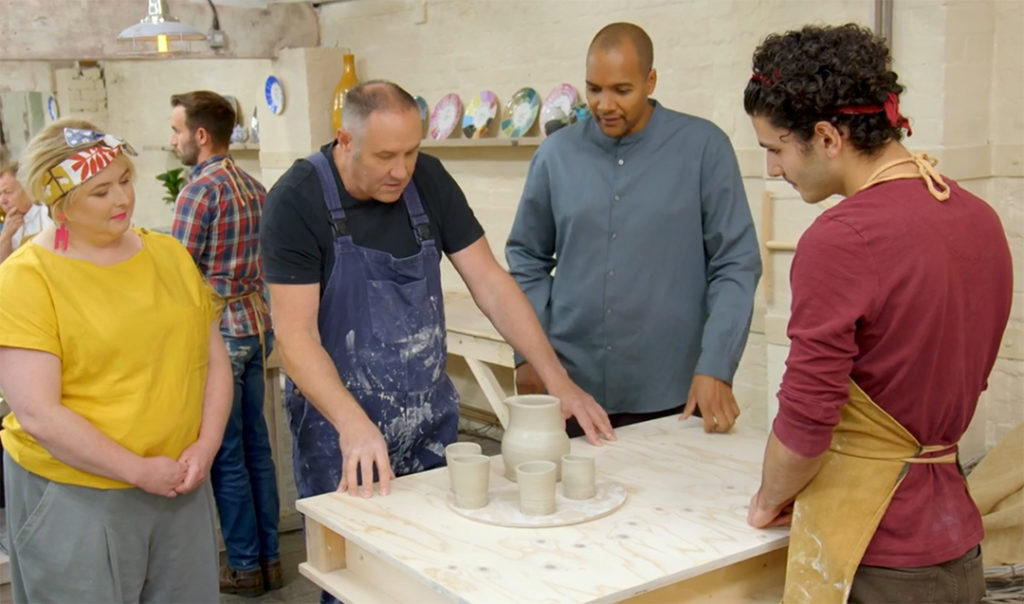
As for the cast of characters we call Host & Judges… they’re back too!
In different roles… and one new face in the mix!
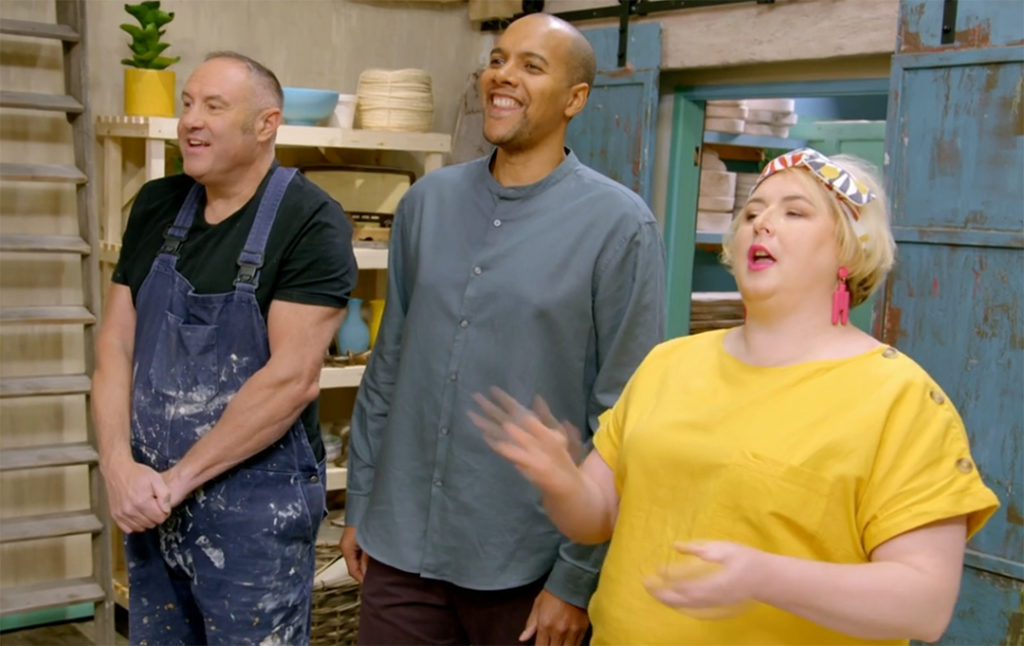
For the Judges, we have everyone’s favorite crying Judge Keith Brymer Jones! So passionate about pottery that it brings him to tears!!!.. a bit too often for my liking. And I don’t always agree with the pieces he’s getting all emotional about. Love his passion, but sometimes question his choices.
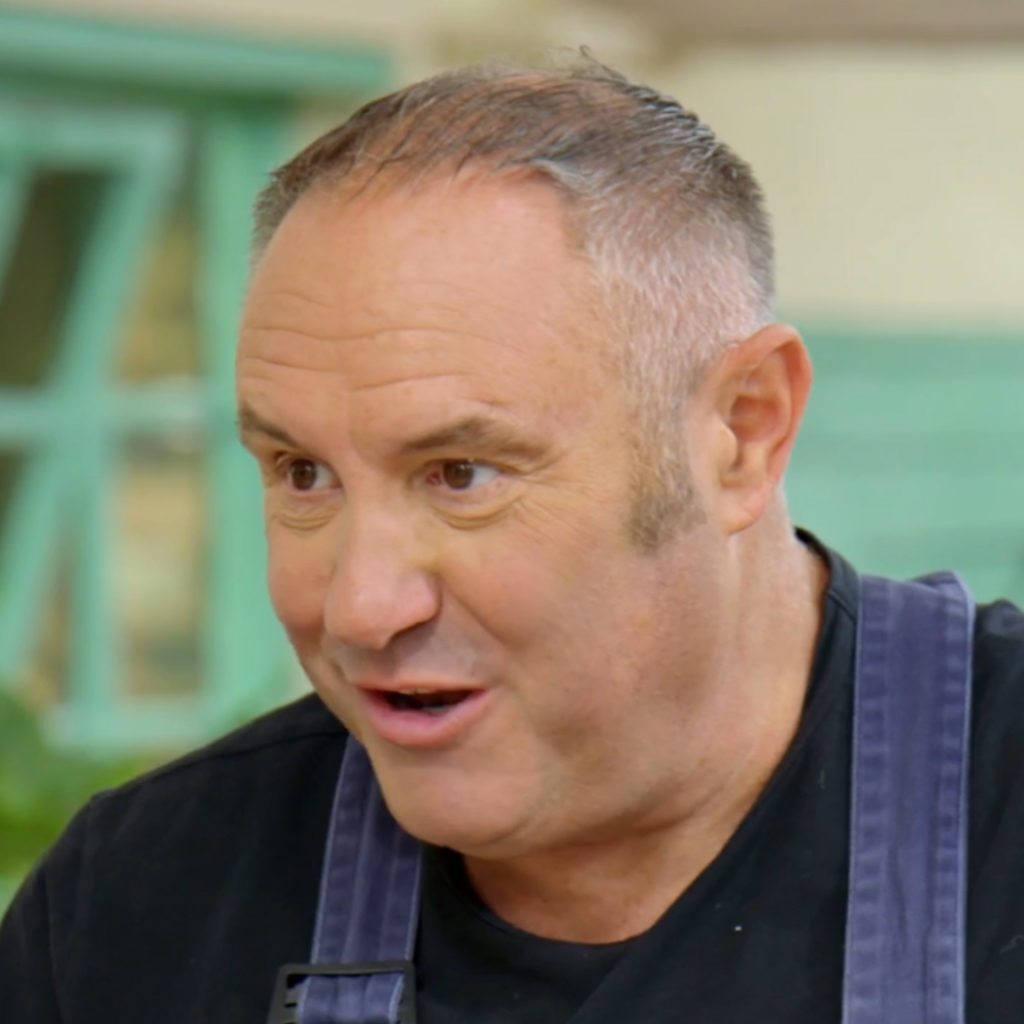
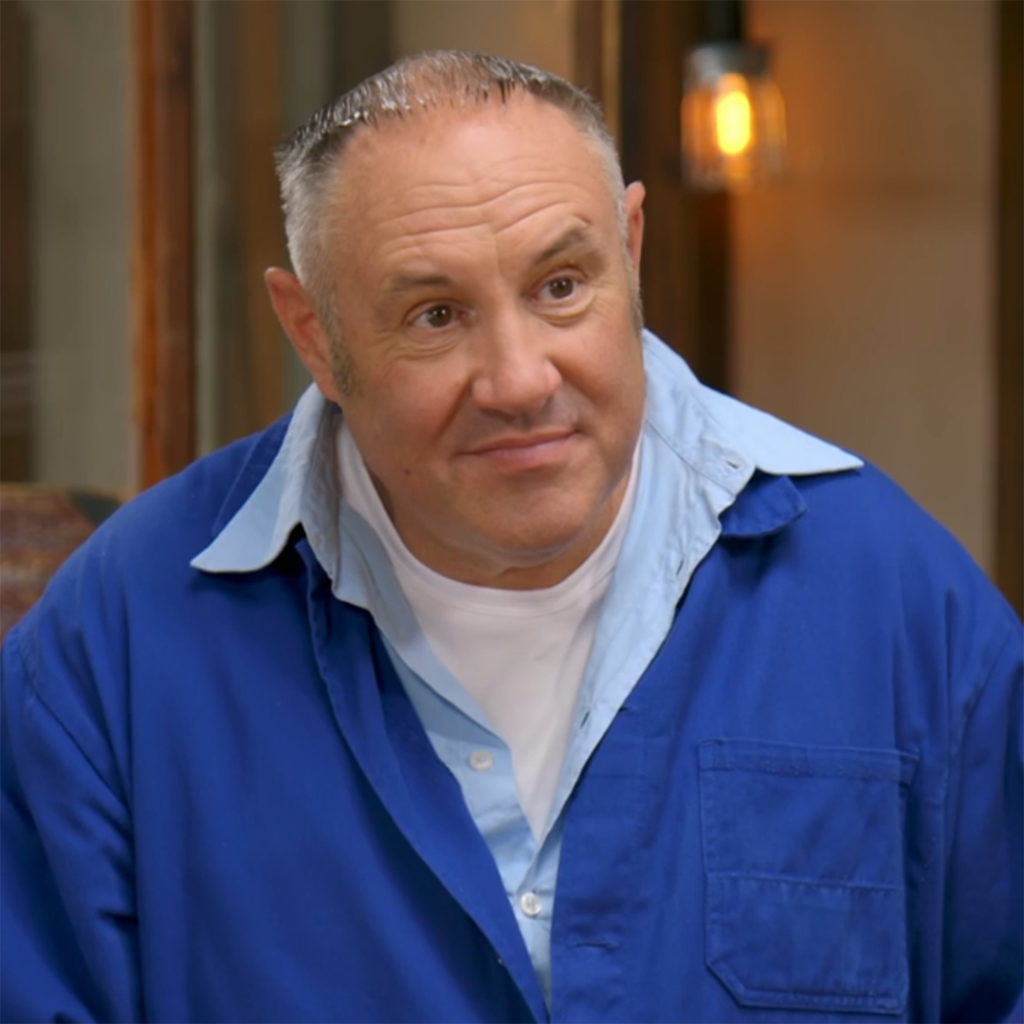
And yes… he continues to CRY!!!

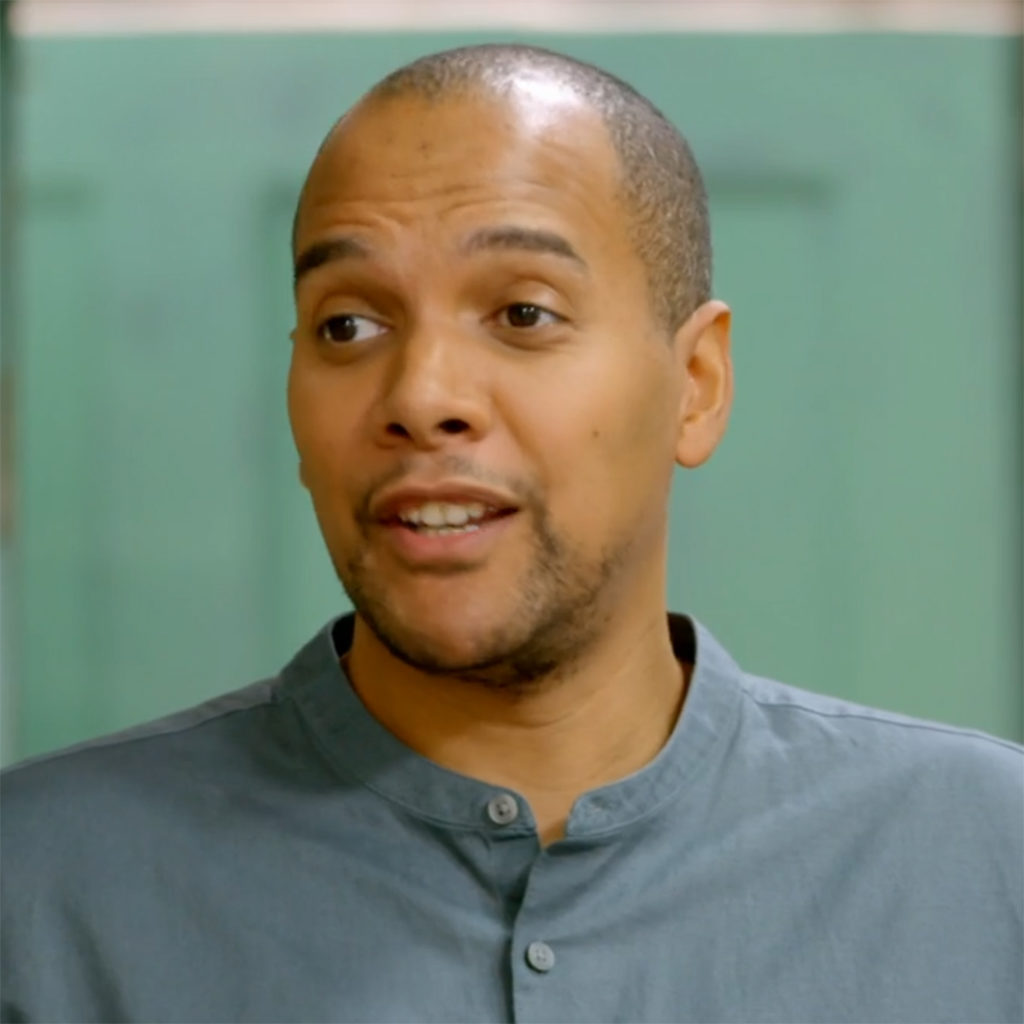
This seasons we also got a new judge… Rich the kiln guy got “promoted” to Judge! He’s been working behind-the-scenes for the previous seasons helping the potters dry their work, and fire the pieces. This season, he’s been moved up to Judge… and we have a new kiln expert Rose!

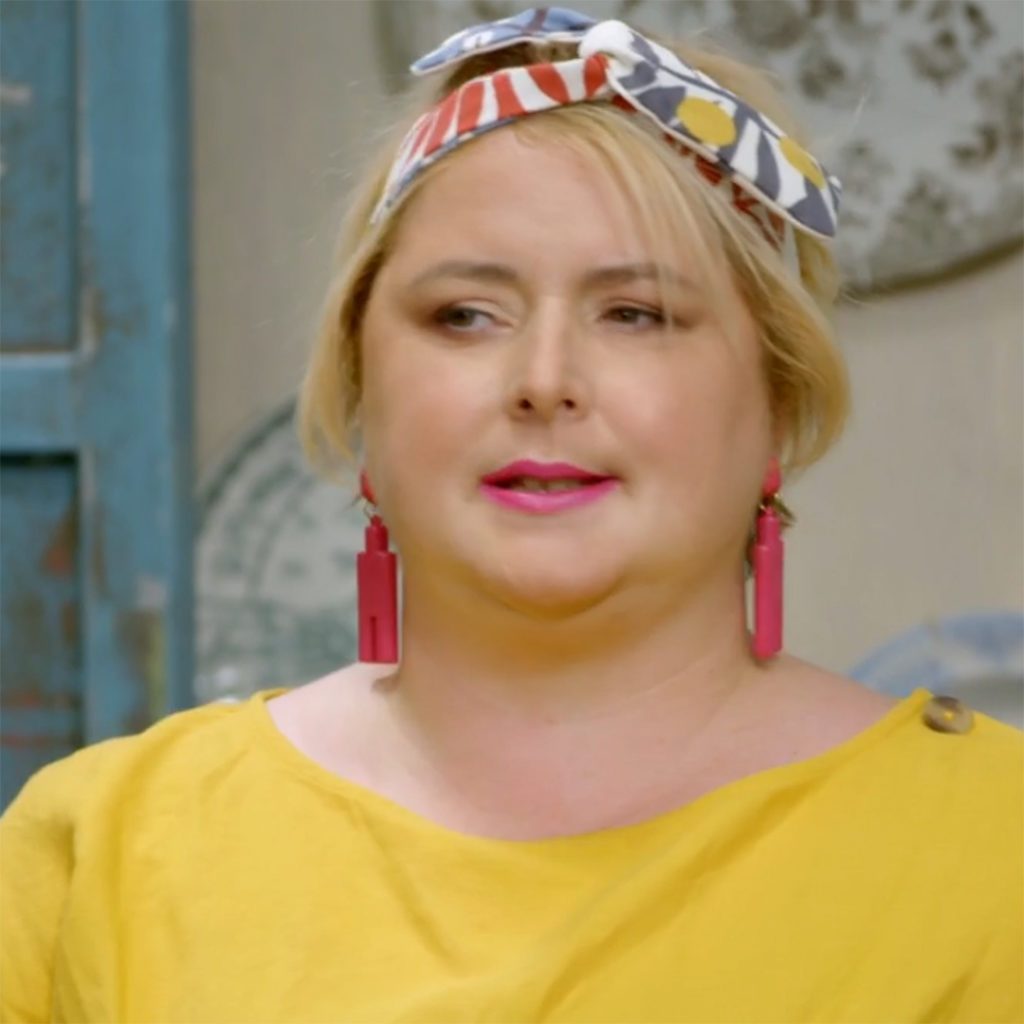
And I will say that I LOVED the new host Siobhan McSweeney… an Irish actress. She is best known for her role as Sister Michael in “Derry Girls”… which I’ve never seen! So se was all-new to me!!! She seemed to fit in right from the start… encouraging, supportive, quippy & sarcastic all at the same time! The perfect foil to the two judges!


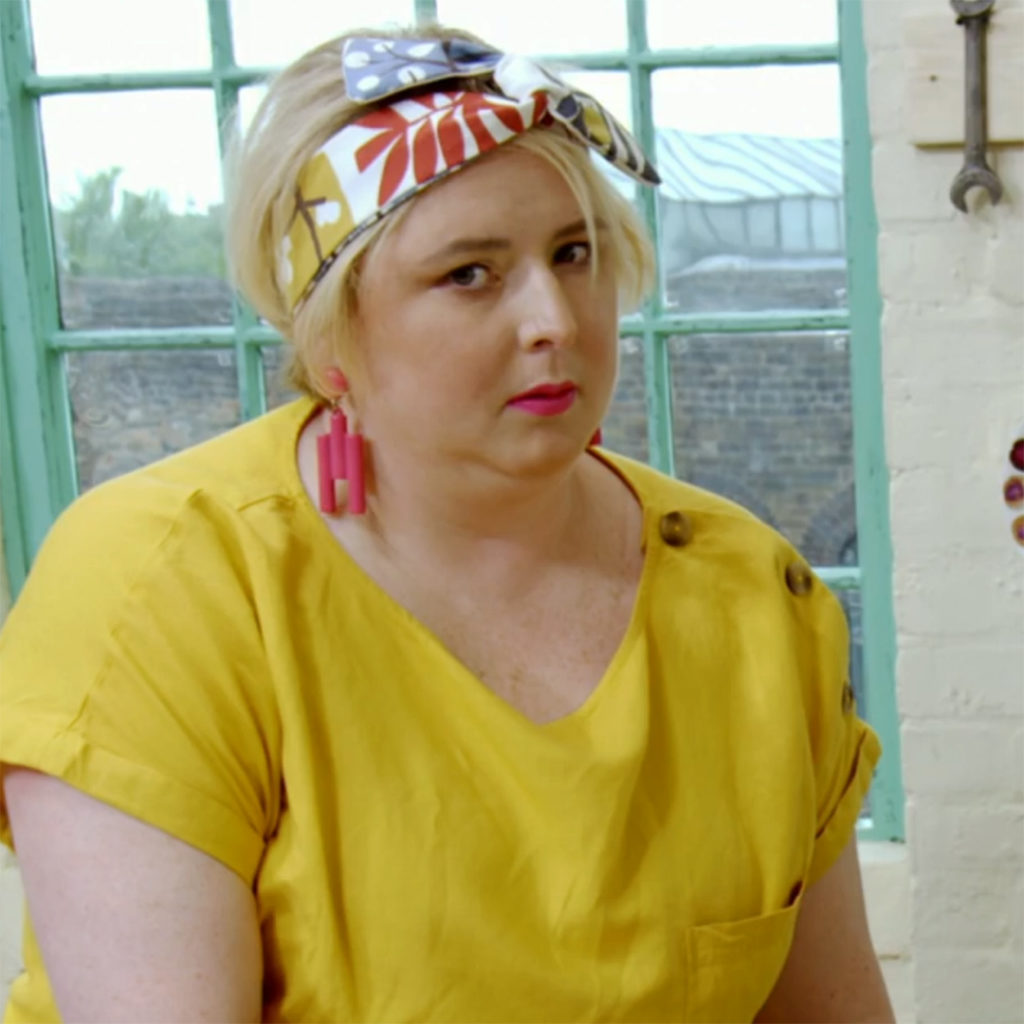
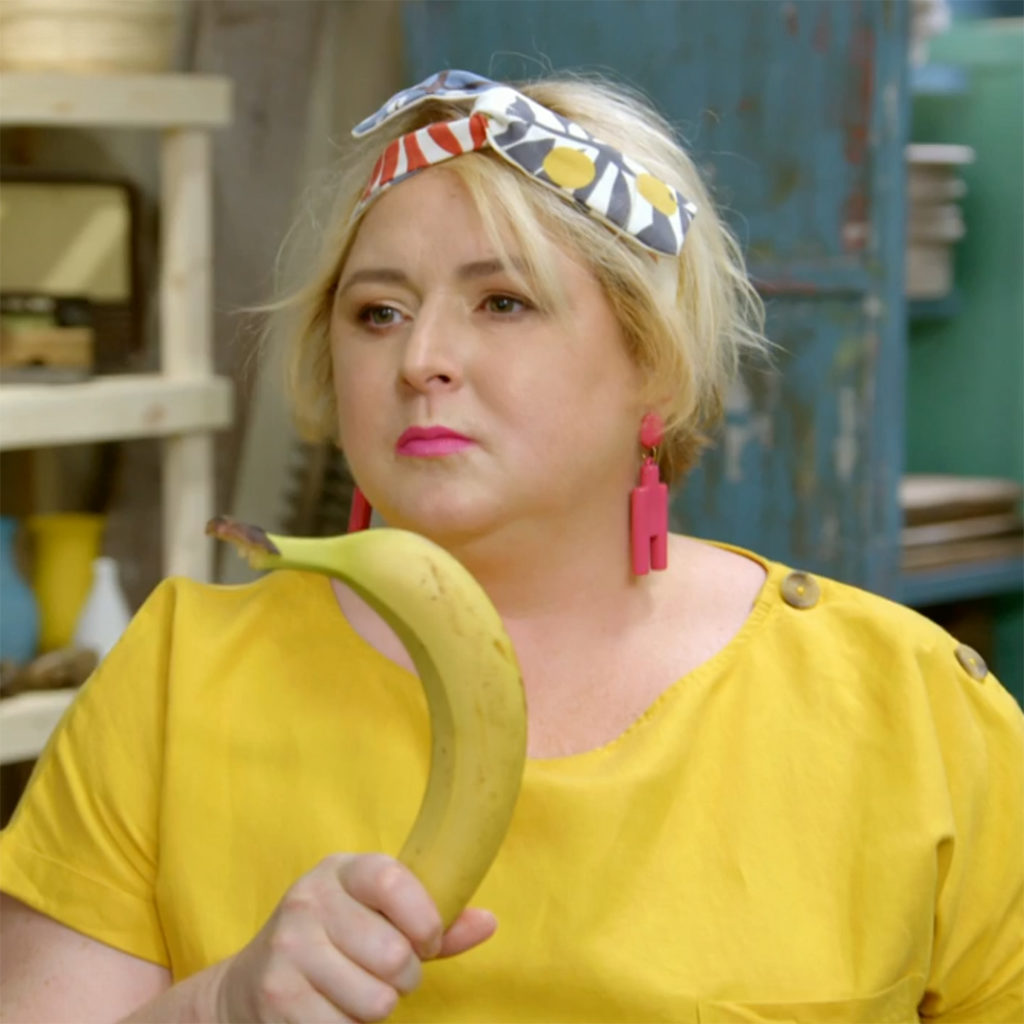
NO SPOILERS HERE!!!
But here’s a glimpse of the Finale… moments before the announced the Winner! Which I will say… I agreed with the Top Three contestants… and the Winner!!!
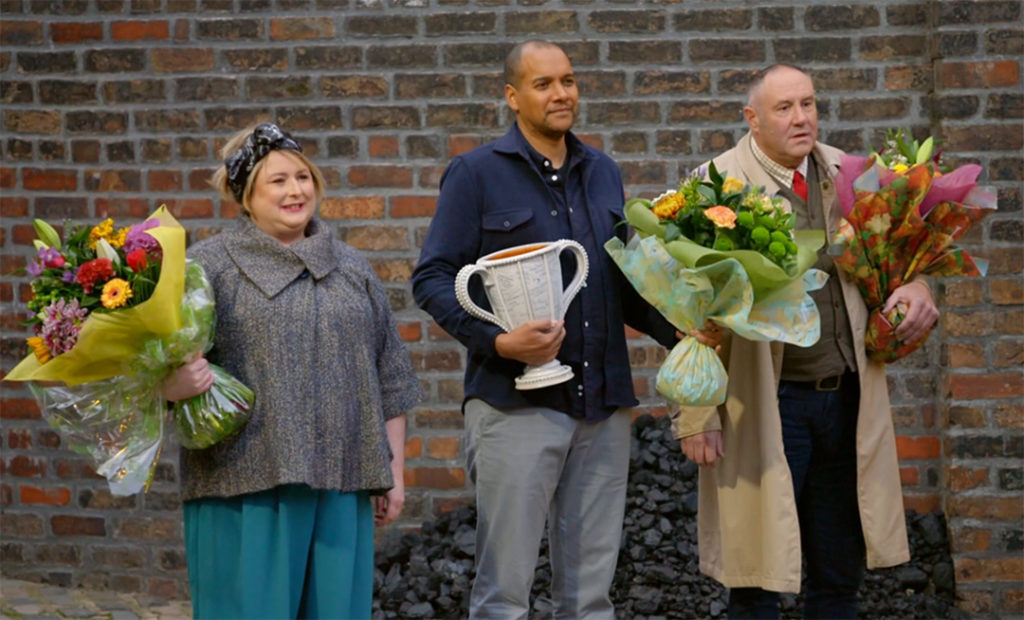
And just for the record…
they’ve already announced a “Casting Call” for Season Five!!! YIPPEE!!!
However… don’t get too excited… you need to live in the UK to even apply! So even if I were to practice & perfect my best British accent, I don’t think I would convince them that I’m a true Brit!!! Dang.
|
Gary Jackson: Fire When Ready Pottery
Lillstreet Studios ∙ 4401 North Ravenswood, Chicago, Illinois 60640 ∙ 773-307-8664 gary@firewhenreadypottery.com |