Gary Jackson: Fire When Ready Pottery
A Chicago potter’s somewhat slanted view of clay & play
Categories: bowls, lillstreet

From Dave, the director of the ceramics department at Lillstreet…

Empty Bowls Update:
Thanks to your contributions, this year’s Empty Bowls event was yet again a success.  The event raised $8648, which equals roughly 2,882 Wednesday Night Welcome Meals at Epiphany UCC.  In spite of the fact that more than 300 bowls were sold at this event, there is a significant number of bowls remaining.   Because of this, our friends at First Slice will take the unsold bowls to use for additional Empty Bowls fundraisers at their other locations.  With these additional events, we will likely see the total money raised increase in the near future.

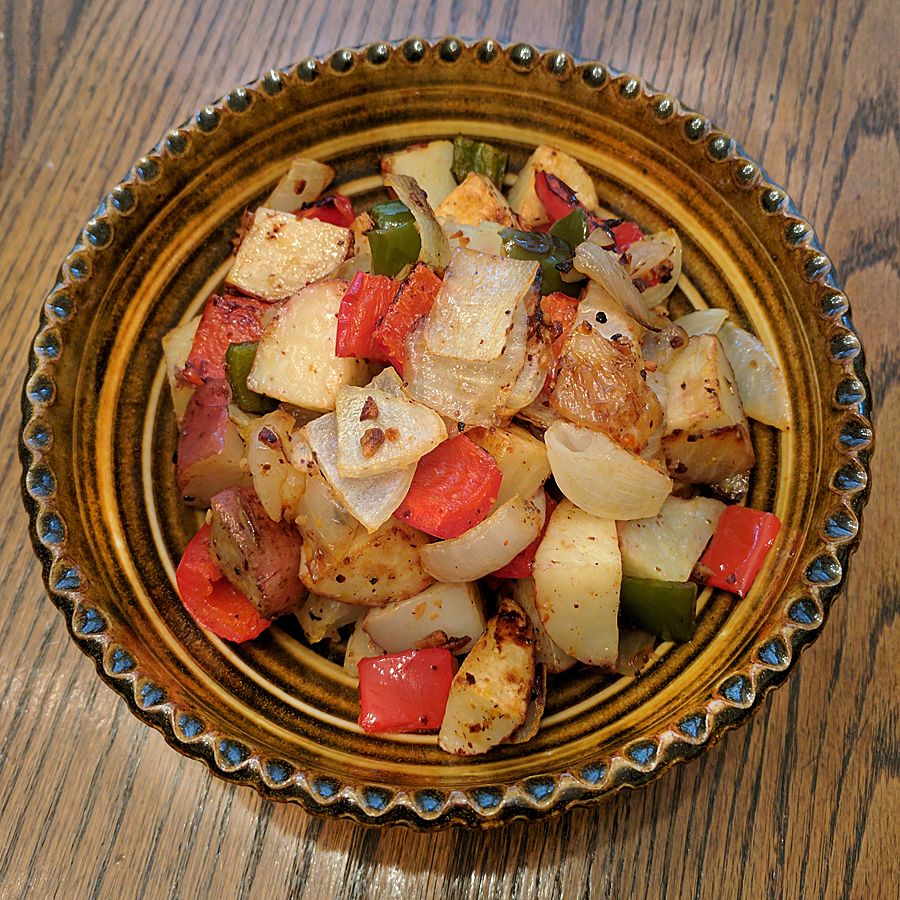
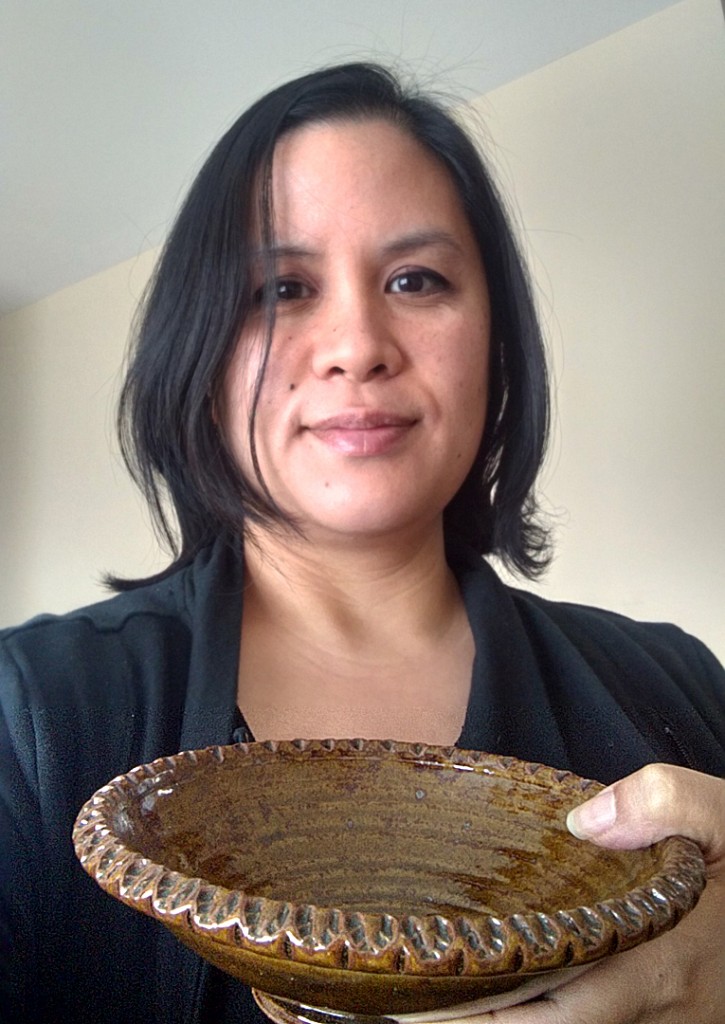
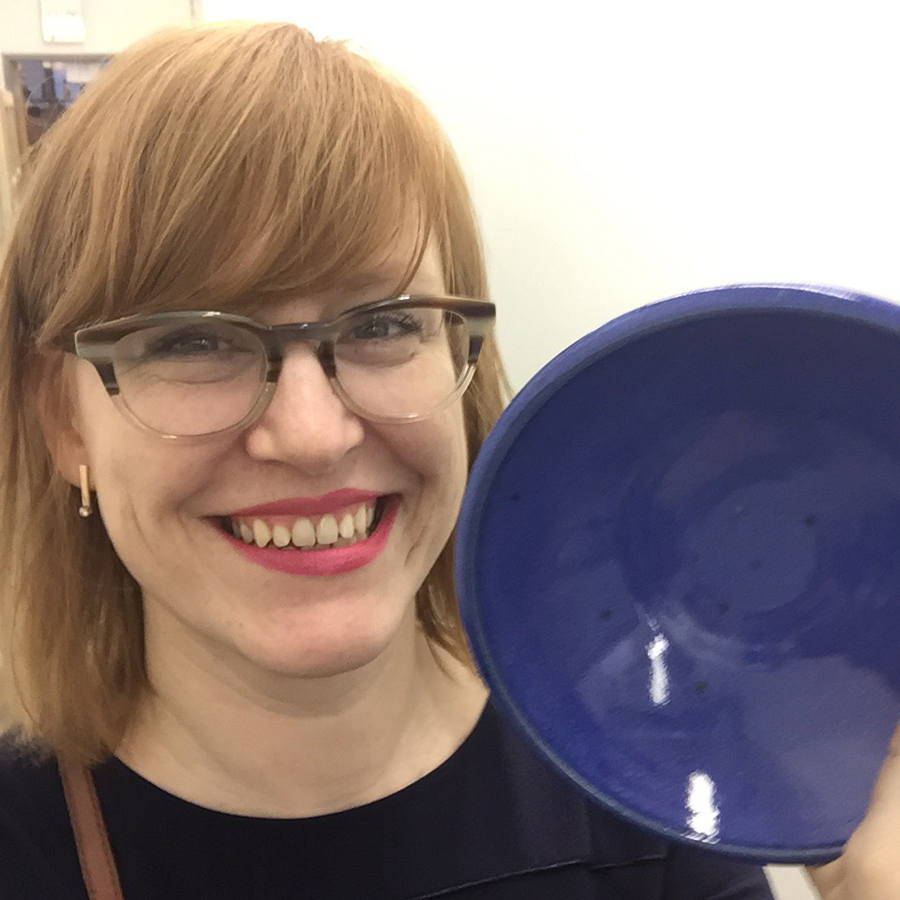
And here are just a few of the happy folks who went home with one of my donated empty bowls…

Save

Save

Save

Save

Save

Categories: bowls, lillstreet

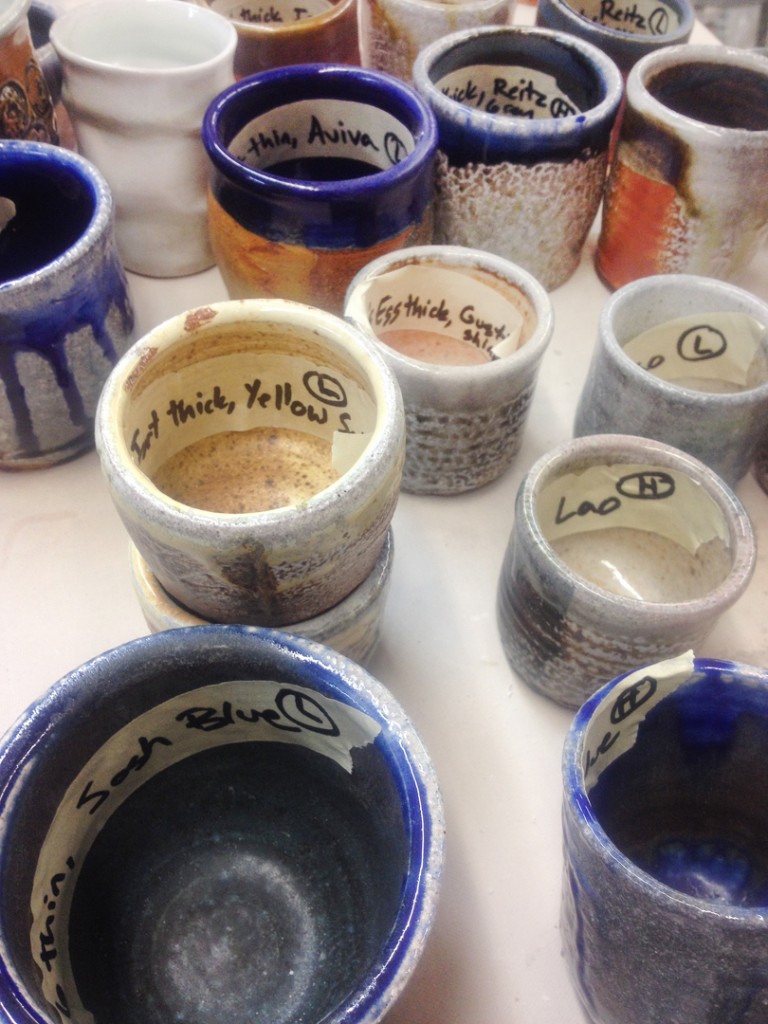
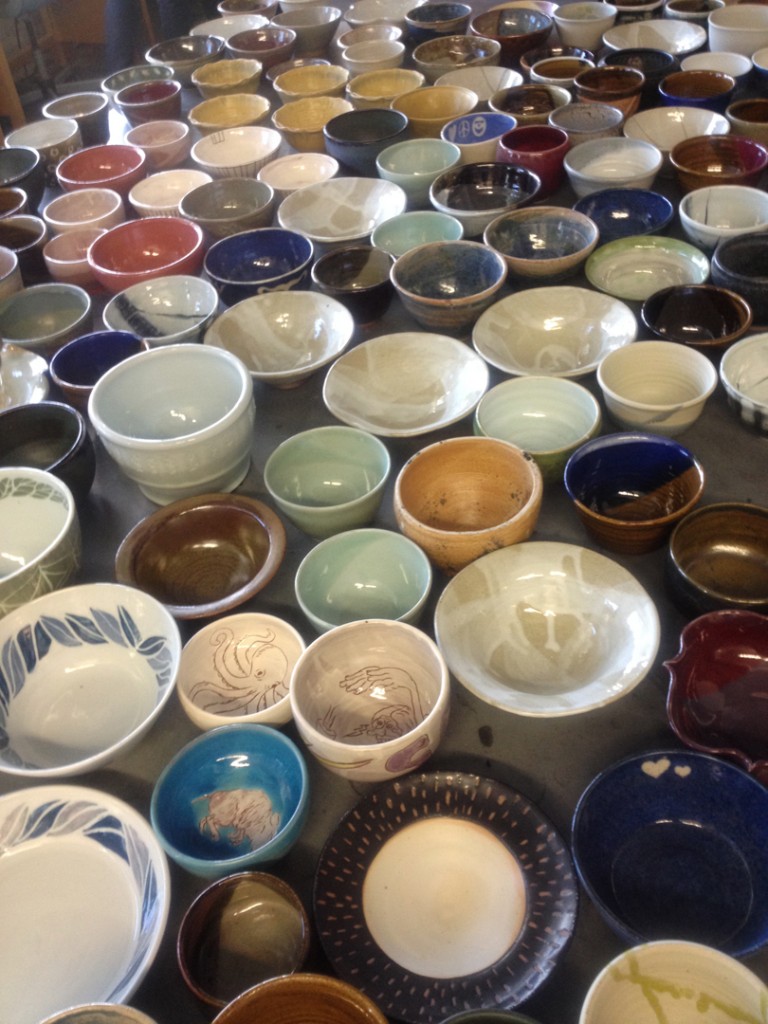
Just some of the HUNDREDS of bowls ready to fulfill their destiny…
as they get filled with soup for tonight’s EMPTY BOWLS event at Lillstreet Art Center. Good bowls for a great cause. Stop by tonight to pick out your favorite bowl, get it filled with homemade soup, help the hungry and keep the bowl. Proceeds benefit First Slice as they in turn will be helping the hungry & needy.

And yes, those are some of my bowls at the bottom of the photo…
Yep, the ones with the “shameless self-promotional propaganda” attached.

Save

Save

Categories: bowls, lillstreet, special events

Just dropped off my bowls for tomorrow night’s EMPTY BOWLS event at Lillstreet Art Center. A great night for a great cause. Lots of bowls being donated by students, teachers and studio members. Stop by Lillstreet tomorrow night between 5:00-8:00pm to pick your bowl, get it filled with soup and make a donation to First Slice so they can continue doing good deeds feeding the needy & hungry. And you keep the bowl…

Click here for more information about EMPTY BOWLS at Lillstreet Art Center.

Categories: classes, lillstreet, mugs

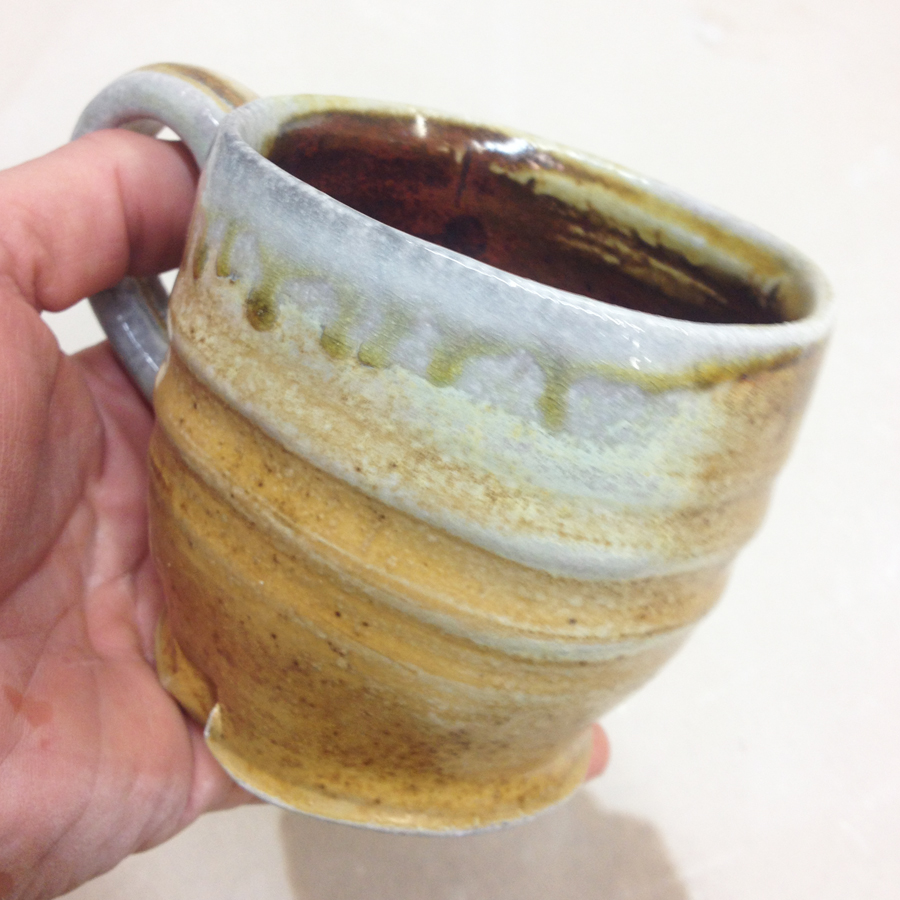
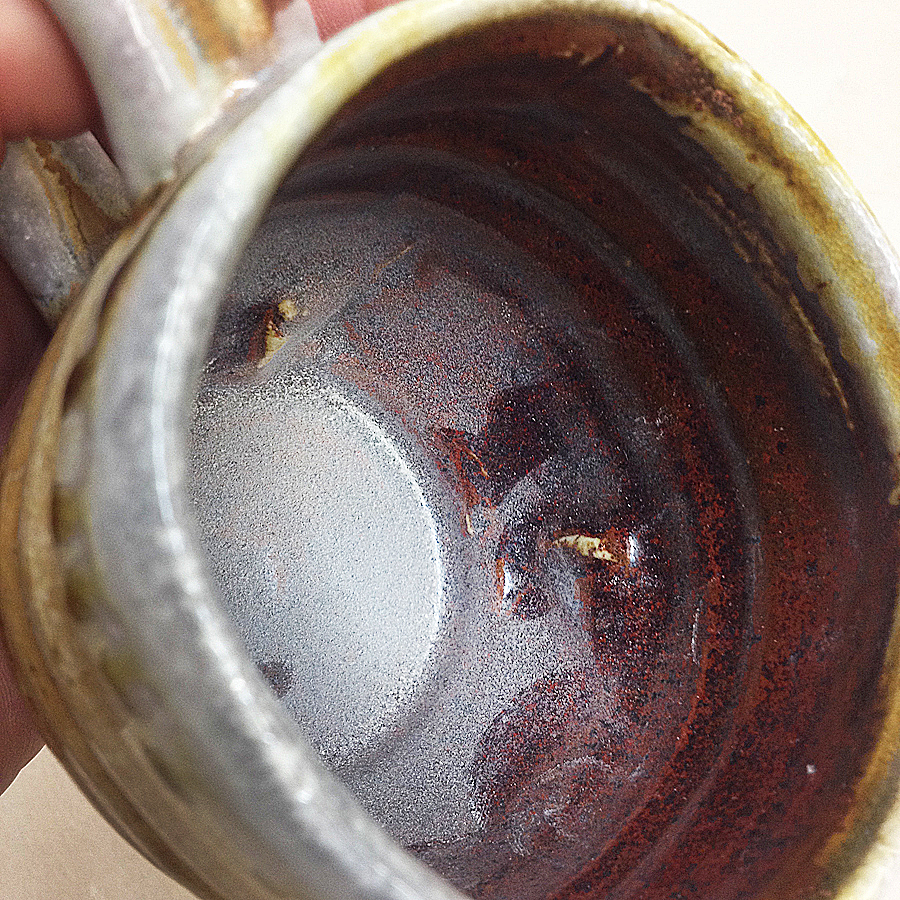
One of my students has been away from Lillstreet for about three years. He finally made it back to pottery… and into my “Simply Soda” class. Tonight we were touring the soda kiln room looking at soda-fired examples on the shelves. When lo and behold… Peter found one of his own soda-fired mugs from YEARS ago!!! Apparently it has been “floating around” Lillstreet for years and tonight finally found its way home! A beautiful mug, complete with the prerequisite layers of dust!!! Crazy, right?!!!

Save

Save

Categories: classes, lillstreet

As posted on Facebook this morning…
Looks like one of my Facebook Fans will be joining my Beginning & Advanced Beginning Wheelthrowing Class tonight at Lillstreet. If she’s been a “fan” for seven years, I hope I don’t disappoint?! That’s a lot of pressure to live up to. I may need to step up my game a bit?… and bring a LOT of Oreo’s?!!!

Categories: classes, lillstreet, soda-fired

It’s amazing how fast a ten-week session can go by. This past Tuesday was the last class for our Winter session of classes. And my students out-did themselves once again!!!

Each session I like to challenge them with a class project. We all work on a similar piece and then we do some sort of White Elephant Trading Game. They each bring in their finished piece and we all admire & trade… then everyone goes home with someone else’s piece. So much fun for everyone… and great motivation for everyone to make something that they’re “proud enough of” to share and trade in the end.

So this session’s challenge was to make an oval. My brand new beginner’s had it a little bit easier… whereas my Advanved Beginners were challenged to make a lidded oval!!! And they all took it on with wreckless abandon!!!

Emily made this sweet little oval with carved vertical lines a temoku glaze.

Ryan made his oval glazed with Shaner White glaze and blue brushstrokes.

Lily went for a two-tone glaze dip with a beautiful overlap in the center.

Kerry missed the oval a bit, but made a great lidded round casserole with Reitz Green glaze.

Tony‘s oval casserole has a great rustic glaze to it.

Katie went for a two-tone Shaner White and Aviva’s Blue contrasting oval casserole.

Stacey used Reitz Green glaze to finish her oval, giving her a nice metallic finish on the lid.

Taylore used a color accent in her gallery, and a great pop of red inside the knob. A great contrast to the Shaner White glaze finish. Even better, and sadly no photo, but the inside has the same red pop of color too!!!

Melissa emphasized her oval and handle with a cobalt stain on Matte White glaze.

Rachel went with a traditional Shino glaze and got some wonderful variations.

Catherine went perfectly white on her perfect white porcelain.

Grace did a wonderful combination glaze on the outside of her casserole…

But it’s REALLY all about the inside of Grace’s oval that has me enamored!!!

And now you see why… my little stamping prodigy….

Susan, one of my class TA’s, offered up her graphic black & white porcelain oval.

Patty‘s oval didn’t quite turn out to her liking…
so she offered up a set of three bowls in place of her oval casserole!

Steven‘s oval casserole came home with me after the trade!!! And I LOVE it.
With a subtle matte glaze combination and a graphic stamp pattern…

But it’s the “surprise” pattern stamped on the inside that slays it!!!

And you know I’ve got to play along with the game, so I made an oval casserole for the trade as well. Surprisingly, mine is stamped and soda-fired!!! Ha!!!

And a few more “glamour” shots…
with a colored slip on the lid, and a few sprays of Josh Green glaze before soda-firing…

Huge thanks to my students for playing along. And for always embracing this little class challenge I like to throw at them every session. We’ve done bowls, mugs, plates, more mugs, and now ovals. I’m gonna need to think of something cool to top this one!!!

Save

Categories: artists, flowers, gallery, lillstreet, vases

Last night was the Lillstreet Gallery Annex Opening Reception for a vase show featuring the ceramics faculty. So many great vases with different styles & techniques showcasing the teachers at Lillstreet Art Center.

FLOURISH : Lillstreet Ceramics Faculty Showcase
Lillstreet Gallery Annex : March 3 – April 9, 2017

Catherine Tweedie & Lisa Harris

Sharon Hartshorne

Les Orenstein & David Bromley

Sam Hostert

David Todd Trost & Nolan Baumgartner

Corinne D. Peterson & Kyle Johns

Mary Drabik & Susan Messer-McBride

Robin Power

Chris Chaney & Catherine Schwalbe

David Hartshorne

And my blue stamped vase…
next to a vase by Jason Lawfer with some VERY dramatic greenery…

Special thanks to Brian who coordinated this gallery show and furnished the flowers…
and even MORE flowers at the very last minute!!! The show looks great Brian!
Thanks for showcasing the Lillstreet ceramic instructors!!!

Okay, back to me… one more shot of my stamped & soda-fired blue vase…
finished off with some very last minute flowers from Brian – Thanks!

March 3 – April 9, 2017

Save

Save

Save

Save

Categories: lillstreet, sunset

Yesterday was pretty gloomy… yet surprisingly warm again for the middle of February. It wasn’t until I got to Lillstreet that I finally got treated to a beautiful sky show. Another amazing sunrise from atop Lillstreet just before class started last night.

Categories: classes, lillstreet, soda-fired

Registration for the Spring Session at Lillstreet Art Center has just opened.
I will once again be teaching my Tuesday night Beginning & Advanced Beginning Wheelthrowing class. But NEW this Spring, I will also be teaching a Simply Soda class on Monday nights! An beginner’s introduction to the atmospheric soda firing process!!! Sign-up quickly, as hopefully both classes will fill fast!!!

Click here for the Lillstreet Art Center website to register today!!!
The new 10-week session of classes begin March 27th, 2017.

SIMPLY SODA – Mondays 7:00-10:00pm
BEGINNING & ADVANCED BEGINNING WHEELTHROWING – Tuesdays 7:00-10:0pm


Categories: artists, lillstreet, pottery, process

Last night at Lillstreet Art Center, we had a great little workshop by one of the Artist-In-Residence Artists before my class. Nolan Baumgartner demo’d three different large platters… but more importantly, three different techniques of centering & throwing them. Since the demo was right before my class, I encouraged my students to come an hour early. Even though my students are mostly Advanced Beginners, it’s always good to watch someone throwing pottery. Even if their skill sets aren’t quite ready to tackle this amount of clay!

Platter #1 – Traditional Centering
Nolan started with a large ball of porcelain… about 20 pounds. He muscled & finessed his way through centering the clay in the traditional way. Locking in his elbows and pressing everything to the center. He then started throwing a large cylinder with a slight angle inwards before the pull of centrifugal force sets in. You could just see my students soaking up every little bit… intrigue, concern and understanding.

But when Nolan pulled out the blow torch…. WATCH OUT!!!!
My students were mesmerized... and I had to nip it in the bud. I don’t even allow my Beginning students to use fans or blow dryers. So when they saw Nolan using an open flame to help stiffen his clay quickly, I knew I was in trouble!!! But I kept “glaring” at my students with my best “don’t even think about it” look!

After stiffening up his clay a bit, Nolan went back to doing some more shaping of his platter… flaring out the flange wider & lower. And look at my students Taylore, Patty and Catherine right there closely watching his every move!

Some finishing touches and Platter #1 was ready to be set aside.

Platter #2 : Centering Layered Balls of Clay
For his second platter, Nolan started with centering a 5-pound ball of clay. He then carefully set another 5-pound ball of clay on top of it… and then slapped and centered it downwards.

After smoothing & centering the second five pounds onto the bottom five pounds…
Nolan added another 5-pounds on top making it a total of 15 pounds of clay. Again, centering the top ball of clay down onto the centered bottom two-thirds. Once he had all three balls of clay centered & incorporated, Nolan went back to throwing the second platter similar to the first one.

And then again… THE BLOW TORCH!!!
Really?… you’re killin’ me! I know I’m going to need to “re-direct” my beginning students a bit when we get back to my classroom! But for Nolan’s large porcelain platters, I get it. Especially for a workshop demo like this. If he pushed it too far too fast, the porcelain platter would just flop down.

A little more shaping with ribs, and a little more blow torching, and Platter #2 was ready to set aside.

Platter #3 : Pounded, Paddled, Beat-up and Fluted Platter
For this one, Nolan started with another large ball of wedged porcelain. He set it on the wheel and slapped it around a bit until it was close to centered. But his third technique was to make this platter WITHOUT centering it the traditional way. So he started slapping it down while the wheel was rotating slowly with open palms.

Once it was “kinda” centered, he then pulled out a square mallet… and started pounding!!!
The wooden mallet is covered with a white gym sock. Again, pounding the clay evenly as the wheel is rotating slowly. I think the trick is to keep the spacing even, as well as the strength & power of each pounding of the mallet.

Pounding the sides, then the top… then the sides…. and the top again…
Getting it more & more centered, compressed and flattened out.

When it gets low enough, flat enough, and centered enough… Nolan switched to pounding it with a closed fist. Again, rhythmic pounding as the wheel is rotating slowly.

At some point, the clay is “centered” and it was time to throw the rest of the platter the “normal” way. Since this was the third and final platter, Nolan decided to decorate this one with his special fluted technique. He did a split rim, and then curled up even spaced areas using an MKM Decorating Disk.

A quick pinch and a pull upwards…

And since the clay was still a bit squishy & slumpy, Nolan likes to use some clay “logs” to hold up the fluted points. A quick hand-squished coil to put in… kinda like flying buttresses.

Once supported, Nolan then curves the spaces between the pinches downward to give it some sexy curves.

Huge thanks to Nolan for sharing his tricks & techniques. My students loved the demo, as did all of the other students who came to his workshop. He definitely gave everyone a lot of great ideas… some too good for my Beginners.
Did I mention the blow torch?!!!

Save