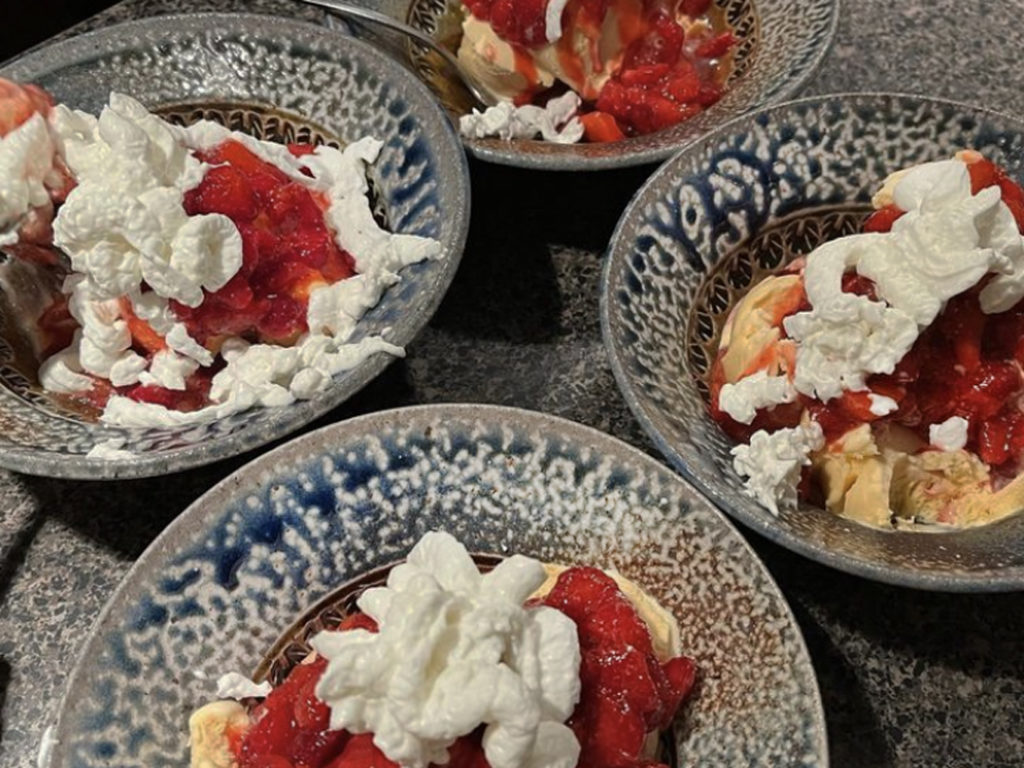
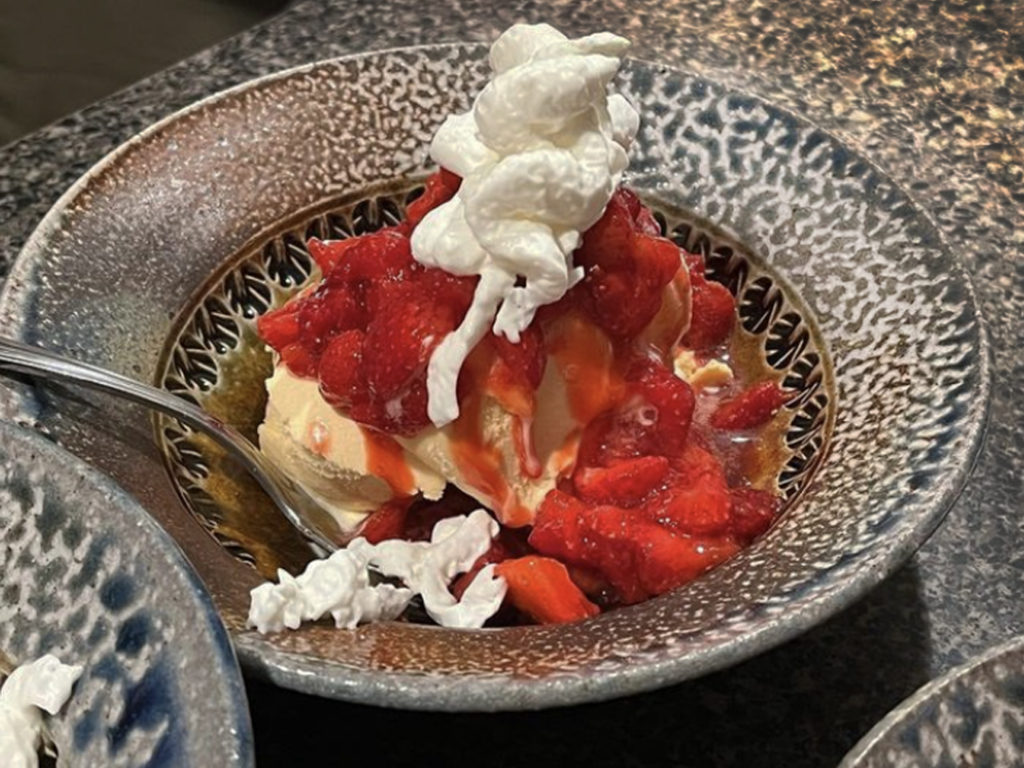
You know I love a good national holiday… and would feel remiss if I didn’t celebrate appropriately! Especially when today is NATIONAL ICE CREAM DAY!!!

Gary Jackson: Fire When Ready Pottery
A Chicago potter’s somewhat slanted view of clay & play |
You know I love a good national holiday… and would feel remiss if I didn’t celebrate appropriately! Especially when today is NATIONAL ICE CREAM DAY!!!


Last night was EMPTY BOWLS at Lillstreet Art Center. Huge thanks to everyone who participated… whether by donating your handmade bowls, or by coming to Lillstreet to buy them! All proceeds from the evening went to Common Pantry to help combat hunger & food insecurity in Chicago. Thanks again!

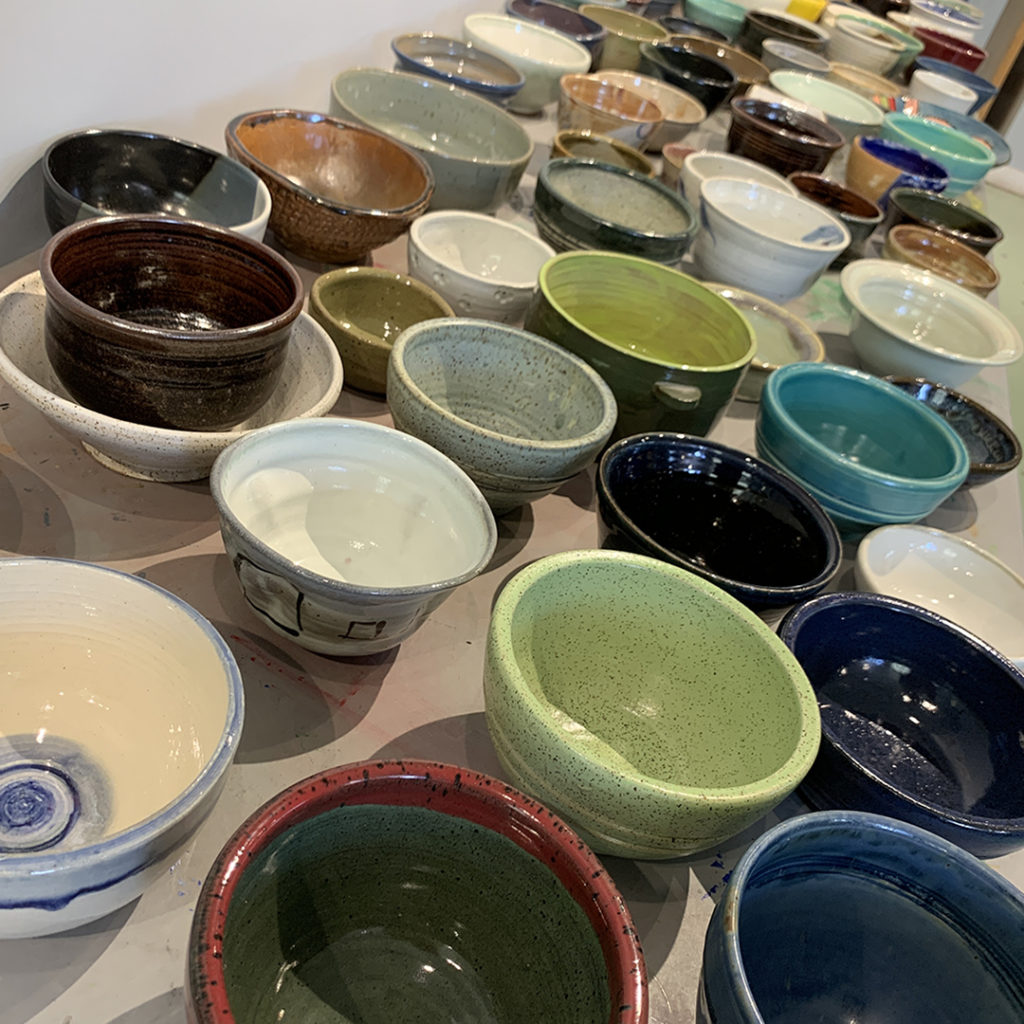
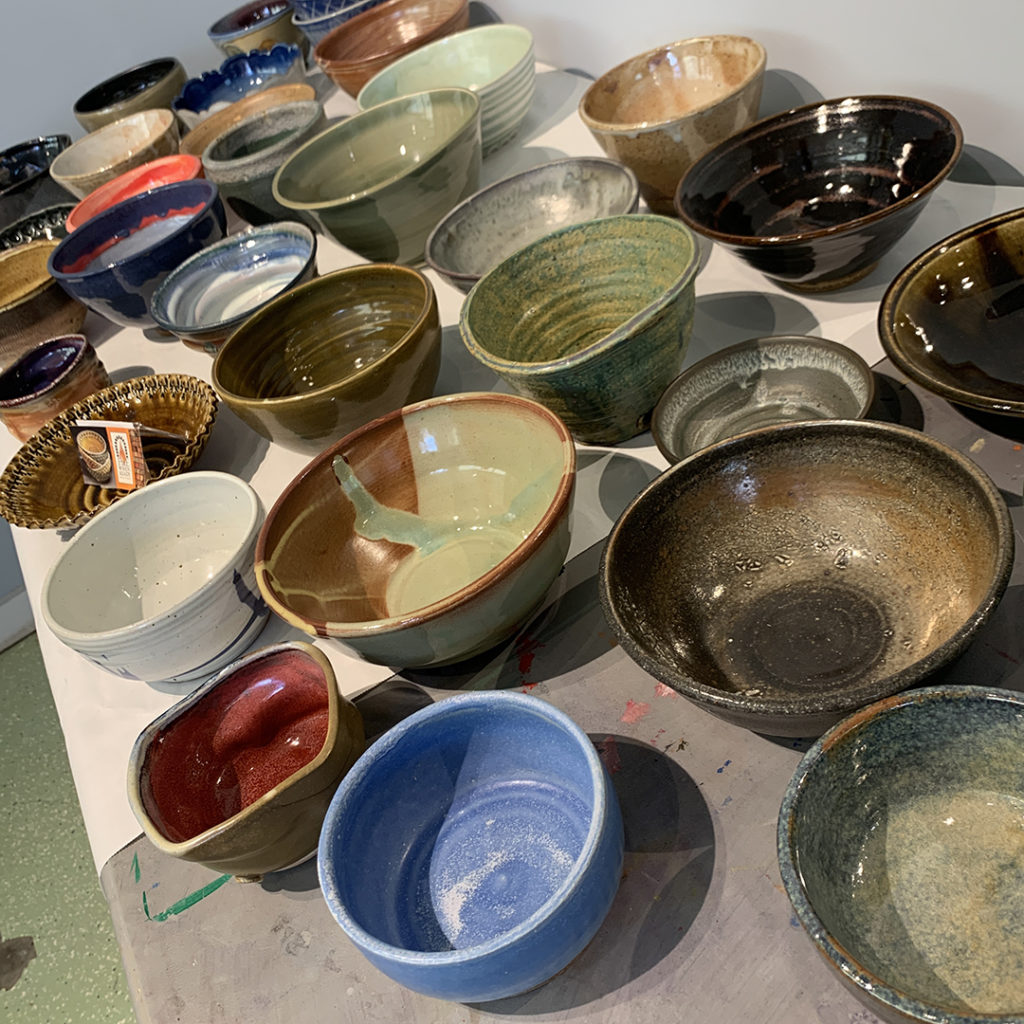

Just a quick reminder… tomorrow night at Lillstreet Art Center is EMPTY BOWLS… our first one since the pandemic!!! A wonderful event to help a great “food pantry” cause. Basically, the potters at Lillstreet have been donating a bunch of handmade bowls… literally hundreds!!!… and they will all be available tomorrow night for a small donation to “Common Pantry.” A small donation and you get a great bowl… and to sweeten the deal?… the bowls will be filled with artisanal ice cream from JENI’S SPLENDID ICE CREAMS!!!

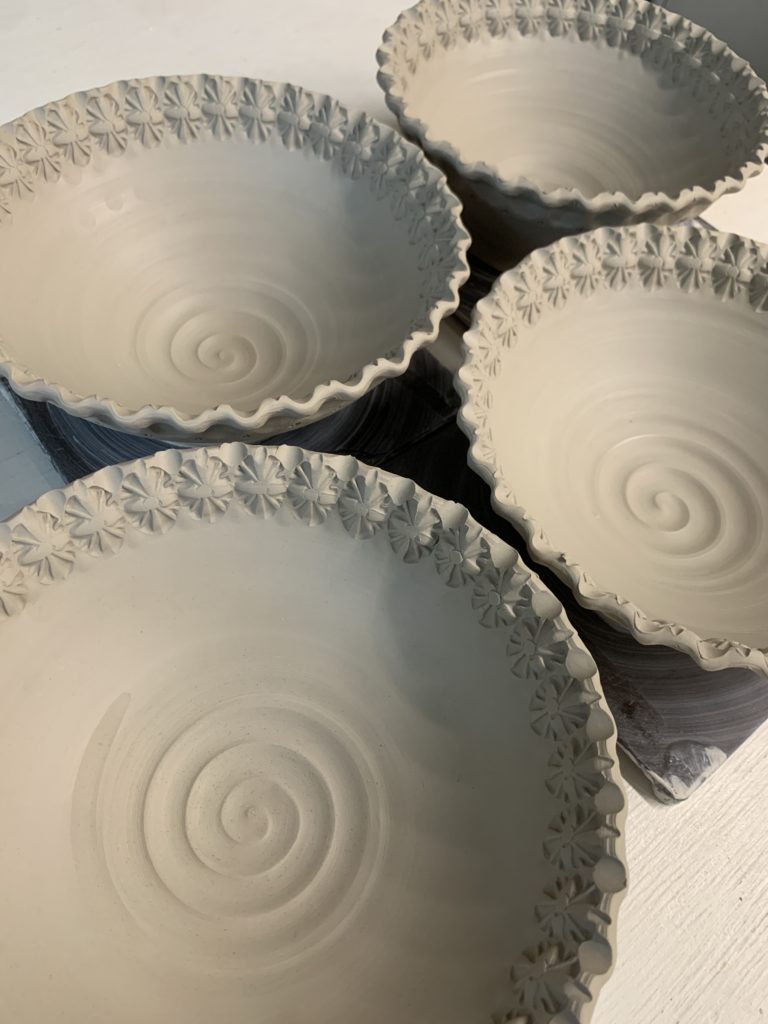
So here’s a quick peek at just a few of the bowls I’ve donated to the party… stamped, spiraled, glazed… even including everyone’s favorite “bubble glazed” bowl!!! Swing by for some bowls & ice cream!!!

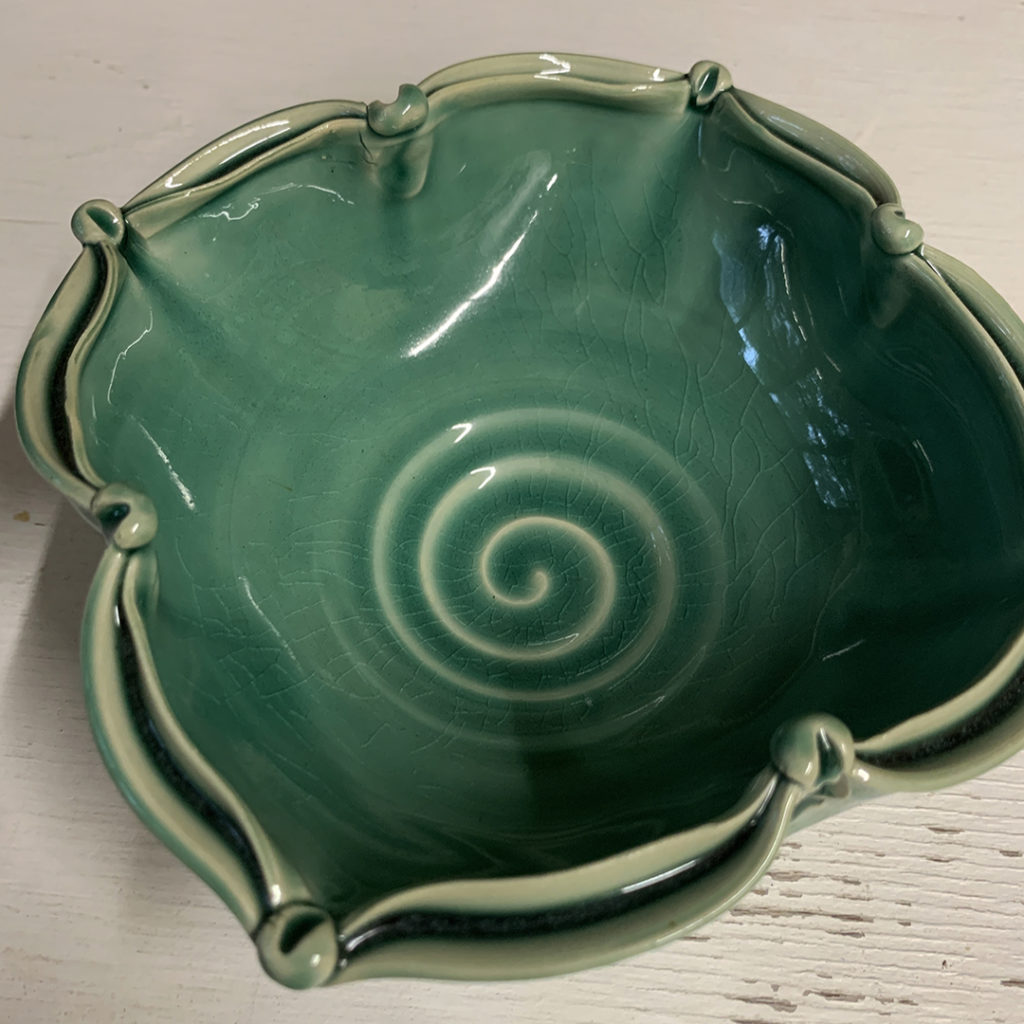
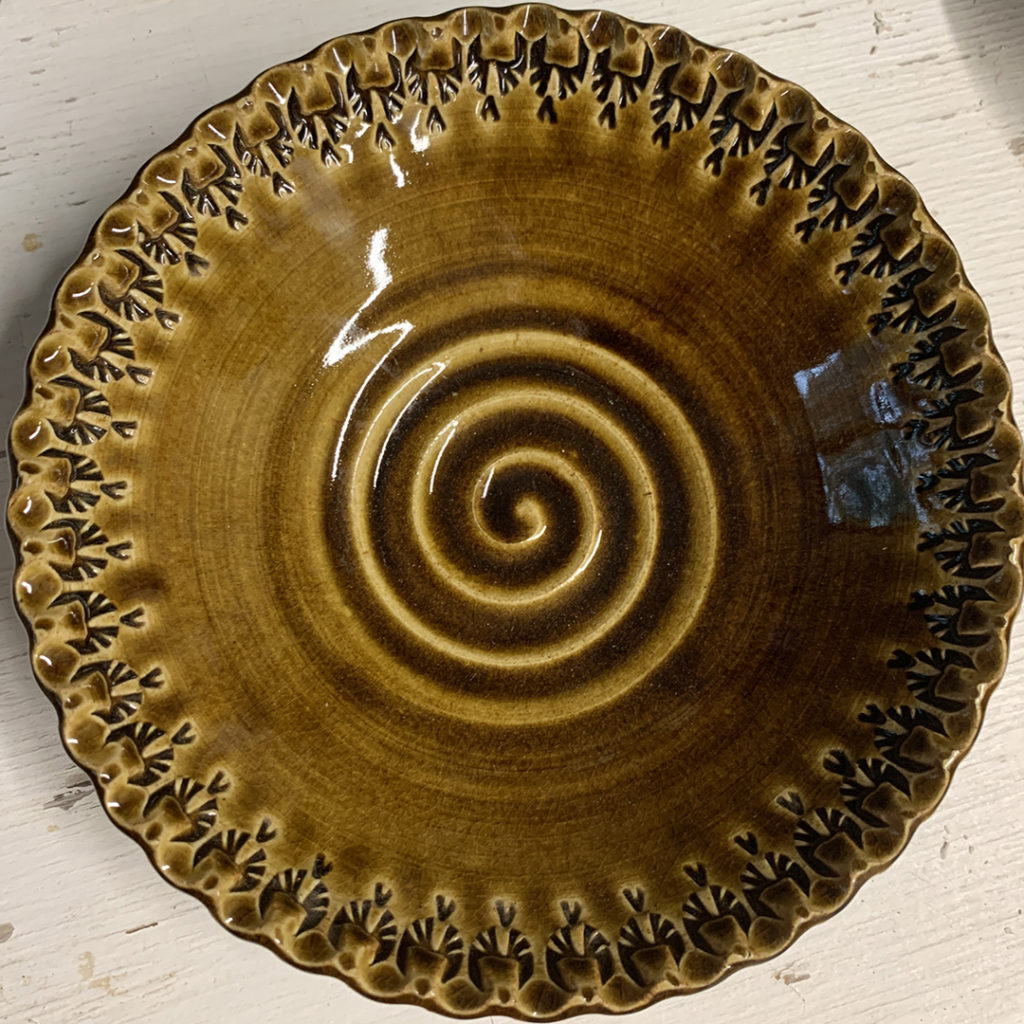

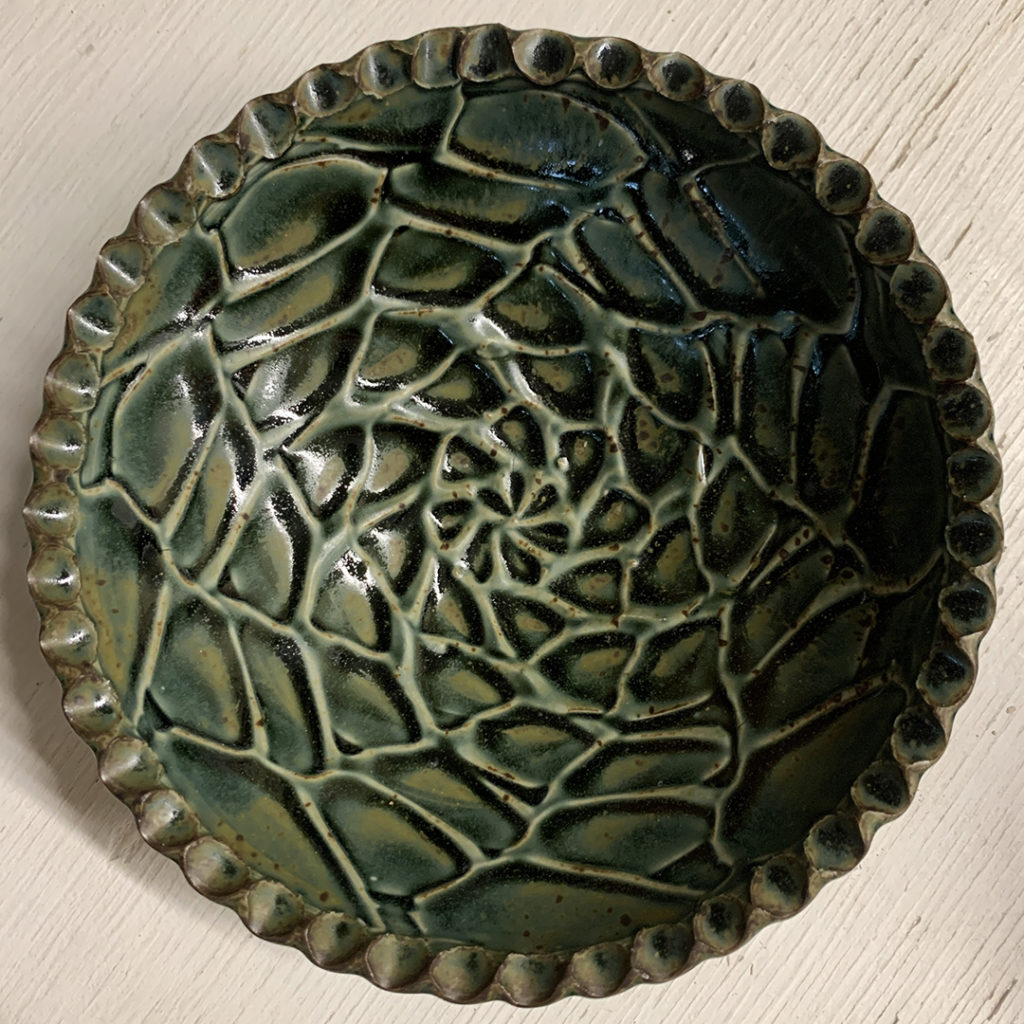
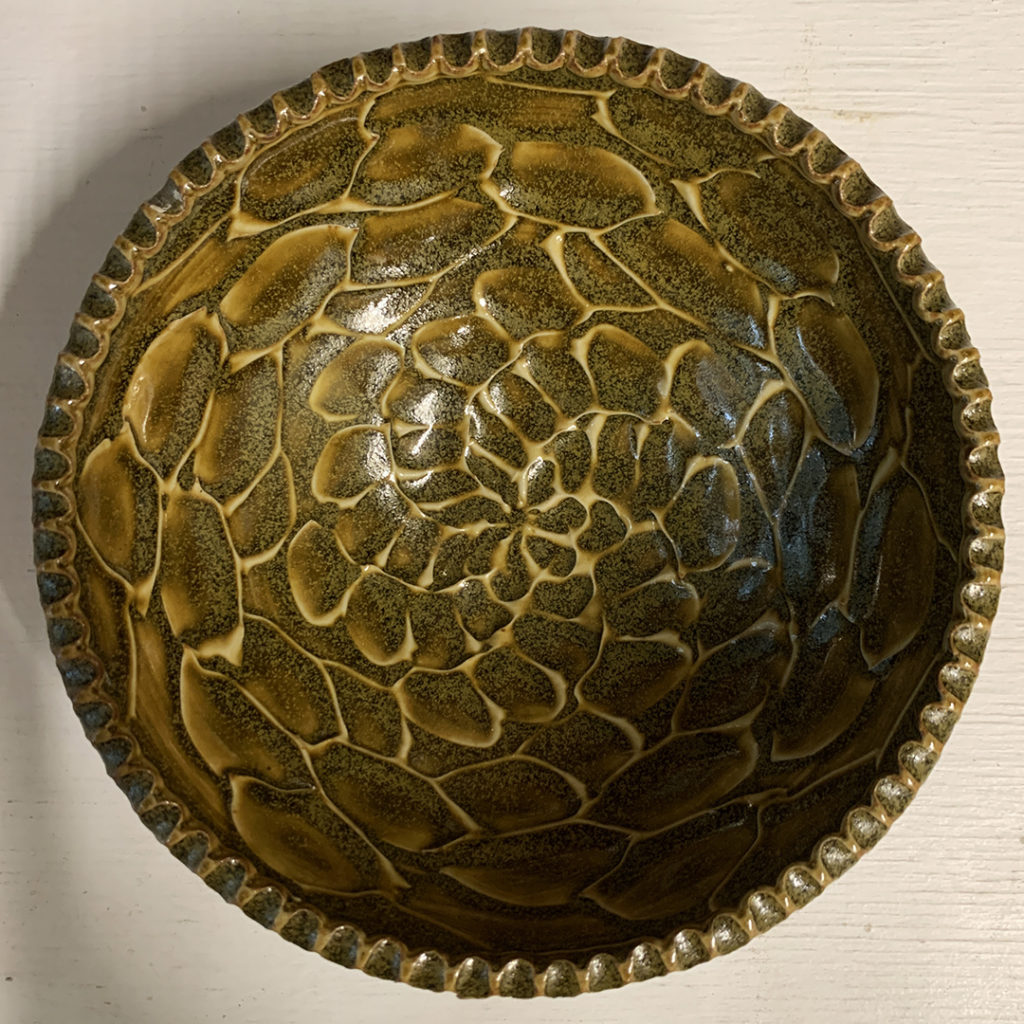
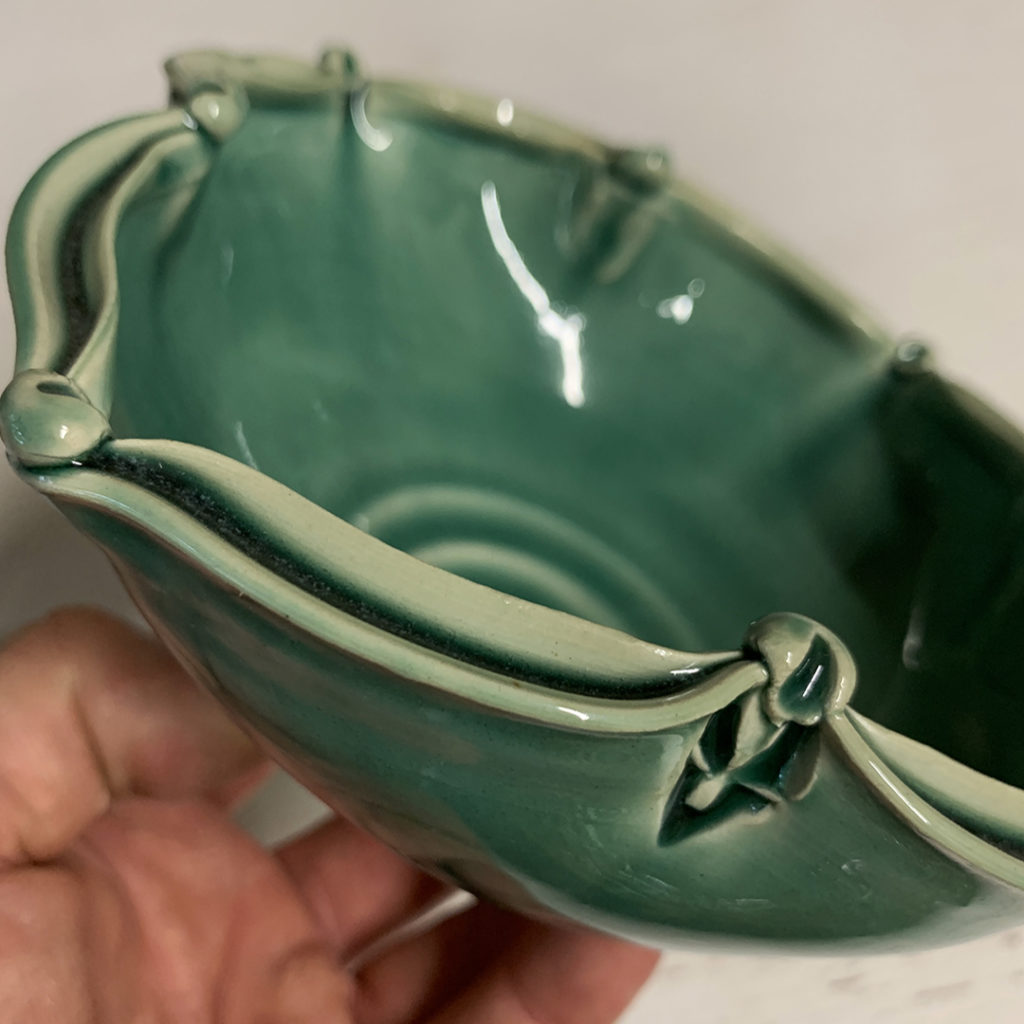
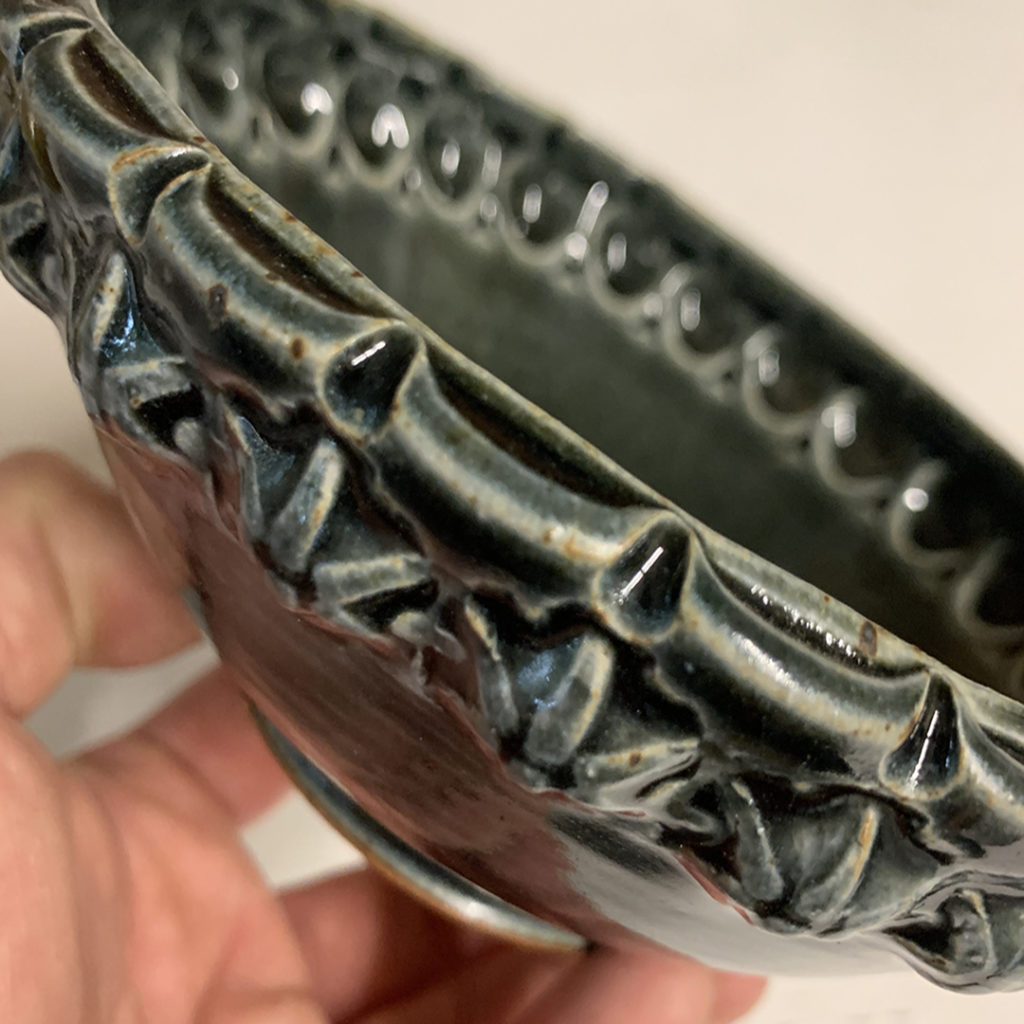

This past Monday night in my Intermediate Wheelthrowing class, we discussed how to throw with a bit more “intention”… and how to approach throwing “matching sets.” I offered up a few options… as one of their class challenges is to bring two “matching” bowls to our final class as few weeks from now! One of my best suggestions is to throw a few extras that are “similar” and then decorate & trim them to make them match even more… and then pick the two that match the best!!! I went with four… hoping to get two that match!!!
Looks like a “Sunday-Sundae-Funday” for Rosene!!!


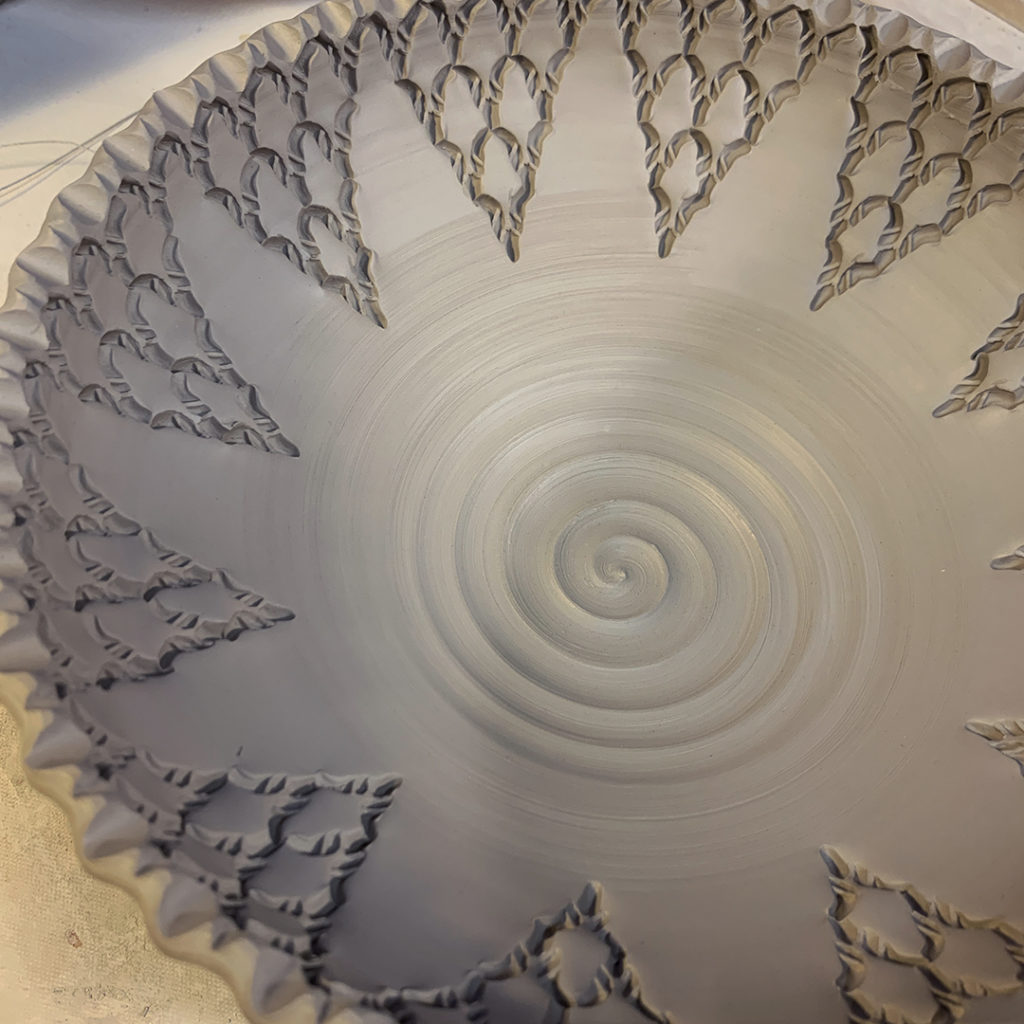
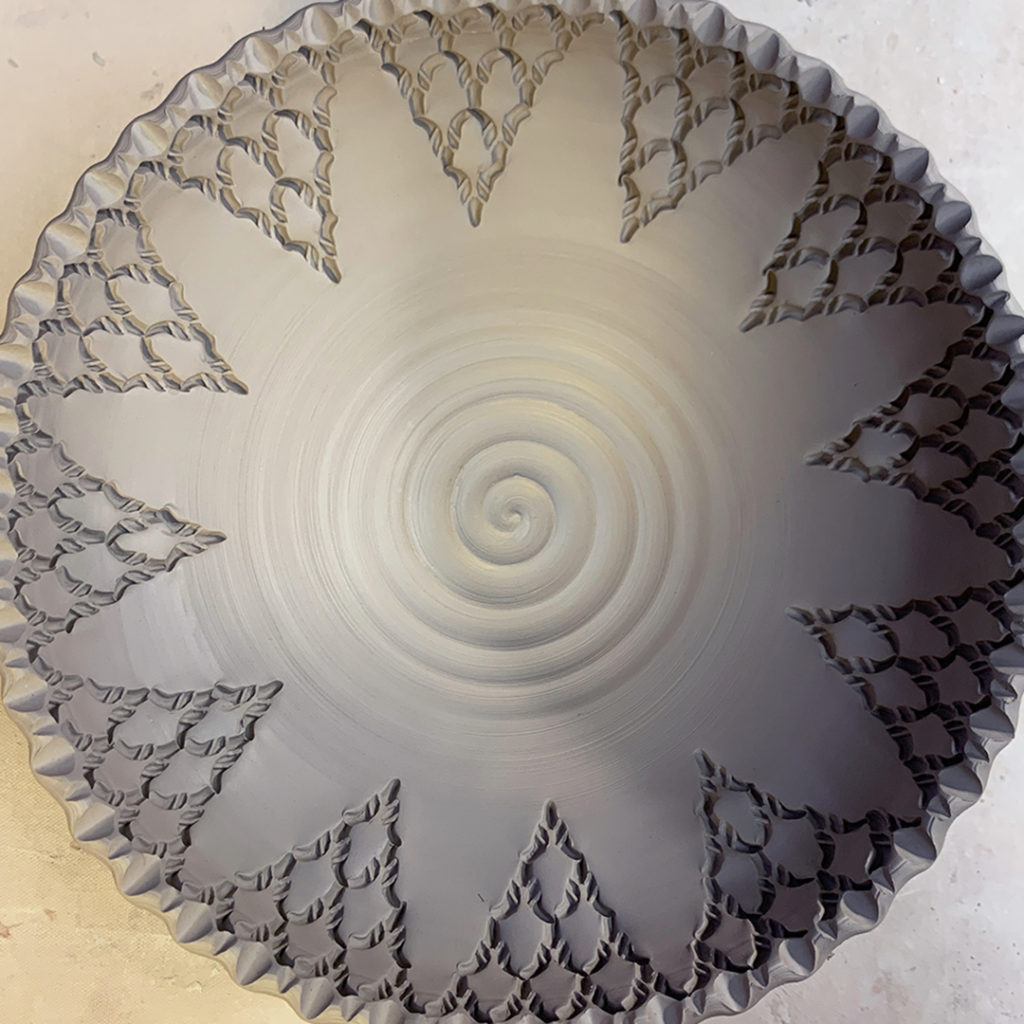
A little stamping fun inside this bowl. I’m totally diggin’ the cool pattern it created as I stamped it one-by-one-by-one into these cool pointed chevron patterns!


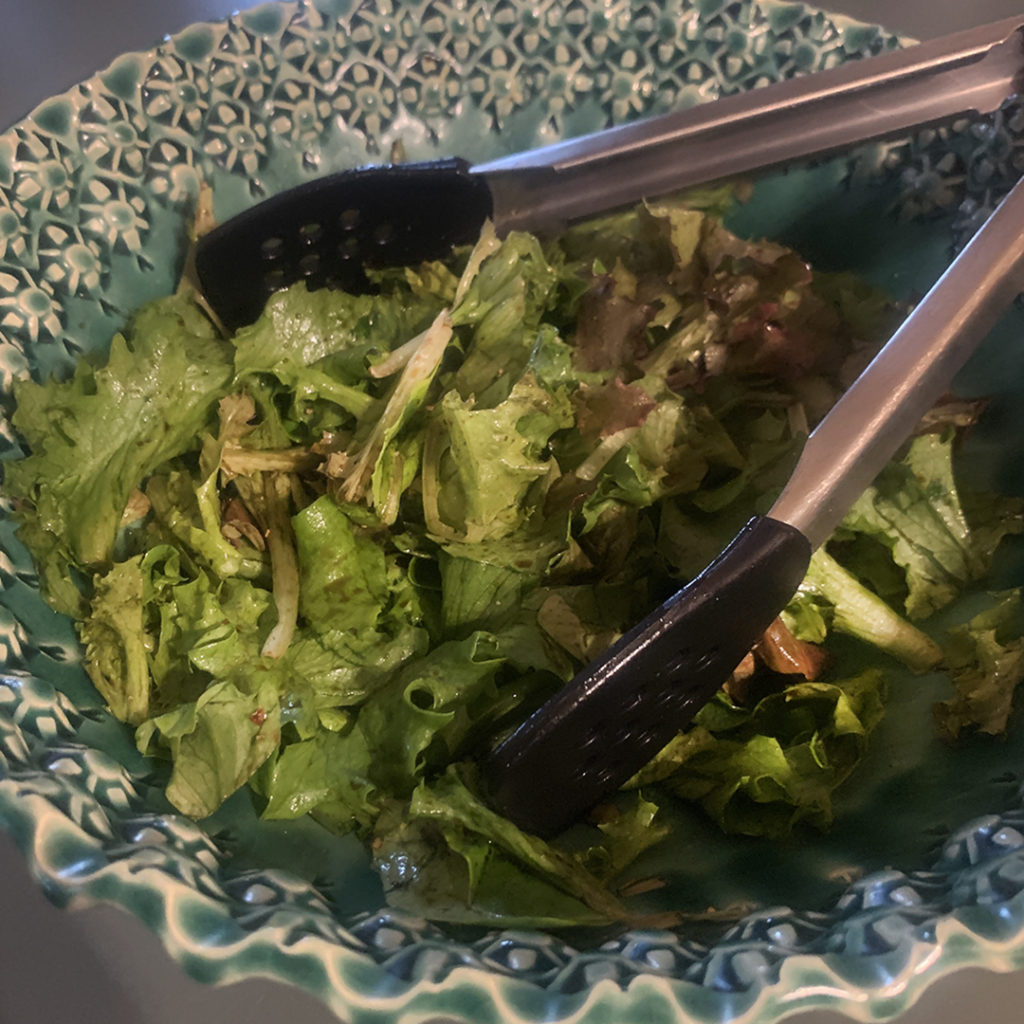
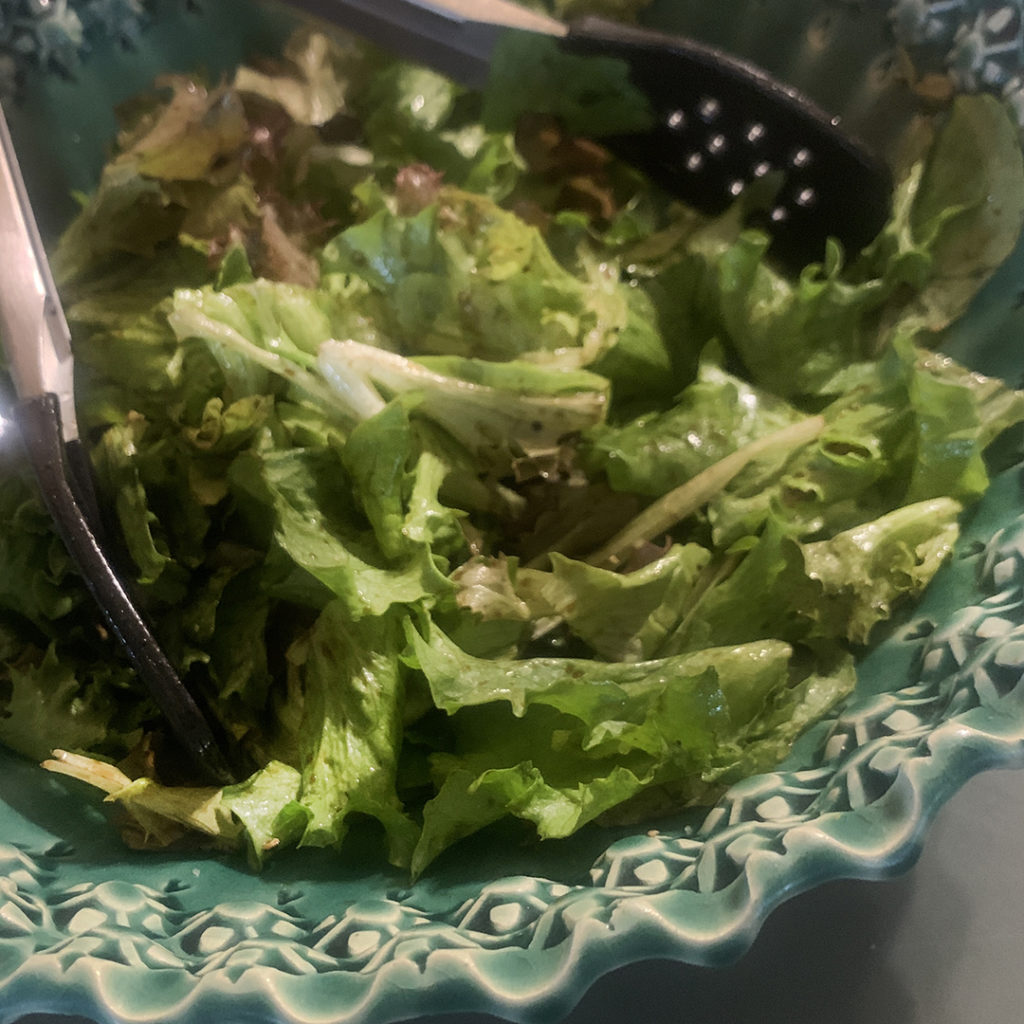
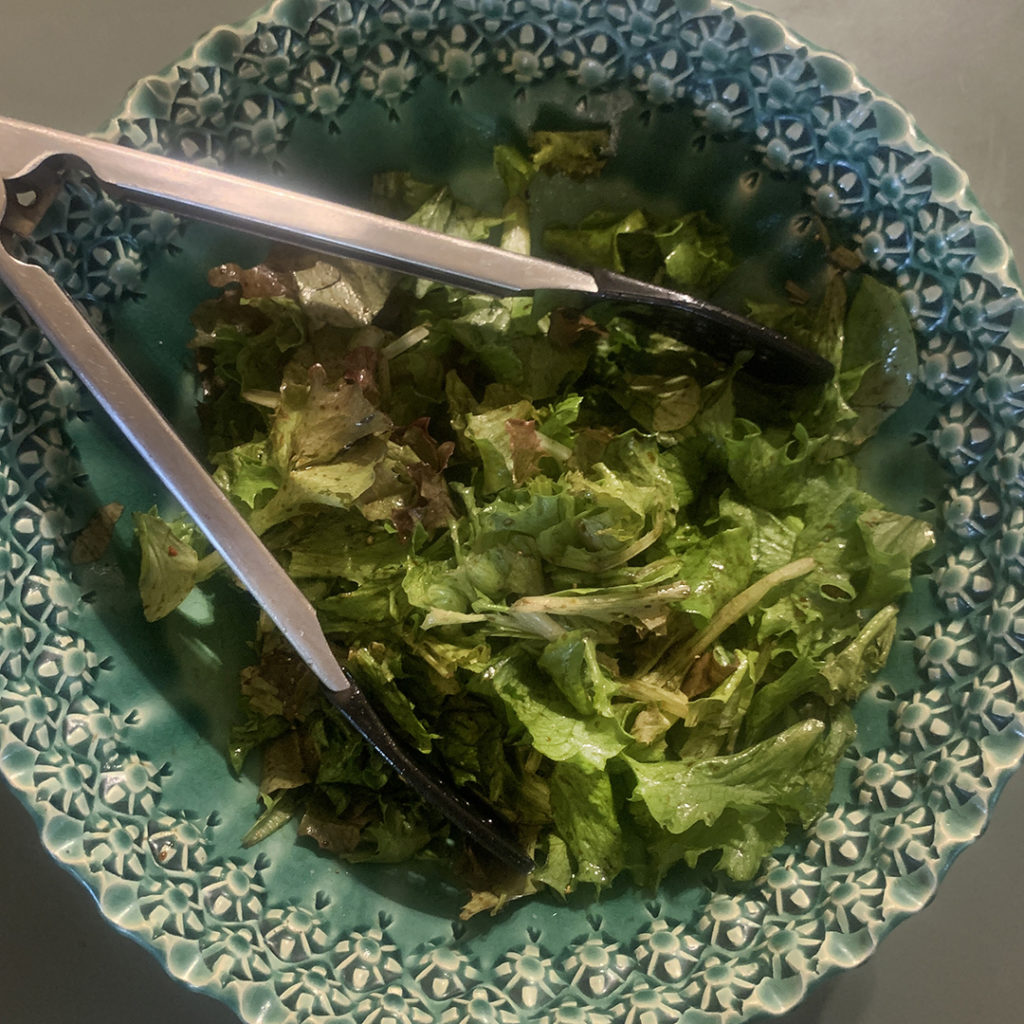
Looks like Sarah has been tossing a yummy salad in her stamped bowl. Beautiful & healthy all at the same time!
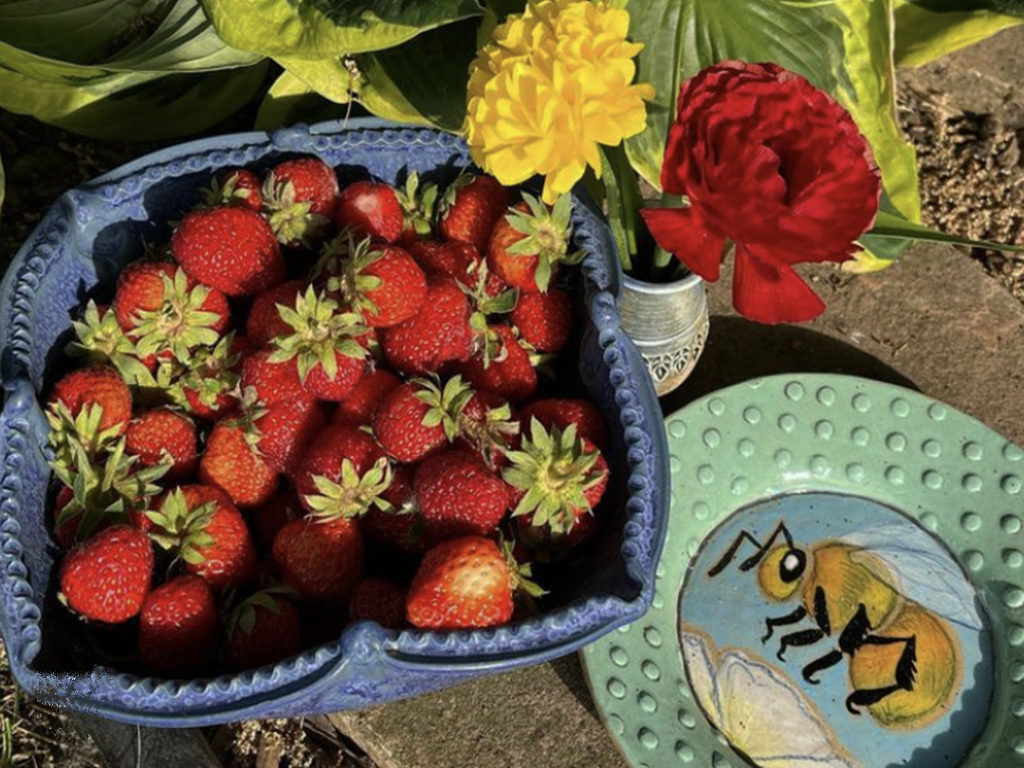
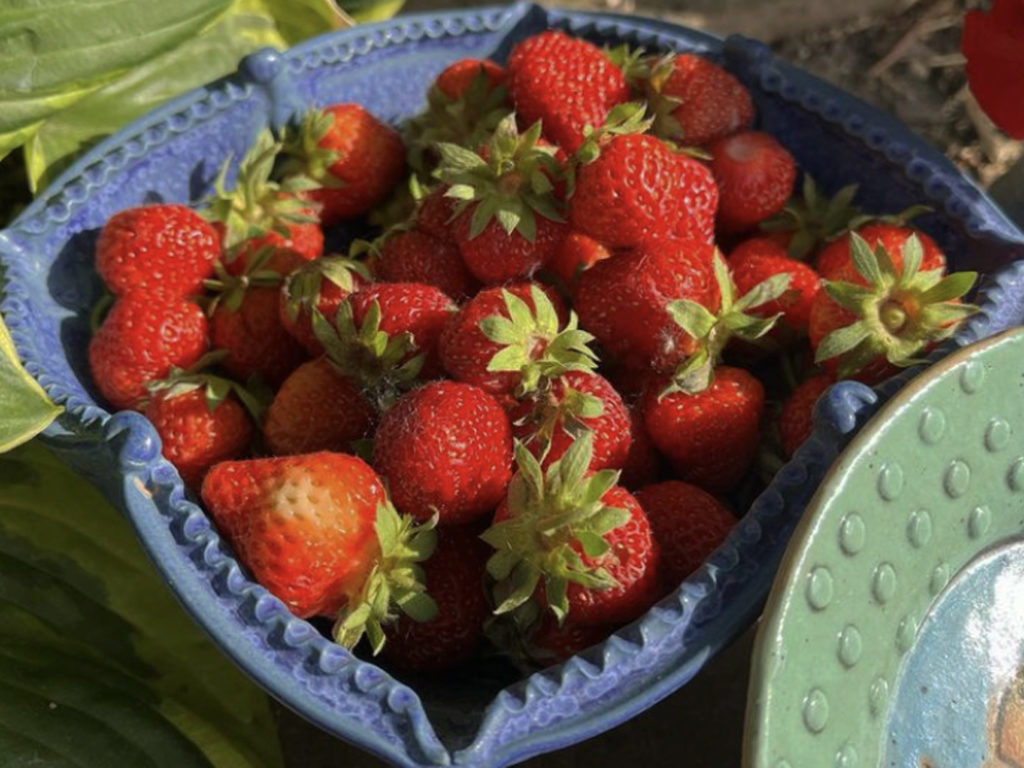
Looks like my cousin Kimberley has had a bumper crop of fresh strawberries from her garden this year! They look amazing in her homemade strawberry shortcake… and her pottery collection. Including a berry bowl collaboration I did with Cory McCrory a couple years ago for ART IN THE GARDEN. Can’t wait to see what kind of a collaboration Cory & I pull together this year!
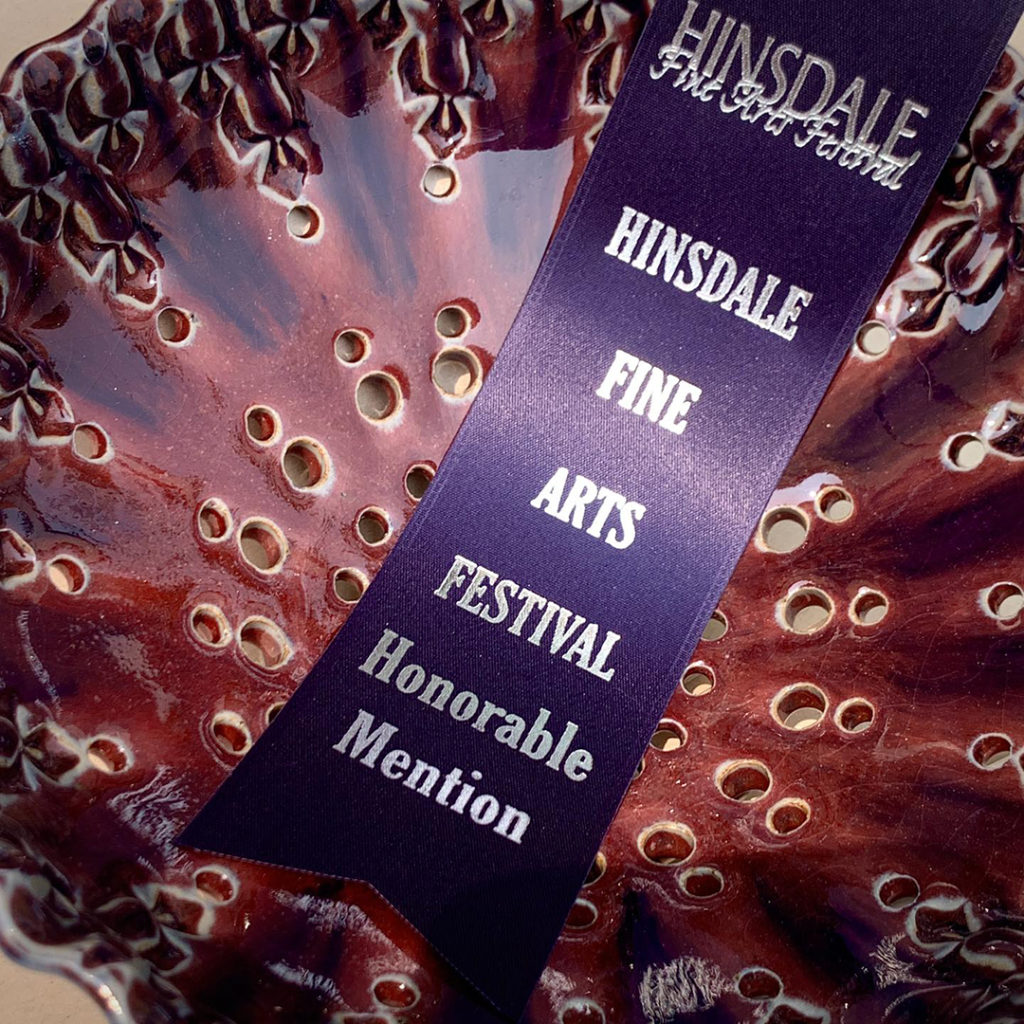
A very special THANK YOU to everyone who came out this weekend for the Hinsdale Fine Arts Festival. We had fantastic weather for both days… albeit a bit warm on Saturday?! It was so much fun to see my “pottery peeps” in the park supporting local artists. We all appreciate your support & encouragement.
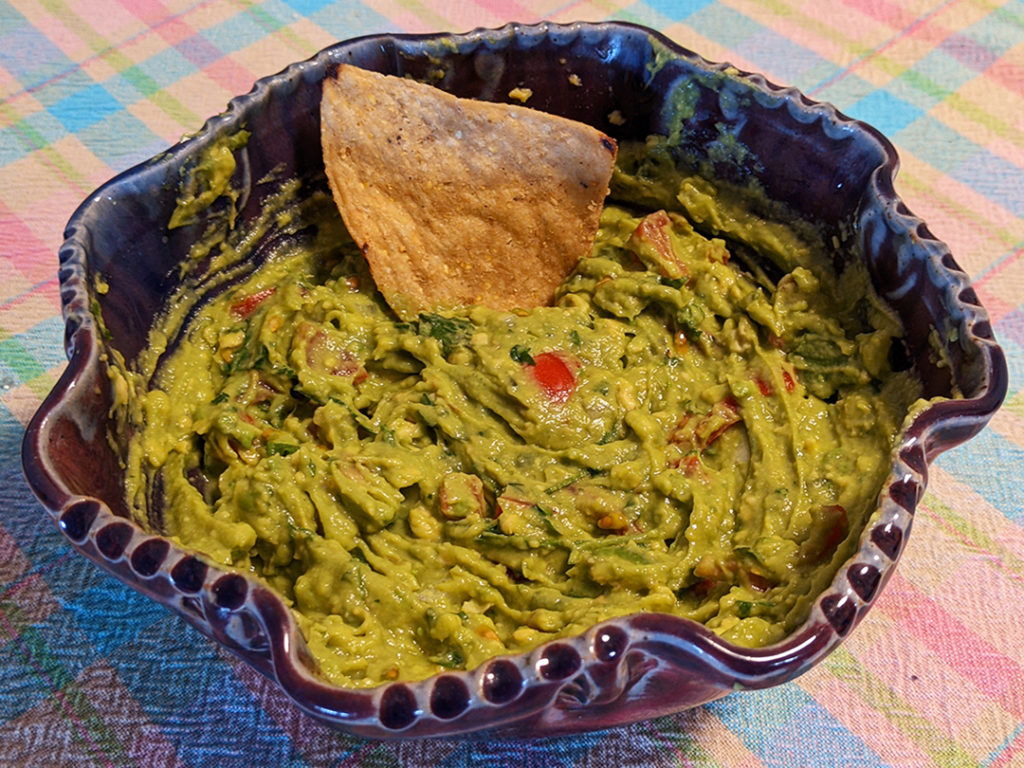
Always fun to see where your pottery goes… I suggested ice cream…
but Johnna apparently had other ideas!
From Johnna… “Instead of eating salad out of my new favorite bowl tonight, I made the best looking guacamole! I’ve looked at your work for a few years at the Schaumburg art fair and so glad I finally pulled the trigger today. Thank you!”
|
Gary Jackson: Fire When Ready Pottery
Lillstreet Studios ∙ 4401 North Ravenswood, Chicago, Illinois 60640 ∙ 773-307-8664 gary@firewhenreadypottery.com |