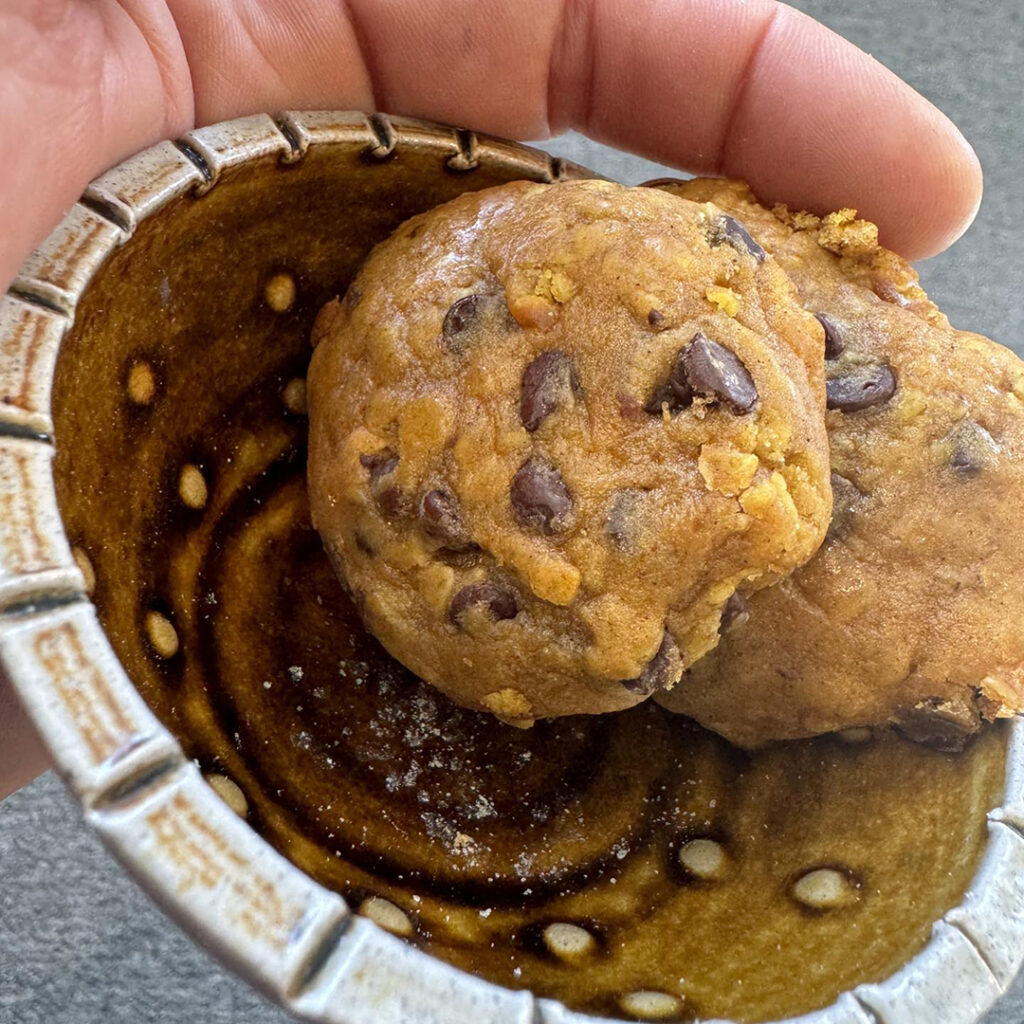
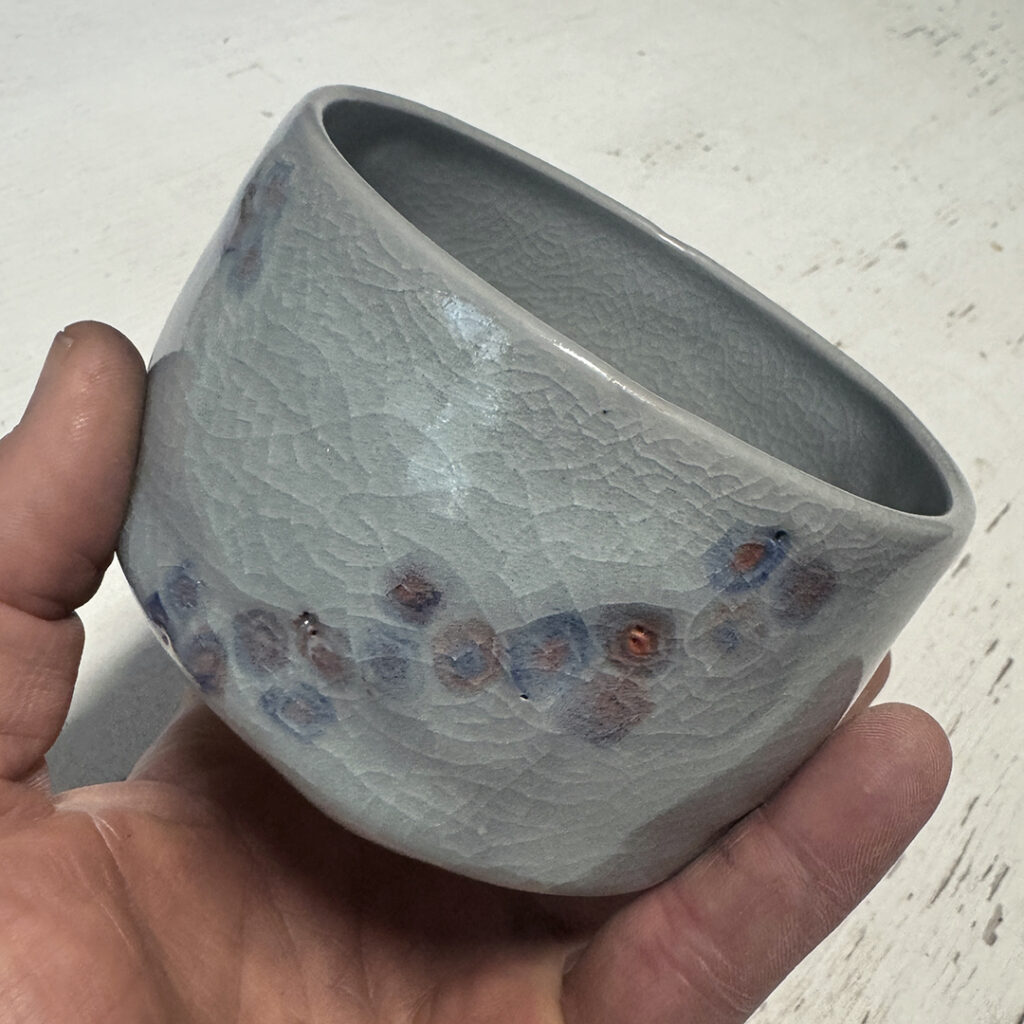
So after Tuesday night’s “bowls-bowls-bowls” demo… I took my class demo bowls up to my studio. And there “just might have been” a bit more stamping & detailing done tonight. Just making my not-so-basic bowls even more not-so-basic-er!!! Allegedly…


Gary Jackson: Fire When Ready Pottery
A Chicago potter’s somewhat slanted view of clay & play |
So after Tuesday night’s “bowls-bowls-bowls” demo… I took my class demo bowls up to my studio. And there “just might have been” a bit more stamping & detailing done tonight. Just making my not-so-basic bowls even more not-so-basic-er!!! Allegedly…
Last night in my Beginning & Advanced Beginning Wheelthrowing class we tackled the right way to make BOWLS. And yes, I stressed throwing “bowls on purpose, and not cylinders gone bad!” So I did a quick demo for them… answering questions & showing them how to get a nice smooth curve inside their bowls, with no beginners ledges or indents!
And yes… I explained & demo’d my LOVE for a good spiral !!!
And then after the first bowl… I sent them back to their wheels so they could start practicing. Meanwhile, I continued to throw MORE bowls… a full bag of clay’s worth… while still helping & answering questions along the way!
After I had thrown all of my demo bowls… we were back to helping students make their own bowls. BOWLS. BOWLS . BOWLS!!! Towards the end of the class, I had my students regroup a my demo wheel so we could do some alterations & decorations to the bowls… making each one of them special & unique with some simple tricks & techniques. Turning each one into a “not-so-basic bowl.”
Bowl #1 – The Plain One. The first bowl… the standard for all of the other bowls to follow!
Bowl #2 – Two Little Flutes… one finger inside, one finger outside, pinch & twist.
Bowl #3 – And if two are cute… eight simple flutes might be cuter?!
Bowl #4 – A Flared out Flange… bent out over a finger on the outside of the bowl.
Bowl #5 – If a little flared flange is cute, maybe a bigger flared flange is even better?
Bowl #6 – Combined a flared flange with four twisted flutes.
Bowl #7 – A split rim… then pinched together in eight places.
Bowl #8 – A split rim indented on two sides with the side of my wooden knife… this one might just become a “basket” with a fun strappy handle up & over the top!
Bowl #9 – Another split rim… indented in four places. No one said a bowl needs to stay round!!!
Bowl #10 – Another split rim… four indented sides… and four “out-dented” sides?! Kind of a lotus-y quatrefoil effect.
After ten bowls, it was time to add a little thick slip into the demo. So we talked about how cool slip is… and that the colored clay can be used for some many applications. That it becomes “part of” your bowl… and it will not melt & run like glaze does. But I like to work with “thick” slip so I can benefit from the thickness & textures it can create.
Bowl #11 – A great spiral. A thick layer of white slip with the end of my wood knife dragged through while the wheel was spinning.
Bowl #12 – Thick slip with some fingerpainting… an index finger squiggled through while spinning on the wheel!
Bowl #13 – Thick slip with dragged-through lines using a rubber rib.
Bowl #14 – Again with my green rubber rib, and some chattering through thick white slip!
Bowl #15 – Ombre’ blend of black & white slips.
Bowl #16 – Another ombre’ blend… and then a spiral dragged through with my wooden knife.
Bowl #17 – Another ombre’ blend also spiraled through, but this time with my finger!
The goal of this demo is multi-faceted. First, I want my students to make nice, well-thrown bowls. Second, I want them to have an arsenal of tricks & techniques to use whenever they want to. Have fun woth your clay, make cool stuff… and if it doesn’t work out, do it again! IT’S JUST CLAY!!!
And for now they’re all up in my studio safely under plastic. Because there’s “a very good chance that there might just be some more detailing” to follow… stay tuned.
This week in my SURFACE DECORATION class, the topic of the week was “Stamping & Sprigging”… mostly stamping! It was fun to show-off a bit, and demonstrate how I make my pots… and then encourage them to “borrow” the technique and find a way to “flip it” to make it an option in their own styles!!!
No matter how you celebrate, it’s always a good day for “tie-dyed” Easter Eggs, jelly beans & chocolate bunnies! Thanks to Keith for sharing today’s Easter Basket moment.
Still working in the studio… and I’ve moved on to stamping some serving bowls. Just have to pick the stamps I want to use… and then start pressing them into the “softer-than-leatherhard” clay one by one… by one… by one…
Just a little afternoon snack celebrating NATIONAL MUFFIN DAY.
You know how I love a good holiday!!!
Another healthy & yummy meal…
always looking better & tasting even better on handmade pottery! Thanks for sharing Kristy!
Just some closer looks at the detailing that happened up in my studio after this week’s class demo. I figured if I was showing off how to make a “not-so-basic-bowl”… why not go all the way?! MORE IS MORE, right?!
After some time under the plastic, these class demo bowls were brought out in my studio for a little more detailing. A little stamping here, a little rim indenting there. Here they are side-by-side in my studio! Just a few super bowls for “Super Bowl Sunday.”
Before…
After…
This week in class with my Beginning & Advanced Beginning Wheelthrowing students we tackled making bowls on purpose, and NOT cylinders gone bad! I started the demo by throwing one bowl for them… explaining the process & what to watch out for. How to start out with a nice rounded bottom right from the start. How to avoid getting a “beginner’s ledge” about an inch up from the bottom. How to use a rubber rib to refine the interior curve of the bowl. How to focus on throwing the interior of the bowl to be the shape they want… knowing that they will trim the exterior to match later.
So here’s the first “prototype” bowl…
Bowl #1 – plain, round, simple rim… and my favorite spiral in the bottom!
And then I set them off to go back to their wheel so they can start practicing.
While they’re throwing, I continue to throw some more bowls while my assistant Susan and I help them along the way. Once I had a bunch of bowls done, we reconvened for Part Two of the night’s demo.
So we gathered, and the goal for Part Two is to show them some quick tricks & techniques to alter the looks of each bowl. Some simple things to make the bowls more “their own creation”… instead of the just round shape that they wheel kinda did for them!
Bowl #2 – two simple “flicked” & fluted twists on opposite sides.
Bowl #3 – And if two flutes looks good, maybe eight fluted edges would look better?
Bowl #4 – A simple flanged edge… folded out over my exterior finger to create this “ledge” area.
Bowl #5 – A much larger flanged edge… kinda like the fancy restaurants that put on tiny little scoop of food in the bottom of a large-flanged bowl and charge BIG bucks for it!!!
Bowl #6 – Combined flange and fluted flares!
Bowl #7 – A split rim pinched back together in eight places.
Bowl #8 – A simple split rim, then we dented in on two sides using the side of my wooden knife. We kinda liked it like this… and there’s a good chance that a handle might go up & over the top from dent-to-dent to make the bowl a bit of a basket.
Bowl #9 – Another split rim with four dents… kinda squaring-up the bowl.
Bowl #10 – The same dented-in bowl as #9 with the split rim, just four more flutes going outwards in the four corners… giving it kind of a lotus look.
After the first set of “altered rims”… we switched to colored slip as a decorative option.
Bowl #11 – After a layer of mazarine blue slip, the dragged the rounded end of my wood knife through the slip while the bowl was rotating on the wheel… revealing the clay-colored spiral through the slip!
Bowl #12 – After a layer of thick white slip, I just wiggled & squiggled my index finger through the slip for this wavy effect.
Bowl #13 – After a layer of thick white slip, I dragged the edge of a rubber rib upwards to create the effect.
Bowl #14 – Another spiral through thick white slip… with tighter spirals to create more of a “ledge” of slip spiral.
Bowl #15 – Chattering through thick white slip… using the edge of my rubber rib with rhythmic tapping up & down, then outwards while the wheel is spinning!
Bowl #16 – A simple ombre’ blend of white slip & mazarine slip… simple & clean…. although there’s a good chance I will do some sgraffito carving through this when it’s a bit drier!
Bowl #17 – Another ombre’ blend of white & mazarine blue, but then dragging a rounded tool end through the slip to create this spiral.
By the end of the class we had a table full of altered & decorated bowls. These went up to my studio to be wrapped under plastic for the night… as there might just be some more stamping, detailing & trimming later as they get to leatherhard.
Gary Jackson: Fire When Ready Pottery
Lillstreet Studios ∙ 4401 North Ravenswood, Chicago, Illinois 60640 ∙ 773-307-8664 gary@firewhenreadypottery.com |