Gary Jackson: Fire When Ready Pottery
A Chicago potter’s somewhat slanted view of clay & play
Categories: classes, flowers, vases

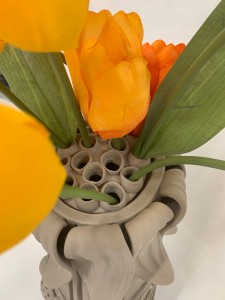
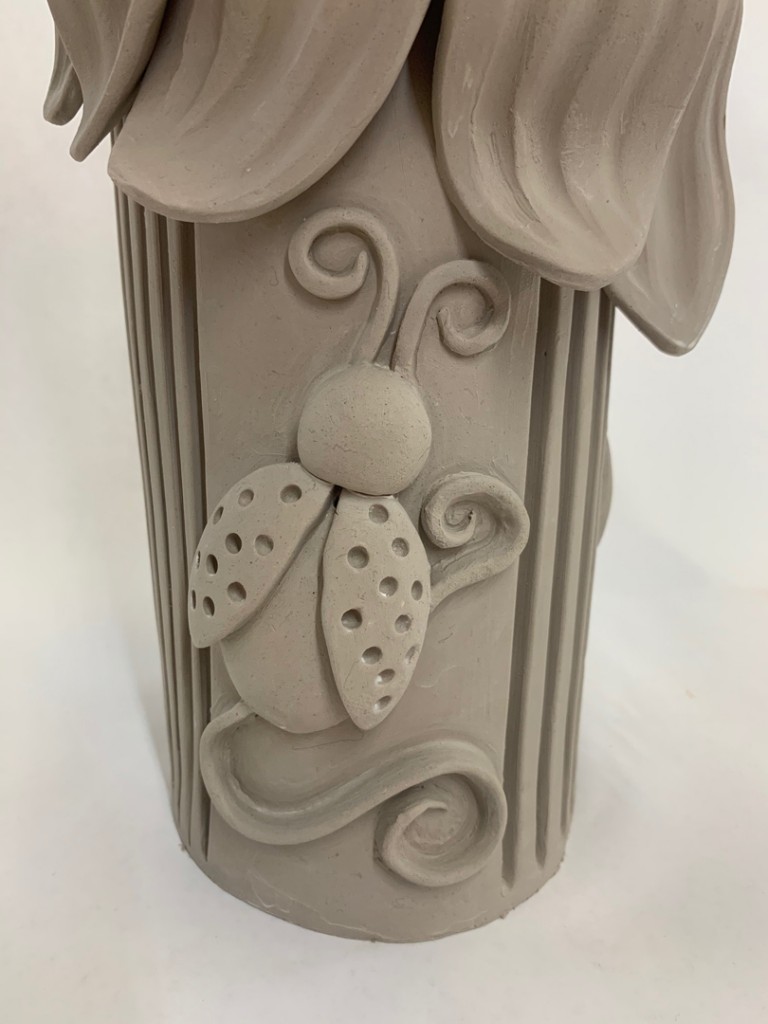
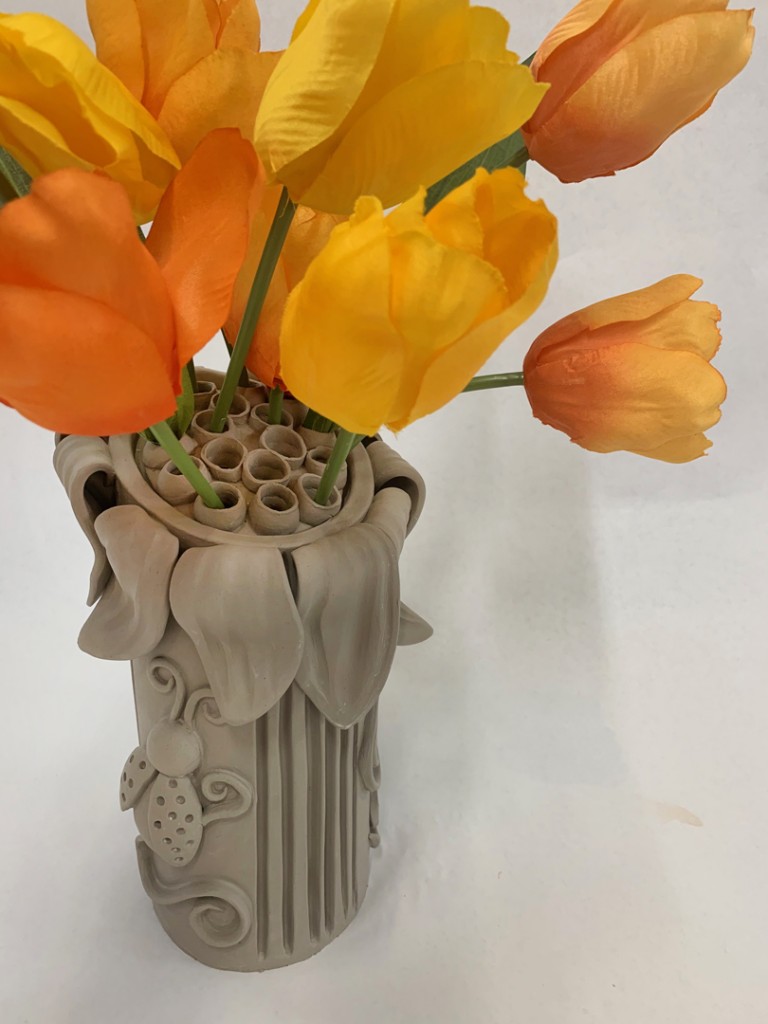
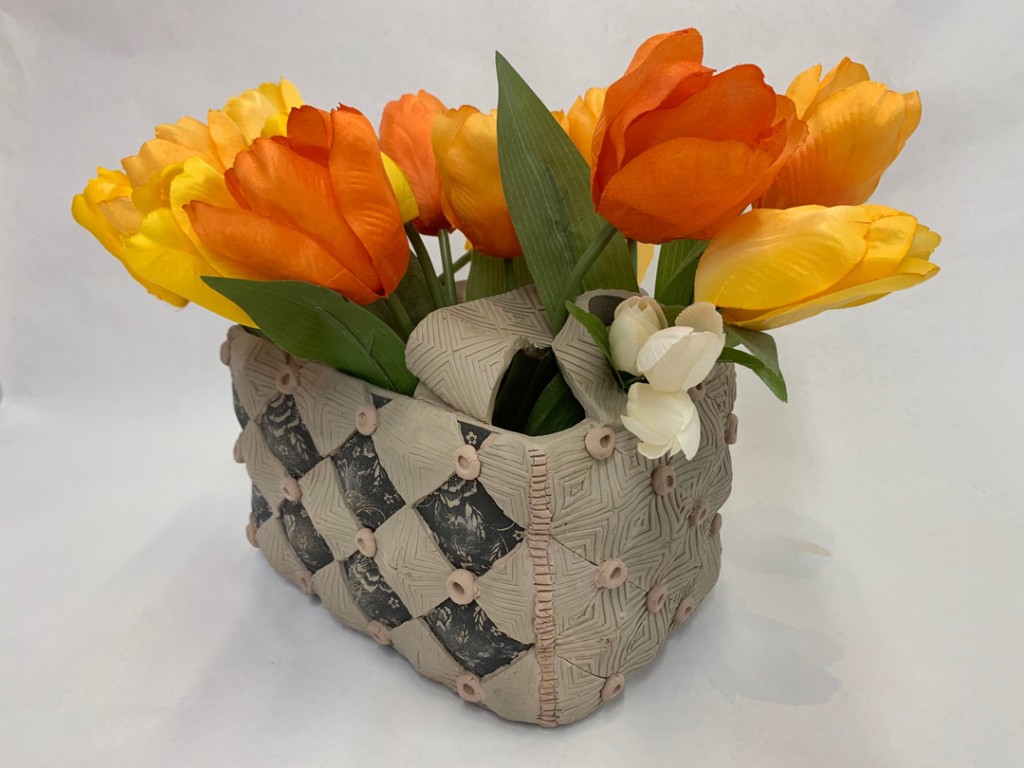
So after tackling some basic handbuilding skills last week like rolling coils & throwing slabs, my THROWDOWN students were challenged to handbuild a decorative flower brick. It was so much fun to see them as they were “unveiled” from under their plastic wrappings. Each one was so amazing… and I loved seeing how each person interpreted the challenge, and designed their own version of a flower brick!

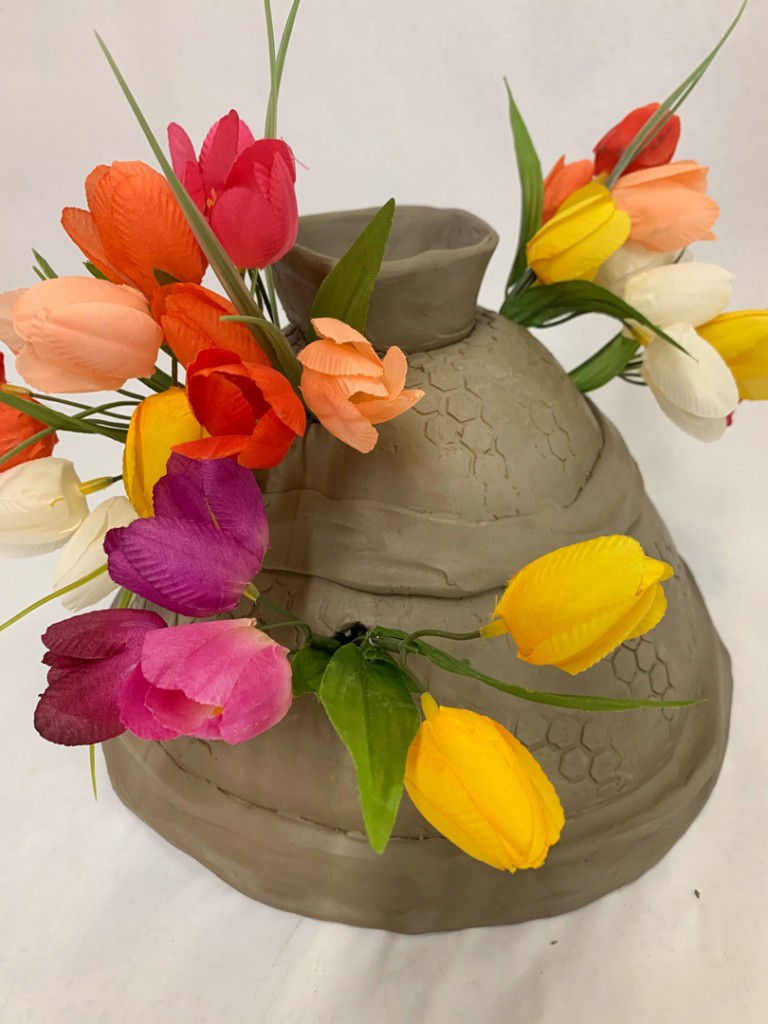
And what’s a proper flower brick without some flowers???…
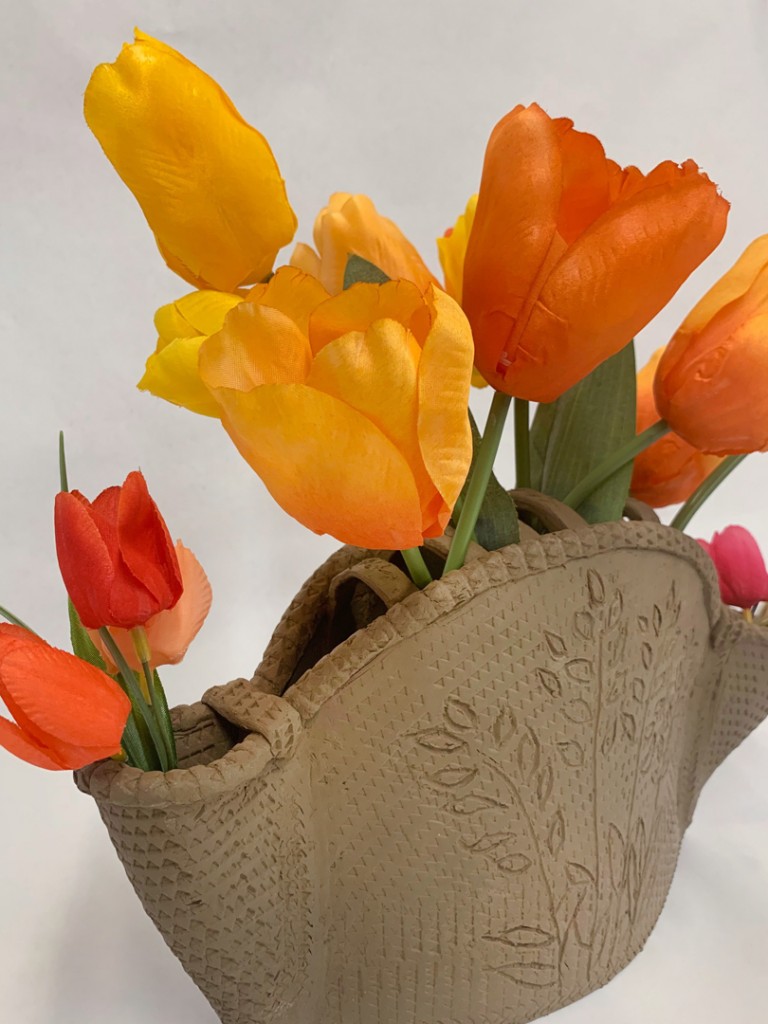
so I brought in some fake flowers just to see how they looked in each person’s vase.
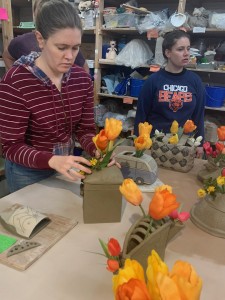
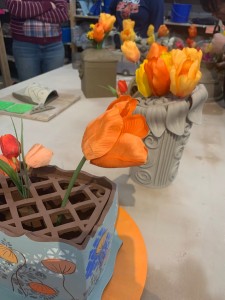
Sadly, I had two students who didn’t quite get to finish their pieces… one for a flu illness, and one for a family obligation. But the rest of them ROCKED IT OUT!!! They were so amazing… that we decided as a group that they were ALL WINNERS this week!!!

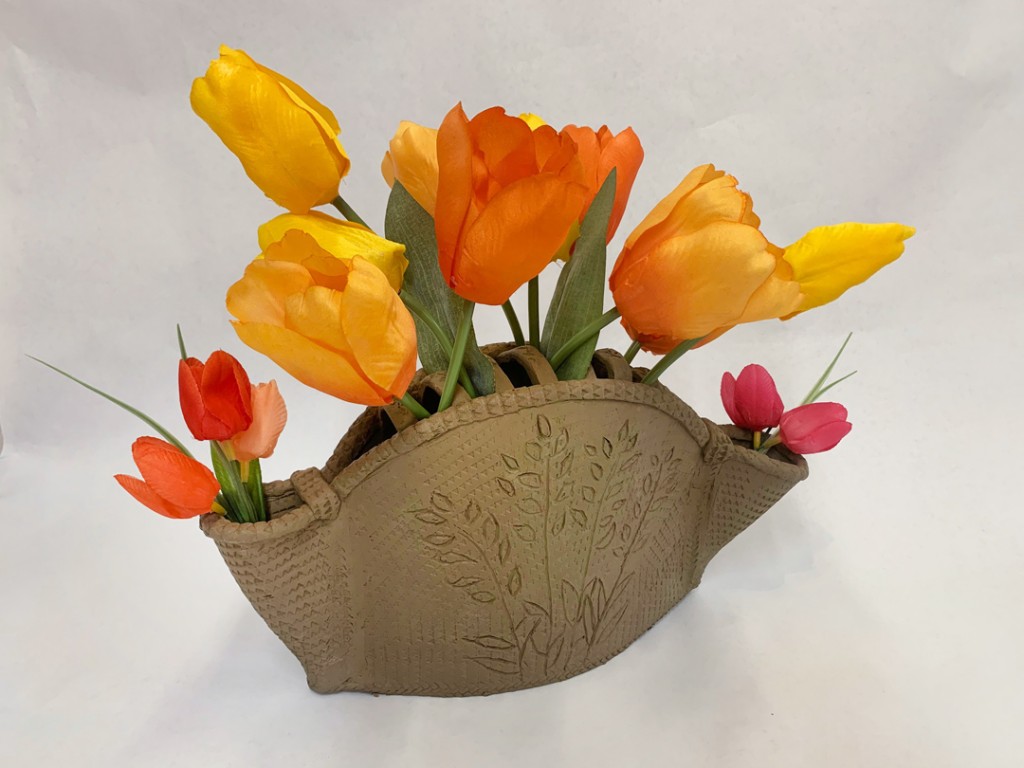
HELEN
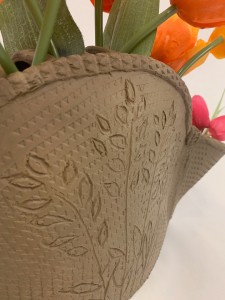
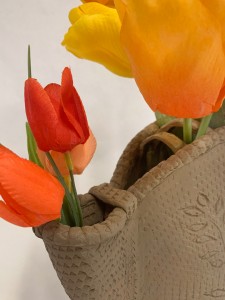
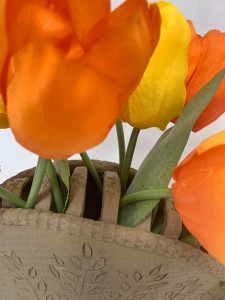
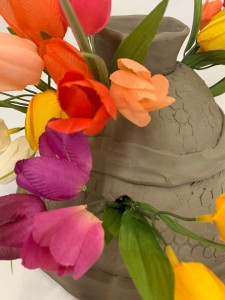
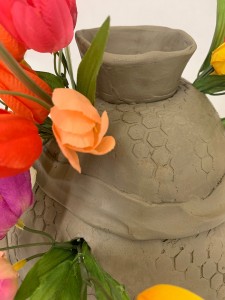
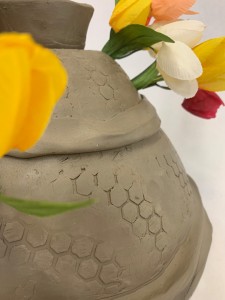
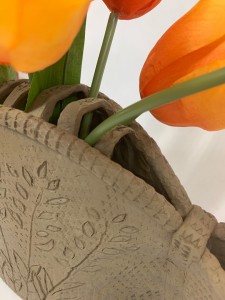
We all loved the shape of Helen’s flower brick… and how it so perfectly splayed out the flowers. Along with textures & carved patterns… including textured straps across the top!
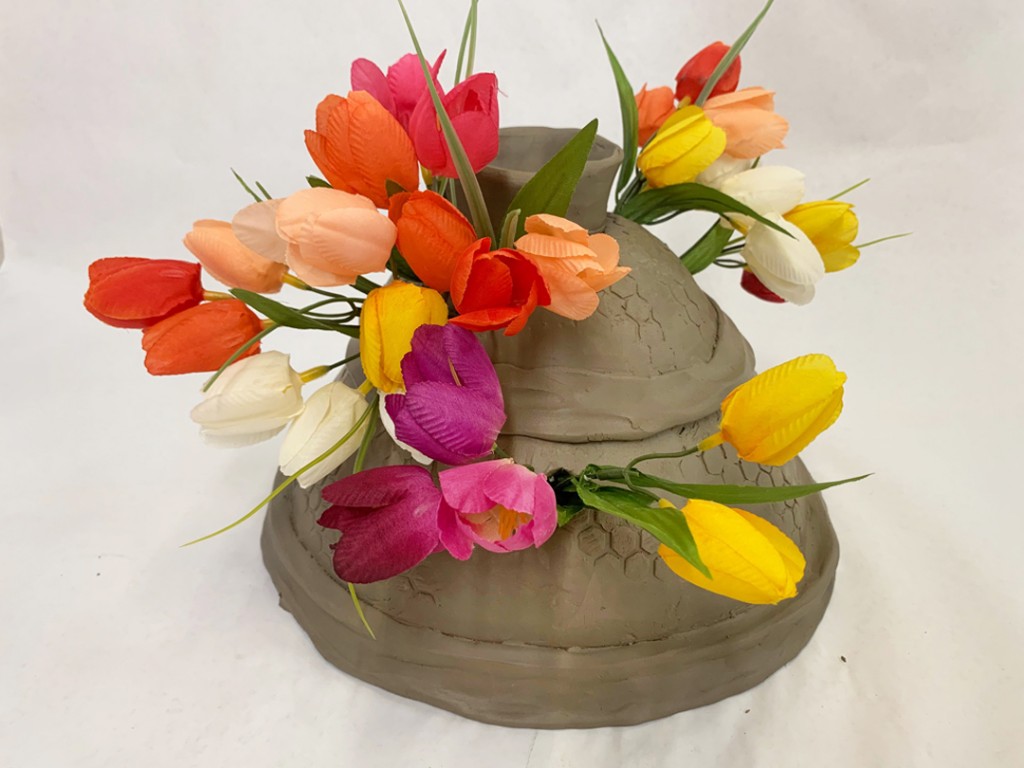
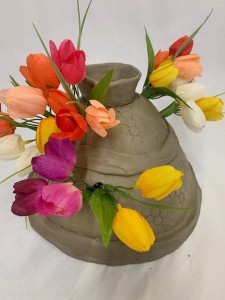
NORAH
A whimsical twist on the flower brick with a nod to a honeycomb.
Texturally “influenced” by one of my Stodola rolling pins!
TAYLOR
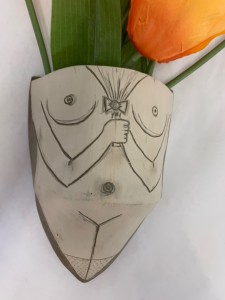
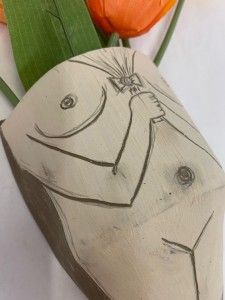
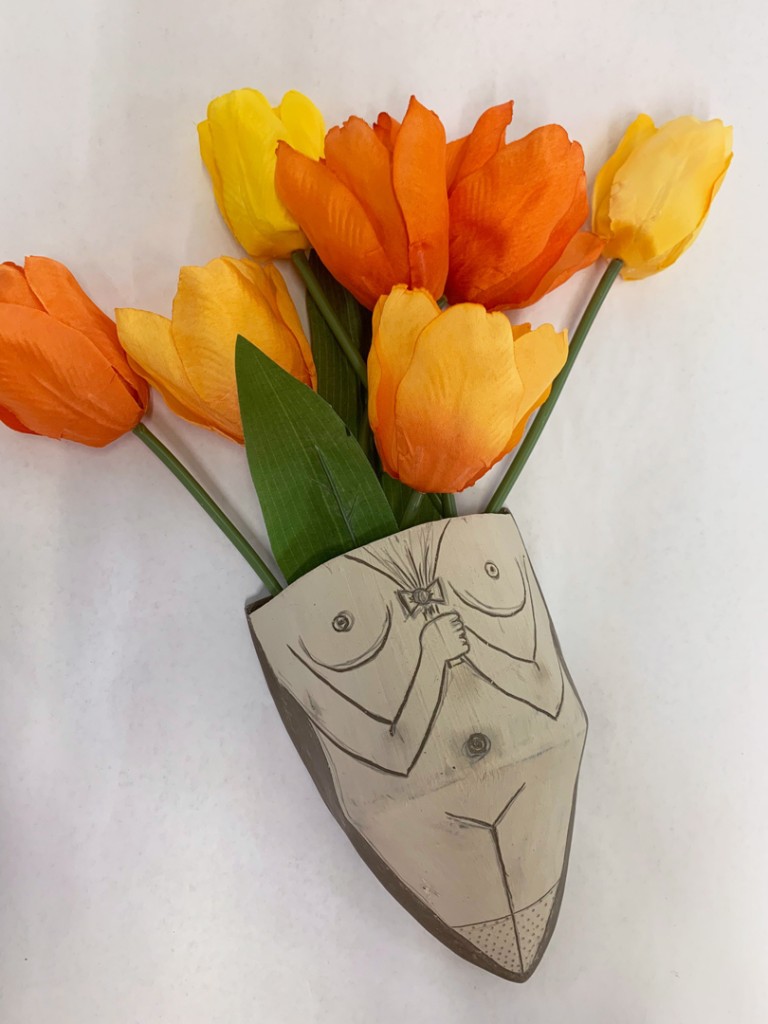
Our only wall vase… along with a removable lid that helps with cleaning!
JEN
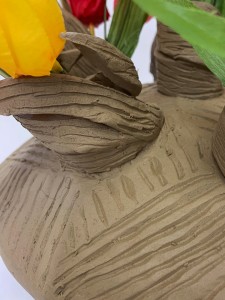
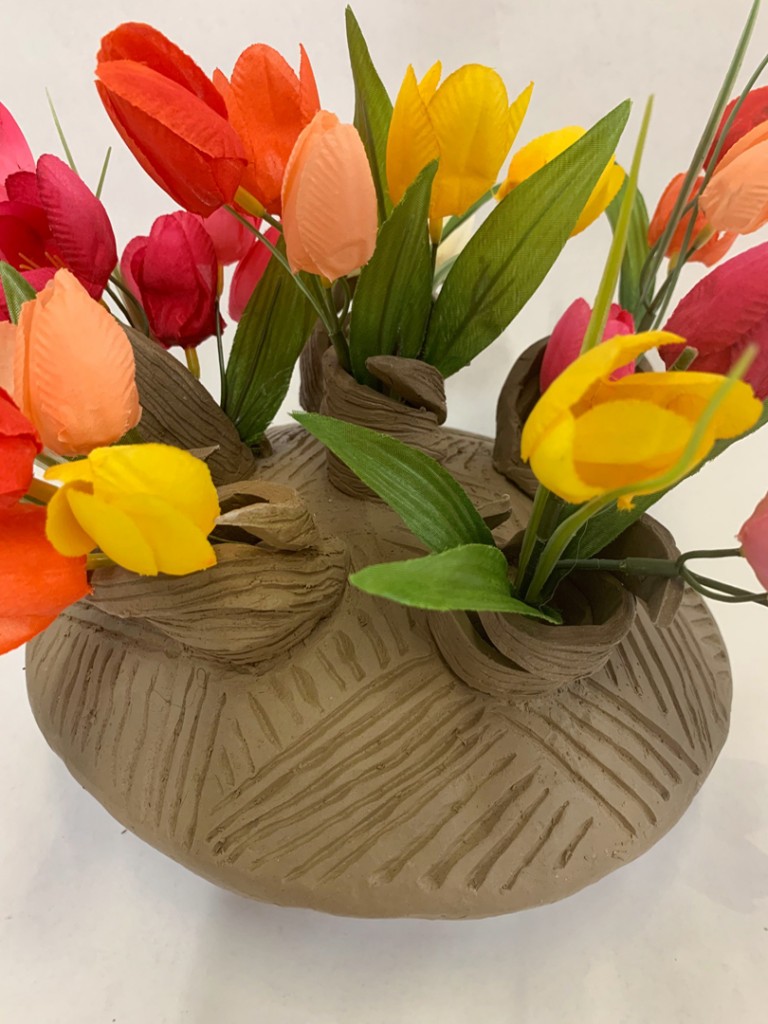
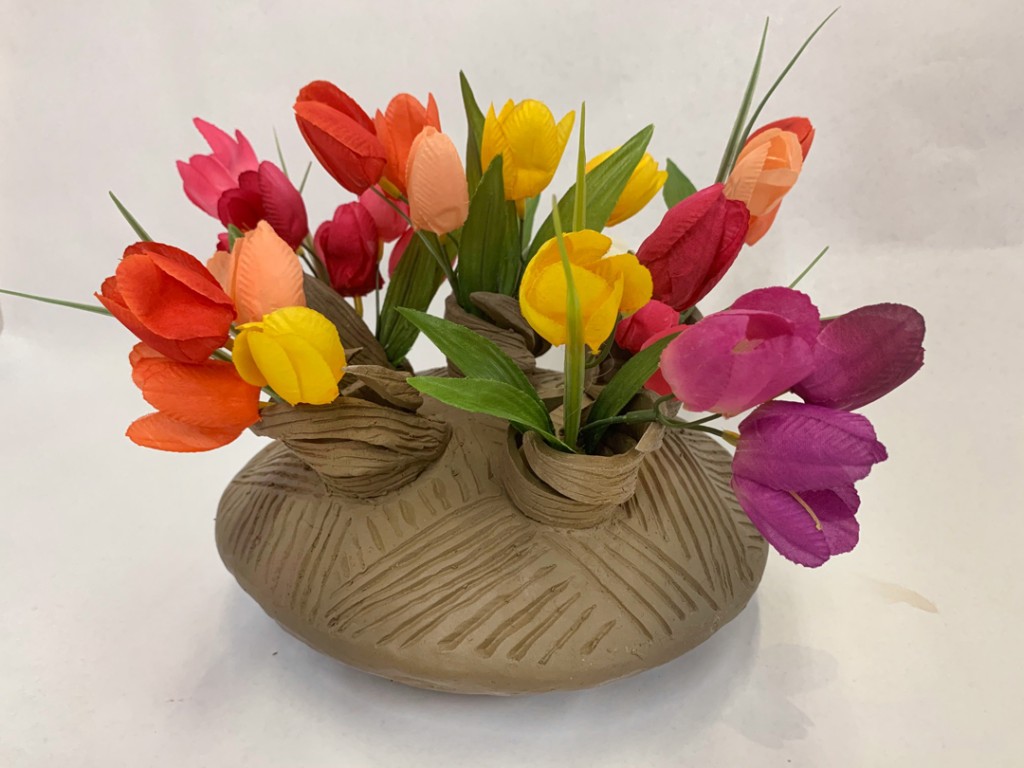
A wonderfully textured vase with swirling rim-openings to help hold the flowers…
extra amazing as this was Jen’s first handbuilding project!!!
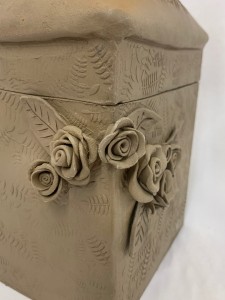
MOLLY
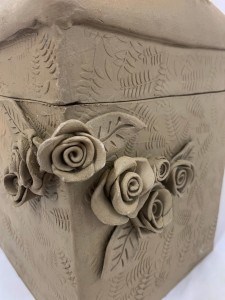
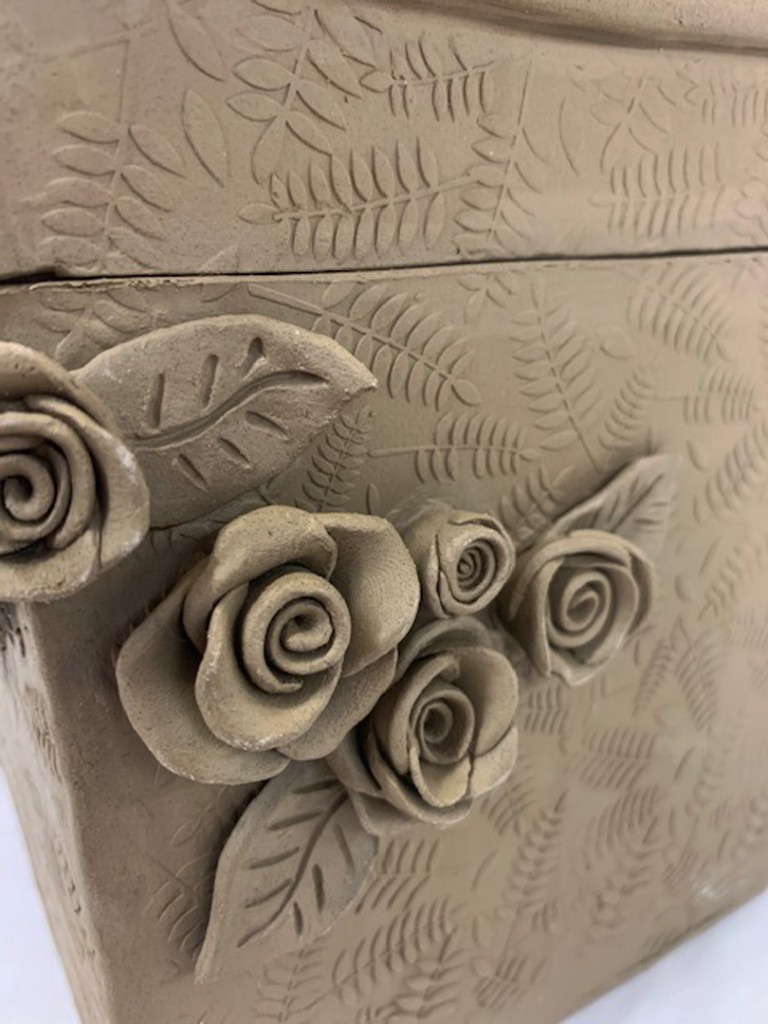
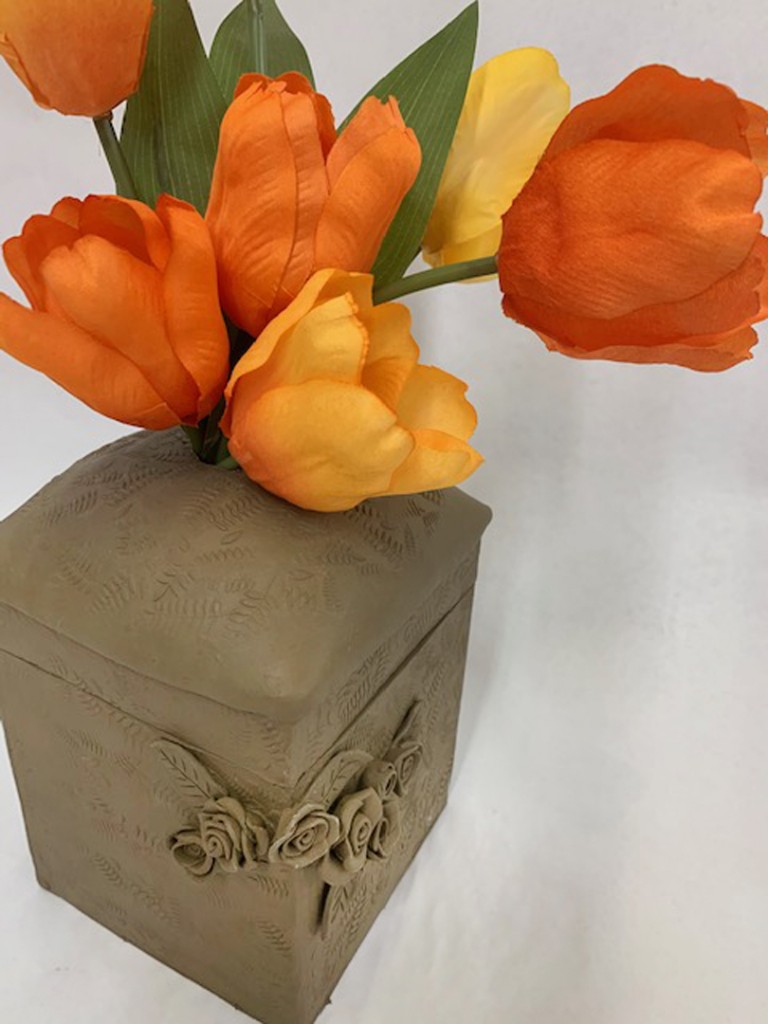
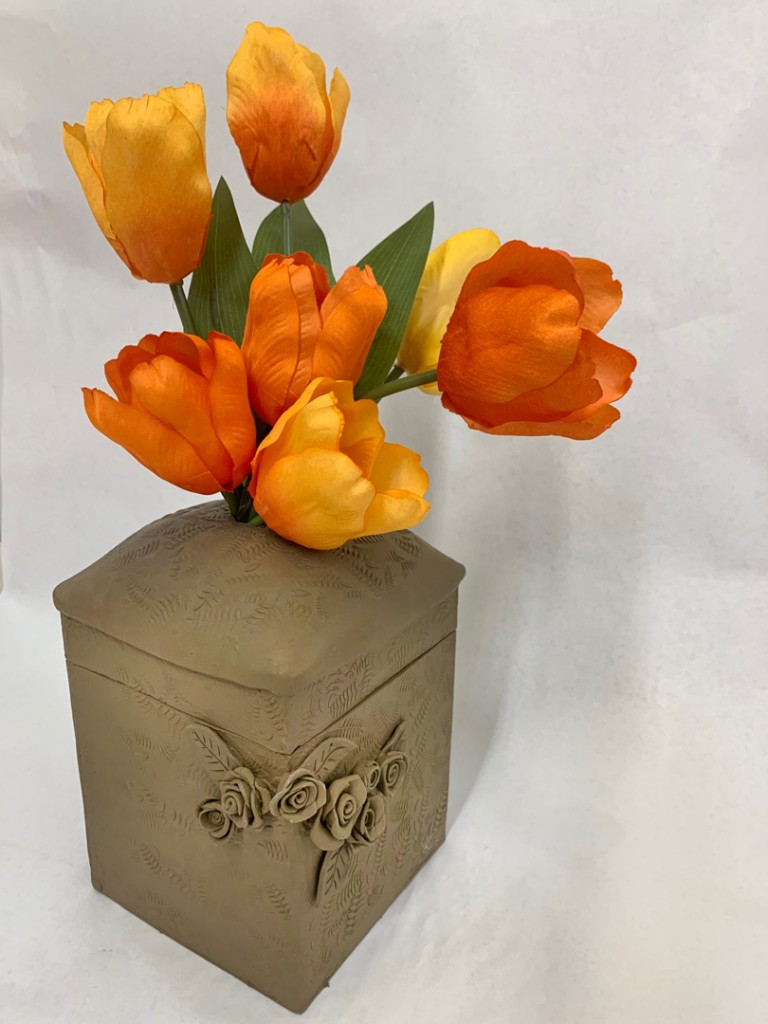
A textured square box with a removable lid for cleaning… and perfectly crafted flowers on the side. Plus, as I was taking these photos, I picked it up to move it over… and it was amazingly light!!! About half of the weight that I was expecting to lift up.
JACOB
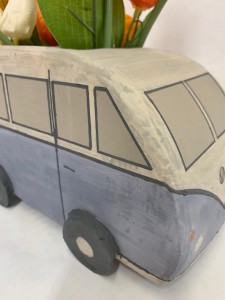
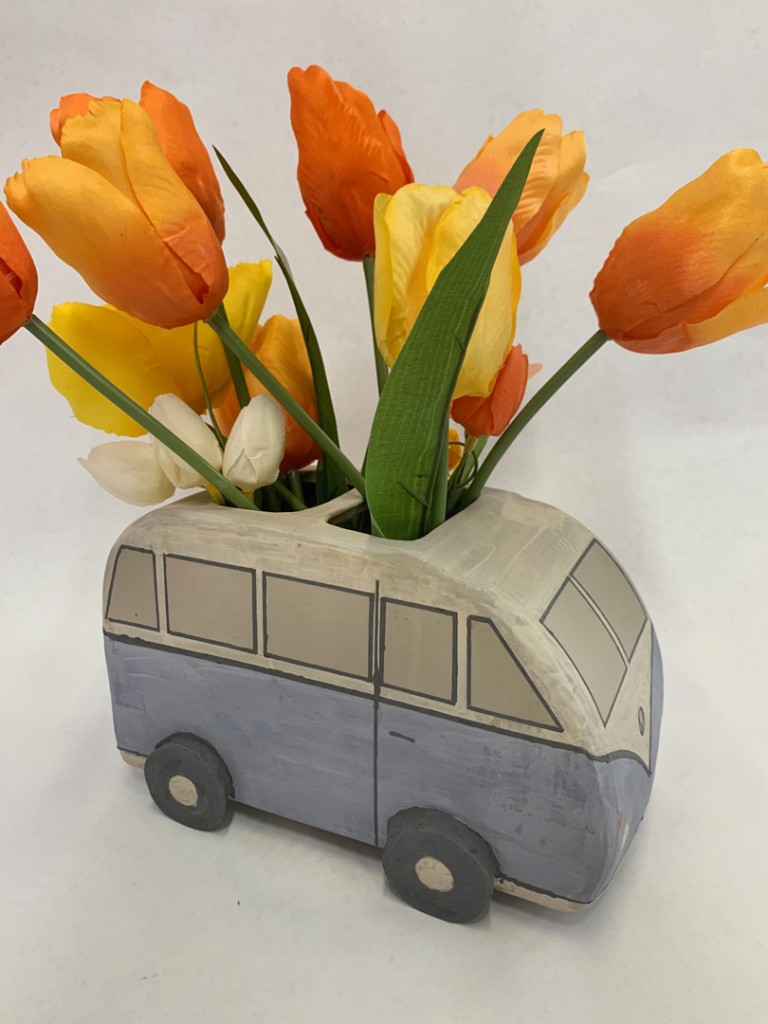
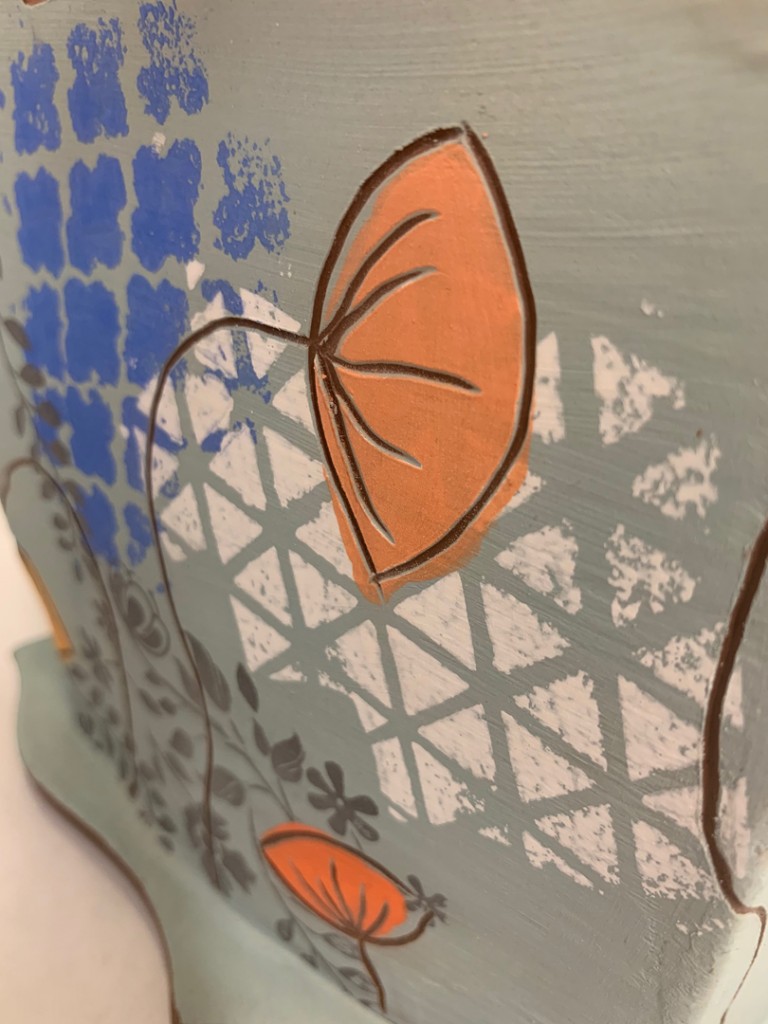
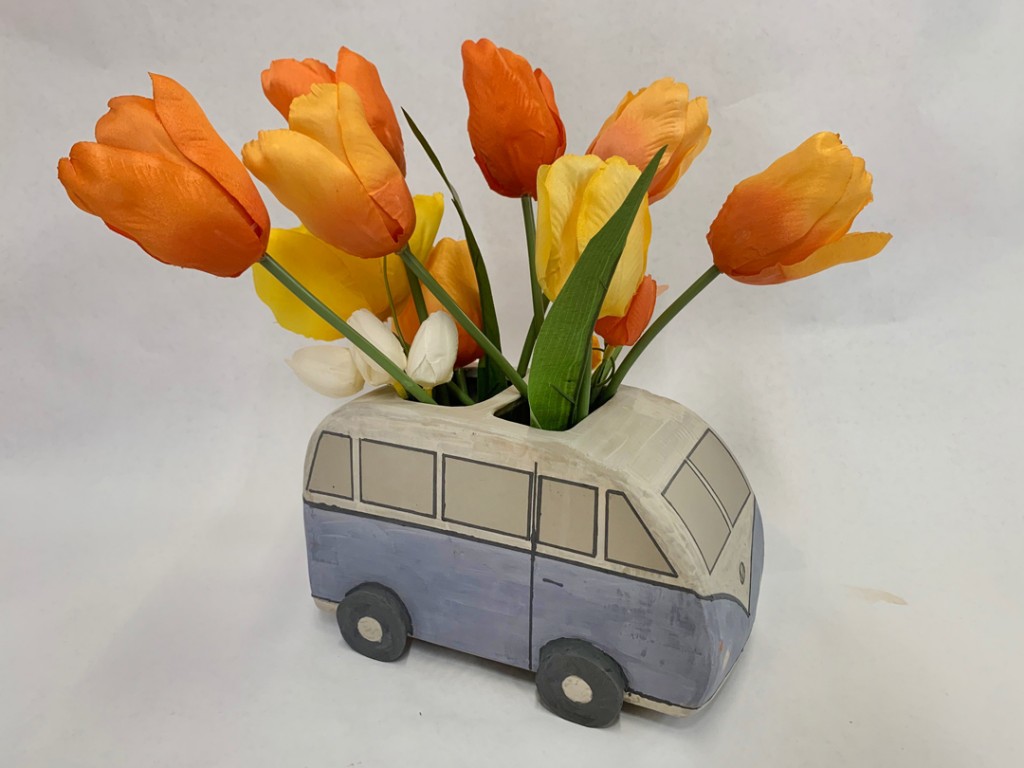
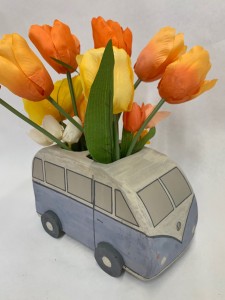
A very smooth & groovy “flower power” brick on wheels!
NOW I see what all of that orange masking tape was used for…
to get the fine black lines detailing every side!
CHRISTINE
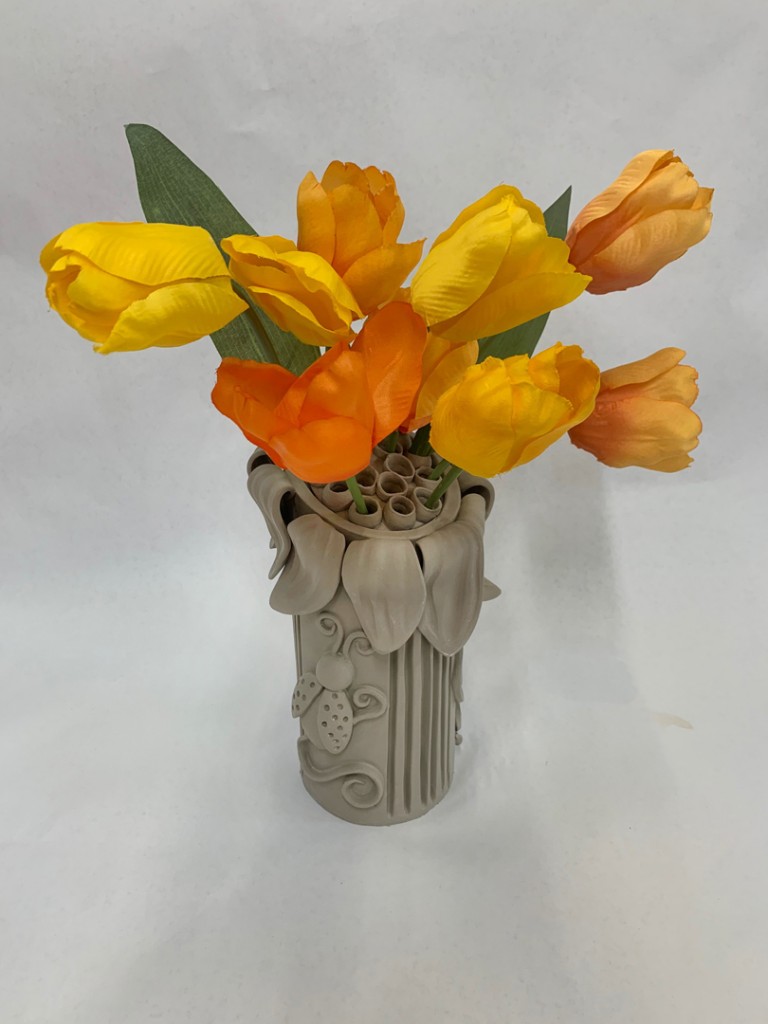
Such an amazingly clean & purposeful flower vase with a removable lid for cleaning purposes. A more than amazing entry from Christine… as this was her first handbuilding project… ever! I think she’s onto something!!!!
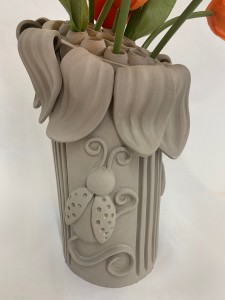
TRACY
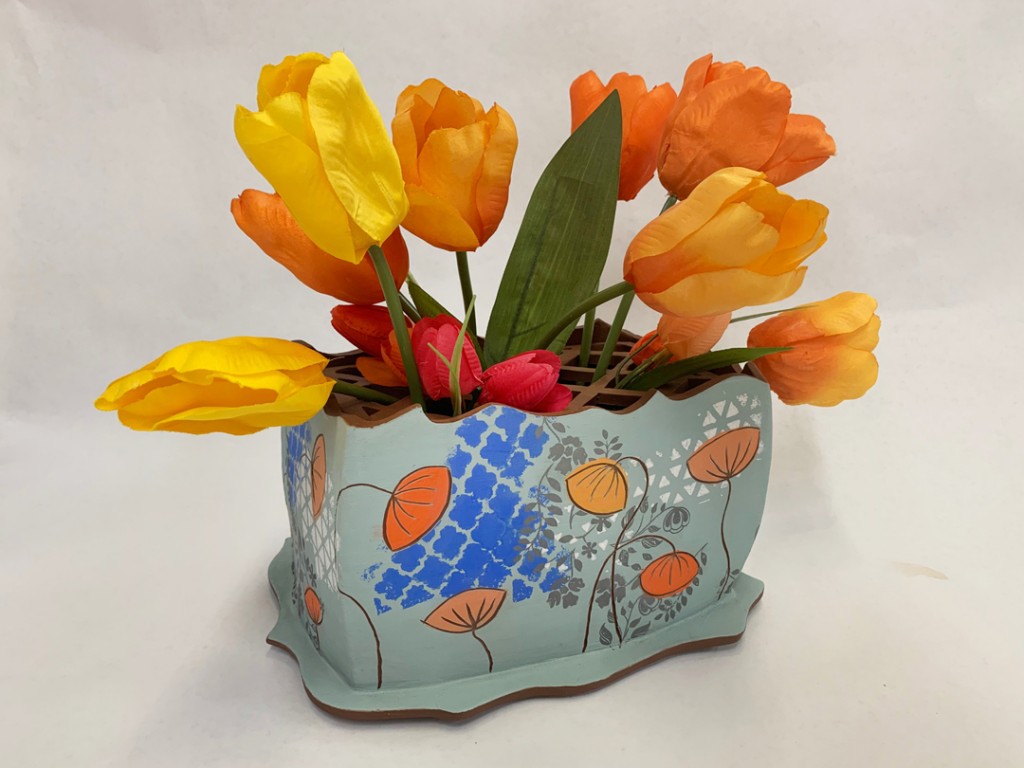
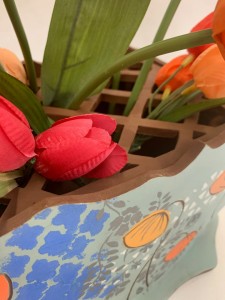
With an amazingly colorful & fanciful patterned flower brick of terra cotta. And quite a few different decorative techniques layered & working together throughout all sides of the vase.
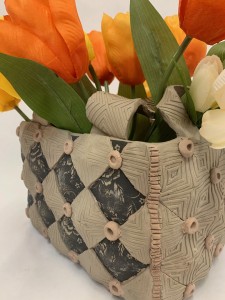
MELANIE
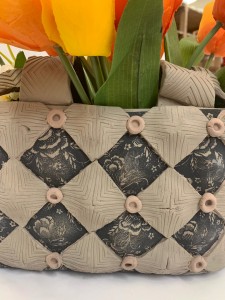
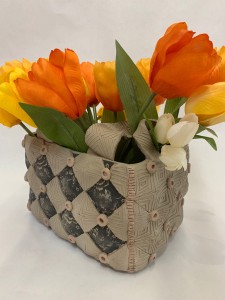
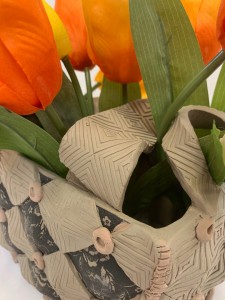
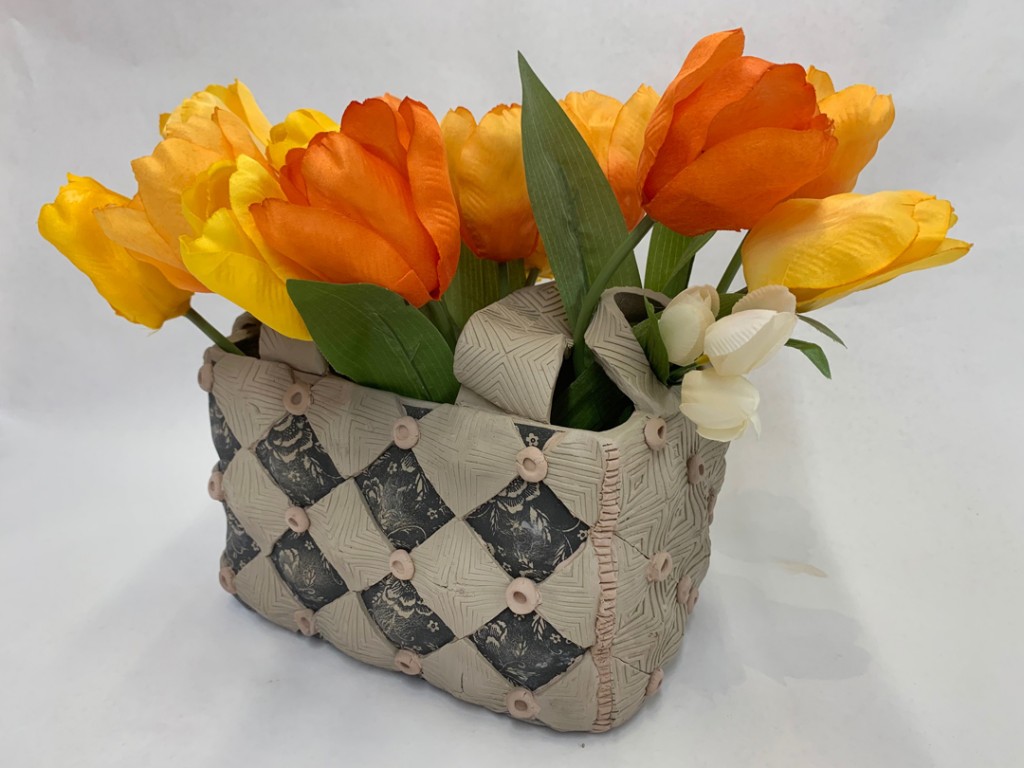
With a “quilted” basket look full of textures & patterns… and underglaze transfers.
Textures “courtesy of” my textured rolling pins from STODOLA!
So there they are… another AMAZING PROJECT that my students just KILLED!!!
This season’s group of Throwdown-ers is amazing!!!
Categories: lillstreet, mosaic

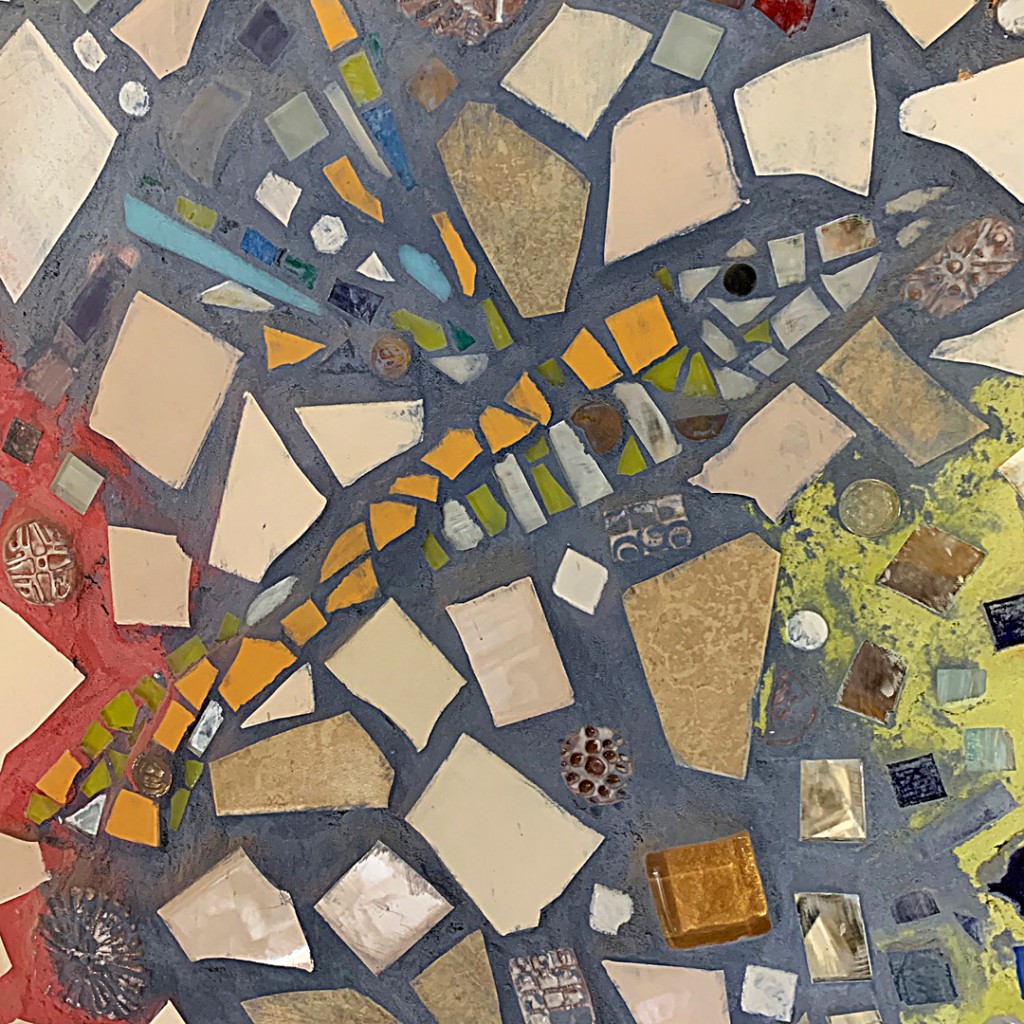
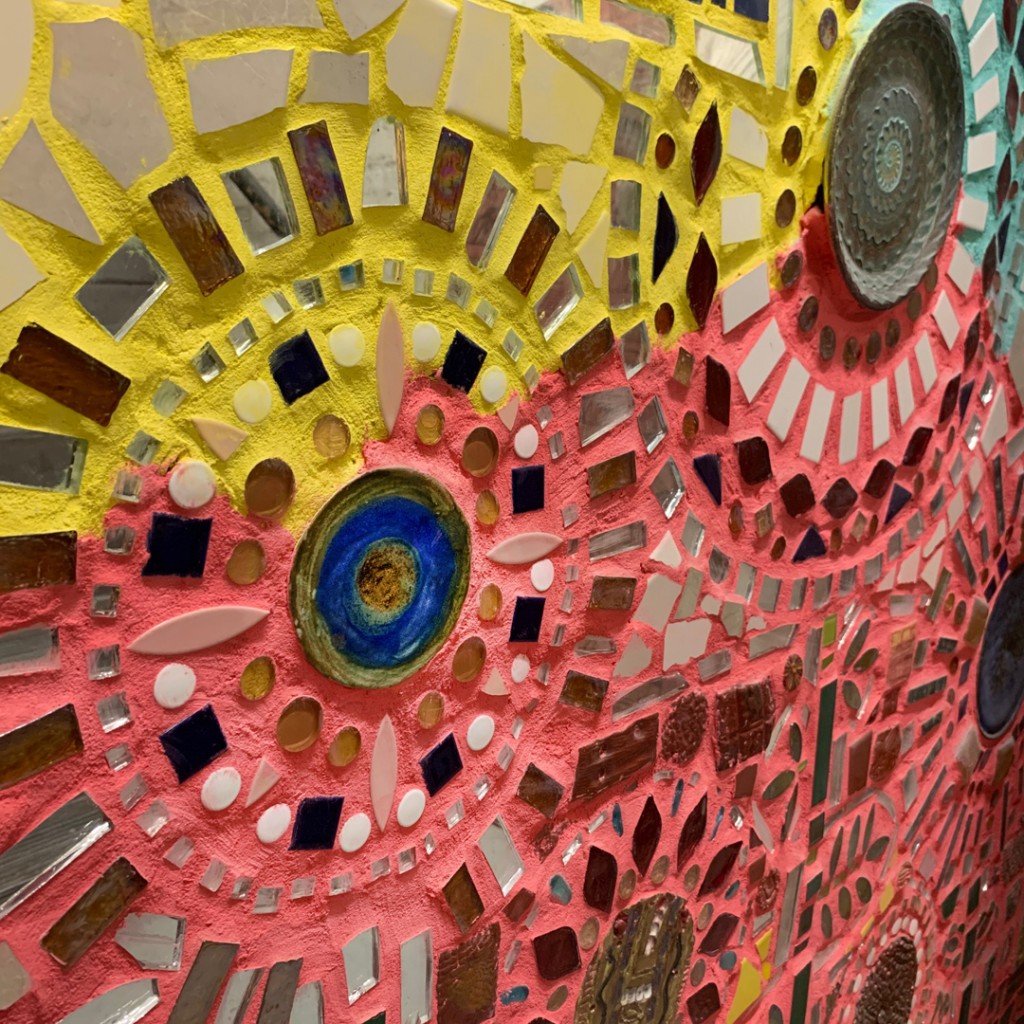
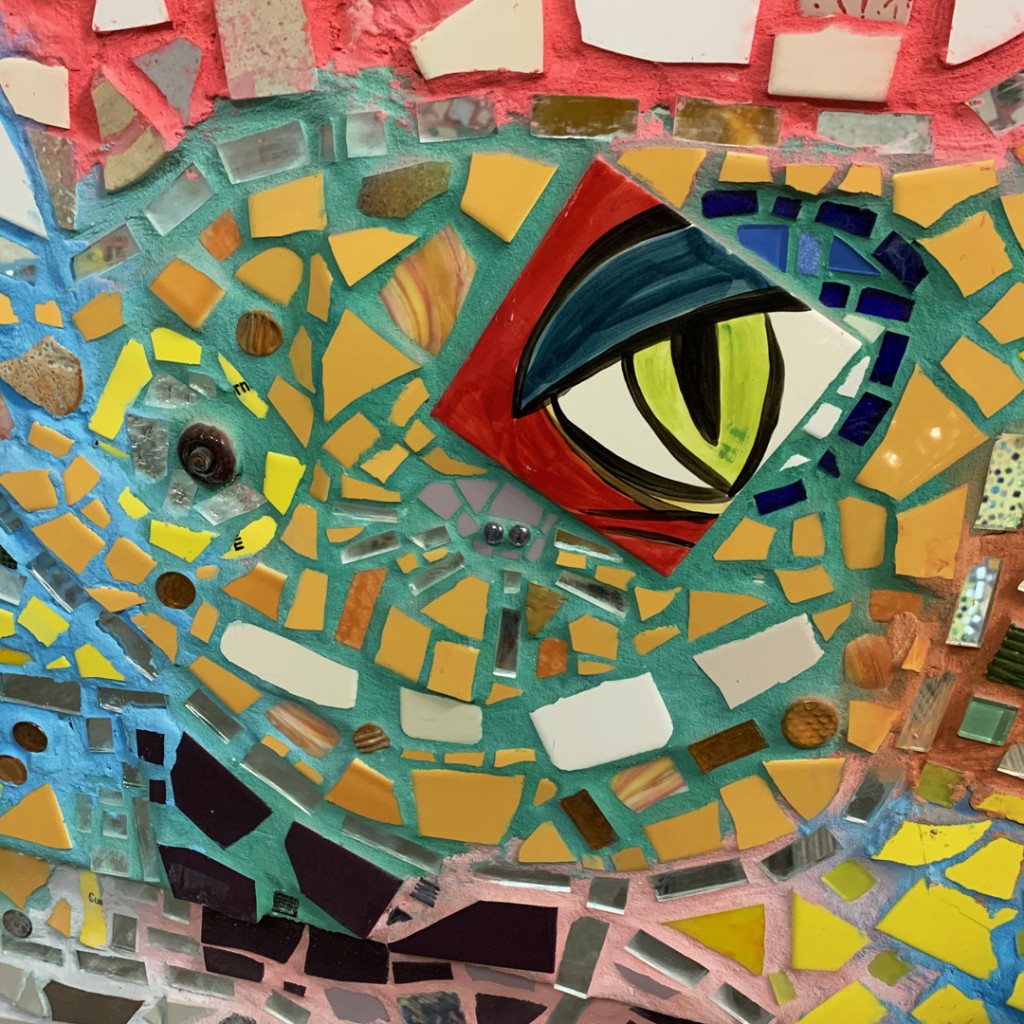
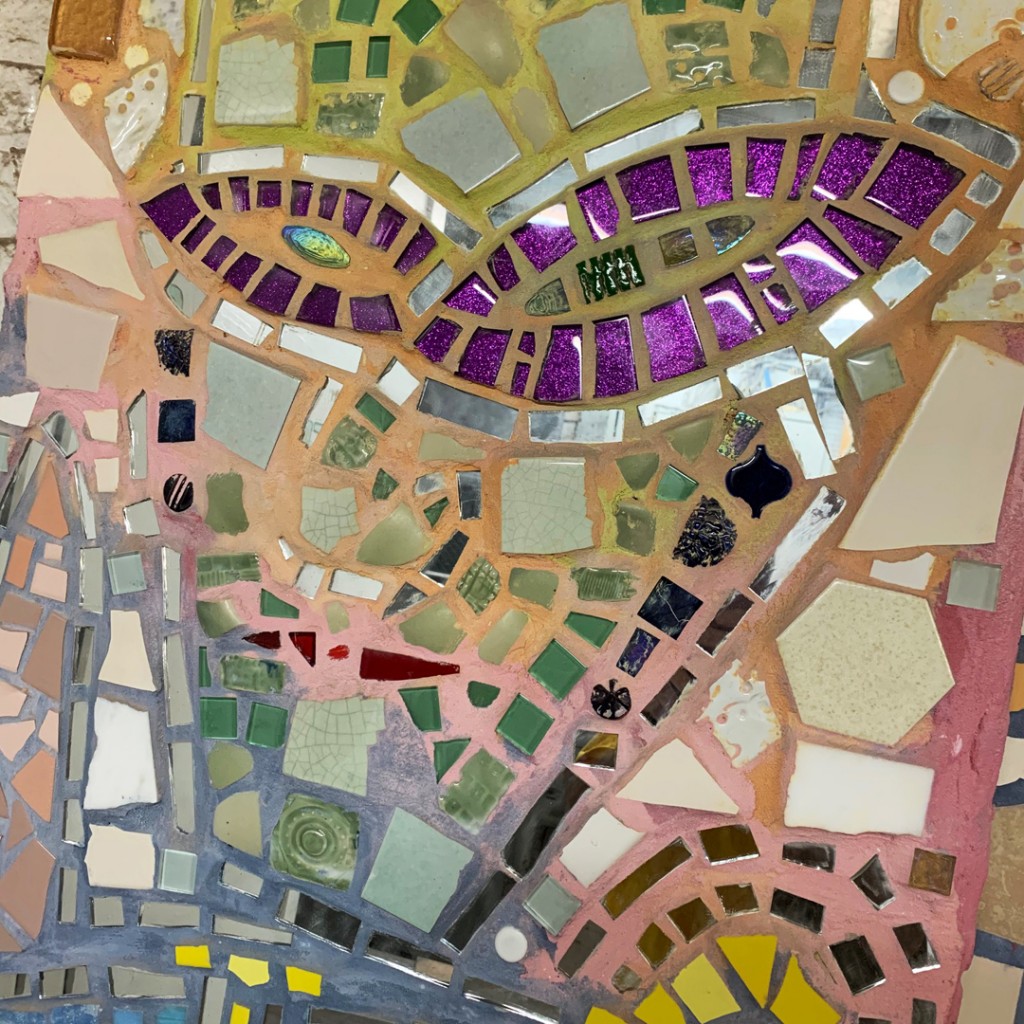
Enjoying a splash of color on a grey & dreary Sunday afternoon
in the back hallway at Lillstreet Art Center.
Thanks to the kids and their colorful grout to brighten up the place!

Categories: process, production, tools

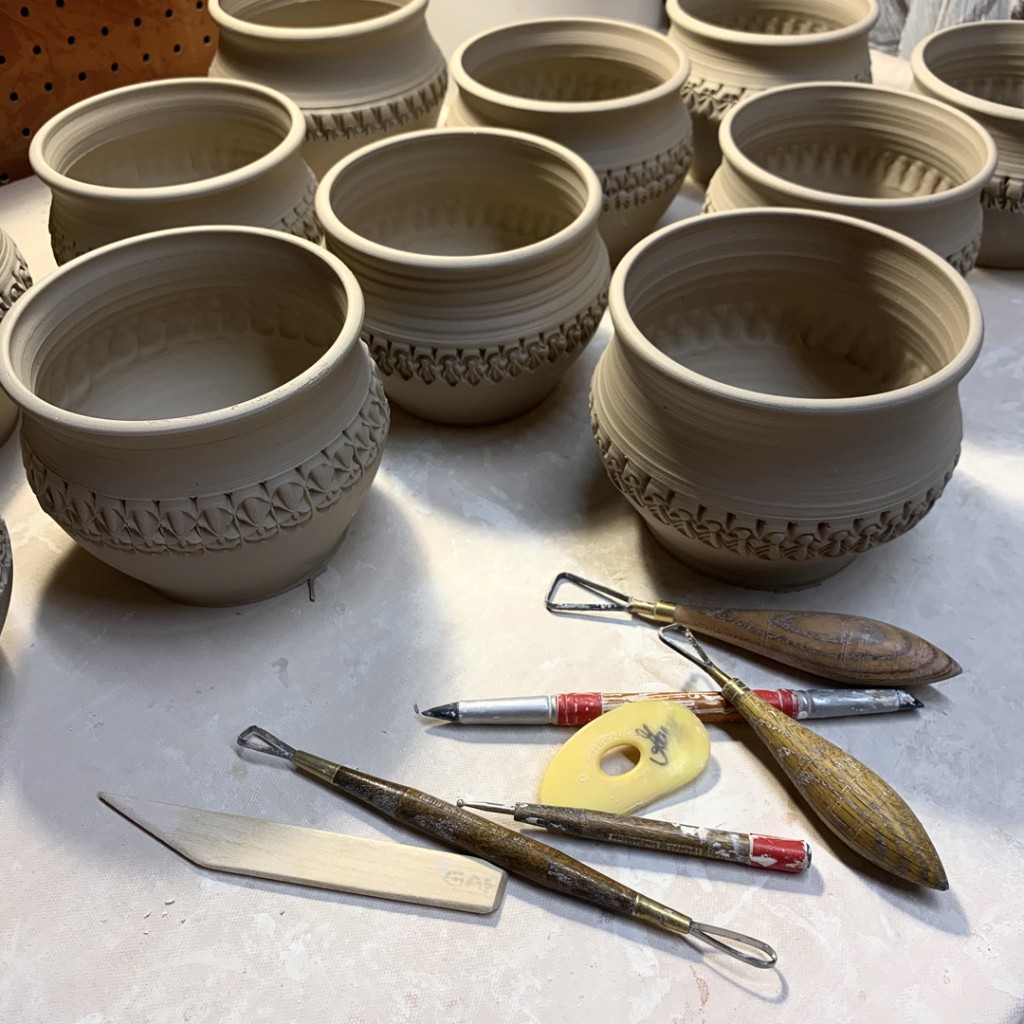
Just setting up for an early morning trimming session.
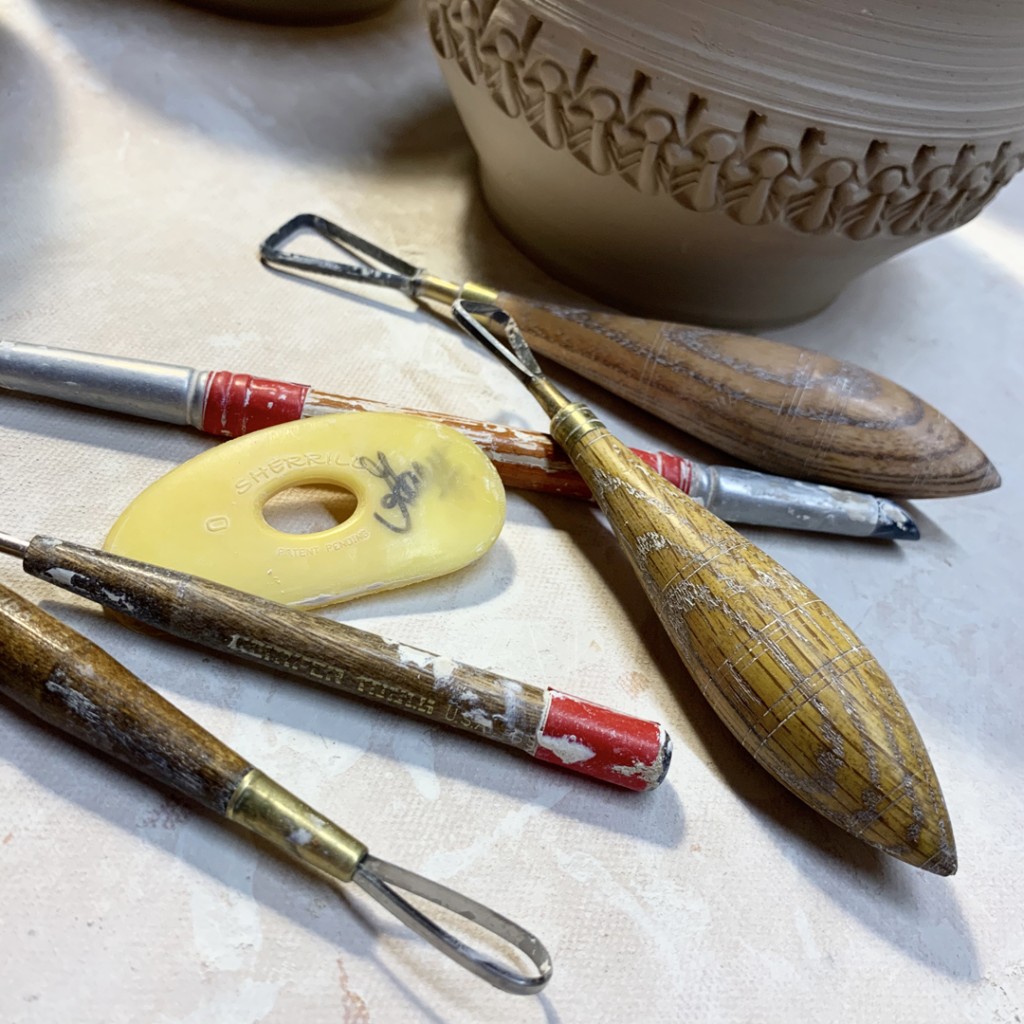
Always better when you ave some great tools to work with… like my Bison Trimming Tools!

Categories: mugs, process, production, stamped, stamps

Last night I finished off the latest batch of mugs with some final accents & detailing with colored flashing slips. So now they’re drying before they go into a bisque kiln… and then glazed… and then into the soda kiln where these flashing slips will change colors as they get hit with the flames & the soda atmosphere!

Categories: classes, process, production

After class last night, I happened to see two of my THROWDOWN students working on feverishly on their homework project in another classroom. I tried my best not to peek… not to see… not to get a glimpse… I tried, really I did... but I LOVED this pile of orange masking tape that Jacob was using to help with his detailed underglaze applications. Okay, I will say this… from what I “didn’t see”… these two projects are going to be AMAZING!!!

Can’t wait to see them “finished” tomorrow night in class!
Because I didn’t see them yet… much… maybe… okay, just a little… how could I not?…

Categories: bowls, classes

Okay, so I’ve been trying my best to follow the new “standardized & mandated” syllabus for all Beginning & Advanced Beginning Classes at Lillstreet. So we did the demo for throwing a taller cylinder as listed.

And then we were also supposed to introduce colored slip as a decorative technique.
Maybe the assumption was that we would slip paint the demo cylinder???…
but I think it makes a lot more sense to demo some fun, quick tricks inside bowls.
But with bowls now being the Week One demo… I guess my big “Bowls On Purpose” and multiple rims & decorative techniques demo doesn’t quite fit the new syllabus???!

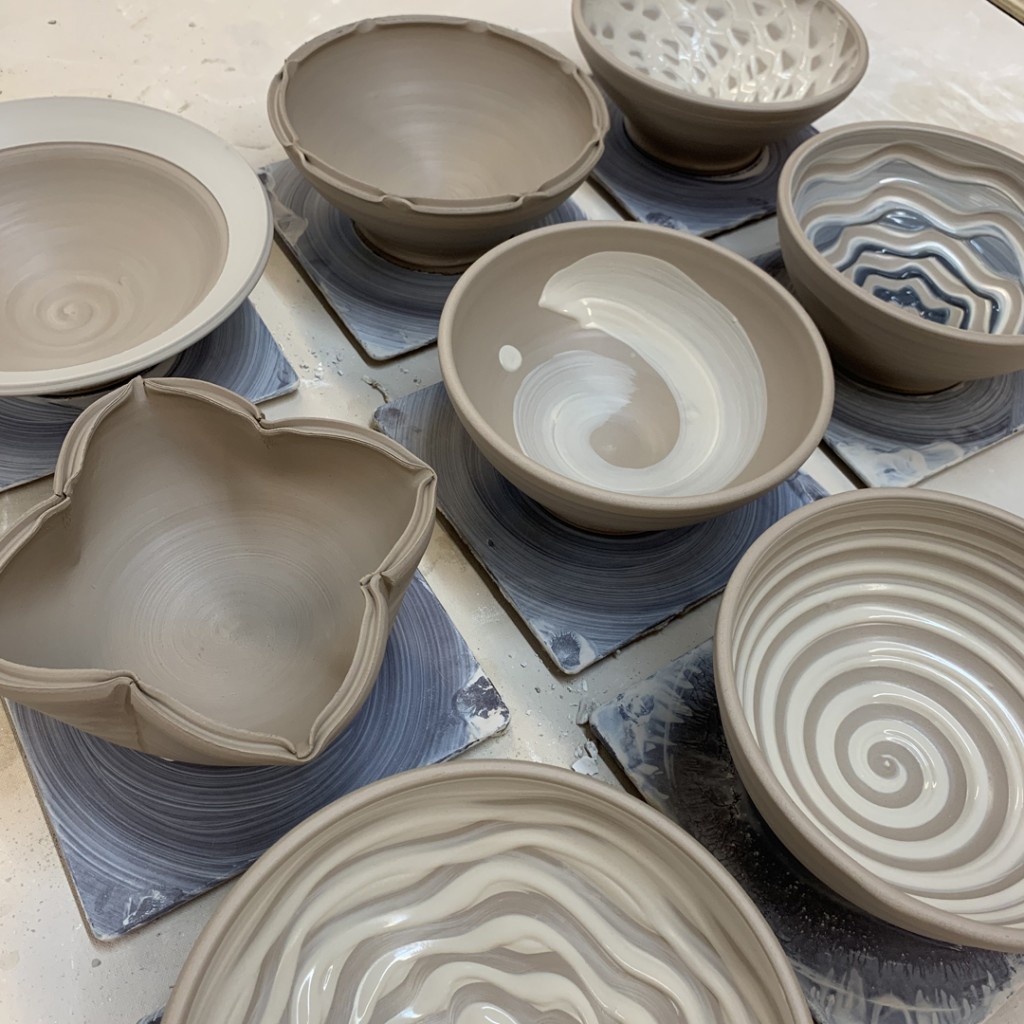
So I scaled it back a bit… only eight bowls with some slip techniques as “mandated”…
and a couple rim techniques as requested by my students! Which is a shame, because I’ve always thought that demo was one of my best ever… and my students were always WOW’ed by it!!! Hope they liked the shorter, smaller, scaled back version too?!
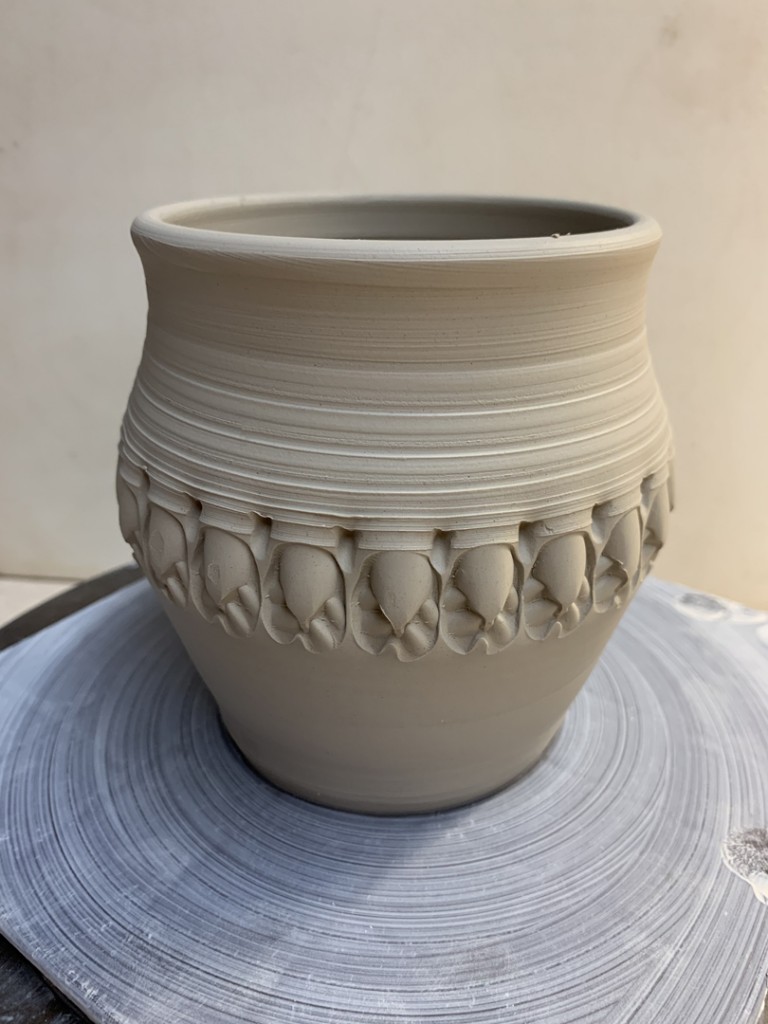
Bowl A – A simple flared flange rim.. with a thin layer of white slip.

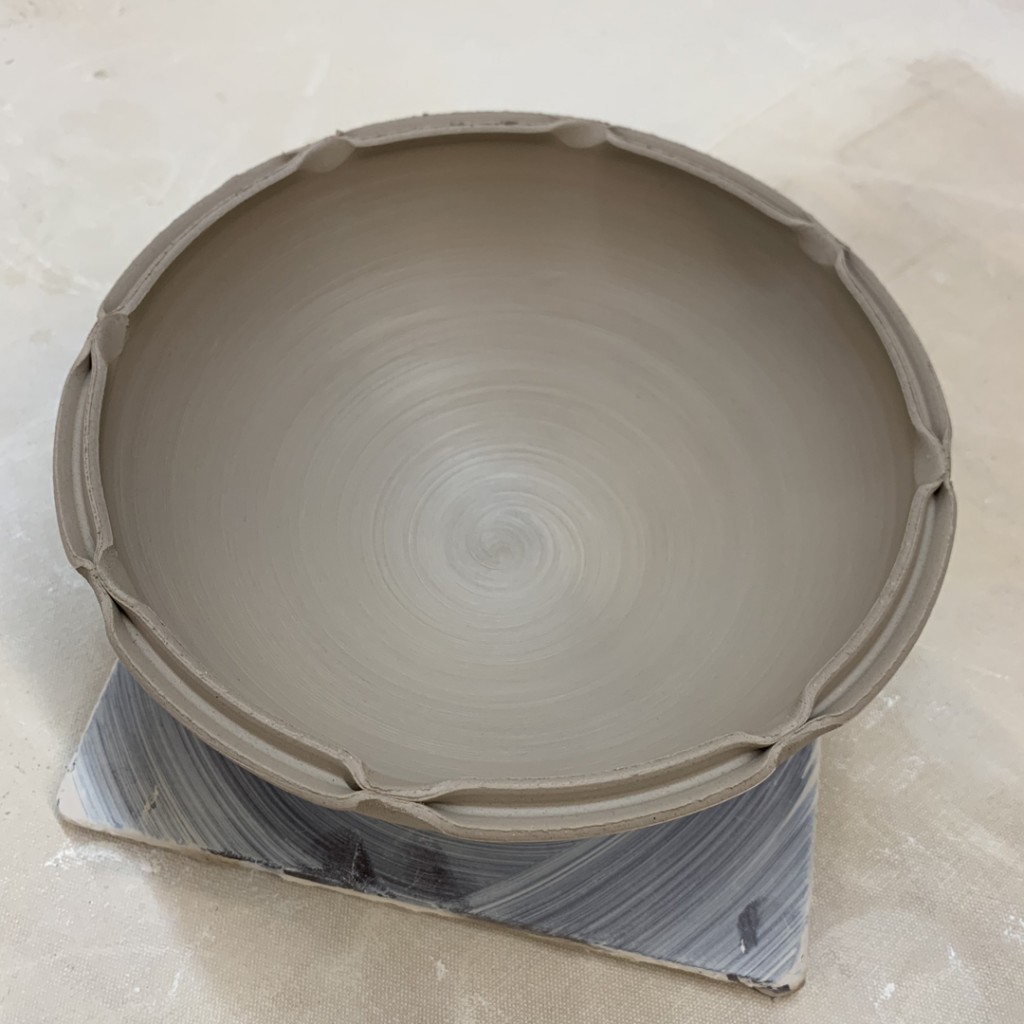
And then there were a couple requests from students who have seen “the full” bowl demo before… and they asked if I could do the split rim bowls again.

And who am I to say “NO”?… even if it’s NOT on the “standardized syllabus?

Bowl B – Ashley’s requested split rim bowl with some quick pinches back together!

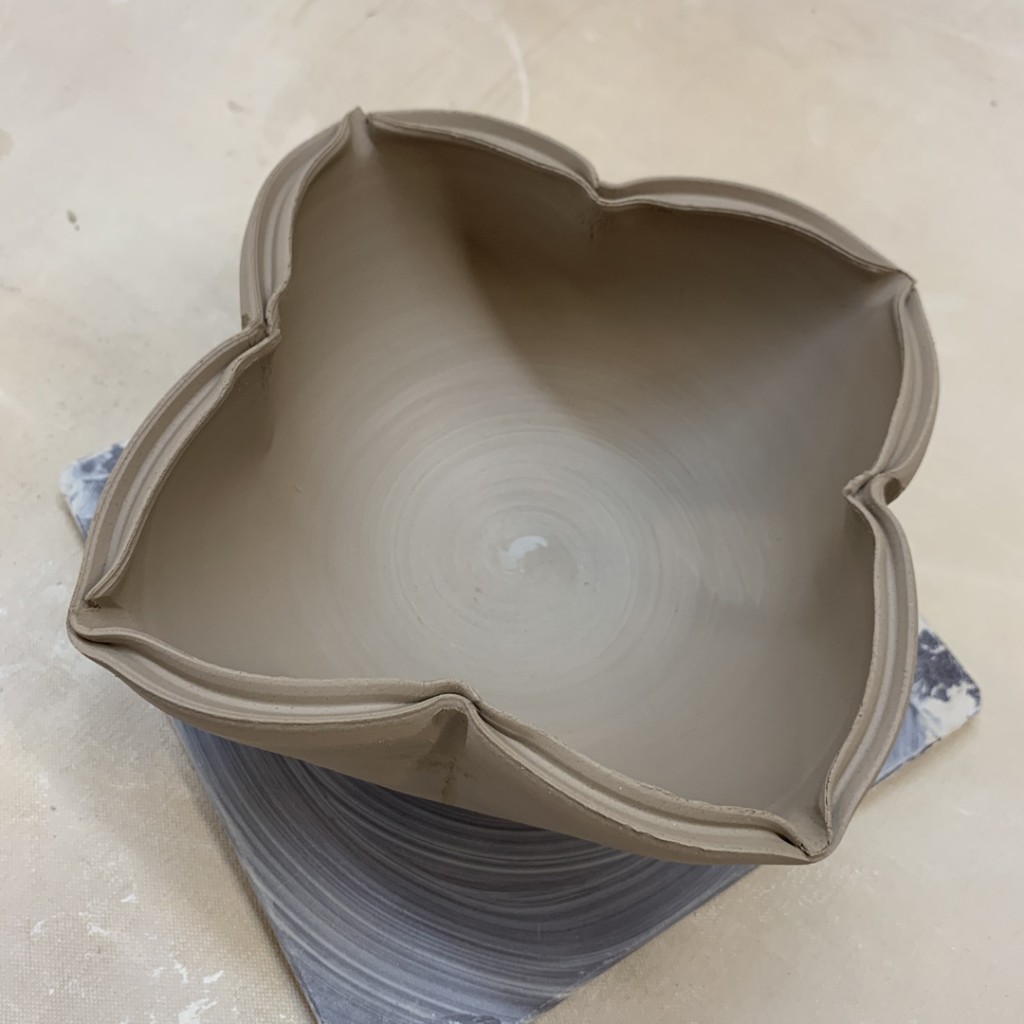
Bowl C – Another split rim fluted in and flared out…
kind of a lotus “squared off” bowl as requested by Michelle.

So then I got back on track… and back to the slip demo as “prescribed” by the syllabus..

Bowl D – I was going to paint on a full layer of white slip on the interior… but once I put that one first paintbrush swoosh…. we all kinda liked it and decided we should leave it there! So NOT my normal style, but they all voted to keep it this way! Especially because of that one “perfect” round drop!

Bowl E – This time I did fill the interior with thick white slip,a nd then dragged the rounded end of my wooden knife through the slip as the wheel was spinning… ‘cuz everyone loves a good spiral.

Bowl F – Another bowl covered with a layer of thick white slip…
and then squiggled & wiggled through with my fingertip!

Bowl G – After a layer of thick white slip again, I used a rounded rubber rib for some rhythmic chattering trough as the bowl was spinning.

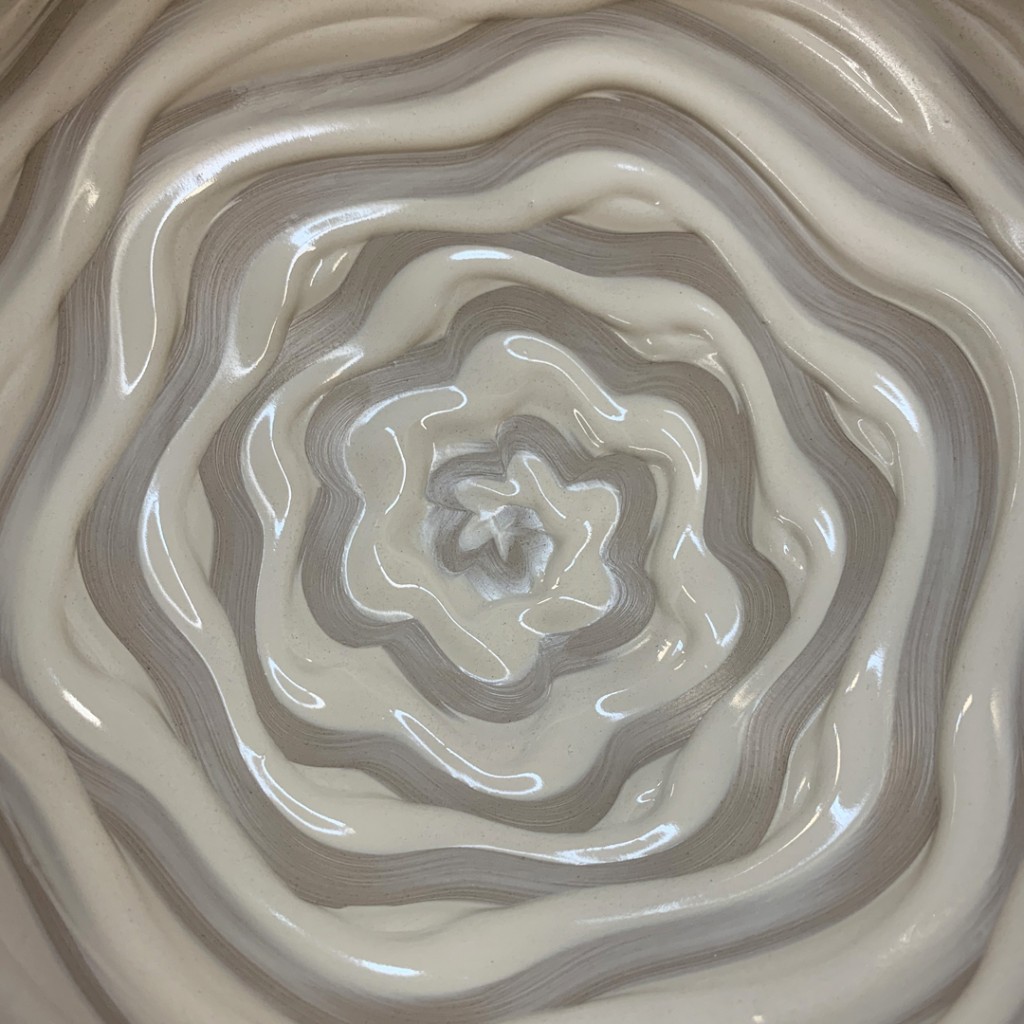
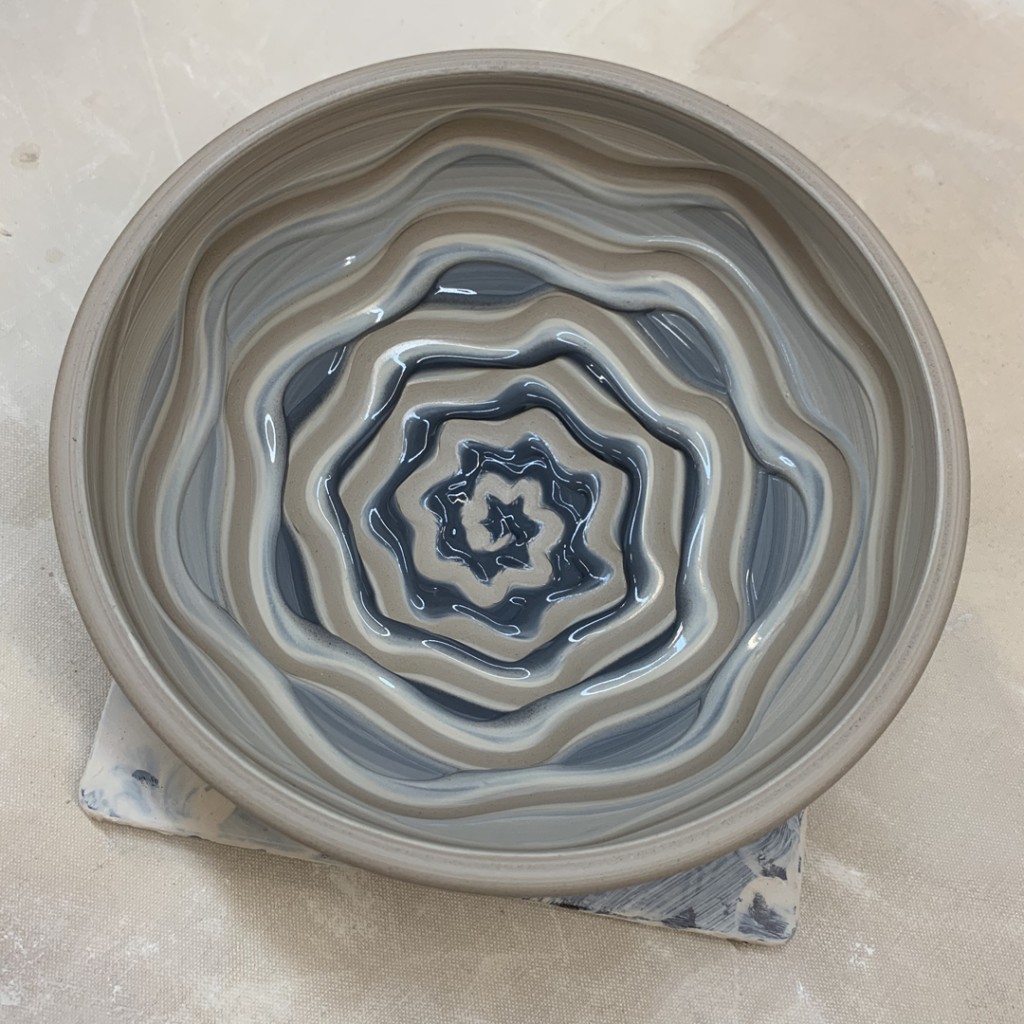
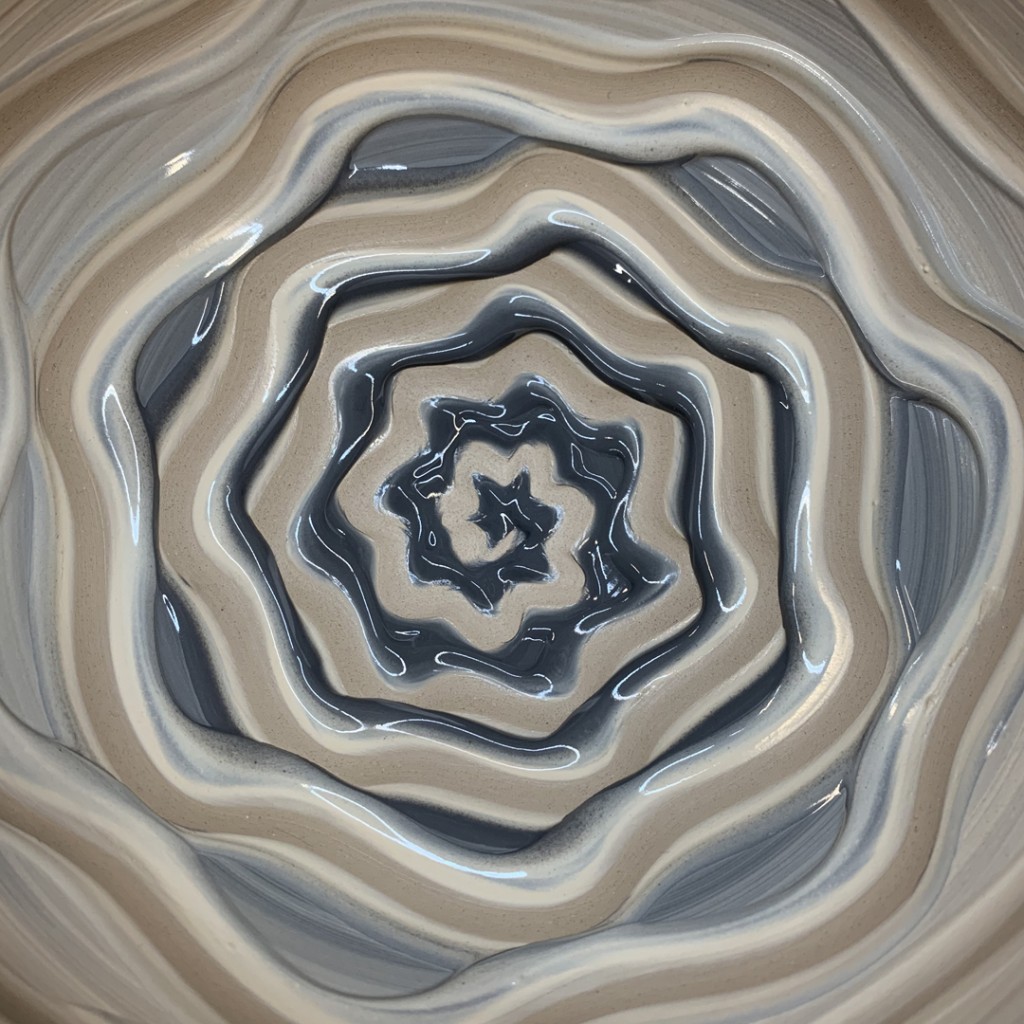
Bowl H – Another student request… “Can you mix or blend two colors?”… so we did!
A nice ombre blend of white to black… and then a squiggle spiral through it.

After class I brought them all up to my studio and put them under plastic. I want to keep them soft… because there may just be a little stamping & detailing to be done to them still before trimming. Maybe?… Hypothetically?…


Categories: mugs, process, production

Celebrating another Mugshot Monday by making another batch of MUGS!!!
All assembled tonight… for tomorrow they’ll get some colored flashing slip accents painted on!

Categories: mugs, process, production

Pulling handles… and loving the shadows!!!

Categories: mugs, process, production, stamped, stamps, textures

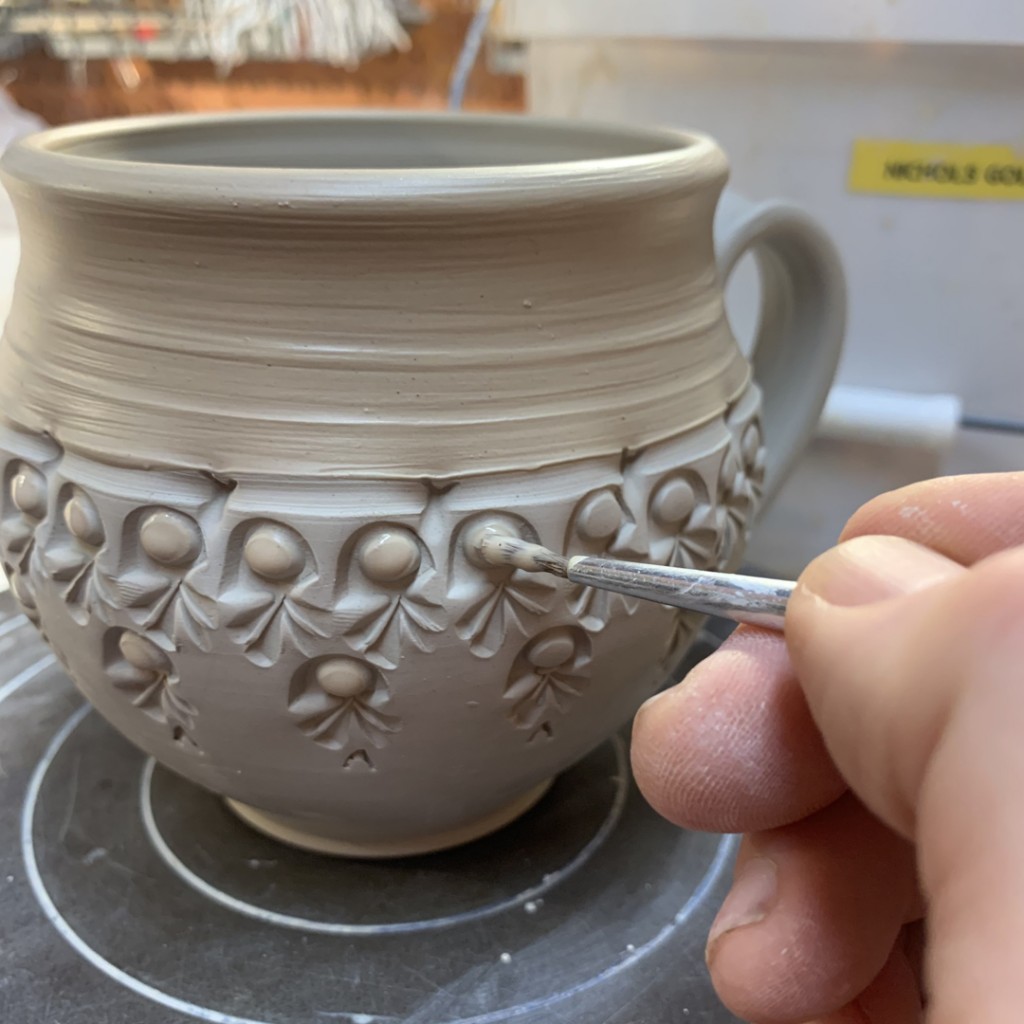
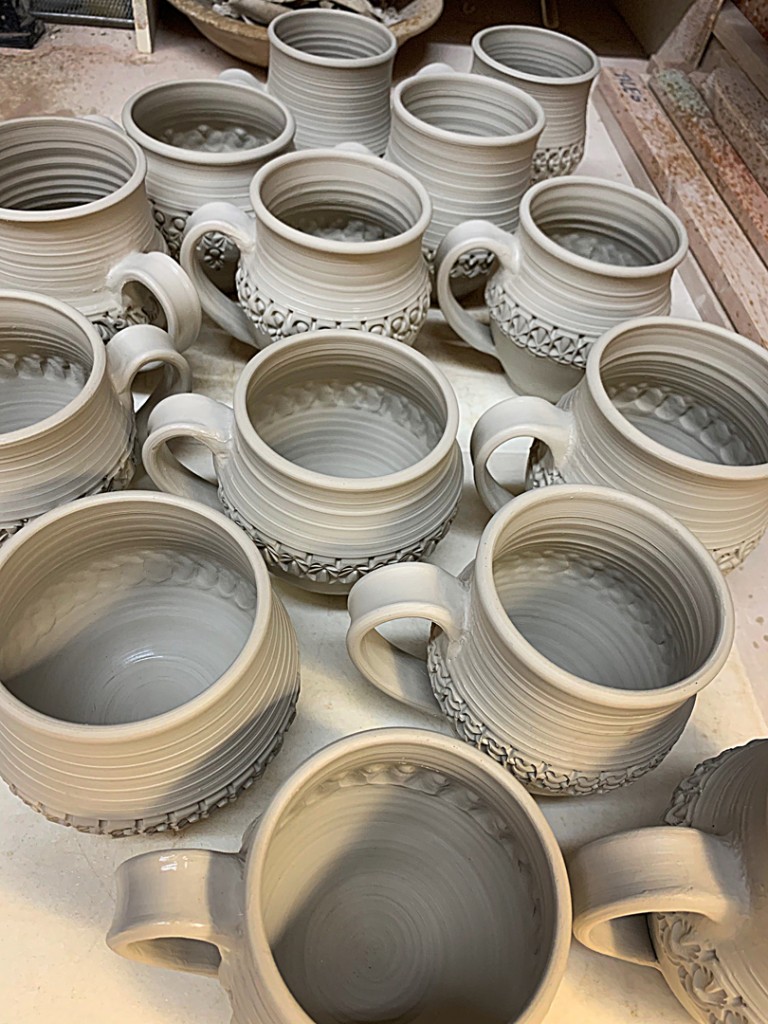
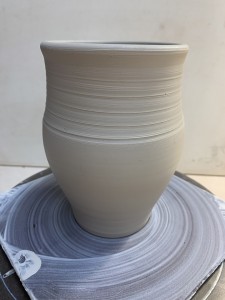
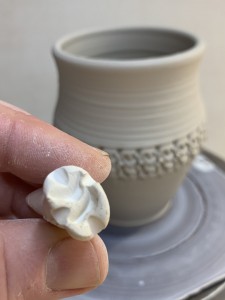
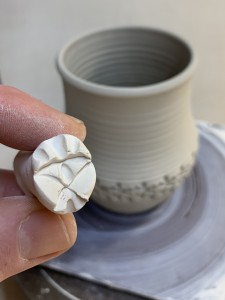
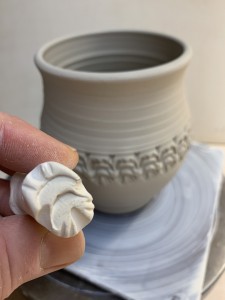
So I spent part of the day today stamping my latest batch of cylinders destined to become MUGS!!! You know they’re my favorite thing to make… and my “default” if I don’t have a real plan going into the studio! So it was a good day… lots of stamping… lots of patterns… lots of FUN!!!

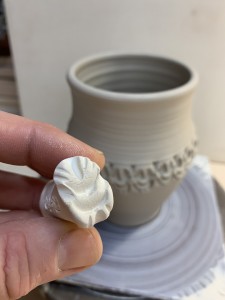
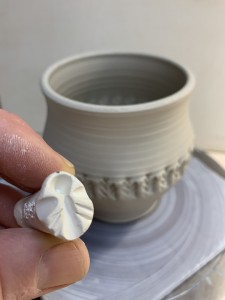
And making it a little “extra” fun… these are the first cylinders that I’ve stamped using the new batch of stamps I made a couple weeks ago! It’s always fun to see what patterns they actually make after bisque firing… both as single stamps, as well as in multiple repetitions!

Mug A

Mug B

Mug C

Mug D

Mug E

Mug F

Mug G

Mug H

Mug I

Mug J

Mug K

Mug L

Mug K

And for now they’re all under wraps for the night. I hope to get them trimmed tomorrow… and quite possible get some handles on them too!!!

Categories: pottery, television, YouTube

So it was Week Four in The Middleport Pottery…
this time tackling slip casting & a wonderful wheelthrowing challenge that none of them saw coming! Another great episode on THE GREAT POTTERY THROW DOWN.

Click here to watch episode four on YouTube!

And here’s a “hint” of what they didn’t see coming…
always a fun game to play with my students both adults & kids at camp!!!