Gary Jackson: Fire When Ready Pottery
A Chicago potter’s somewhat slanted view of clay & play
Categories: classes, pottery, soda-fired

After the “eventful” firing day Saturday…
and a full cooling day yesterday, it was time to come back and unload the soda kiln with my workshop participants. I stopped in on Sunday to help speed-along the cooling process, as well as early Monday morning pulling a few bricks off the top row.

When the class showed up, we started taking off the kiln door brick. It’s always fun to see the “treasures” inside kind of reveal themselves layer by layer!

Eventually the entire door was off… and they could all see their newly soda-fired pots!!!

We unloaded the kiln, took all of their pots into the classroom while we cleaned the kiln, scraped the shelves and re-kiln washed the shelves. Once all of the busy-work was done, we could enjoy our potluck… and admire our new pots!!!

Cassie’s pots…

Kate’s pots…

Martin’s pots…

Christi’s pots…

Dan’s pots…

Charles’ pots…

Jacob’s pots…

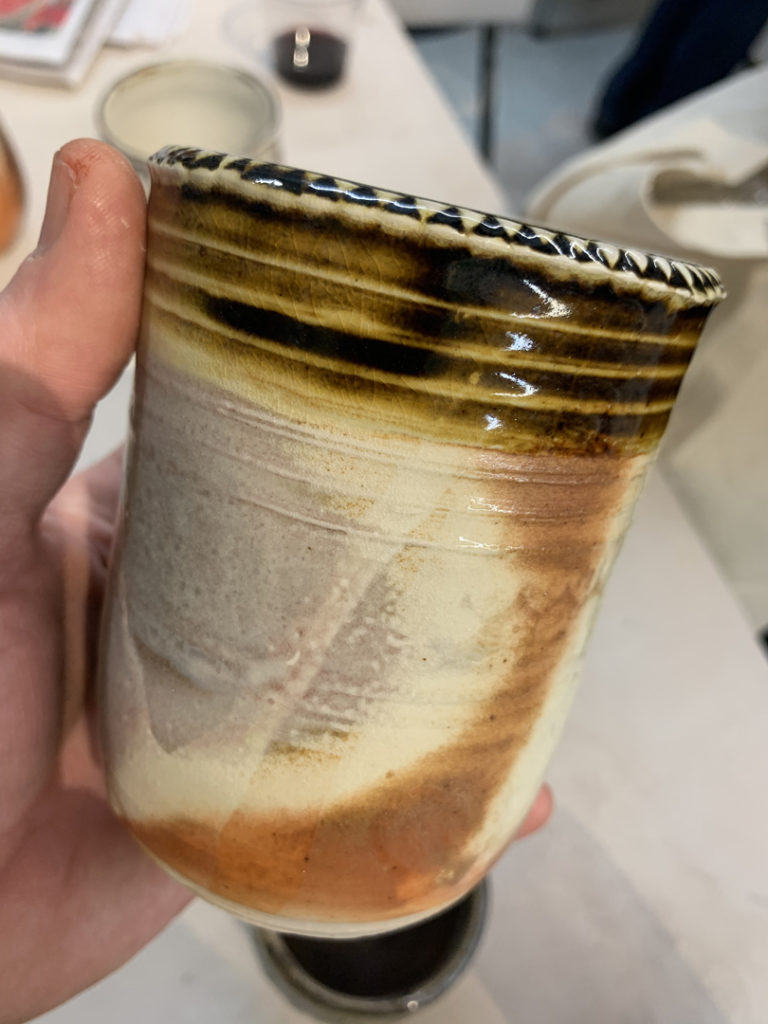
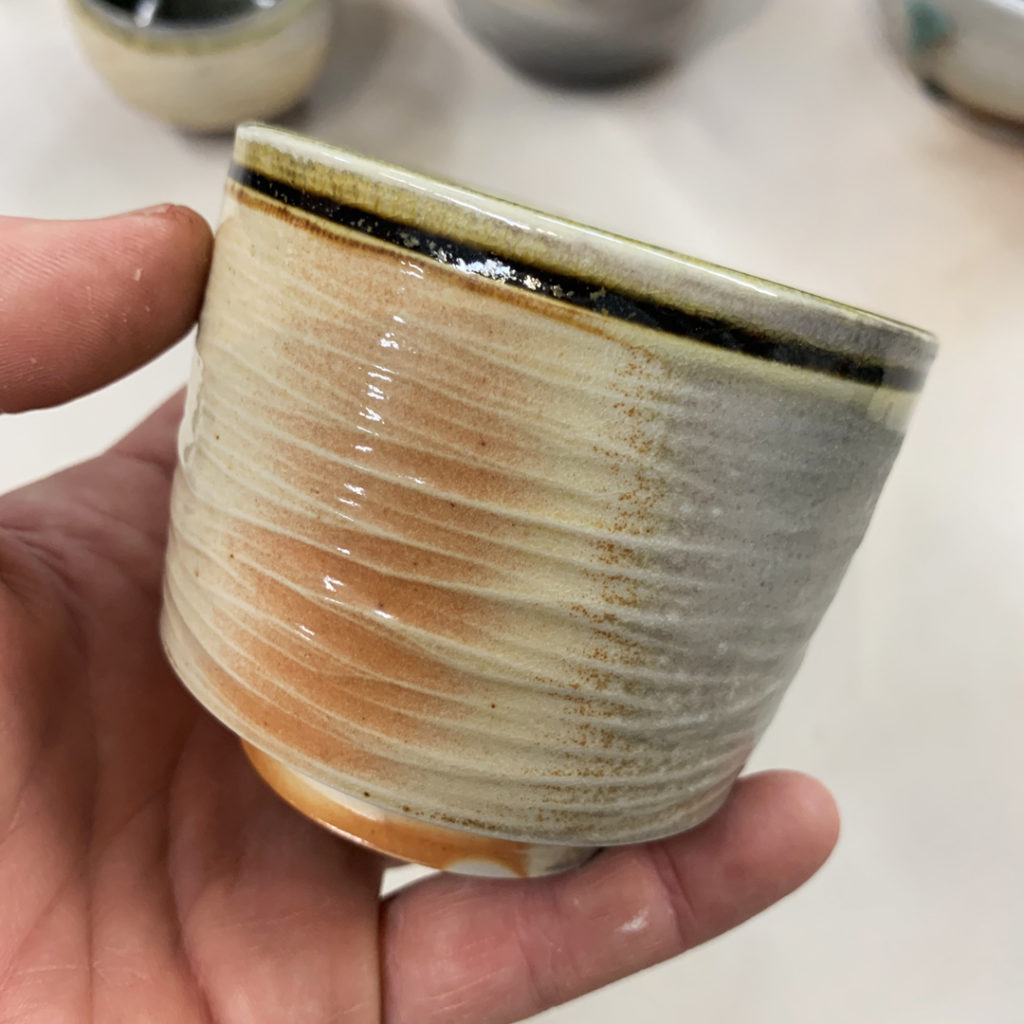
And a couple of my mugs… as a little kiln filler along the way!

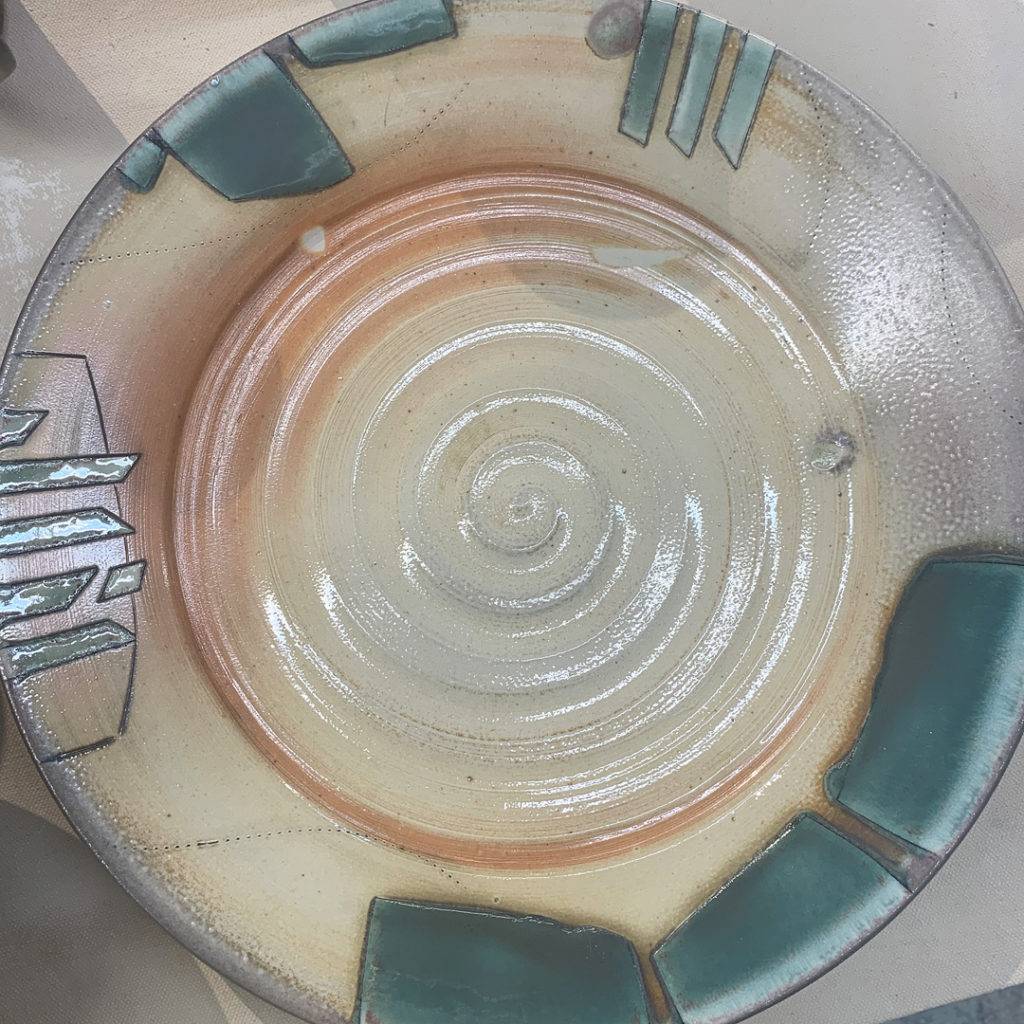
All in all, a great firing. Even with the crazy firing “issues’ we had, the work still came out nice. Good amount of soda, lots of flashing, nothing too crazy!!!

I think all-in-all, everyone had a great time in the Soda Workshop. I know three days are not really enough time to “learn” everything about soda-firing… but it was at least a good primer for them. Kind of a quick glance to see if they “like” soda-firing or not… before the addiction truly begins!

Categories: architecture, theater

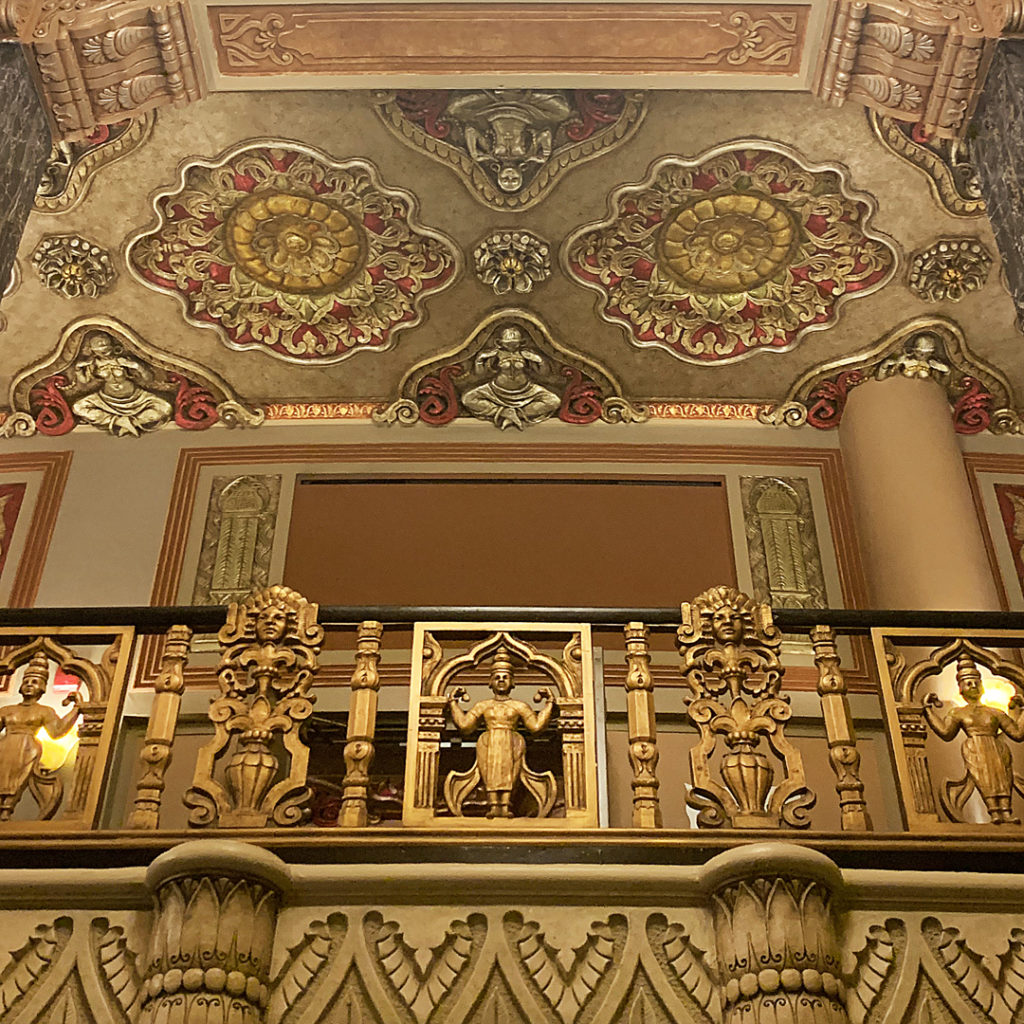
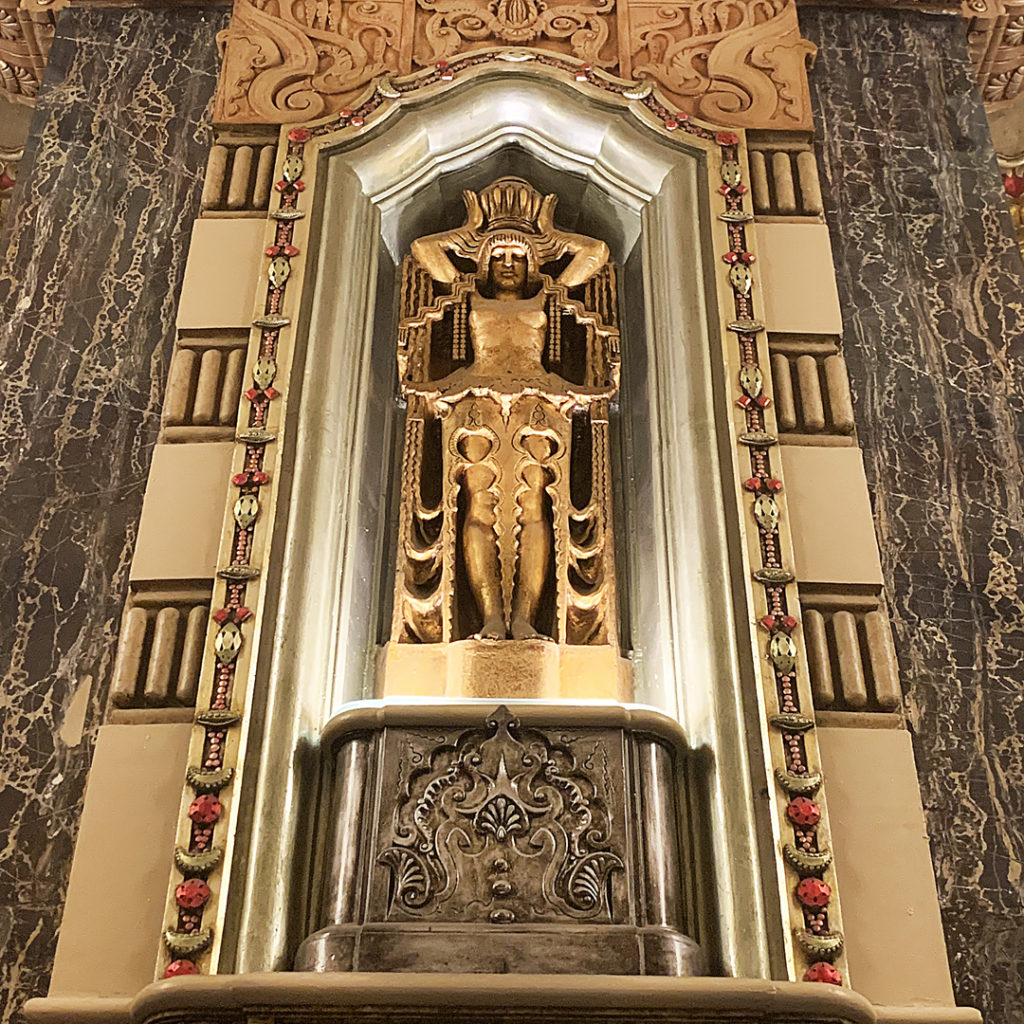
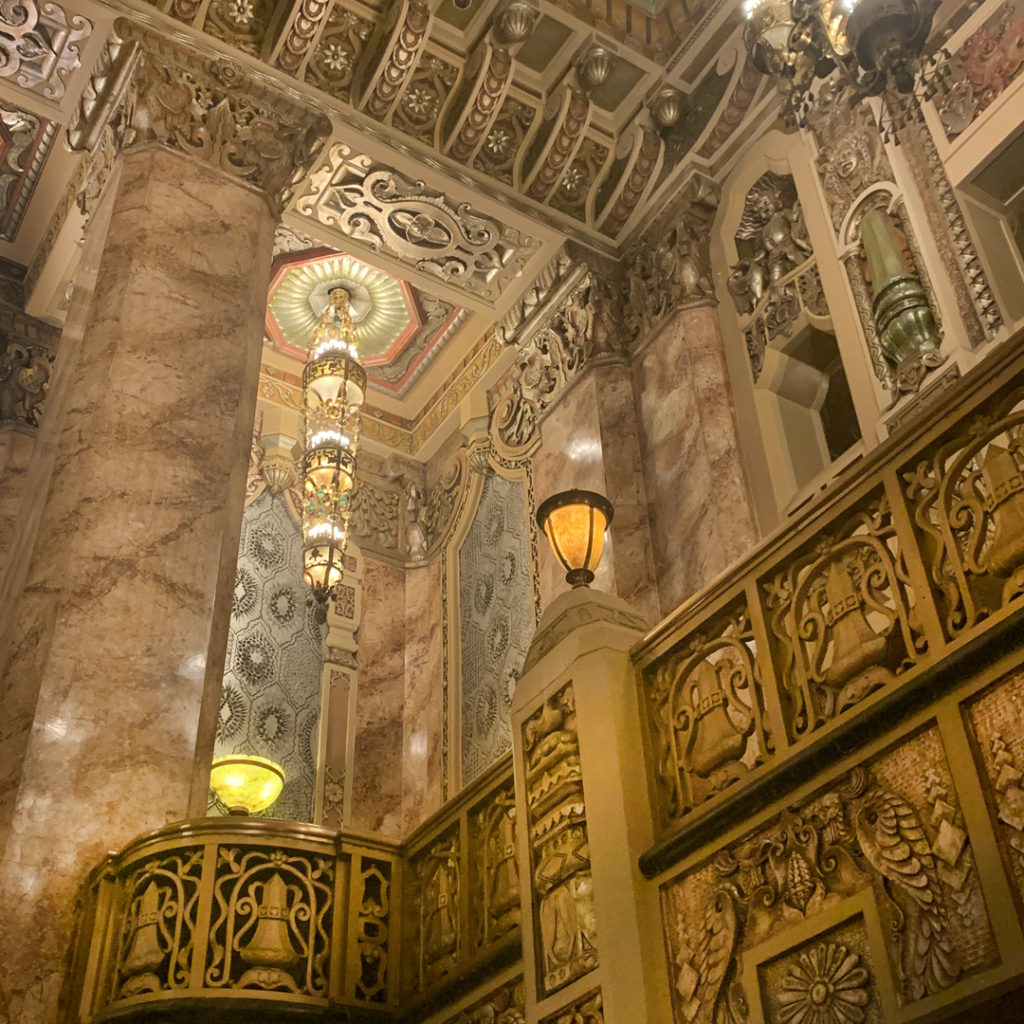
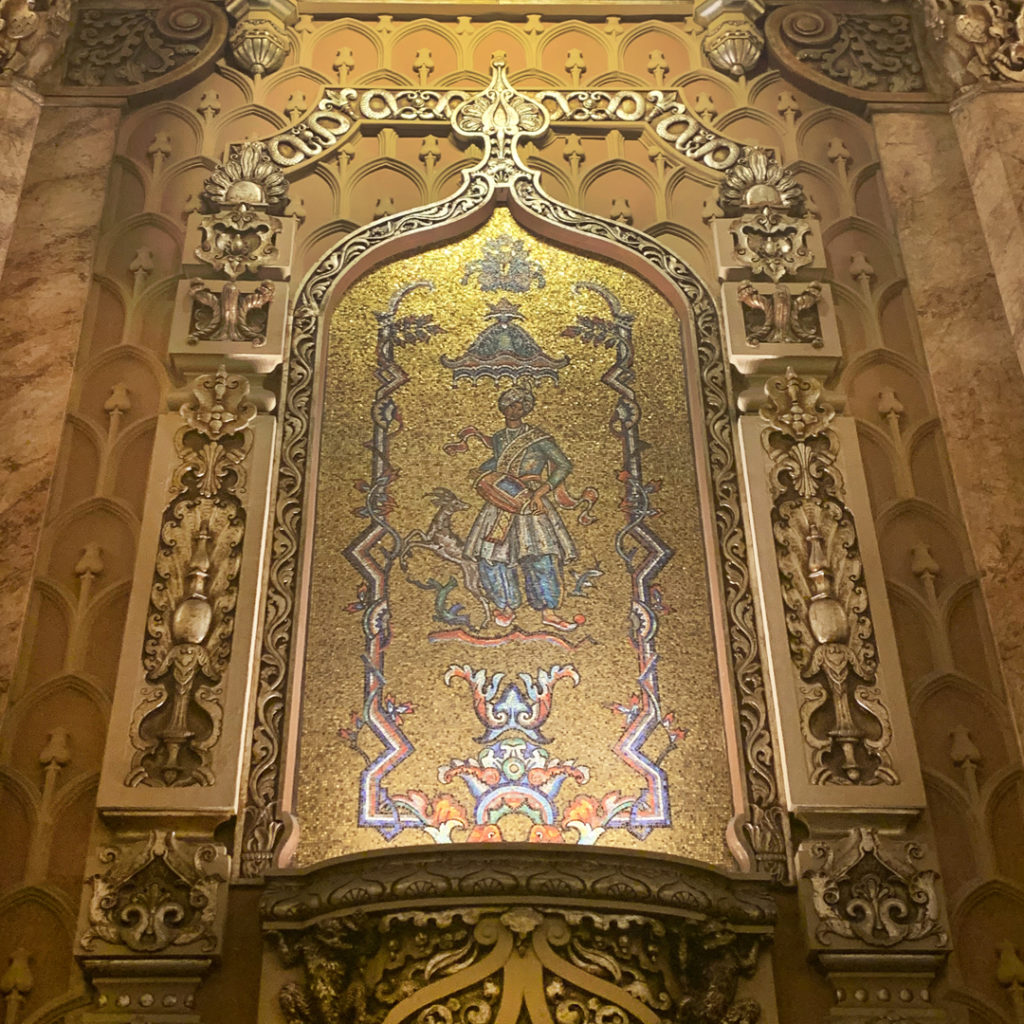
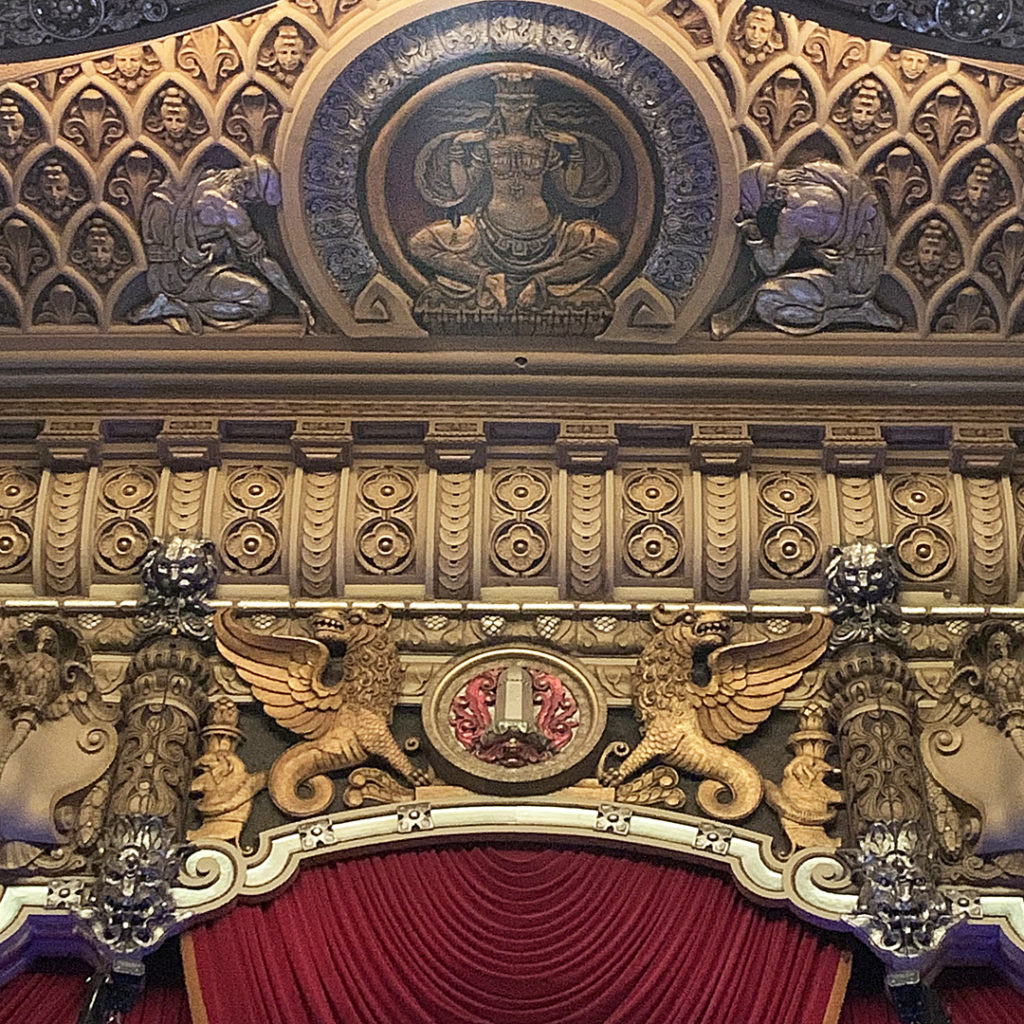
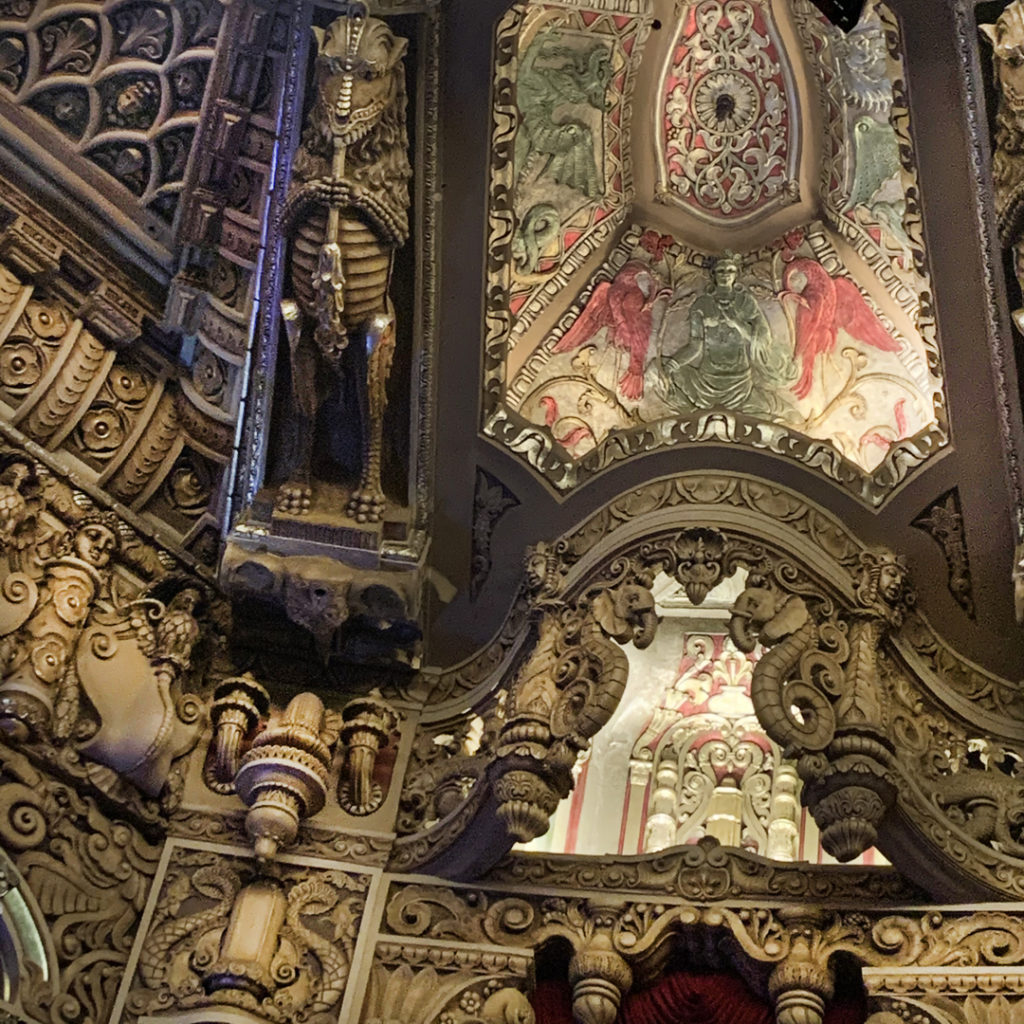
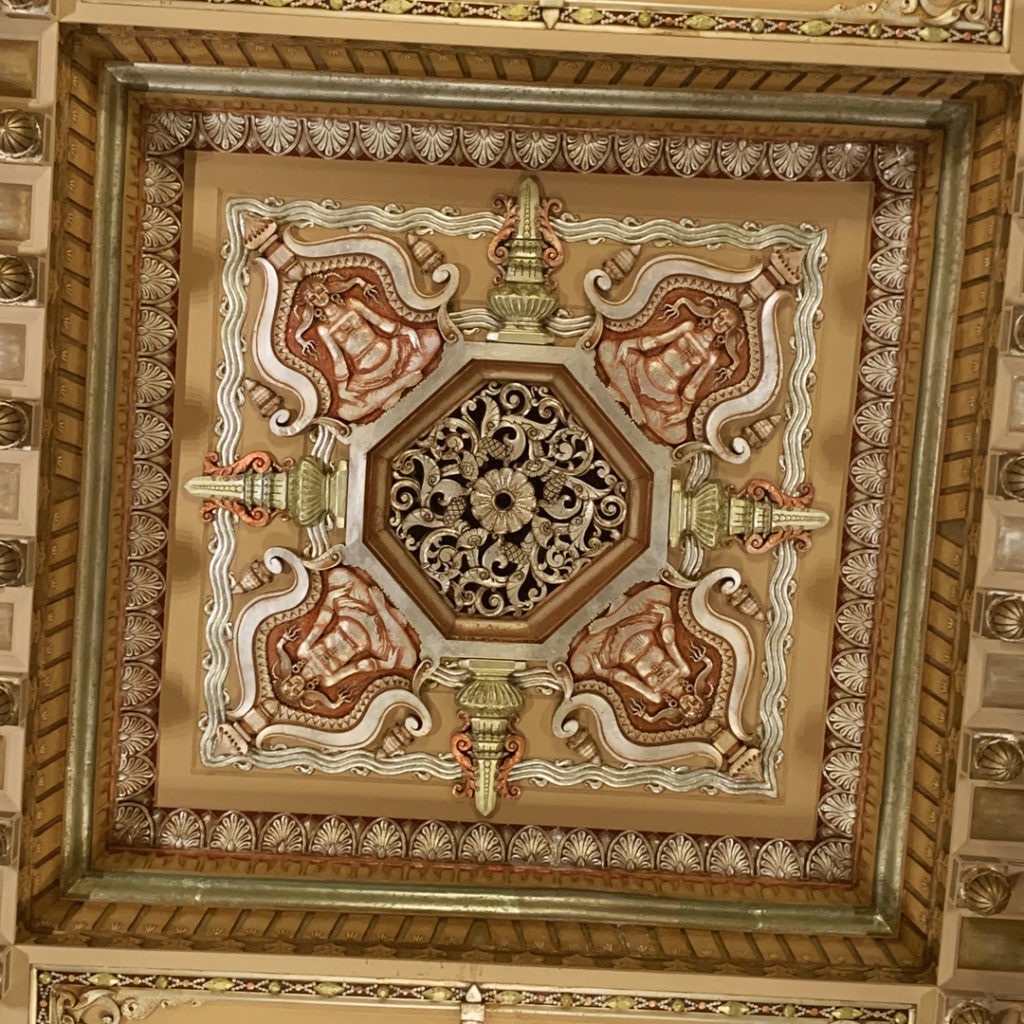
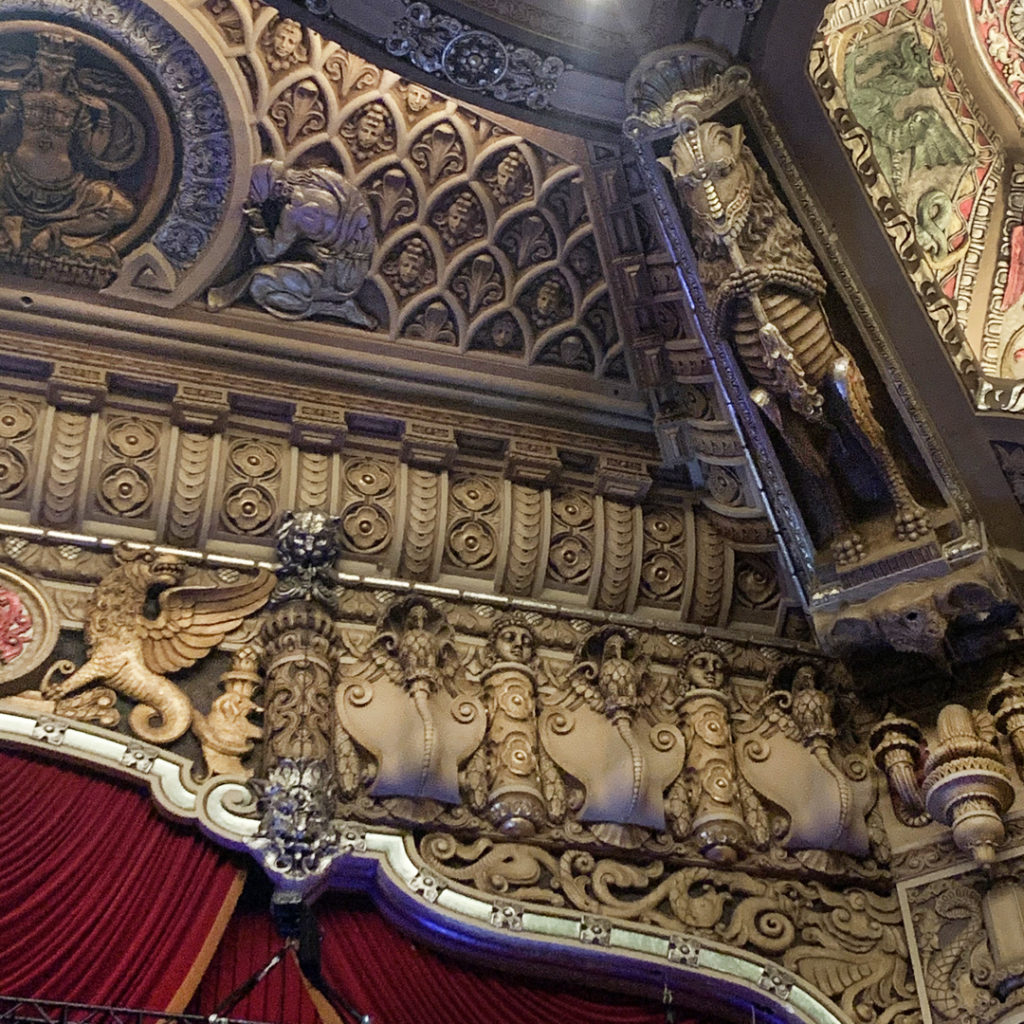
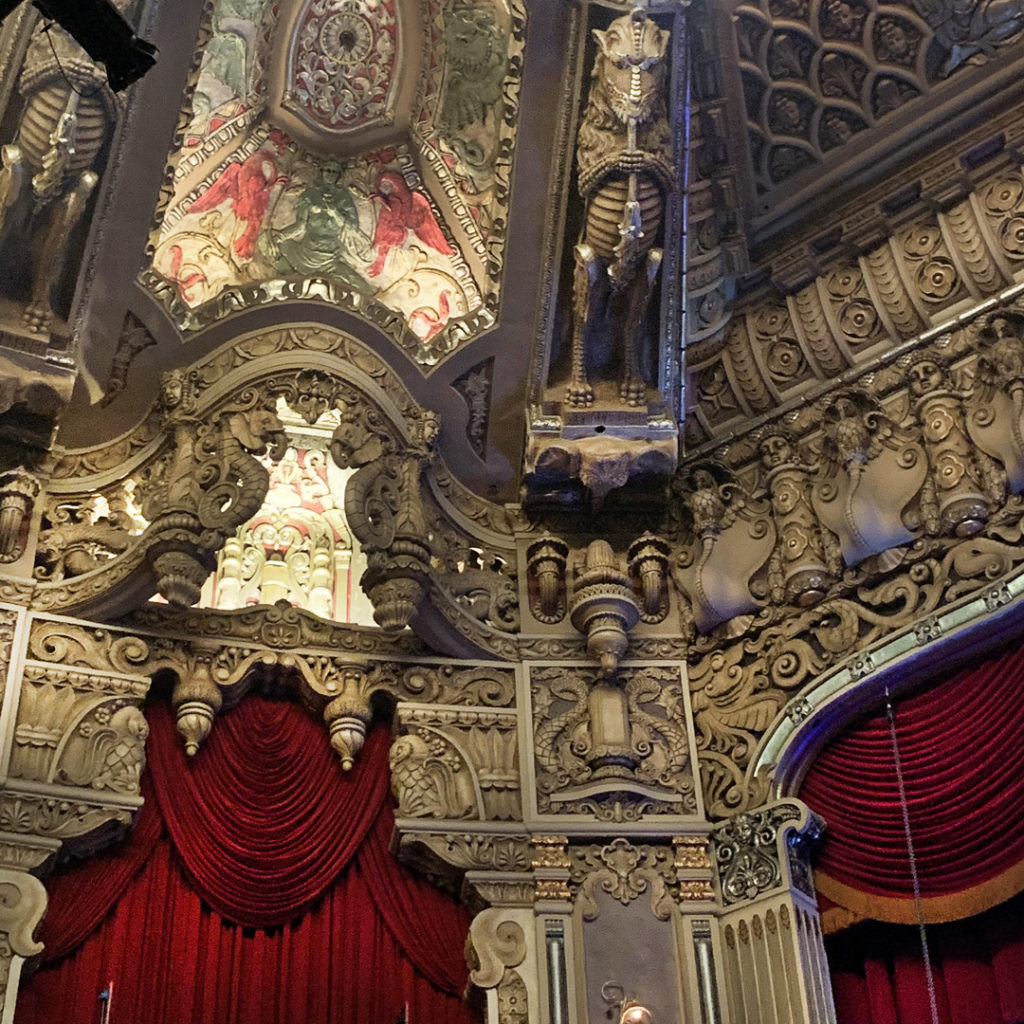
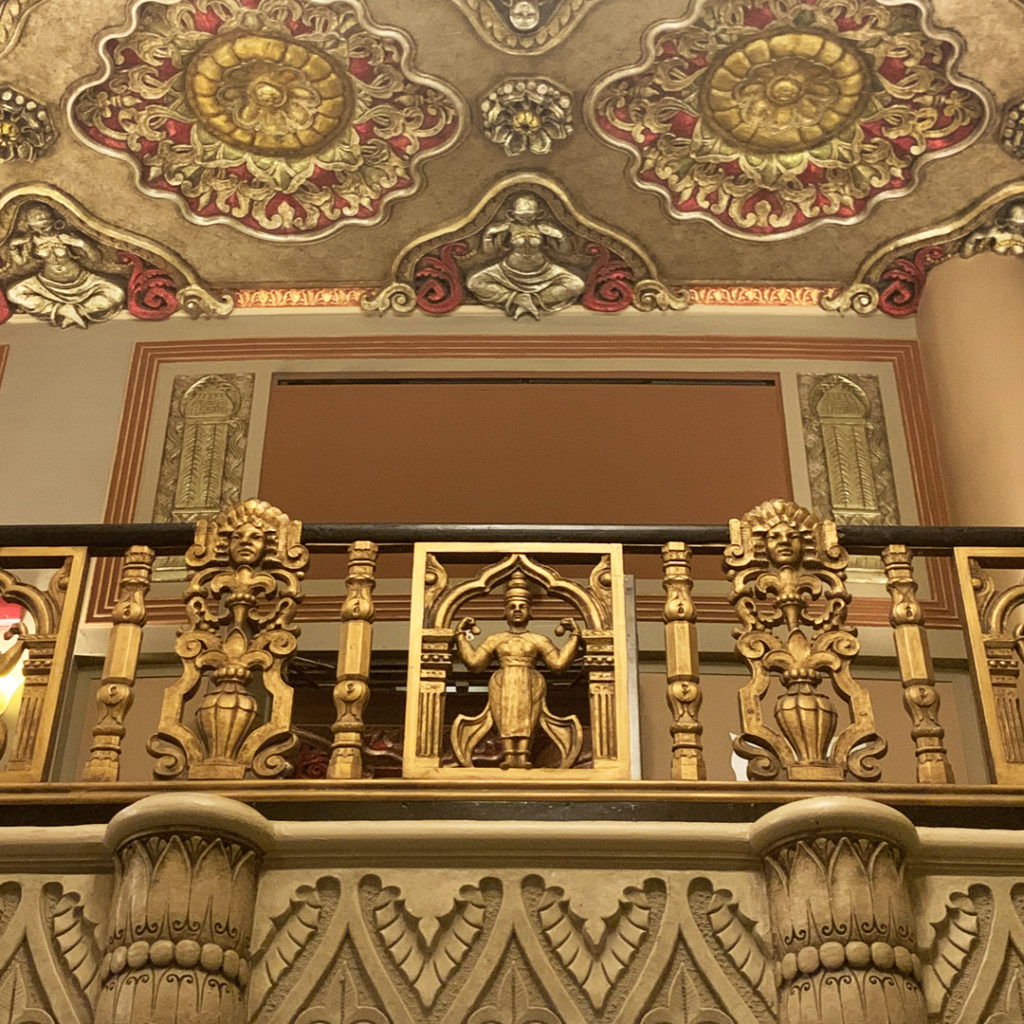
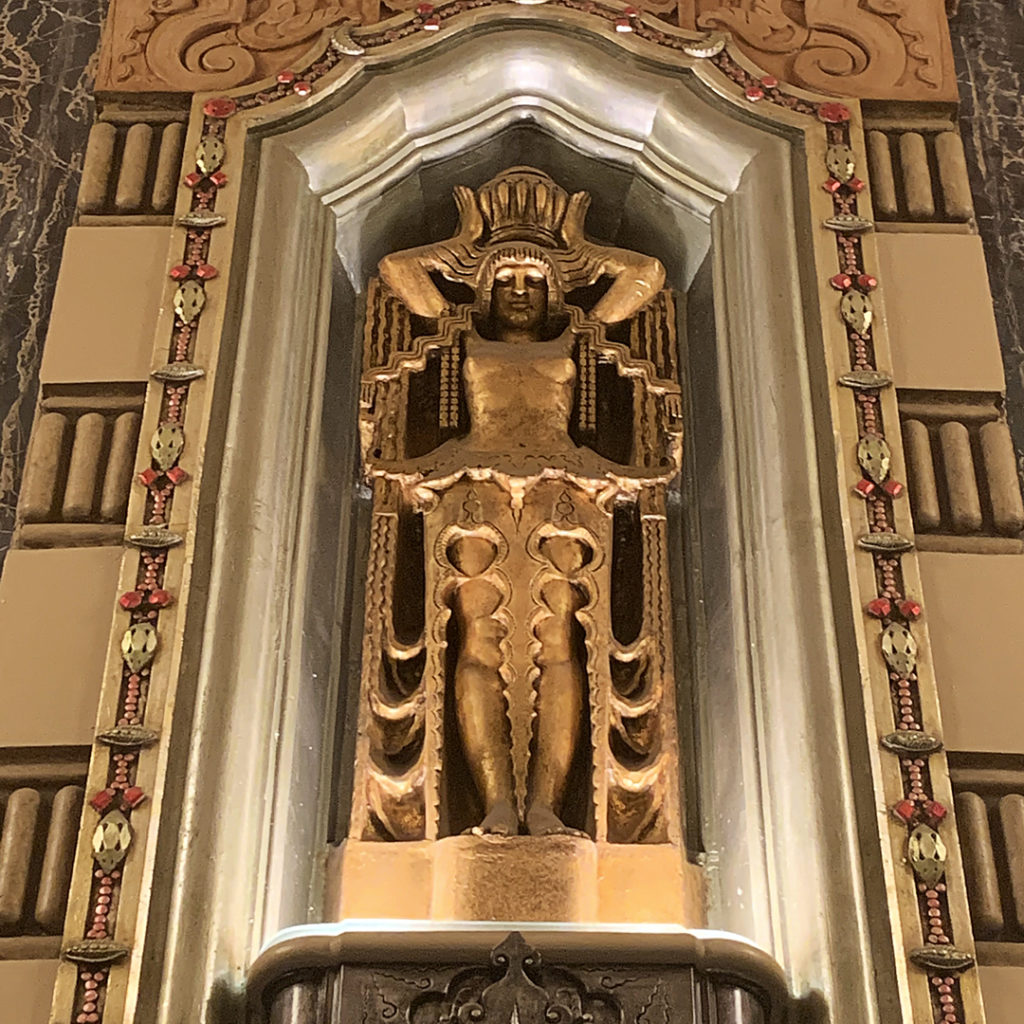
Amazing architecture & beautiful mosaics adorn the lobby of the theater… perfect for the style, era and “over-the-topness” at the Nederlander Theater downtown.

Categories: music, theater

Last night was the last day… the last chance… the last dance… the last performance of SUMMER – The Donna Summer Musical here in Chicago. It was a fun flashback “jukebox musical” where I was surprised that I knew more of the songs, but less of the story! Even better as we scored some spontaneous last-minute half price tickets on the main floor!!!

Categories: mugs, soda-fired, stamped

Fresh from the kiln… a few more soda-fired mugs coming out of the kiln tonight to celebrate another Mugshot Monday!

Categories: handbuilding, television, tiles

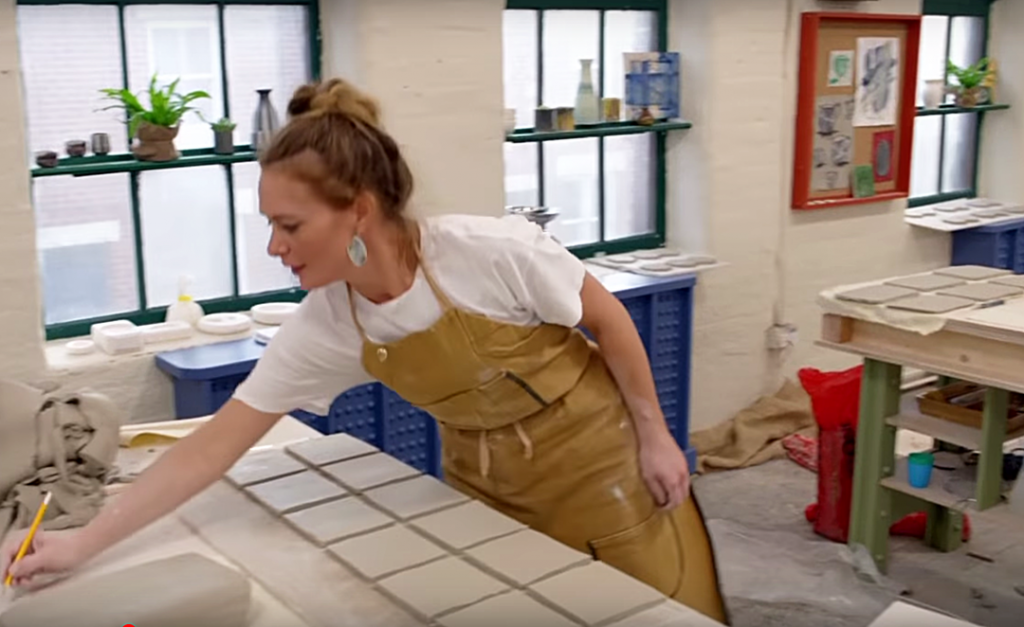
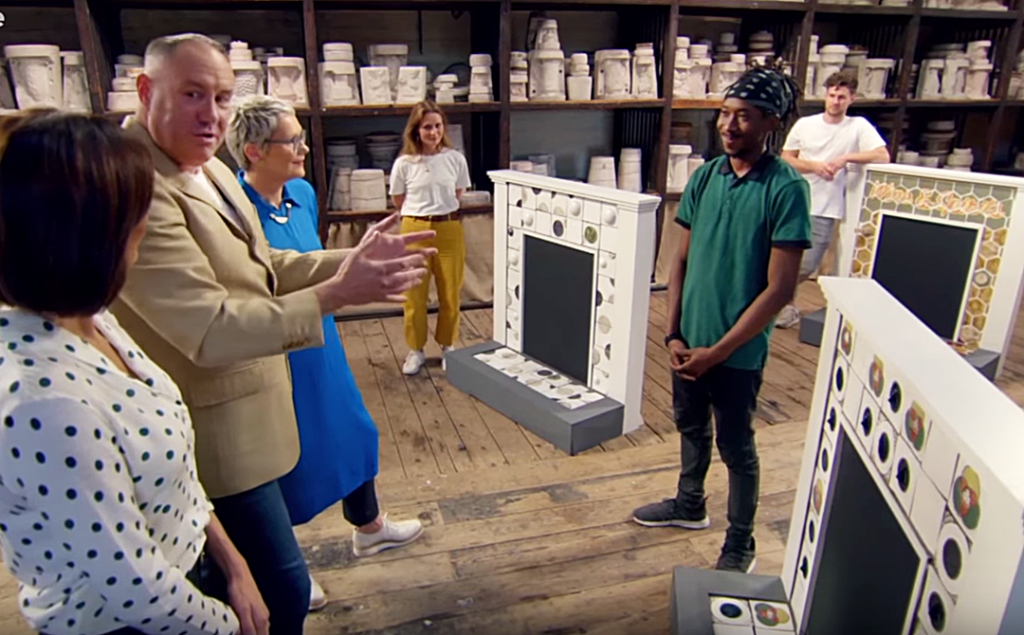
This week on the British TV show “The Great Pottery Throwdown”, the contestants were tasked with making 40 handmade tiles in two hours. Their goal was to make enough tiles to tile a small fireplace surround… with a twist of the tiles needing to have some 3-dimensional designs on it. They did the project in two parts… first making the tiles, then they let the tiles stiffen up a bit.. and then back to add the details. Some people struggled with smooth, flat tiles… while others succeeded… and others decided to make their challenge even harder by going to hexagon or triangle tiles! So instead of forty squares, Claire had to make 80 triangles, while Matt went for 102 hexagons!

To watch the episode on YouTube… click here.

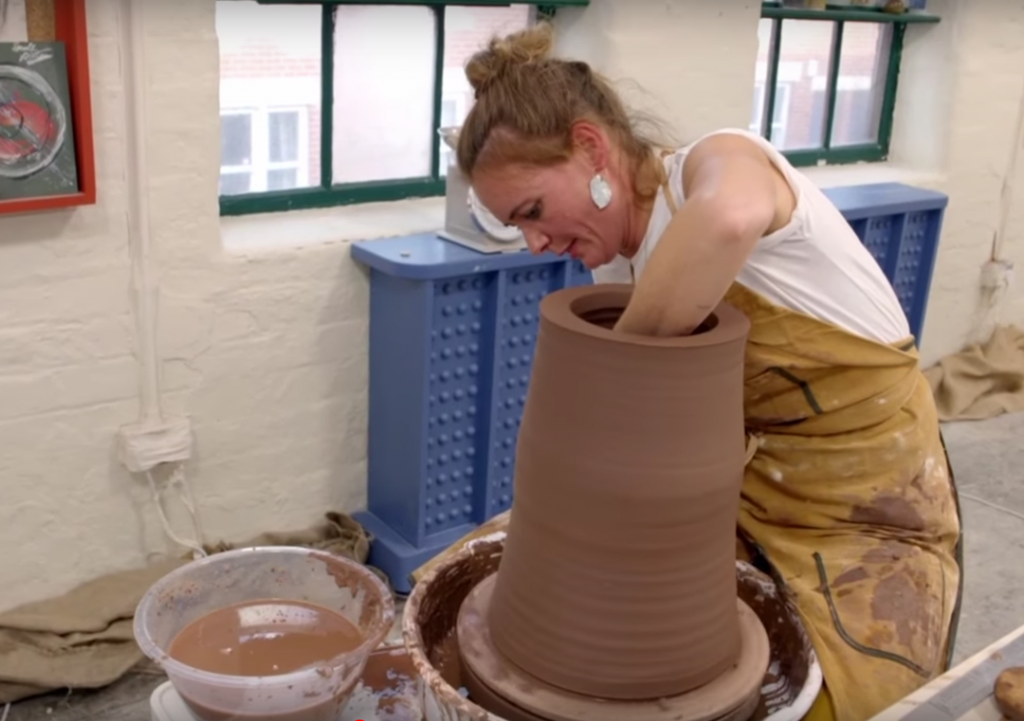
While their tiles were set aside to dry for awhile to stiffen up, they did a quick Throwdown Challenge… where they had to throw a large terra cotta chimney… by assembling two large cylinders together for the large chimney cylinder.

The contestants received their glazed & finished tiles back from the kiln guy, they had to assemble, install & gorut their fireplace surrounds… and then stand there for judging!!!

Categories: classes, creativity

And “speaking of spoons”….
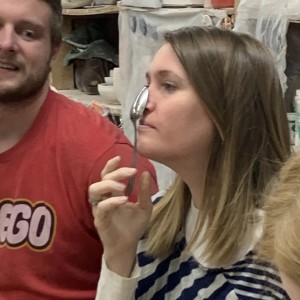
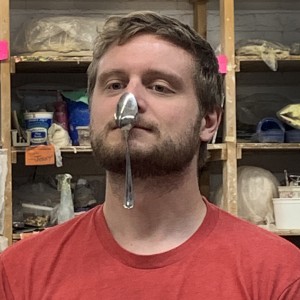
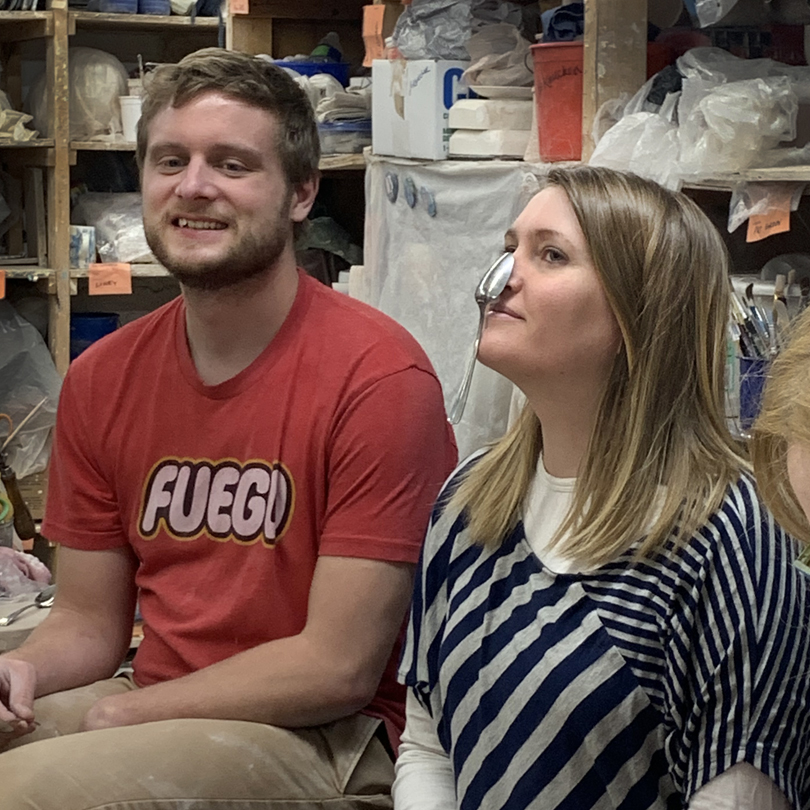
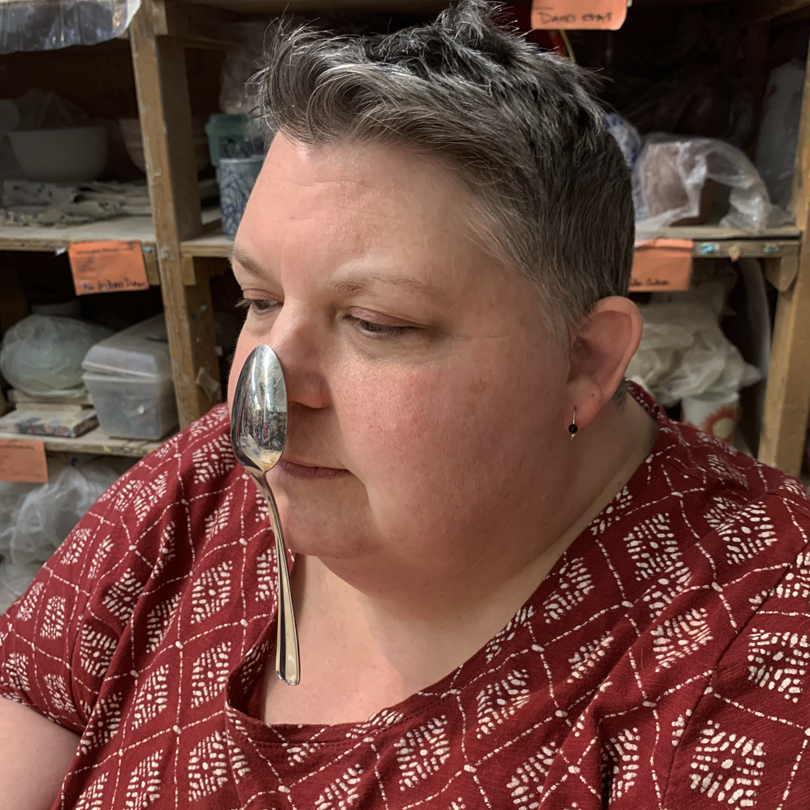
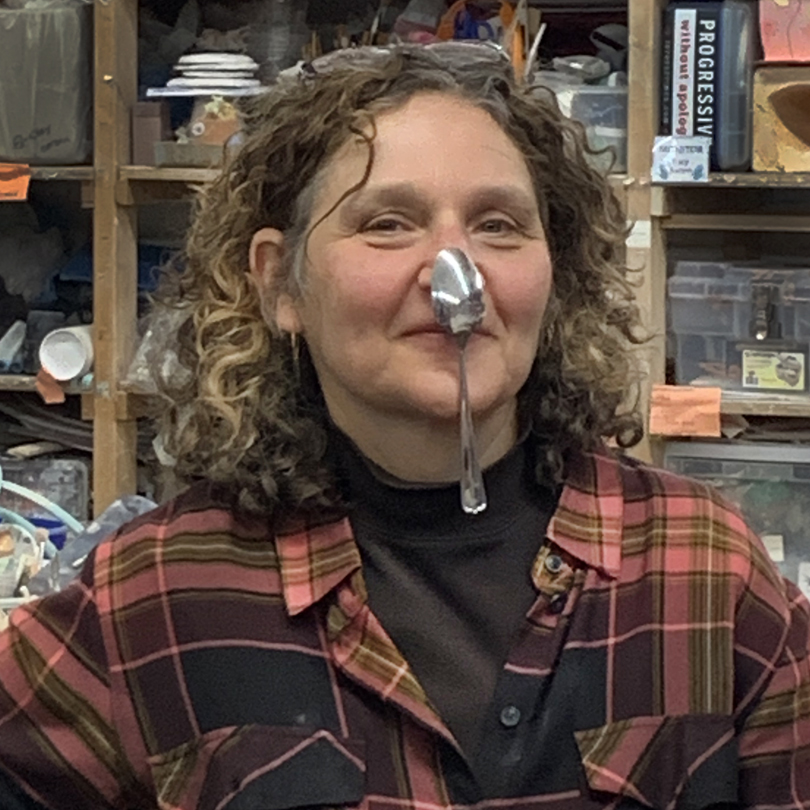
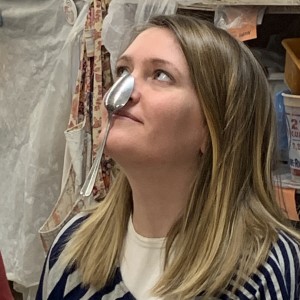
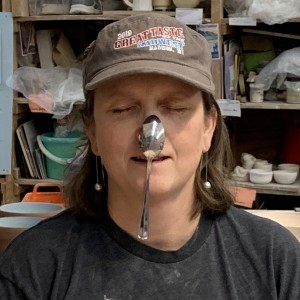
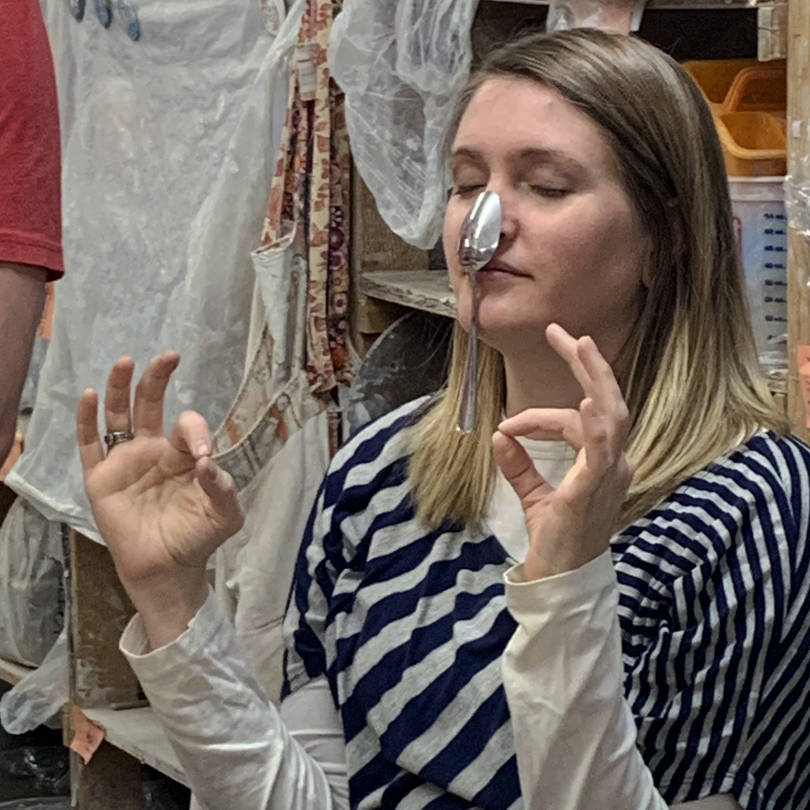
For a little fun diversion in class this week, I decided we should stick with the theme and play a little game. We pulled names randomly out of a hat and matched up twosomes. The contest was to see who could suspend a metal spoon on their nose the longest. The winner of each match-up moved onto the finals. Some people had never tried this game before… some were good at it… some were not… but either way, it was PURE ENTERTAINMENT for ME!!!

Confident & never-wavering Helen…

Norah was so confident that she started using the time to check her phone, mails, & more… perhaps a strategy to psych out the others?!

While Molly was trying to find her Zen place…

Categories: classes, handbuilding

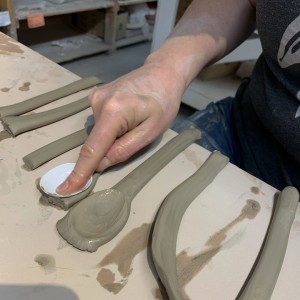
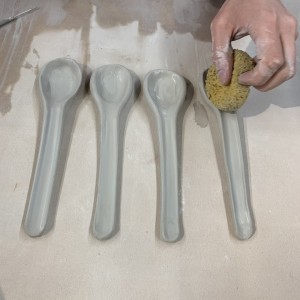
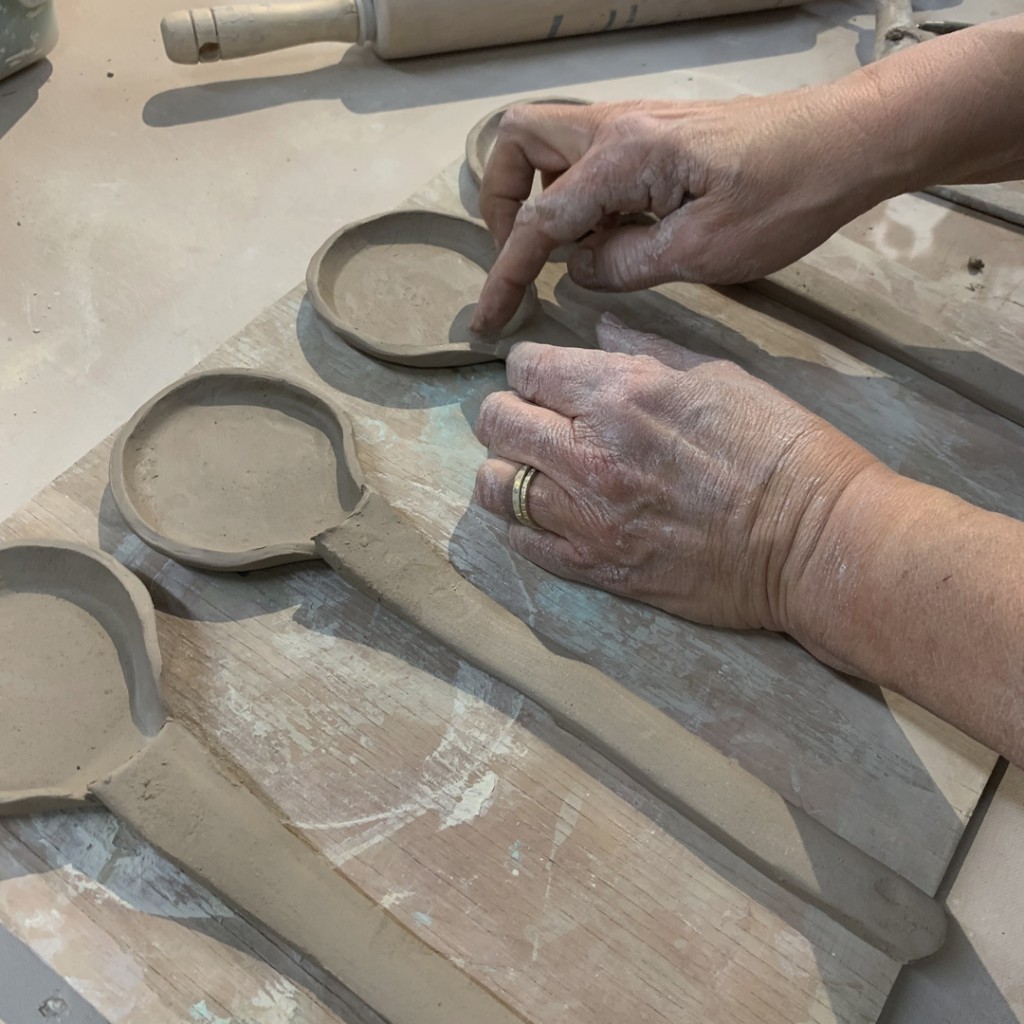
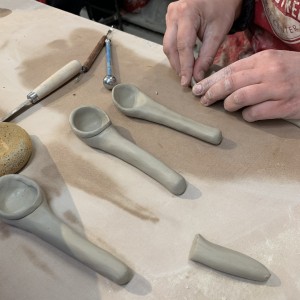
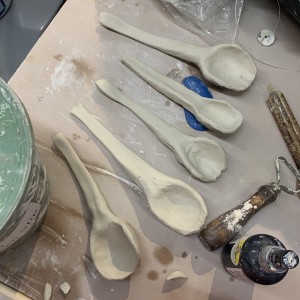
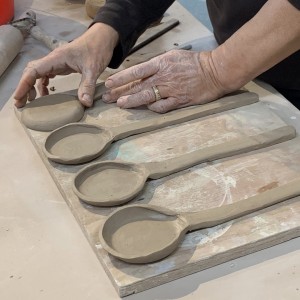
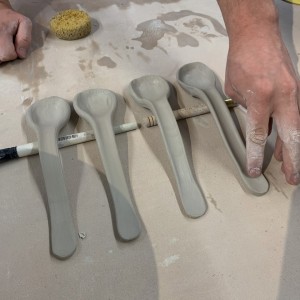
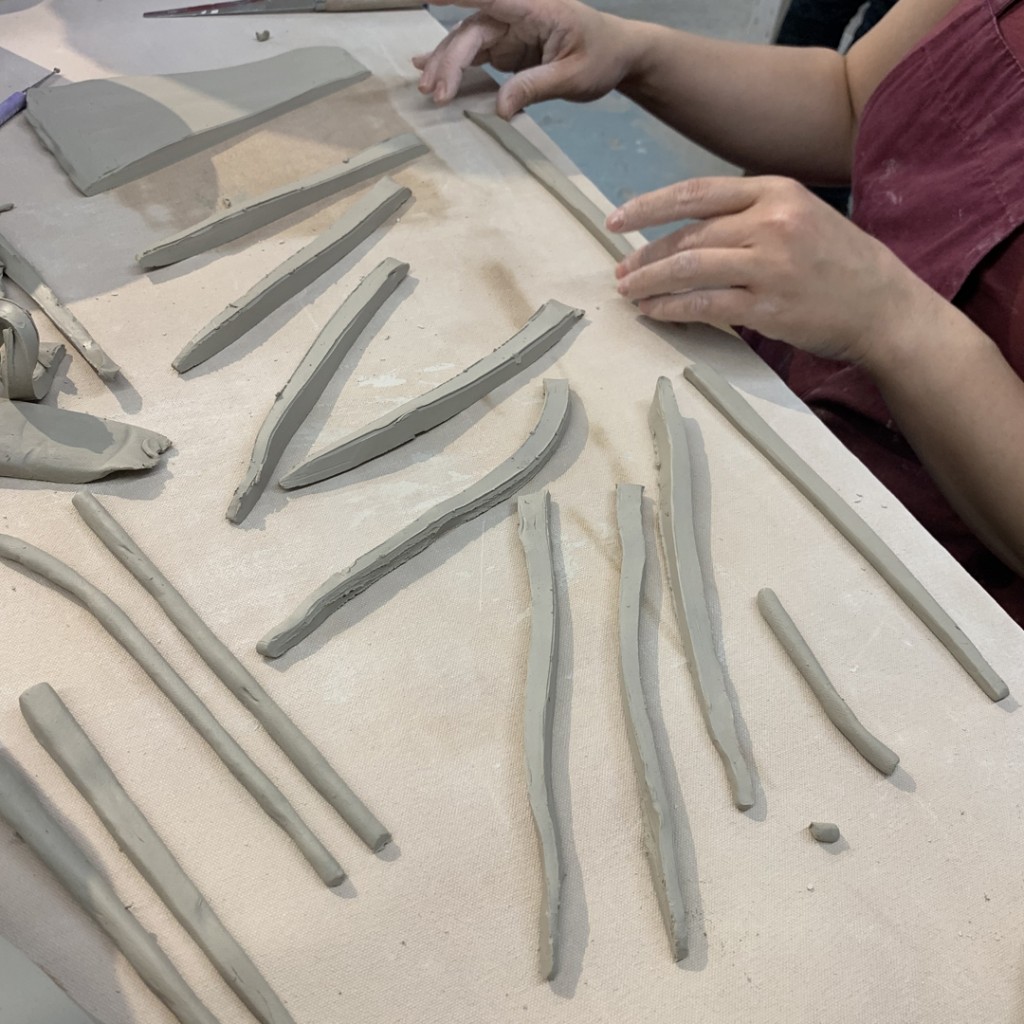
After making their sets of four matching side bowls… I kind of figured that they now needed a way to get the food from the bowls into their mouths… so this week’s Flash Challenge was to make four “matching” utensils to go with their set of bowls. Spoons… forks.. sporks… whatever. They had sixty minutes to make all four pieces.. which sounded like a lot of time when we started… but turned out not to be so much as they time ran out!!!

And then Jen decided to go a different direction to go with her ramen bowls…
by making a set of chopsticks which just seemed fitting!!!

When they had finished making their spoons… we decided to play a little game…
keeping with the “theme” of SPOONS!!!

Save

Save

Save

Categories: bowls, classes

This week in my LILLSTREET THROWDOWN class, my students brought their homework assignments back to class. They had been challenged to make a set of four “matching” side bowls… or at least coordinating to appear as a set if they didn’t want to decorate them all matchy-matchy. So much fun to see what they had come up with. Some more technically accurate, some beautifully designed & decorated. While others didn’t quite finish the challenge…. mwah, mwah, mwah…

Dana was chosen the top winner with her slip-striped bowls… which were incredibly matched in their shape, size & form… but she earned extra merit for the crisp, clean & colorful slip decoration too!

Melanie went a little lower profile with some layered slip accents.

Tracy threw beautiful terra cotta bowls and added a subtle & beautiful colored ombre inside.

Jen colored her large ramen bowls with color slip, brush strokes & splatters.

Christine made four little dessert cups with a LOT of slip fun going on…
colorful marbled slip inside and colored slip appliques adhered to the exteriors.

Norah continued her minimal design technique that won her rave reviews in the tile challenge!

Molly did some nice stamping on her bowls to tie them all together.

And oh, but wait there’s more…

Our little “over-achieveing” Christine decided to hedge her bets and make three sets of matching bowls! One set had a whimsical floral pattern made with white slip that she color-zed with Mason stains.

While the third set used the same “color-ized” slip to play with some marbled “tie-dye” effects that I introduced them to last week in class.


Save

Save

Save

Categories: classes, kiln firing, soda-fired, workshop

I started firing the soda kiln early in the morning…
trying hard to “schedule it” so that my students would be returning in the evening at the “right time” to help add the soda mixture into the kiln. The firing was pretty smooth… everything going as planned. Cones were melting & dropping as planned. I was checking the kiln every half hour to make sure everything was good.

Unfortunately, when I went down to check on the kiln at 6:00pm…
it was OFF!!! Yes, the entire kiln was OFF!!! Shut down!!!

Of course… panic ensued. Students were arriving… asking how it was going… I was freaking out. Luckily, Fred & Levi were in the building… both skilled soda kiln firers… and they helped diagnose the problem. After at least 20 minutes of the kiln being off… plus the time it took us to diagnose & fix… Levi finally got the kiln turned back on!!! Whoo-hoo!!!

HUGE THANKS to Fred & Levy who finally got the kiln up & running again.

However, it took awhile for us to get back up to temperature… and then to get it to move even further. We were right around cone six going down when the kiln shut down. All of the workshop students were there waiting… watching… asking questions… but we all know… A WATCHED KILN NEVER FIRES! At some point, you just need to open up the air & gas and let the kiln do its own thing. FIRE!!!

So we waited… we chatted… we hung-out… we waited some more… Those who were Lillstreet students had projects they could work on while we were waiting. But Charles & Cassie were stuck doing nothing… until Jacob offered up two bowls that needed to be decorated. So he decided a little “collaboration” would be great… giving them each a bowl he made for the LILLSTREET THROWDOWN class and some black underglaze!

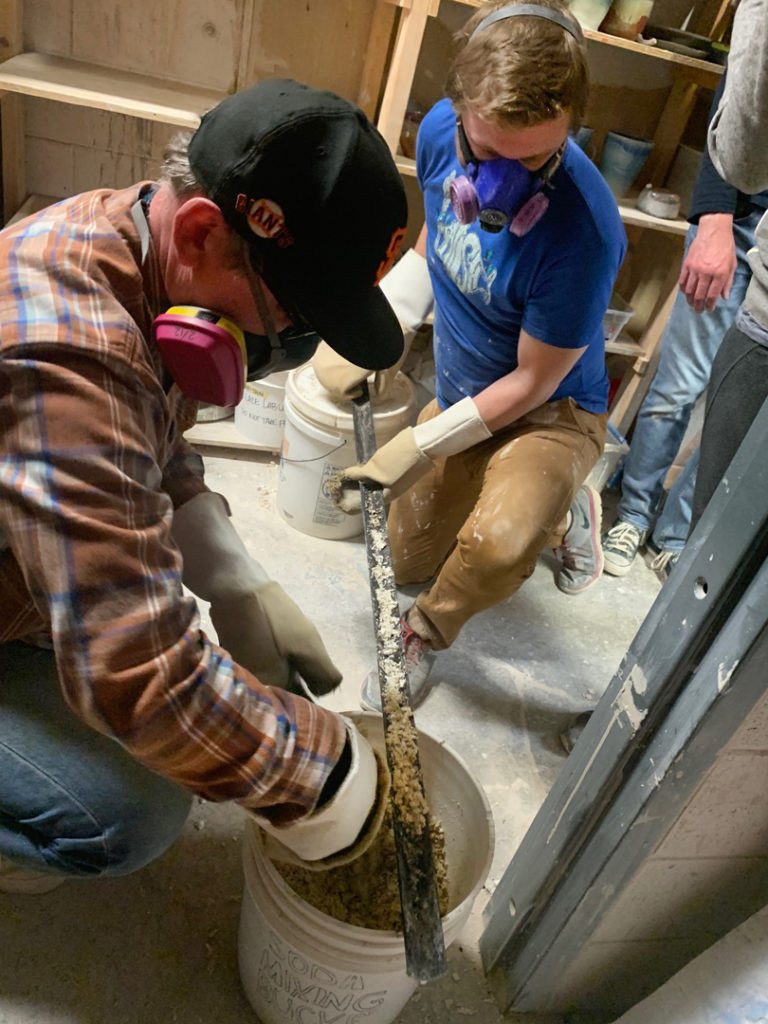
Finally we were up & running… temperature rising, cones going down. My students weighed-out and mixed-up the soda mixture of soda ash, soda bicarbonate, whiting & wood chips. As the kiln got up to the top temperatures, we started adding the mixture into the kiln using a long angle iron inserted through the peeps on the sides right above the side fire boxes. Safety fire gloves & respirators were added to keep everyone safe!!!

When we had finally inserted all of the soda mixture into the kiln, I let it fire for about a half hour longer so that the soda mixture could float around a bit longer to “soak” inside the kiln! They loved the flames shooting out of the kiln. A lot of reduction going on. A lot of soda flying about.

After that, I shut it down… on purpose this time! It was a VERY long day of firing with a bit of panic in the middle. My workshop participants were very understanding & helpful. All with fingers crossed that this kiln “issue” in the middle wouldn’t affect their pots in a negative way. I guess we’ll find out on Monday when we unload the kiln as a group.

Categories: classes, kiln firing, pottery, soda-fired

Tonight was the kick-off of my 3-Night Soda-Firing Workshop at Lillstreet Art Center. I’ve been firing the soda kiln for awhile now, and it’s always fun to share some of that knowledge with my students. The first thing I always stress is that soda-firing is very random based on the air flow of the flames & where the soda mixture lands. So we can “try our best” to plan for want we want… but no guarantees!!!

We started with a discussion & overview of soda-firing… then quickly moved onto glazing & wading our pieces. It was great to have some of my current & past student sin the workshop, as well as a couple “newbies” to Lillstreet. The group bonded quickly and were very helpful – working as a team to get everything glazed & wadded.

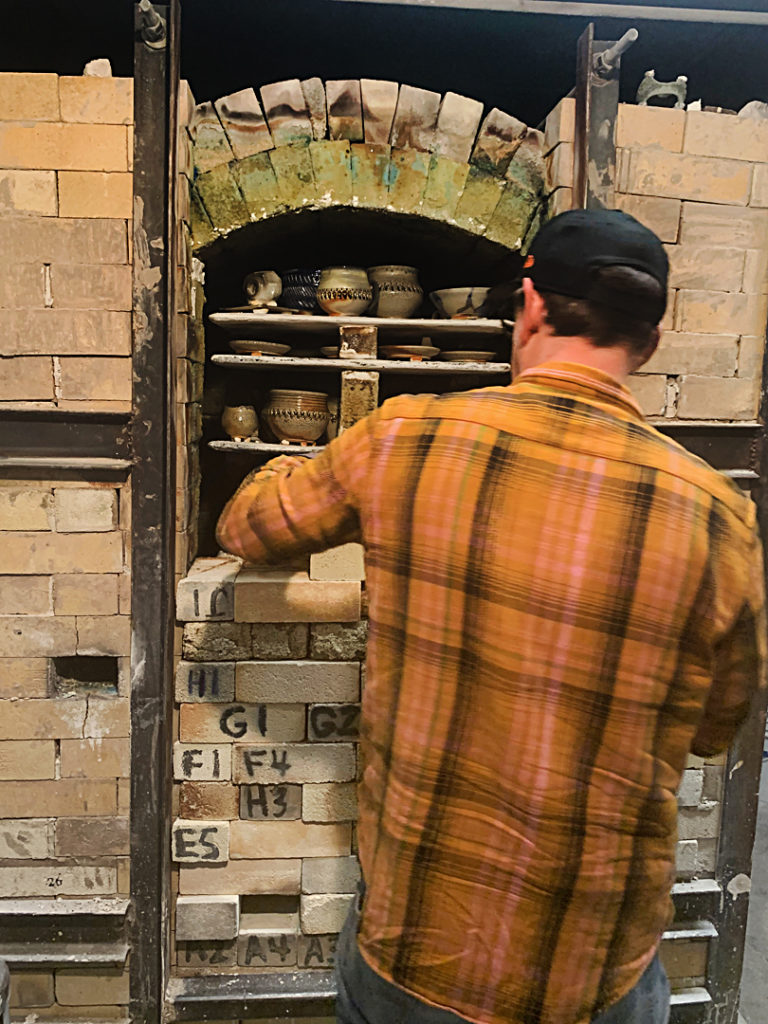
Once we were all glazed & wadded, we started to load the soda kiln. Always an interactive project with all students taking time to understand the process, the placement and the hopeful results of how location in the kiln might affect their final fired results. And then the loading began…

We discussed air flow, and how it will affect their pieces. The importance of putting different clay bodies in different areas of the kiln as each kind has a different finished effect. Luckily, we had just the right amount of work to put into the kiln… with just a few of my own pots to help fill-in here & there!

Once fully loaded, we added in the cone packs and then started closing up the brick door. Brick-by-brick. layer-by-layer…

When the door was finally bricked & closed… we called it for the night. For tomorrow I will fire the kiln, with students coming back in the evening to help add the soda mixture into the kiln.