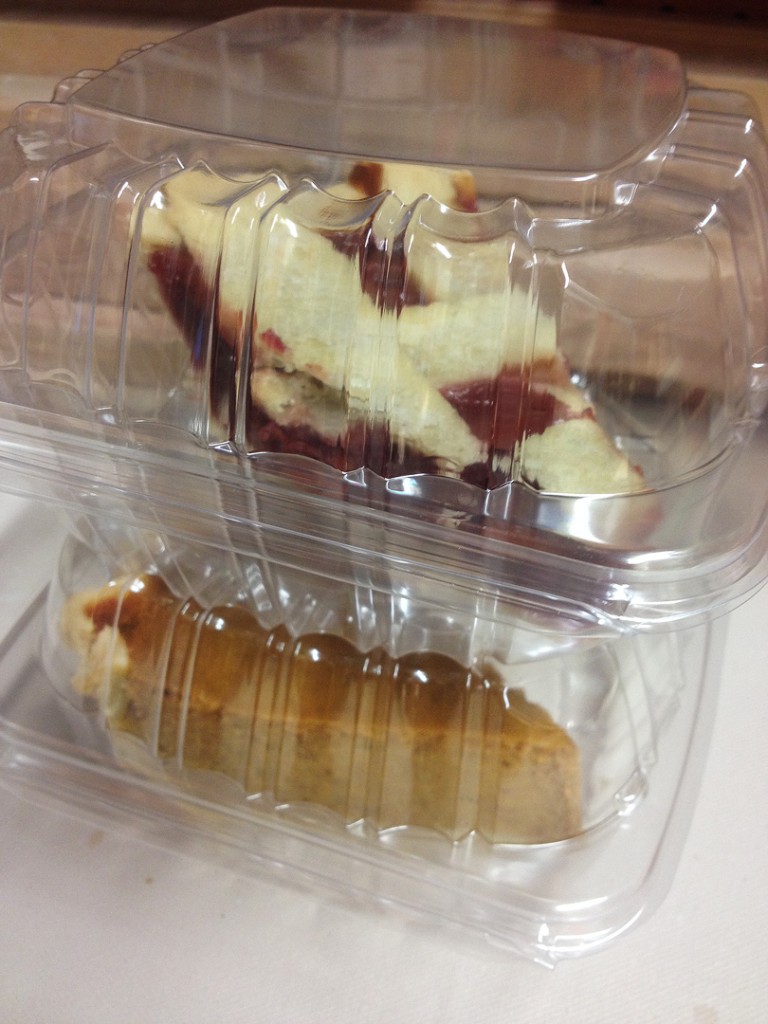
Why choose on National Pi Day?!… err, PIE DAY!!!
Especially when there are BOGO deals & sale bargains everywhere!
I’m just celebrating TWICE!
Classic over-achiever!!!
Gary Jackson: Fire When Ready Pottery
A Chicago potter’s somewhat slanted view of clay & play |
Why choose on National Pi Day?!… err, PIE DAY!!!
Especially when there are BOGO deals & sale bargains everywhere!
I’m just celebrating TWICE!
Classic over-achiever!!!

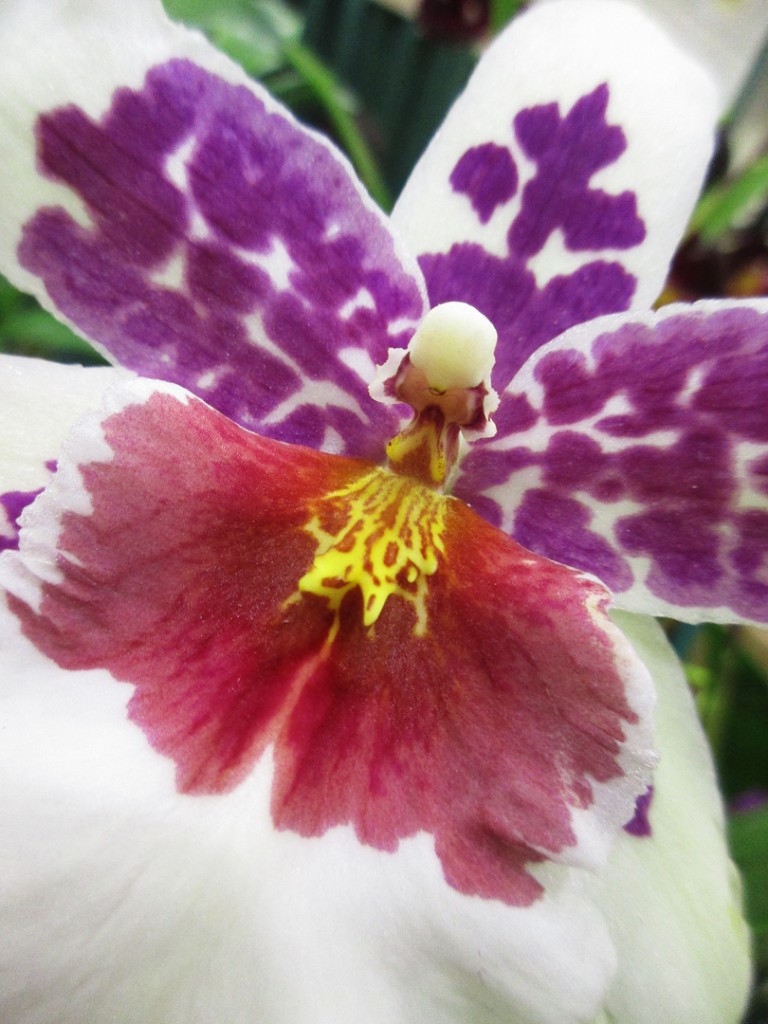
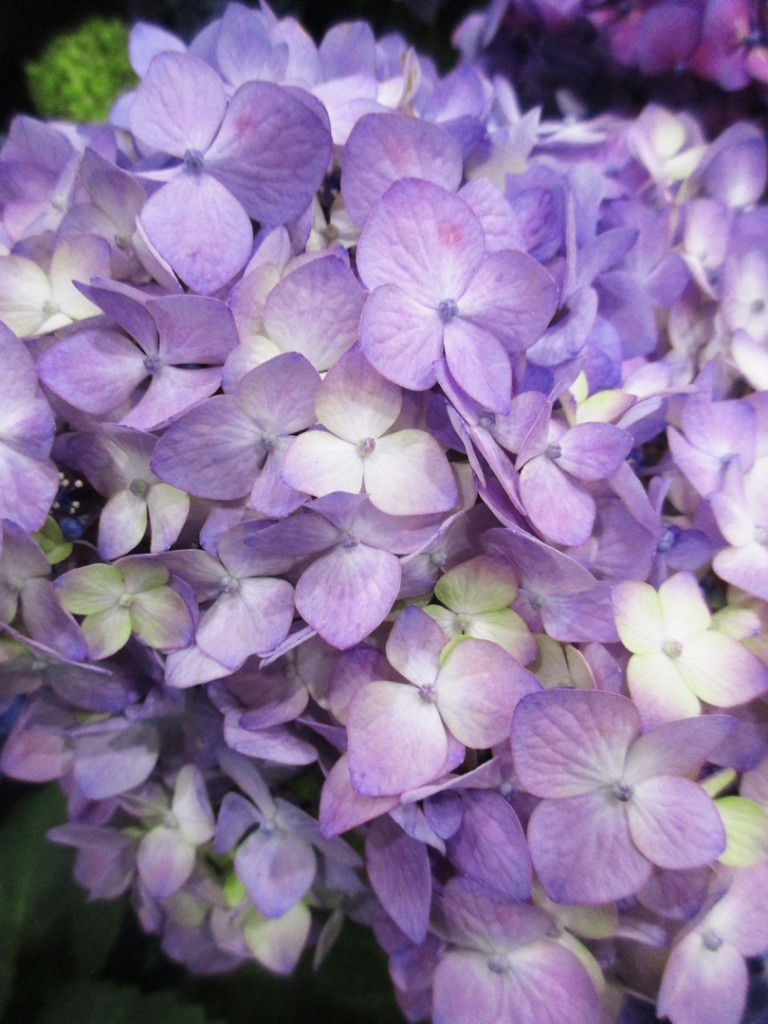
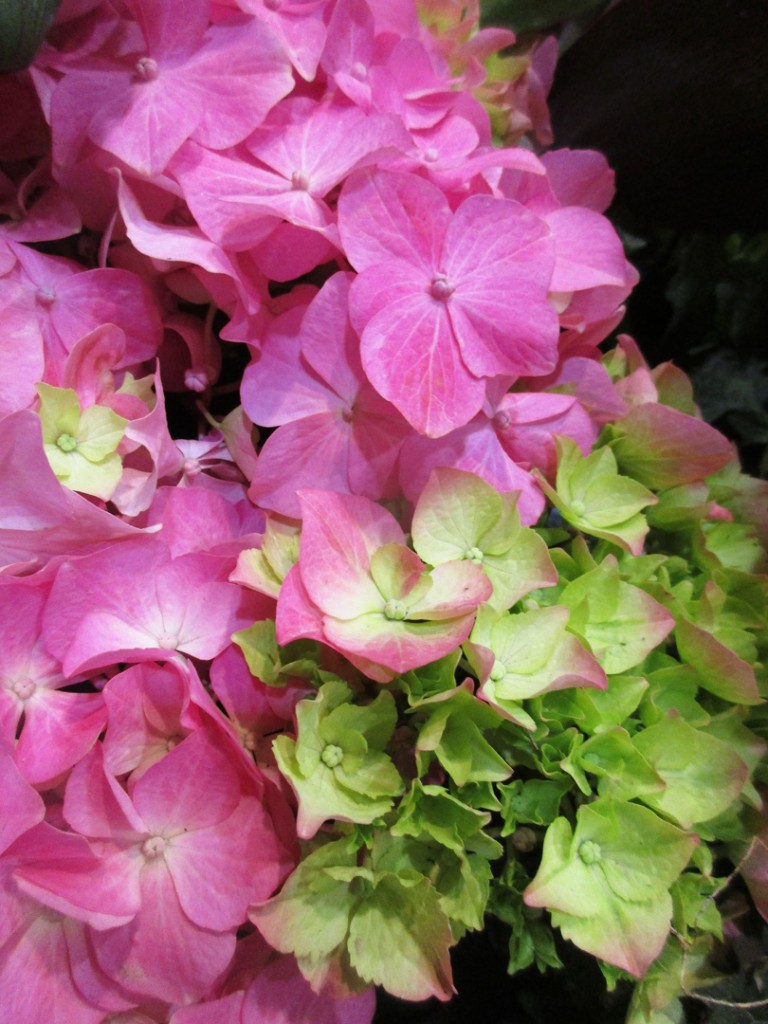
While “everyone” is at NCECA… some of us had to stay home to make the pots!!! Just had to take a quick afternoon break at the Chicago Flower & Garden Show to “ease the pain.” Have fun Pittsburgh Pottery Peeps!!!

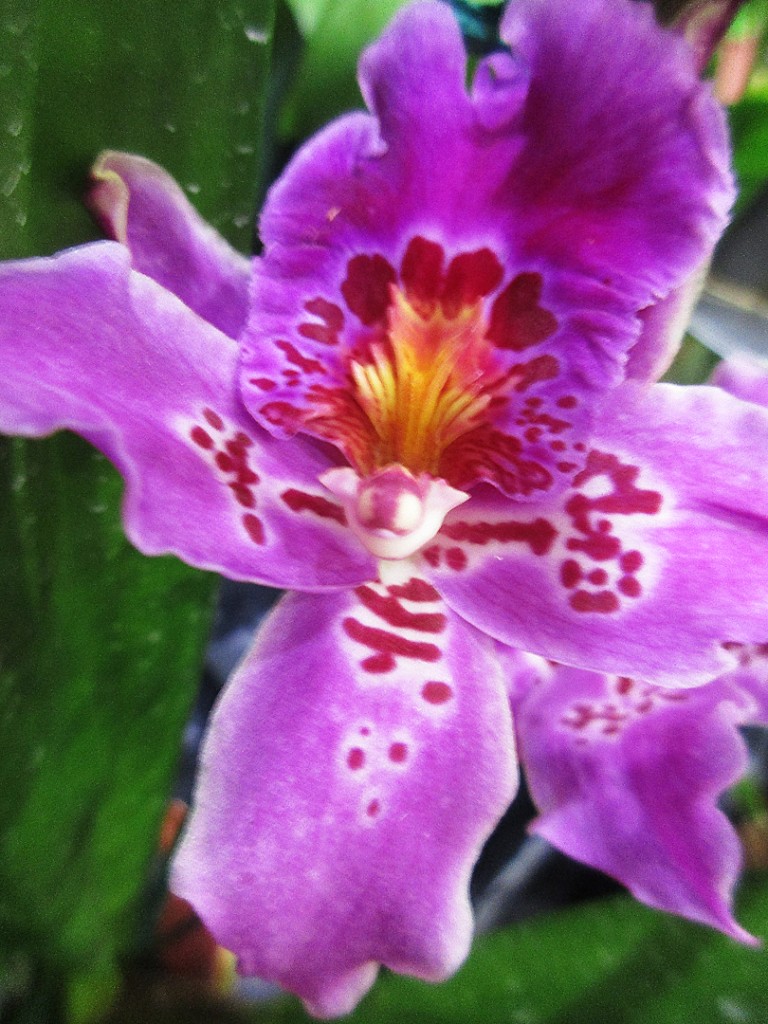
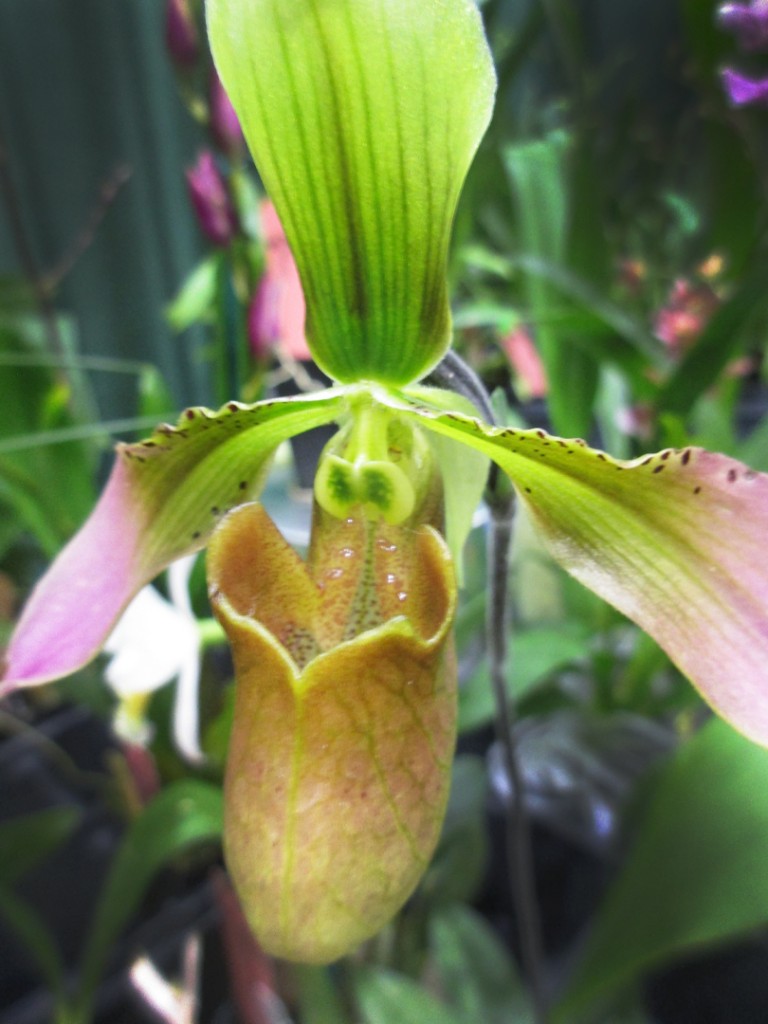

With a final class THROWDOWN challenge of teapot with matching cups & saucers for Thursday night… gotta make some saucers quick if I’m going to finish my set as well.

It’s March 14th… with makes it 3.14… which makes it National Pi Day!
Which also makes it NATIONAL PIE DAY!!!

Be sure to check out your local bakeries, pie shops and pizza parlors for “today only” celebratory specials!!! Many places have deals on slices or even whole pies for just $3.14 today only – many while supplies last!
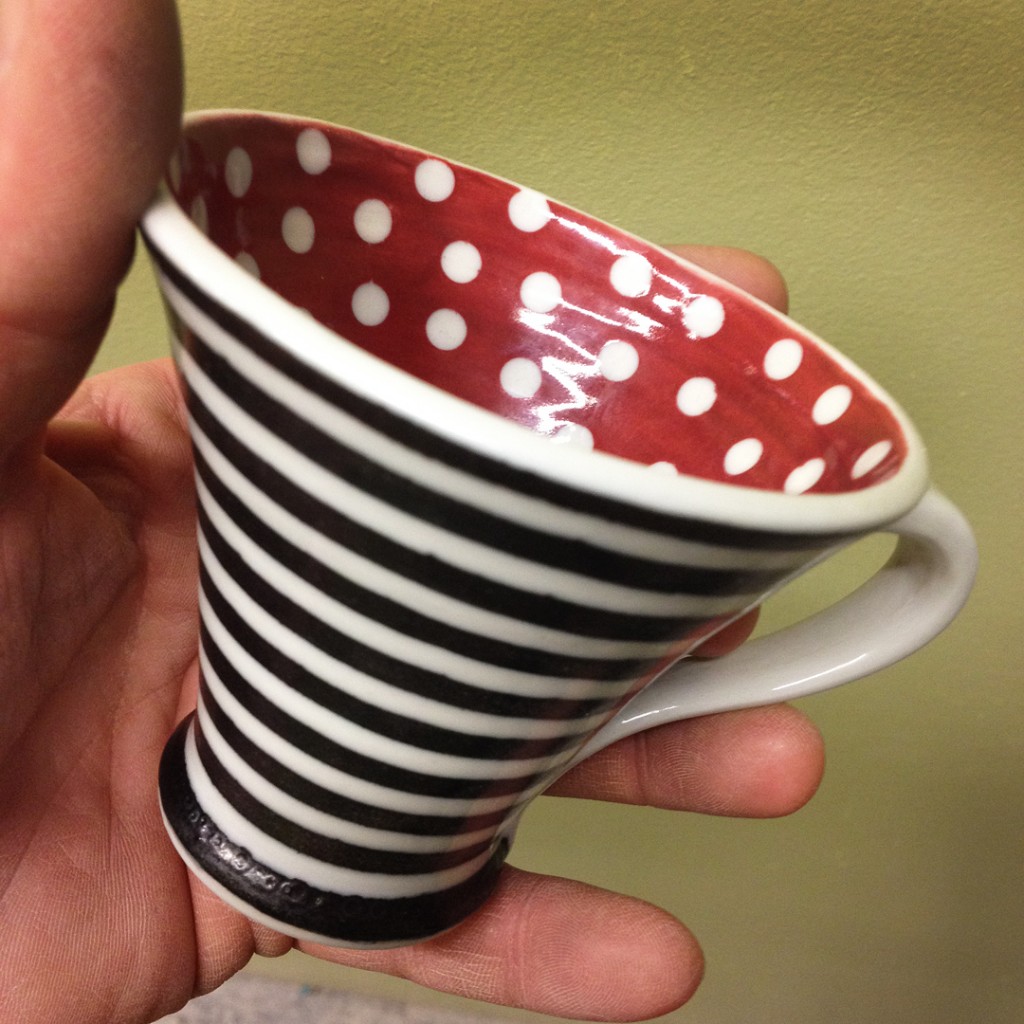
Last night was the final class for my Tuesday night beginning wheel students. They all did an amazing job this session… so we ended it with an amazing potluck & mug exchange! We all submitted a handmade mug disguised in a brown paper bag. And then with a fun White Elephant kind of picking-trading-stealing game, we all went home with someone else’s mug as a class souvenir! I came away with this beauty by my teaching assistant Susan Slogoff. Inside and out… just perfect.

And top treat of the night?… at least for me?…
oh, they know me oh too well... HOMEMADE OREO’s!!!
Best way to this teacher’s heart is through my stomach!
Thanks Teresa – you’re MY FAVORITE!!! Ha!

So we’re now in the final week of classes for this session. Which means my LILLSTREET THROWDOWN students are working frantically on their final challenge… okay, maybe a “double” challenge?! A week and a half ago in class they got the assignment of a teapot for the last class. So they all started out making their best renditions… although several of them had never made a teapot before!
Then last week in class I surprised them with one last twist of a challenge. Now that they have a teapot started… now they need to make two cups & saucers to go along with that teapot! All to be “finished” greenware by this Thursday’s last class. SURPRISE!!!
And of course, I too was challenged to make a teapot along with them… so I am! You know I love a good challenge. So I’m working on my teapots…. yes, plural… you know I can’t do just ONE of anything!!!


Last night I taught another beginning wheelthrowing class as a sub for Jayson. He had requested two things… stamping and bubble glazing demos for his students. DONE! Sure, the stamping is the easy one… but the bubbles are more FUN FOR EVERYONE!!!
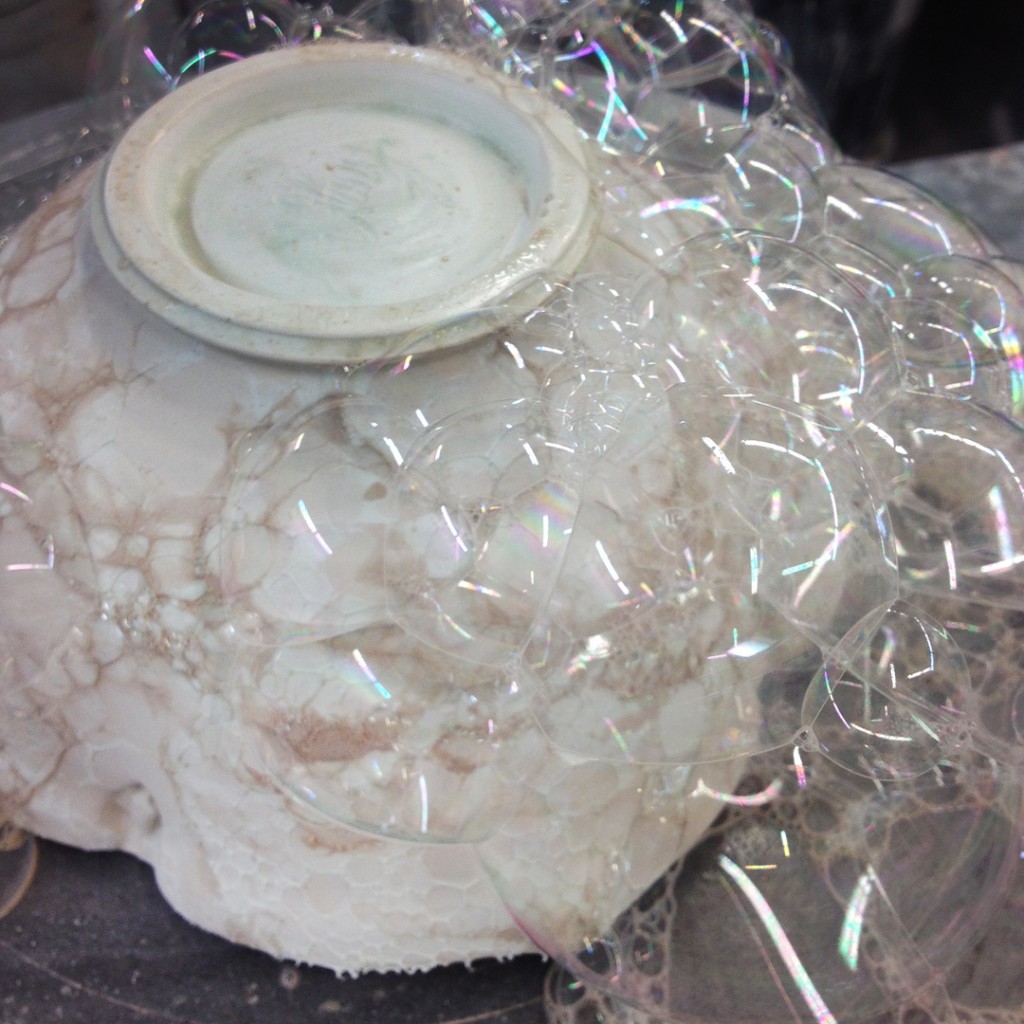
So we started with a base coat of a single glaze. For my bowl, I went with a shiny white glaze for a good clean bottom layer. Thinking it would be a good clean canvas for the colored bubbles on top.
Once that base layer was dry, I cleaned off the bottom and prepared the bubbles. So we took a small disposable plastic cup, and filled it with maybe a 1/4″ of glaze. I let the student choose, so my bubbles were a shiny purple colored glaze. We added a few drops of DAWN dishwashing liquid and a straw. Stir it up and start to blow some bubbles… like you’re six again! Just don’t inhale!!!
As the bubbles start to accumulate and fill the cup, get ready to “spill” them onto your pre-glazed piece. As the cup overflows with bubbles, just let them gather on the sies of you rpot. We were using a banding wheel so we could easily rotate the pot to get the bubbles all over. A slower steady blowing into the straw seems to get larger bubbles. Forceful fast blowing seems to create smaller bubbly foam.
Once you’ve covered your pot with bubbles, just sit back and watch the magic happen. The bubbles start to pop all by themselves leaving thsi really great pattern of glaze “residue” behind. Leave it as it is… or add more bubbles if you want?!
We decided to go one step further… cause “more is more”, right?... and we added a second layer of bubbles in a different color. So my second layer is a flat blue glaze. If you look closely, you can see the “purple” bubbles made the white pattern, and the “blue” bubbles made the darker beige color. Who knows how this is going to turn out after firing?… but I bet it’s going to be pretty darn groovy!!!

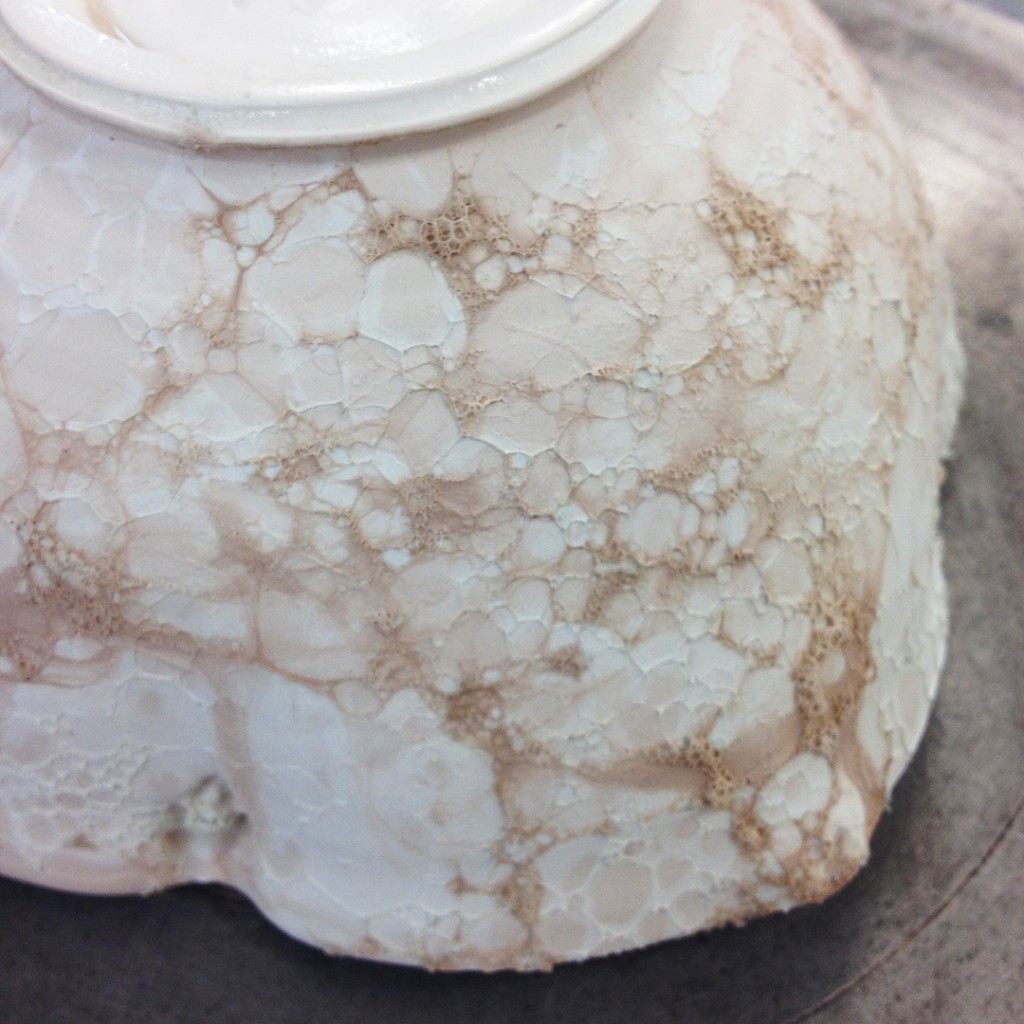
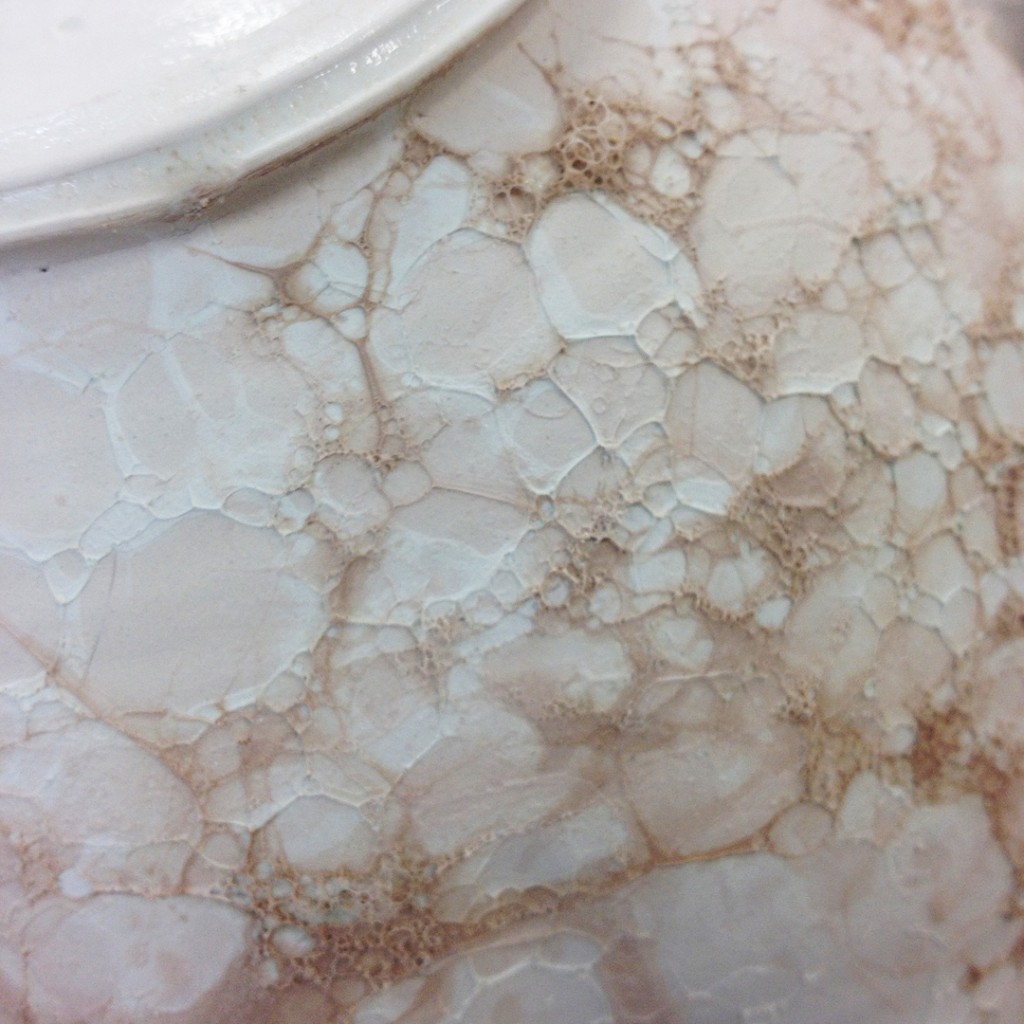
After my demo, some of the students had their bisque ready to go… let the bubbling begin!!!


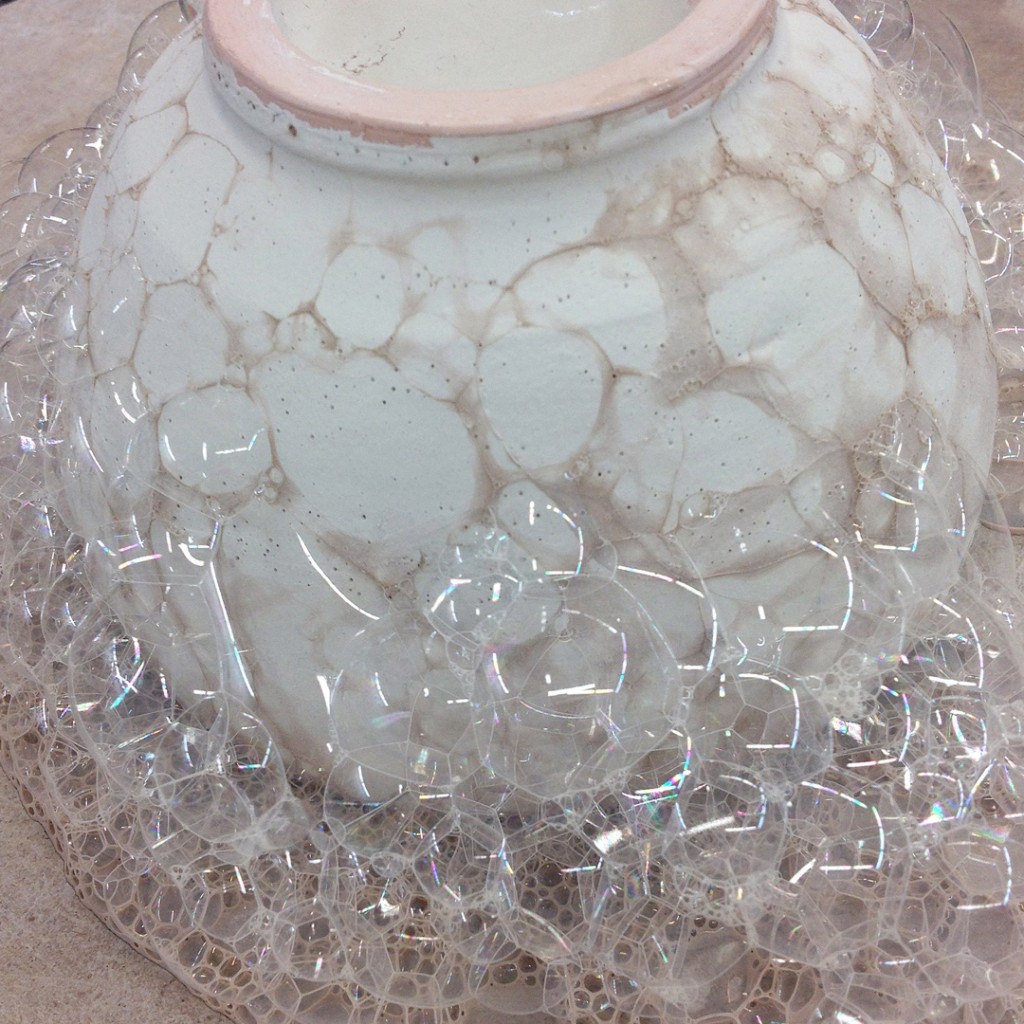
One guy even decided to double-down… errr, triple-down?.. and go for bubble glazing three mugs all at one time! Crazy, right?…. I LOVE IT!!!

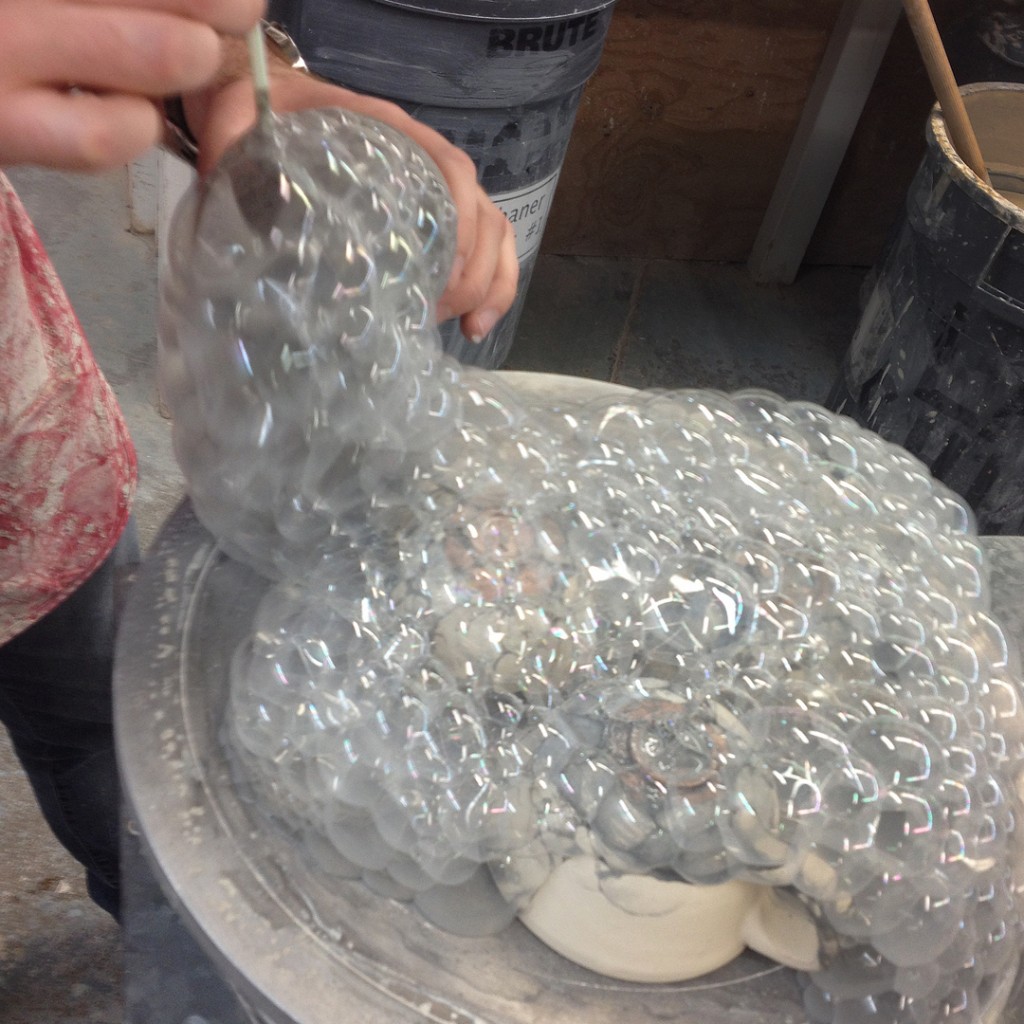
SO he covered all three with bubbly foaming glaze… and you can see how the pattern stats to show up as the bubbles pop by themselves.
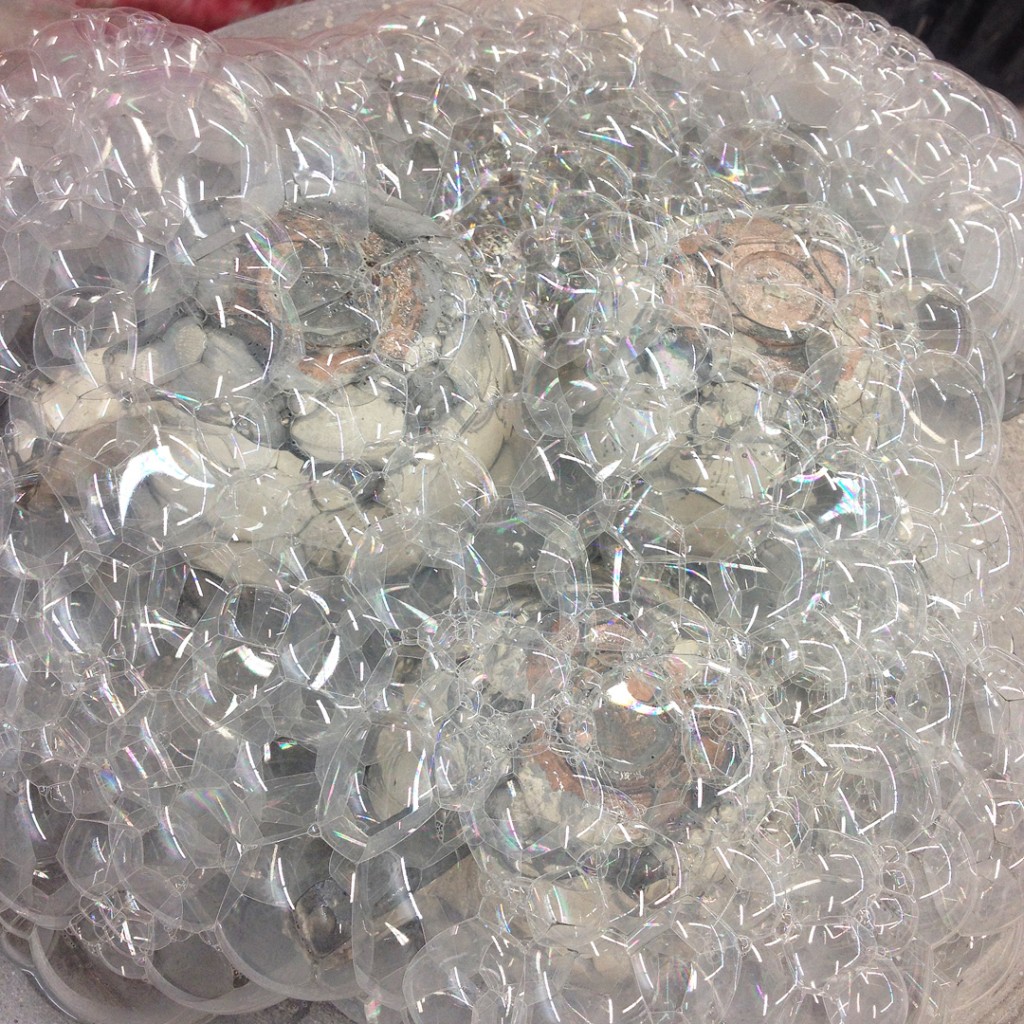
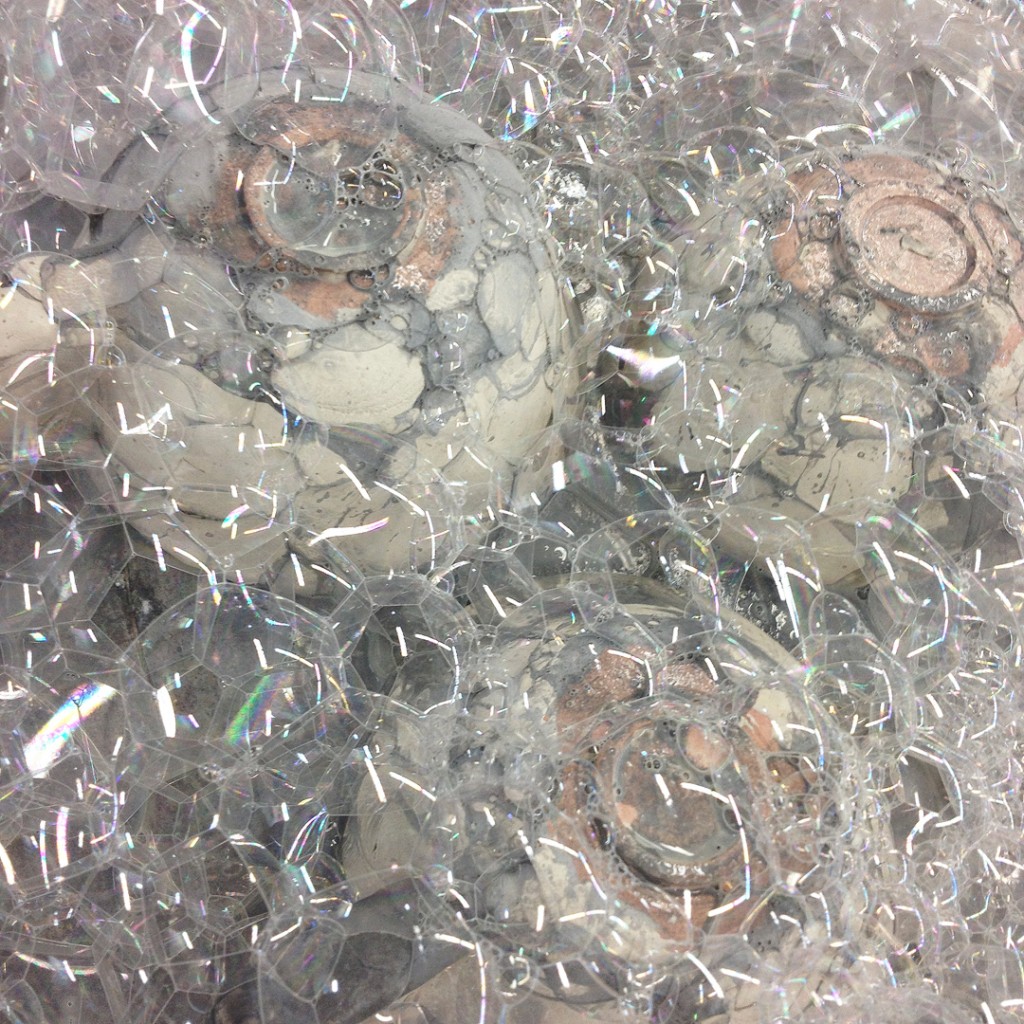
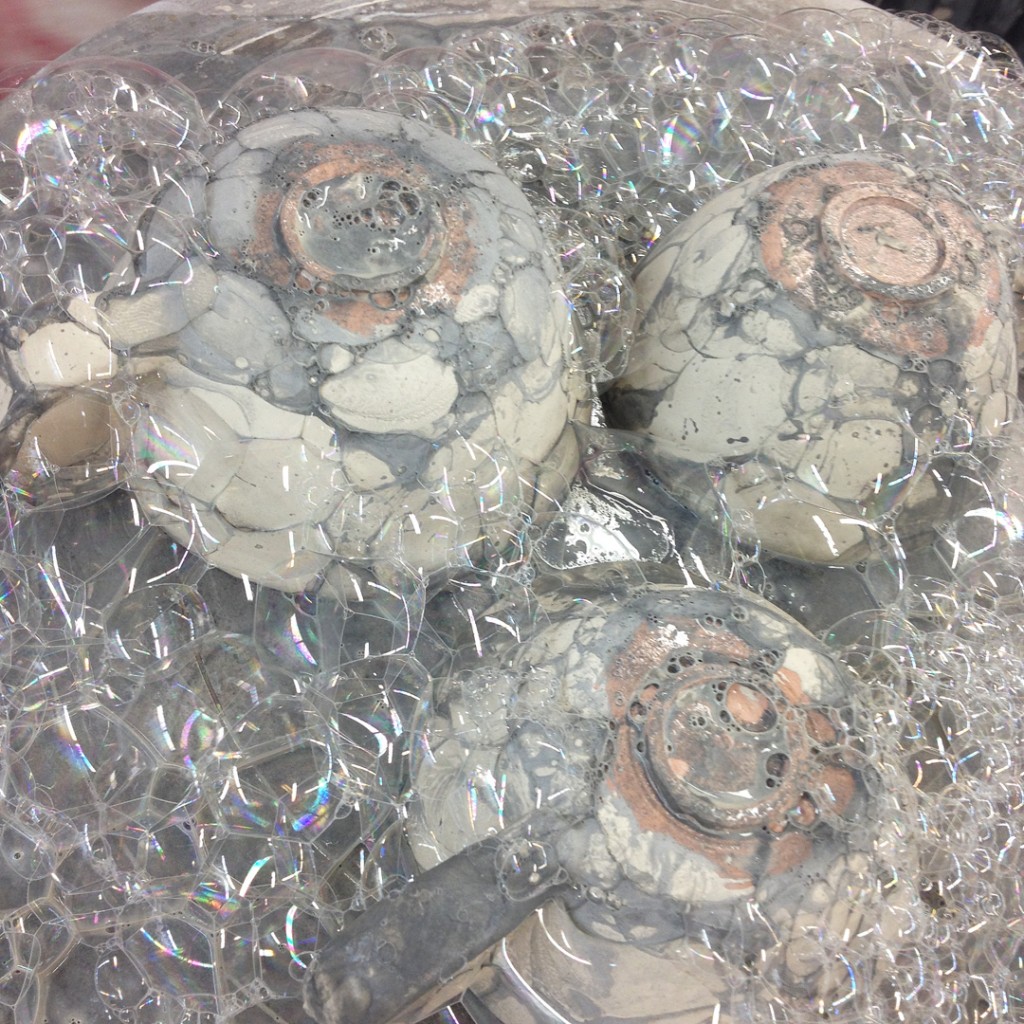
A very random, spider-webby, splattery kind of glaze effect. I hope I get a chance to see these when they come out of the kiln…. so guarantee since this wasn’t my class or my students?! But we’ll see… I’ll keep an eye out for them!

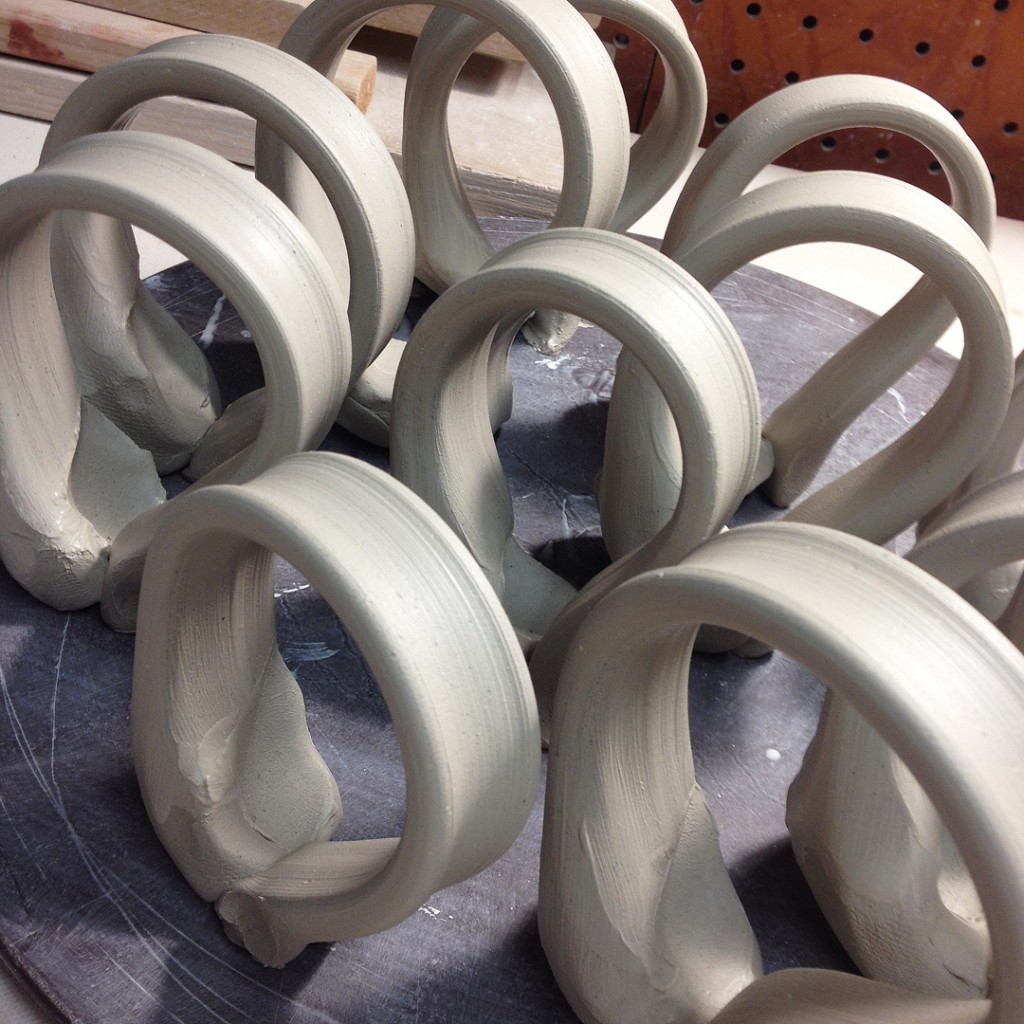
Attaching handles to freshly stamped mugs.
I always attach the top first, and then “play with” the bottom attachment
to get the size & proportion right… like this one that’s still a bit too big!

Mugs in the making… freshly pulled handles soon to be attached!
|
Gary Jackson: Fire When Ready Pottery
Lillstreet Studios ∙ 4401 North Ravenswood, Chicago, Illinois 60640 ∙ 773-307-8664 gary@firewhenreadypottery.com |