Gary Jackson: Fire When Ready Pottery
A Chicago potter’s somewhat slanted view of clay & play
Categories: classes, lillstreet, stamps, workshop

Well, not quite as much fun as teaching face-to-face, but it did feel good to “teach” again as I just finished teaching my first “official” ceramics workshop on ZOOM for Lillstreet Art Center! It was a one-hour workshop on making clay stamps… from my studio. A little jittery at times as I tilted by laptop screen up & down for demos… but I’m sure these ZOOM classes will get smoother if we need to keep doing them for much longer!

Categories: lillstreet

With all of the cleaning & reorganizing going on at Lillstreet Art Center right now…
the pile of potter’s aprons that need to be cleaned just keeps getting bigger & bigger!!!

Categories: lillstreet

With plenty of down-time, and a LOT of emphasis on social-distancing, Lillstreet Art Center has been making a lot of changes in preparation for when they do finally get to open up to students again! We’re all so anxious to see everyone, to teach classes, to play in the mud… and to get back to a little bit of normal. Even if it is with a mask from a distance!!!

Categories: classes, lillstreet, stamps

Little bit of good news though… if anyone is interested to find out how I make my own clay stamps, I will be teaching a one-hour “Making Clay Stamps” workshop a week from tomorrow as Lillstreet Art Center will be going “virtual” for some workshops & classes. So if you want to make some stamps with me, or learn a whole new “craft” while under quarantine, check-out the online classes being offered at Lillstreet!

Click here for the link to my “Making Clay Stamps” Workshop.

Categories: lillstreet

With all of the craziness going on in the world, Lillstreet has been forced to go “virtual” for their Spring Session of classes & workshops! Check the assortment online at Lillstreet.com for more information. I know it’s not going to be nearly as much fun online… I mean we can’t work together, touch the clay, feel it spinning or even share OREO’s!!!… but I guess it’s better than nothing, right?! Check out the new “virtual” online schedule… there might just be a workshop in there with me?!!!

Categories: lillstreet

As I was leaving my studio late tonight, I thought what a lot of you would really want to see, is exactly what we’re all missing so much these days! LILLSTREET ART CENTER! It’s just not the same without everyone there being creative & playing in the clay! Everything’s pretty dark these days… including the classrooms & hallways!

Categories: lillstreet, mosaic

Now more than ever! Stay safe. Stay healthy. Stay creative.
Be fearless as we all face these new challenges… in a time where we all need creative solutions. Some day soon we’ll all be back to the place we love. I miss everyone. My friends. My students. My community.

Lillstreet Art Center.

Anyone notice a stamped vase anywhere… I seem to have misplaced one???

Categories: classes, lillstreet

It’s so hard to believe that it has already been four full weeks since we were last together celebrating the “finale” of our LILLSTREET THROWDOWN class. So much has changed since then. In our lives. In the world. It is just weird to see the Lillstreet classrooms so empty, so quiet. No wheels turning. No pots being made. No kilns firing. We are all looking forward to happier & healthier days when we can all return to play in the clay together.

Until then, I hope everyone is staying safe, staying well & staying creative!

Categories: classes, lillstreet

It’s so WEIRD walking through the first floor classrooms when there is absolutely no one there! Just a quiet reminder of the fun we’ve had there… and the hope that we can get back to it soon enough. I miss my students!!!

Categories: classes, lillstreet

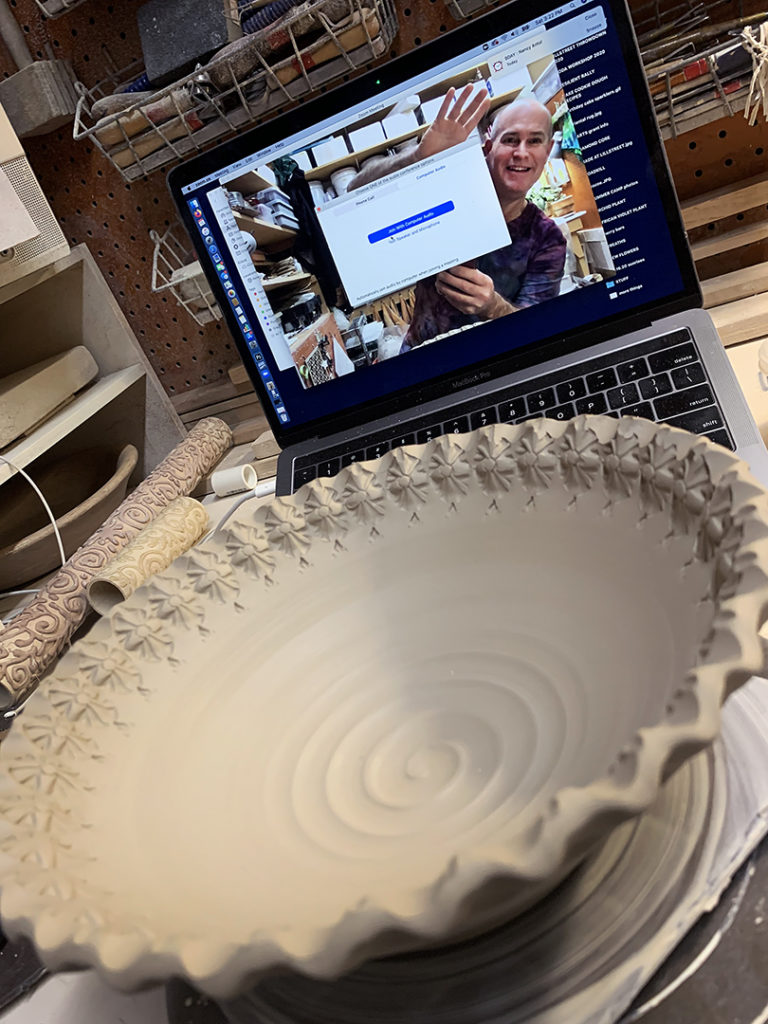
After decorating their tiles, I decided to do some quick demos for them on three basic bowls. I had the best intentions… but this time it didn’t go all that well. Valiant effort… loved one of the demos… ha some slip issues.. and some timing concerns!

Anyways… we started here with three basic bowls…

BOWL DEMO #1 –
My first”plan” was to take a bunch of colored slip and do some well-planned dripping effects on the interior of the bowl. In theory, it’s not that hard. However… the full layer fo white slip was great, the bands of black were good too… bu tthe green slip was FAR TOO THICK!!! It just kinda clumped on in place, and didn’t do any running down!!! And then to make matters worse, the red slip was far too watery!!! Yep, shoulda checked all that out before class, right?! If all goes well, the colored slips “glide” down the side and kinda pushes the colors down along the way. You can see a bit of the black bands being pushed down by the green.

But if you look closely… you can also see that there is a black drip in the lower right corner that is pushing UP!!! Well, after the demo wasn’t going to well, I decided to just push the pedal down all the way and let the slip fly!!! I expected the slip to blend more like old-school spin art… still too thick… but it did splatter & fly. Not into the splash pan… but luckily my shorts were there to catch the flying slip!!!

BOWL DEMO #2 –
My second plan was to do a “tie-dye” effect with colored slip… in honor of PROJECT RUNWAY!!! Yes, seems like this week’s episode of PROJECT RUNWAY was focusing on tie-dye becoming high fashion! Who knew that I’ve been a tie-dyed trendsetter for so many years and never quite knew it?!

Anyway… I should my students how to do some marbling with colored slips…
the closest I could come up with to be a tie-dyed effect! Just pour some “puddles” of colored lsip into the bowl, and then swirl. twist, squiggle and swirl some more… and then pour out the excess. Just that easy… easy-peezy!

BOWL #3 –
My third plan was to do several layers of color slips squiggled & painted on some newspaper. The plan is that the water seeps into the newspaper and lets the slip stiffen up. After several layers of slip, and enough time on the newspaper, you can cut out sections, lift them up carefully and place them onto the surface of the bowl almost like an applique. Sadly, I didn’t start the squiggles & layers soon enough… as I was having too much fun watching them play with their tiles… time got away from me… and my slip never quite set-up enough to cut * apply. So I told them we would try to do it again next week… and I would start a LOT sooner!!

Luckily, my students LOVED the marbled “tie-dye” effect… and all fun & excitement ensued!!!
And they were “tasked” with another challenge…. to decorate their “blindfolded bowl” with one of the tree techniques. And since only one of them really worked… there was a lot of marbling of slip!

While others were too busy finger-painting… and loving it like a four-year old!!!

So here are a couple of our “tie-dyed” bowls…

And one of the dripped slip technique… working a bit better than MY demo!!!

And does anyone see a face in this one, or is it just me?!!!

Unfortunately, one of the “blindfold bowls” didn’t quite survive.
It was far too wet going into the challenge.. and the layers of slip just didn’t help any!


Save